In order to make the field, we had to:
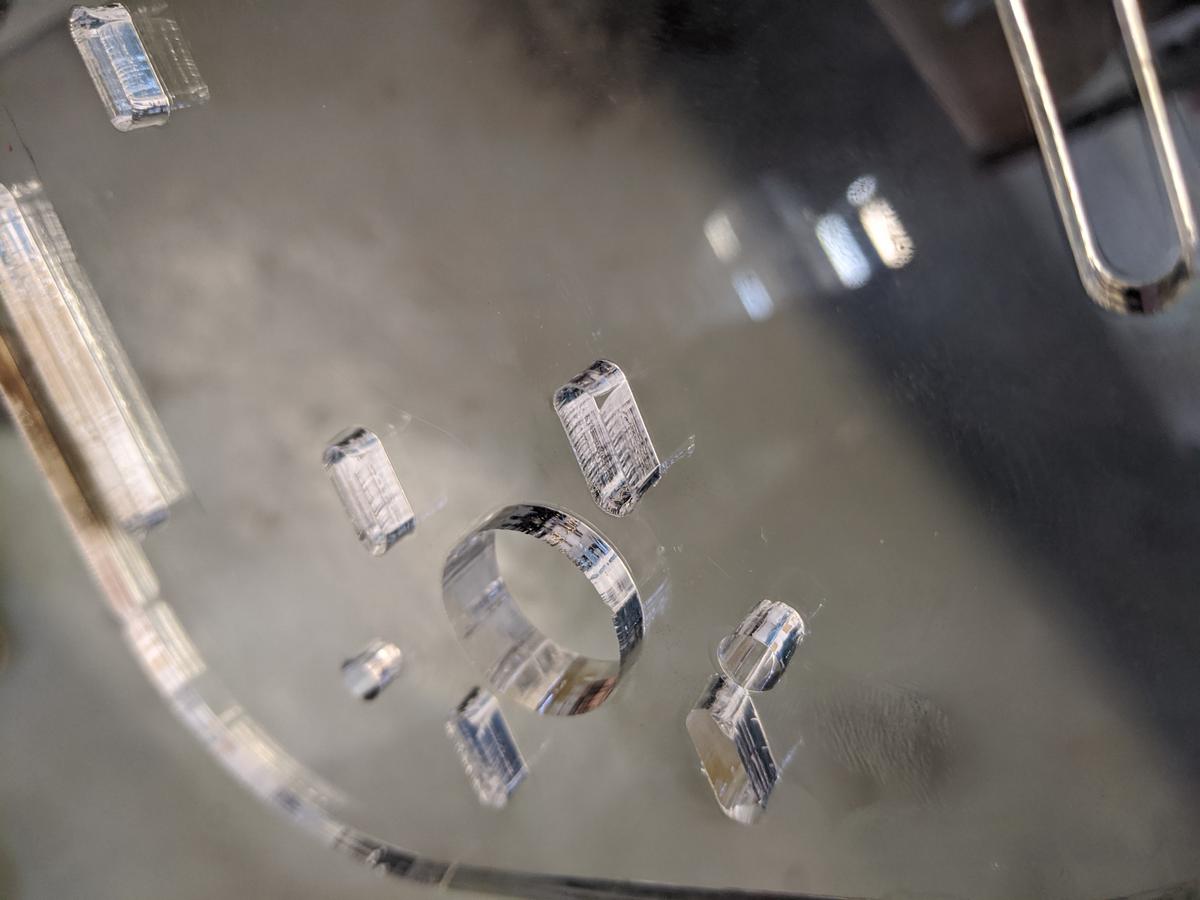
- Design and laser cut an acrylic sheet with the imprints of our elements (NEMA17 stepper motor and solenoid)
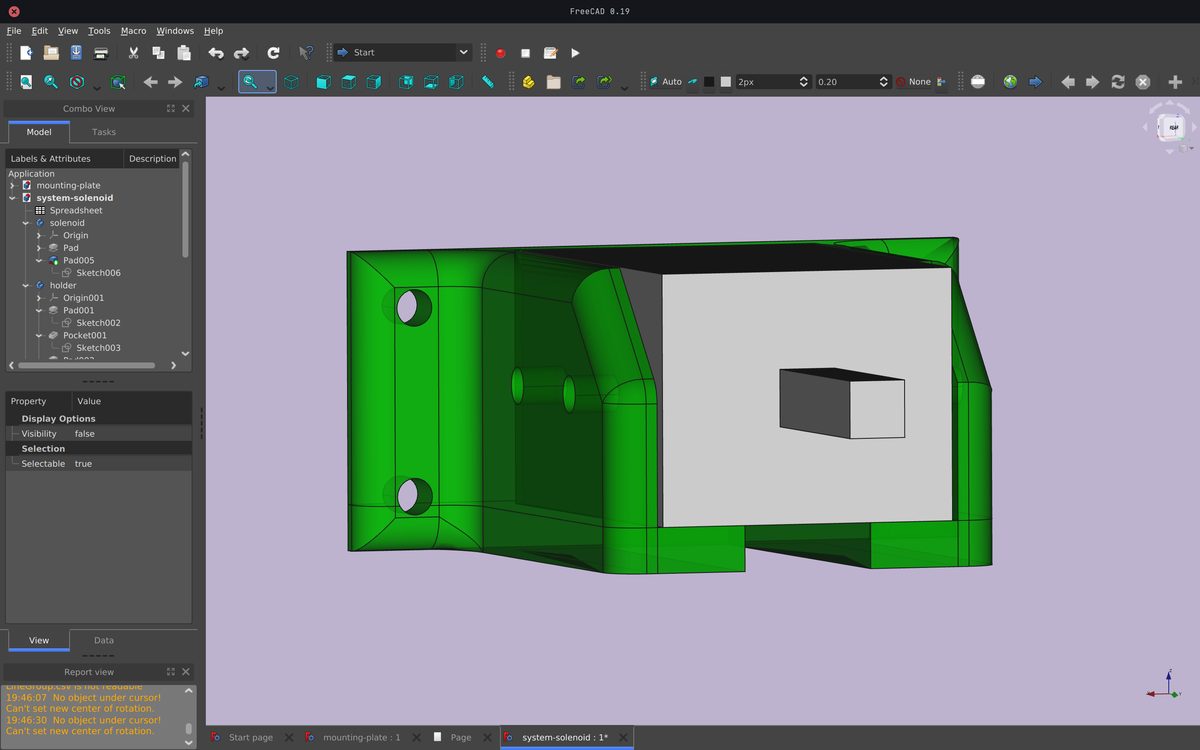
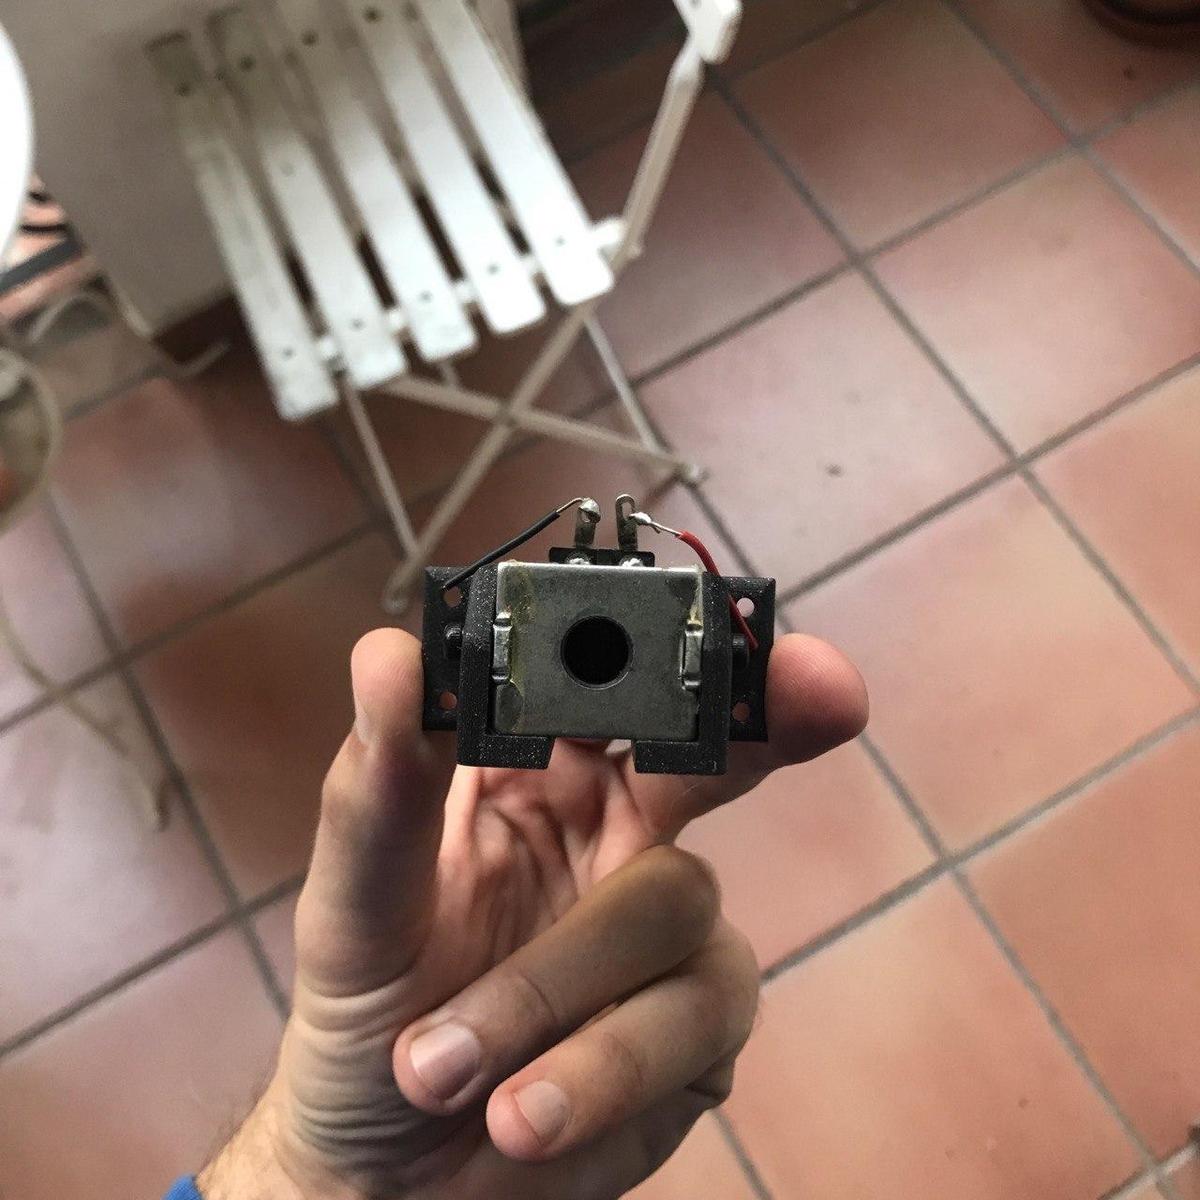
- Design and 3D print a support for the solenoid, so that it can be fixed on our mounting plate
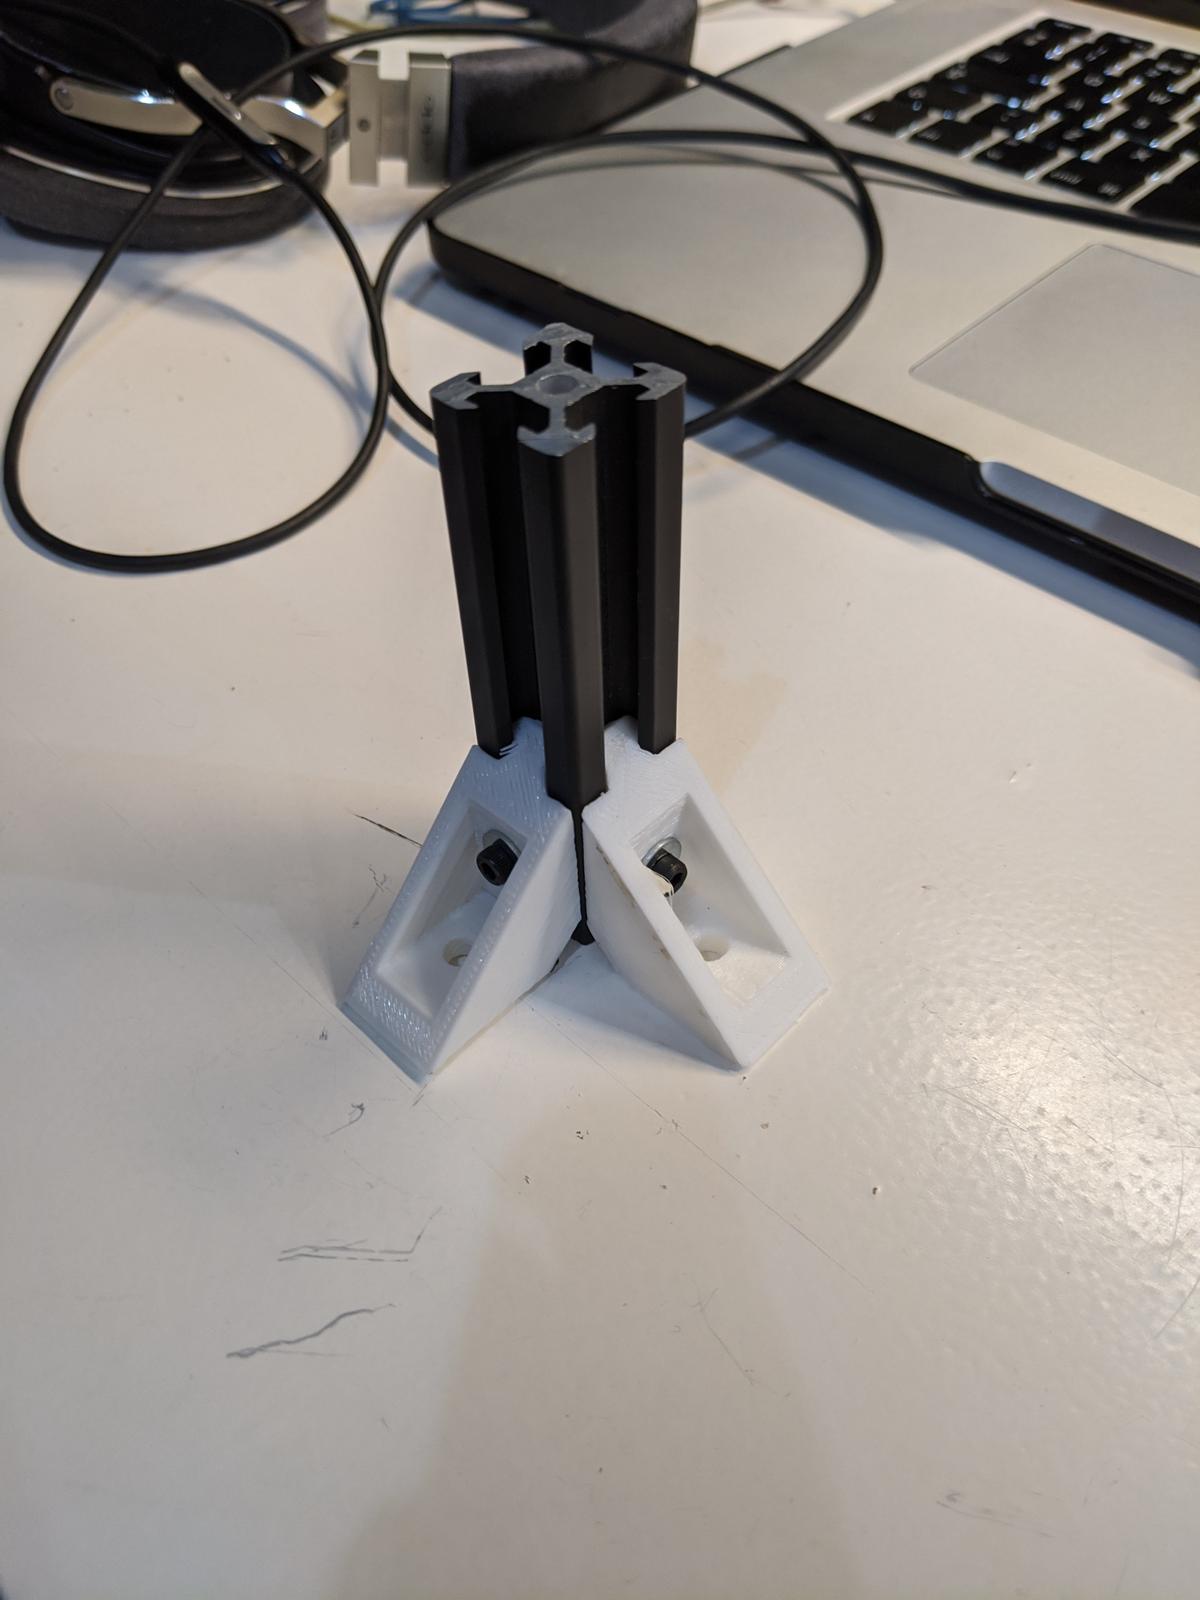
- 3D print structural elements to make the rails stand upright
- Prepare and assemble the electronics (cables)
- Glue stops at both ends to prevent excessive movement
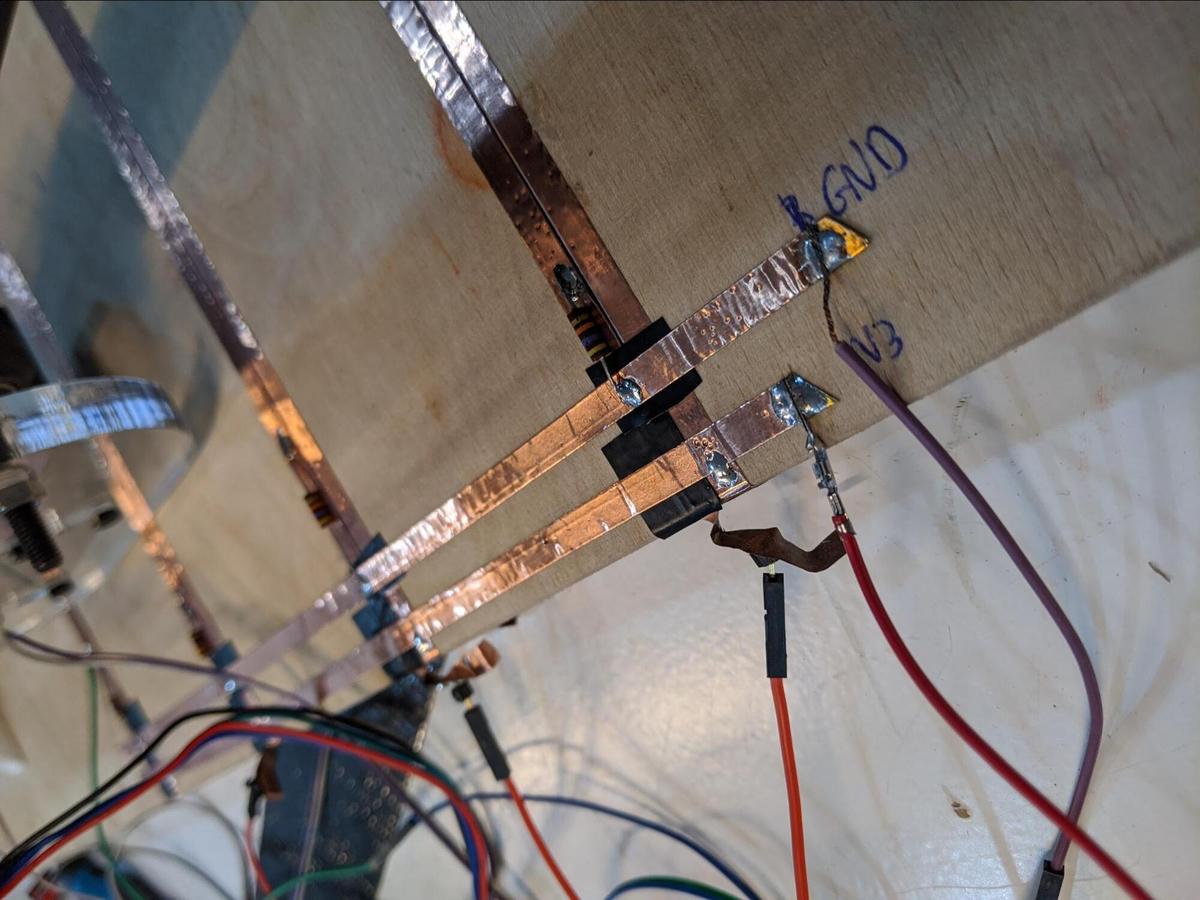
- Cut and position the conductive lines from a copper sheet
Rails
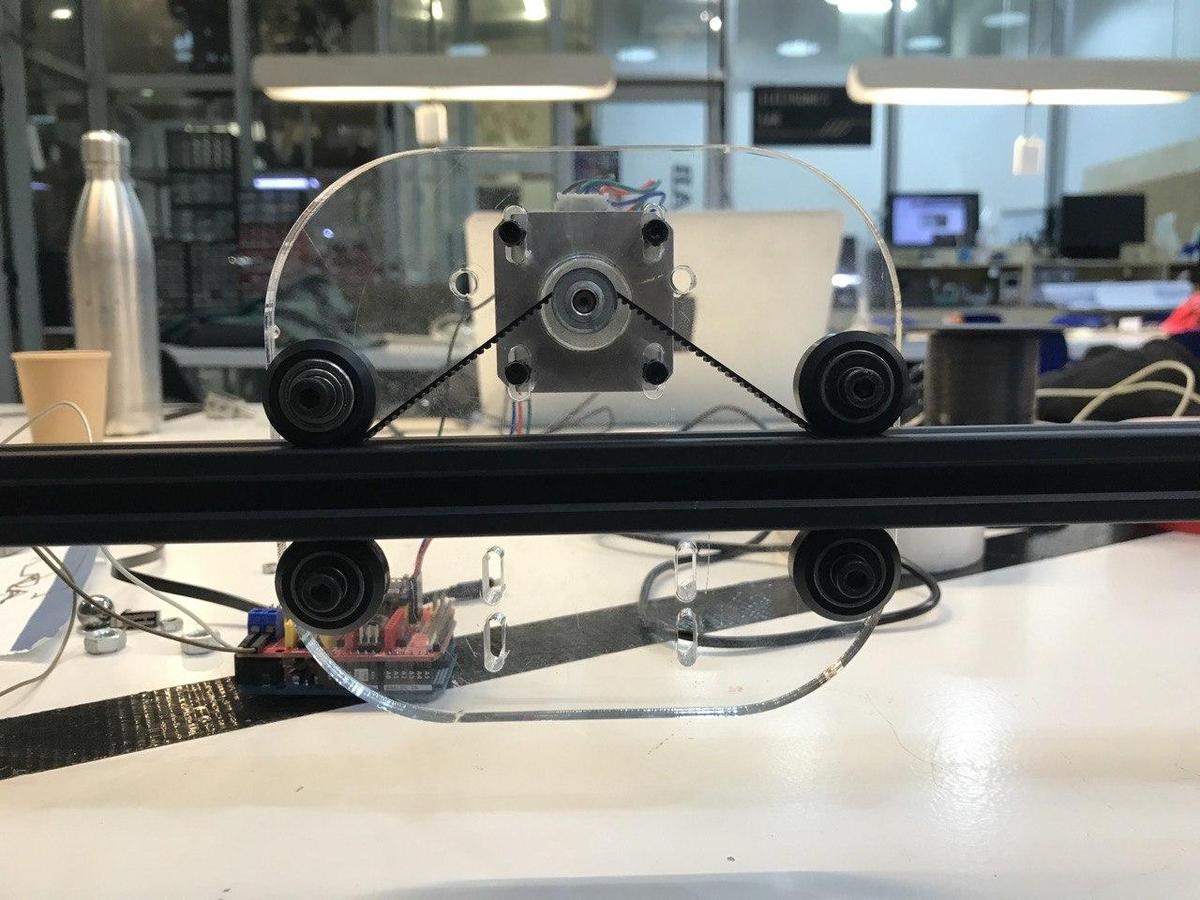
We used v-slot rail to build the overall structure, following a valuable example from OpenBuilds. We had to print this part this part from Thingiverse in order to make the rails stand upright.
Mounting plate
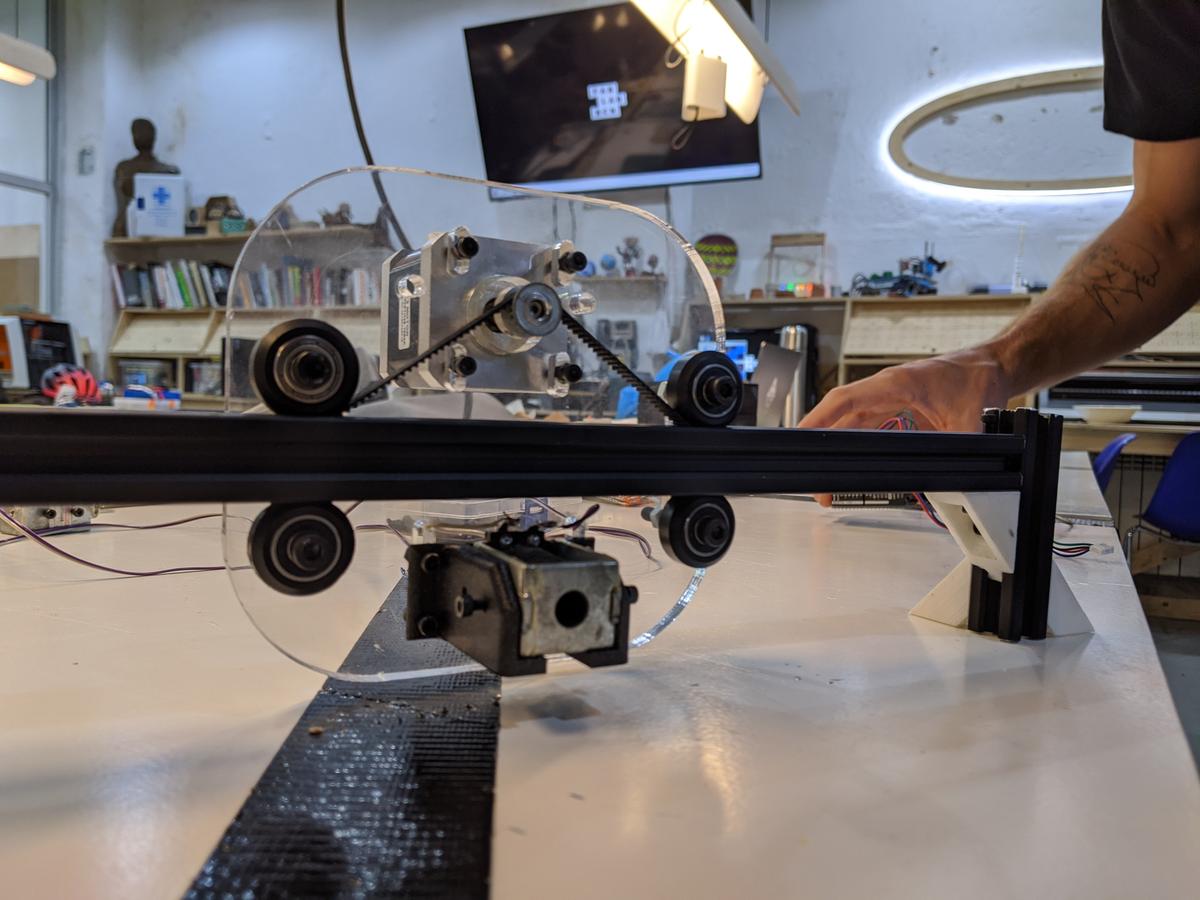
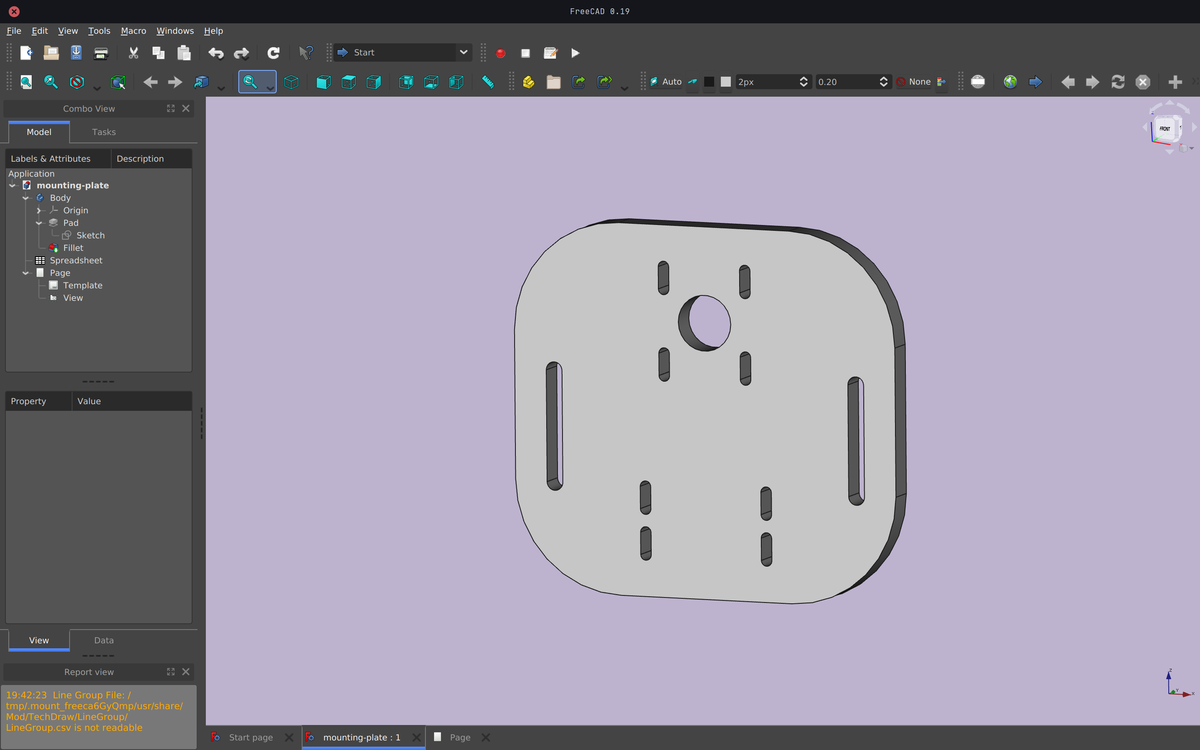
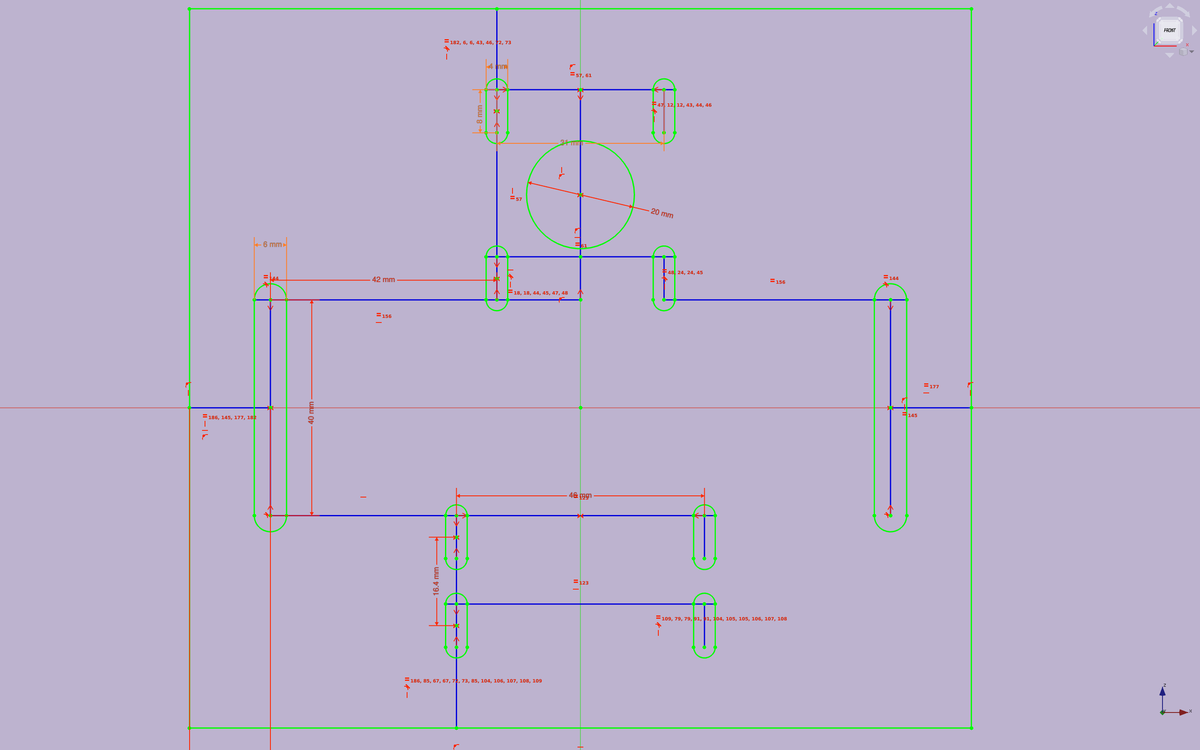
We designed and laser-cut a mounting plate made of acrylic (10 mm) with the imprints of our elements (NEMA17 stepper motor and solenoid) in order to be able to fix our elements to the structure, and thus make it move when the stepper motor is actuated.
Solenoid holder
To fix the solenoid, which will then be used to push the ball forward, we had to design an holder that we can screw onto our mounting plate.


Lines
As mentioned above, we have made copper conductor lines and connected them to different pins in the CNC shield of the Arduino Uno, in order to be able to detect when one of these lines is crossed by a conductive material (the ball).
Files
- Solenoid holder (Freecad design file): system-solenoid.FCStd
- Solenoid holder (Fabrication file): solenoid-holder-2.stl
- Mounting plate (Freecad design file): mounting-plate.FCStd
- Mounting plate (Fabrication file): mounting-plate.dxf