WEEK 15 & 16
MECHANICAL DESIGN


ASSIGNMENT DETAILS: Design a machine (mechanism + automation), including the end effector. Build the passive parts and operate it manually. Document the group project and your individual contribution.


/// FOR WEEK 15 - CLICK HERE ///


WEEK 16 - INTRODUCTION
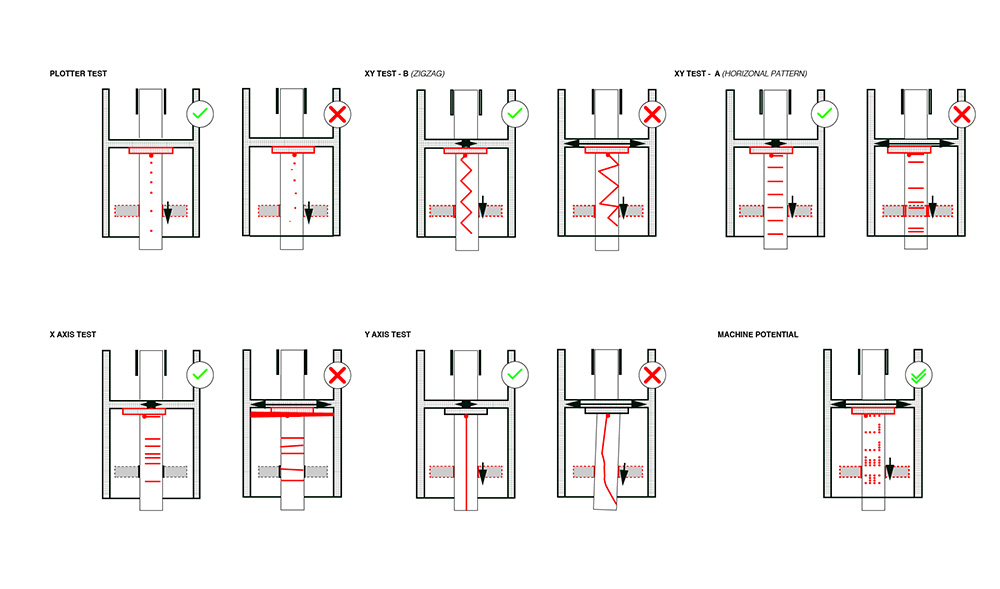
It was so satisfying to see our machine take shape but we were still only half way there. Now was time to work on the electronics and the coding. I made some diagrams to get a sense of what maybe this machine is capable of. We did not really use this diagram as we essentially never quite made it to such a testing phase. That would be possible if it was a 3 week assignment. I did what I could to help move us along by working on getting our machine up and running with Arduinos and Sparkfun Easy Drivers so that Marc could do the integration and, if possible, add his nicer electronics and finishing touches. We were so rushed and tired near the end that we lost a bit of our organizational effectiveness and things were a bit more complicated than they should have been but I think we managed nicely. Here are the items I worked on:

---> set up the EasyDriver motor drivers and the programming for the feed mechanism
---> make the electronics for the button controller
---> set up the EasyDrivers and initial programming for the x-axis

Here are some links I found useful:

http://blog.inventables.com/p/stepper-motors.html
http://www.schmalzhaus.com/EasyDriver/Examples/EasyDriverExamples.html
https://www.brainy-bits.com/homing-stepper-motor-at-startup/
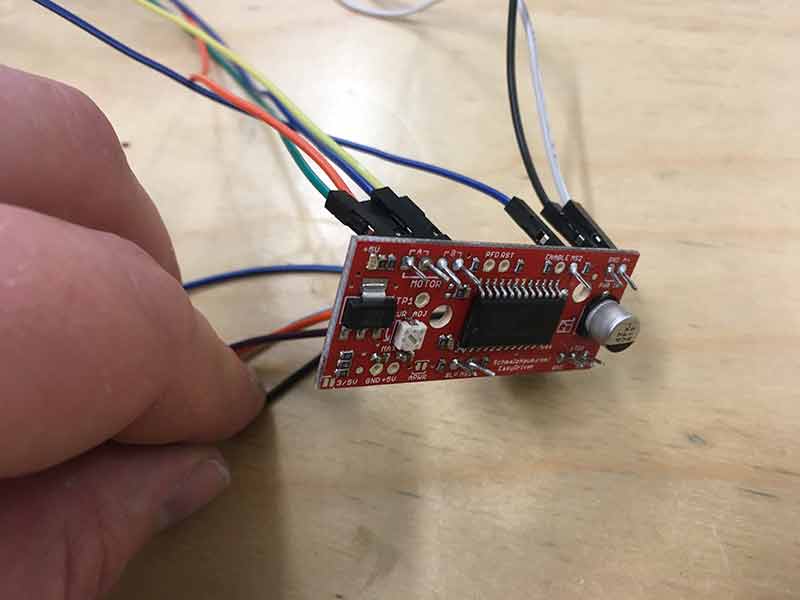
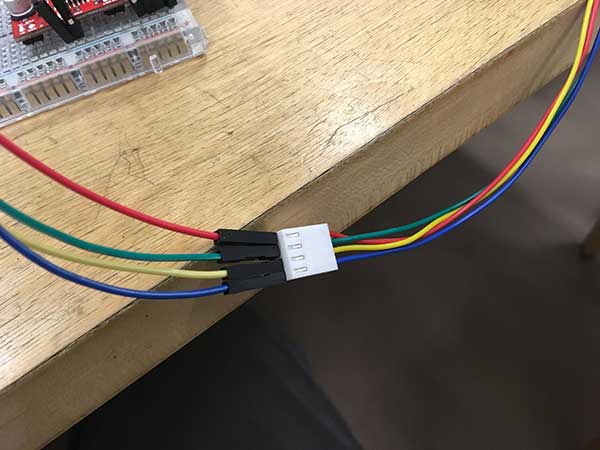
THE FEED MECHANISM

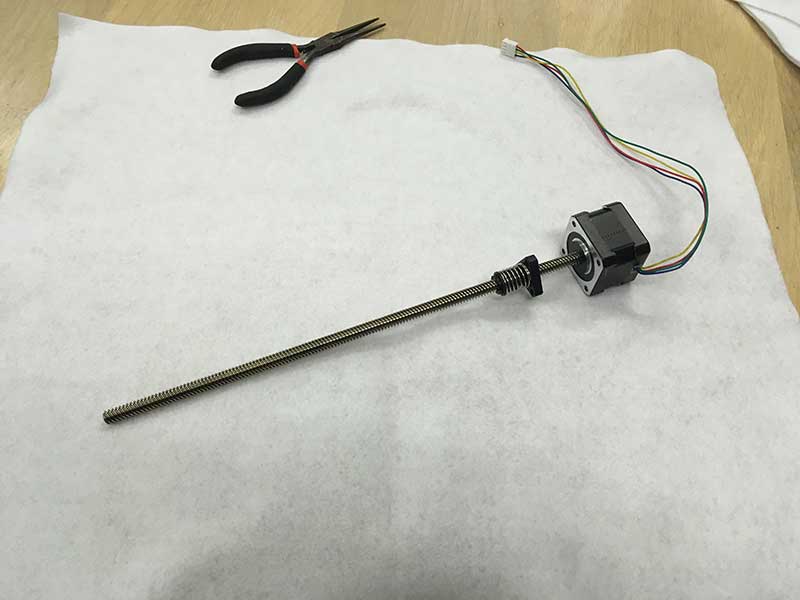
Our machine used 2 of the Nema17 with lead screws. For the Feed mechanism, we had to squeez the wheel with the rubber o-rings onto the lead screw such that it would not move. The Nema 17 stepper has 4 wires:


---> A+GREEN

---> A- RED
---> B+ BLUE
---> B- YELLOW


One of the confusing things was figuring out how to wire the motor and which relates to the respective coil. The nema motor was wired as red, green, yellow, blue many schematics online show the wiring to be green, red, blue, yellow. green & red = A channel, blue & yellow = B channel. I attached hook-up wire to the EasyDriver to match the images I was seeing online, like on the Sparkfun website HERE but then matched the other end to the wires as they were from the Nema 17. It didn't seem to affect anything. I think as long as A is in A, and B is in B, the EasyDriver will deal with the subtleties.


Programming the Feed control on the machine was as easy and I just followed Brian Schmalz's code and just changed the distance.

#define DISTANCE 100

int StepCounter = 0;
int Stepping = false;

void setup() {
  pinMode(8, OUTPUT);
  pinMode(9, OUTPUT);
  digitalWrite(8, LOW);
  digitalWrite(9, LOW);

  pinMode(2, INPUT);
  pinMode(3, INPUT);
}

void loop() {
  if (digitalRead(3) == LOW && Stepping == false)
  {
    digitalWrite(8, LOW);
    Stepping = true;
  }
  if (digitalRead(2) == LOW && Stepping == false)
  {
    digitalWrite(8, HIGH);
    Stepping = true;
  }

  if (Stepping == true)
  {
    digitalWrite(9, HIGH);
    delay(1);
    digitalWrite(9, LOW);
    delay(1);

    StepCounter = StepCounter + 1;

    if (StepCounter == DISTANCE)
    {
      StepCounter = 0;
      Stepping = false;
    }
  }
}

The code for the machine design was largely adapted from Brian Schmalz the creator of the Easydriver board. I just duplicated and made named instances for the different elements we were putting into our machine.

---> LEFT
---> RIGHT
---> FEED


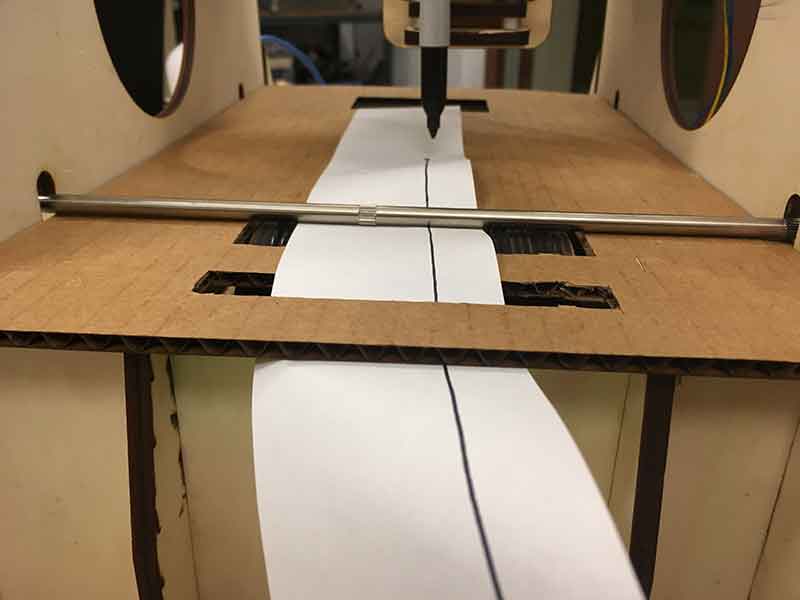
Here we are testing with paper for the first time. We used a rod from an old printer to help press the light paper onto the feeding mechanism. It needed some finessing but otherwise, it was nice to see it work.


CONTROL BUTTONS

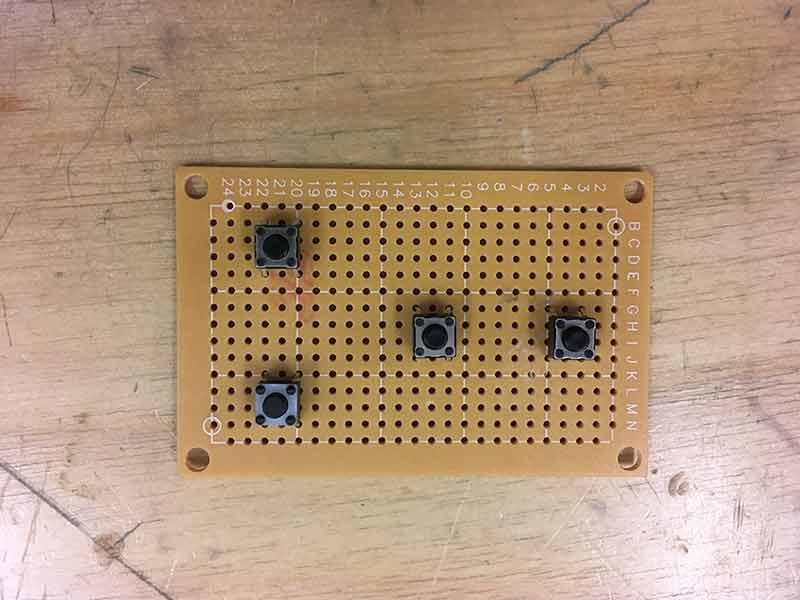
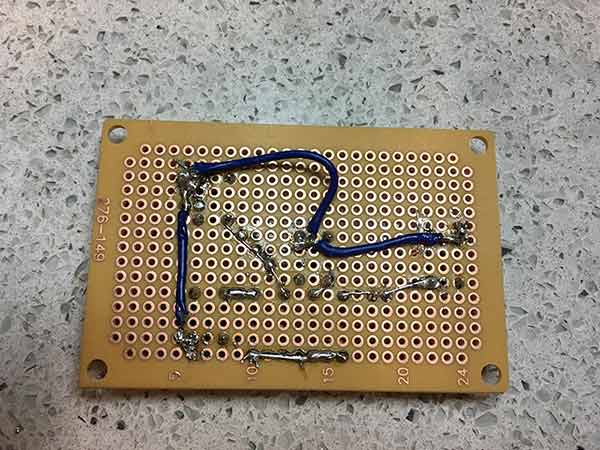
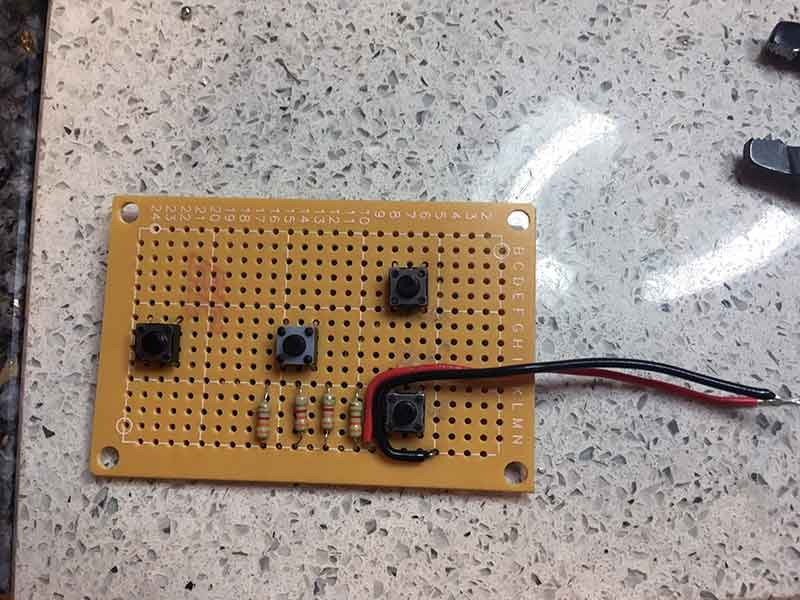
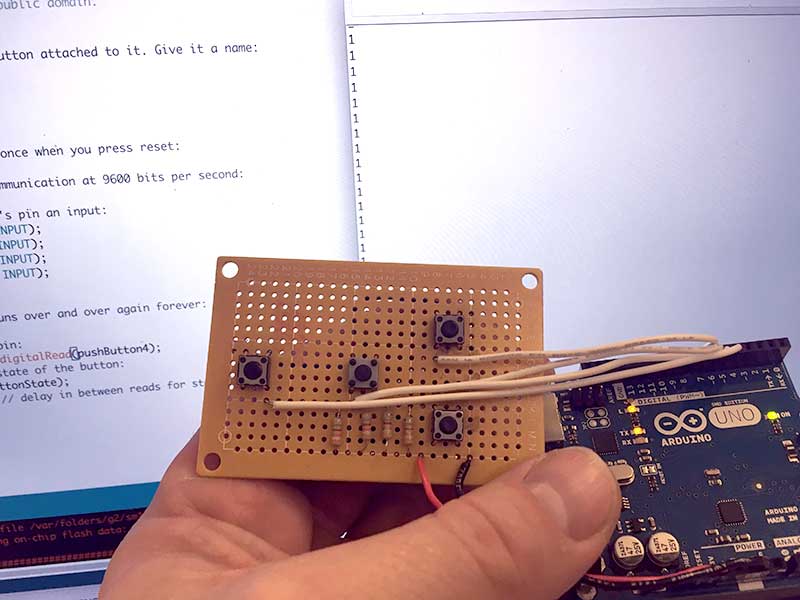
After I got the feed working, I worked on the electronics for the button controller. We were kind of under the wire so I used through hole components rather than milling and SMDs.


It wa a process I had not done in a while. I was worried I would need to re-solder a mistake but I got it right on the firts try. It was important I pay close attention. It is not as intuitive as working with traces on PCB. I would not have said this kind of thing before Fab Academy.


I had luck on my side, everything worked. I checked the signals and then tested that they all work independantly. I put pull-up resistors on each button to help make sure there was not noise or that the buttons did not get stuck.


Testing the buttons.


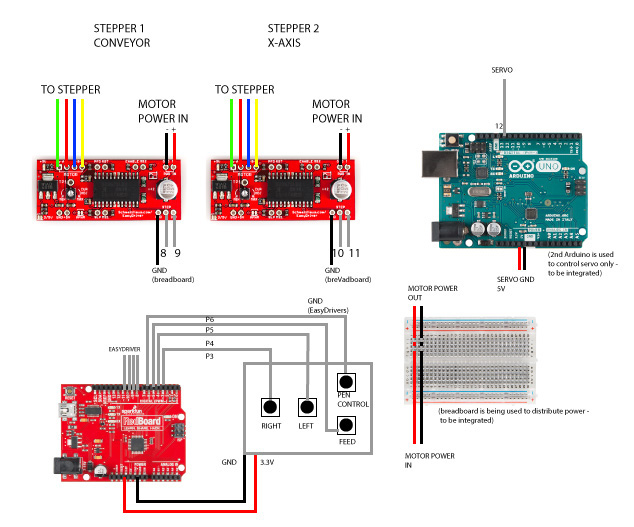
George and I stayed a bit later than Marc cause we had commitments the following day. I sent Marc a diagram of the setup so he could pick up and tie it all together.


Once the buttons worked, the Feed worked, and the X-axis (just used the same as the Feed) and tied all the systems into the proper code for the button controller. Here is a diagram for the connections I left with Marc after a long night. I did not spend much time integrating the servo motor so I put it on a separate Arduino figuring Marc or George would be able to tie it all together. Which they did.

Here is the result with all the elements in place.


Creative Commons License
This work is licensed under a Creative Commons Attribution-NonCommercial-ShareAlike 4.0 International License.


ASSIGNMENT FILES

---> Button Testing Code
---> Machine Control Code