Make something big (on a CNC machine).
This week the assignment is to learn computer controlled machining by making something big on the ShopBot.
CNC, or Computer-Numerical-Control is a machine whose position is controlled numerically, and the numerical values are controlled by computer computation. One of my first experiences with CNC was back in the 1970's while walking the hallways of MIT Buiilding 10, I saw a poster display along with the first servo mechanisms of the first CNC machine developed by Gordon S. Brown’s Servomechanisms Laboratory at MIT. The beginnings of CNC involve a man named John Parsons and his Michigan company which was trying to develop a better way to make wing-spars for the US Air Force in the early 1950's. Parsons contracted with MIT, and then later funded by the US Government, to develop a system which can cut metal via a programmable method. This spawned a system which had servos and a closed-loop feedback system, and was programmed by a 7-hole-row paper tape which contained the precursor to what we know as G-code language. Yes, you can partially thank MIT for that wonderfully cryptic machine language. The unique thing that made this machine a true-cnc machine is it's closed loop system, made possible by a feedback device called a selsyn. I've actuall worked on older machine tool systems which have these small feedback servos on the back-end of the servo motors whioch would operate the axii. Later, beter feedback devices were used such as inductosyn scales, linear encoders aka glass scales, and rotary encoders. CNC routers come in stepper and closed loop varieties. Some people in the CNC fields do not consider routers true CNC machines. It really is a grey area. Nonetheless, the better the feedback system, the better the performance of the machine.
(id='files-vcarve')
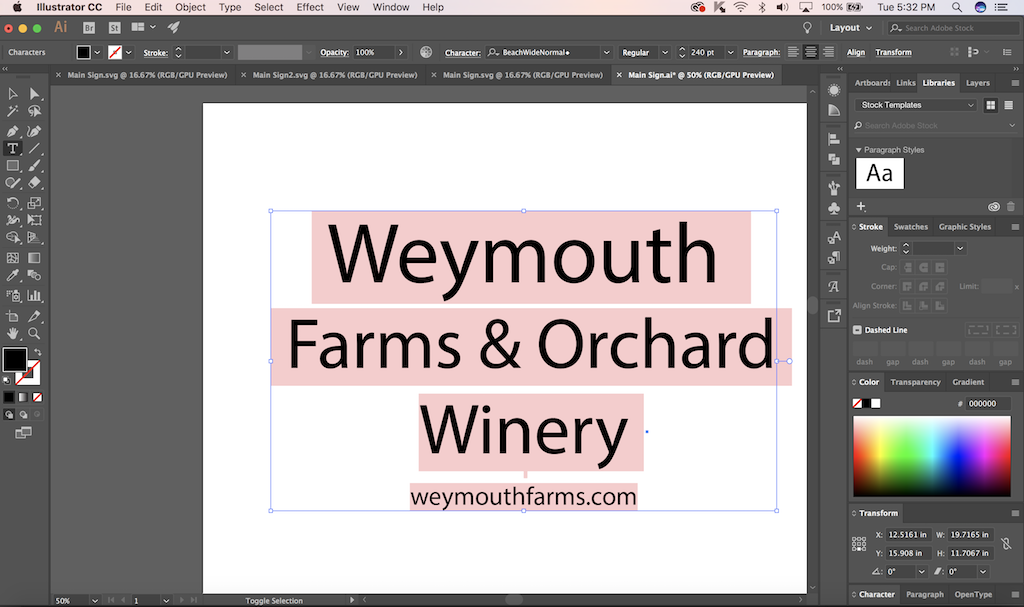
CNC Routers are extensively used in the signmaking business, and I happened to need one, so I thought that would be what I would try to make. I first started by designing my sign on Adobe Illustrator.

I next change the fonts and make the size of the sign suit the 4 foot by 8 foot sheet of 9-ply 3/4" plywood I am planning on using.
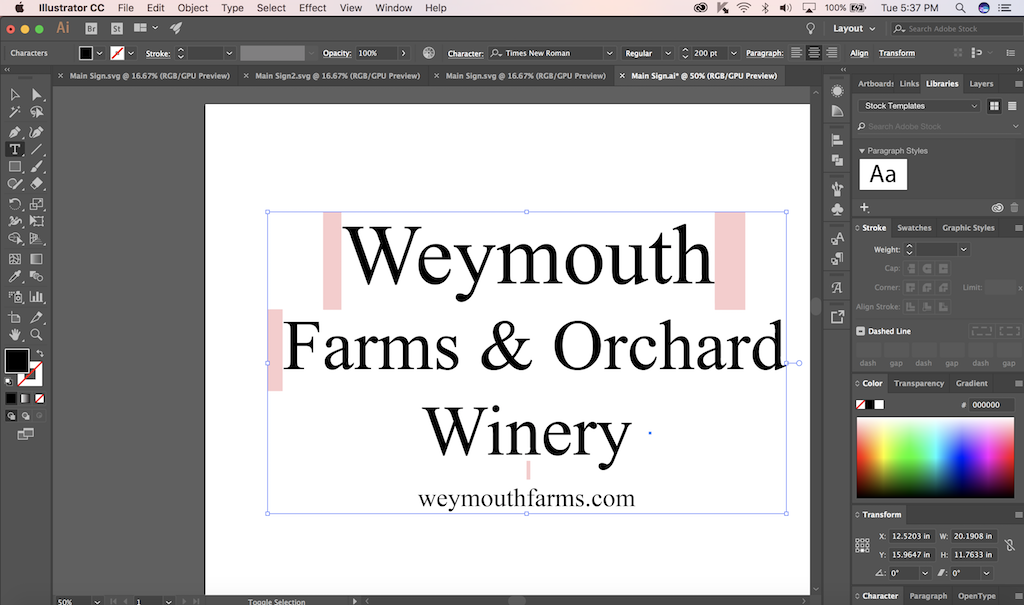
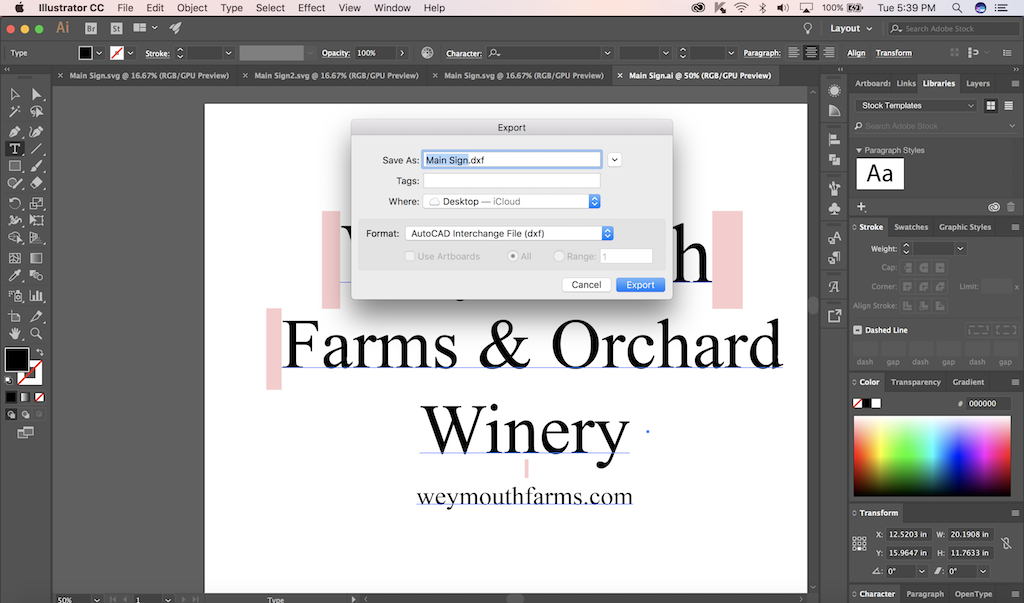
I next export the sign as a DXF file so Aspire can read it and generate a tool path.
(id='setup')
I next place the files on a USB drive and head out to Lorain County Community College with 5 sheets of 3/4" thick, 9-ply plywood in my truck. I decided to use 9-ply instead of standard 5-ply because I felt that the end-grain would look better with more plys. I purchased the 9-ply from a big-box store called Lowe's for about US$65.00. I am in the United States and Lowe's is a nationwide home-improvement chain. I was not able to locate 9-ply at other competitive home-improvement chains, such as Home Depot or Menards. True signmakers use plastic substrates such as "SignFoam HDU", which is much more expensive than plywood. A sheet of similar size HDU would be about $250 plus shipping. I found it available in my area from a nationwide distributor called Grimco. They were happy to sign me up as a customer once I told them I was associated with the Fabacademy. They have outdoor-quality vinyl, all sorts of mask tape. They even sell vinyl cutters.
I arrive at the lab, unload the plywood, and get safety training by my instructor, Scott Zitek. Safety glasses and ear protection required at all times. Also, the machine must be attended at all times. I am familiar with large CNC machine tools, but not CNC routers. Many concepts are the same, such as there being 3 axis, X, Y and Z. At the time I was doing my V-Carve, Lorain had two cnc-routers. One was a Shopbot, and the opther was a Forest Scientific.
The ShopBot was just moved to it's new location and was up and running. The Forest Scientific was just being set up and was not available. The ShopBot has a 4 ft x 8 ft workbed with an MDF sacrificial base. The control is PC based, and the spindle drive is operated seperately from the control by use of an inverter drive. The emergency stop is on a pendant and only stops the X, Y and Z axis. The E-stop does not stop the spindle drive. The X, Y and Z axis are controlled by stepper-motors with no feedback system. The X-axis is designated as the gantry running along the 8-foot long axis. The Y-axis is designated as the spindle moving across the 4-foot wide bridge. The Z-axis is designated as the spindle moving up and down towards the workbed.
The Forest Scientific machine is also 4ft x 8ft bed, but is somewhat different. The X and Y axis are on opposite axii, and the axis drive system is closed-loop, which means the control is more robust, and will adjust the actual toolpath to remain within the calculated toolpath within a position-window tolerance. This is more typical of "real" CNC machine tools, and the axis orientation on the Forest Scientific is more typical of large portal-style gantry mills.
Before starting up the ShopBot, we started to explore the PC which was attached to the ShopBot. Two relevant applications were on the PC. First was an application called "ShopBot" and another called "Aspire 8.0". Aspire is a pre-prossessing, or CAD/CAM package which takes a design file and generates a toolpath for the design. You can also design and edit directly with Aspire if you wish. Or, you can load a DXF file from another application and generate a toolpath for the design. ShopBot is an application which runs G-Code and controls the axii-motors, and spindle. However, something was wrong with the integration of the spindle to the control at LCCC, so I was instructed to manually control spindle function.
On the first day, I wasn't doing any cutting. I was only getting orientated to the ShopBot, Aspire (Version 8) and ShopBot control software. Also, the LCCC lab had just finished moving the machine to it's new location, so we were still waiting for electricians to complete the connection of the machine's systems to the building's power. Nevertheless, it was a good time to go over the machine and it's software. There are a few things that needed to be set up in Aspire. I was given a quick tour of the program by my instrictor, Scott Zitec, and was shown the variety of tools which were available in the lab. I was going to be doing V-carving, and at this point, I learned that I would need a 60 degree milling cutter. The LCCC lab had a cutter, but I did not know how much use it had on it. I figured I would start with a new cutter, so I ordered a couple of Onsrund 37-82 cutters from Mason Tool, as well as a collet for the milling cutter which would fit the ER-32 spindle on the Shopbot.
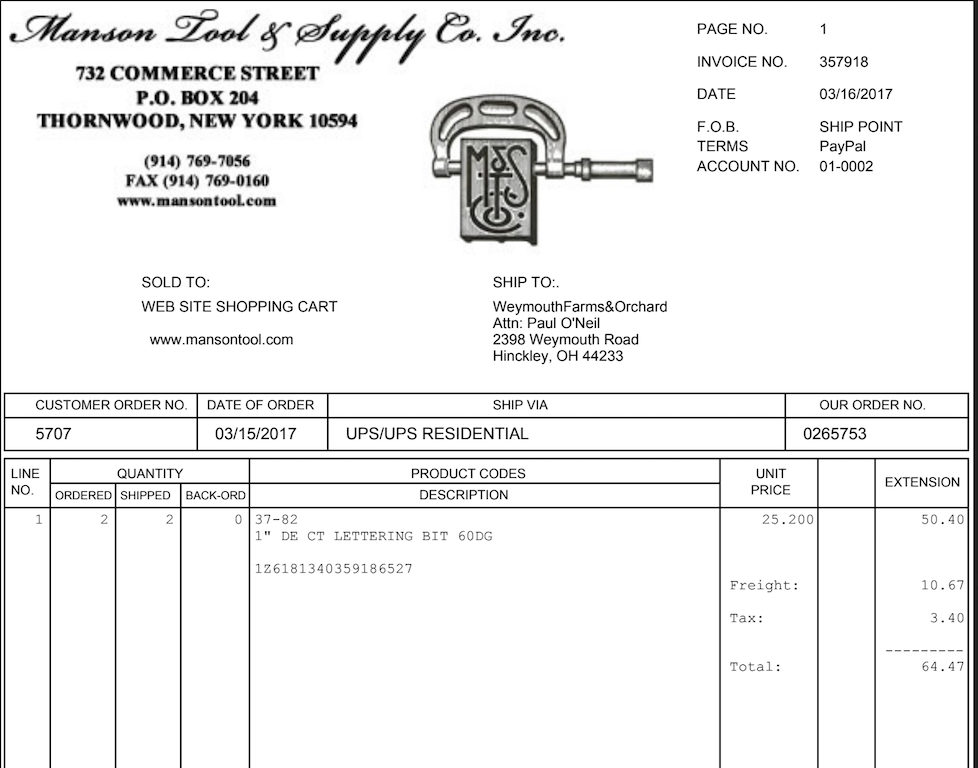
Once I received my tooling, I went back to the lab, with cutter and collet. Plywood was already on site. I had already unloaded the plywood during my previous trip. The machine was finished being set up to the building, it's power and exhaust systems, and was ready for use. I started up the ShopBot, accessed the Keypad, and moved the machine so I could load a sheet of plywood, with thew help of my instructor, Scott Zitec. First, I cleaned the work platen so my workpiece would lay flat. Next, I used a cordless drill with a #2 phillips bit to screw down the plywood to the "spoil board". I set the screws on each corner and along the outside edge about every two (2) feet, making sure I did not place them in an area where the milling cutter might hit them. At this point, a quick-start guide for Vcarve with Aspire wouild have been helpful. You can find one here: http://www.vectric.com/media/docs/support/training-material/aspire-vcp/2d-design/GettingStarted_Open_Sign.pdf
Next, I started up the Aspire application along with my thumb drive wich had my DXF file. I clicked "File - Open" and drilled down to my USB drive where I had my DXF file stored. Aspire presented a screen of what it thought I wanted, and it wasn't. Next, I decided to do my model with the drawing features within Aspire. I closed the screen (File - Close) and then started a new drawing by performing "File - New". In the "Job Setup" panel, I entered the size of my sign, which was 96" wide (X) and 48" high (Y), and 0.75" thick (Z). I used the default of X0 and Y0 for the datum and the material surface as the "Z Zero Position".
I was next presented with a side panel which had the following sections: "File Operations", "Create Vectors", Transform Objects", Edit Objects" and "Offset and Layout". I pressed the "Create Text" icon and created a new design by typing what I wanted my sign to read in the "Create Text" dialog panel. I selected my font, alignment and text height as well. The text was placed in a position I did not desire, so I pressed "Apply" and selected, from the "Edit Objects" section, the "Transform Mode" icon, which allowed me to move the design around in my model to where I would like it. I went back to the "Create Text" icon to do further editing of size, which I adjusted to a larger size. I also added another text box with different size text by first deselecting my first text box and creating a new text box with different font size and message by repeating the same process.
Next, I found the "Toolpaths" tab on the top right of my screen, and pressed it. A "Materials Setup" panel popped out of the side of the screen. I pressed the "V-Carve / Engraving Toolpath" icon, entered a starting depth of 0.00", a flat depth of 0.625", and a tool "V-bit (60 deg 0.25"). I kept the default values for diameter (0.25") included angle (60.0 deg), and pass depth (0.2"). I modified the spindle speed from the default of 16,000 rpm to 15,000 rpm and feed rate from 100 inches per minute to 700.0 inches per minute. I kept the plunge rate as the default (30.0 inches per minute). Where did I get these values? I used the following website for some suggestions for feeds and speeds. The variables I used were soft plywood for material, tool diameter 1/2", and spindle rpm 15,000. It calculated 700 inches per minute at 15,000 rpm, chipload of 0.023" per flute. I decided I would initially try those values, although I was a little skeptical about the gut of the tool flute being able to handle the chipload specified.
I next pressed "Apply" and "OK". I next selected everytrhing on my model, and then continued with the Toolpath panel by checking off "Project toolpath onto 3D model" and press "Calculate". Aspire automatically switches to a #D View of my model. I next pressed "Preview All Toolpaths" and I was presented with a 3D rendering of what my sign was going to look like.
Next I pressed the "Close" button and the next panel I was presented was "Material Setup". I checked off the toolpath I had just created and then pressed the "Save Toolpath" icon, where I was able to select which Post Processor to use. In my case, the default was the ShopBot which this computer was already connected. This generated my .SBP file which I would use later with the ShopBot application.
I next cleaned the collet in the spindle and then inserted the tool and tightened the collet nut.
The CNC routers are in a seperate, secure area at LCCC. There are SAFETY RULES which everyone is acclimated to.
Next, I learned where all the disconnect switches are for the ventilation system, and the Shopbot. The Shopbot has a dedicated PC attached to it which serves as the CNC control. I start the Shopbot application. Once the application is running, I follow the procedure for indexing the X and Y axis. From experience with other CNC machines, I make sure the spindle is clear of hitting any object that may be attached to the work platen. In my case, the work platen is empty.
I started up the ShopBot application again and loaded the file generated by Aspire.
I set the feedrates that the website suggested. 700 inches per minute at 15,000 rpm.
I click the yellow icon for what Shopbot calls the "Keypad Panel". I press the blue arrows to move the X, Y and Z axis wherever I like. The machine is empty so I move the Z up so I feel comfortable about not crashing anything.
I press the icon for X-Y referencing, and the machine seems to slam into the end stops of the X and Y axii. I have been told this is not the cvase, and the machine just stops abruptly, and that it just seems like it is hitting. Once the machine refefrenced, the machine moves to a predetermined X+5.000 and Y+5.000 location. Next, I manually move the Z axis up so I have enough room to insert my cutter into the spindle collet. From years of being in a machine shop, I am in the habit of taking the collet nut fully off, removing the collet from the nut, cleaning the taper inside of the spindle, snapping the spring collet back into the nut, half-threading the nut back onto the spindle, AND THEN inserting the cutting tool. Once the tool is inserted into the collet, then fully tighten with a pair of wrenches. If you do not insert the tool in this manner, the end result will be breaking the spring collet when you fully tighten.
Once the tool is properly inserted, it is time to touch off the tool with the electrically connected plate. It triggers a signal when the tool hits the bed.
Loaded the G-Code and started running the part.
(id='problems')
The 700 inches per minute did not work well. The stepper motors couldn't hold position and the part was miscut. I later learned that the maximum cutting feedrate for the ShopBot was 240 inches per minute, and rapid travel speed max was 500 inches per minute.
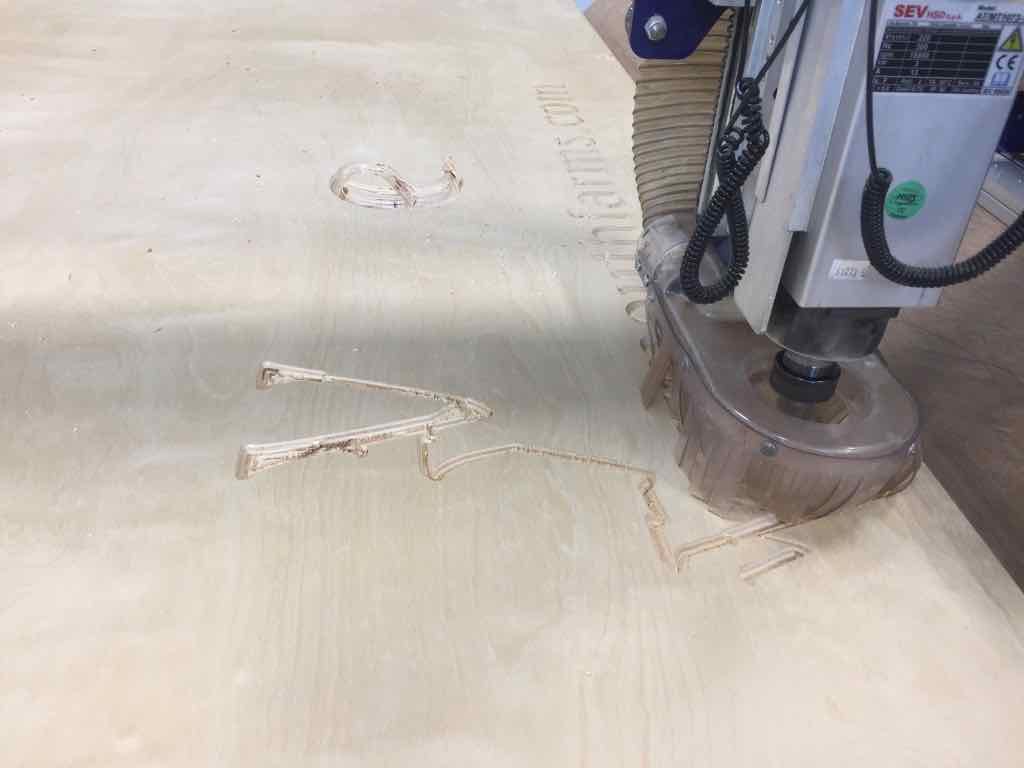
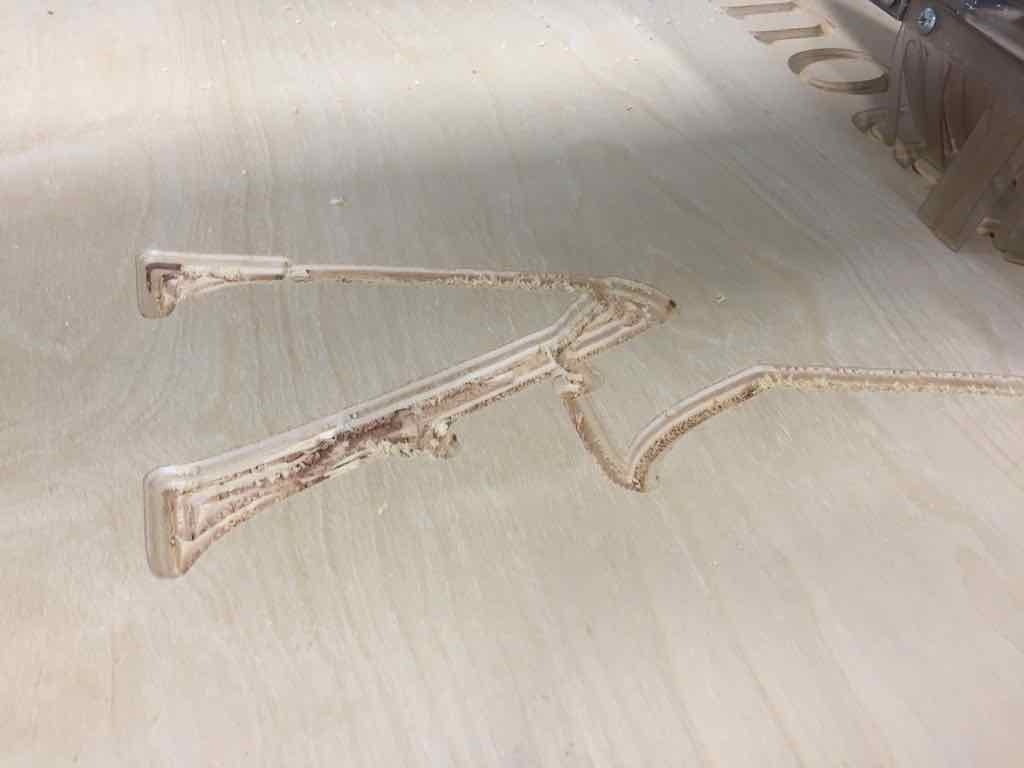

I unscrewed the material from the machine, backed the RPM down to 10,000 and decreased the feedrate to 200 inches per minute. I screwed down a fresh piece of plywood and began again. The results were much better.


(id='heroshot')
One issue I had with my settings is that the bottom of some of the letters were very thin, and I was concerned how it may hold up to being outdoors in the weather. I repeated the entire process again on the Forest Scientific CNC router. I changed the "Flat Depth" from 0.625" to 0.500" . The Forest Scientific has a vacuum table which keeps the part much flatter. It is also a closed loop machine, which provides more precise cutting. Changing the flat depth to 0.500" made the sign much better visually.
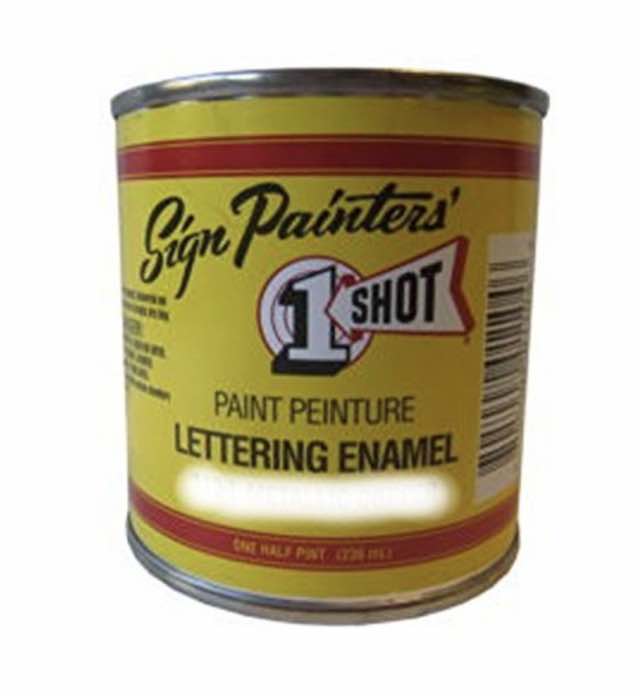
I next painted the sign with Sherwin Williams exterior paint. The letters I painted with One-Shot Gold Sign Paint.

This is the sign milled on ShopBot using 0.625" flat depth. Notice the lower-case "a" in "Farms" is hard to read.

This is the sign milled on Forest Scientific using 0.500" flat depth. Notice the lower-case "a" in "Farms" is easier to read than the first example.
(File: main sign cnc aspire.crv)
(File: main sign cnc aspire.crv3d)
Next, I did an exercise with tabbed construction. First, I explored some of the gadgets on Vectric Aspire. LCCC has Version 9 installed in the PC workspace. Version 8 is what is installed on the ShopBot. There will be a challenge going from Version 9 to Version 8. I also have the free version of Aspire 9.0 on my Windows laptop. I went to the Vectric Gadgets library and started to explore. I found a box creator. To me, this is the "Hello World" of tabbed construction.
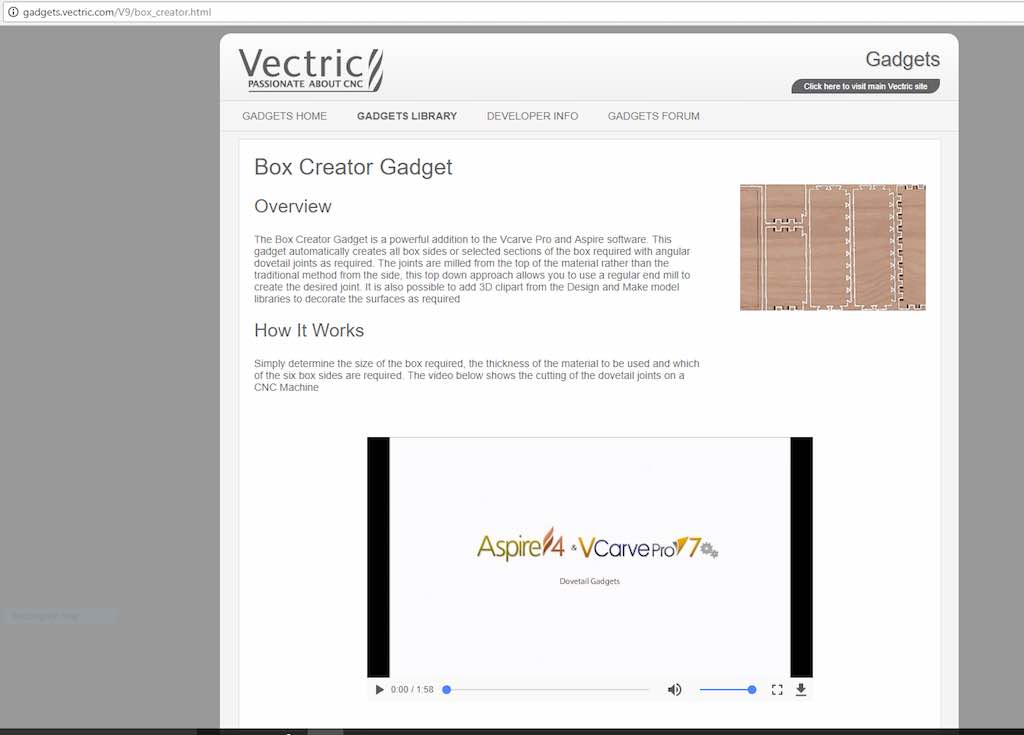
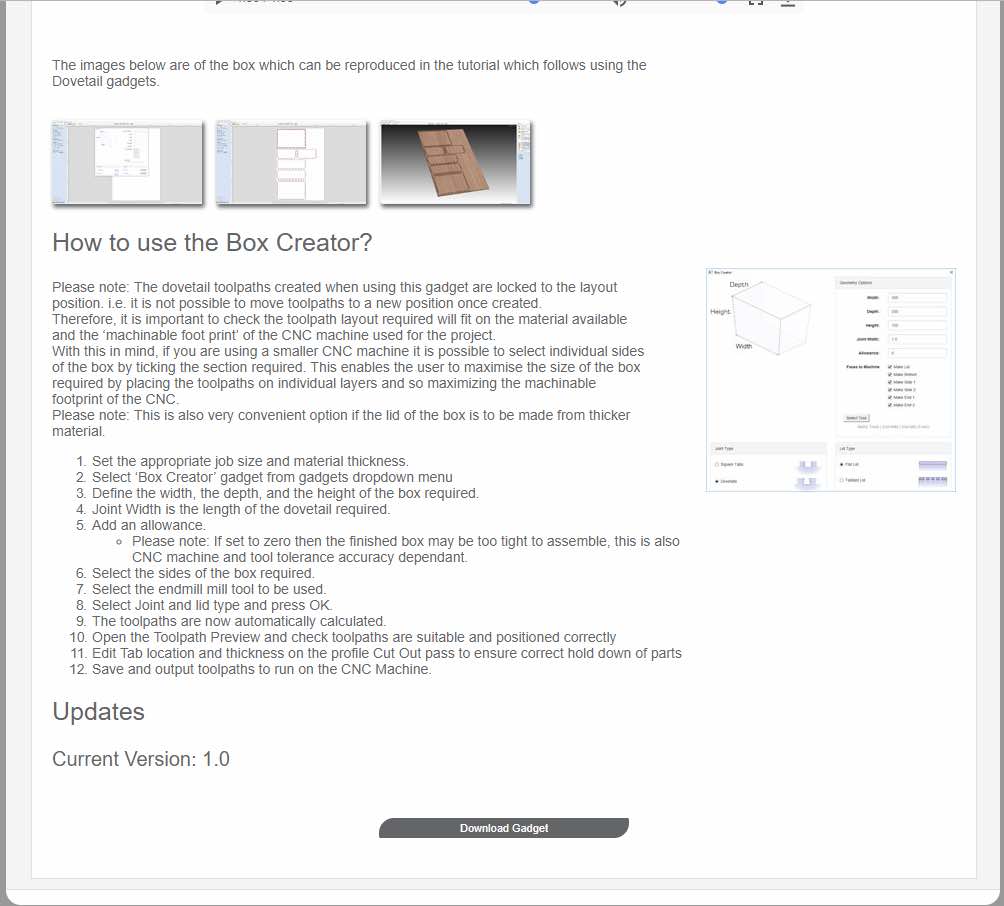
I downloaded the Box Creator Gadget and installed it into Aspire.
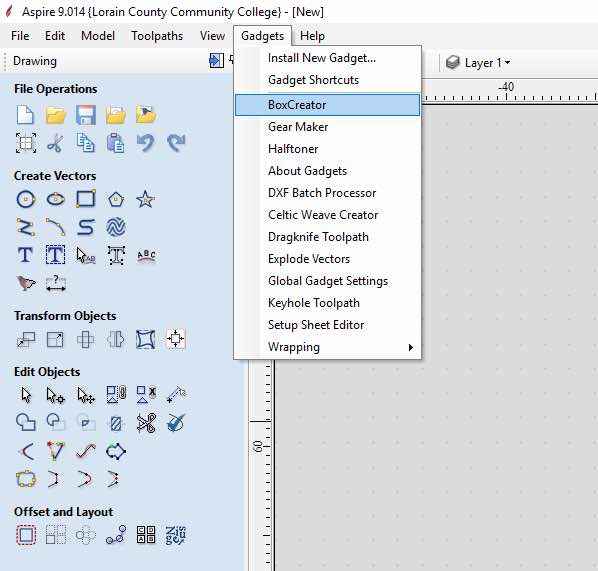
The new gadget can be found embedded in the menu structure of Aspire under Gadgets. I go ahead and start up the Box Creator Gadget.
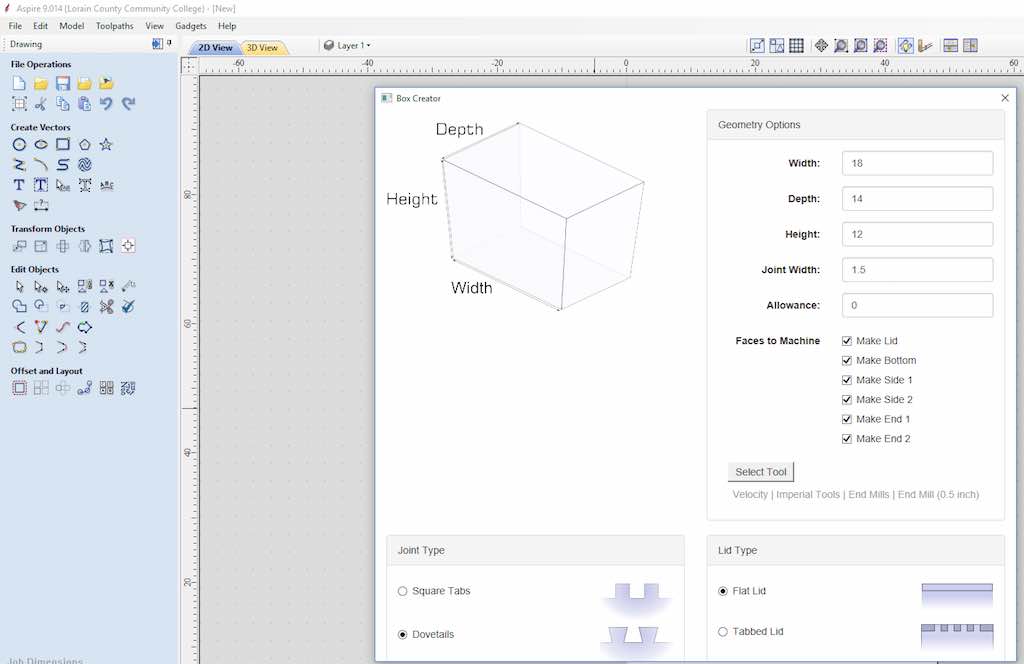
It also asks you for information about the size of the box you would like to make, as well as the size of the tabs. My box is 18" x 14" x 12" with 1.5" tabs.
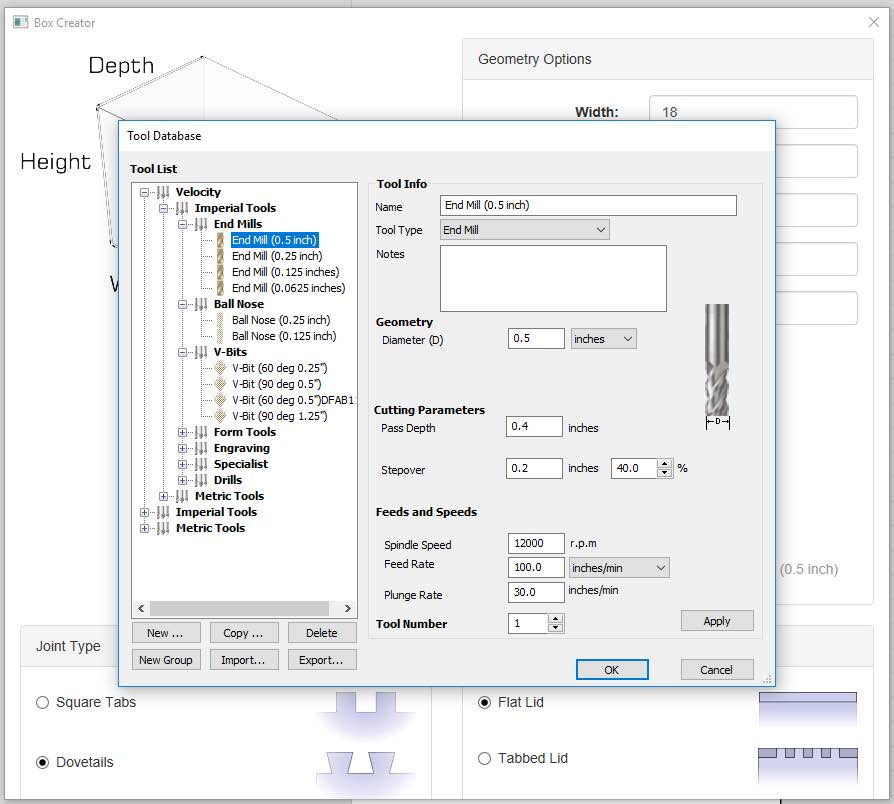
The Box Creator Gadget asks you for tooling information. I selected a 1/2" end mill, 12000 rpm and 100 inches per minute feedrate. Most of what is in the screen are the default settings for that tool.
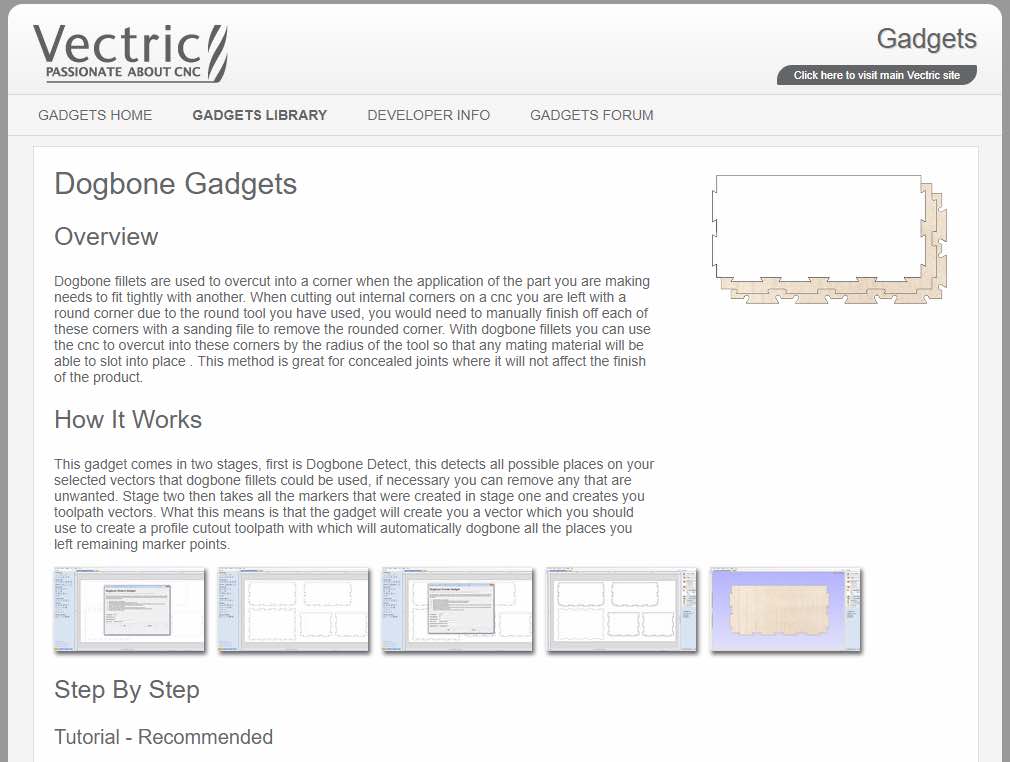
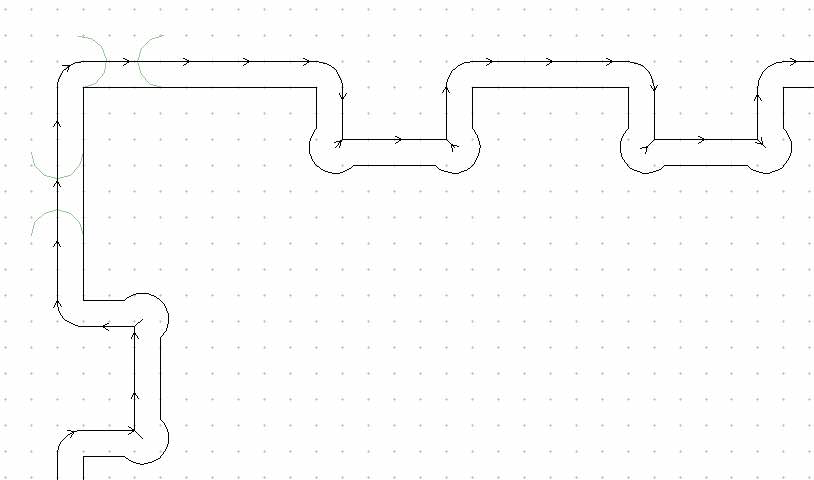
I also explored Dogbone Gadgets, but I think that might make the assembly of this box too challenging. I decided to leave the teeth straight. I still would have an issue of clearance in the corner of the teeth, and Aspire has a way of addressing this. I ran something called a Vector validator. It appeared to reference corners of the toolpath whioch will have clearance issues.
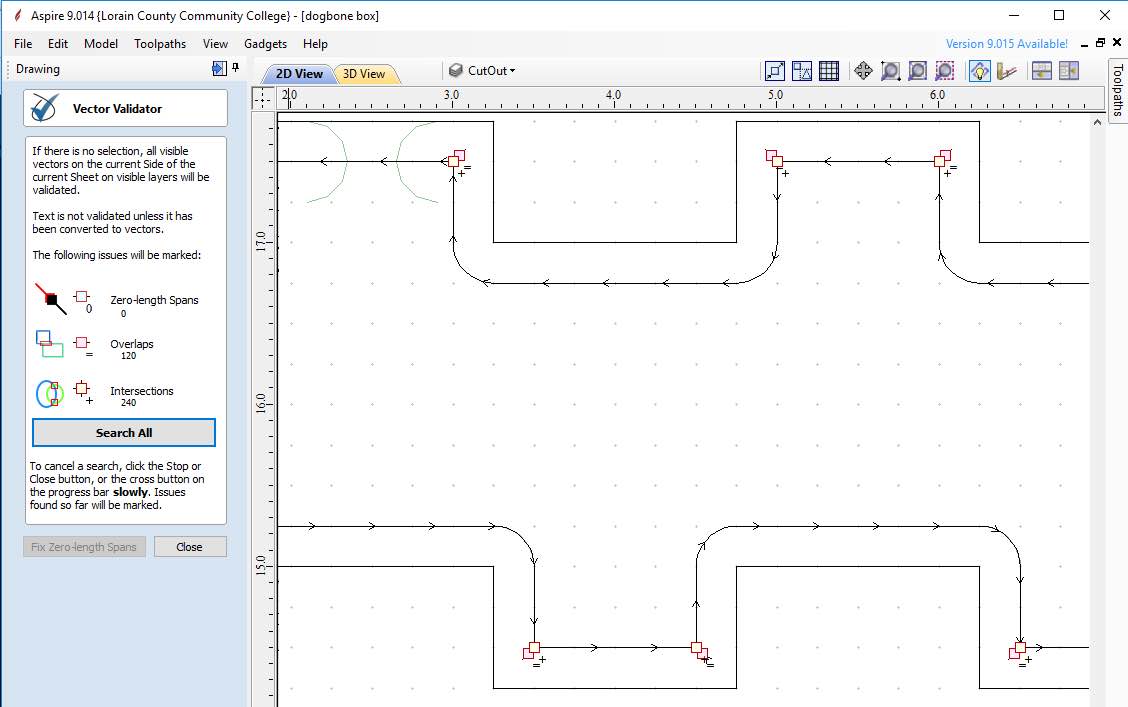
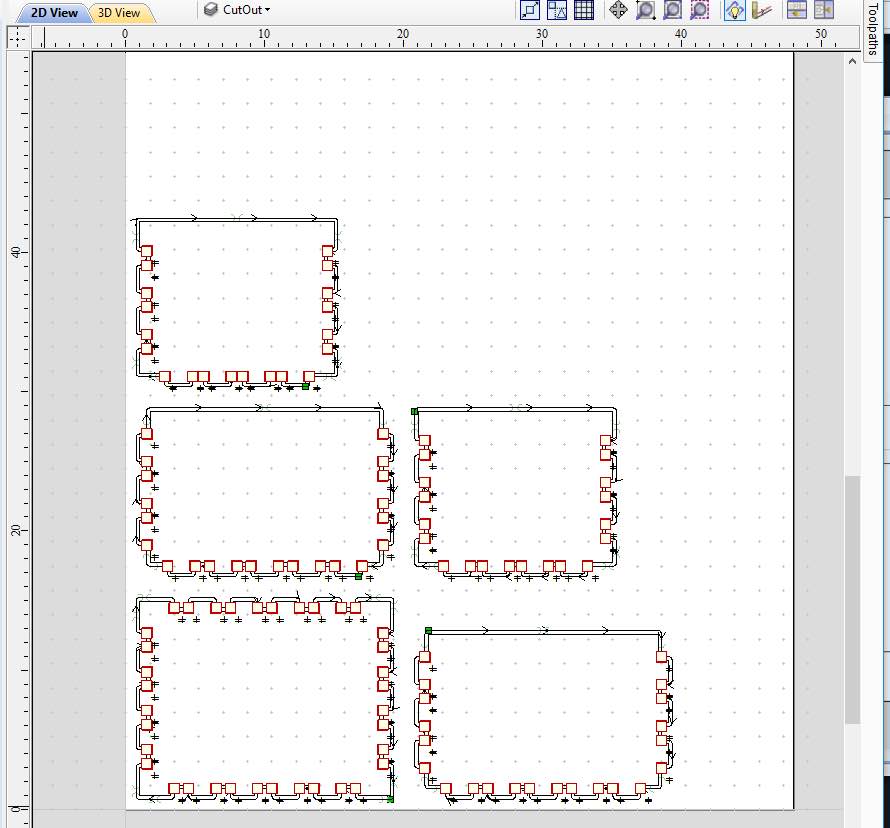
I next selected the "Dogbone Fillet" tool and used the radius of my tool (0.25") as the fillet size.
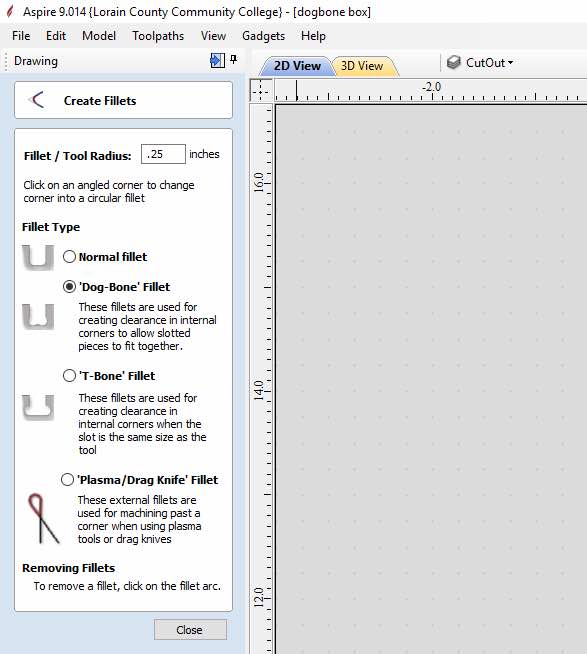
I next went around all the corners with clearance issues and applied the fillet tool. You can see here it changed the toolpath to make room for the sharp corner.
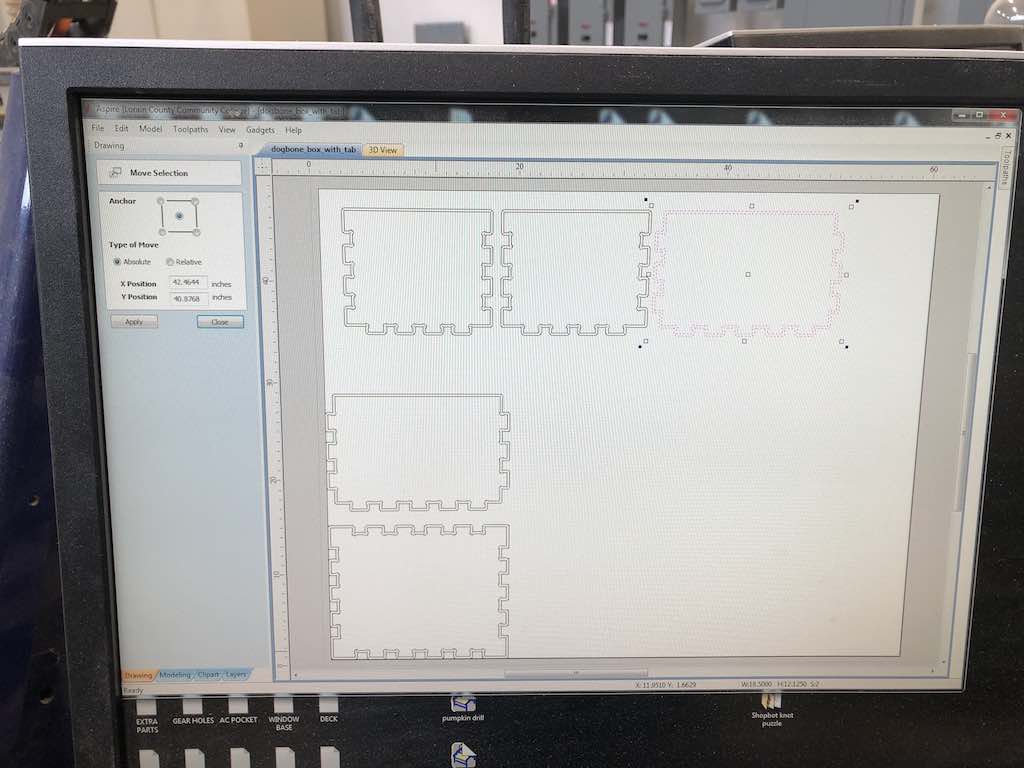
Next, I ex./ported the model as a DXF file, and then reopened the file on the ShopBox's version of Aspire, which is Version 8. It loaded fine.
Next, I salvaged a left over piece of 3/4" plywood from a previous Fabacademy student.

I visually laid out in my head if I could get all my pieces from this scrap. I looked at Aspire and got rough measurements for each piece. I next studied the plywood with a tape measure.

I rearranged the parts on the Aspire page where I thought they may fit.

Next, I added tabs to my toolpath so the parts wouldn't fly once the cutter broke through to the bottom. I figured 1/2" wide and 0.33" thick, roughly half the thickness of the plywood.

My cutter was NOT center cuitting, so I added a ramped start so the cutter could plunge in without bottoming out.

I saved the toolpath for the ShopBot. I started up the ShopBot, referenced it, moved the bridge out of the way, put the plywood in and screwed it down. Then I moved the machine back to X5Y5 and zeroed out Z (spindle). Loaded the part file and began cutting.
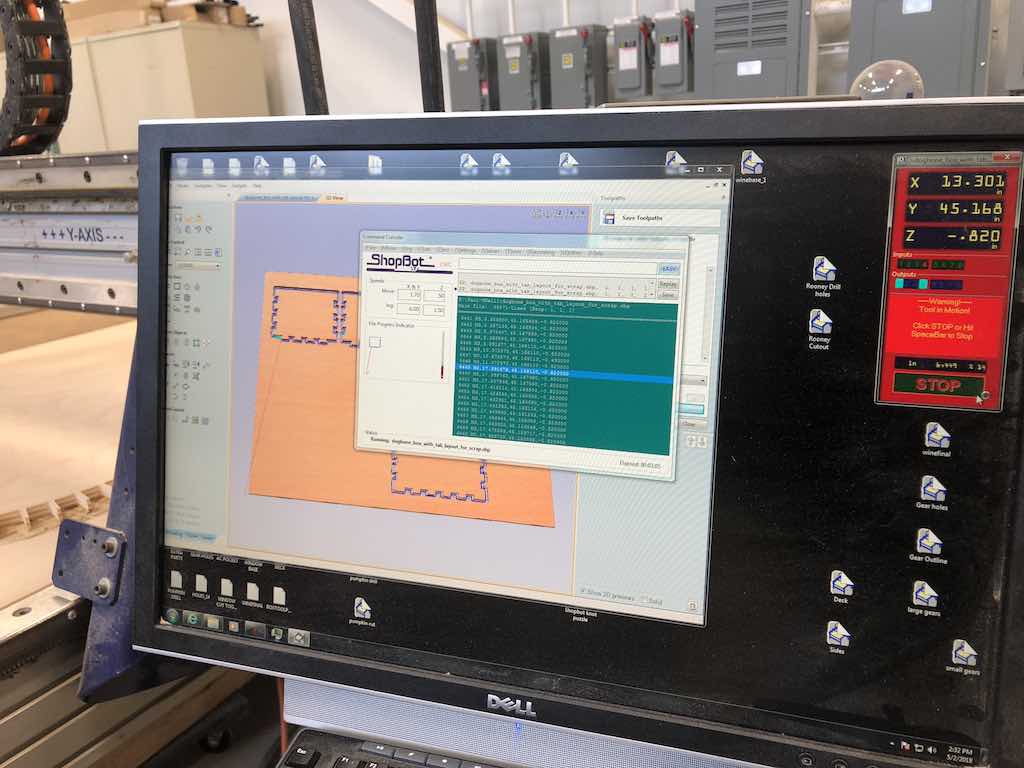

I was worried about the ramp start, never had done that before on a ShopBot. It worked rather well.

The layout seemed to fit well.

The part completed fine. I moved the bridge out of the way and unscrewed the plywood.
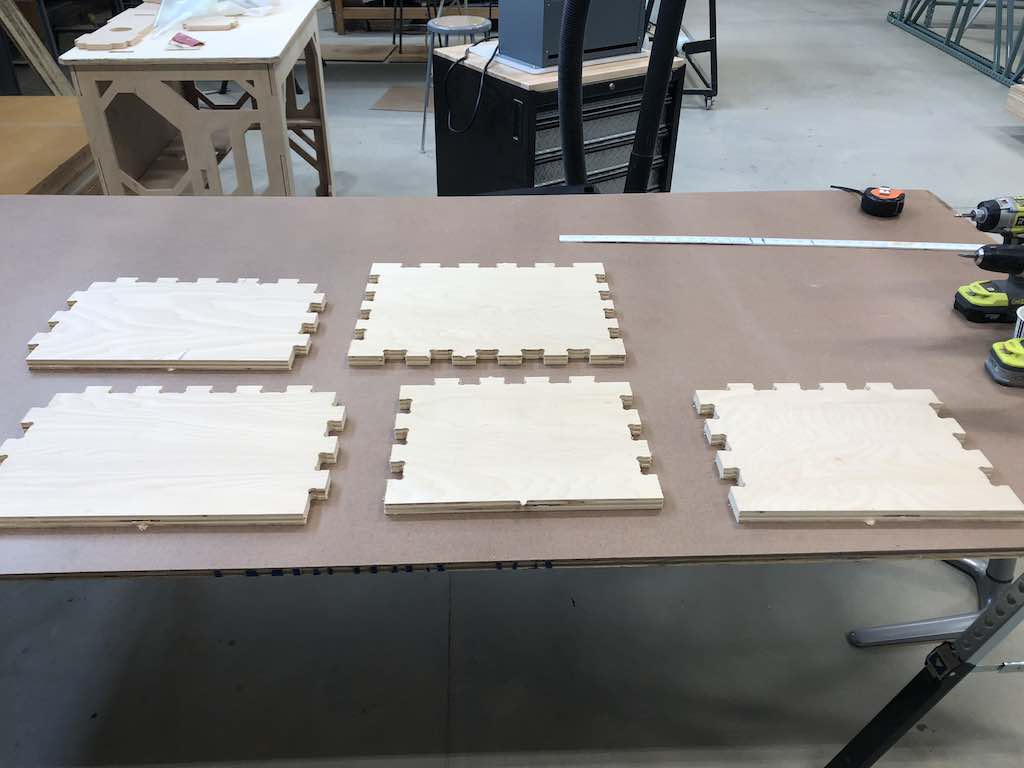
Parts looked good. I ran the edges over a belt sander to get rid of splinters and burrs. I next assembled the box with a plastic hammer.


All the joints fit nice and snug. No glue or nails needed for the box to hold itself in place.
(File: dogbone_box_with_tab_layout_for_scrap.crv3d)
(File: dogbone_box_with_tab_layout_for_scrap.sbp)