
Task: Mechanical Design
Task: Machine Design:
Have you...
Have you...
The biggest lesson I learned from this group project is how to evaluate PEOPLE, their strengths and weaknesses, their potential, and short comings, quickly. The crux of project management is how do you make the most out of the resources available. One of my team members, Corey Rice, I had never met in person since he was a full-time science teacher at a high school about an hour away, in Mayfield Heights, OH, and always attended classes remotely. The other team member, Marty Krebs, would attend on Wednesdays with me at LCCC for class review, and would return back to work promptly after class. Marty is the manager of the fablab at Cuyahoga Community College (Tri-C) called Ideation Station, and has a lot of equipment at his disposal. Marty is very busy managing a lab and facilitating learning at this progressive community college. Corey is the manager of the fablab at Mayfield Heights, OH, called the Mayfield Innovation Center, as well as a full-time science teacher with lots of responsibilities. At the beginning of this project, Corey communicated to me that he had a prior obligation chaparoning a high school group to Costa Rica, and would miss the entire first week of the project. He offered to try to do some work down there via email. Marty is an artist, and had experience making candles manually. Myself? I am an engineer. I used to manage a fabrication and machine shop in a shipyard, so I was familiar with project management, human resources, and procurement. I also had experience designing and building CNC machines using Heidenhain TNC controls, Heidenhain linear and rotary encoders, and Waskawa and Baldor servo motors. I started an email thread as a way of communicating with the team and pushing for progress.
(id='planning')
Right after the class was assigned this project, I met with my local instructor, Scott Zitek. Scott showed me some cardboard stages and reviewed the previous group projects which the LCCC Fabacademy students from earlier cycles had made. This was not the first time Scott had talked about the group project. He had mentioned earlier that it would be coming up and we should start thinking about what we wanted to build. The 2015 cycle had made a Zen Garden machine. The 2016 cycle had made a Chime Machine. Scott mentioned that he always hoped that one of the classes would build a candle-making machine, and that previous classes had talked about it, but decided against it. With that, Scott provided me a stainless steel fabrication which was part of a chocolate dipping machine from one of his LCCC automation classes. This nice fabrication was about to be repurposed!
Scott explained that there were two sets of cut files. One set was for a larger format laser cutter. The other set of cut files was for accomodating labs with a smaller laser cutter. Scott showed me a stage that last year's students made, and explained that the lead screw needed to turn with little effort or the machine will not work. Scott provided me some cardboard, tubing for the guide rails, Gestalt node cards, and a couple of stepper motors. Scott also informed me that the LCCC lab was being moved shortly, so the laser cutters needed for doing the project at LCCC would not be available. Also, he did not have an FTDI cable for the project, and I would need to make one for the assignment. At this point in time, the LCCC Fablab was partially in boxes and in a bit of disarray. I could tell that Scott and Chris were very very busy trying to manage their regular classes, the moving of the Fablab, and the planning of construction of a Fablab Mobile trailer. I was pretty much on my own, with the only other person around being Marty.
After the meeting with Scott, I started to study in-depth, the work of Ilan Ellison Moyer's Gestalt system and Nadya Peek's "Machines that Make", and Cardboard Machine Construction Kit in order to assess what I had on hand, and what was needed.
In order for this project to even begin, certain shortcomings had to be brought into order right away. Since Marty was in town, and Corey was in Costa Rica, I pinned Marty down for a time and day to go visit his lab. At the same time, I tasked Cory to develop some preliminary concepts for the candle-making machine. Fortunately, I communicated to each of my team members the suggestion our instructor had made, and there was no wasted time dreaming about what to make.
After I had a short discussion with Marty, and he confessed that he had no idea what was going on with the Gestalt system and had never programmed anything in his life. Marty's strengths were mainly in digital arts, namely 3-D printing, CAD, and laser cutting. I brought the cardboard which our instructor had provided, along with the incomplete MTM component kit, with me to the Tri-C lab, figuring I could assign Marty cutting the cardboard into machine stages, and evaluate the MTM method and it's potential for the project, while we waited for Corey to return from vacation. Also, this would also allow me to see Marty's facility for the first time.

I took measurements for both Corey and Marty so they could refer to them while they designed their proposed machines.
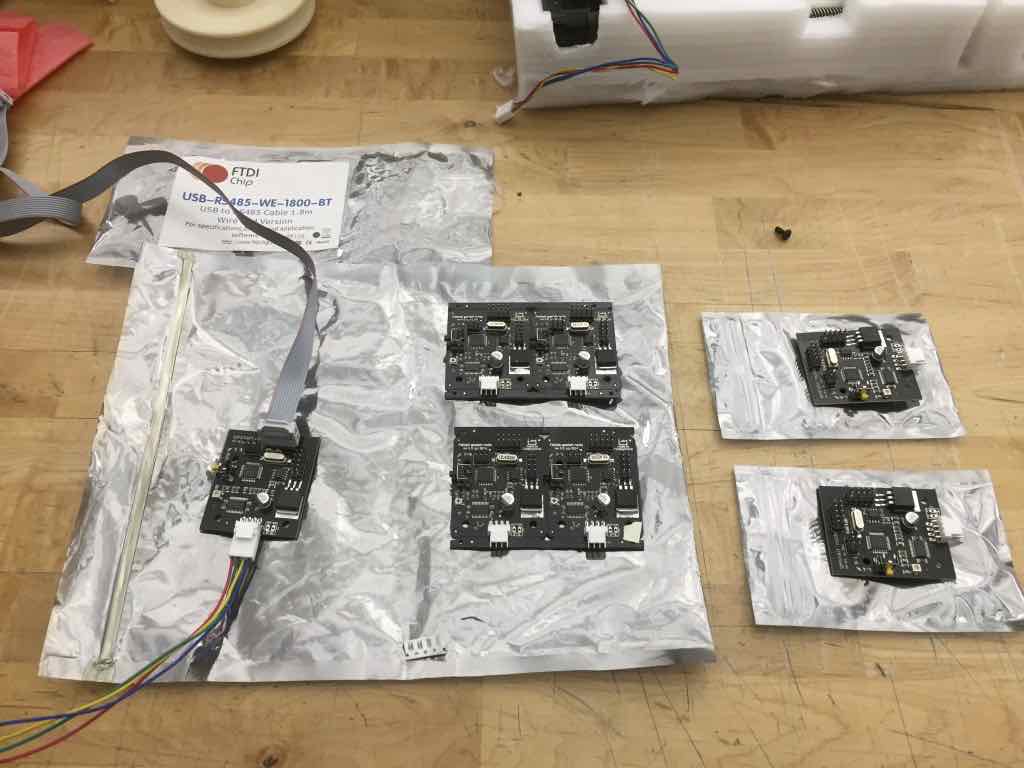
(id='solve') These are the Gestalt node cards we were supplied. Some of the cards were loose. Some of the cards were fabricated as one large card ready to be snapped apart. After many hours of troubleshooting, I determined that the cards which were already loose were dead. I replaced the dead cards by snapping apart new cards. I later verified, with some research, that the previous year had fried some of the cards. We marked the cards which were dead with the letters "NG".
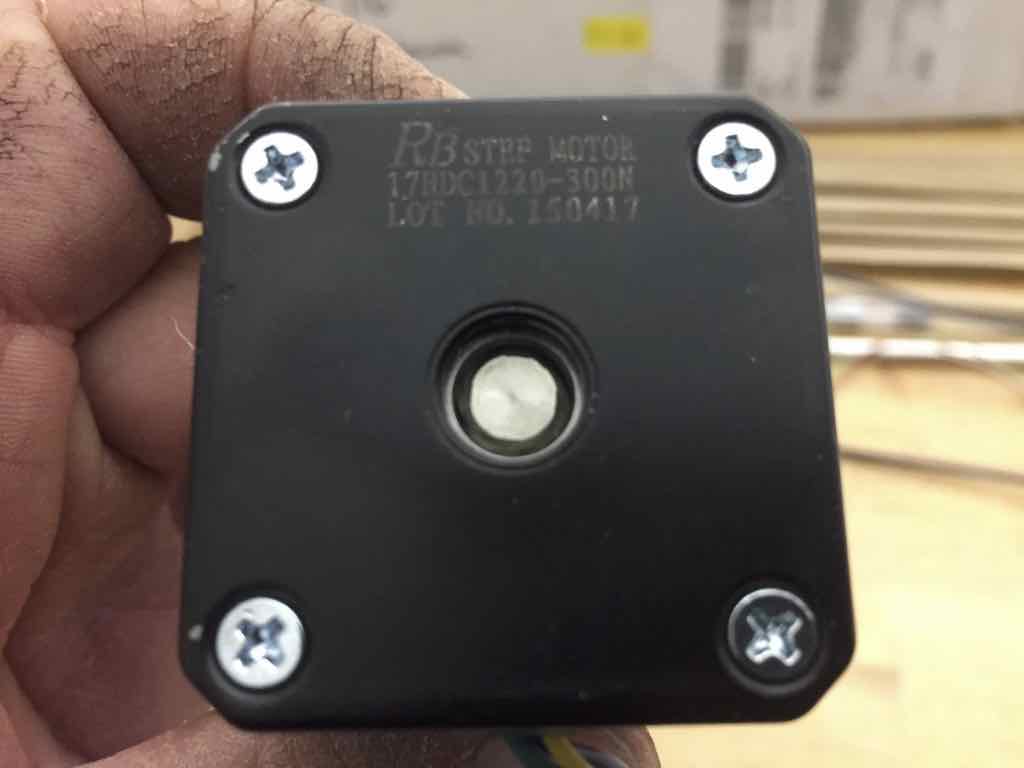
I provided each designer motor nameplate information.
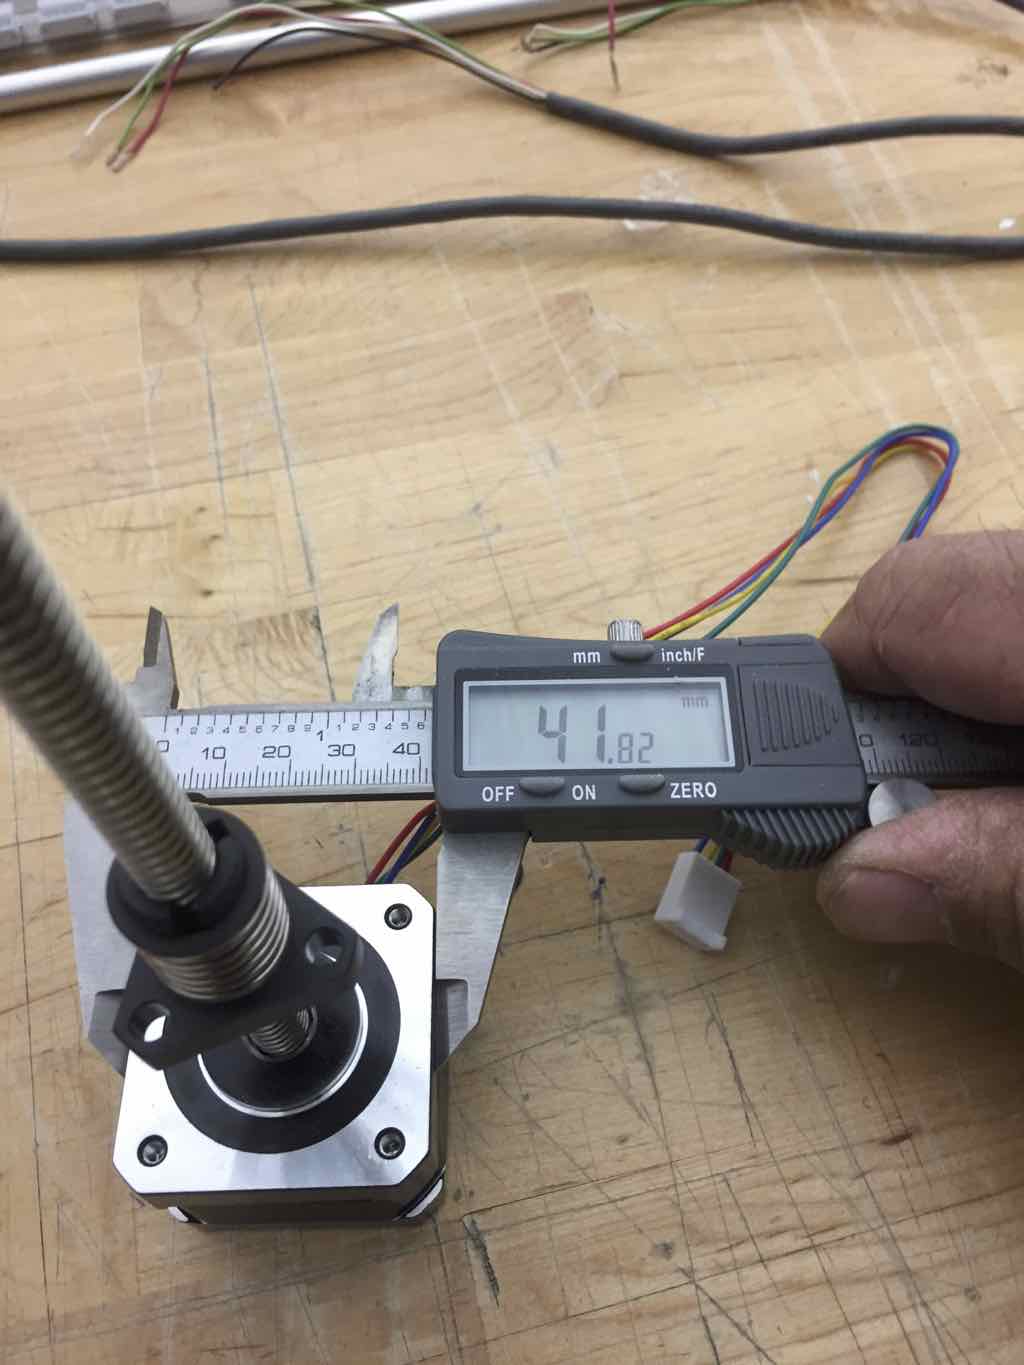
I took measurements of the stepper motor frame size so each designer would have information needed to get details worked out in their design.

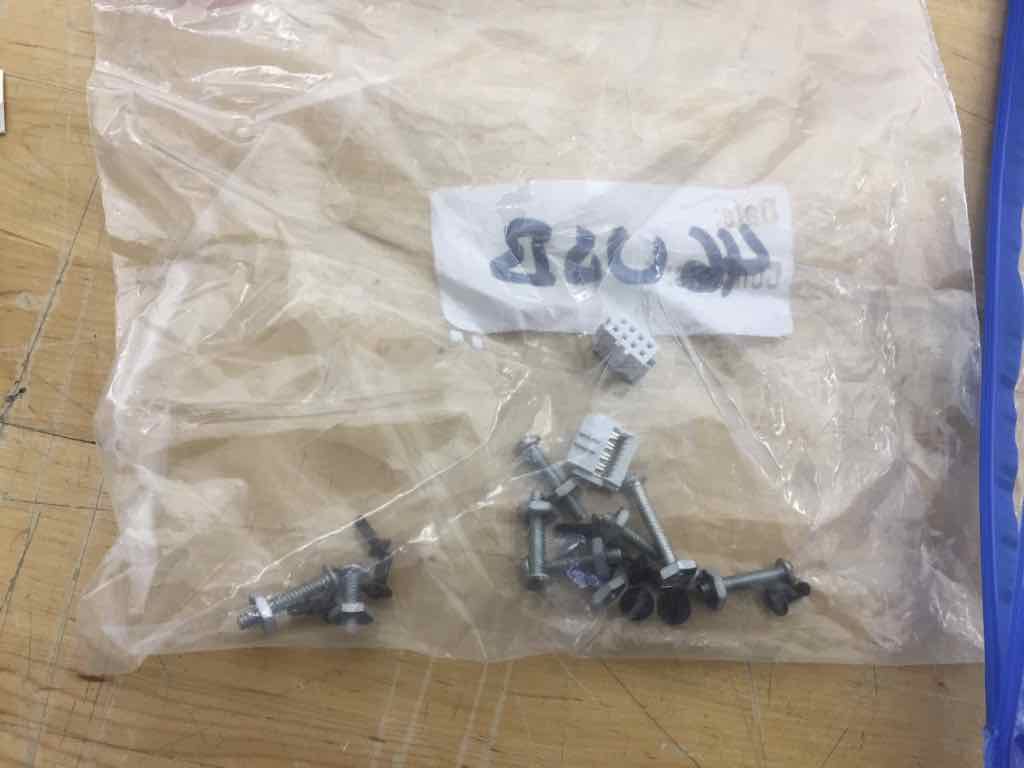
Bushings, screws, and header connectors for the MTM cardboard stage construction.
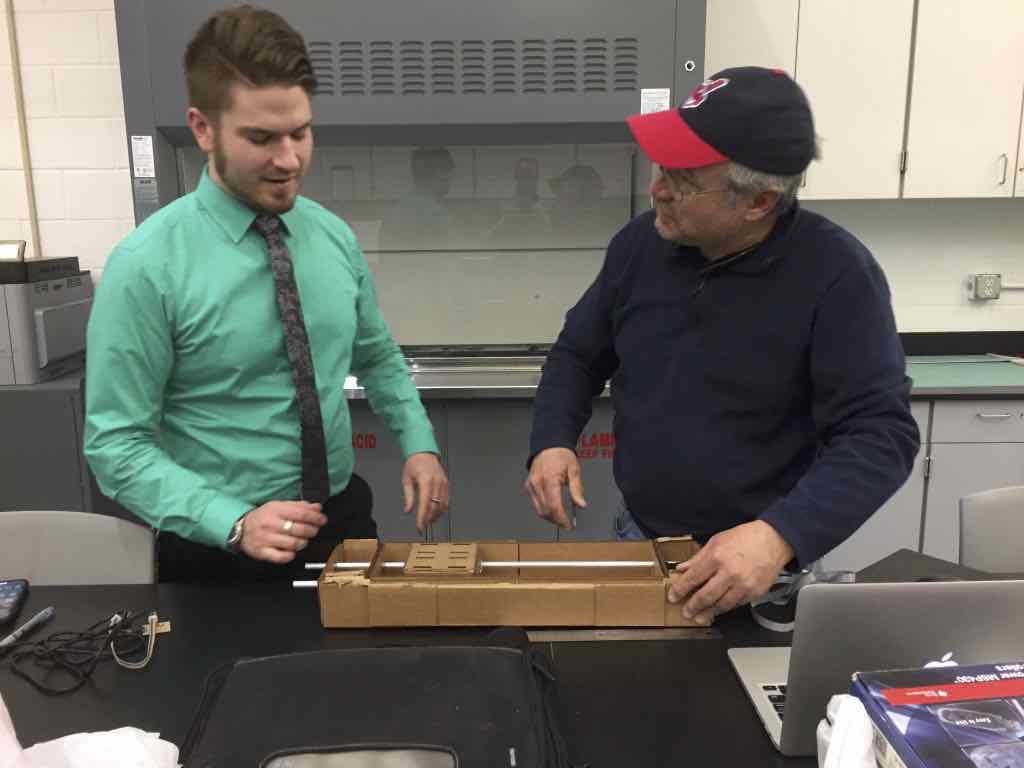
I spent the first afternoon going over with Marty everything Scott had discussed with me. I also shared the research I had done with the MTM website, and provided Marty the cut files. The Tri-C laser was larger than the laser at LCCC. I explained to Marty that either cut file should work. I explained to Marty that the prototype from last year was cut on a smaller machine. We took it apart and compared the cardboard cuts to the cut files. It was not an exact match which caused some concern at the time.
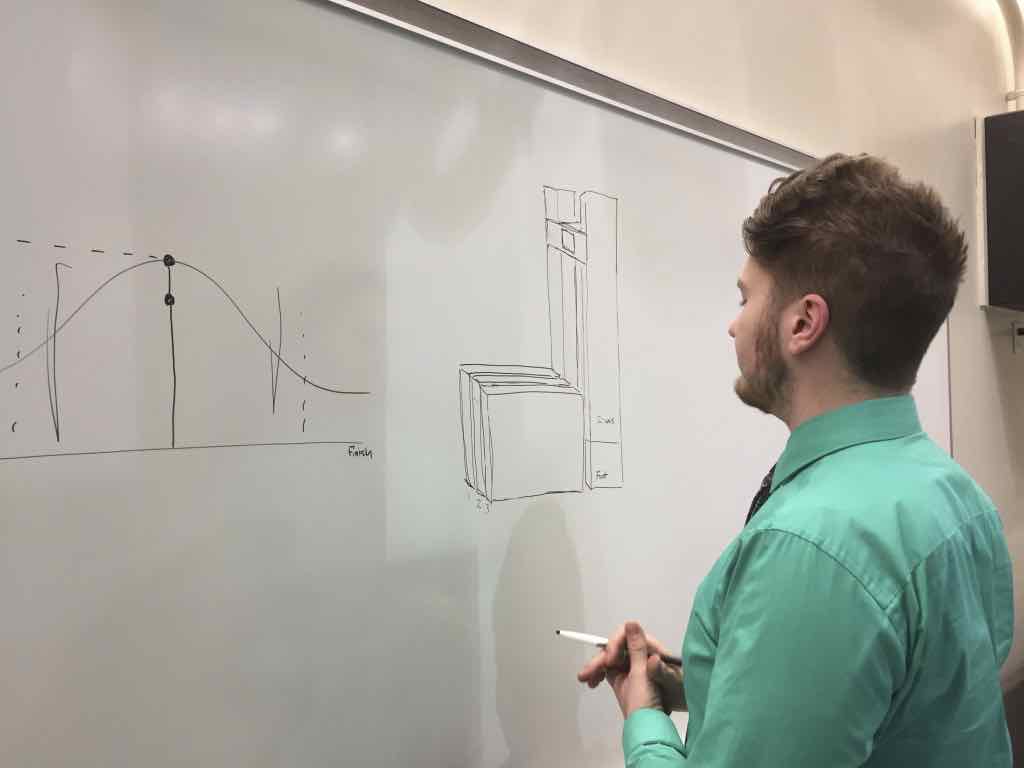
Next, Marty and I spent some time on a white board trolling ideas how the cardboard stages might be utilized for the contemplated machine. Marty had a strong preference for plywood construction. Nevertheless, I asked Marty to investigate the cardboard stages since our local instructor seemed very insistant that we steer that course.
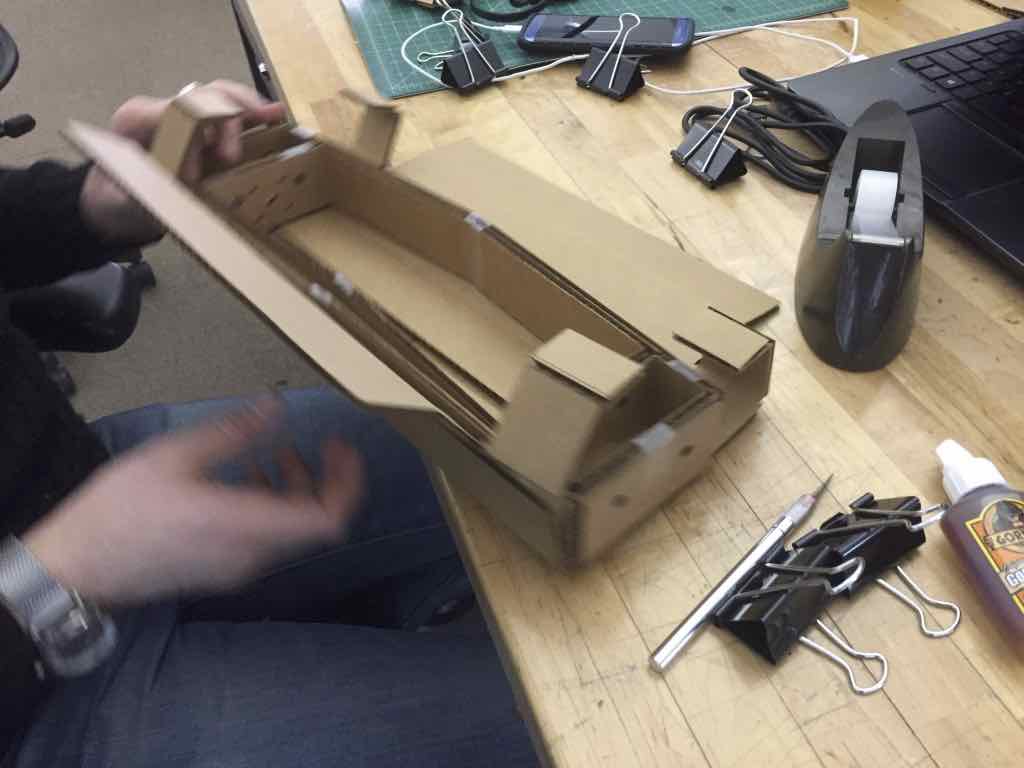
During our next class at LCCC, Marty brought his "first article" for the cardboard stage. Marty tried scaling down the cut model to fit his laser. The cut files were not completely parametric, and things did not fit together well. Marty also made a few modifications in an attempt to make the design work, one being a wood insert for the motor mount. Marty was concerned about there being enough stiffness for the motor mount being only cardboard. The plywood mount ended up cracking.
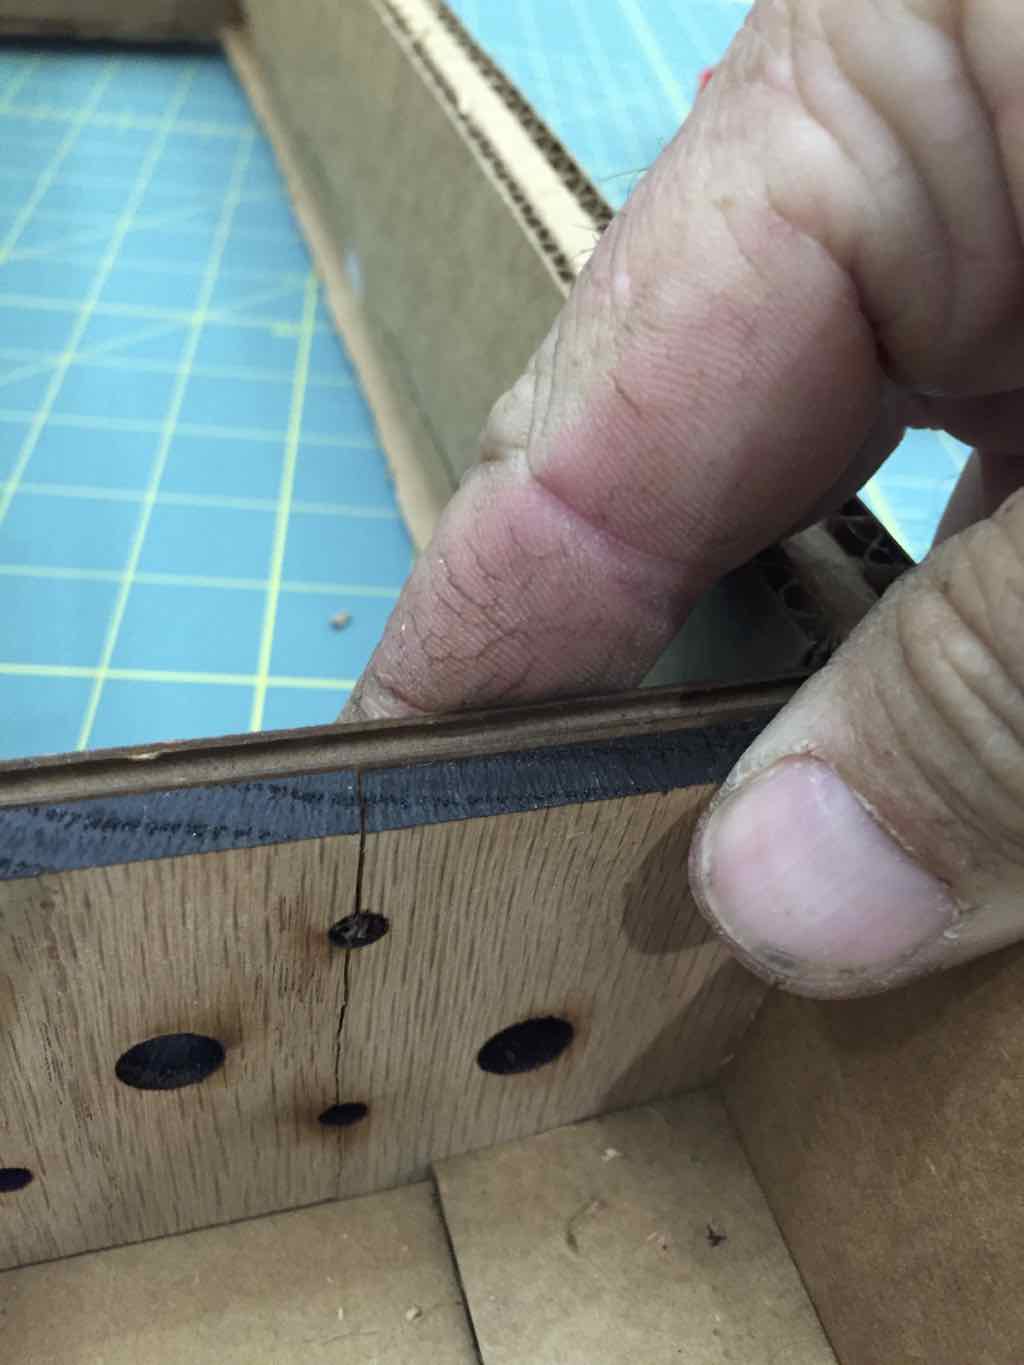
Cracked motor mount.

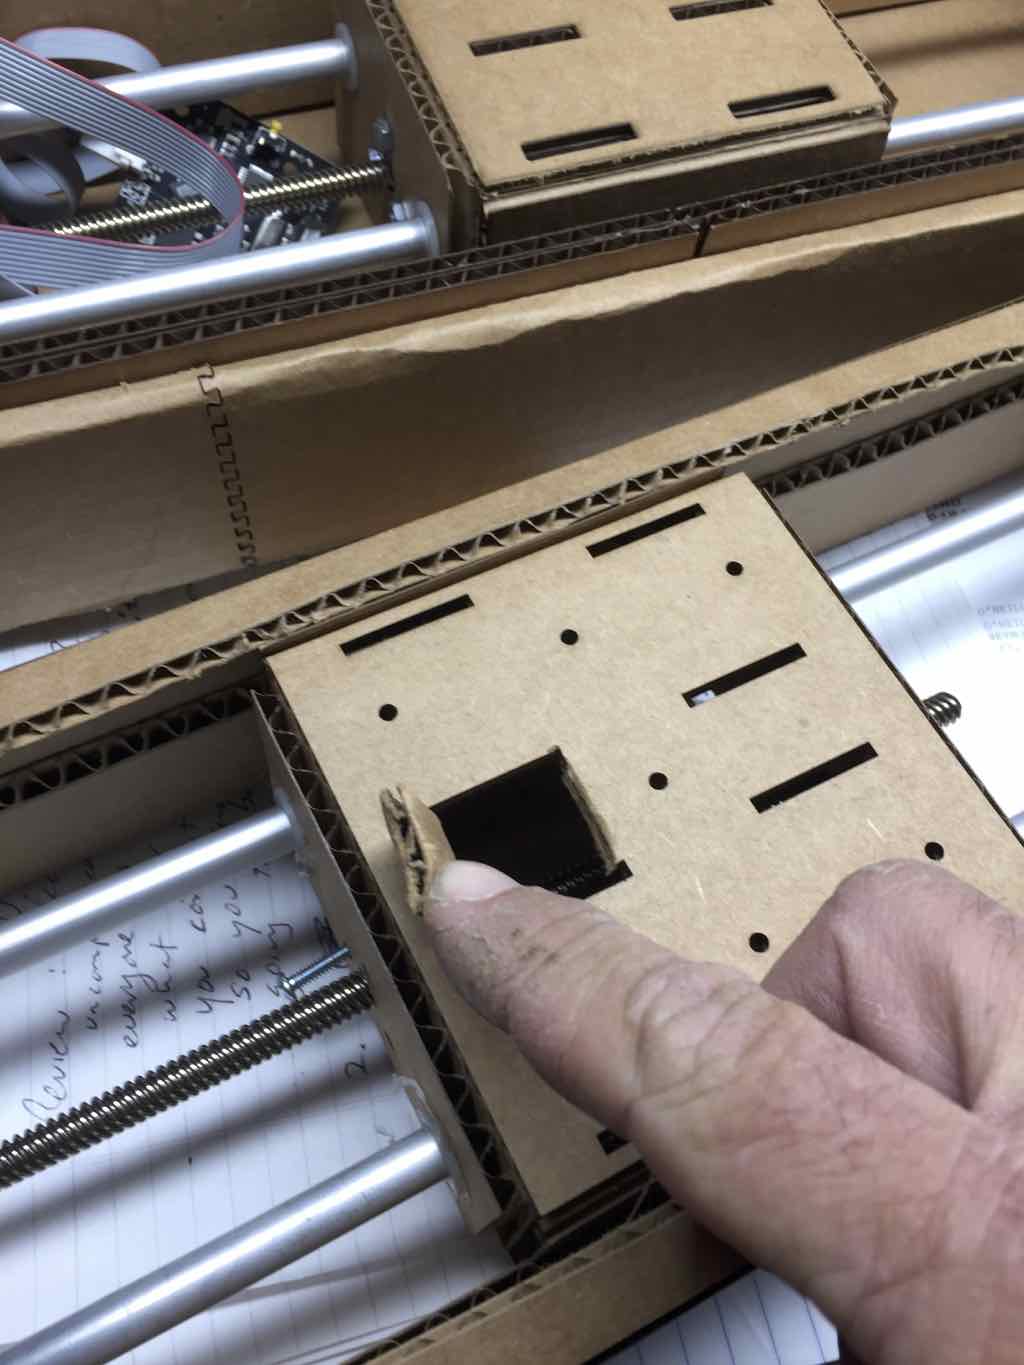
Marty was also having issues with assembling the lead screw nut to the stage. Marty manually cut a hole in the stage to assemble the nut to the cardboard.
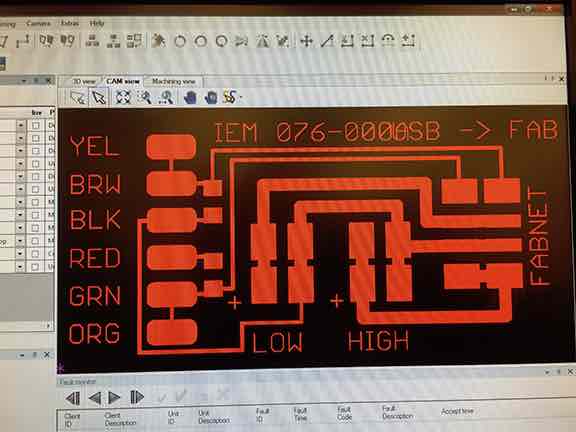
While Marty was working on the cardboard MTM and while Corey was designing in Costa Rica, I started working on making the balance of material happen.I began by making the Fabnet card on the LPKF circuit board mill, which was located at LCCC in a part of the college which was not being moved.

Load the files into the proprietary LPKF software.
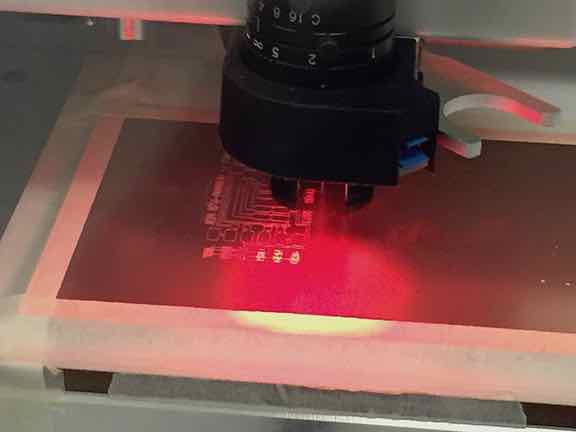
Mill the board. The LPKF mill has an automatic tool changer and is very good at narrow traces.

Completed board, ready to be stuffed with components. I would also need an FTDI cable to solder to the pads.

With the information on the bag, I found another cable on Amazon.
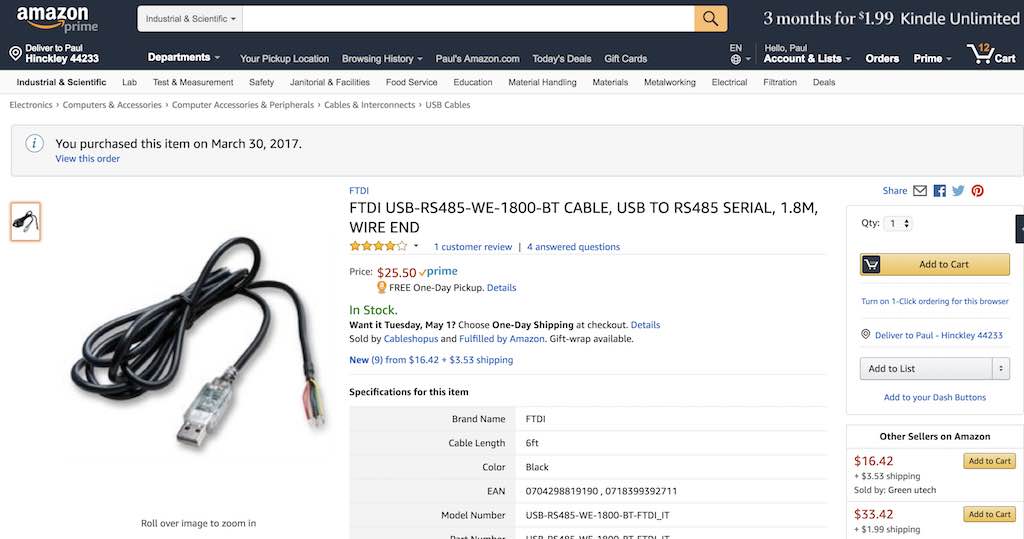
Free shipping with Amazon Prime!
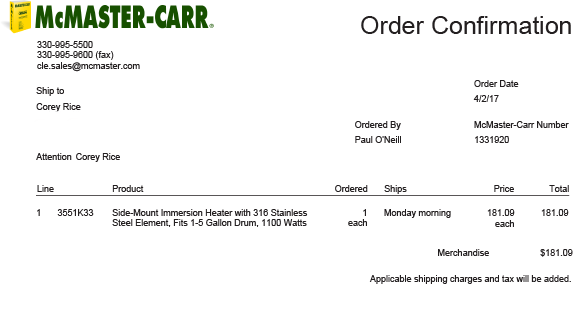
I insisted on getting a UL rated immersion heater for melting the wax. I purchased it from McMaster Carr. I chose an 1100 watt immersion heater which McMaster describes is for a 1 to 5 gallon container. The stainless fabrication was slightly less than 5 gallons, so I thought it was a good guess. McMaster-Carr main warehouse is located less than 30 minutes from my farm, and less than 30 minutes from Corey's home. I arranged for the unit to be shipped directly to Corey's home. If I place my order with McMaster before 10:30am, it usually arrives at my home by the end of the day. Great company, great service.

I had the FTDI cable shipped directly to me since I was fabricating the Fabnet card.
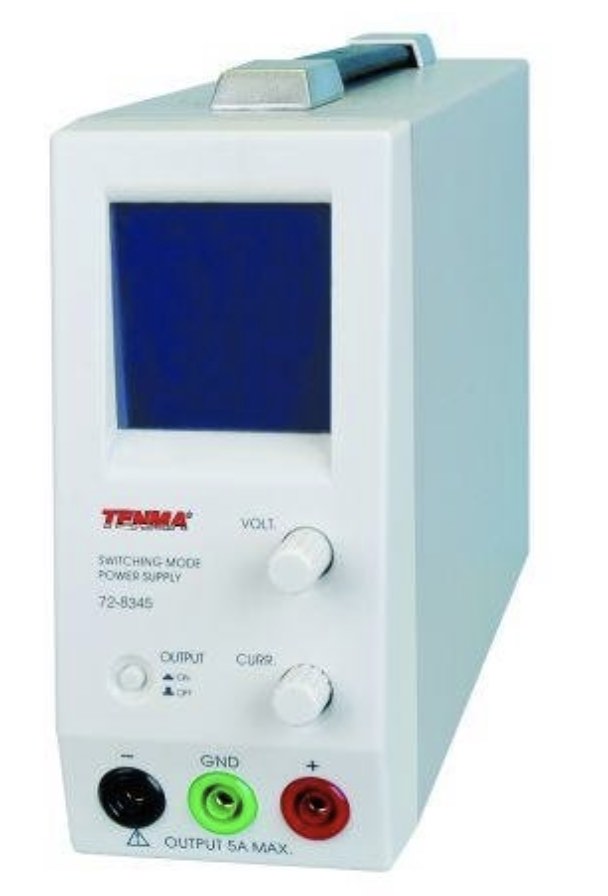
I also purchased a 36V switching power supply, and an assortment of banana plugs and leads for hooking the supply to our machine. This item was essential to prevent smoking the machine. We were able to adjust the voltage and limit the current to a very low value for when we initially powered the experiment. Once we gained confidence that everything was hooked up, we kept increasing the amperage. With a switching power supply, if the machine draws too much amperage, the power supply switches off.
Oh yes, I also bought wick material. You cannot make a candle unless you have a wick.
(id='design')
At this point I had all the components which would require lead time on hand. When Cory got back from Costa Rica, I proposed all team members meet at the makerspace at Case Western Reserve, called Sears Think[box]. Think[box] is one of the largest, if not the biggest fablabs in the United States. Marty had a conflict and had to cancel, but Corey and I met anyway, for the first time. I showed and explained the progress made so far, the misgivings with the cardboard stages, and Marty's desire to make the machine out of plywood. Corey had a few design concepts he shared with me.

This concept planned on using cardboard stages. It would require the vertical column to travel back and forth.

This concept planned on using cardboard stages as well. This plan required parallel axis on the two vertical axii. This was unnecessarily complicated.

This is the design concept we all thought would work the best. All cabling would be located further away from the hot wax from the previous designs. Also, being made of plywood, it would be sturdier and easier to transport. Furthermore, we all thought this would be more like a real product, and not any more difficult to make than the cardboard stages, which we already tried. I did mention to Corey that there would need to be more depth to the machine to accomodate the geometry of the melter. I also mentioned that the wick would be coming off tangentially from a pully wheel, and the wheel would have to be large enough to hold the amount of travel, plus some extra. I explained the geometrical constraints of the candle going in and out of the wax recepticle and transfering over to the other color of wax. We sketched and calculated some numbers by which to design with.
A few days later, Corey had a design done and milled out on a shopbot and assembled. I planned a meetup for all of us to get together at the Mayfield facility, and put our plans into action.
I brought out the electronics, the melter, the Fabnet card/FTDI cable, and the Gestalt nodes. Marty brought the prototype cardboard stages, the motor/screws, and the wax. We briefly talked about how to make one of the wax colors different than the other. I suggested placing some colored crayons into the material.

One of the things I was concerned about was if the immersion heater would ACTUALLY melt the wax. Marty took the stainless fabrication, filled the bath area with water, and filled the dip area with wax.
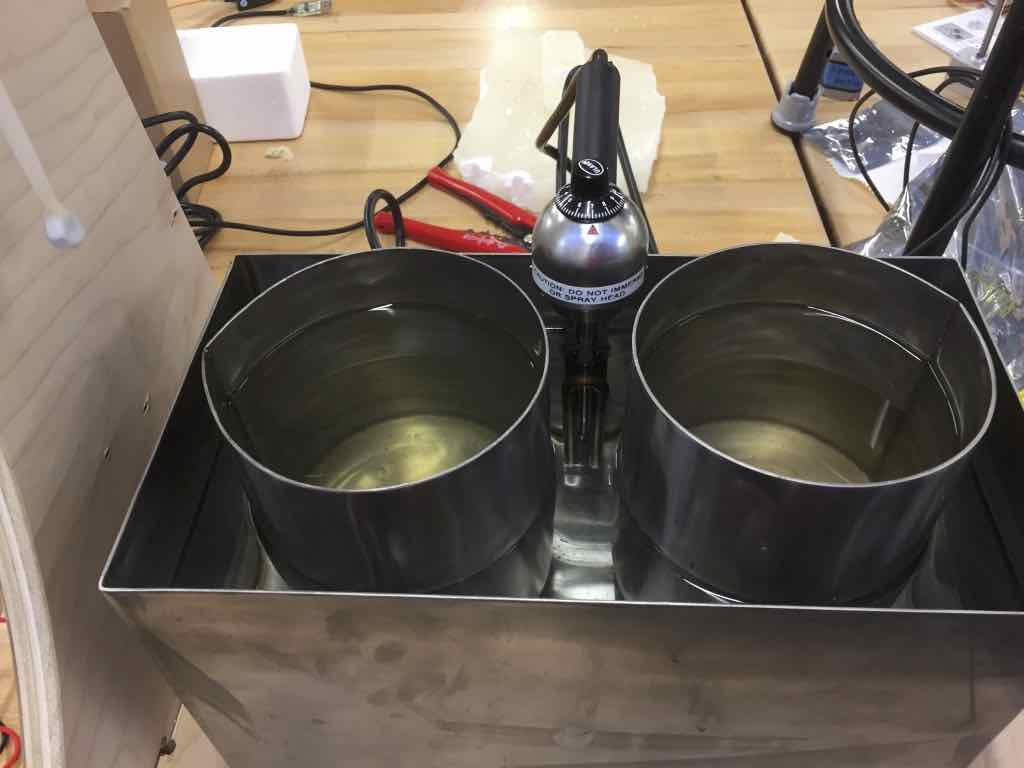
The wax did indeed melt. One less thing to worry about.

Corey explained how he had loaded the Gestalt software on an Ubuntu laptop, and he was having difficulty with it. I had loaded the Gestalt software on a Mac laptop. Both of us were having issue with pySerial and communication.
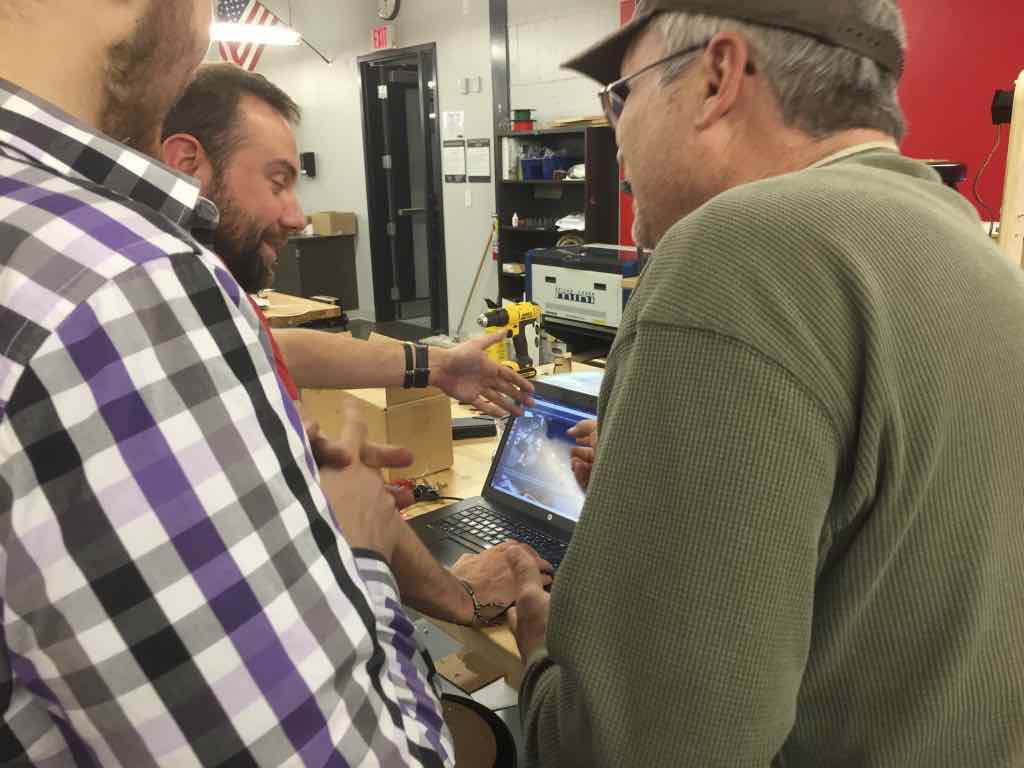
Corey gave up on Ubuntu and switched to Windows 10. The installation of the Gestalt software on the Windows machine was a little more complicated that Ubuntu, but configuring the serial connection was more straight-forward. Since Corey had the Windows laptop working, we decided to hook up the motors and electronics. We followed the MTM instructions, using the Fabnet card I made, and the switching power supply.
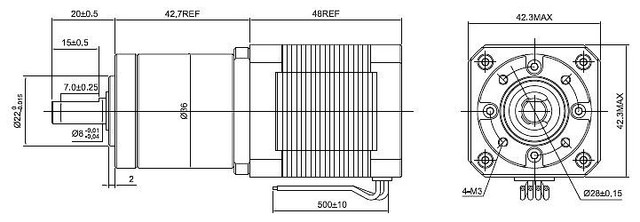
Corey supplied a stepper motor for the "spindle" which matched the node card requirements.
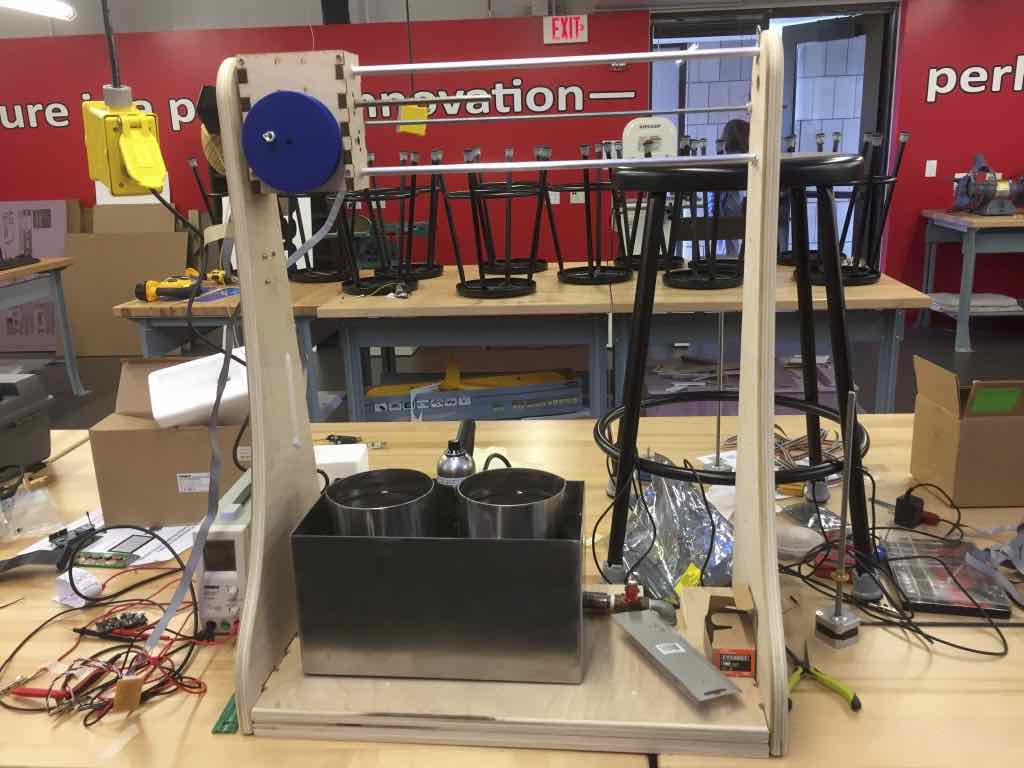

After we hooked everything up, we got the machine to function under program control. Corey had little Python programming experience, and Marty had none. I worked besides Corey, and helped him modify the Gestalt software which LCCC 2016 had used last year, improving it slightly by writing a loop which would read commands from a data file, rather than a data statement embedded right in the main program.
After we got the motors to run, and the program working, we left Corey to start making some candles in the Mayfield lab.

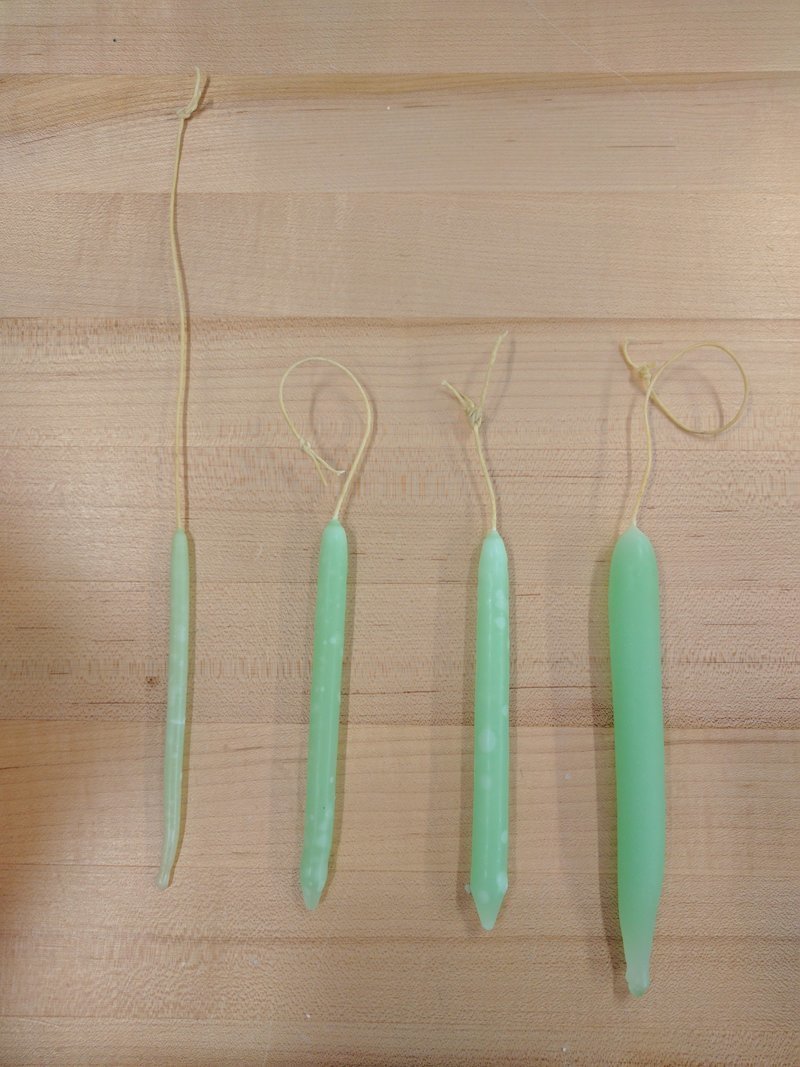

Machine worked. Candles work. Next, make a group page video and slide shot.