| Seonghee Kim | |
| 16. Machine Design | |
| HOME | ABOUT | ASSIGNMENTS | FINAL PROJECT| CONTACT | |
-To see whole process of machine design click machine project.
-To see my mechanical design contribution(week15) click previous.
machine project
Week16
Assignments
-group assignment
- actuate and automate your machine- document the group project and your individual contribution
Hardware and Softwares used
-Arduino IDE
individual contributions and Outcome
-Test stepper moter code.-Test touch sensor and output with I2C.
-16 key touch sensor and LCD display code.
-to see my mechanical contribution click here.
Machine Automation
Stepper moter code
I had an experience to fail running stepper moter with c programming so I use .Test touch sensor and output with I2C
16 key touch sensor and LCD display code
we are useing 2004 LCD with i2c/SPI character LCD backpack and TTP229 capacitive touch sensor. First I tested individuar board. LCD and TTP229 works well.
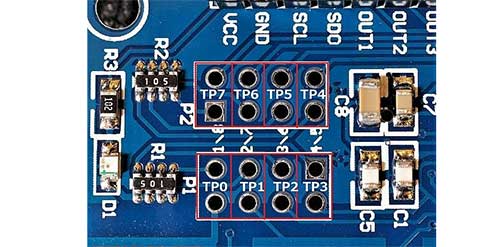
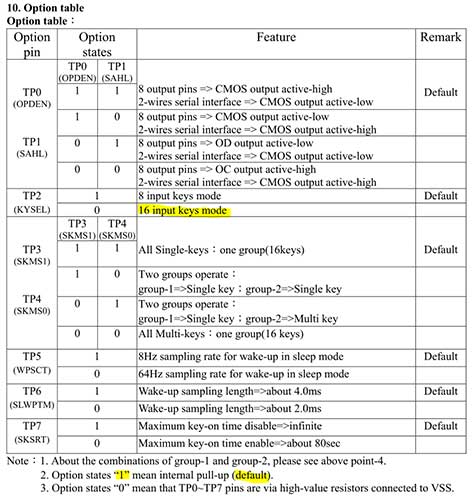
-check datasheet for TTP229. Option stats '1' means defalt. '0' needs to solder/jumper.
When I connected '2004 LCD with i2c/SPI character LCD backpack' and 'TTP229 capacitive touch sensor' at one Uno board, it did not work.
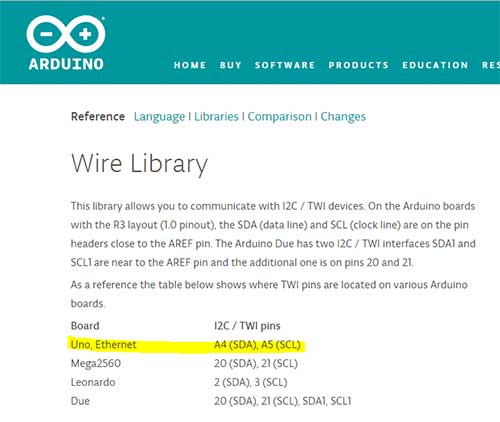
I put common SDA in A4, SCL in A5. but the board did not work.
I run I2C address scanning code to know exact address of each board.
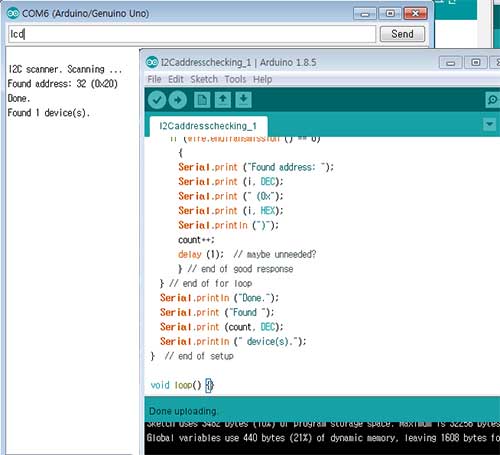 -LCD with I2C can get its address exactly. but TTP229 changed whenever I did and sometimes did not show up at all.
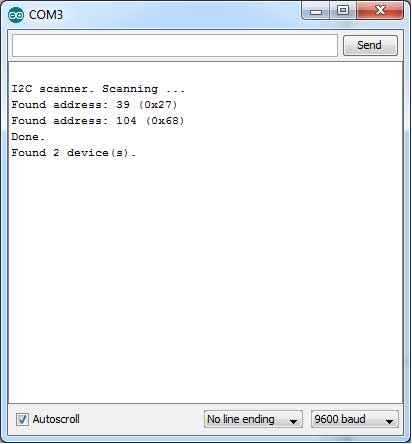
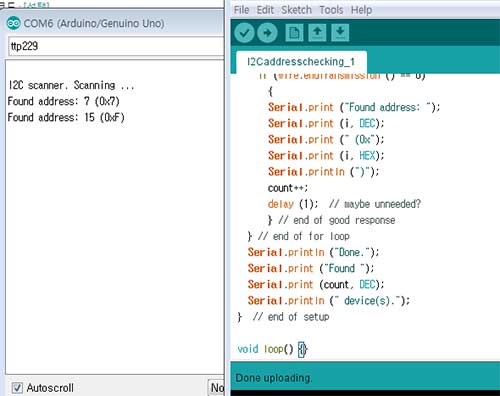 -it was hard to find a exact address of each board. So I decied to use 2 arduinouno board. But it did not work again.
-Due to lack of time, I changed the button to 4x4 Matrix Keypad. and it works well.
Motor control with RAMPS.
Setup all funtions for ready.
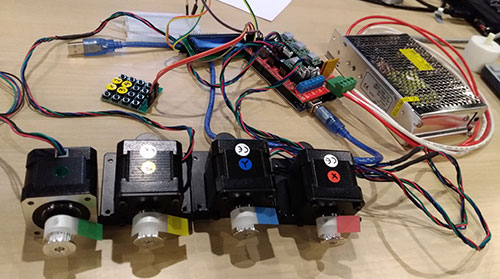
-On arduino mega board with RAMPS, I set up keypad, LCD, 4 step motors to run.
Native Programming.
Last Coding works with YoungSik. First, we discuss about the programming process. Then check with the mechanicla part step by step.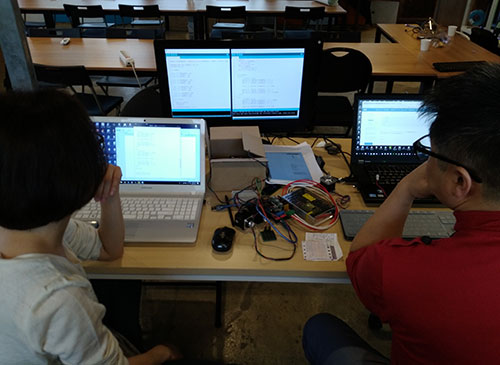
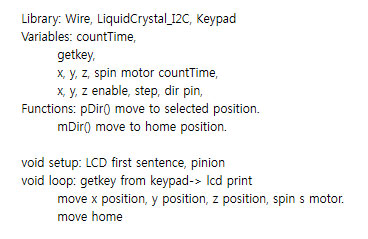
-Click here to download file(machine.ino).
-reference1, reference2
Date: 2018-05-06 Author: Seong Hee Kim @ Fablab Seoul