19. Invention, Intellectual Property and Business Models
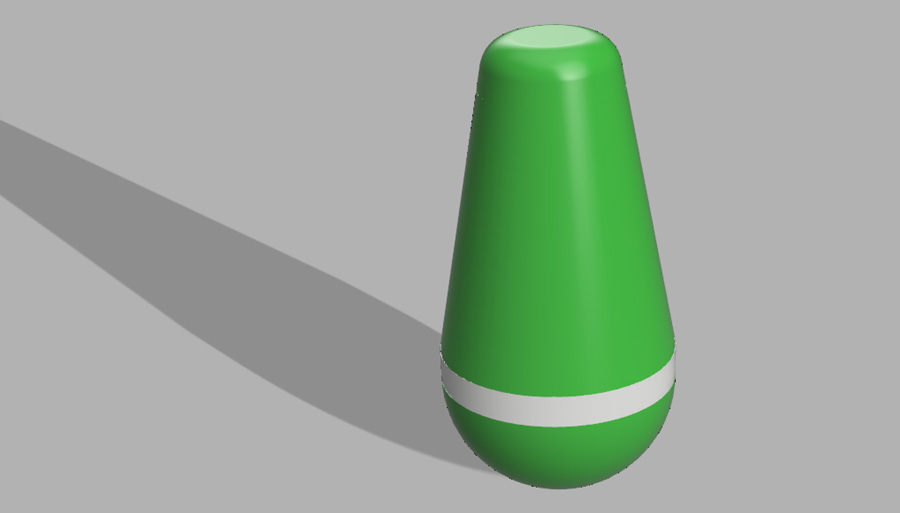
This week I developed the 3D model for my prototype, doing a series of test prints and worked out the electronics on a breadboard. I also reviewed the type of license I would like to use.
3D Modelling
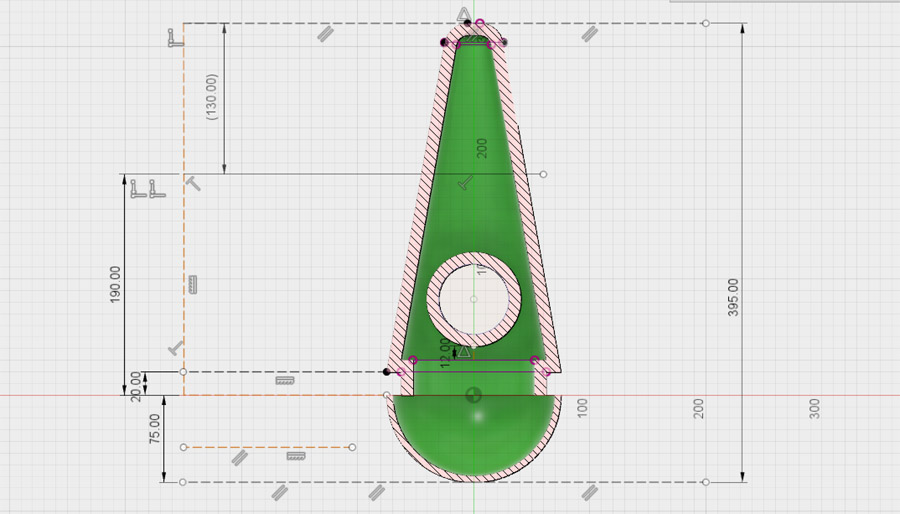
In Fusion 360, I worked to finalise the dimensions of the buoy. I used the analysis tool frequently to give me a clearer picture of the spacing available within the object. This would help me position the electronic layer and counter weight later on.
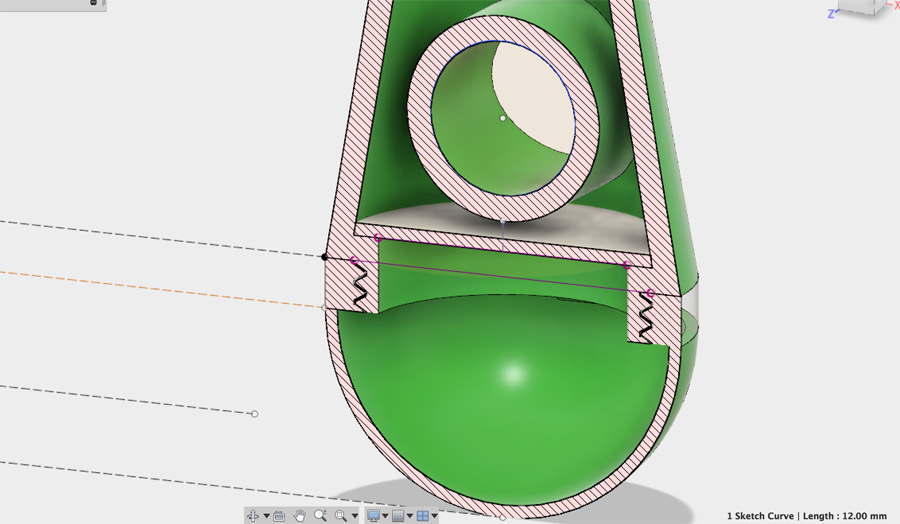
Threads were applied to the middle and light sections. The light and base sections would be printed at the same time, therefore connected. The shell tool was used to create a gap in the middle to allow access to electronics and counter weight. In this image the electronic layer/disc is also visible – This will be made through molding and casting.
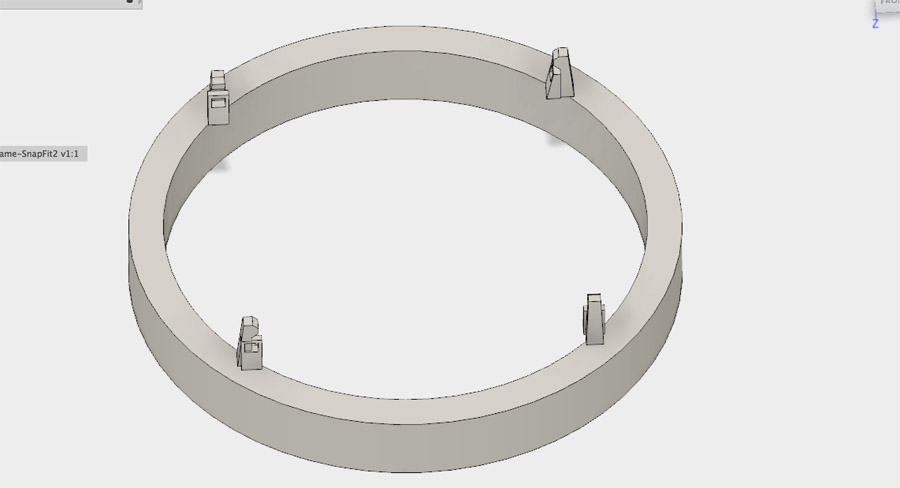
Because of the height restriction of the Ultimaker 3, it was necessary to cut the top section in two. I wanted to create a press-fit construction, without adding to much additional material. The top section should be as light as possible.
I read in an article that a sister program of Fusion, Inventor, has a press-fit tool. I attempted to create 'grips' similar to 3D Hubs' 3D Printing Handbook and import them to Fusion. While Inventor is relatively easy to use (coming from Fusion), I was unable to disassemble the piece to use in tandem with my project.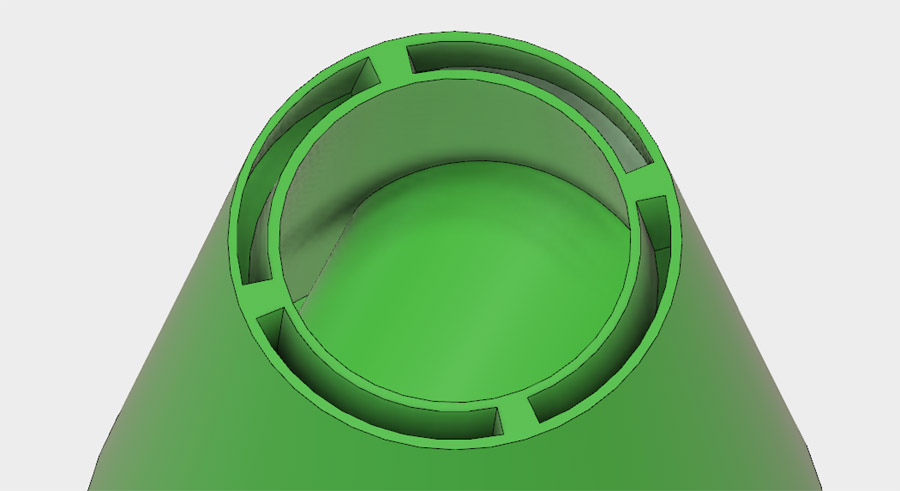 I therefore worked with sketches to create slots and tabs. Because the buoy's shape is sloped, I used a system of angular slots, as outlined in this tutorial. This involved creating four individual offset planes for each of the slots.
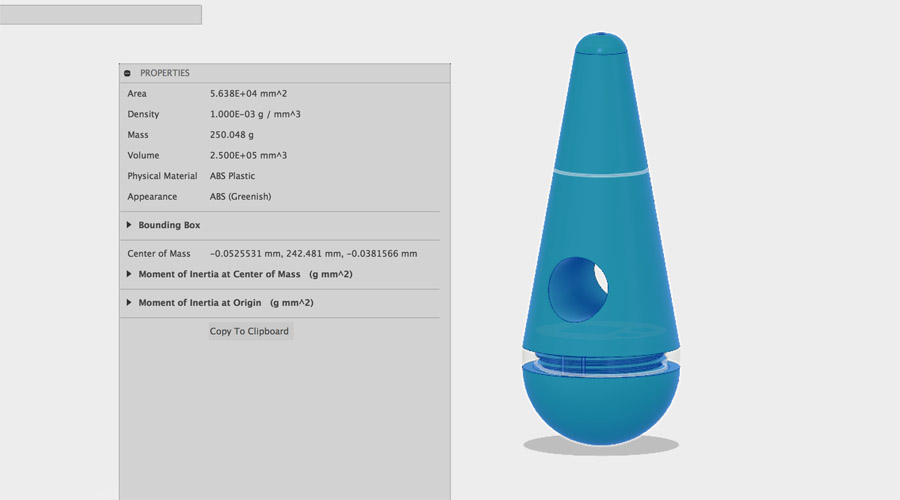
I learnt more about the Physical Material menu. The default material was set to steel and the body properties indicated an extremely heavy mass. When I updated this to ABS, the mass reflected the plastic material (250.048grams). This means I should be able to print three prototypes with one 750gram box of filament.
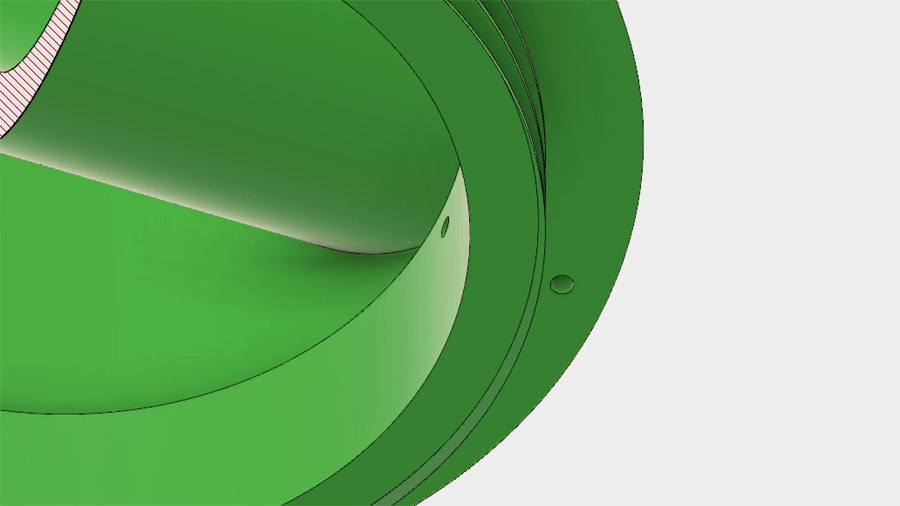
A couple of final edits: I added a 'periscope' hole to the inner sides of the middle section. This would provide the led's wire access pcb board after it is threaded together.
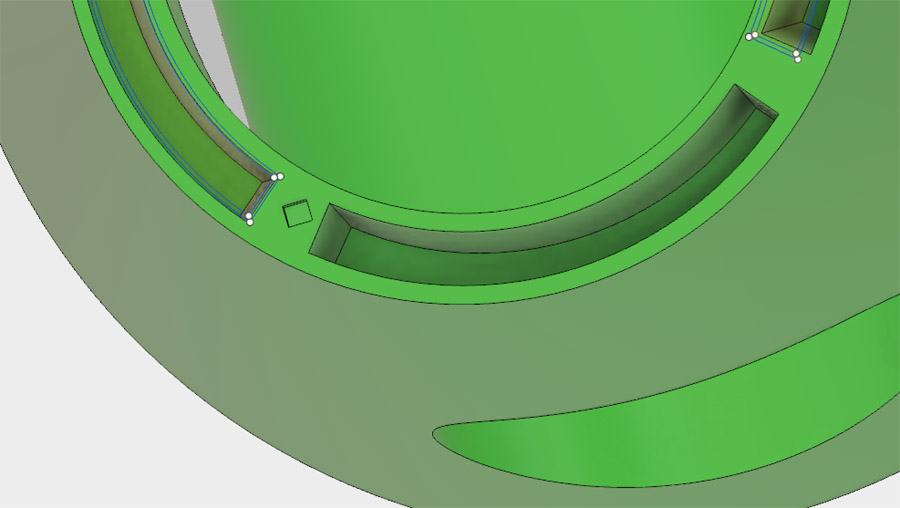
A small extrusion was placed at the front left of the middle top. As I printed tests of this assembly, I found it was hard to distinguish front from back. This created a marker.
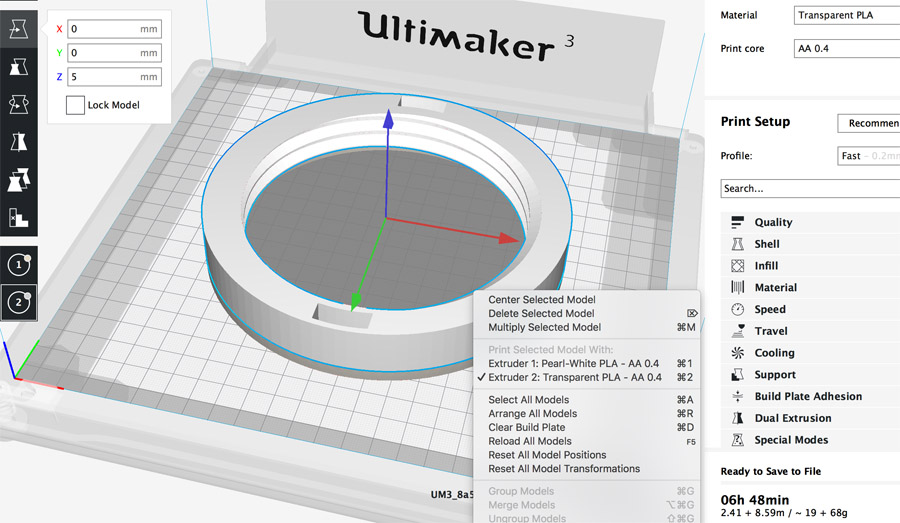
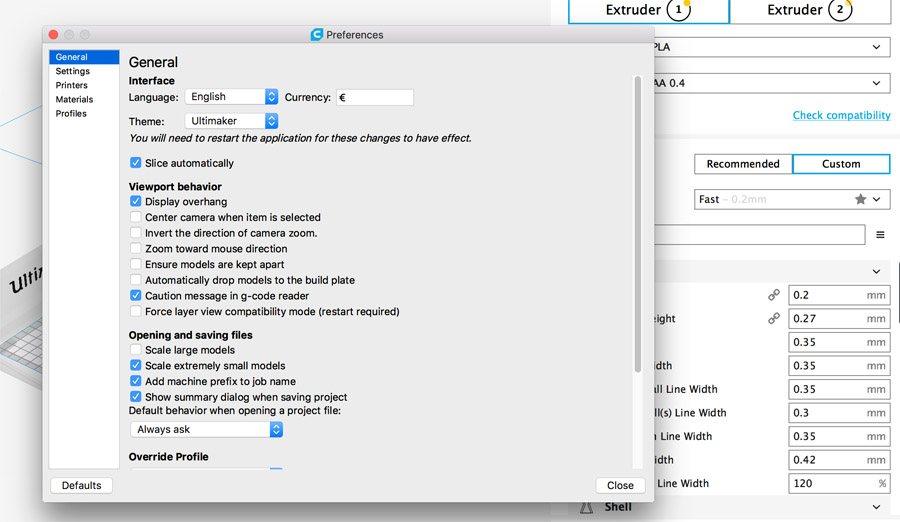
I exported cross-sections of the threads and press-fit sections to Cura using Fusion's Make menu. The light thread and base were separate bodies, so they had to be placed manually. It's necessasry to untick to options (in the Preferences menu) if you wish to do this – 'Ensure models are kept apart' and 'Automatically drop models to the build plate'. In addition to cross-sections, I printed the overall prototype at 25% scale, helping me to assess the form and counter-weight.
Electronics
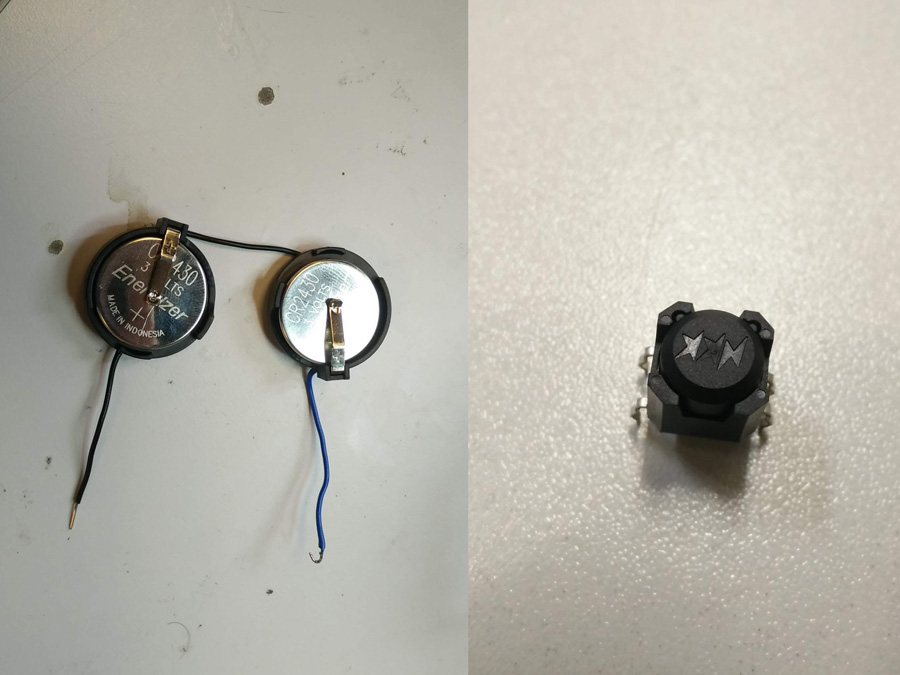 I purchased a tilt switch from Saint Quentin Radio in Paris. I also received the datasheet which would prove invaluable.
We ran a test on the led (below) to see what voltage was required - It ran on 3.4V. For the tilt switch, it required 5V VCC. The recommendation was to use two 3V coin batteries in tandem and then a regulator to reduce the strength. In the above image, you can see the soldered batteries (left) and the tilt switch (right).
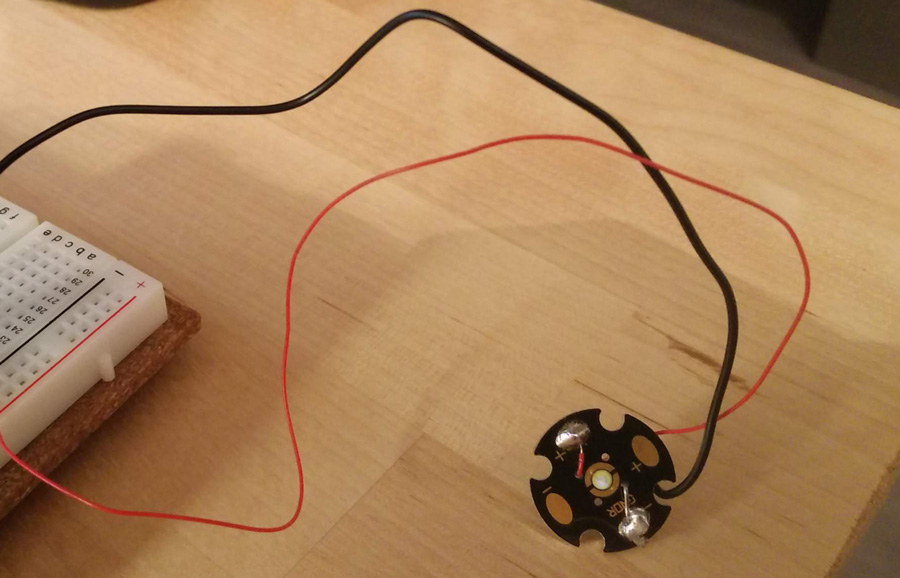
I received the led in the FabLab – I believe it is a close match for this datasheet
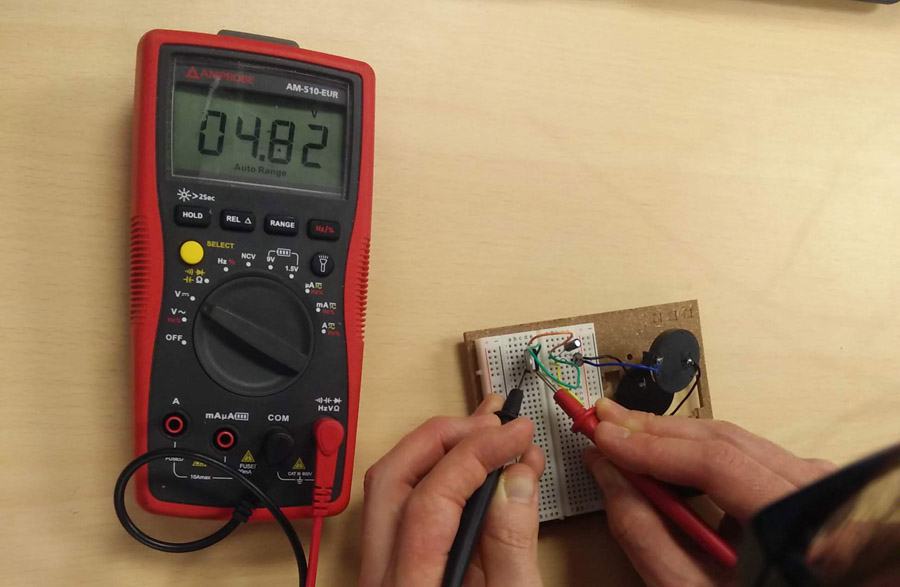
I worked with a regulator on the breadboard to learn how it worked. I added 2 x 1Uf 50V capacitors to the + and – wires on the battery. I also pin-pointed the input, output and GND pins of the regulator and placed wires accordingly. When I tested it with the multimeter, the current was reduced from 6V to under 5V.
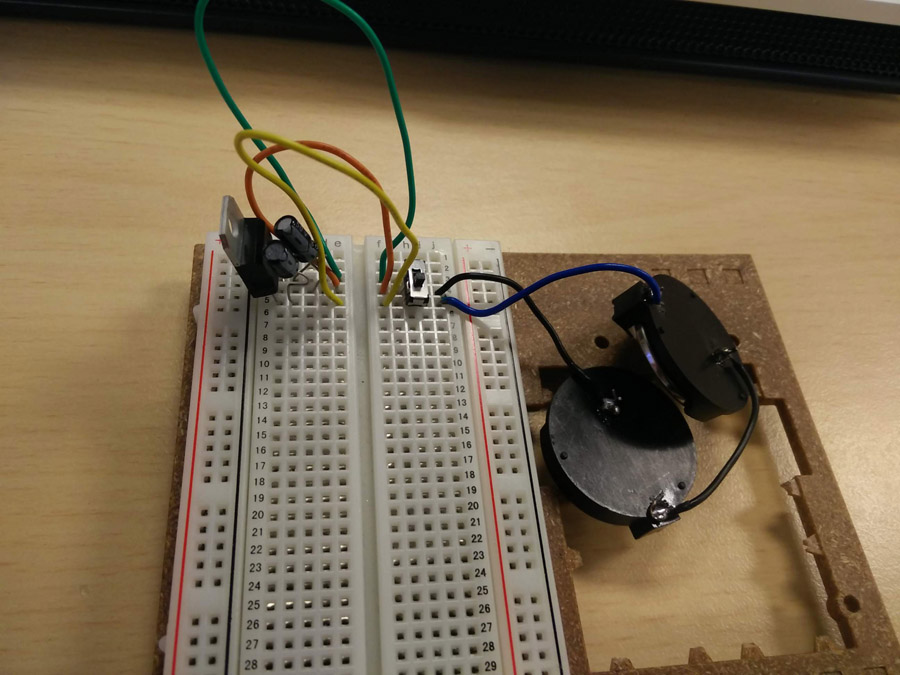
In a final step, I added a switch which will shut off the battery on the pcb board. Much like the regulator, orientation is important. The switch here is shown in the 'on' position.
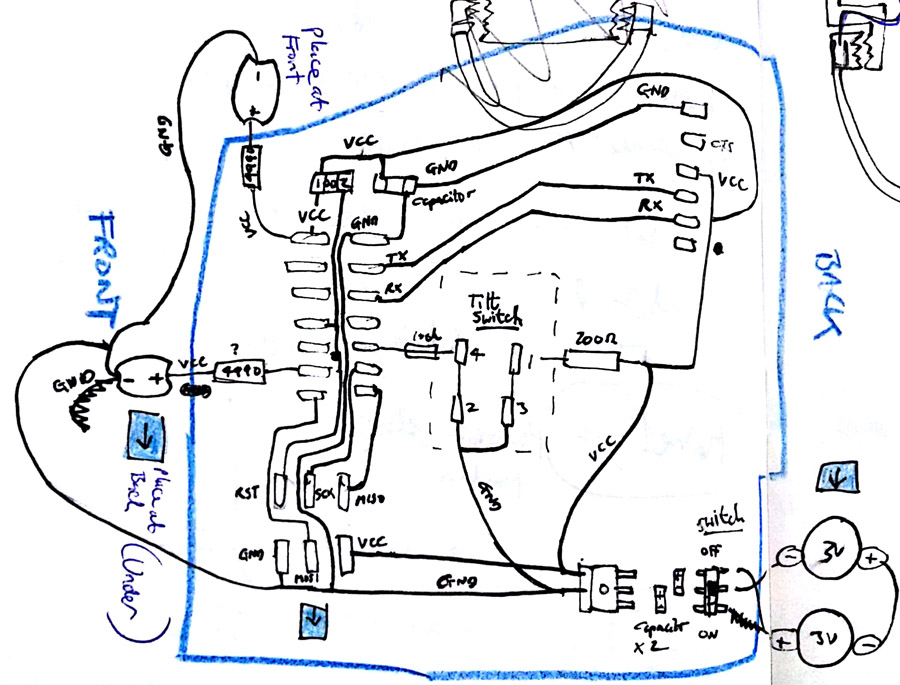
I then sketched out how my pcb might look, referencing boards from the Input and Output weeks of Fabacademy. It is important that the tilt switch remains in the middle position for equilibrium. The wiring for LEDs should allow them to travel to the front and back of the light thread below. 2x3-(for programming) and ftdi (to check communication) pin headers are present, along with the ATTiny44 microcontroller. Appropriate resistors (eg. 200Ohm, 10k, 100k, 499k) will be applied to the Tilt Switch and LEDs.
3D Print
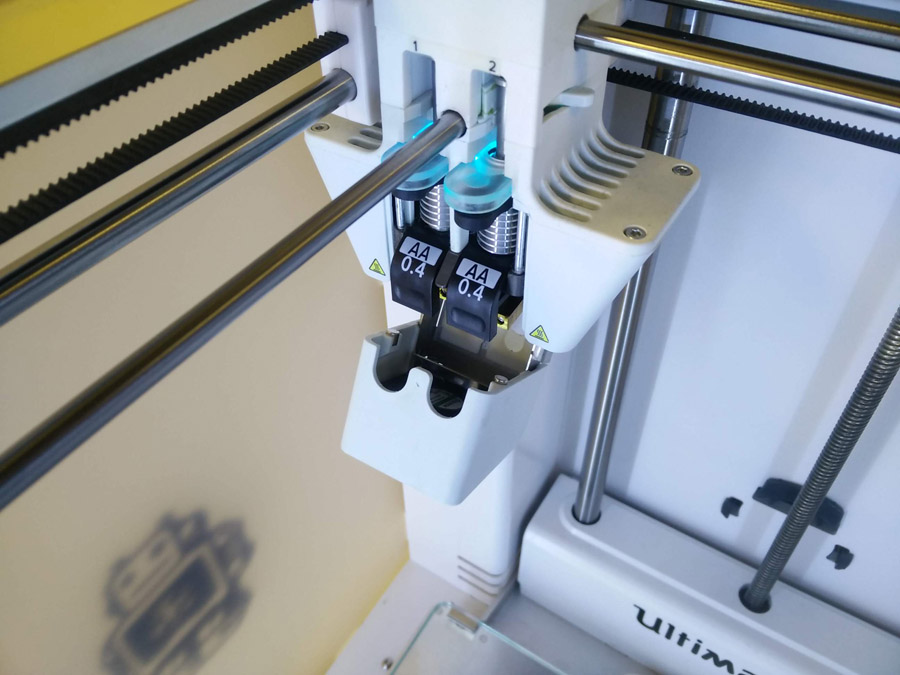
I read a bit on how the Ultimaker 3 operates in the online manual. It is important to install material correctly especially when using two materials in tandem. I received errors indicating that my Cura file was using materials not compatible, even though they were listed as Ultimaker material.
Error 1
pla transparent not recommended to be used in printcore BB.04 – The wrong print-head setting had been used
Error 2
Can't parse to uknown key for TYPE with 'glass' as input – We found my updating the firmware on the printer this error disappeared.
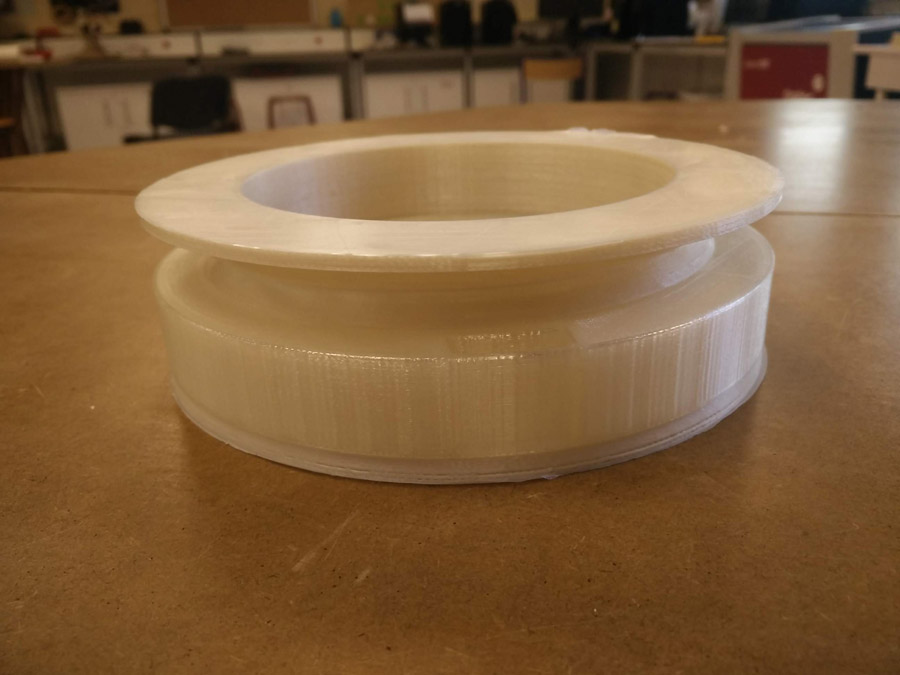
It was beneficial to read articles on infill versus shell settings (article one, article two). This allowed me to test heavier, thicker construction at the base and lighter, thinner at the top. Above you can see the cross-section for the light thread and base.
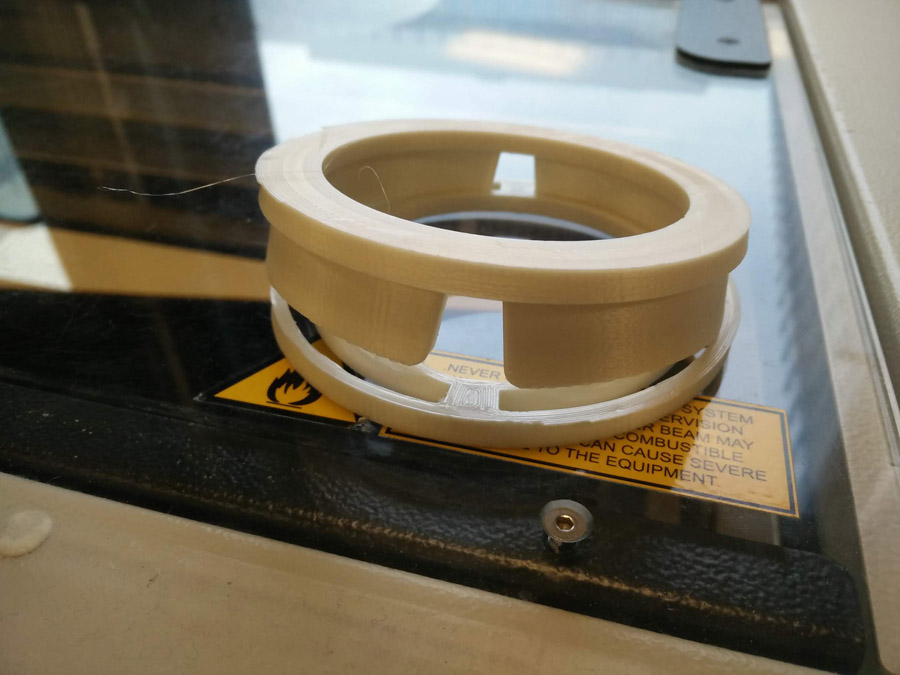
The top/mid press-fit tabs did not work first time – I had to adjust the tolerance in the Fusion file to 0.5mm on either side to get it two work.
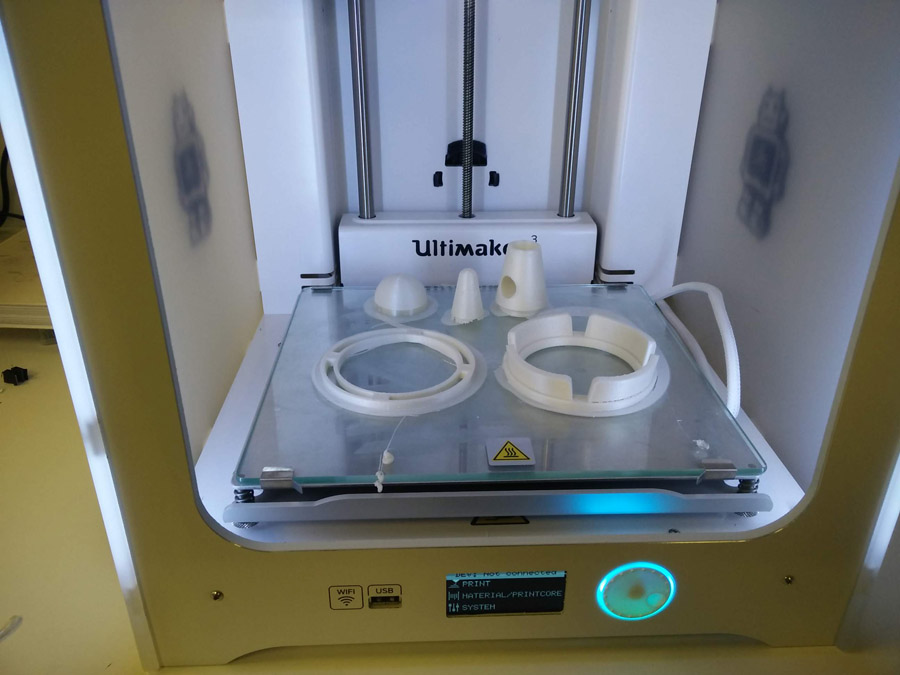
Along with a cross-section, the prototype seen here is at 25% scale.
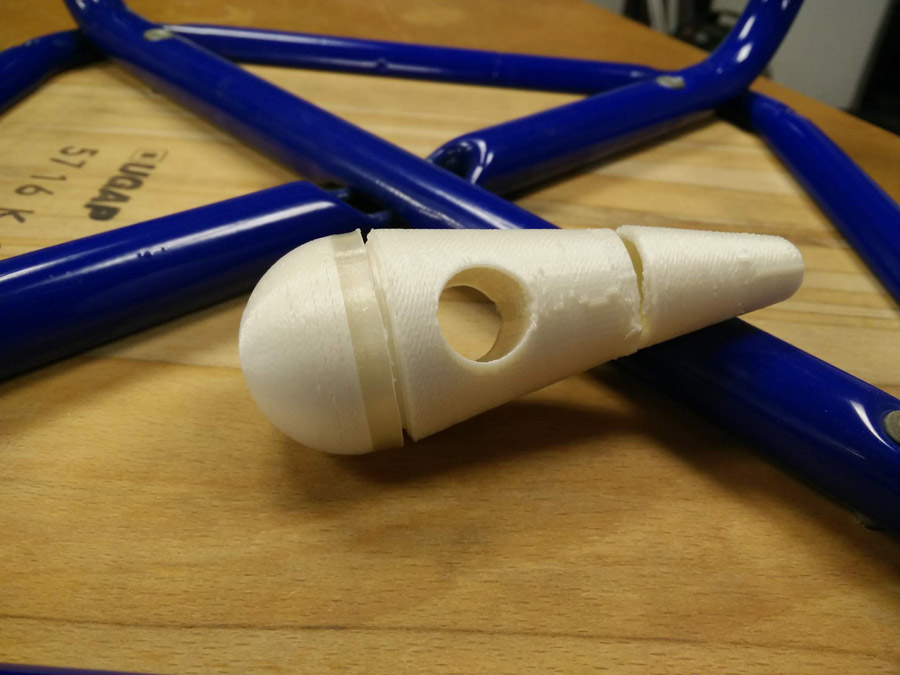
The first prototype did not balance by itself, which leads me to counter weight...
Counter Weight
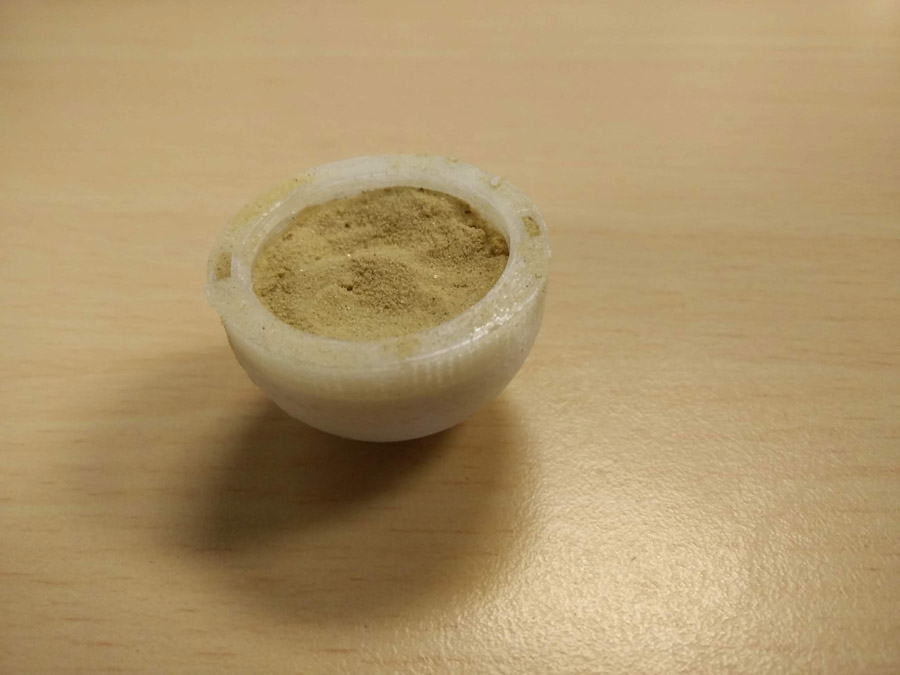
I had presumed that sand alone would be enough to provide stability, ie. That the buoy could write it self filled in the based. It turns out I need more weight! Bearing in mind my prototype at this stage is quarter size, I had to find a material that was heavy and small. It was useful to refer back to the wikipedia reference for a roly-poly toy. It is essential that the weight sits below the centre mass in order to right itself.
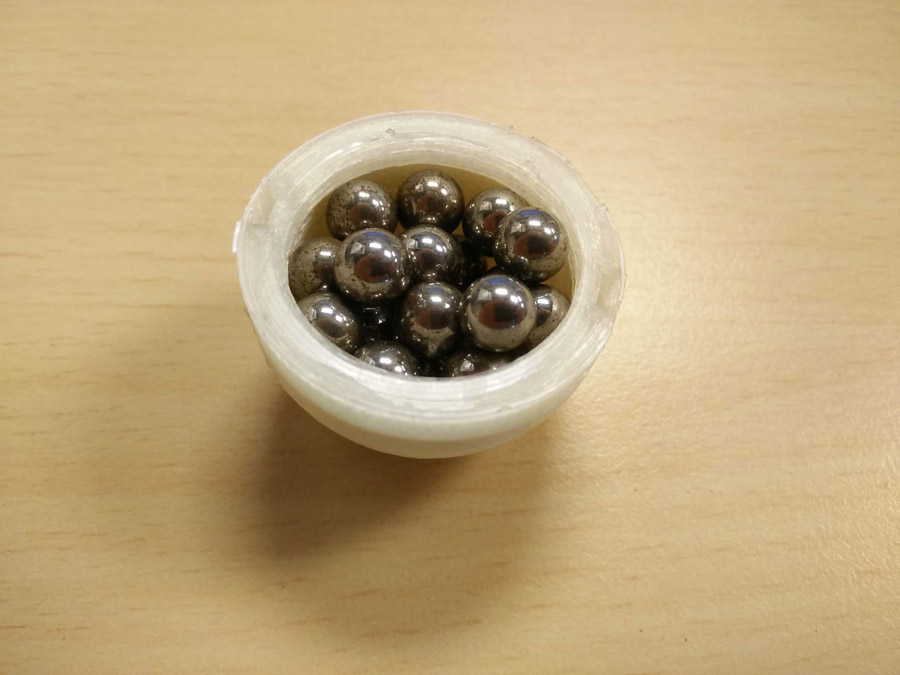
Ball bearings worked well. I could position them inside the base and use sand around it to keep the shape compact. But at full size, I would need a lot of them. I shopped around and found a larger ball bearing with heavier mass. It was also recommended to create a mold including ball-bearings, to fit the base and restrict movement.
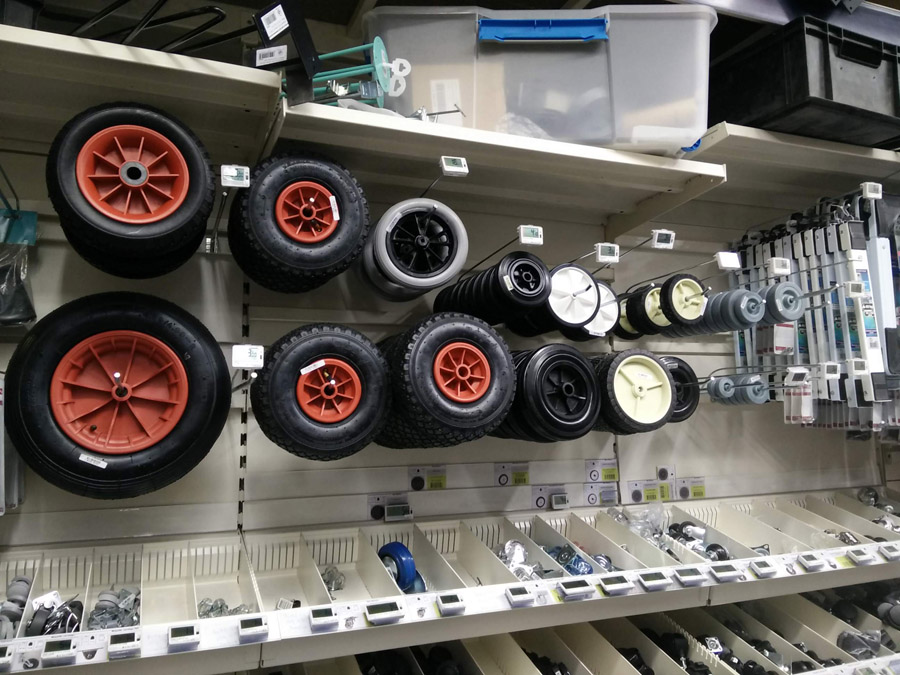
I also reviewed other objects to use as a counter-weight, for example, rubber wheels. I visited a local hardware store and compared dimensions and weights. I will try sand and XL ball-bearings first and see how well it works.
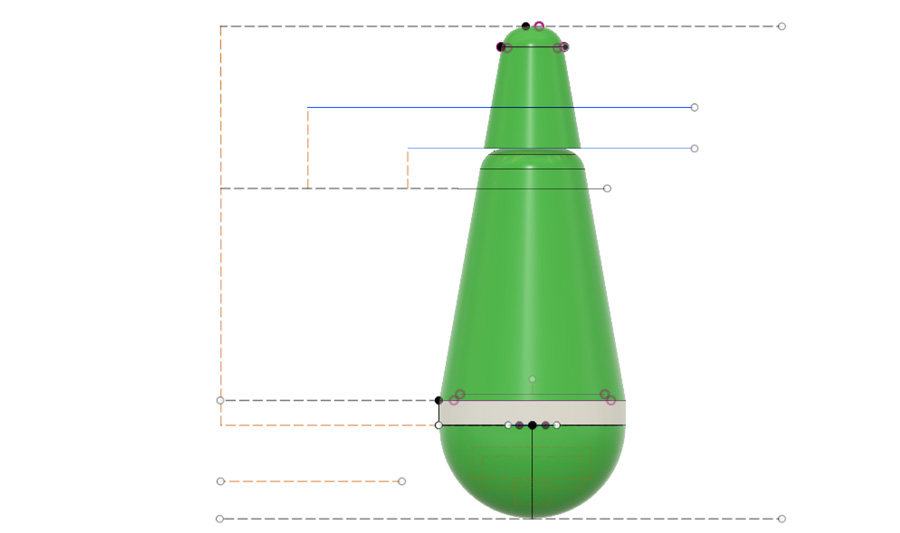
As I ran tests on the buoy's stability, it was necessary to reduce the height of the top piece from 130mm, to 65mm and then to 32mm. I would like to have achieved a taller prototype to make it more visible, but it simply did not balance. The main render on this page reflects the final height.
In a final consideration, I intend to remove the hole in the middle of the buoy. The hole was suppose to act as a handle or to provide an alternative game connecting the three buoys with a stick. But it means that the object is not fully symmetrical when falling in different directions, so I will remove it to improve balance.
Project Dissemination
As discussed in Applications and Implications the project will be best assessed in use by people playing the Triangle Game. Perhaps the involvement of professional football players in a competitive environment would add to it's commercial potential. But equally, the buoys were as a simple prototype for children to try and play. If they're having fun, it's a good sign it's working.
Licensing
After careful consideration, I have decided to go with Attribution-NonCommercial-NoDerivatives 4.0 International (CC BY-NC-ND 4.0) license. It offers a fair open license for people to share the prototype but indicates that the work should not be used commercially.
I progressed my prototype in week 20.