.png)
Hi! Welcome to My Final Project.
Here you can learn all about the steps I took to make my final project.
Here you can learn all about the steps I took to make my final project.
My final project was originally supposed to be an educational arcade game, a built body and game and all, but unfortunately, I had spent too much time on the game design and I couldn’t get it to work, and so I started brain storming for a new project. I finally settled down on this project.
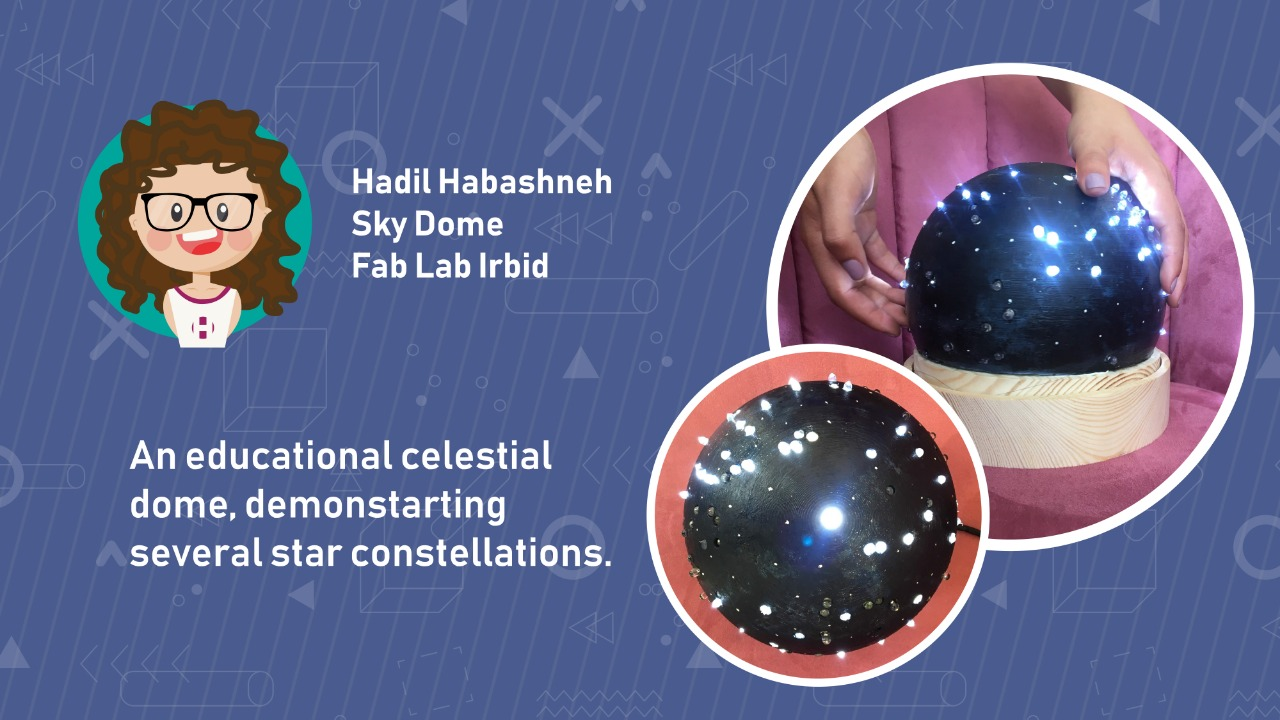
My final project is a table lamp with the stars’ constellations on it, the user could pick a choose any constellation they would like to light as an educational tool about astronomy. The cover of the lamp is manually rotatable so the user could choose where they would like to show.
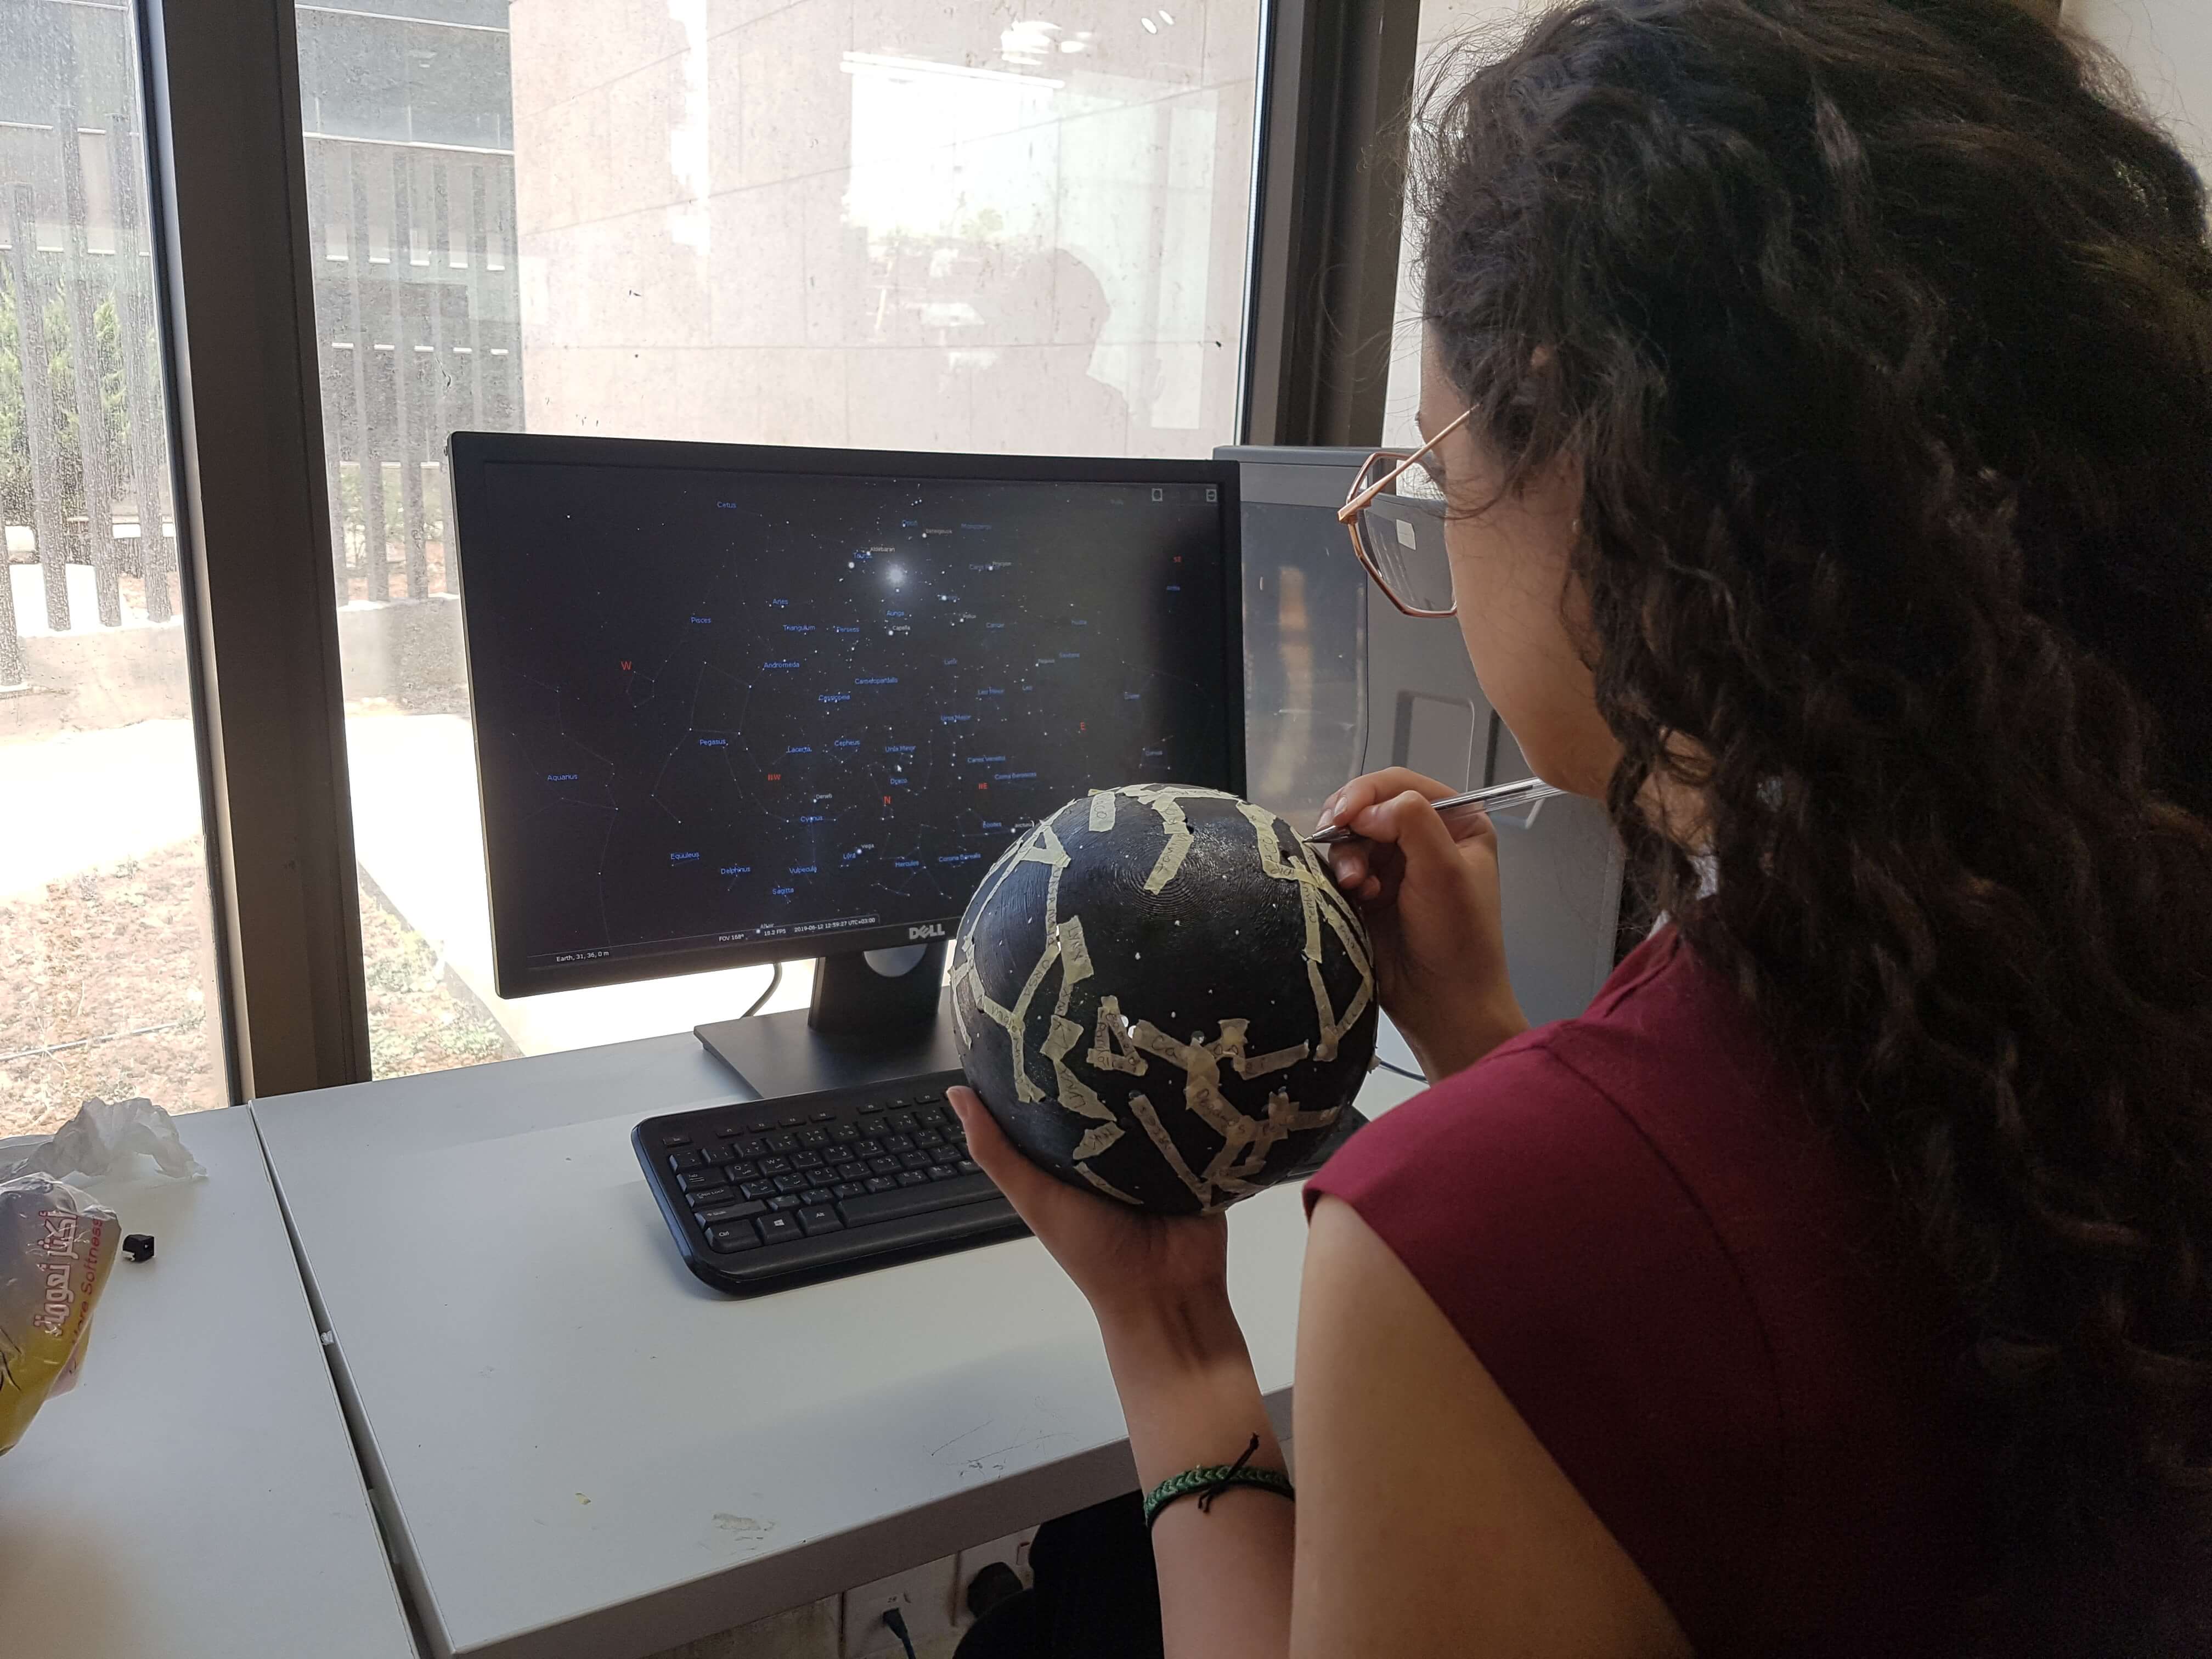
I started working by downloading images of the northern and the southern sky, I used Fusion360 to add the images as canvas and drew circles in place of each star so that I would then project each sketch on a half sphere and extrude cut it to make the holes where the LEDs will take place. This plan was proven inefficient after some time, and so I had to look for something else.
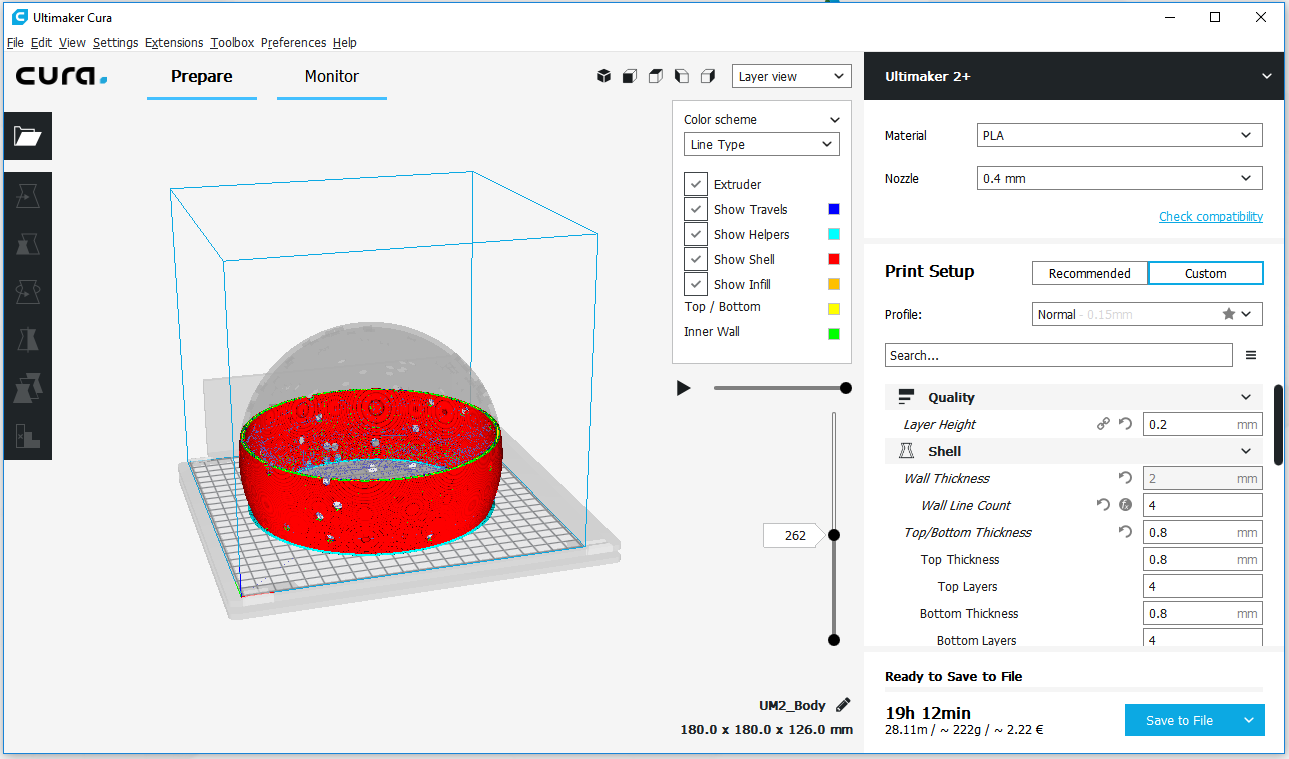
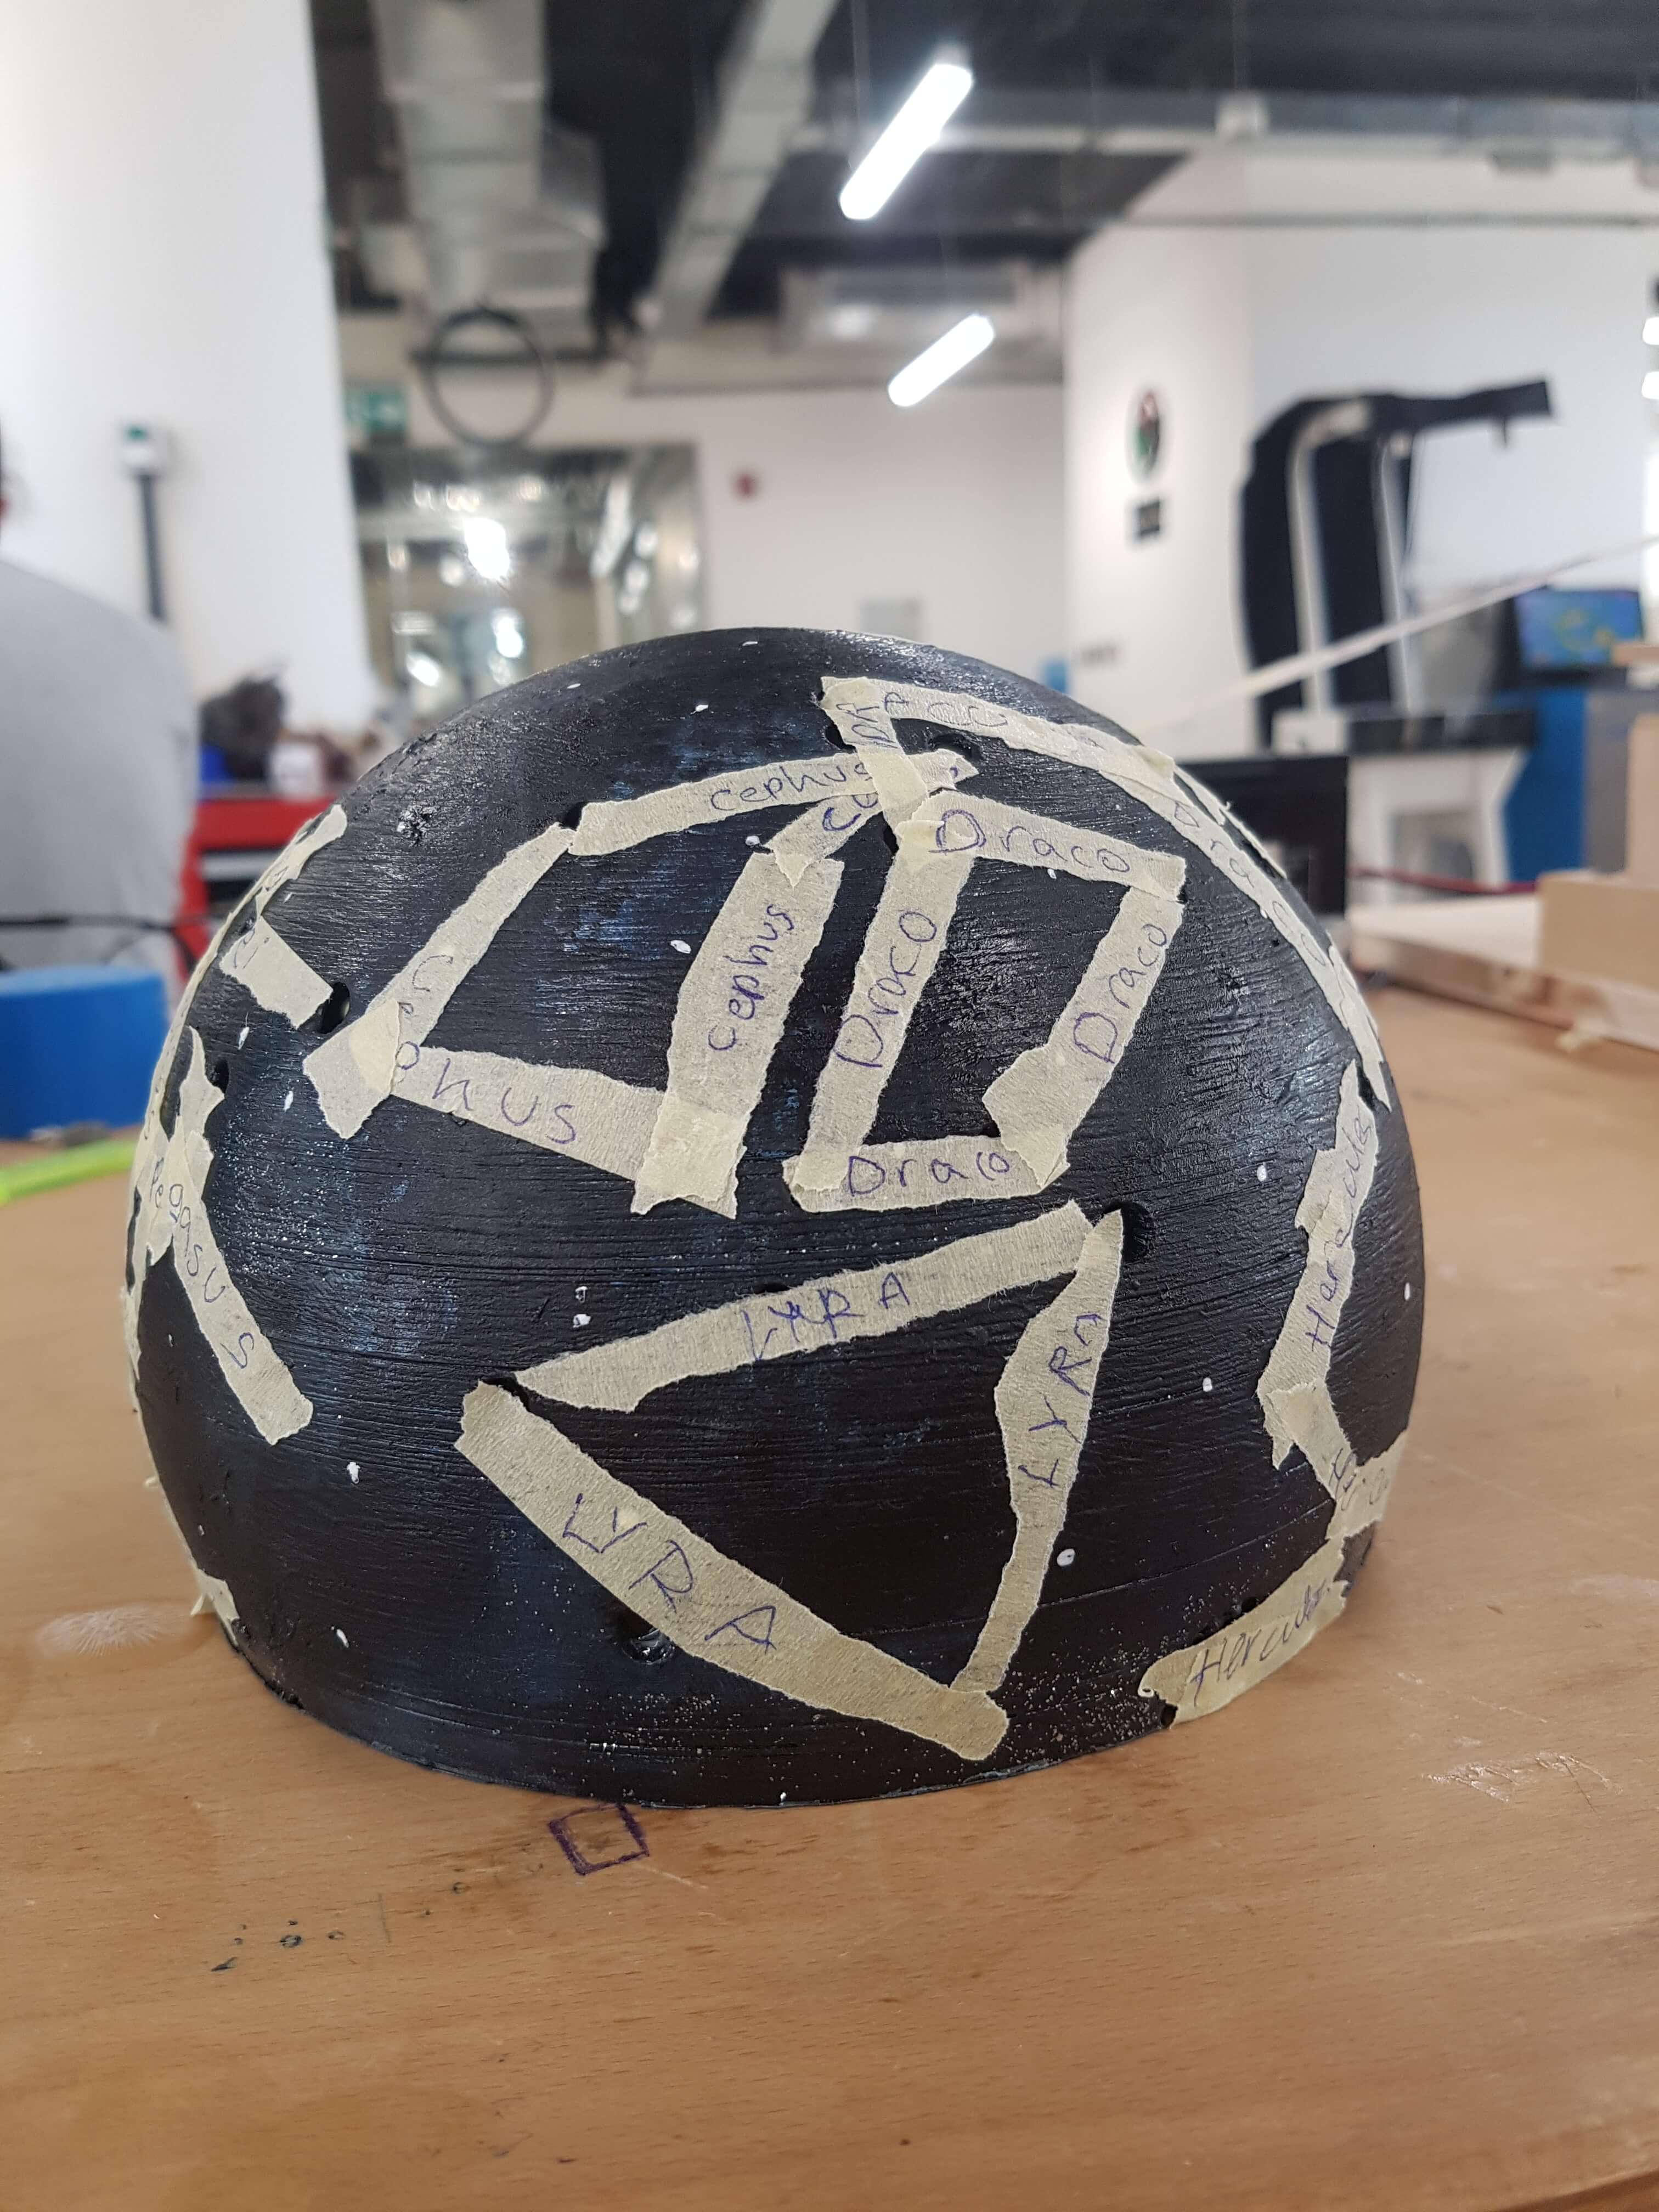
Then I continued using Fusion360 by making a sphere with the holes in place of each star in it, I made room for 15 constellations, containing 117 stars on the globe . I then prepared the file for 3d printing using Cura and Ultimaker +2.
Also for 3d printing, I designed and printed this handle to fit in the encoder to make controlling of the rotary head easier.
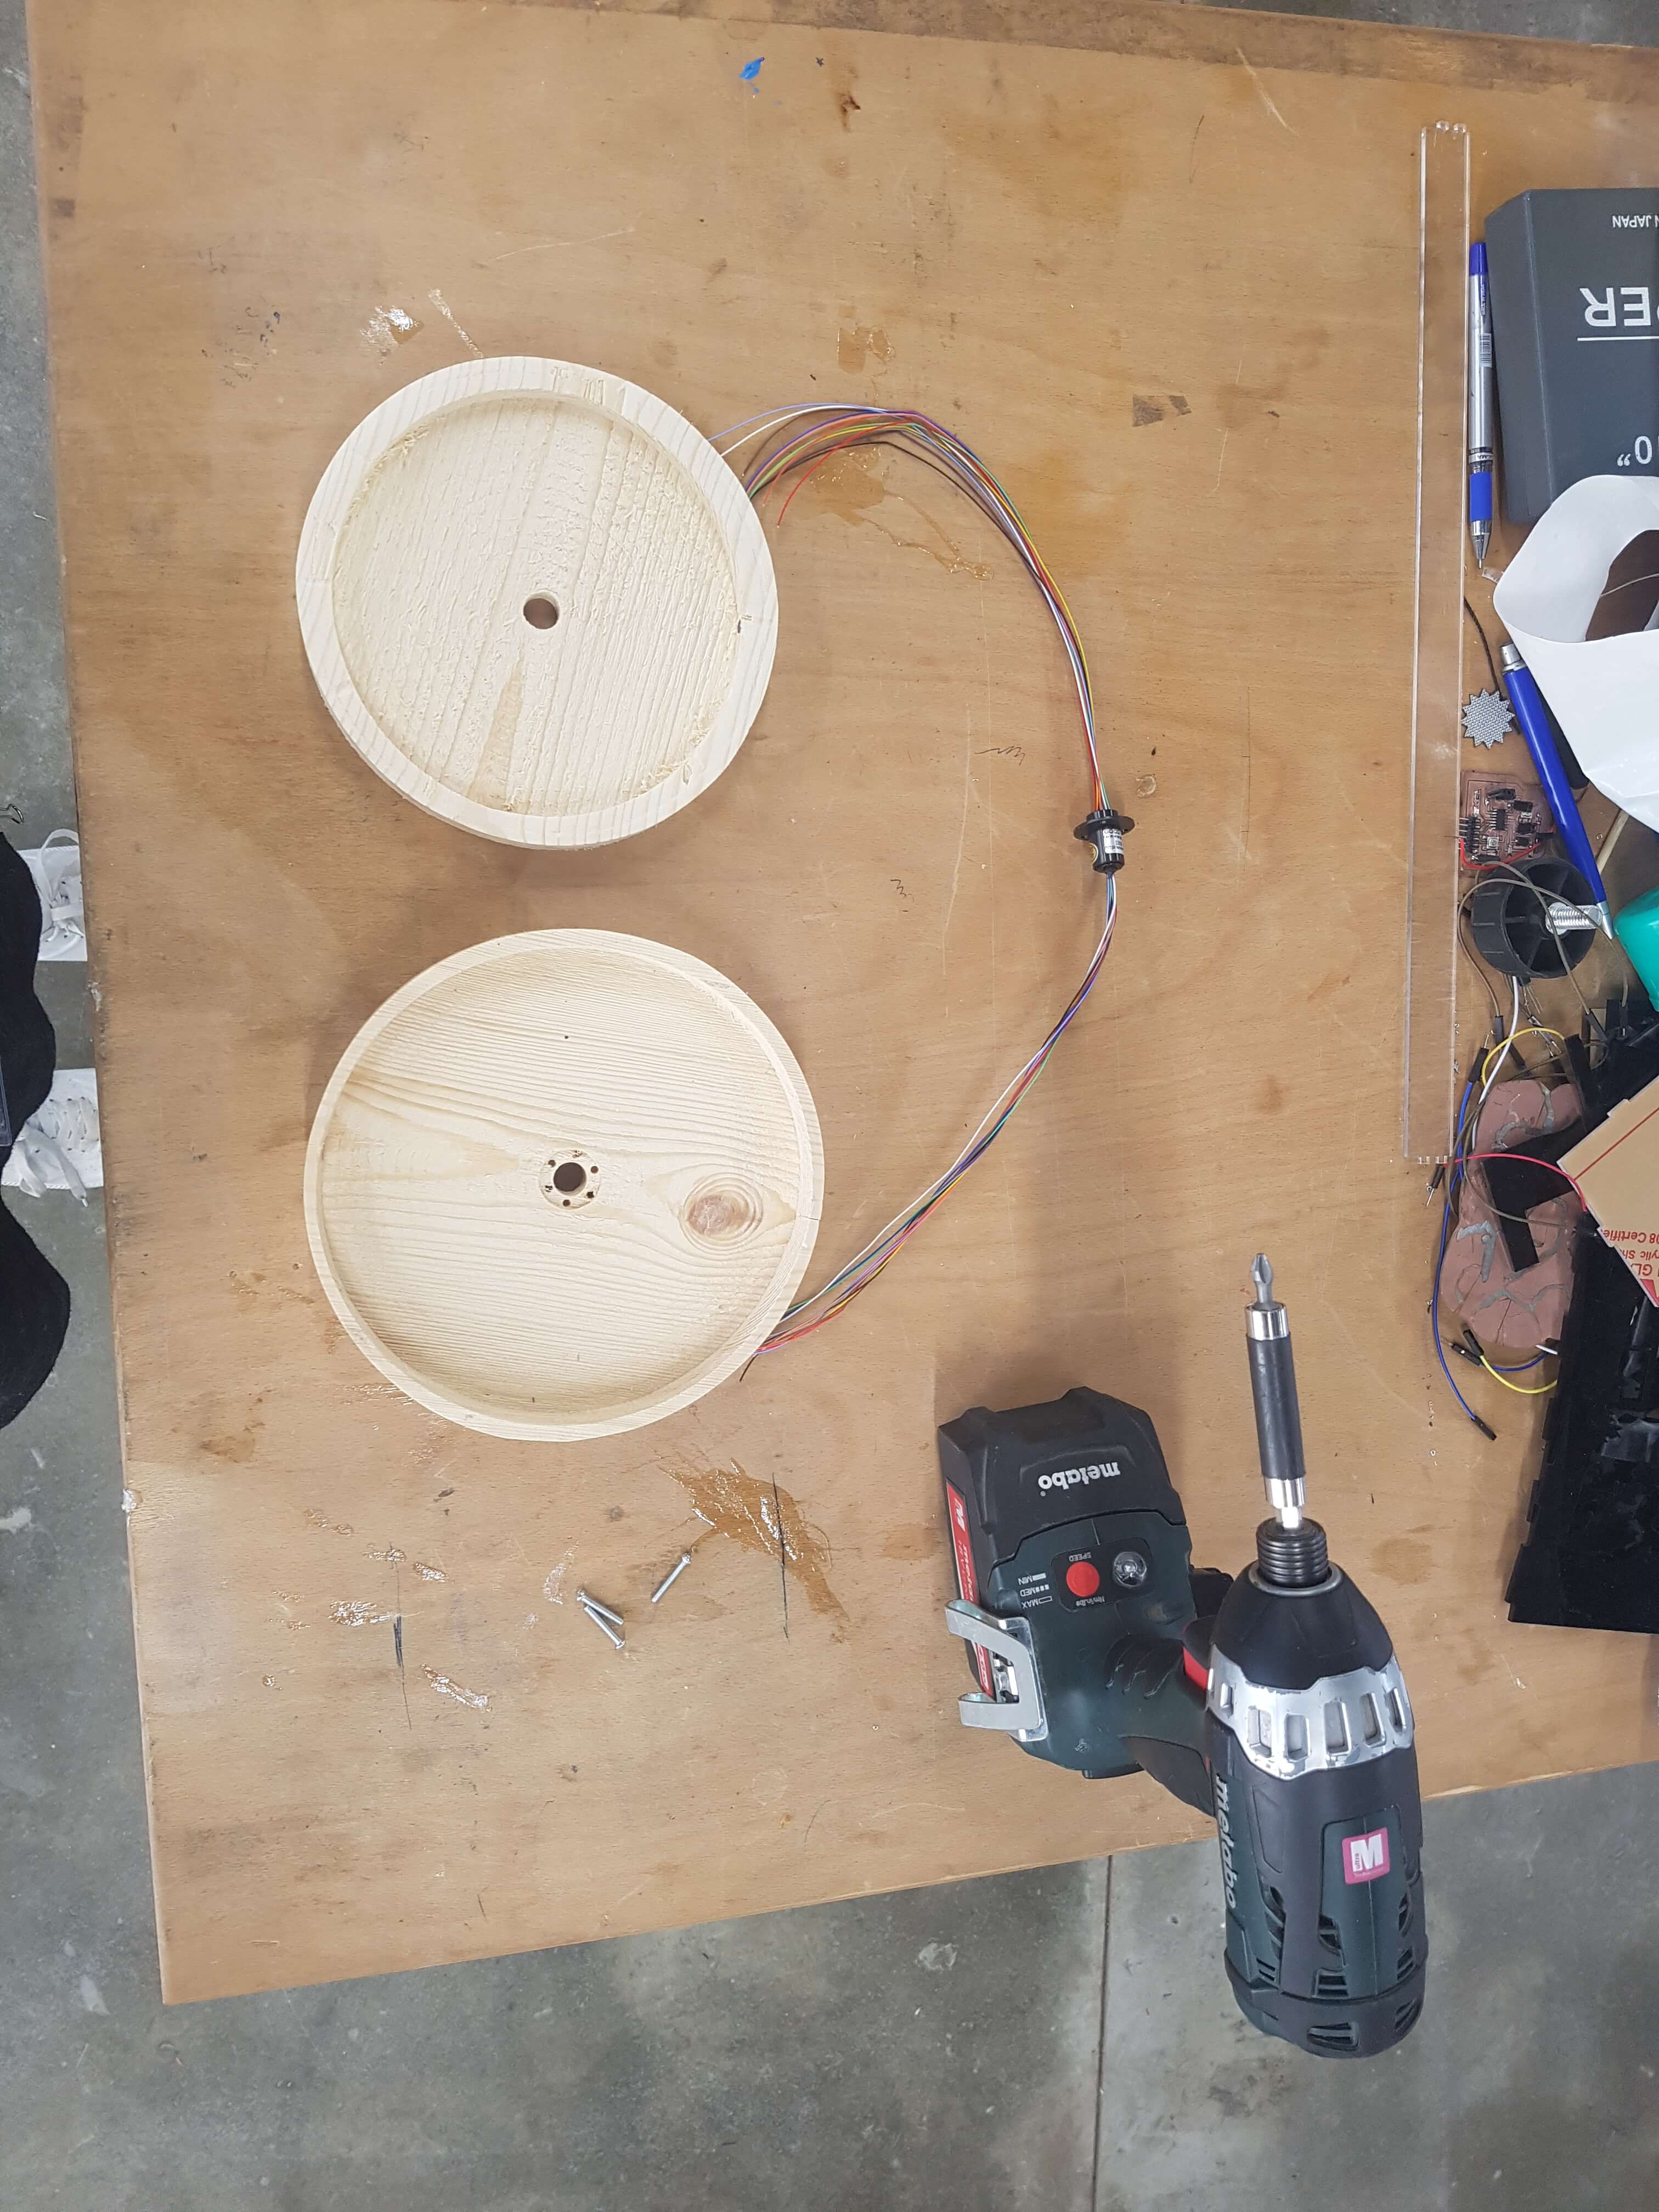
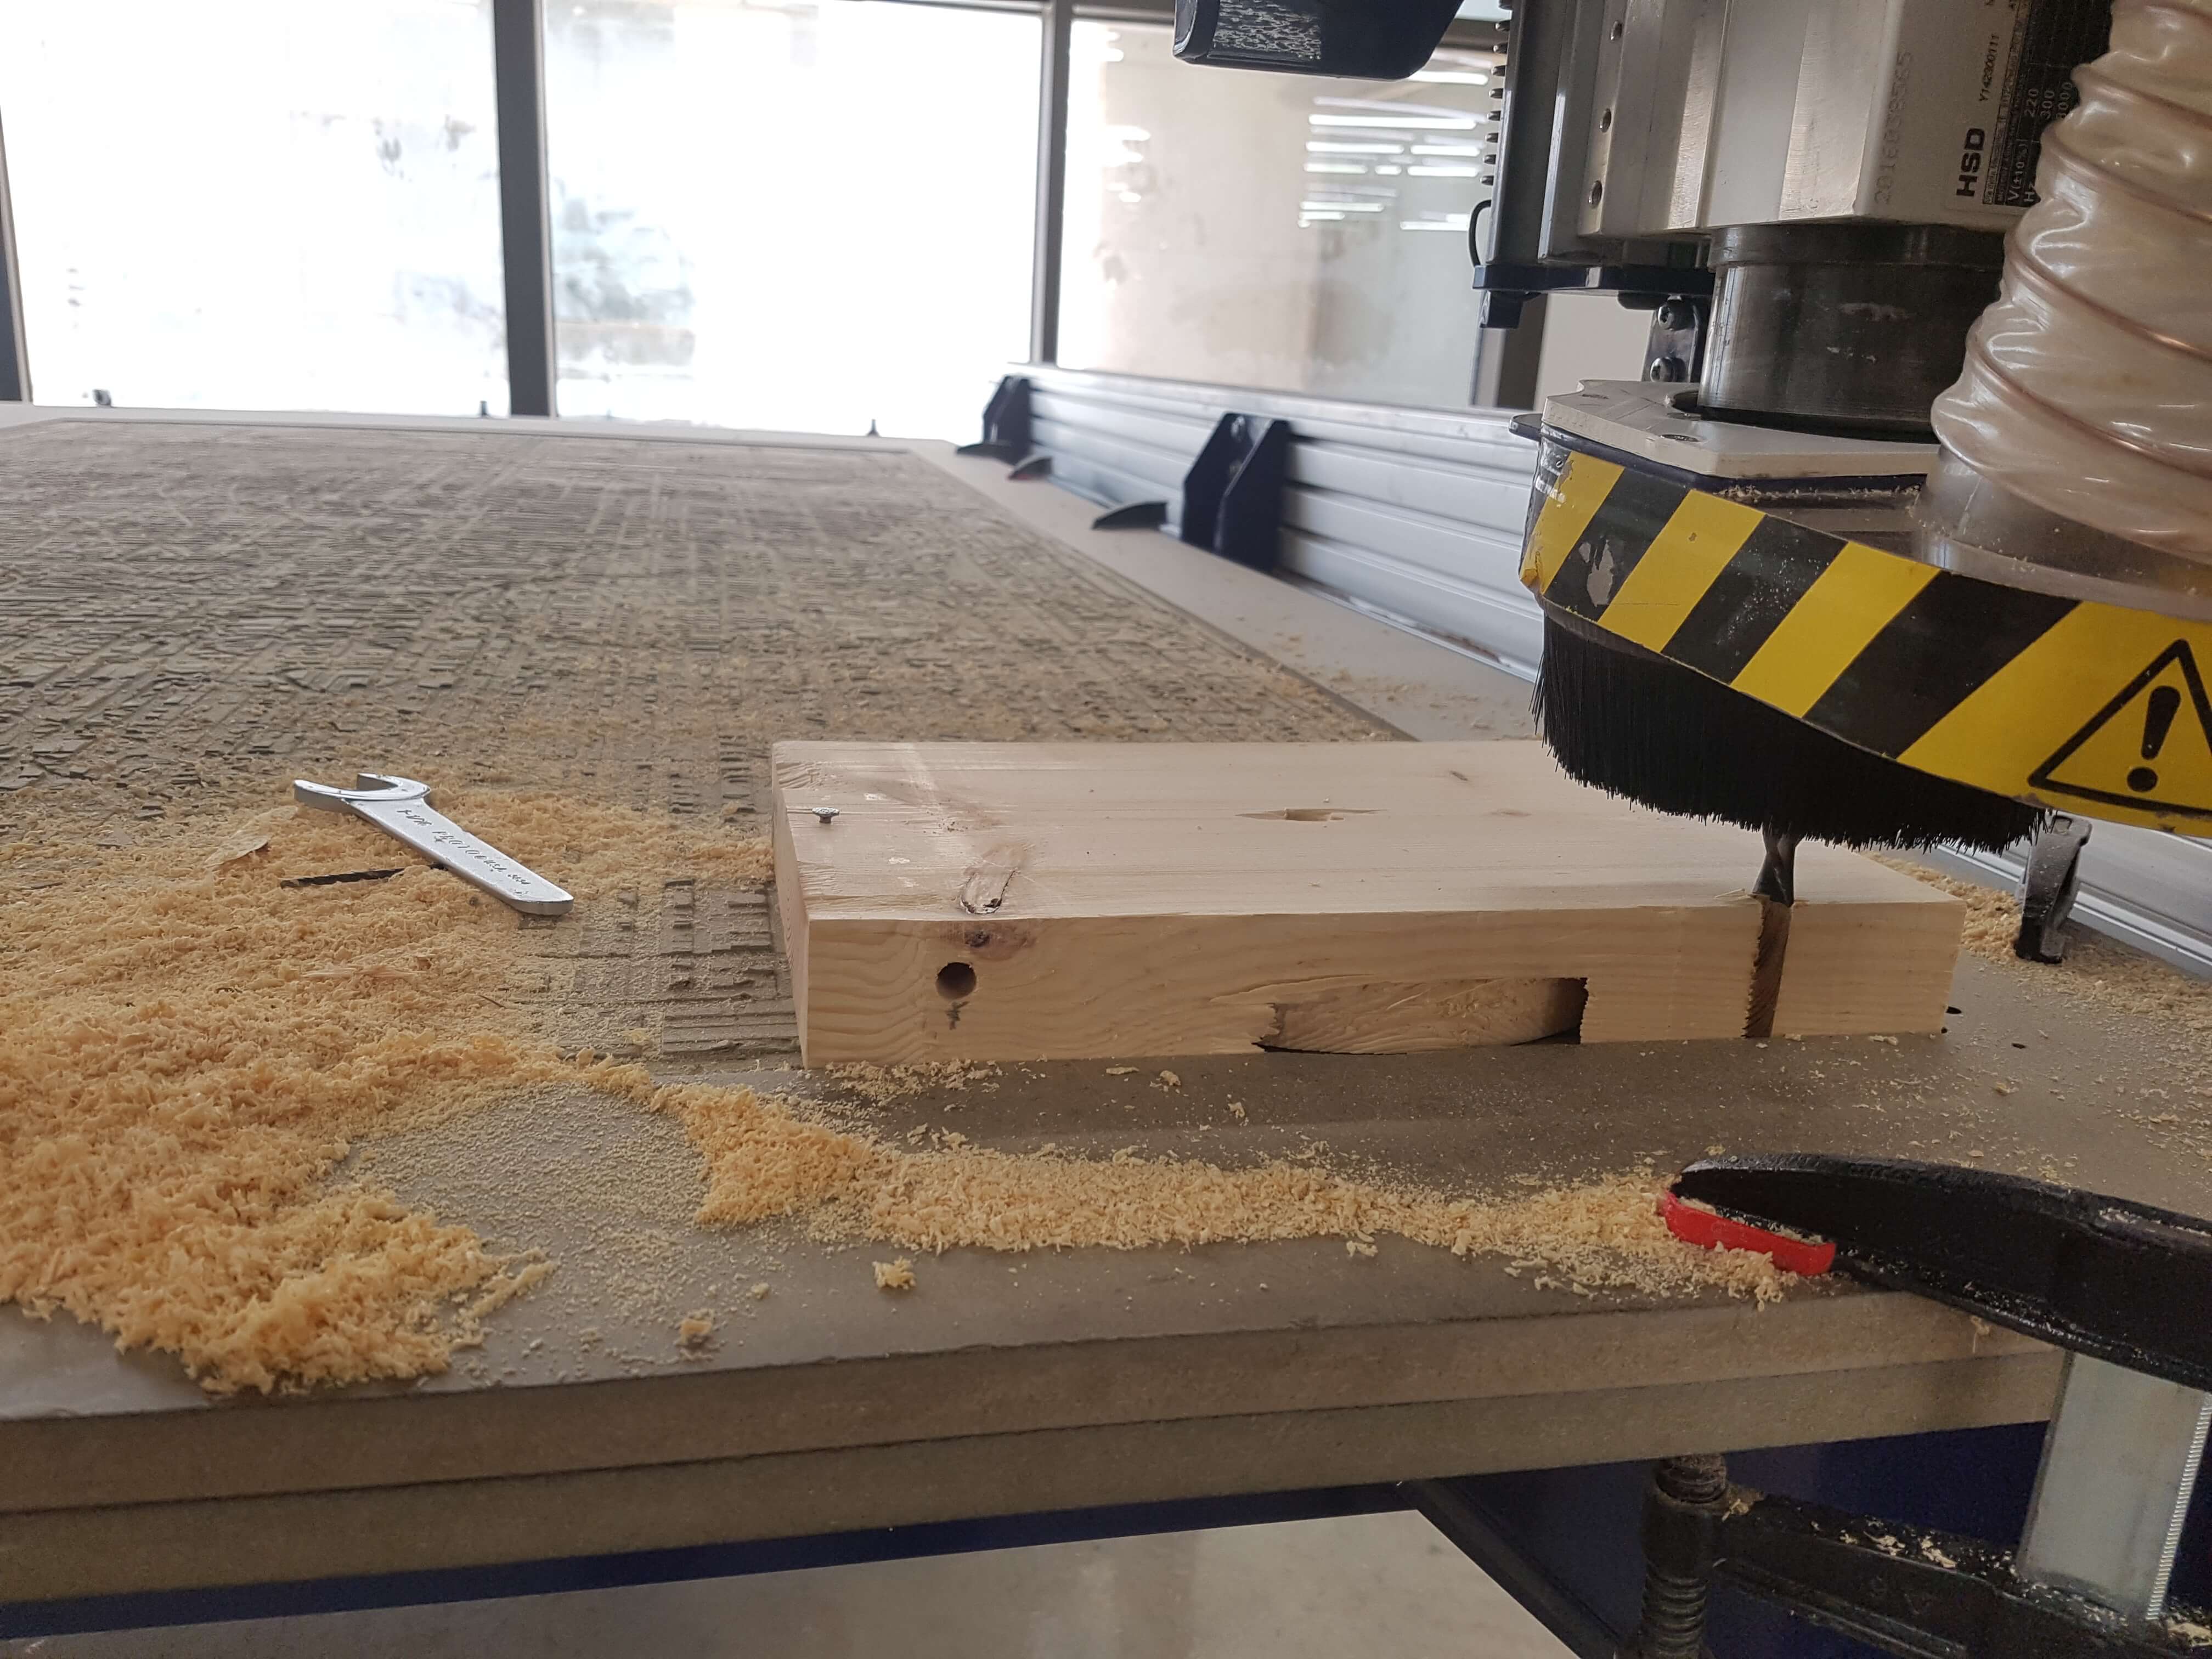
Next, I made the rotating base of the globe and the fixed base I had designed earlier using the ShopBot, this is how they turned out to be:
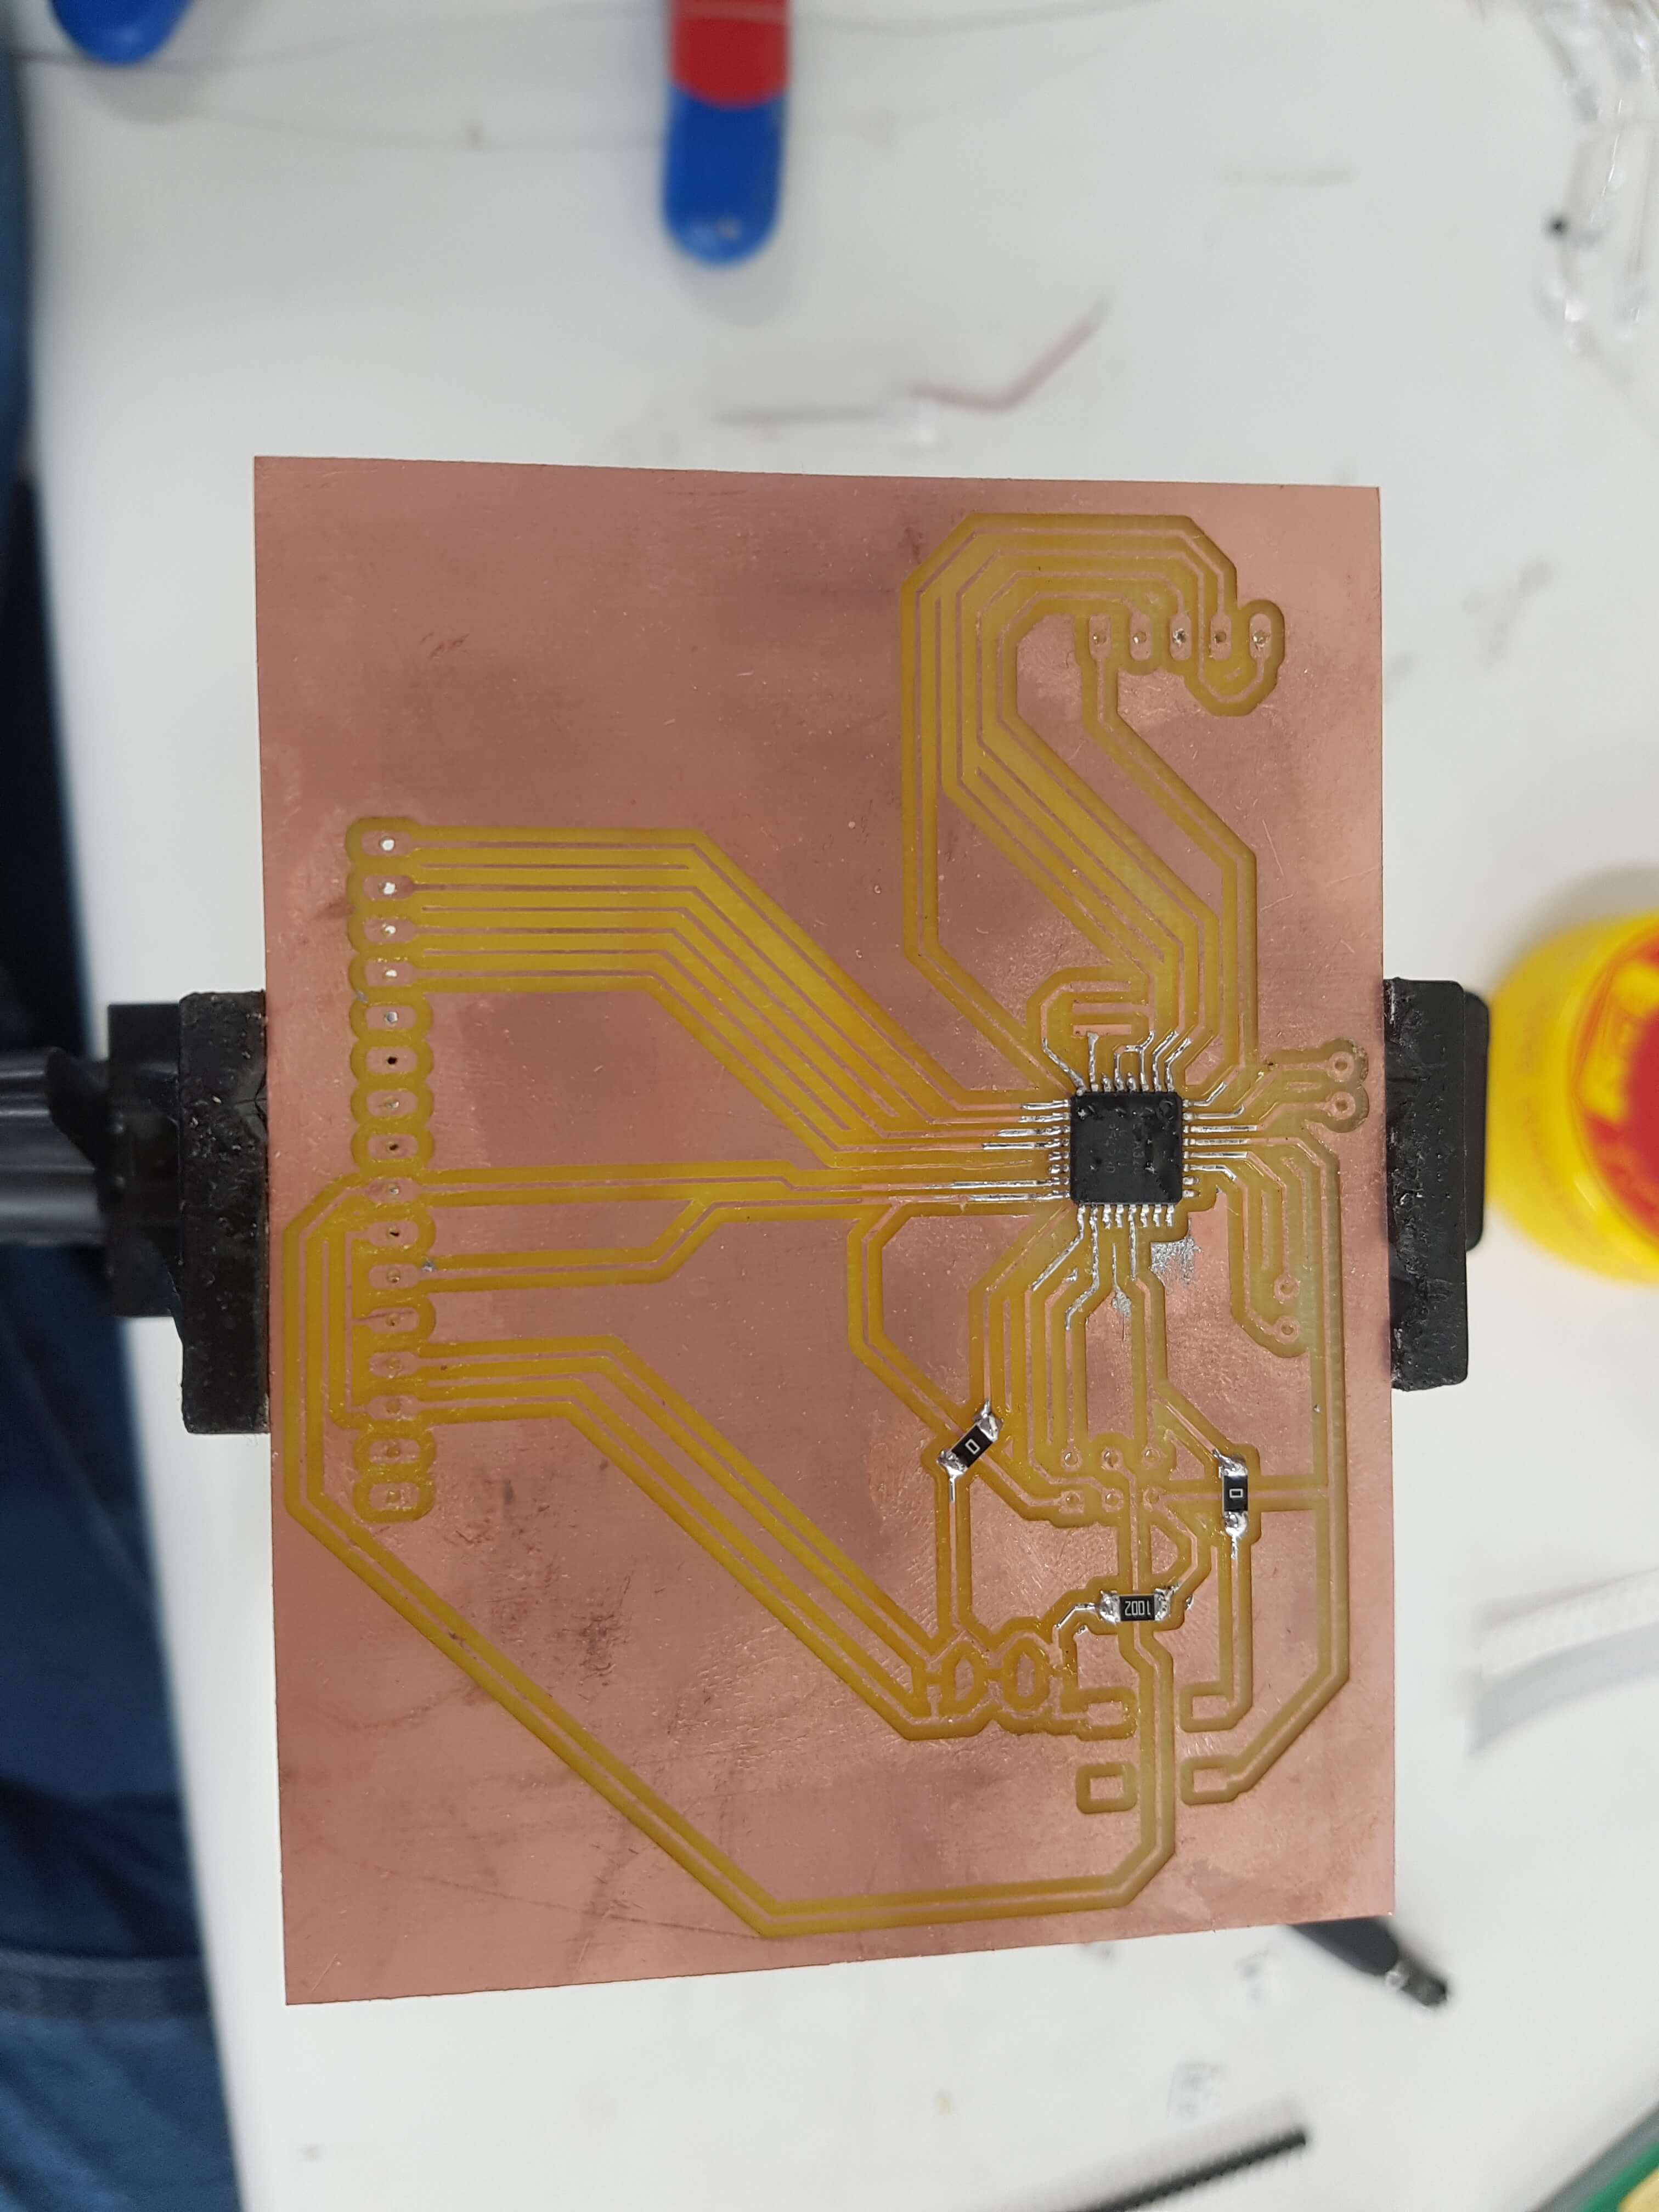
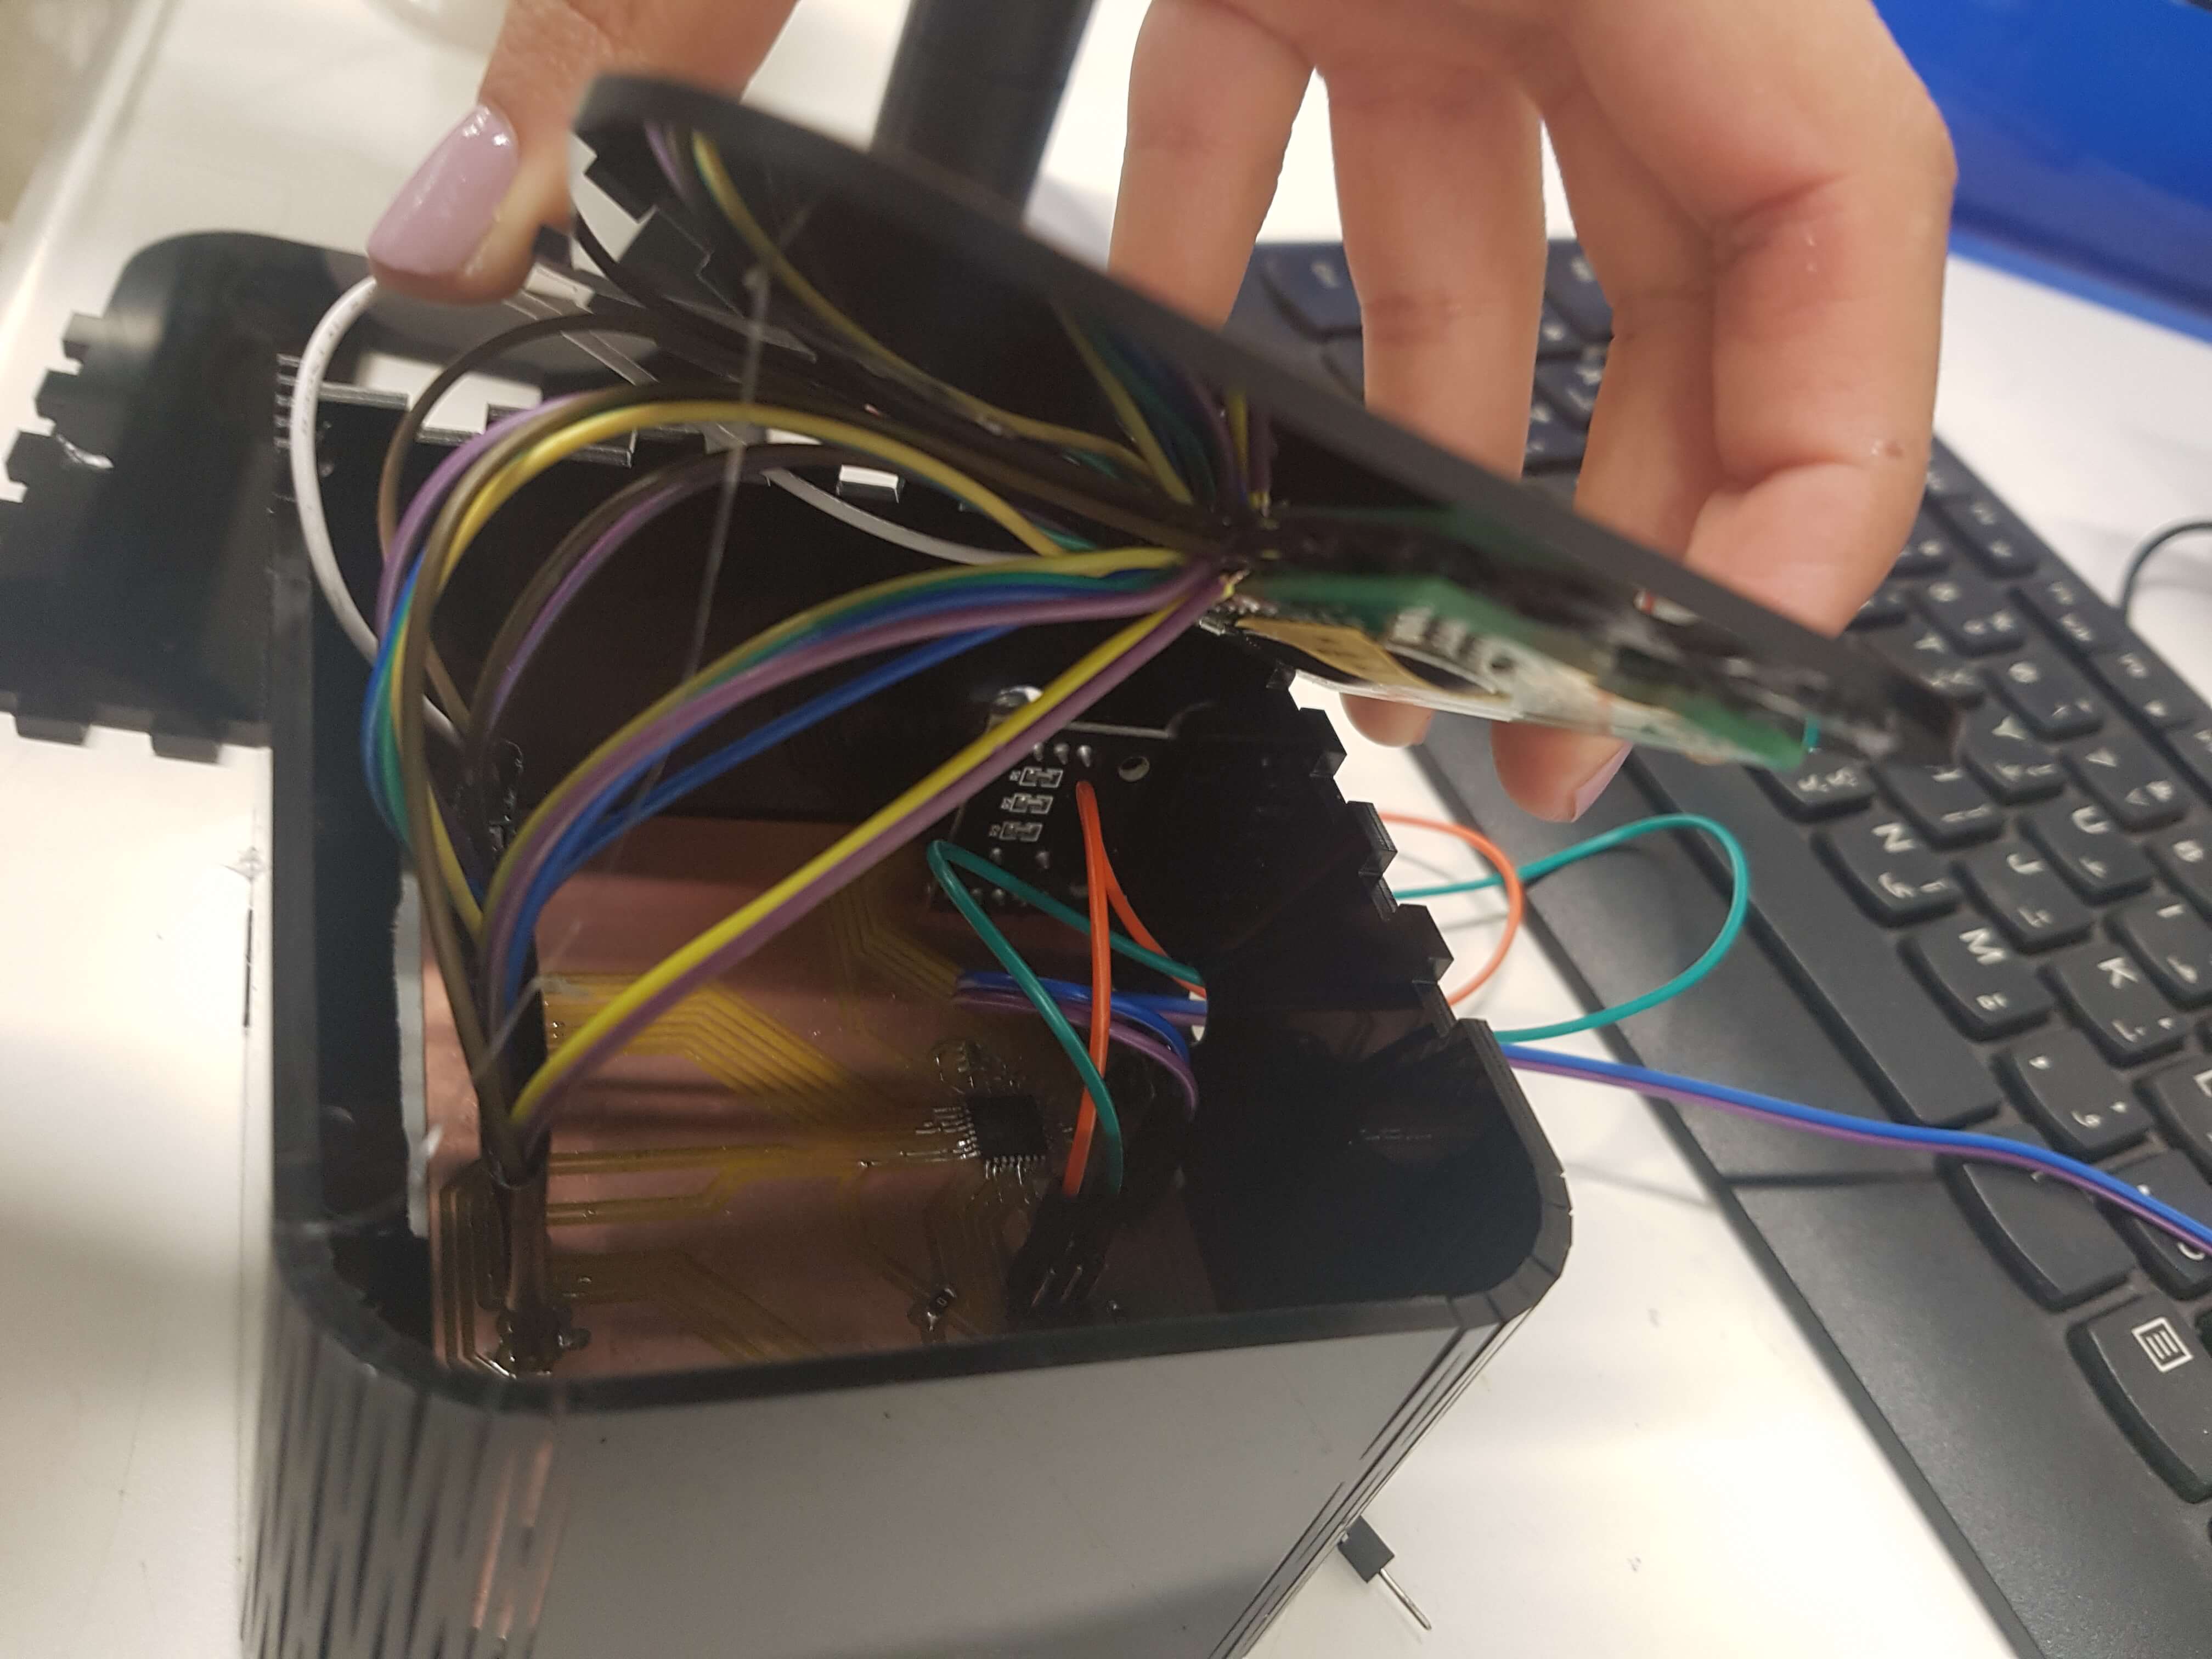
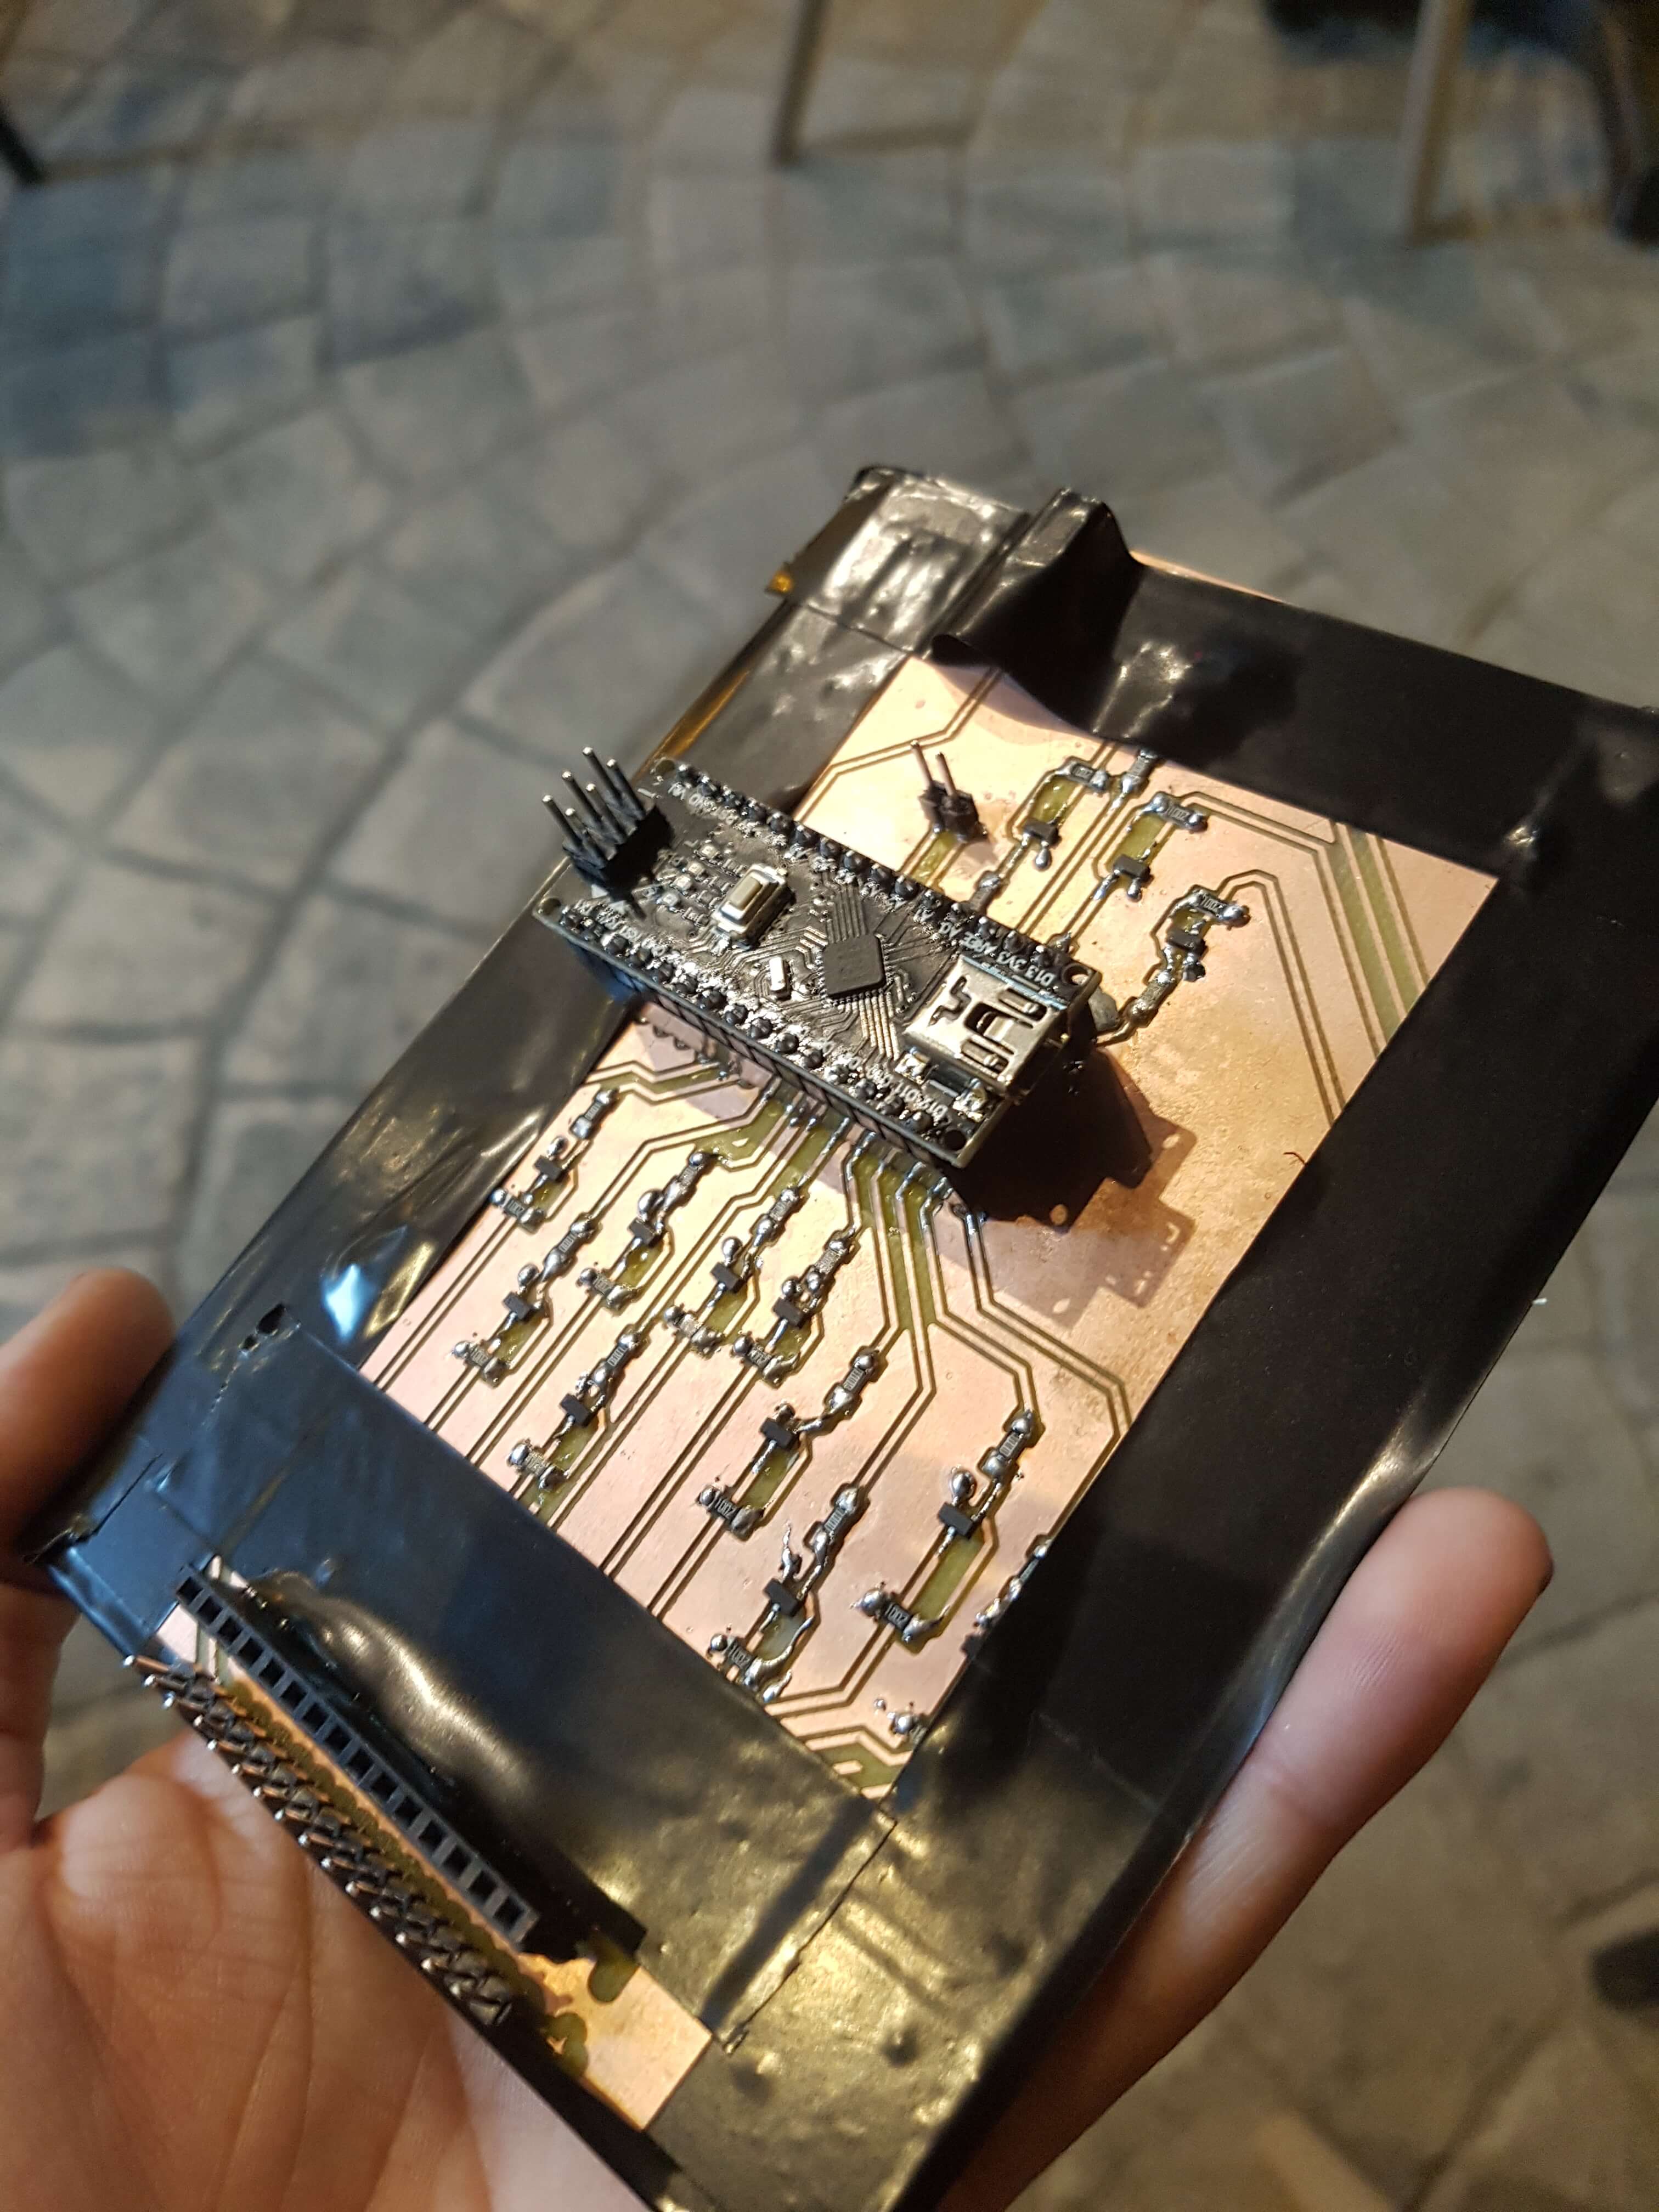
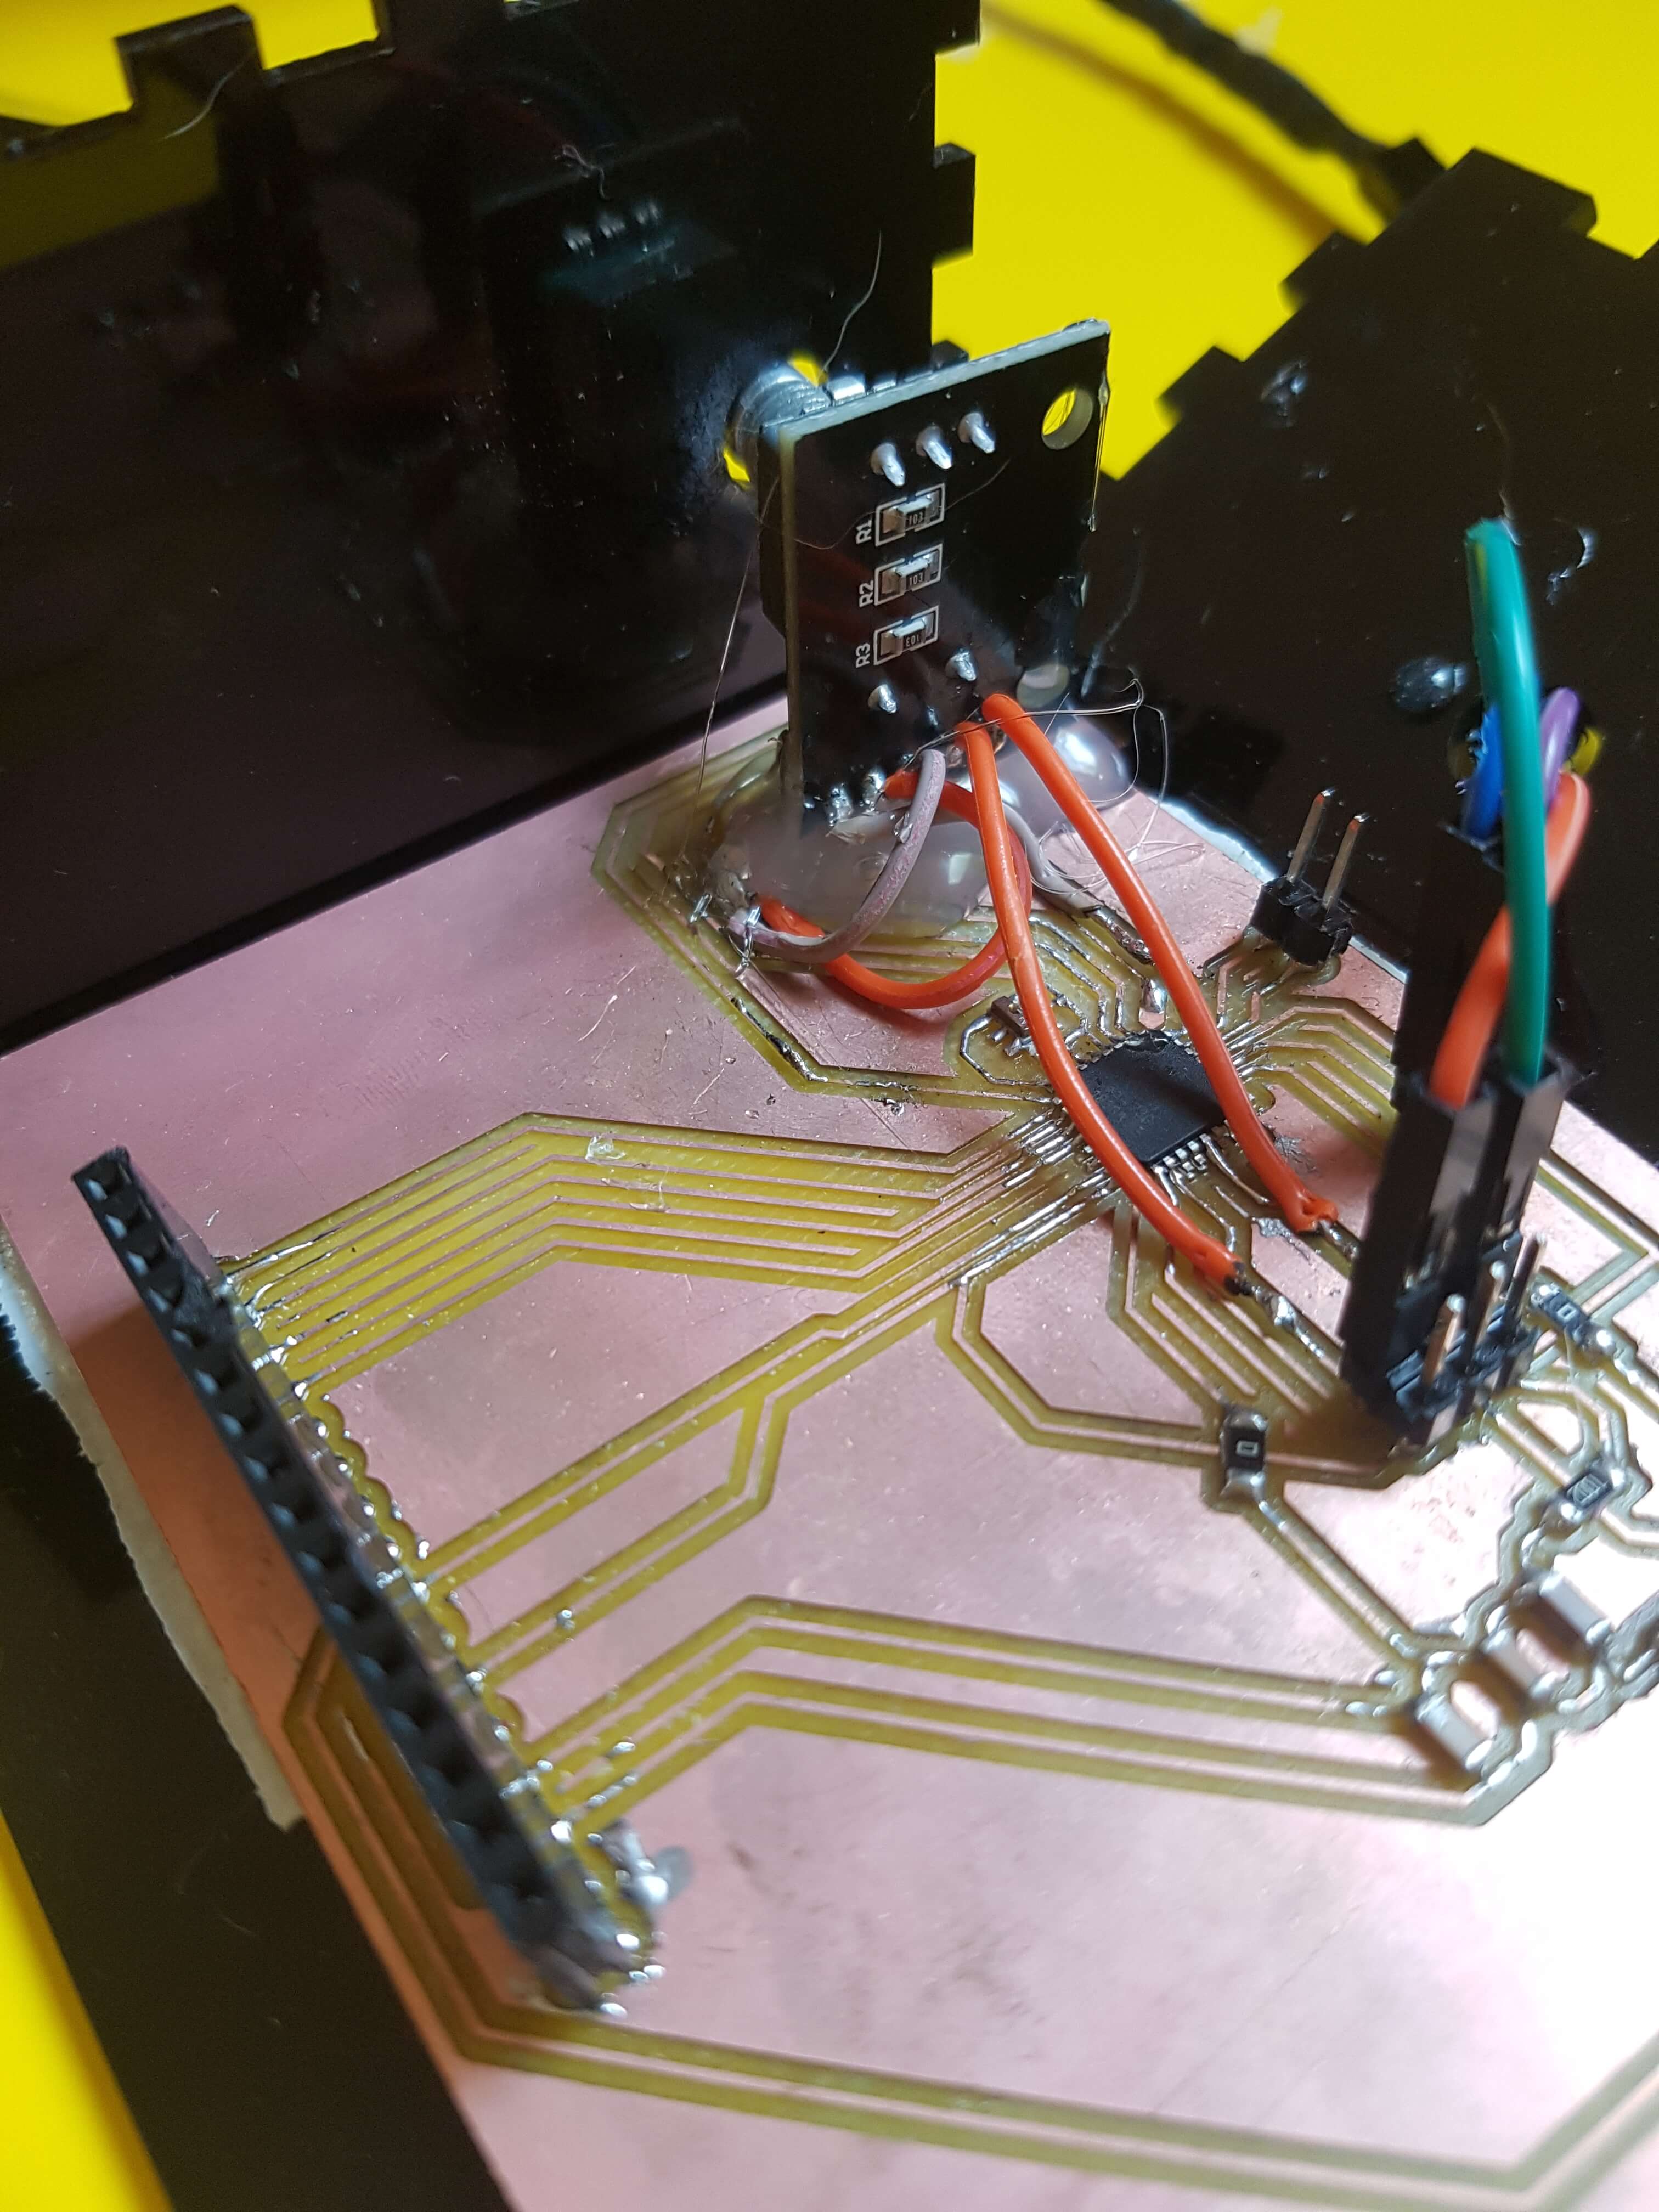
For the electronics, I had 2 boards: one of them is the ATmega board controlling the encoder and the screen, and the other one contains the mosfets and the Arduino nano. You can download the schematics and the board of the ATmega board, and you can also download the schematics and the board of the mosfets. I made them using the SRM-20 milling machine, before I soldered the components on each board.
I then programmed each board with the function I want it to have, This is the code I used for the ATmega board and this one is the code I uploaded on the Arduino nano.
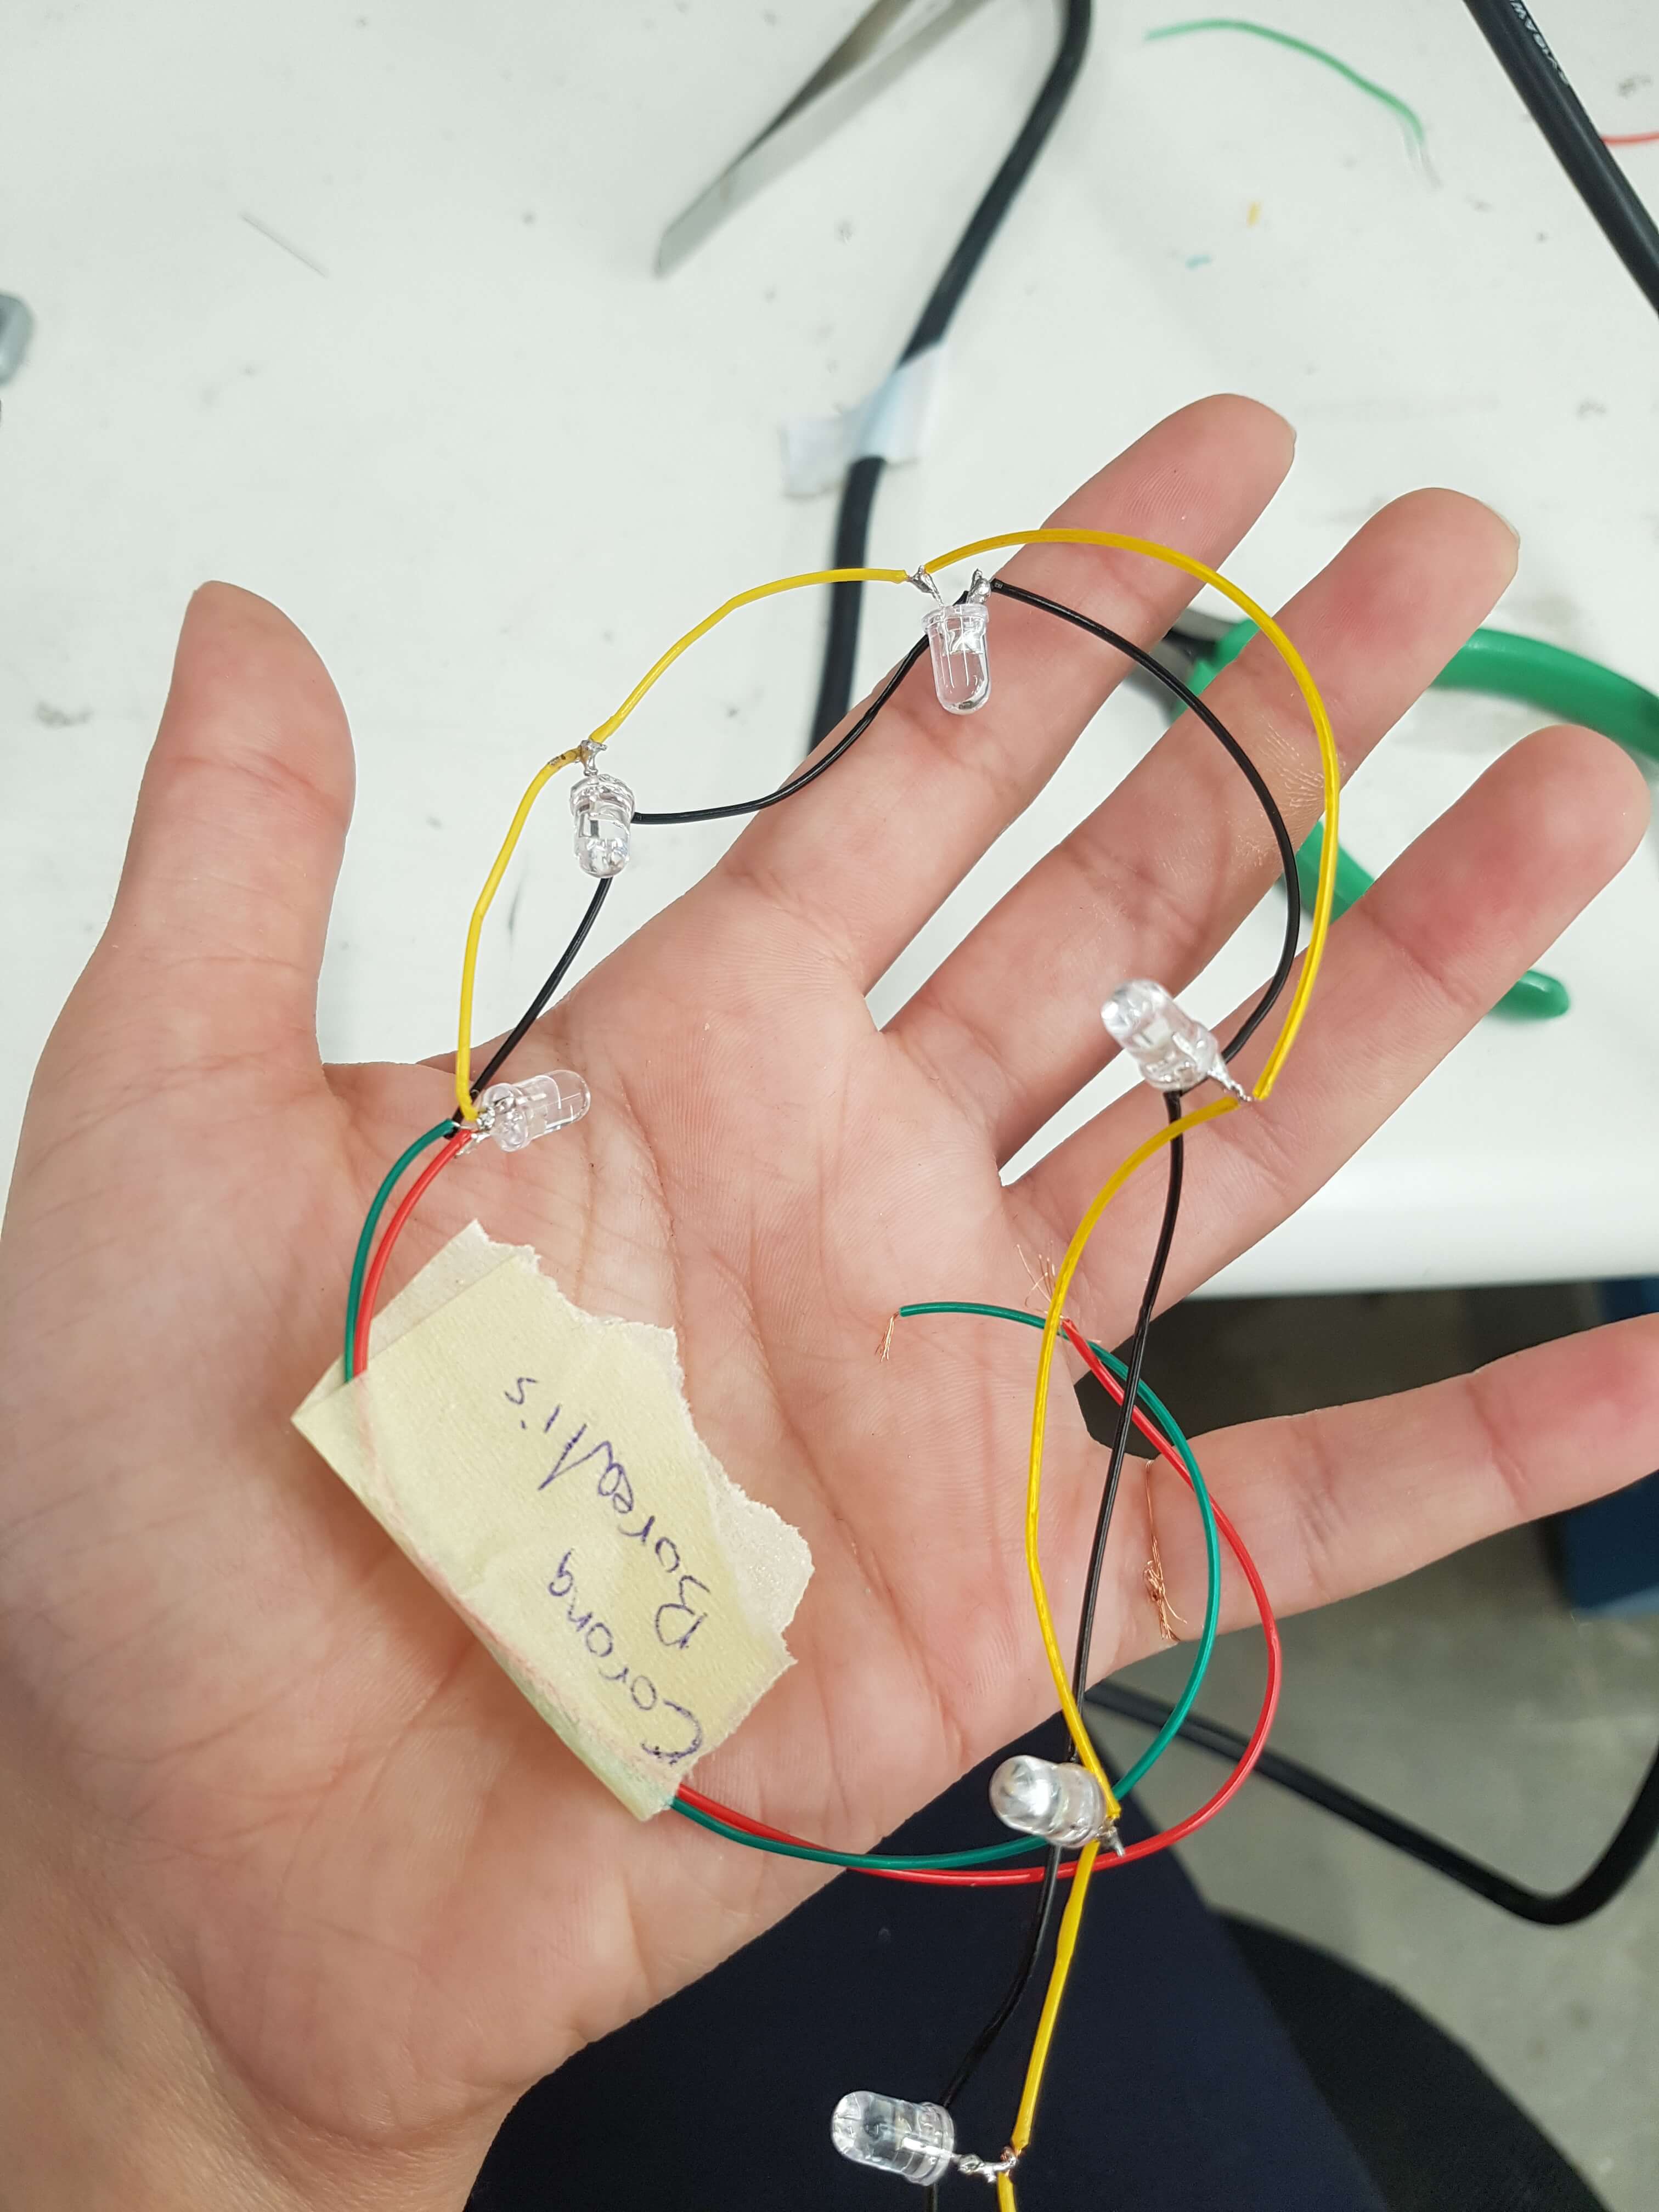
Next I soldered the star constellations together. I did that by connecting the number of LEDs on each constellations together in parallel, and left the + and - on one side longer in order to connect them to the Vin and GND on the mosfets board.
The last part I manufactured was the casing for the screen and encoder to make it look better packaged. I made it using laser cutting on acrylic.
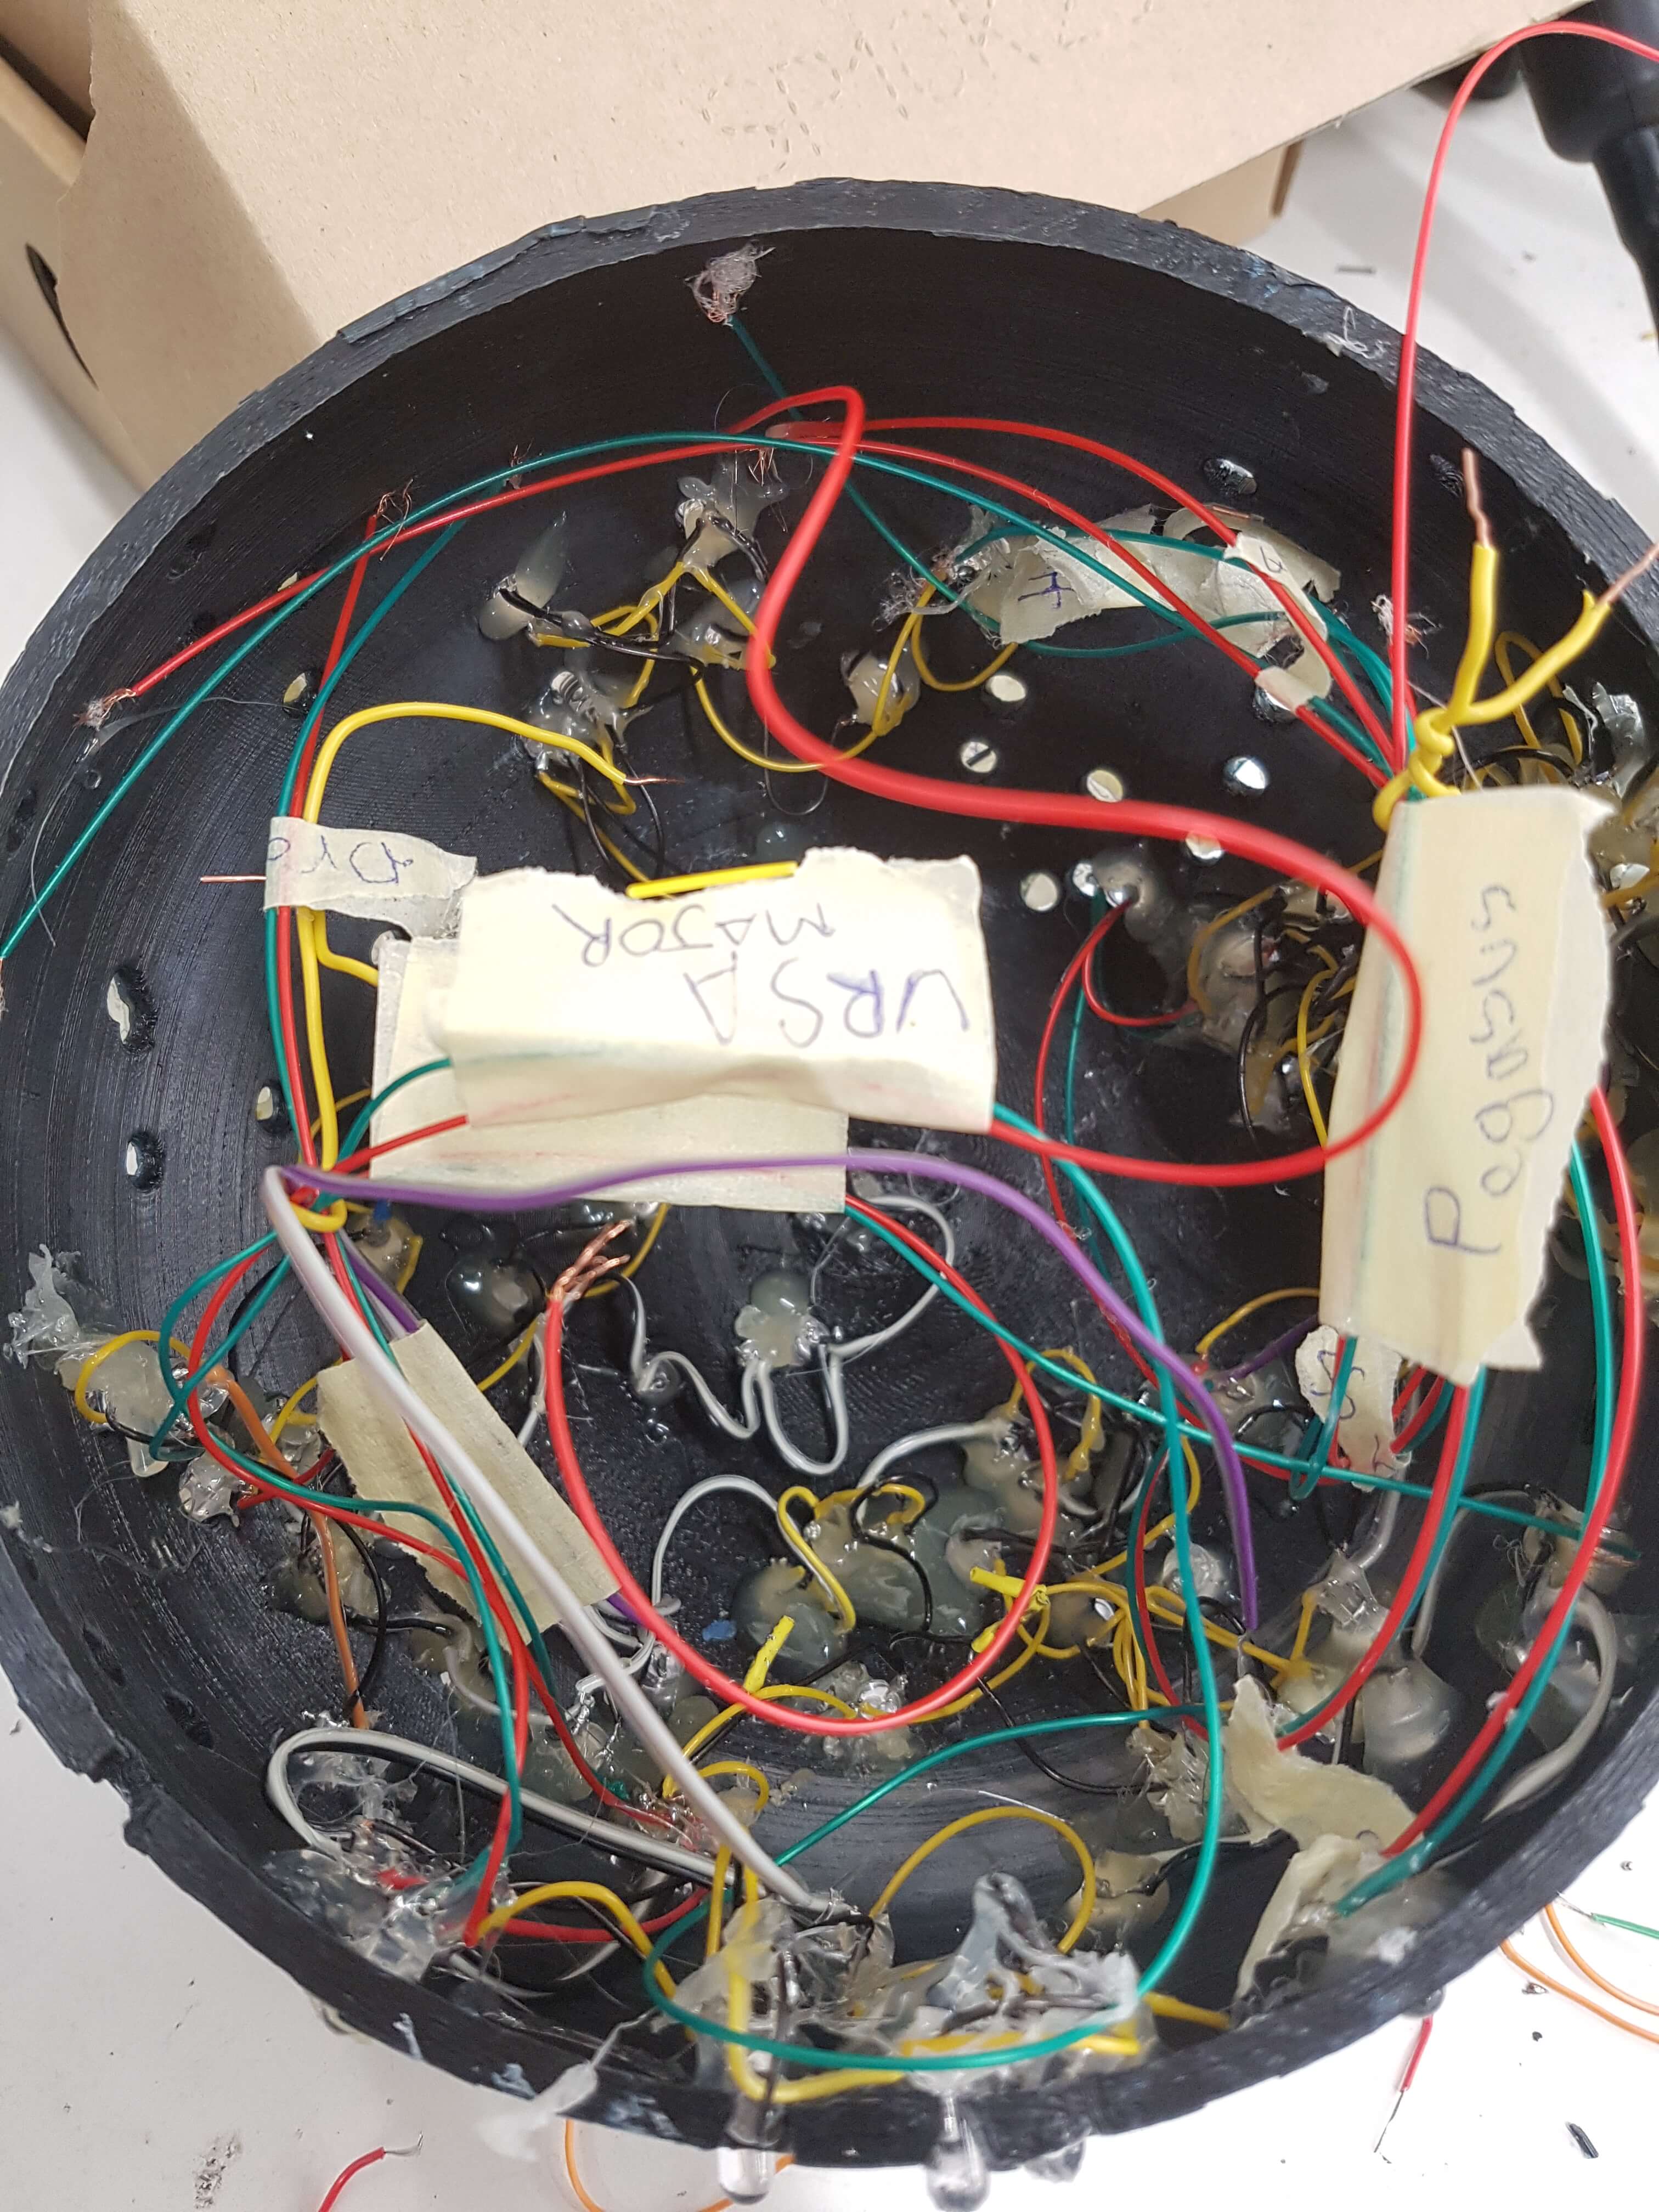


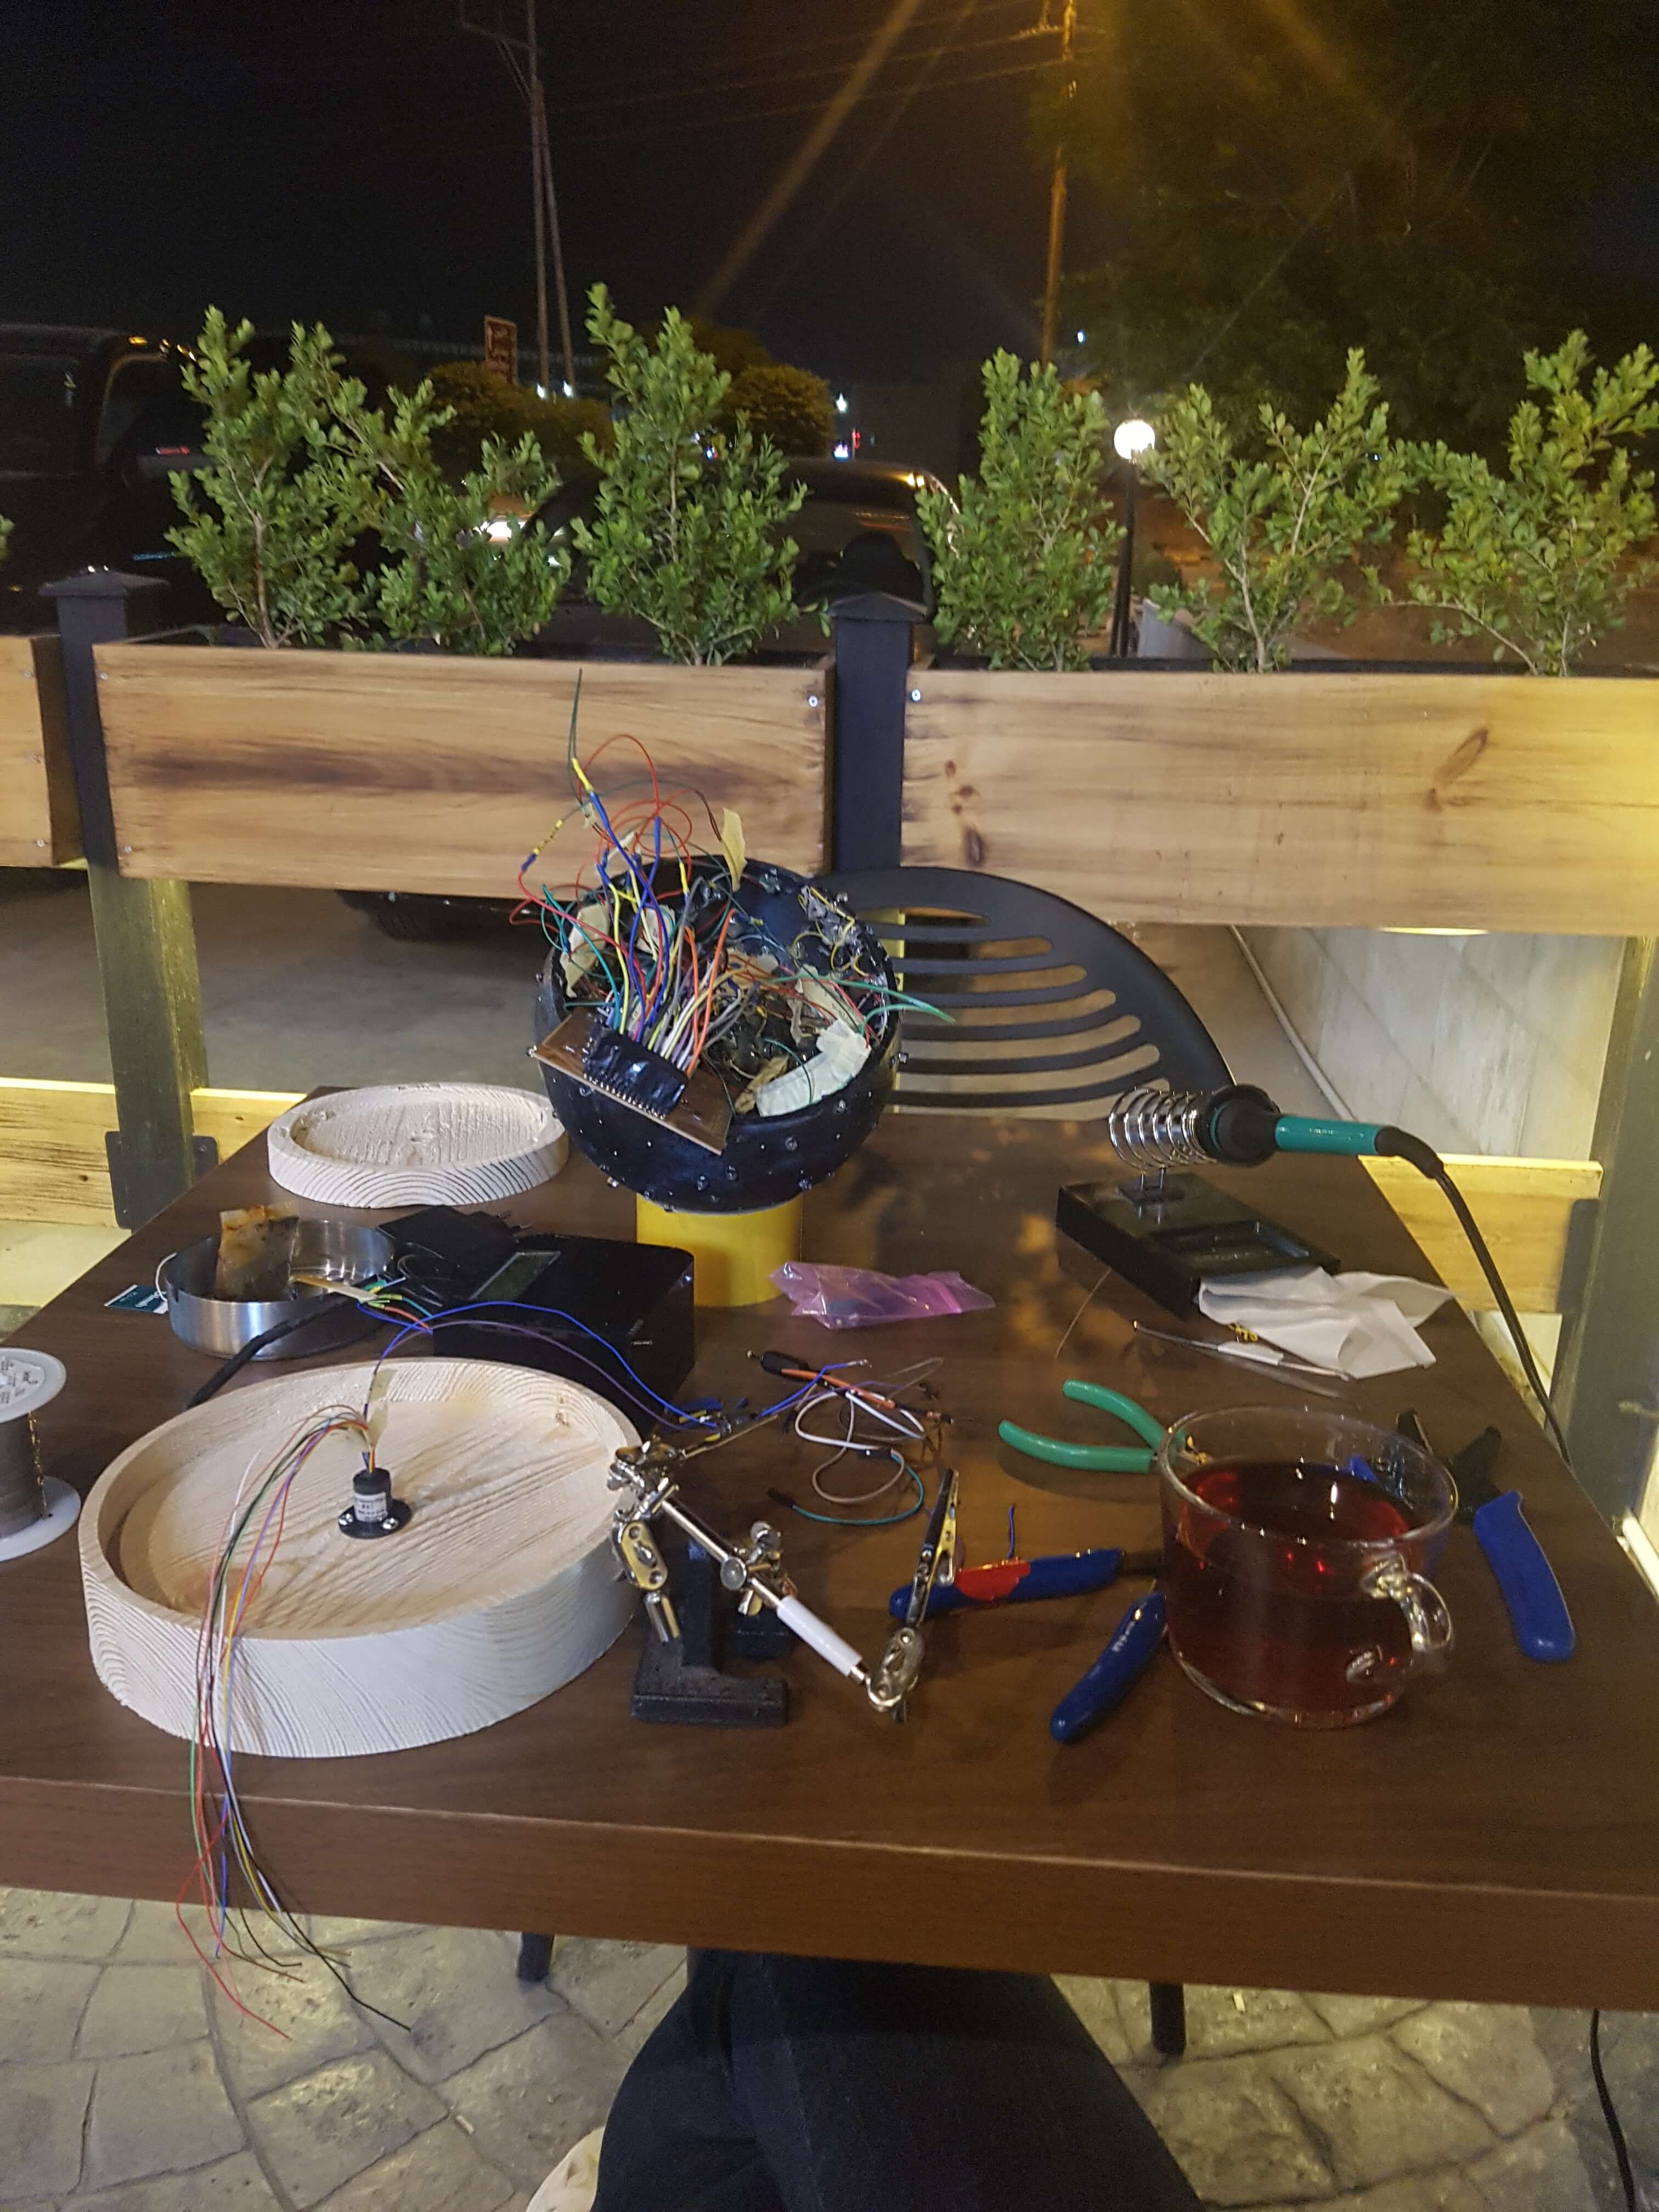
After assembling all the components and parts together, I got these result:
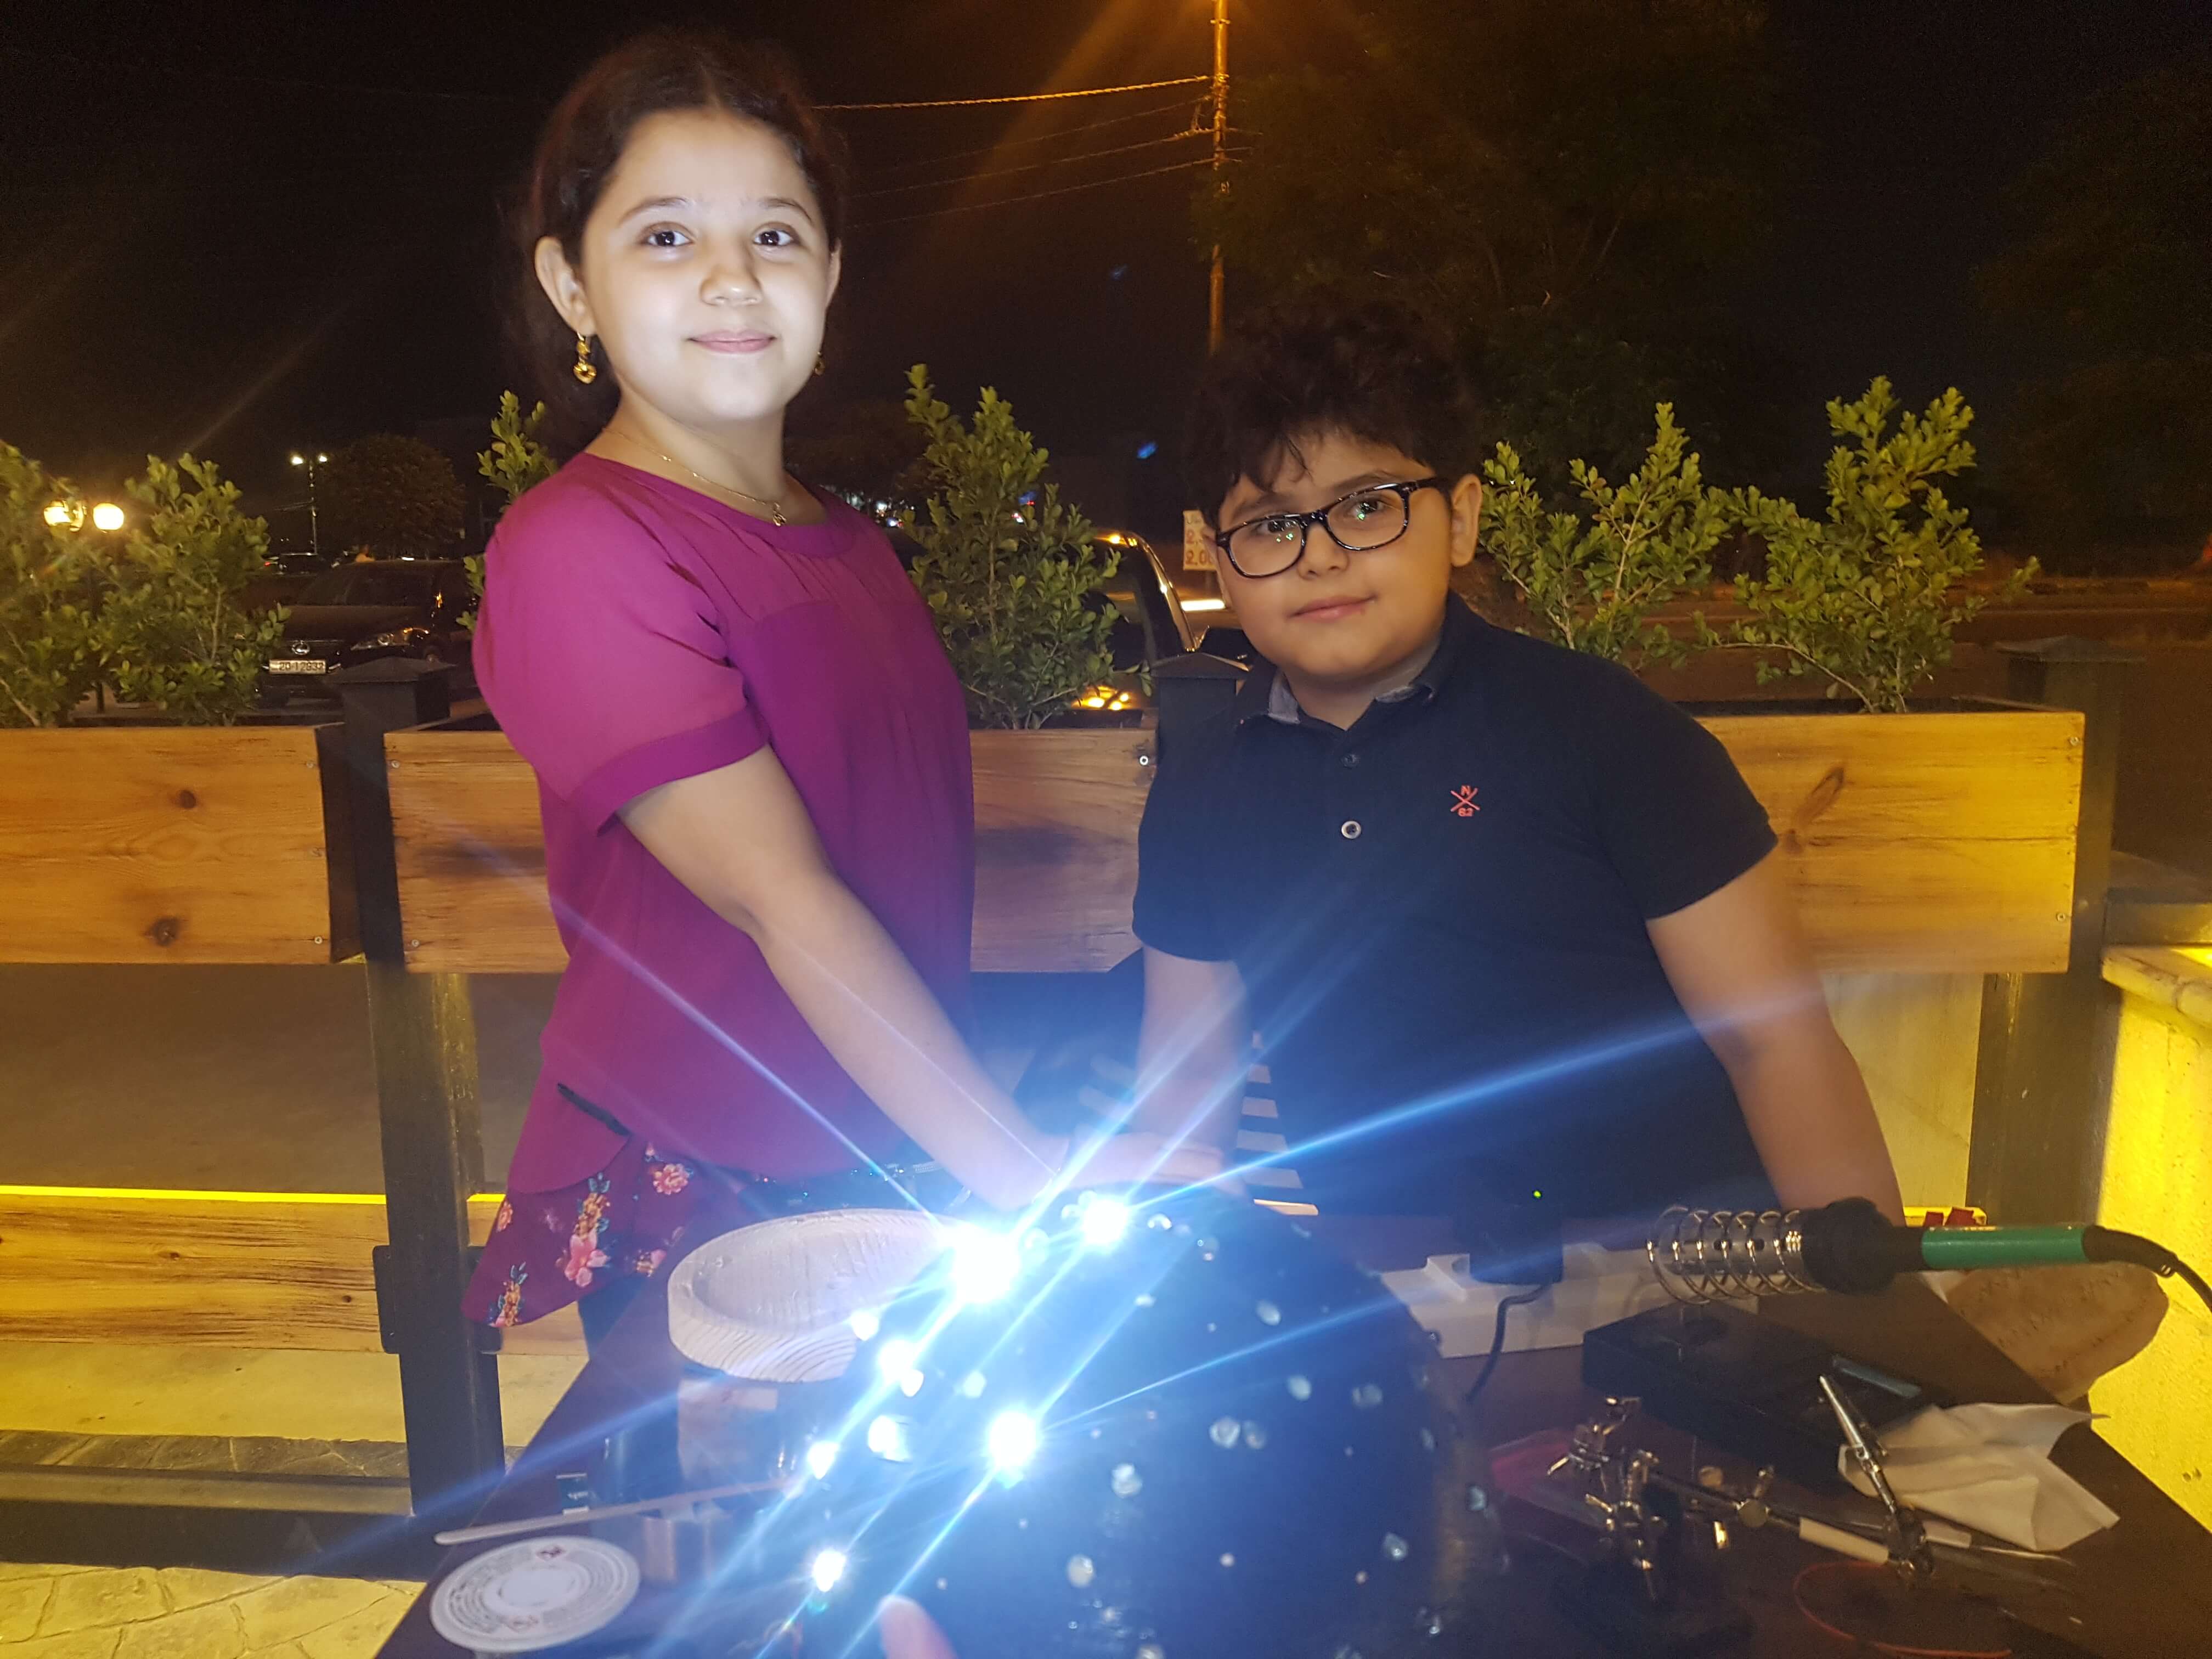
In one of the images above, you could see 2 kids with the globe, they found me working on it and they were intrigued about it, they waited for me to finish and tested it. They found it very informative and appealing, and they even filmed a video of me explaining what it is to show it in their school, so I guess this is my testing of the product.