Back To Top
Week 03 - Computer Controlled Cutting
Laser cutting
This week's assignment was to learn how to use the laser cutting machine. At FabLab Barcelona we have several machines. For this assignement we used the Trotec Speedy 400.
Measuring the material
We first started by measuring the thickness of the material that we needed to test. The materials we wanted to test are acrylic, wood and cardboard.
- Acrylic: 3mm
- Wood: 3.9mm
- Cardboard: 2.7mm
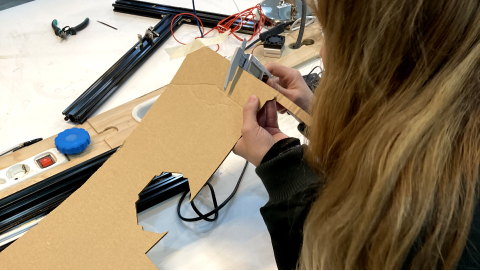
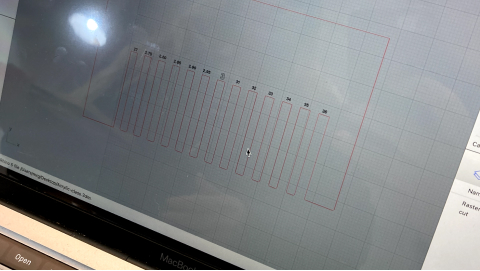
Modeling for Testing
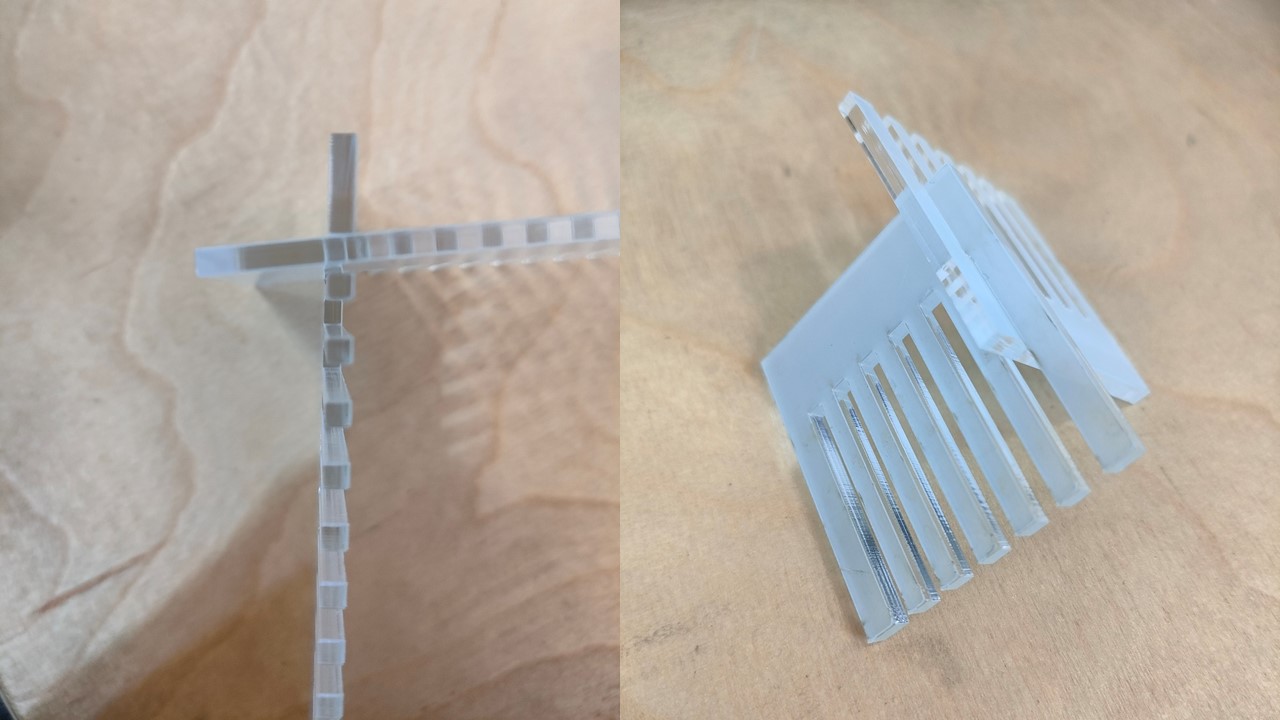
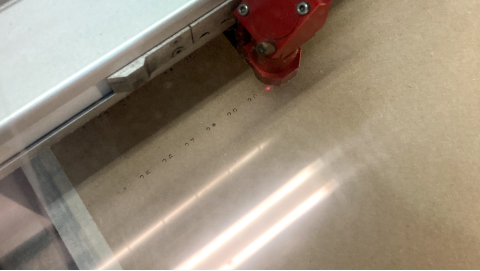
We then designed 2D models with different kerfs for the different materials so that we could test the fit. We did sort of a comb with different measurements, starting from the middle (had the exact measurement of the material) and on to the sides with increases and decreases of 0,05mm. This would help us understand how much its the kerf we need to have for a press-fit, since we already know that the laser always burns a little of the material.
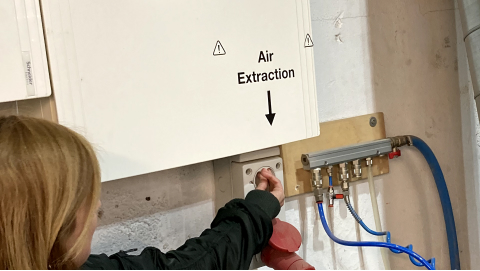
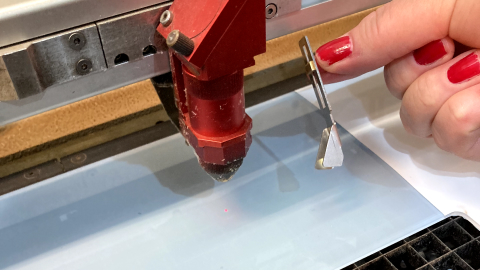
Turning on The Laser Cutting Machine
After the 2D models were ready for laser cutting we went to the machine. We started by turning on the air extractor. Then we focused the laser. We first tested acrylic, so we put it on the bed of the machine and move it up until the acrylic touches the measure piece we hang on to the laser.
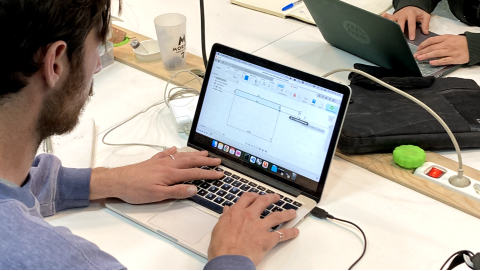
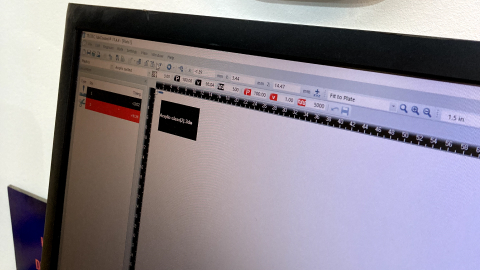
Preparing the files for the machine
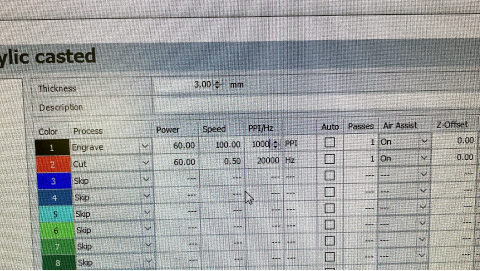
We opened the file for each material in the machine software. In there we can position our model relative to the laser (we can see where it is on the screen and also move it in the machine itself). We define the material and the parameters of the material. The order of the colors we see correspond to the order we want the machine to cut the material, so a black line will be cut first. The depending if we wanted an engrave effect or a clean cut we set up our parameters based on the lab reference board. For acrylic we used the following parameters:
Acrylic
- Engrave: Power(60.00), Speed(100.00), PPI/Hz(1000)
- Cut: Power(60.00), Speed(0.50), PPI/Hz(20000)

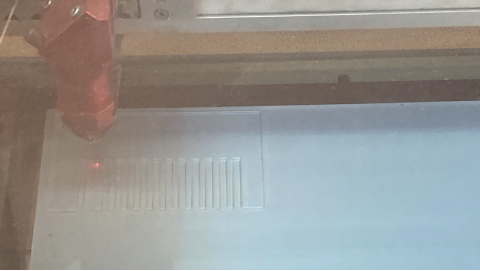
For the acrylic we learned the laser burns quite a lot so in our first model none of the measurements fit properly, so we needed to redo it again.
We slightly modified one of the cutting parameters, the power 55.00.
We also found when we redid the pattern that the cut we needed for the pieces to fit tightly were narrower than the theoretical thickness of the material. So, we measured the acrylic sheet again and found that it measured 2.6 and not the 3 mm it theoretically measures.
With this new measurement, the pattern was modified and it was obtained that in order to fit without play, the holes had to measure 2.65, so the Kerf is only 0.05 mm in this material.
Wood
We followed the same previous process but for wood. The parameters we used were the following:
- Engrave: Power(60.00), Speed(100.00), PPI/Hz(1000)
- Cut: Power(75.00), Speed(0.50), PPI/Hz(1000)
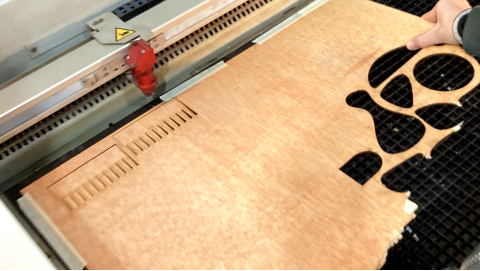
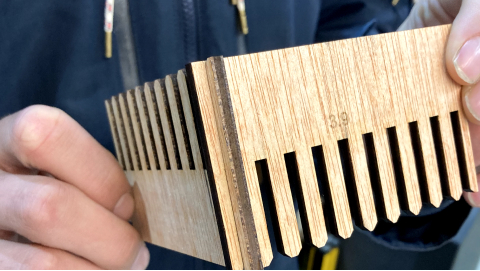
We learned that for wood we can have a kerf of 0.2mm
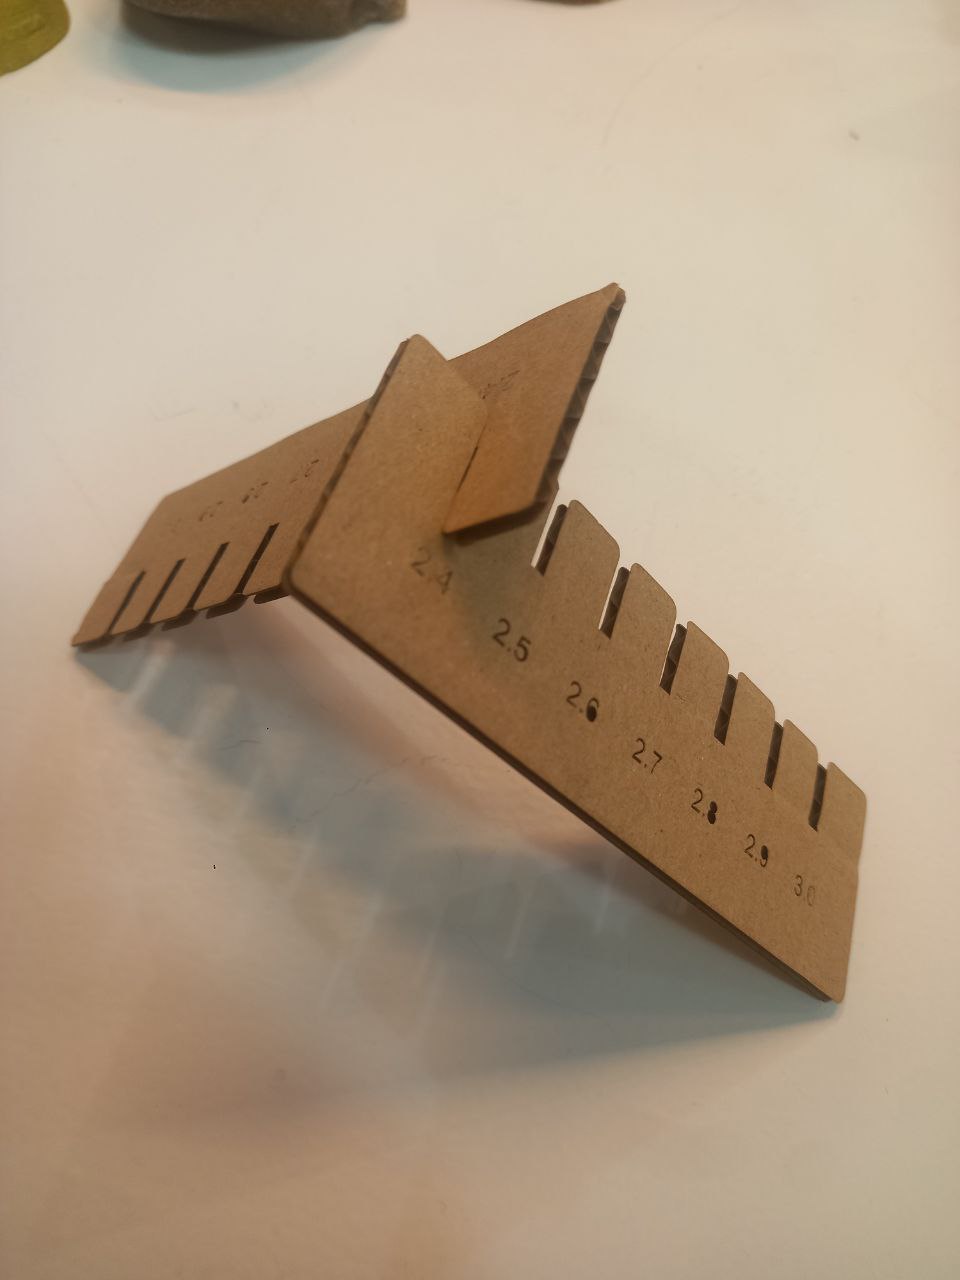
Cardboard
We followed the same previous process but for cardboard. The parameters we used were the following:
- Engrave: Power(90.00), Speed(90.00), PPI/Hz(1000)
- Cut: Power(30.00), Speed(1.00), PPI/Hz(1000)
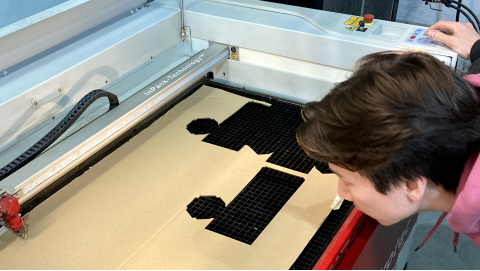
- We learned that for cardboard we can have a kerf of 0.2mm
- A distinctive feature of laser cutting of cardboard is the elasticity of the material.
- The edges were cut perfectly, there are no obvious traces of charring.
- With an average thickness of 2.7 mm of this cardboard, 2.5 mm is the size for an accurate and elastic connection.
- For a tight connection, 2.4 mm is needed, this is possible due to the softness of the material.
- In the case of cardboard, both options are suitable for a large number of connected elements.
- The difference in engraving shows that the material lies not perfectly plane, surface also.
- Due to the unevenness of the material (corrugated structure), for accurate result cardboard engraving standart settings need to be tested every time.