14—Molding and Casting
Assignment
- Group assignment:
- Review the safety data sheets for each of your molding and casting materials
- Make and compare test casts with each of them
- Compare printing vs milling molds
- Individual assignment:
- Design a mold around the process you'll be using, produce it with a smooth surface finish, and use it to cast parts.
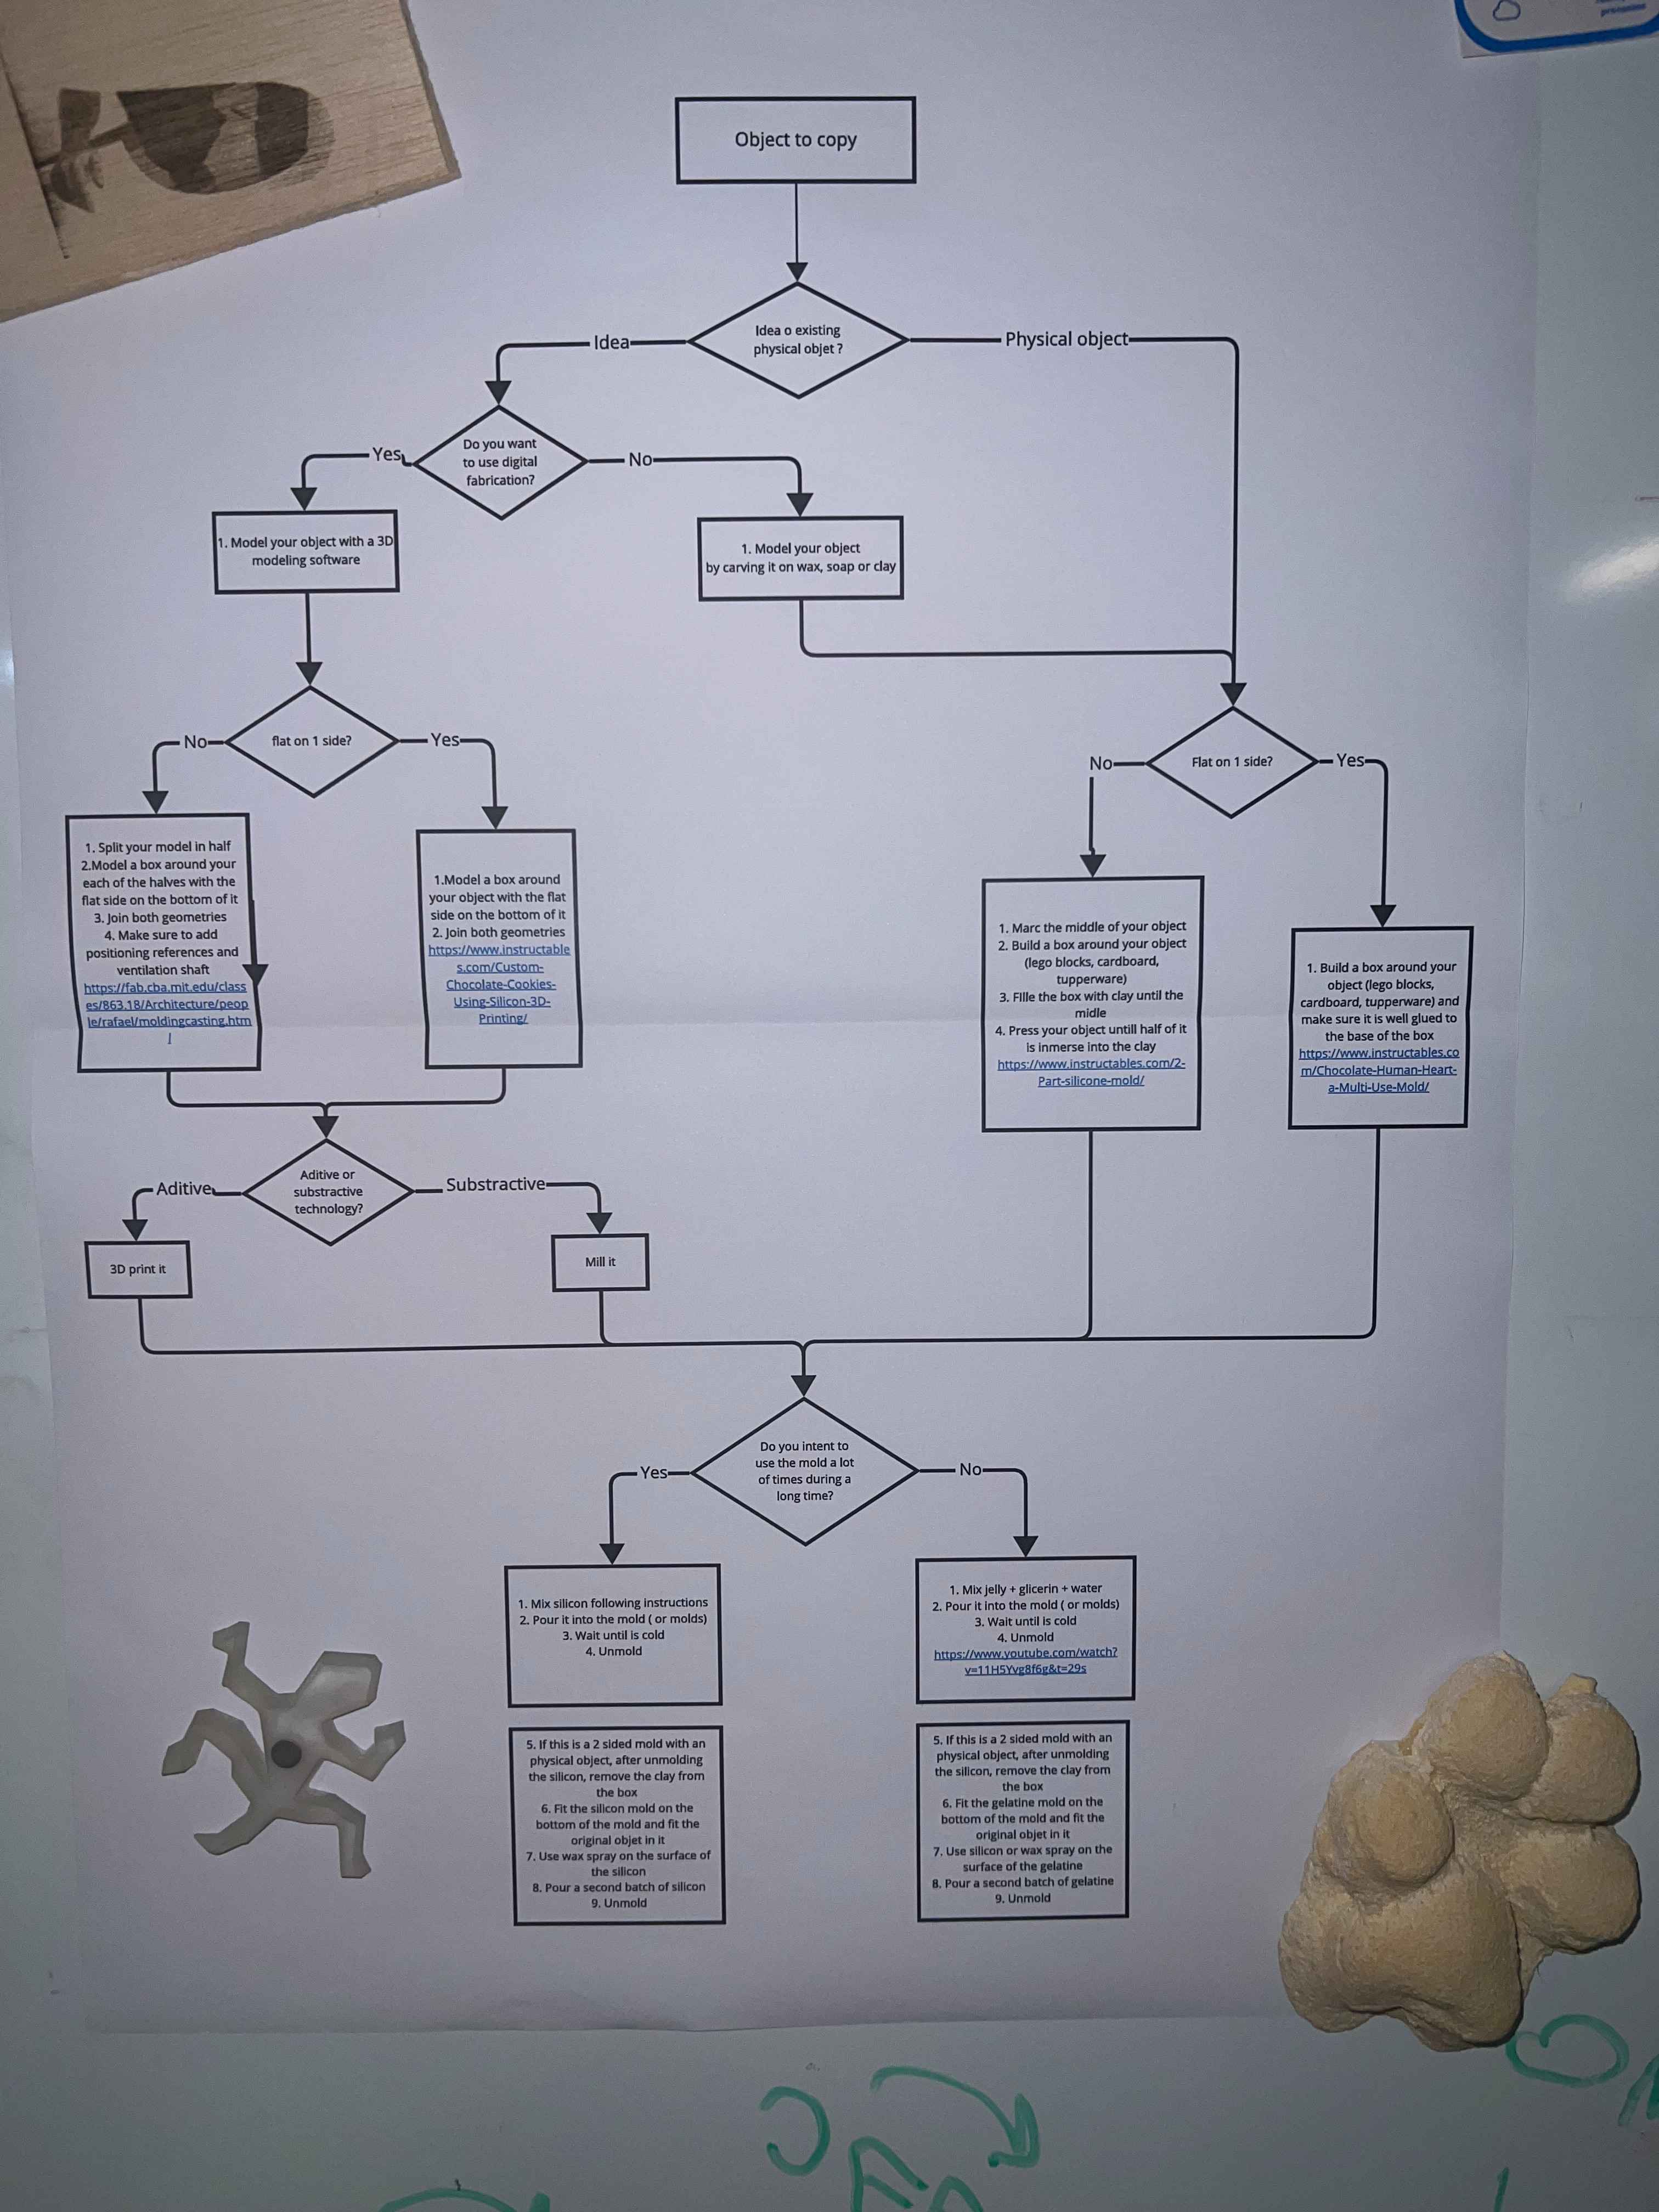
00— Moulding & Casting - Process Overview
The basics
A mold is a way to make single part reproducible. While there are many ways to make molds, for our purposes we are using a 3 part process. These part are your negative, positive, then your resulting molded part. Of course there are many other more complex mold types and materials that are not covered here, this is just the basics. Once you have your mold you can make unlimited pieces (almost)!
Broadly these are the steps
- Design your file in CAD paying special attention to consideration specific to creating a usable negative mold (like draft angle).
- Mill or 3D print your mold negative
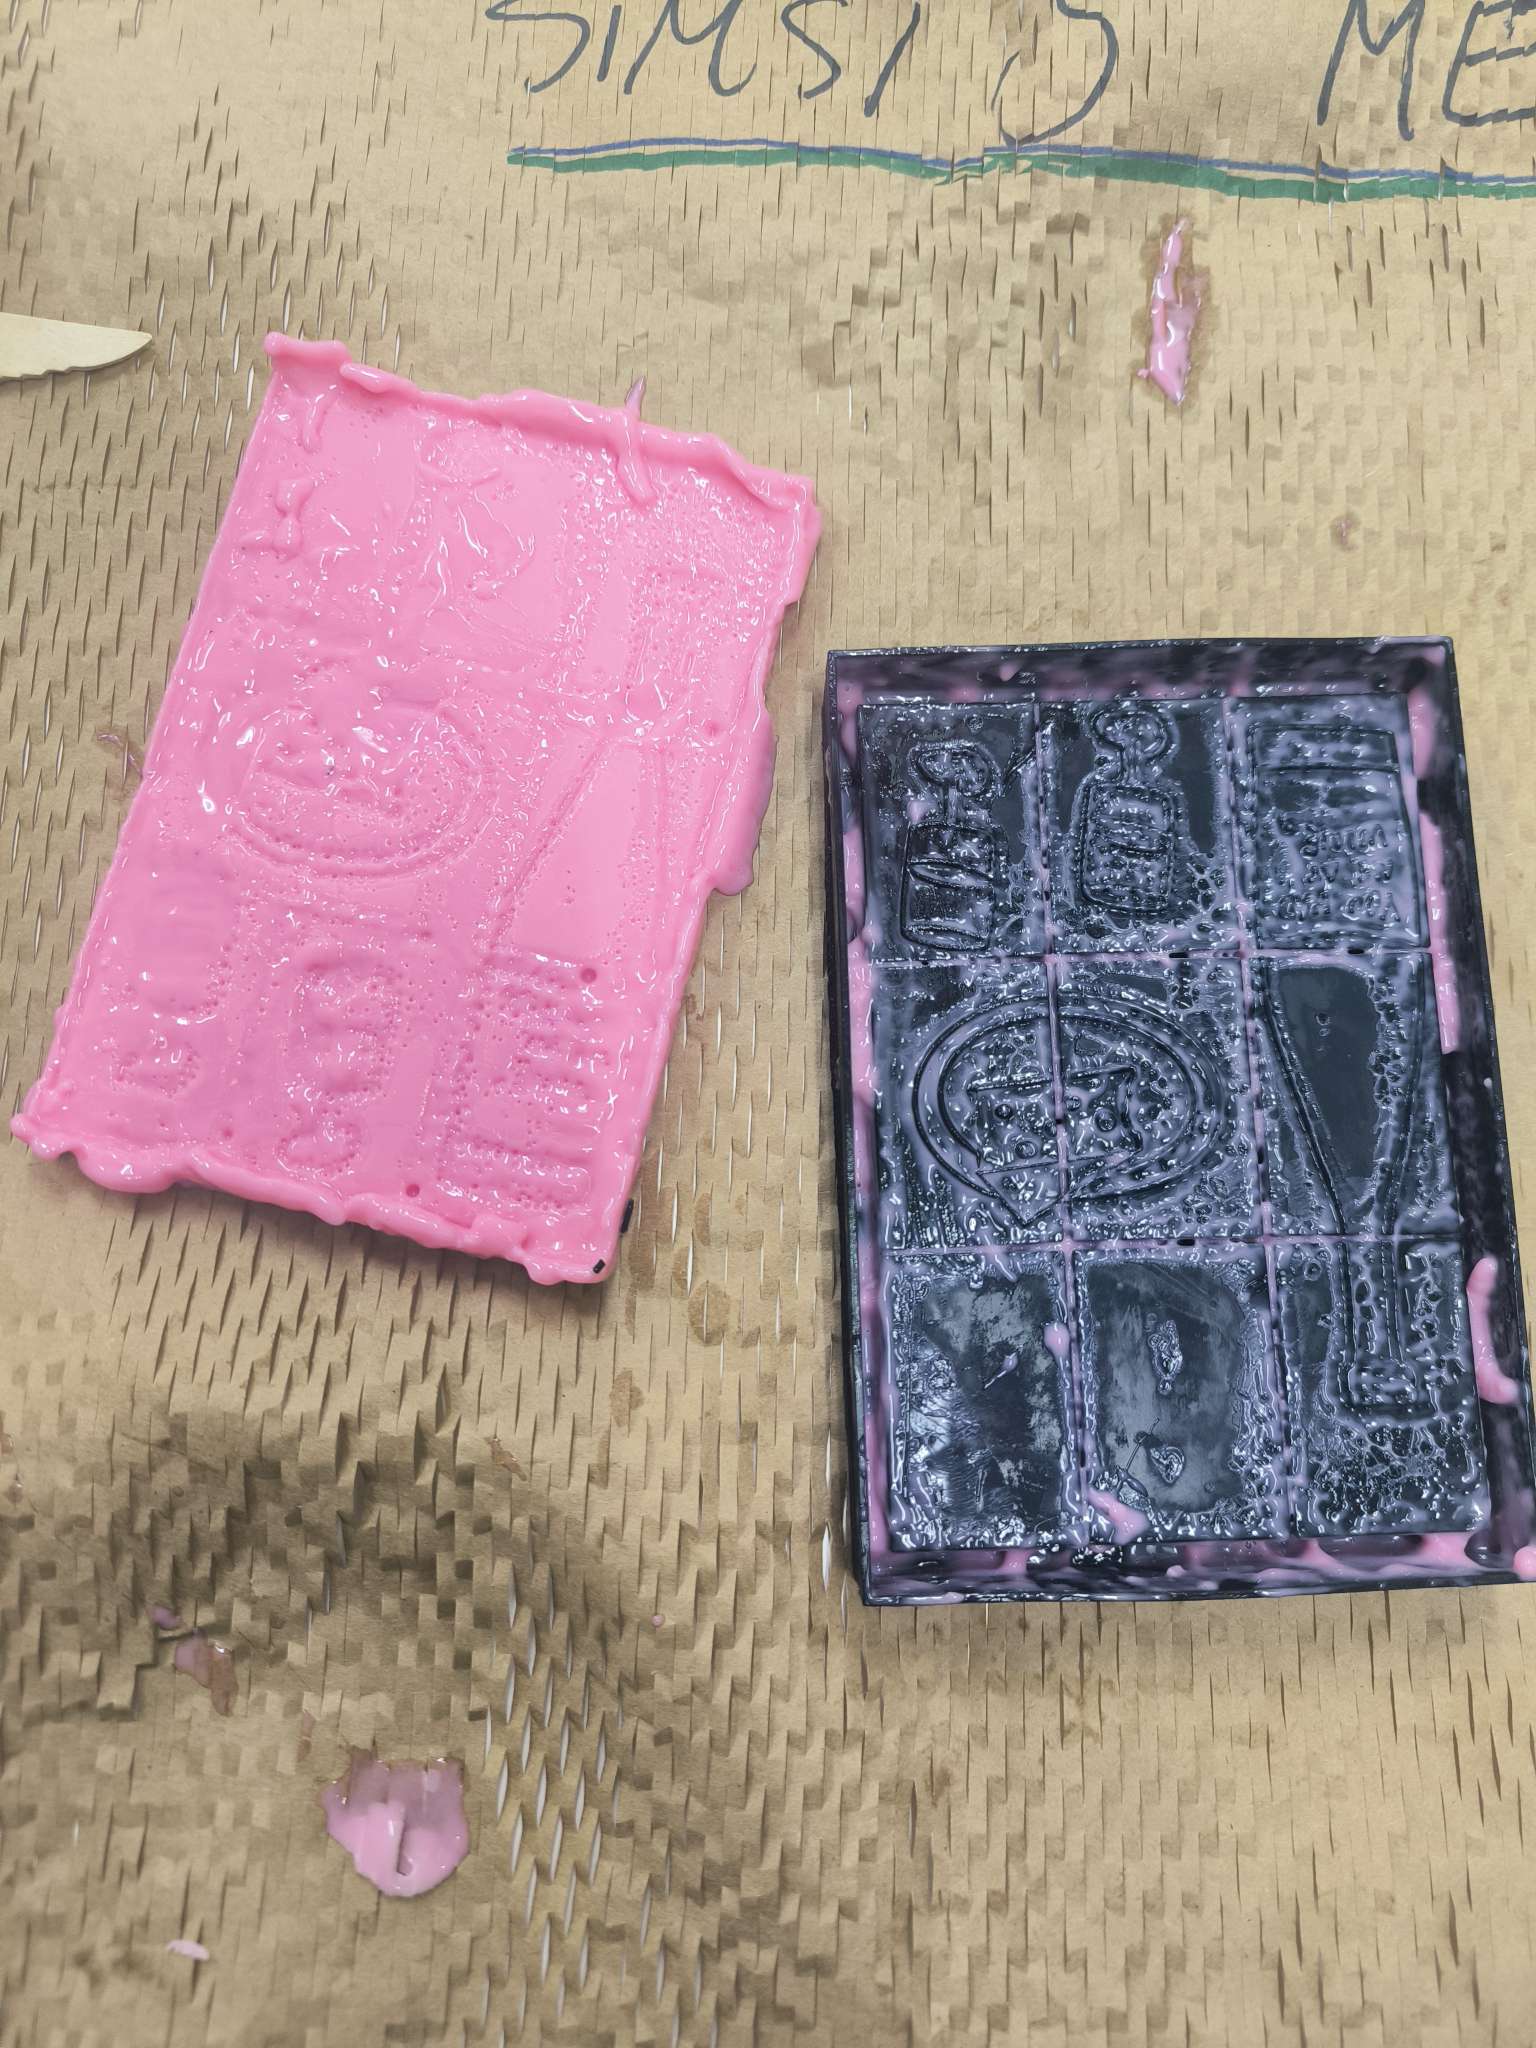
- Mix your mold positive compound (silicone is typically chosen) and pour it into your negative.
- Once the mix has solidified you then pour whatever (compatible) material you want into your new mold and just wait for it to set.
For a more detailed look at some mold making workflows, Julia provided us with a very useful graphic in class for those of us who are process oriented and systematic.
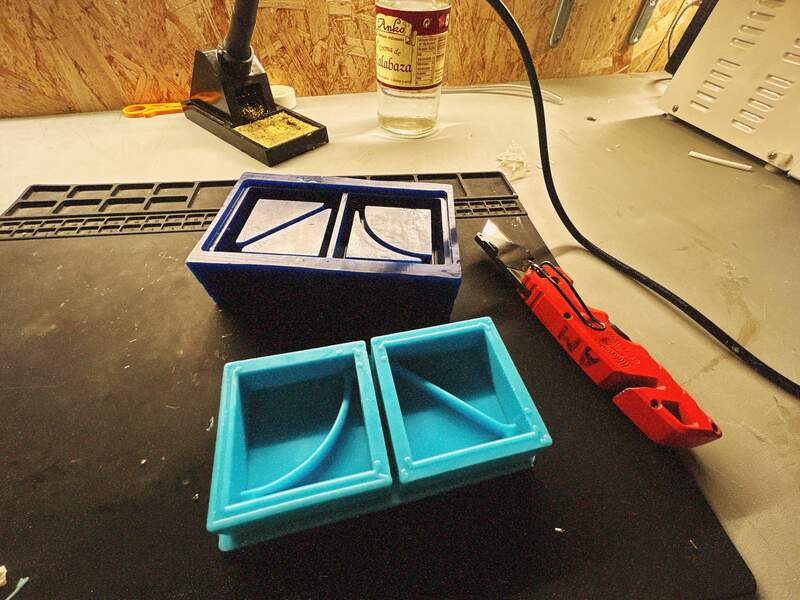
01— Different approaches to making your positive
Here we are looking at two different approaches to making your positive mold. These two approaches are milling machining wax and 3D printing with an FDM printer.
Milling
Milling is a multi part process requiring an expensive (but remoldable) milling wax stock and a number of steps to properly program the tool path in CAM.
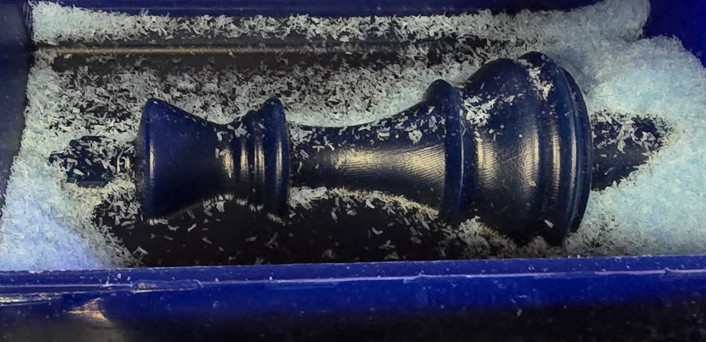
Overview of Process
- Securely mount your wax block square with the bed using double sided adhesive tape.
- Go through your tool loading / homing routine.
- Load your file.
- Run your file
- Repeat if you require tool changes.
- Below is the result of the milling.
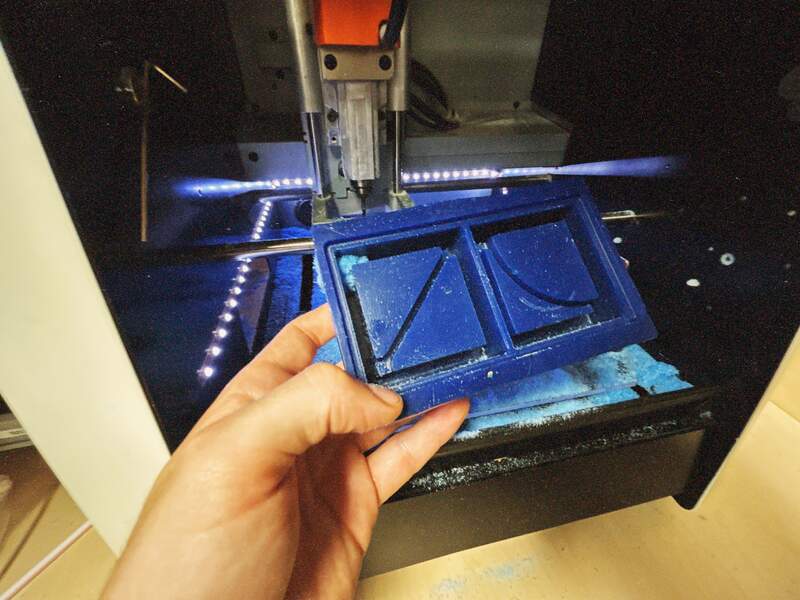
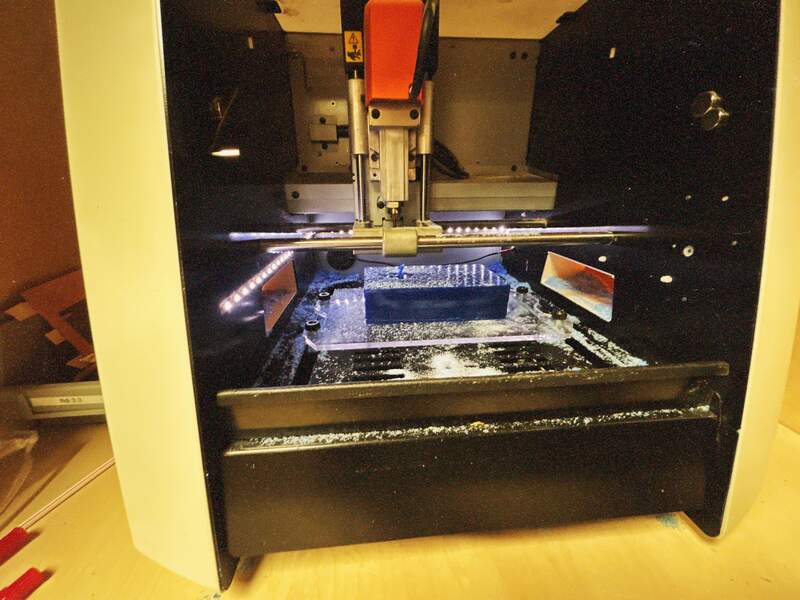
3D Printing (SLA + FDM)
For the 3D printing section Camila used a mixture of both SLA and FDM printing to create her mold positive. She used SLA for her form and then FDM for the box that surrounded it.
- Initial design process in Blender (with similar consideration around geometry as the milled mold)
- Standard preparations for the FDM and SLA printed parts.
- Preparation and pouring of silicone negative material
- Mixing and pouring of two part resin
.jpg)
This process actually did not fully succeed. The silicone mold negative did not properly cure. However the broken part (below) had an even surface finish and a geometry that closely matched the original desing. Thus, what can be inferred is that had the silicone material had cured properly we would have a part with very high fidelity and a smooth finish. Really not a lot different than what you could get from milling wax.
.jpeg)
Comparing 3D Printing vs Milling
When compared directly the difference between 3D printing vs milling are quite obvious actually. 3D printing is a more streamlined process allowing for easier customization and the production of more complex or larger geometries. Milled wax can give you greater surface finish (if you program your tool paths carefully), but can be laborious to program the 3D milling tool paths in CAM. So assuming you are after surface finish we think either taking the SLA approach or printing using FDM + sanding and priming (to improve surface finish) are the more streamlined and flexible approaches to making your initial mold positive.
02— Comparing Molding Materials
All of us chose to use different variations of 2 part silicone molding compound that had slightly different properties.
EASYL 940 FDA Food grade Silicone— Mark Shamash + Edward
Datasheet + Safety Datasheet
Safety notes
- Well ventilated space
- Wear gloves such as butyl rubber, neoprene, or PVC
- Wear safety glasses with side shielding for splatter
EASYL 940 FDA silicon achieved the desired realism when using the lime as a mould. However, the next time I pour a mould over a buoyant material I will use tape to stick it to the bottom of the vessel.
EASYL 940 FDA silicon does not work well to create a negative mould from a resin printed positive. Perhaps because the resin did not cure enough. In my design there was tight detail that may have eluded the UV light and alcohol curing processes
The EASYL 940 FDA takes about 30mins to set and so one has a small window to measure, mix, pour, and then take the bubbles out with the vacuum machine.
EASYL 940 FDA - Food Safe Mould for Ice Cubes or Chocolate - Mark Shamash
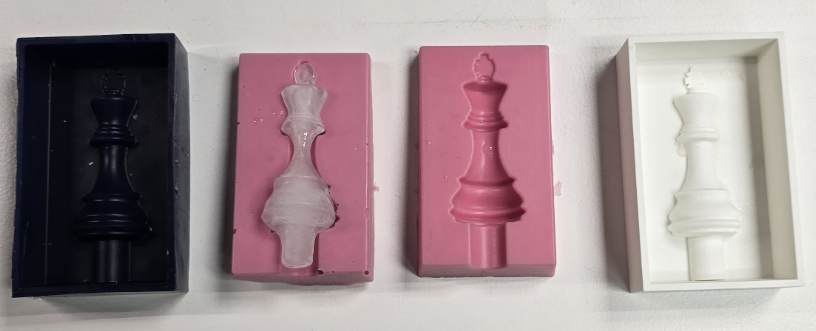
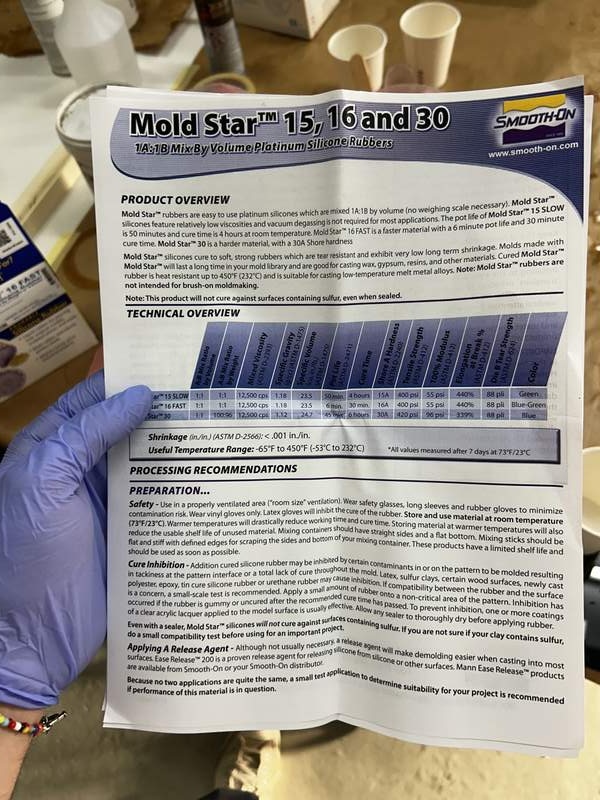
Mold Star 16 FAST— Andrew Mark
Datasheet
Safety Datasheet
Safety Notes
- Well ventilated space
- Wear gloves such as butyl rubber, neoprene, or PVC
- Wear safety glasses with side shielding for splatter
I chose to use a fast casting silicone from the well known brand Smooth-On because Ive seen this brand for years and people seem to love it. I chose the fast casting version because I knew it should be easy to mix and I could easily make several attempts in a short time if the first attempt did not work. The preparation for the Mold Star 16 FAST was very straightforward. There were however some nuances to preparing two part silicone that I only learned while actually mixing and pouring the compound.
- I put on my gloves and watched the video included on the box. Super simple.. the Mold Star 16 FAST has an A and a B part that are mixed in equal ratios. Cure times and other details below.
- Before I started the bottles needed to be thoroughly mixed. I used separate wooden popsicle sticks to mix them individually. I am not sure how long or what I was supposed to be looking for in order to ensure they had been well mixed. Either way I just mixed them for about 1.5 mins each. In hindsight I might have mixed them longer.
- I zeroed my scale and filled my mold positive with water. The resulting weight was 150 grams. This meant I needed 75 gram for both my A and B parts.
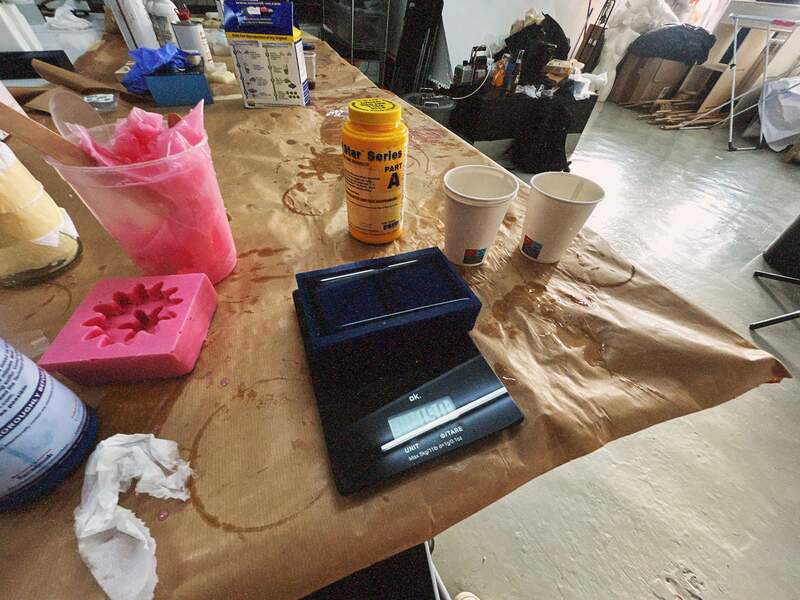
- I poured each in a separate cup on the scale and stopped at exactly 75 grams for each compound.
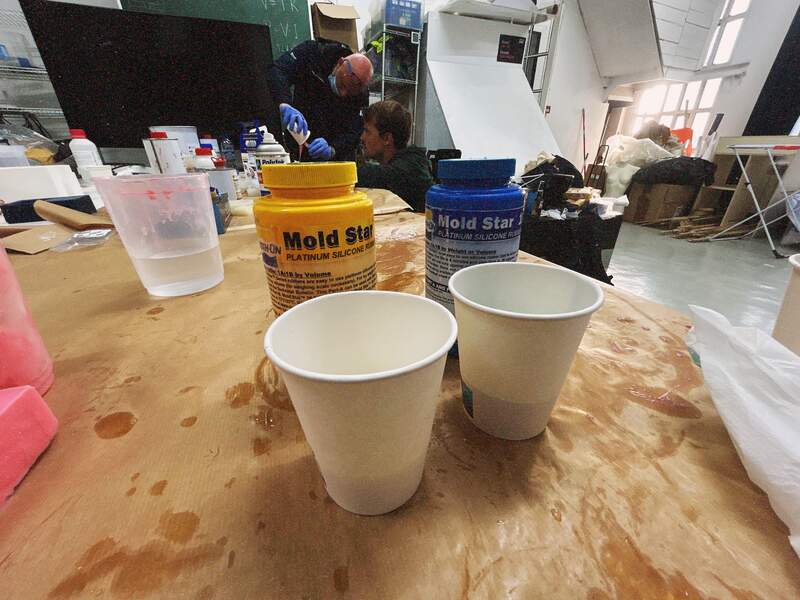
- I stupidly… poured it into a 3rd cup. Next time it would be better to pour it into 1 of the A or B compound cups. Something I did not consider was that it is very important that you get all of the mixture out and you leave none left in the cup as anything left over means that you ratio between you A and B mixture will be off.
- I vigorously mixed for 2 min making sure to scrape the side as I went.
- I poured the mixture into the mold with as thin of stream as possible pouring about a meter above the piece so as to reduce bubbles.
- Set time was ridiculously fast 30 min, I removed the mold about an hour later and it had no noticeable voids and was easy to de-mold.
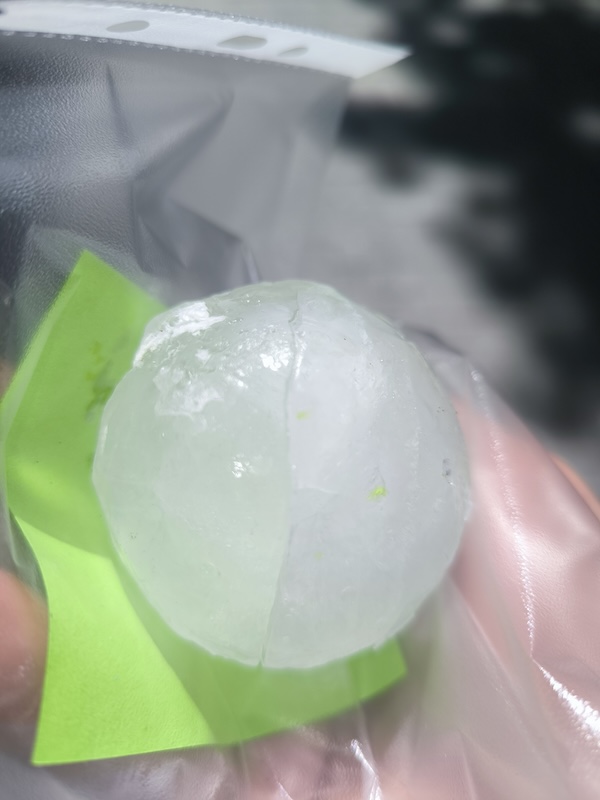
03— Casting materials
Ice
Datasheet
Its H20
Safety Datasheet
Ummm… I guess just don’t split or concentrate the H2 or the O you should be fine ;)
Safety Overview
- Again it is water
For Edward’s mold of a Lime he filled up his mould with water and placed it in the freezer. The result was a cracked lime ice sculpture with some nice detail on the butt and pores of the lime ice cube.
Preparation overview
- Pour the water into the mold.
- Put in freezer
.gif)
As you can see in the video above it was quite fragile and cracked along the fissures as it was dropped.
Nevertheless this could be nice for a cocktail!
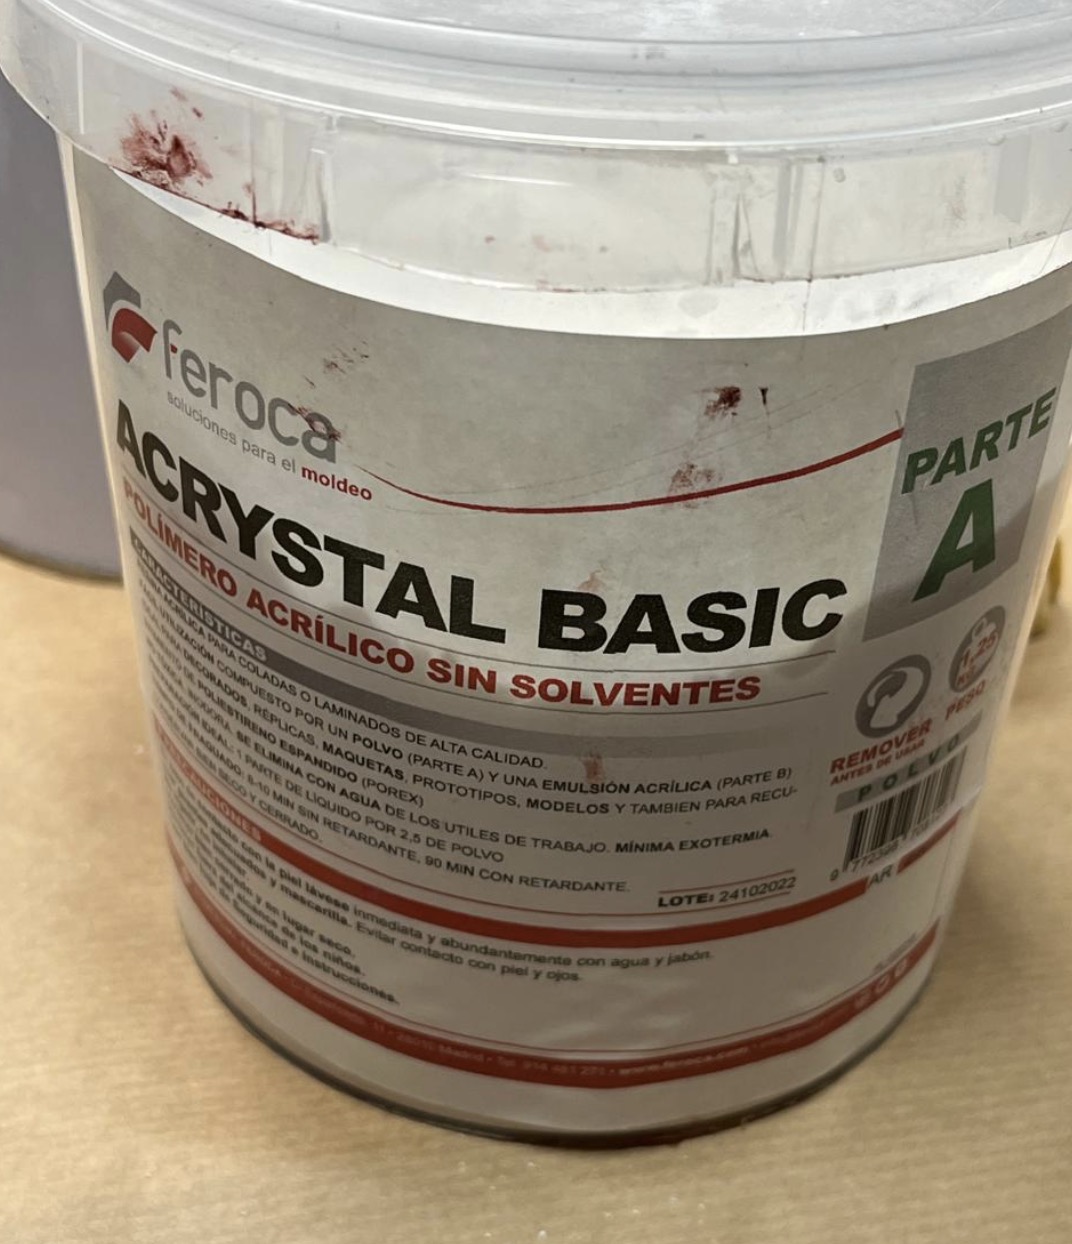
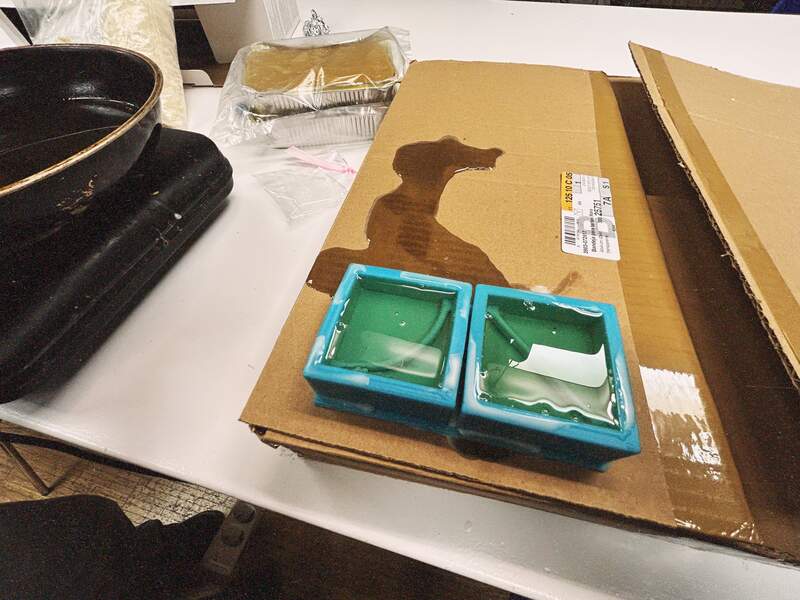
Acrystal Basic
Datasheet + Safety Datasheet
Safety Notes
- Well ventilated space
- Wear gloves such as butyl rubber, neoprene, or PVC
- Wear safety glasses if you are being careful
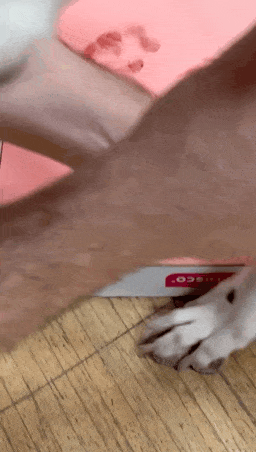
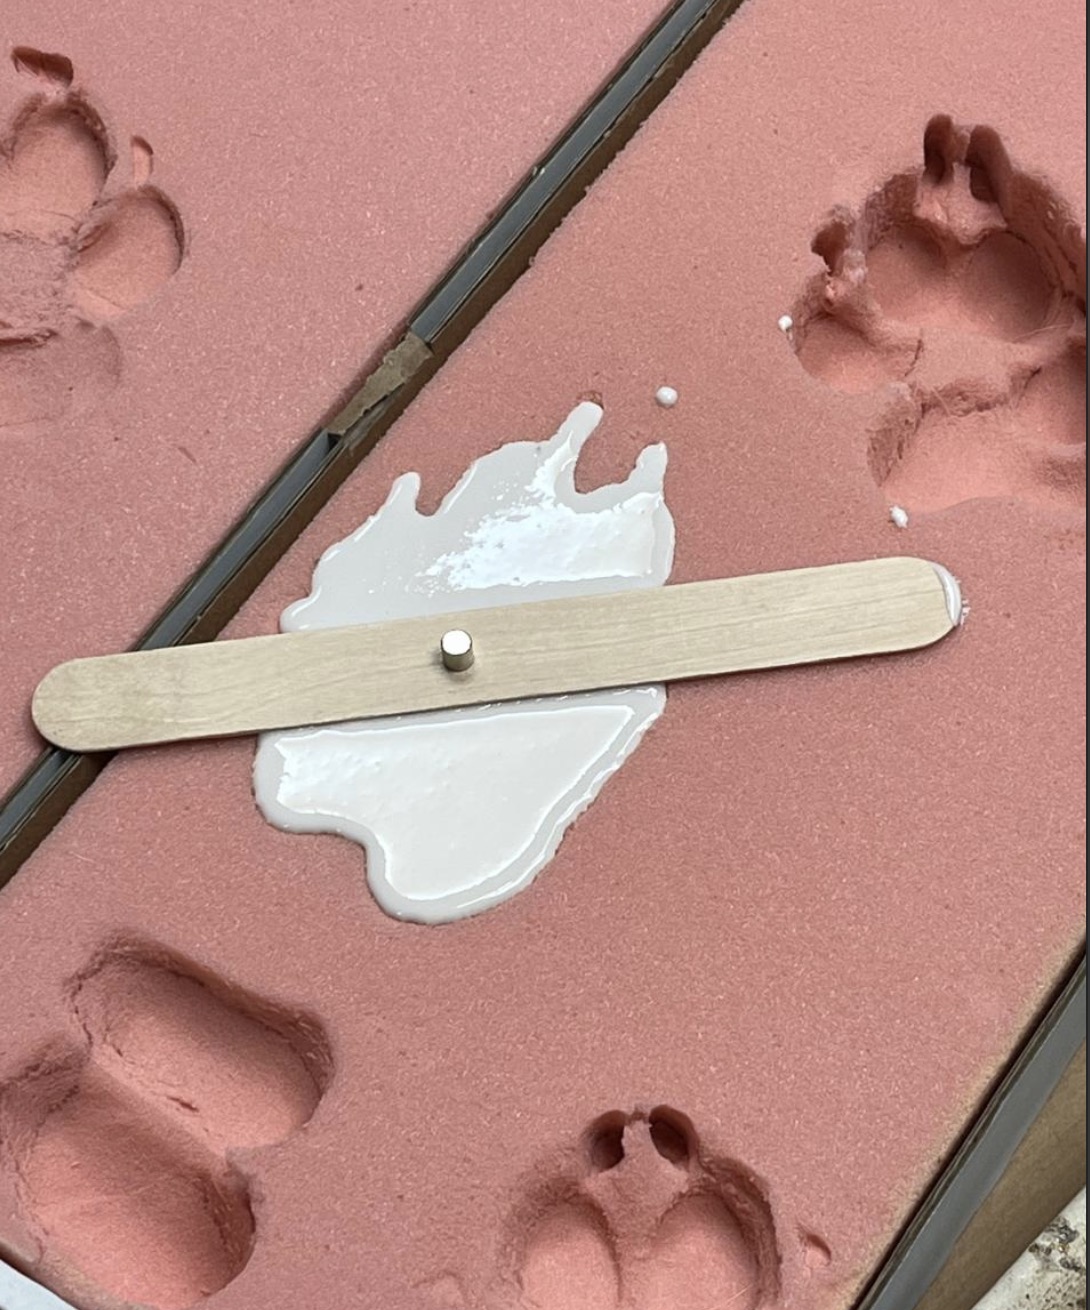
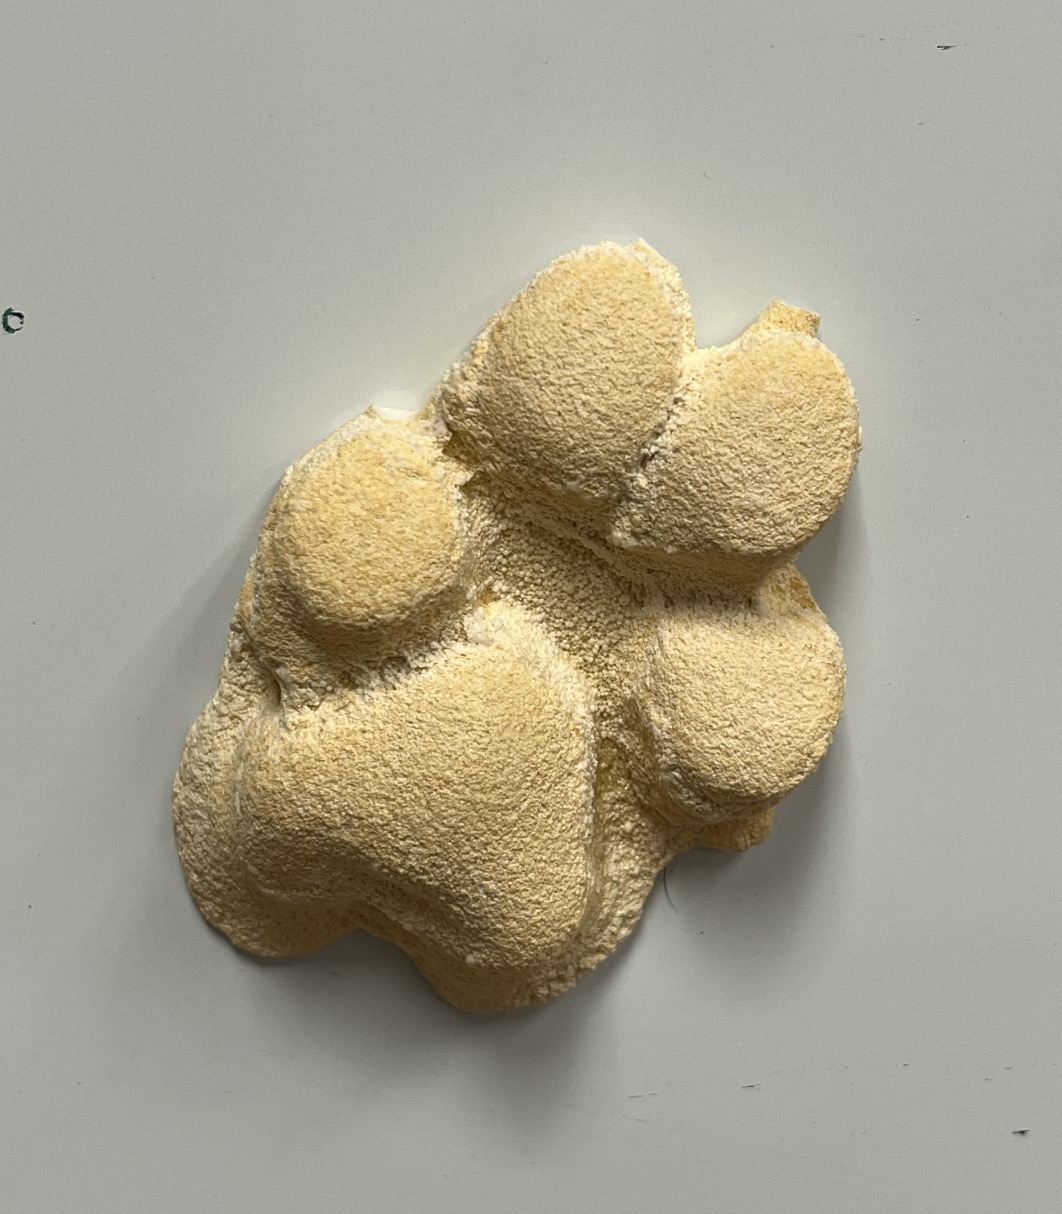
For this project, we had the help of a very special guest—Chena, the Dalmatian from our lab. This sweet senior pup generously lent us her paw so we could create a cast using Acrystal over one of the soft foam materials typically used for making foot orthotics. She bravely stepped onto the foam, and once we had the impression, we carefully removed her paw.
Next, we prepared a mixture of Acrystal and poured it into the paw impression. Before it fully set, we embedded a magnet into the cast so it could be displayed easily. We then let it cure for an hour.
Preparation overview:
- In a clean container, we mixed 2.5 parts Acrystal powder with 1 part Acrystal liquid (Activator) by volume.
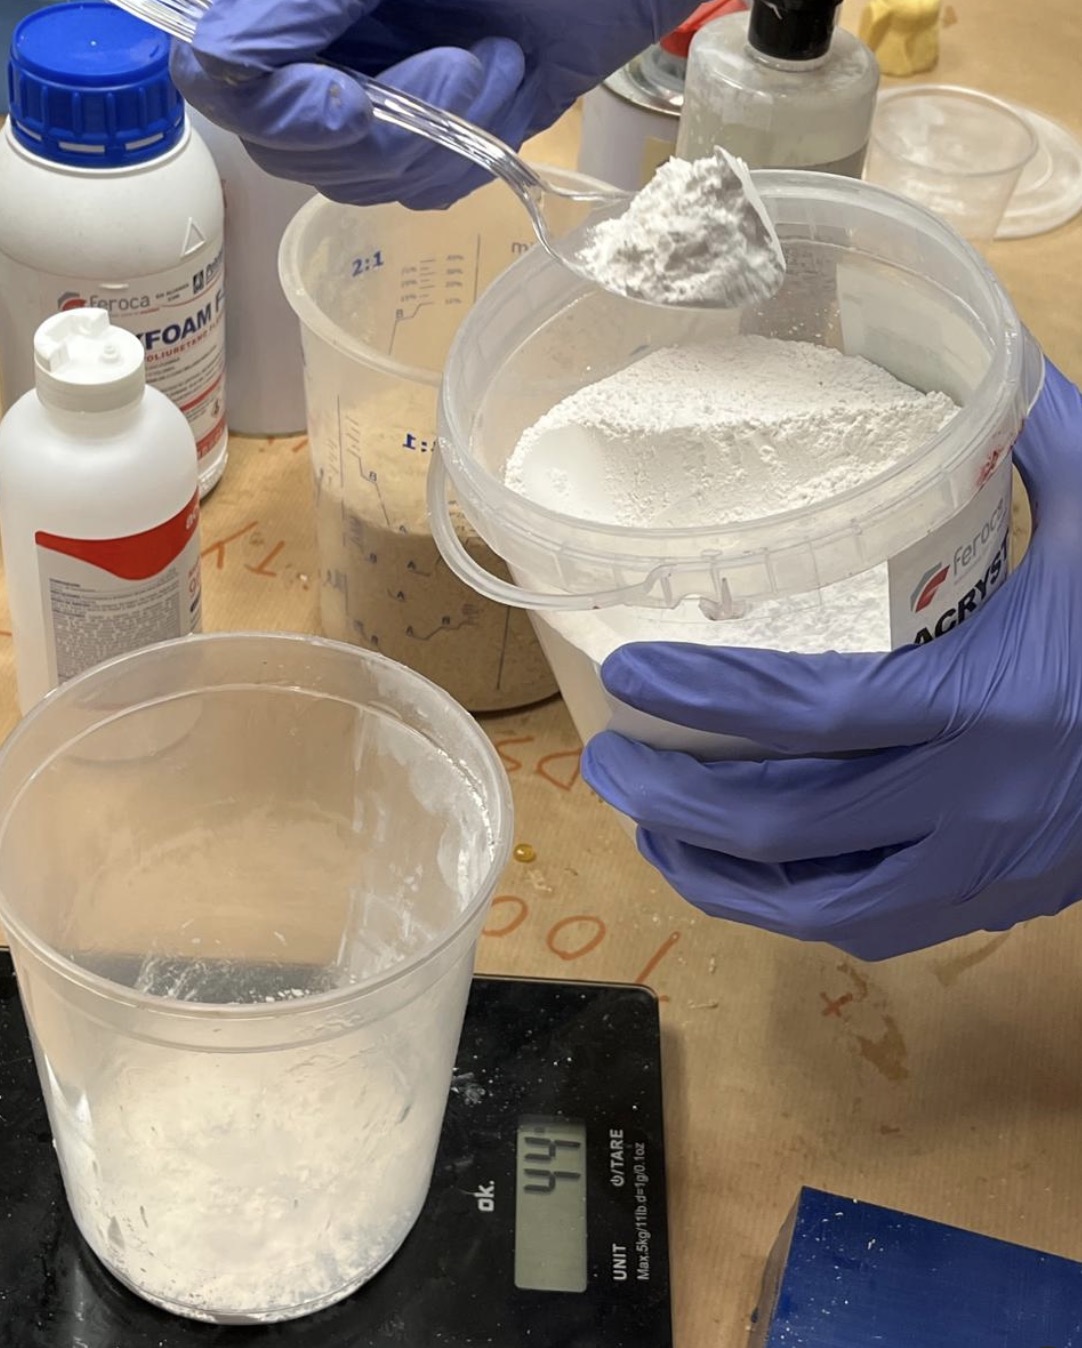
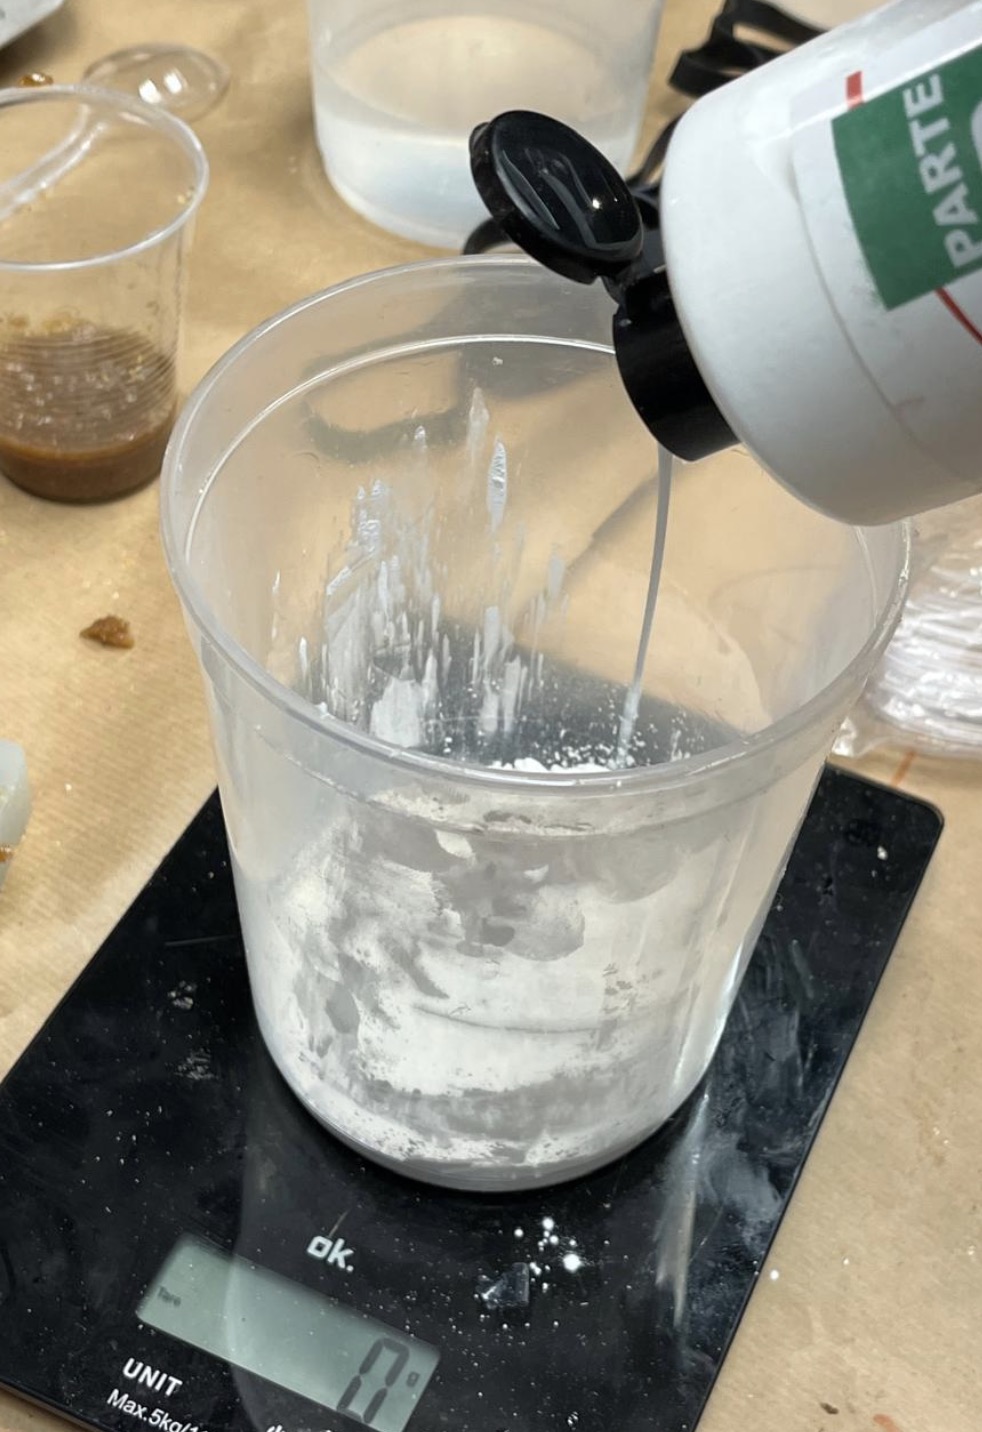
- We stirred the mixture thoroughly for about 1–2 minutes until it reached a smooth, lump-free consistency.
- The working time is approximately 8–12 minutes, so we poured the mixture into the foam mold of Chena’s paw promptly after mixing.
- We allowed the piece to cure for about 30 minutes to 1 hour, after which it was fully hardened and ready for finishing. Wonderful!
Beeswax
Datasheet
Safety Datasheet
Safety Overview
- Beeswax is a very safe material and is actually safe to accidentally ingest just use in a room that has a normal amount of ventilation. Not much different than the safety involved with cooking generally.
Overview of Process
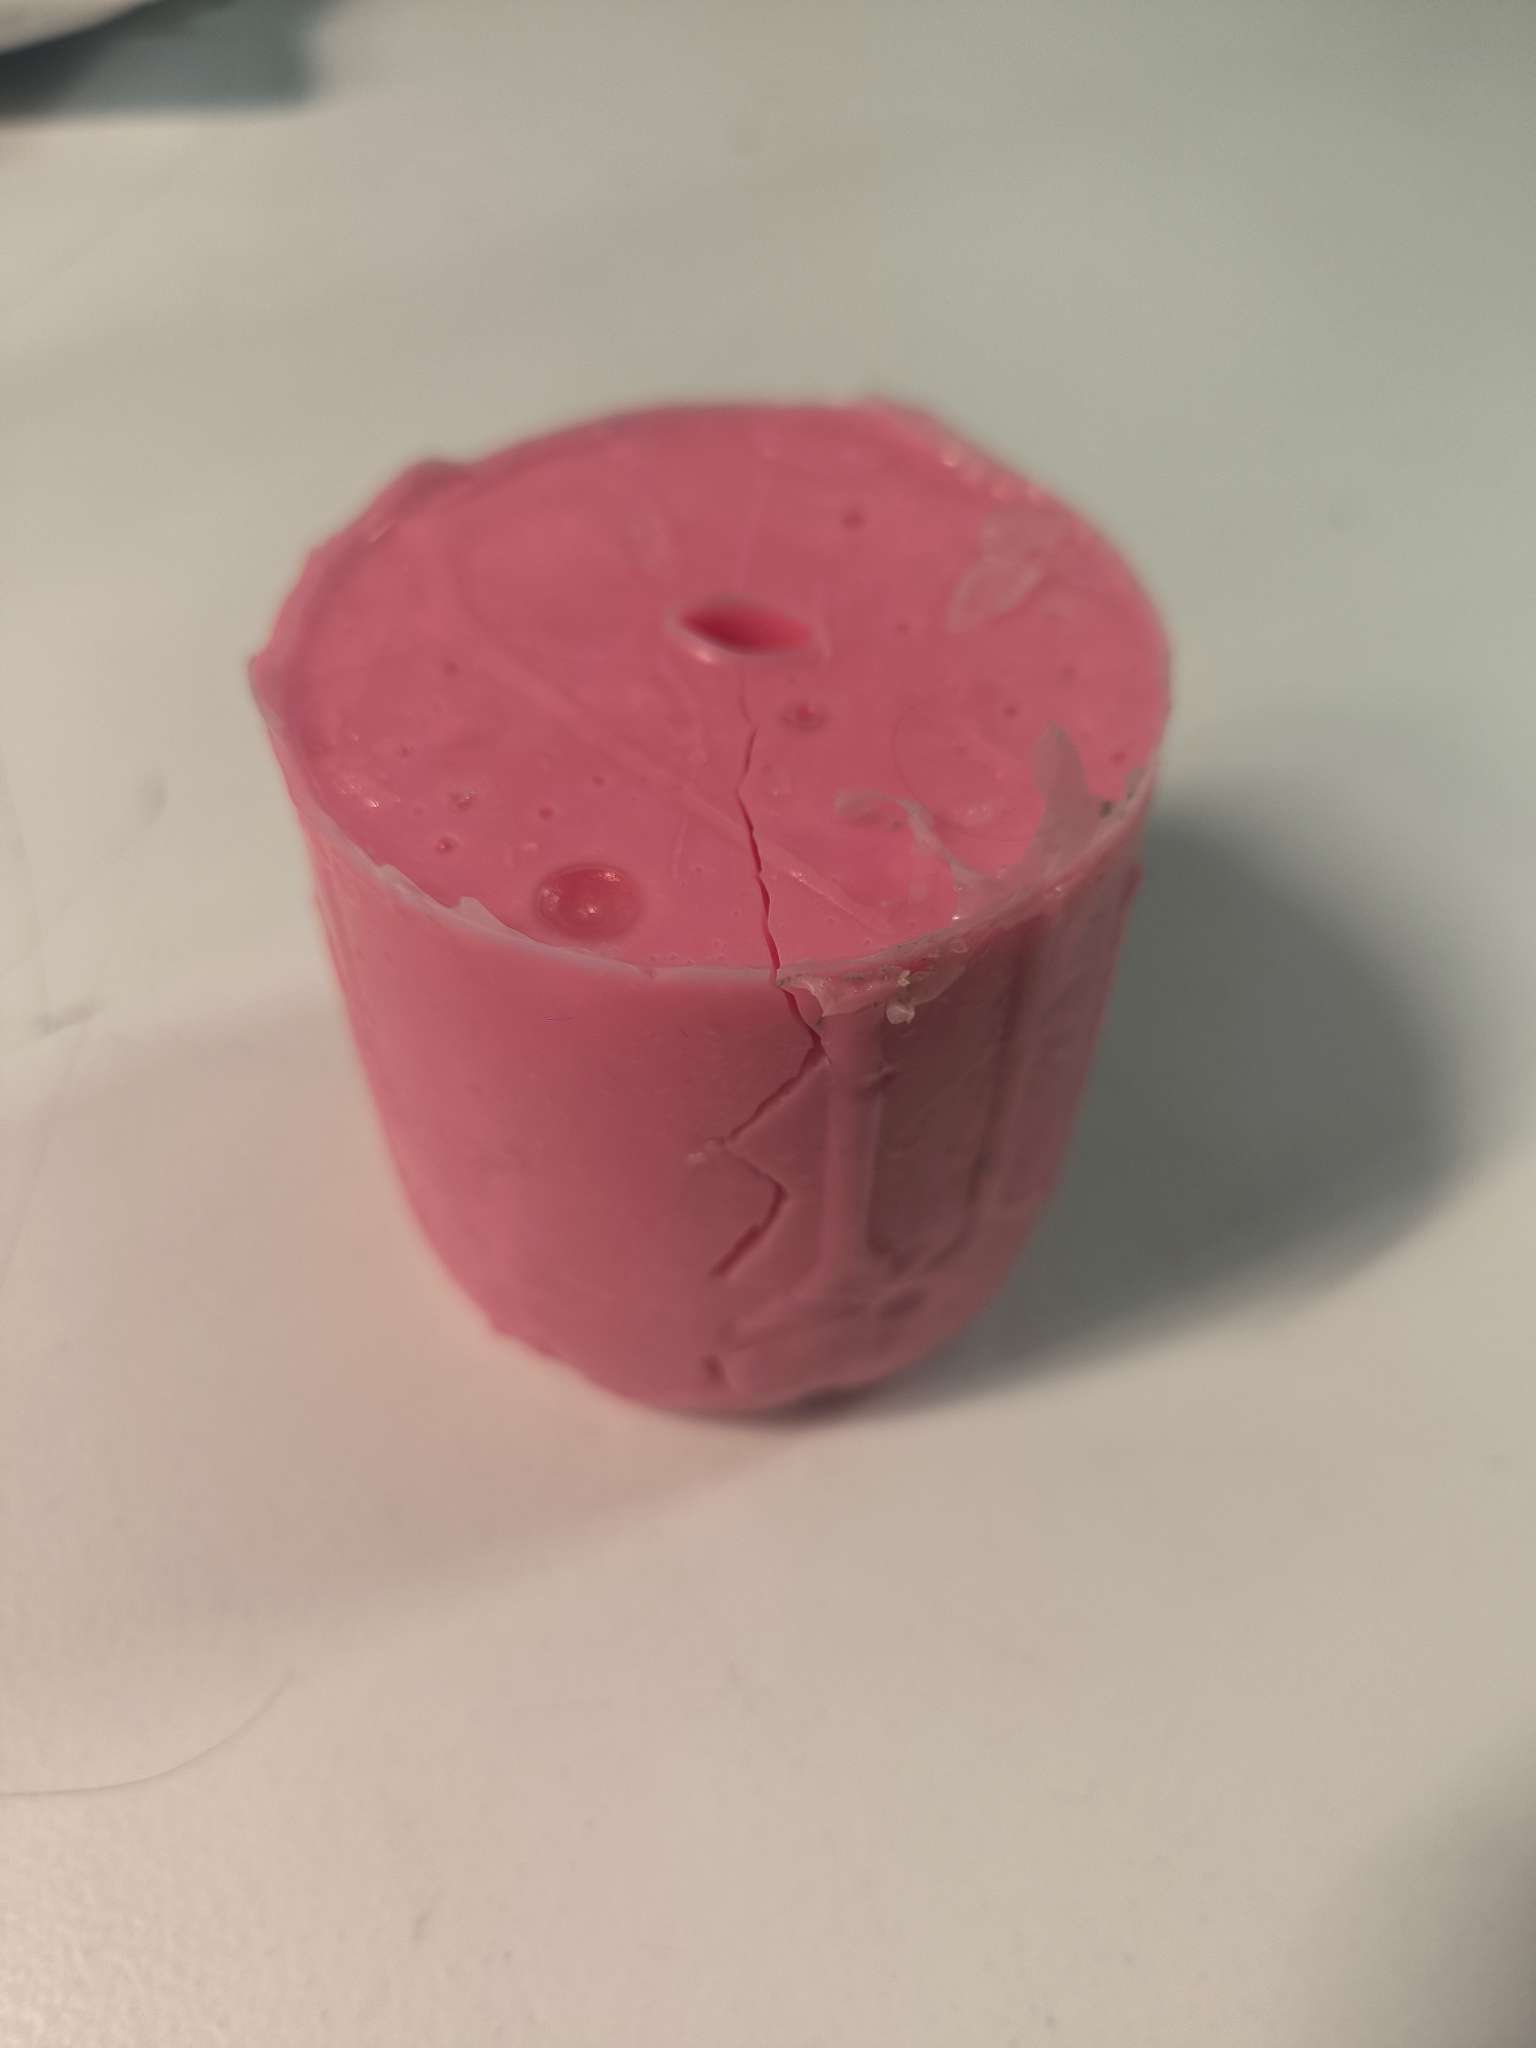
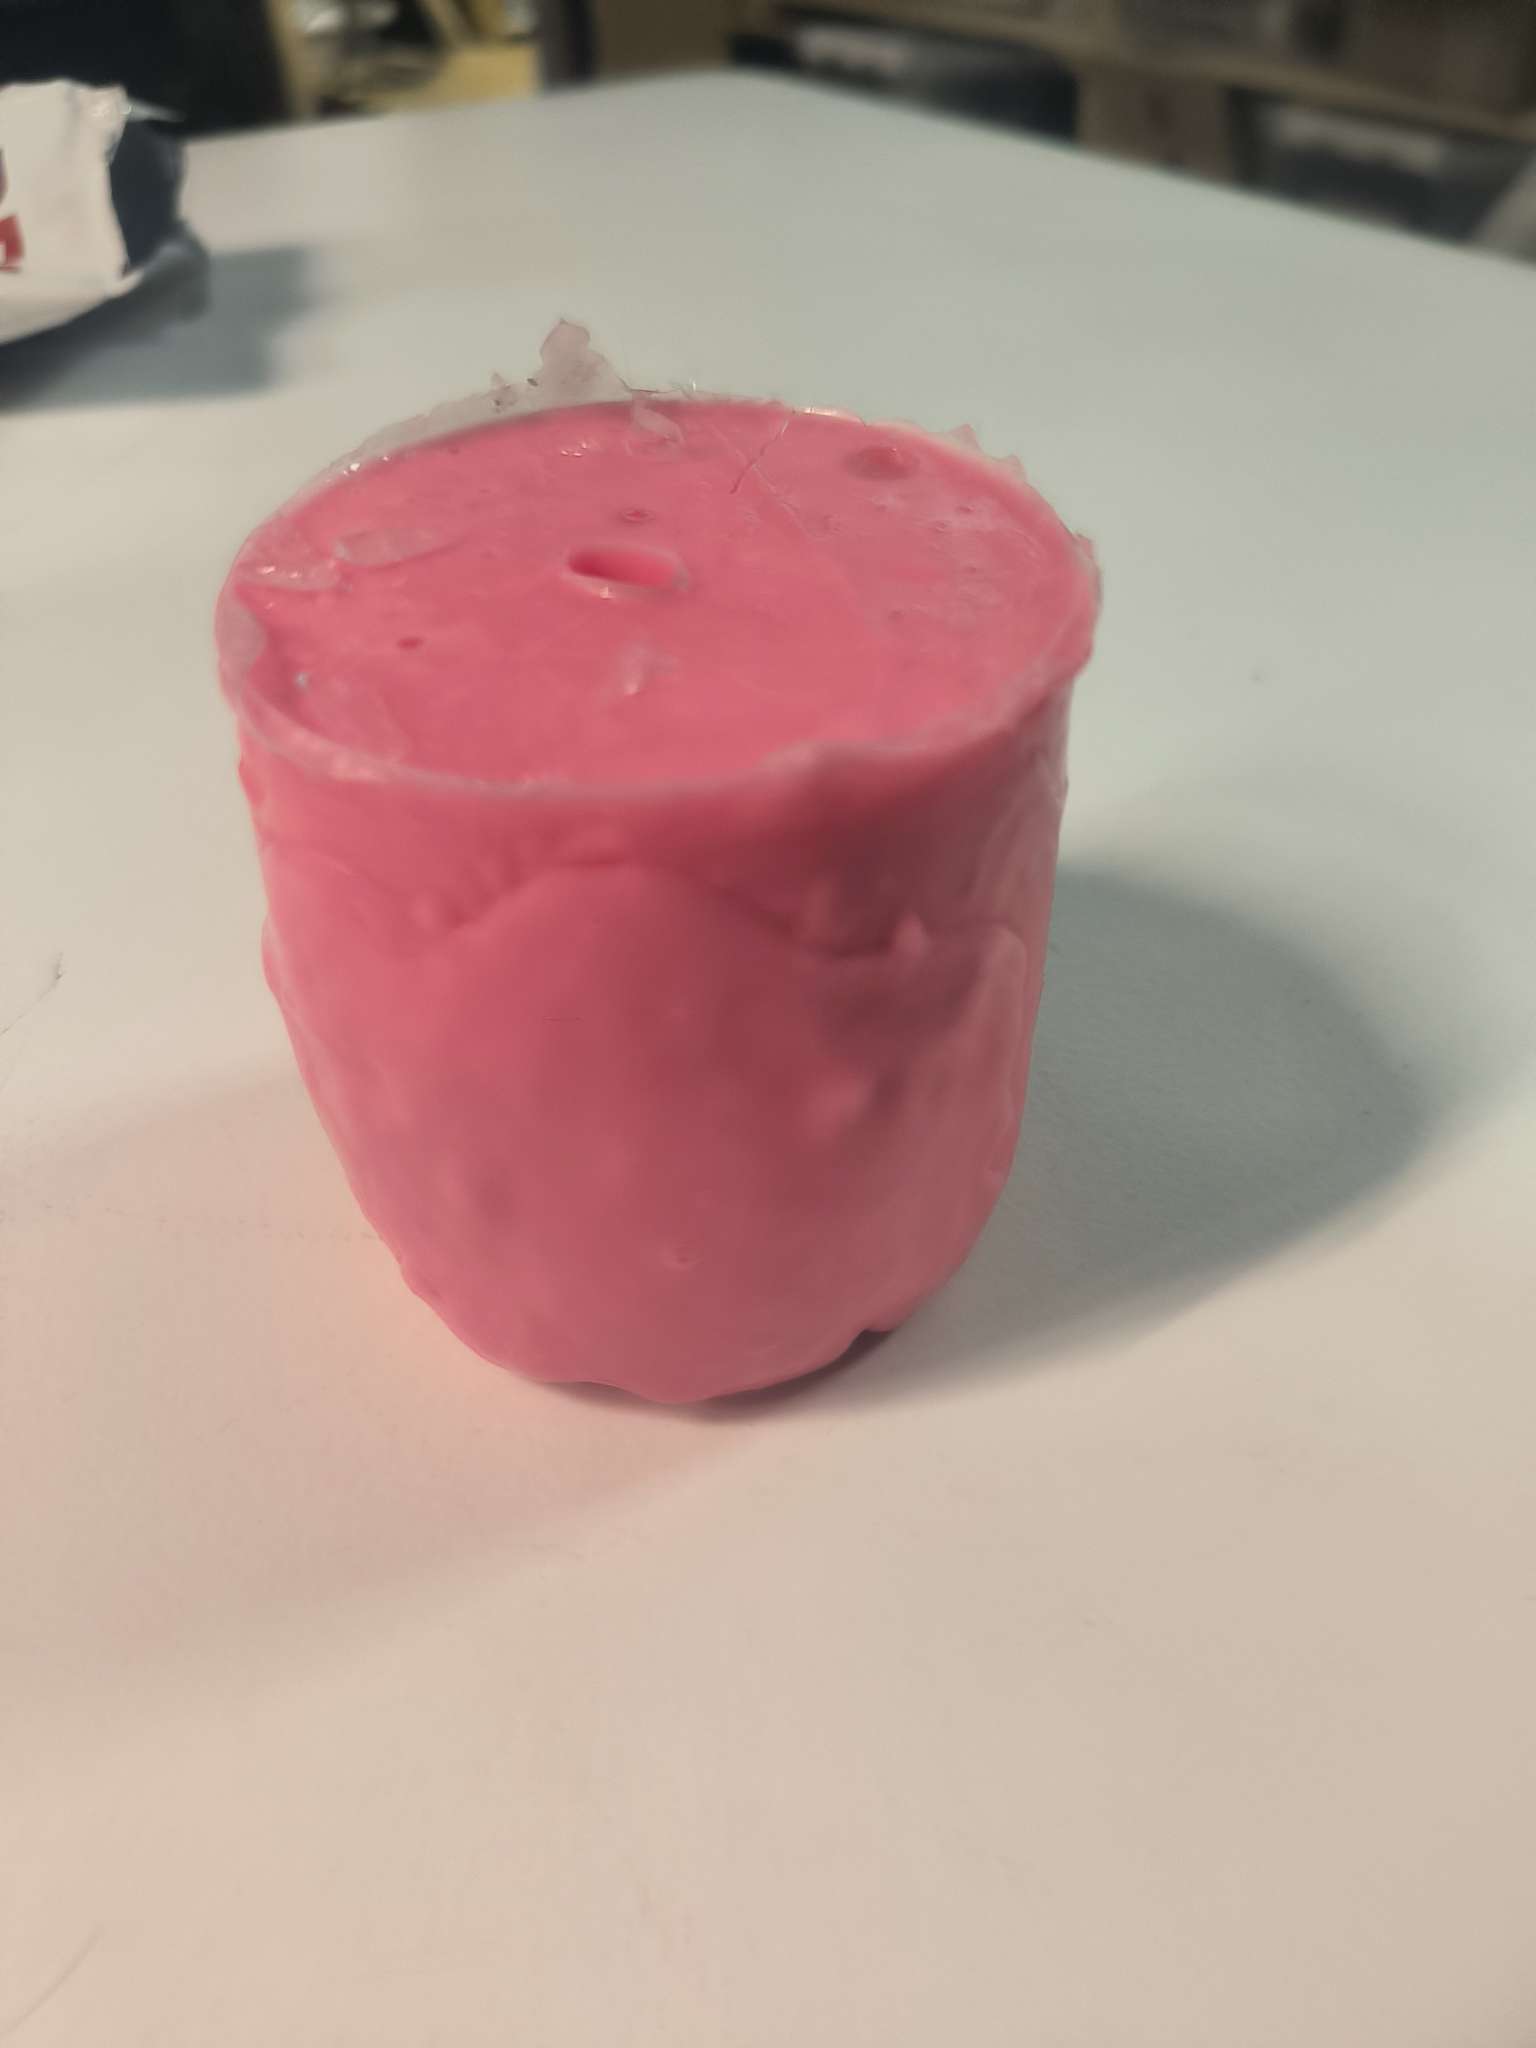
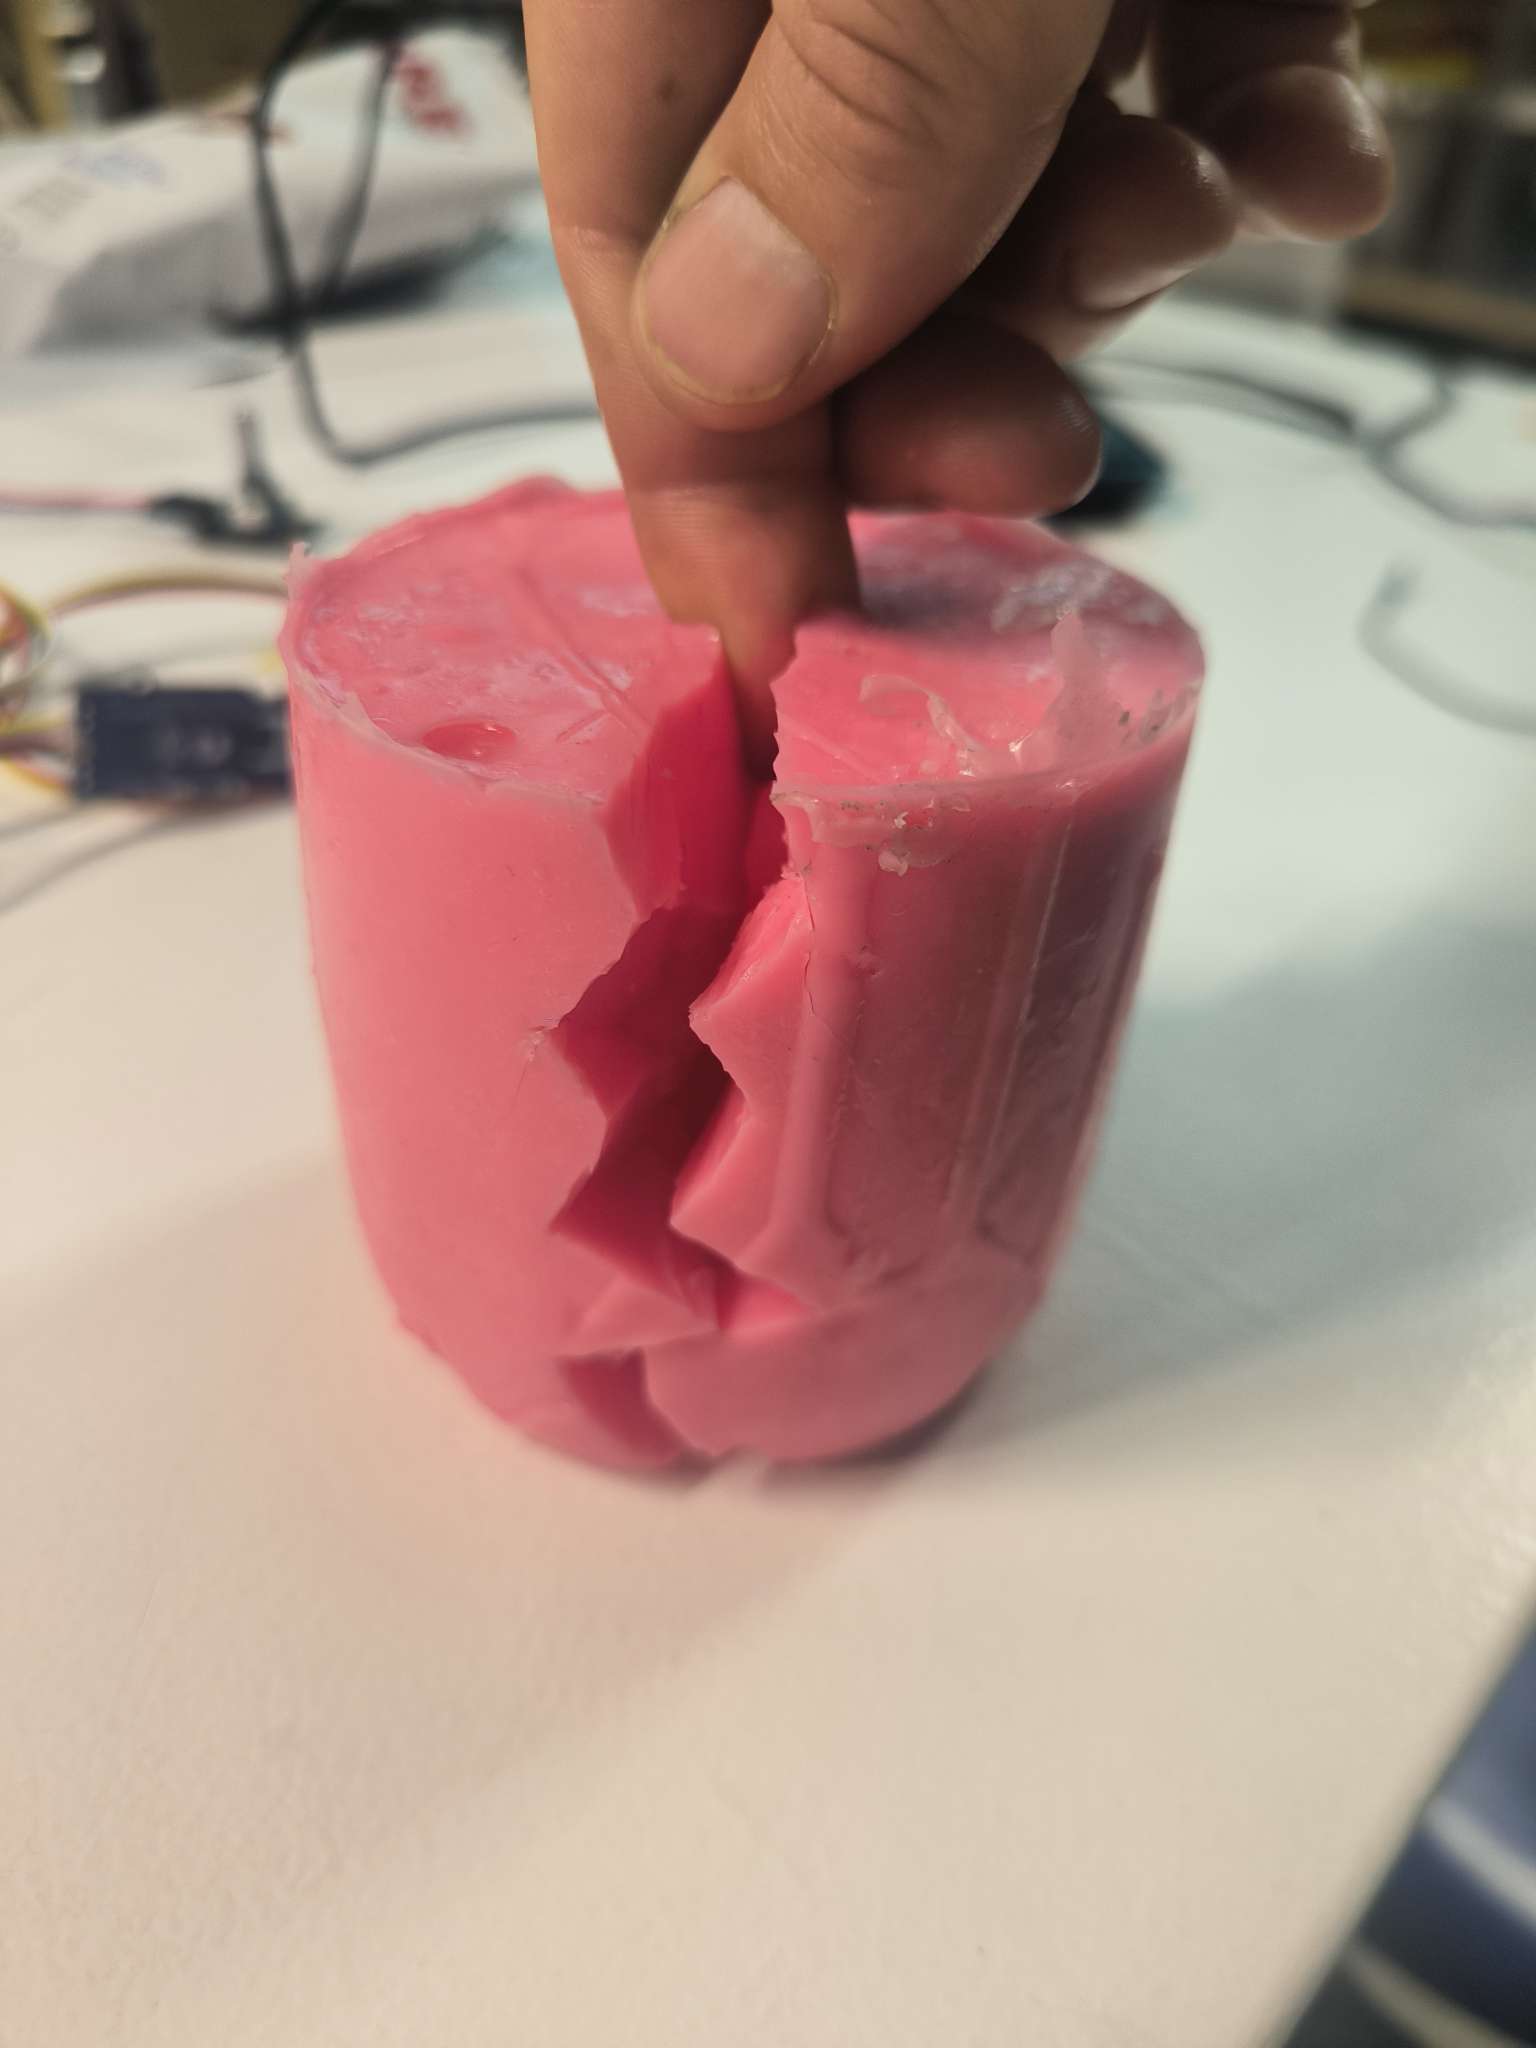
- I estimated the amount needed and turned on the heater and the beeswax melted quickly. I tried not to overheat it so as to decrease the cooling time.
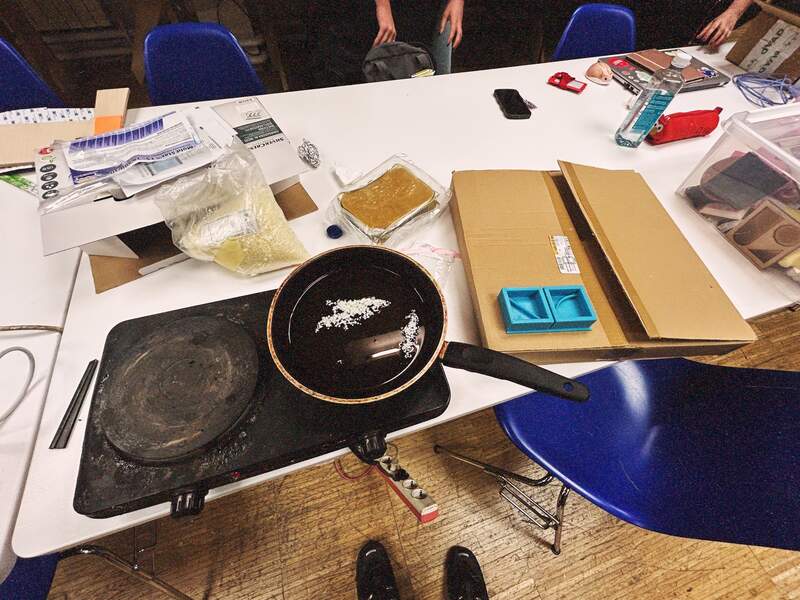
- I poured the beeswax into the silicone mold.
- Set time was about 30 minutes but ideally I would have waited more like an hour.
- Molding all 16 takes time will have photos below when finished.
Reflection: Comparing the Casting Materials
Ice is obviously the cheapest and easiest to prepare. Some downsides to ice are that it poses several it is much more liquid, so the mold must be tightly sealed to prevent leaks. Additionally, air bubbles often form during freezing, which can weaken the structure or cause the piece to break easily. Wax has very similiar advantages and disadvantages. However beeswax can retains its form at higher temperatures. In contrast, to these two Acrystal is more stable, retains fine detail, and results in a long-lasting cast.
For making the mold negative we noticed Acrystal to developed a porous texture, which slightly altered the original form. This happened in part because foam tends to absorb liquid, affecting the material's surface as it cures. Additionally, foam molds are not reusable and can deform easily. In contrast, silicone molds are reusable, enable clean and effortless demolding, and produce a smooth, consistent surface finish.