
Week 1
Introduction
This page outlines the steps followed during the initial setup and modifications of our web environment as part of the Fab Academy assignments.
The tasks for this week involved setting up our work environment to complete the following assignments:
- Create a GitLab account to access the repository where our website is hosted.
- Use Git, GitLab, and VS Code to create your local repository.
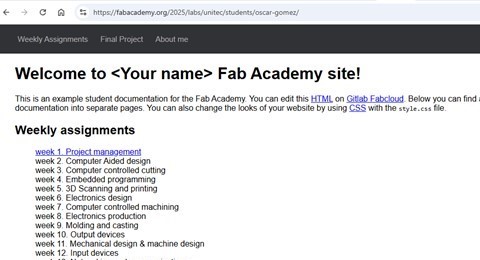
- Modify the webpage.
- Upload the signed student agreement.
- Create content for the first week.
- Upload the final project sketch.
Let's start
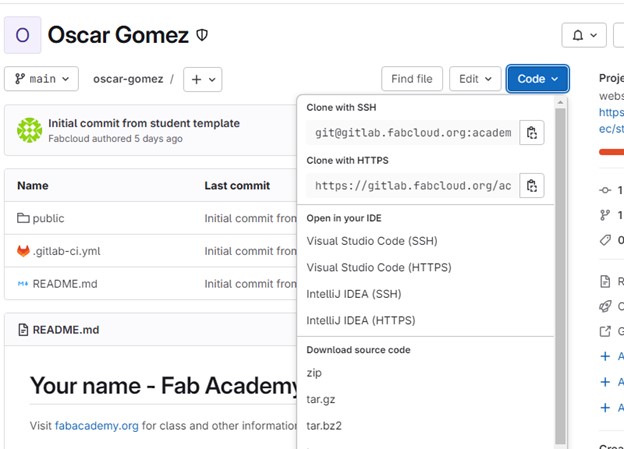
Demonstrating the step-by-step process to perform these activities, we'll start with the first point: creating the GitLab account, which is accessed through an email from the Fab Academy. Once we have access, we can view our repository and the link to our webpage, so it's time to get to work on modifying it.

Tools
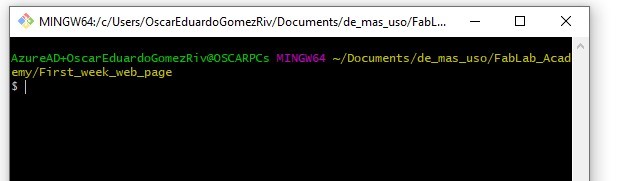
To modify our repository, the best option is to create a local copy on our computer, which will allow us to work more orderly and avoid visible errors on the page. A bit about the tools we'll need for this job are Git, a version control software, and a code editor in this case VS code. Keep in mind that there are many more options, however, these were chosen because I am more familiar with them and already have some of the necessary configuration established, which will allow us to advance further and avoid errors.
Useful links
Cloning the repo
Troubles?
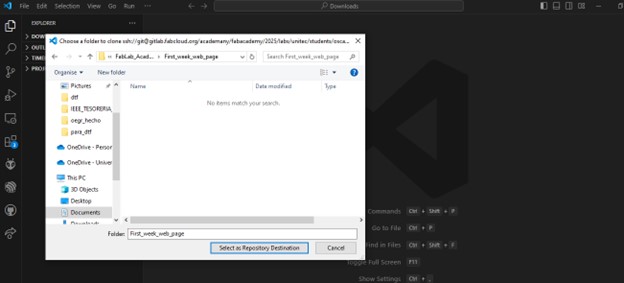
To obtain our local repository we must clone it using git, using the
command git clone url_of_the_repository, however,
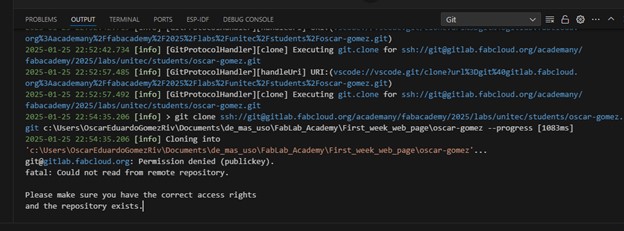
when performing this step we encountered an error, this is because
we still do not have a link between our git and GitLab and the repository
we are trying to access is private.
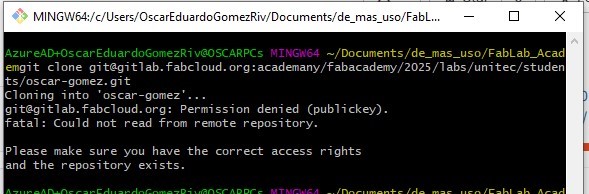
Similarly, the GitLab page offers us the option to download the repository directly to our preferred IDE, but when trying this option, we encountered the same problem, access errors for not having our GitLab account connected.
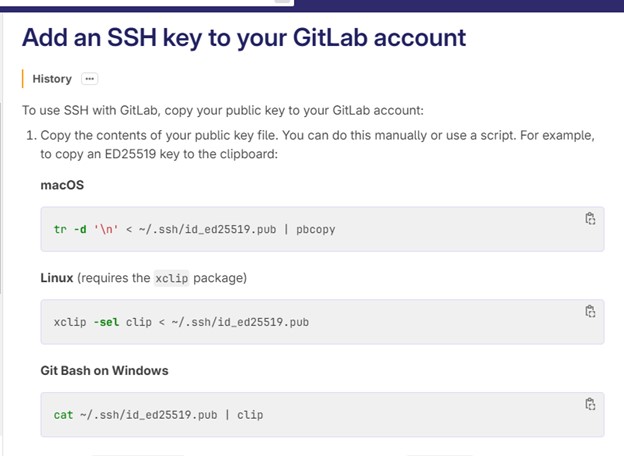
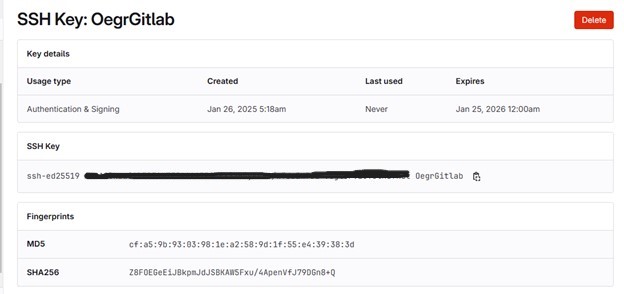
Setting SSH Key
We start with the heavy work, we found the GitLab documentation which details the steps to follow to be able to create communication via SSH this allows us to create a unique identification key for our computer and thus be recognized by GitLab.

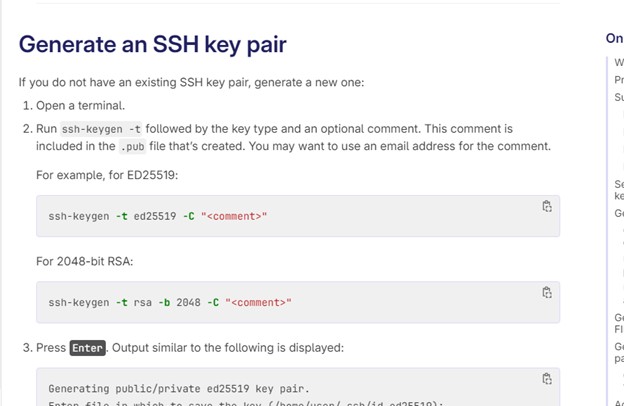
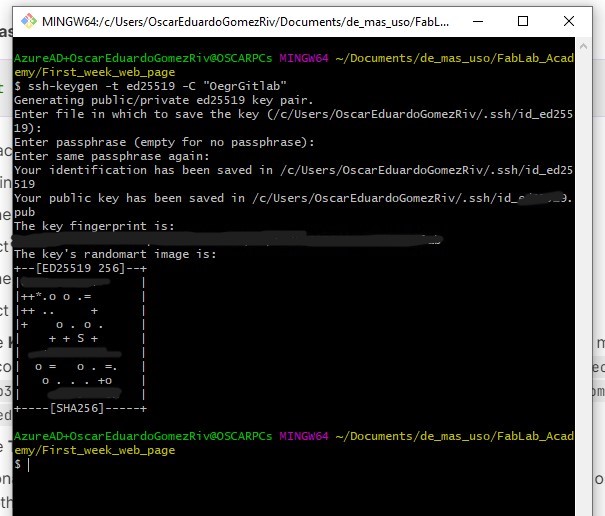
For the creation of our SSH key we use Git, with the line code ssh-keygen -t ed25519 -C "name_of_file", configuring it as ED25219 this
is the type of encryption used to create the key, storing it locally,
creating 2 files the private key and the public key.
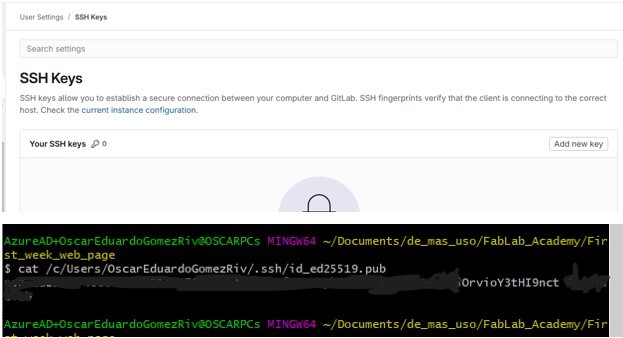
The public key is what we will need to connect to GitLab, so in the settings of our account we add the key that was generated when we created it with git, remember to note the directory where it was generated.
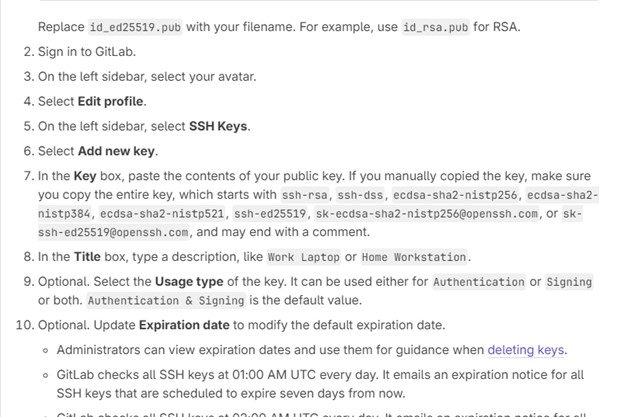
I found the option to add the SSH key in Gitlab, then with Git I read the file with the line code cat file_path, this command let us read files, mow we can add the SSH ket to Gitlab.
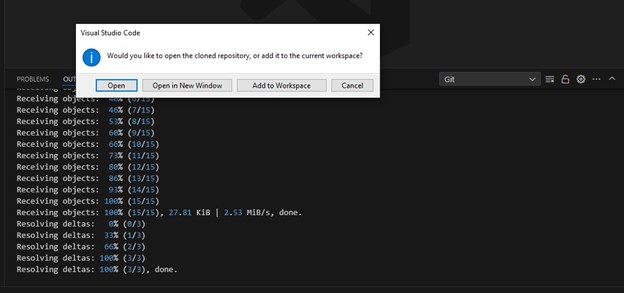
Once the SSH key is added we proceed to try to clone our repository again, however, we will do it in the easiest way directly to our VS code and we see that it was successful.

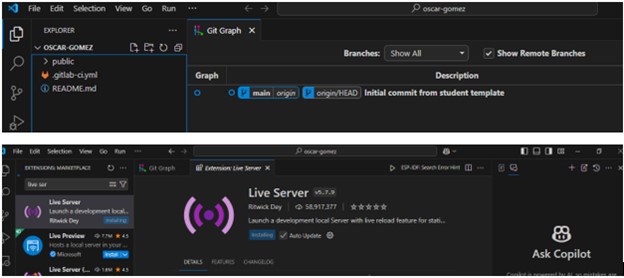
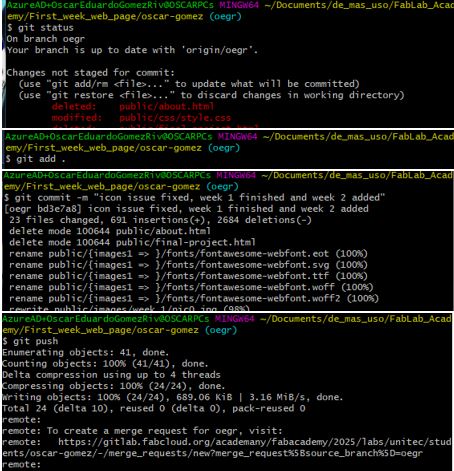
To help us with control and debugging we will use several extensions that will facilitate the work among them, one is GitGraph which allows us to carry the tree of commits and branches of the repository and keep a more detailed tracking, the second is Live Server essential to test our webpage locally and not wait to upload the changes to see our progress.
Once this is ready, let's get to work with the webpage we start by adding different content to familiarize ourselves with the environment in this case the tools used are HTML and CSS, being new in this world of web development, I opted for minor changes to understand the operation and performing small examples.
Having made these small changes we make our commit to visualize the progress already in production always taking into account not to exceed the limits per commit allowed.
Commands:
git statusgit add .git commit -m "comment"git push
Waaaaiiiit more Troubles?
when seeing the webpage already launched and interacting with it, we found an error this happened because we modify and add files outside the public folder.
This folder is responsible for launching our webpage, where GitLab uses as a reference to read all our files and not having all files in that directory the page fell down. Oh no, our first problem in production HAHAHA.
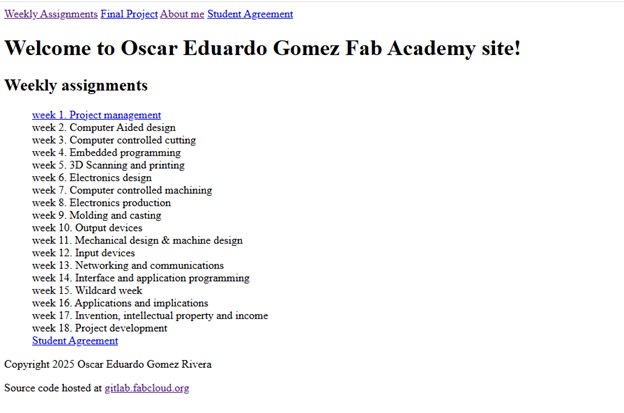
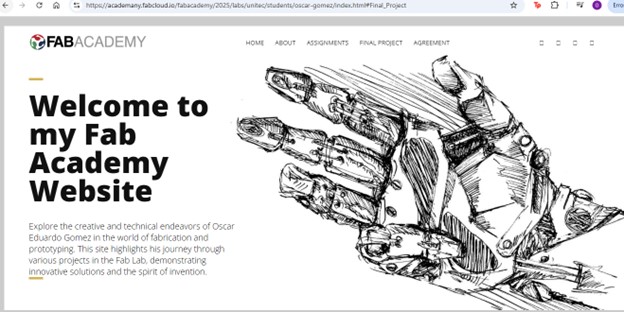
After solving this error and being more familiar with our work environment we decided to take the next step, changing the design for our webpage.
Changing the web design
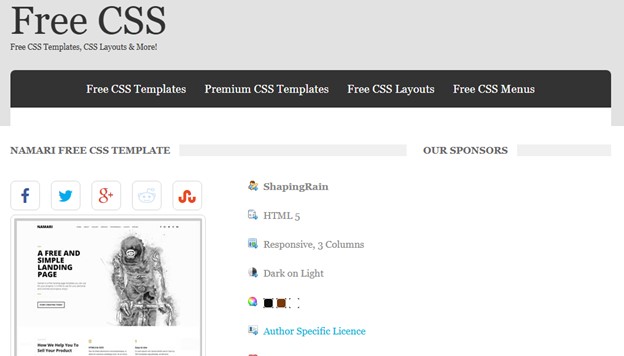
For this, two possible options were taken, the first from one of the pages provided by the Fab Academy documentation and the second looking for possible pages with HTML templates in this case the NAMARI template was found on the Free CSS page, which was considered as the best option.
Useful links
Chosen the new design of the page, it was modified according to what we need and adding all the necessary information to have it ready for this new adventure that is the Fab Academy.
Again Troubles?
When launching our new design to production again the link errors appeared due to the Dockers used by GitLab, which does not allow the page to redirect our directories well, this was solved by including the complete link of the Docker with the directory address that we need for each direction and finally we have a webpage.
In the last image, you can see the commits and the change of branches and how with the help of the VS code extension we can have a clearer view of the work carried out and the step by step to be able to have our website working, with many commits made and with all those missing, we hope to have many more adventures.

Conclusion and Lessons Learned
The process of setting up and customizing our website was challenging yet rewarding. It provided practical experience in using version control systems, web development, and debugging. The key takeaway is the importance of a thorough understanding of the tools and platforms used, which ensures smoother development and troubleshooting processes.