
Week 13
Introduction
This page outlines the steps followed during week 13 of the Fab Academy assignments.
The tasks for this week involved Molding and Casting and the following assignments:
- Review the safety data sheets for each of your molding and casting materials then make and compare test casts with each of them.
- Compare mold making processes.
- Design a mold around the process you'll be using, produce it with a smooth surface finish that does not show the production process toolpath, and use it to cast parts.
- Extra credit: use more then two mold parts
group assignment:
Individual assignment:
Let's start.....................

Group assignment
Equipment and Materials
| Equipment | Details | Materials |
|---|---|---|
| 3D Printer | Used for creating molds |
Candle Wax Mold Silicone Hot Silicone Gloves, Face Mask, Safety Goggles |
Mold Making and Casting Materials
Candle Wax
- First Aid: Cool burns with water; do not peel off hardened wax. Seek medical help if needed.
- Ventilation: Use in well-ventilated areas to avoid inhaling fumes.
- Protection: Use gloves and safety goggles when pouring.
Mold Silicone
- First Aid: Rinse skin with soap and water; rinse eyes thoroughly if exposed.
- Ventilation: Ensure good airflow when working with vapors.
- Protection: Wear gloves, goggles, and a lab coat.
Hot Silicone
- First Aid: Cool burns with water, do not remove stuck silicone manually.
- Ventilation: Use in a ventilated area.
- Protection: Use heat-resistant gloves and goggles.
Test Casts and Material Comparison
| Material | Flexibility | Detail Capture | Reusability | Ease of Use | Notes |
|---|---|---|---|---|---|
| Candle Wax | Low | Good | Low | Easy | Brittle when cold |
| Mold Silicone | High | Excellent | High | Moderate | Ideal for fine detail molds |
| Hot Silicone | Medium | Good | Medium | Moderate | Heats quickly, solidifies fast |
Mold Making Process Comparison
Milling
What is it?
A subtractive process using a spinning tool to cut shapes from solid
materials like wood or foam.
Advantages:
- Works well with rigid materials
- High precision for large-scale production
- Strong final molds using durable materials
Disadvantages:
- Requires more setup and calibration
- Generates dust and noise
- Limited undercuts unless using multi-axis machines
3D Printing
What is it?
An additive process that builds objects layer-by-layer from a digital
model using materials like plastic or resin.
Advantages:
- Great for complex geometries and undercuts
- Low material waste
- Easy to make design changes
Disadvantages:
- Longer build times for large parts
- Surface finish may require post-processing
- Less durable than milled molds
Security Process and Safety Rules
Working with molding and casting materials involves a variety of physical and chemical risks, including burns, inhalation of fumes, chemical exposure, and injuries from equipment. To ensure a safe working environment, the following protocols and safety measures must be observed at all times during fabrication and casting activities.
Personal Protective Equipment (PPE)
- Gloves: Always wear chemical-resistant gloves when handling silicone, resins, or wax. Use heat-resistant gloves when working with hot materials to prevent burns.
- Safety Goggles: Protect your eyes from splashes, dust, or molten material with certified safety goggles.
- Face Masks or Respirators: Use a mask when working with materials that emit vapors or dust, such as hot wax or when sanding prints.
- Protective Clothing: Wear a lab coat or apron to protect your clothes and skin from accidental spills or burns.
Ventilation and Air Quality
- Ensure that the working space is properly ventilated, especially when melting wax or mixing silicones and resins.
- Use fume extractors or work near open windows to avoid inhalation of harmful vapors.
- Avoid working in enclosed areas without airflow, as some materials may release volatile organic compounds (VOCs).
First Aid and Emergency Readiness
- Keep a fully stocked first aid kit within reach of the working area.
- In case of burns, cool the affected area immediately under running water for at least 10 minutes.
- If any chemical comes into contact with the eyes, rinse thoroughly with water for at least 15 minutes and seek medical attention.
- Know the emergency procedures for fire, chemical exposure, and evacuation.
- Keep emergency phone numbers and fire extinguisher instructions clearly visible.
Material Handling and Storage
- Store all materials in clearly labeled, sealed containers to avoid contamination or accidental misuse.
- Read and follow the instructions and safety data sheets (SDS) provided by the material manufacturers.
- Never mix unknown chemicals, and clean tools thoroughly after use to prevent dangerous reactions.
Equipment Safety
- Only trained users should operate machinery such as 3D printers or milling machines.
- Perform regular maintenance and safety checks on all equipment.
- Power off machines when changing materials, cleaning, or leaving the workspace unattended.
- Do not wear loose clothing, jewelry, or long hair untied near rotating tools or moving machinery.
Work Area Management
- Keep the workspace clean and organized to reduce tripping hazards and prevent contamination of materials.
- Immediately clean up spills using absorbent materials and dispose of them following chemical waste guidelines.
- Dispose of used or expired chemicals, gloves, and rags properly—never pour resin or silicone down the sink.
Electrical and Heat Safety
- Ensure that heating devices (e.g., hot plates, silicone guns) are not left unattended during use.
- Do not overload electrical outlets with multiple high-wattage devices.
- Use grounded outlets and check for damaged cables before plugging in any equipment.
Behavior and Awareness
- Never work alone when handling hazardous materials or operating heavy machinery—always have someone nearby in case of an emergency.
- Stay focused and avoid distractions while working with dangerous substances or machinery.
- If you are unsure how to handle a material or operate a tool, ask for help or refer to official documentation and tutorials.
Individual assignment
For this assignment, I will be using the 3D printing method to create my mold. I will design a mold for a small part that I want to cast using the hot silicone material, this test will help me to understand the process of casting and the properties of the materials also to know if using petroleum jelly is a good idea to release the part from the mold, if this works I will use it for the other casting process.
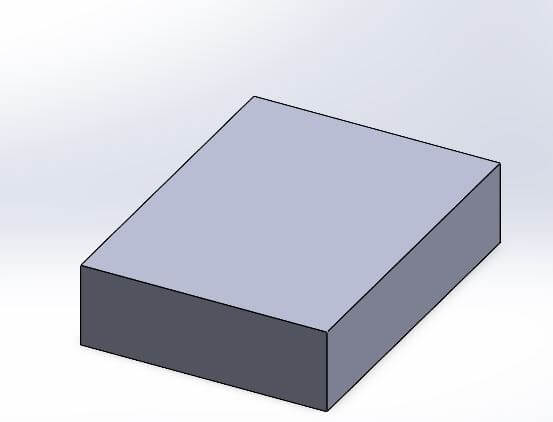
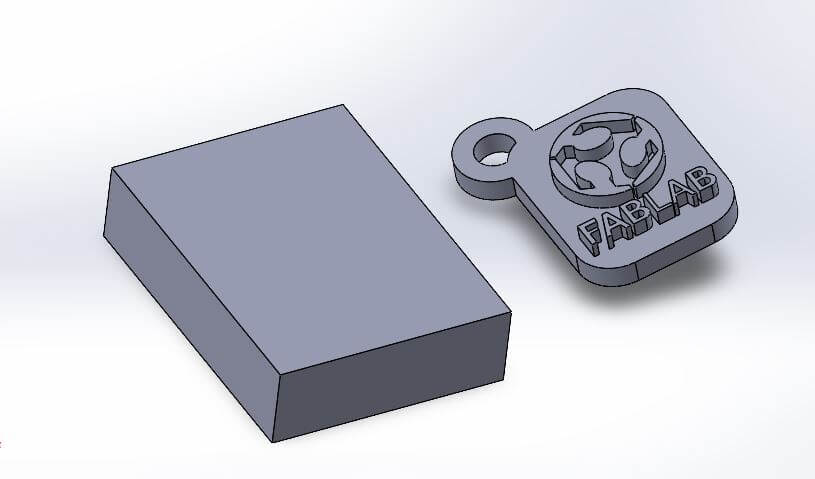
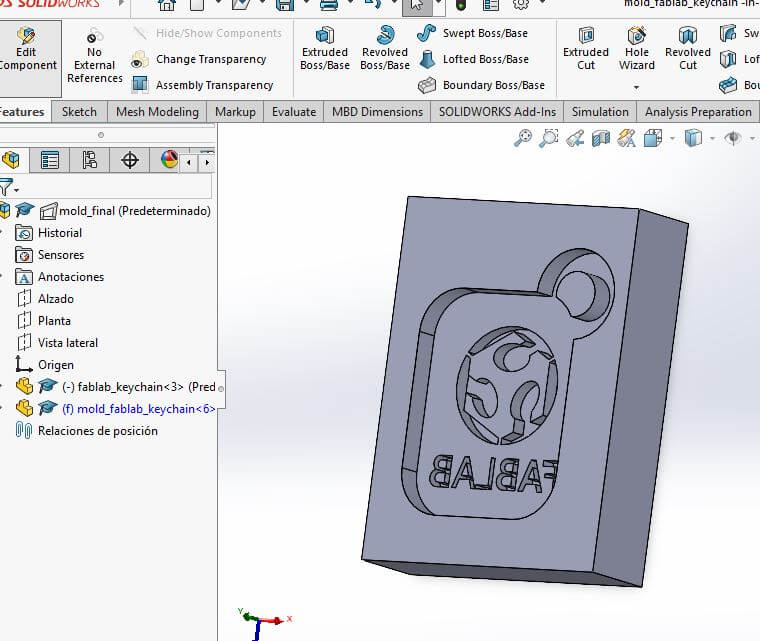
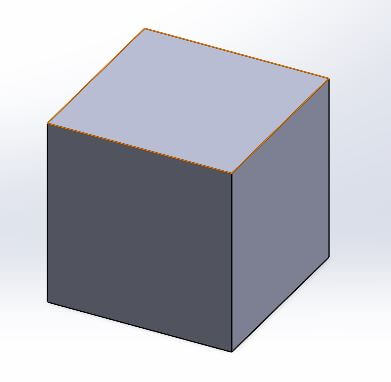
We started by designing the mold in Solidworks, I created a simple design for a small part that I want to cast. After that I created another part with the mold dimensions, this will be the part that will be used to create the mold.

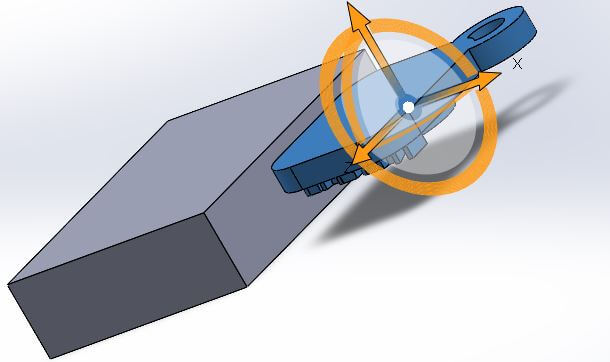
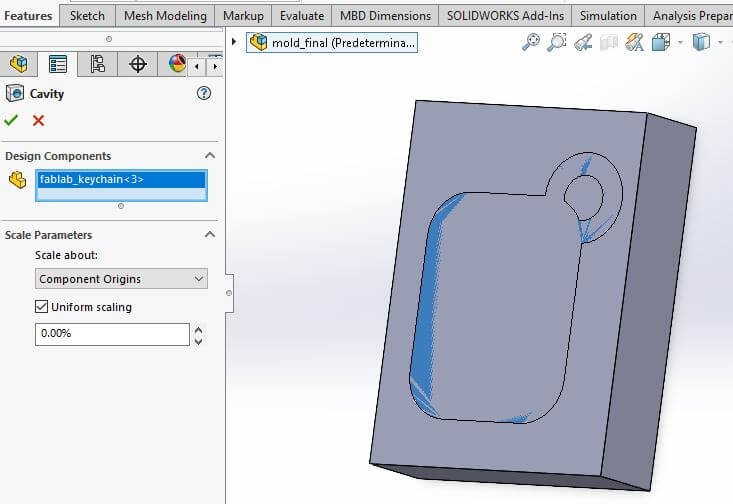
With this two parts I created the assembly and then I created the mold, this is a simple process that can be done in Solidworks. I used the Cavity tool to create the mold, this tool allows you to create a mold around a part, it will create the mold and the core.
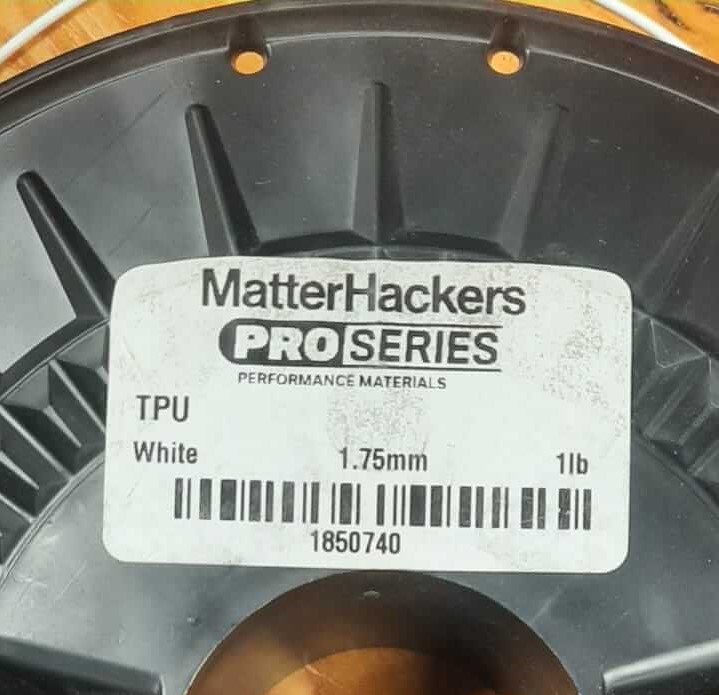
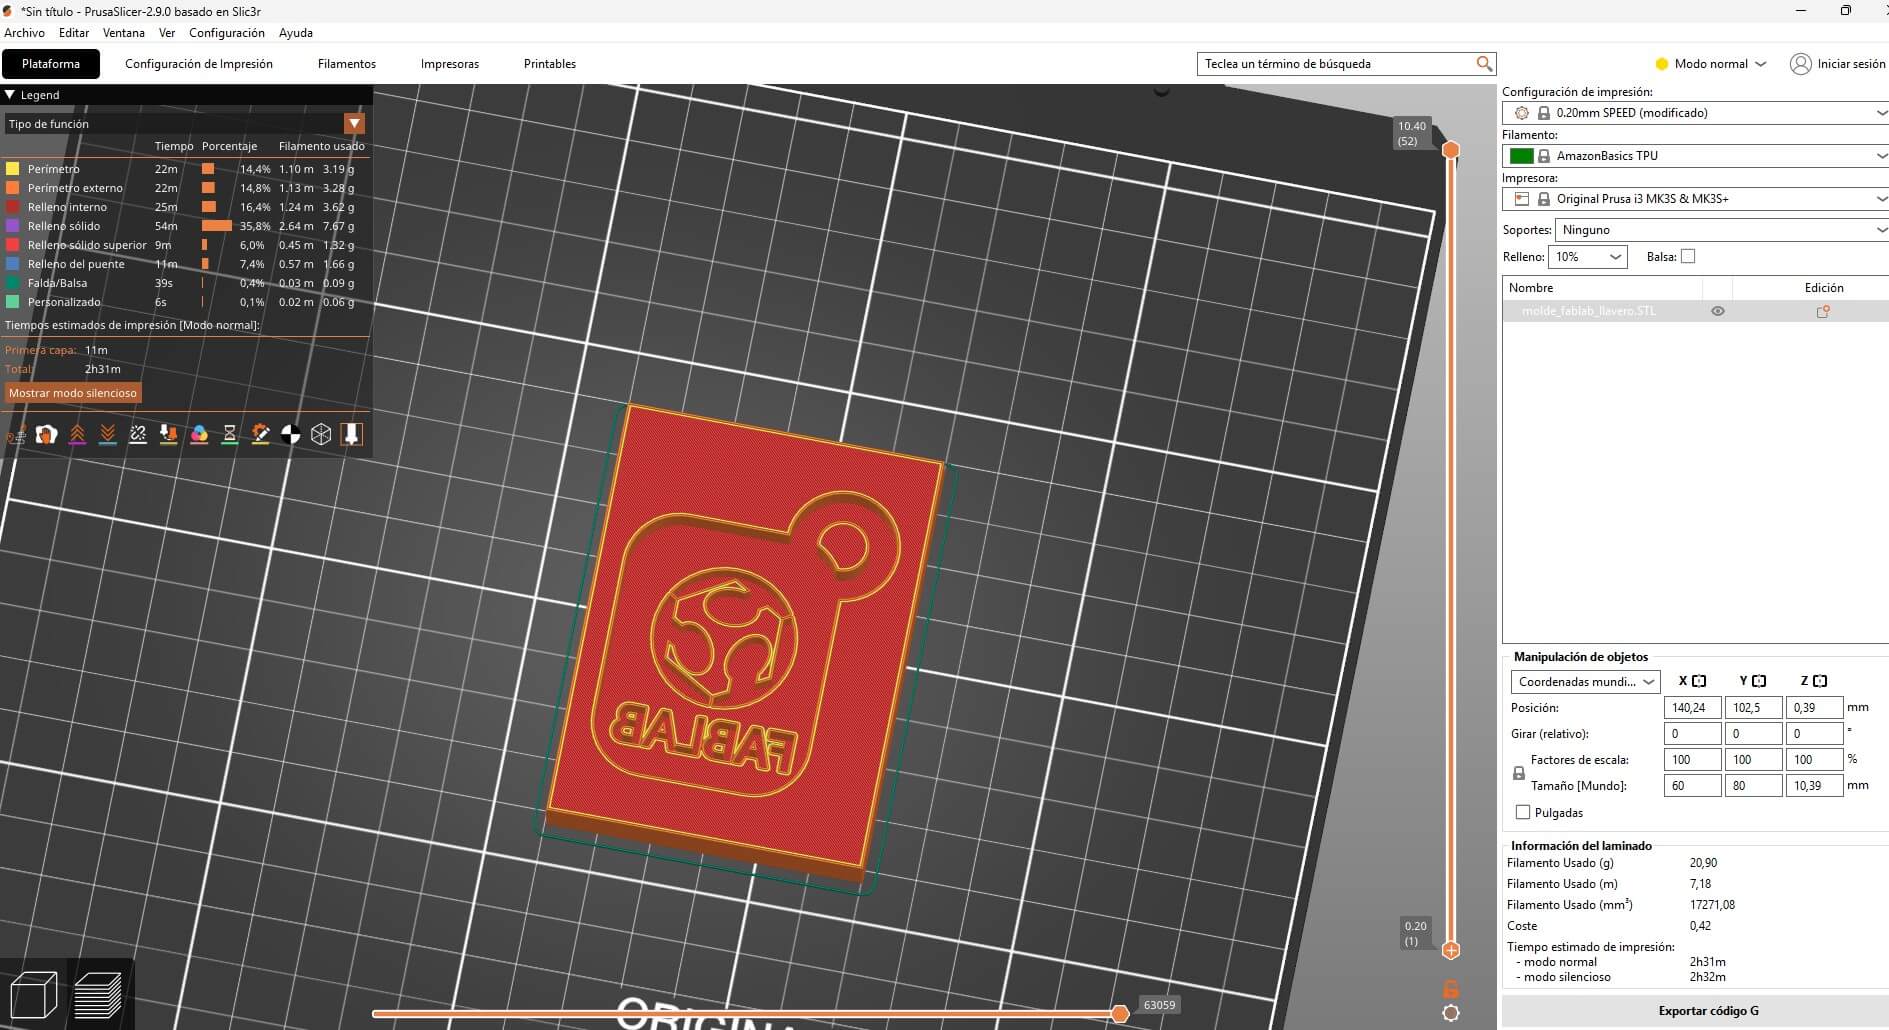
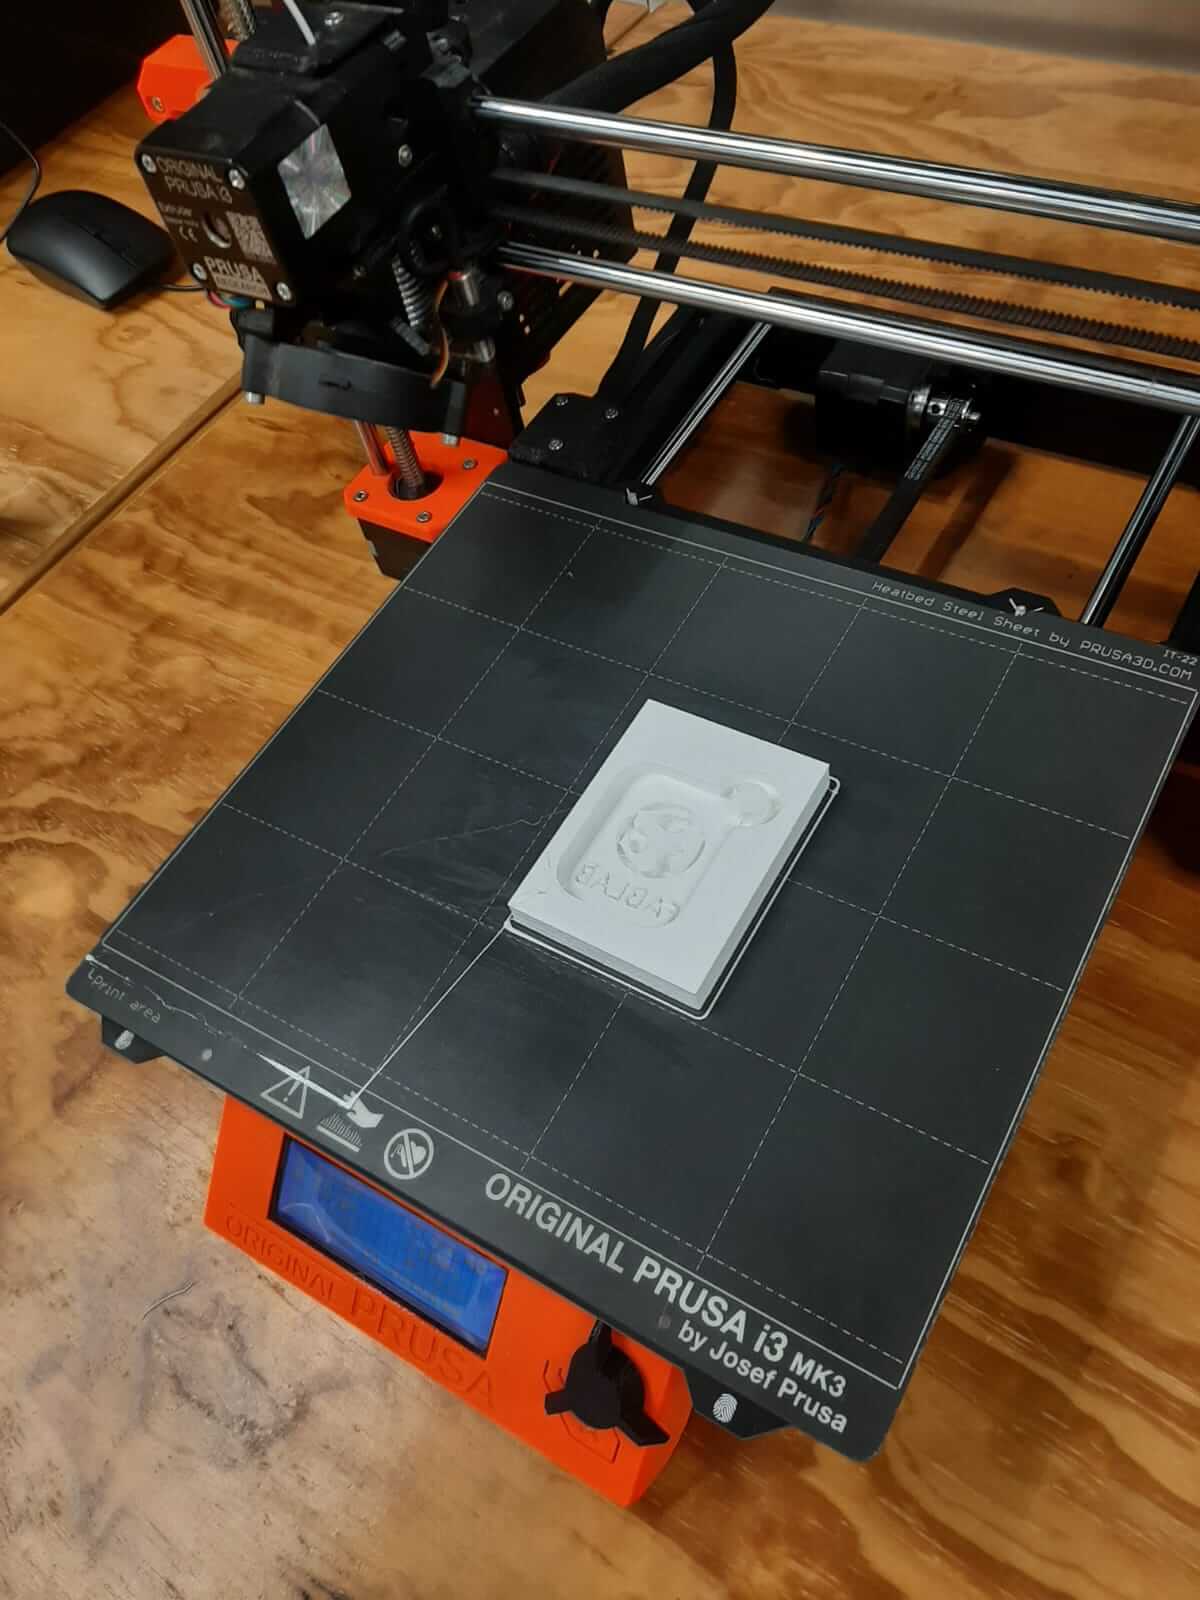
Ones I created the mold I exported the parts as STL files and then I opened them in Prusa Slicer, this is a software that allows you to slice the model and create the Gcode for the printer. The material we used for the mold was TPU, this is a material that is flexible and can be used for molds. I used the following settings for the printer:
- Layer height: 0.2mm
- Infill: 20%
- Print speed: 60mm/s
- Temperature: 220°C
- Bed temperature: 50°C

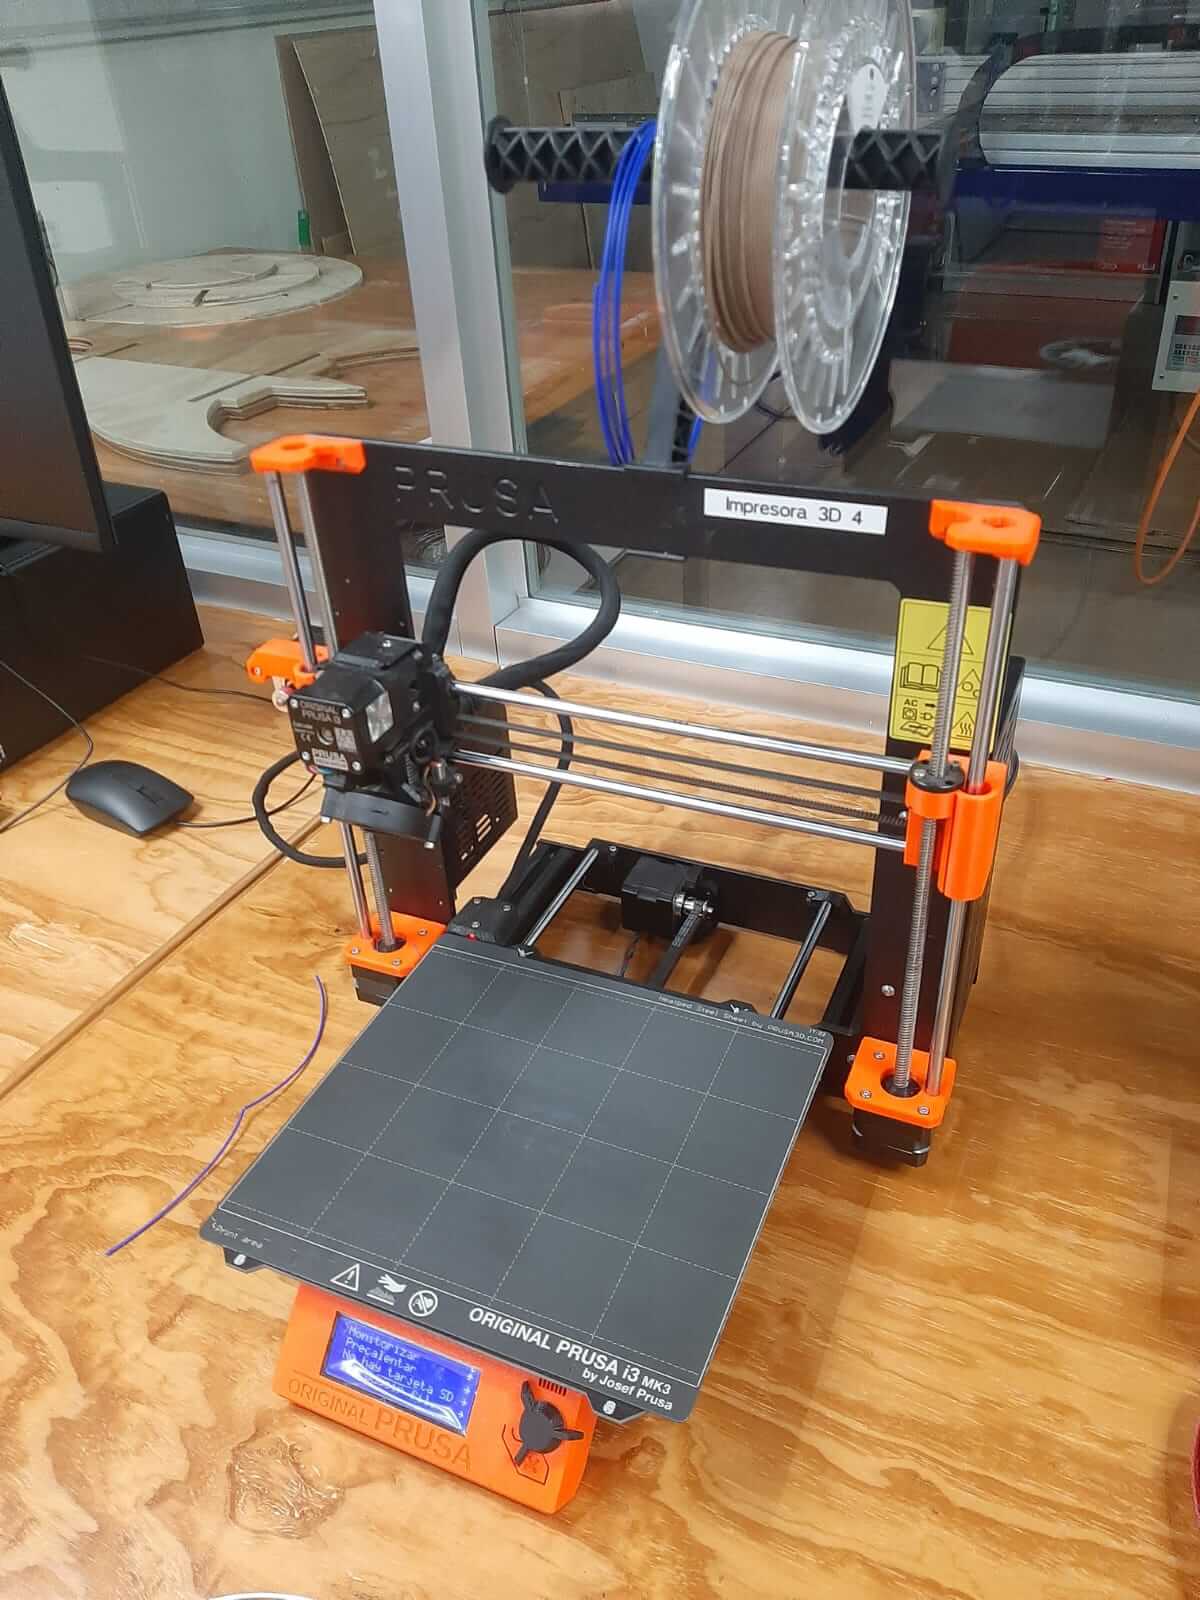
I printed the mold with the 3D printer, this is a simple process that can be done with a 3D printer. To have a smooth surface finish I used acetone to clean the mold, this is a simple process that can be done with a cloth or a brush.
After printing the mold, I cleaned the mold with a brush, this is a simple process that can be done with a brush or a cloth. After that I used the petroleum jelly to release the part from the mold, this is a good idea because it will help to release the part from the mold. I used the hot silicone to cast the part, this is a material that is flexible and can be used for test the mold and the petroleum jelly, helping to release the part from the mold, even if hot silicone got stuck in the mold, it will be easy to remove it.

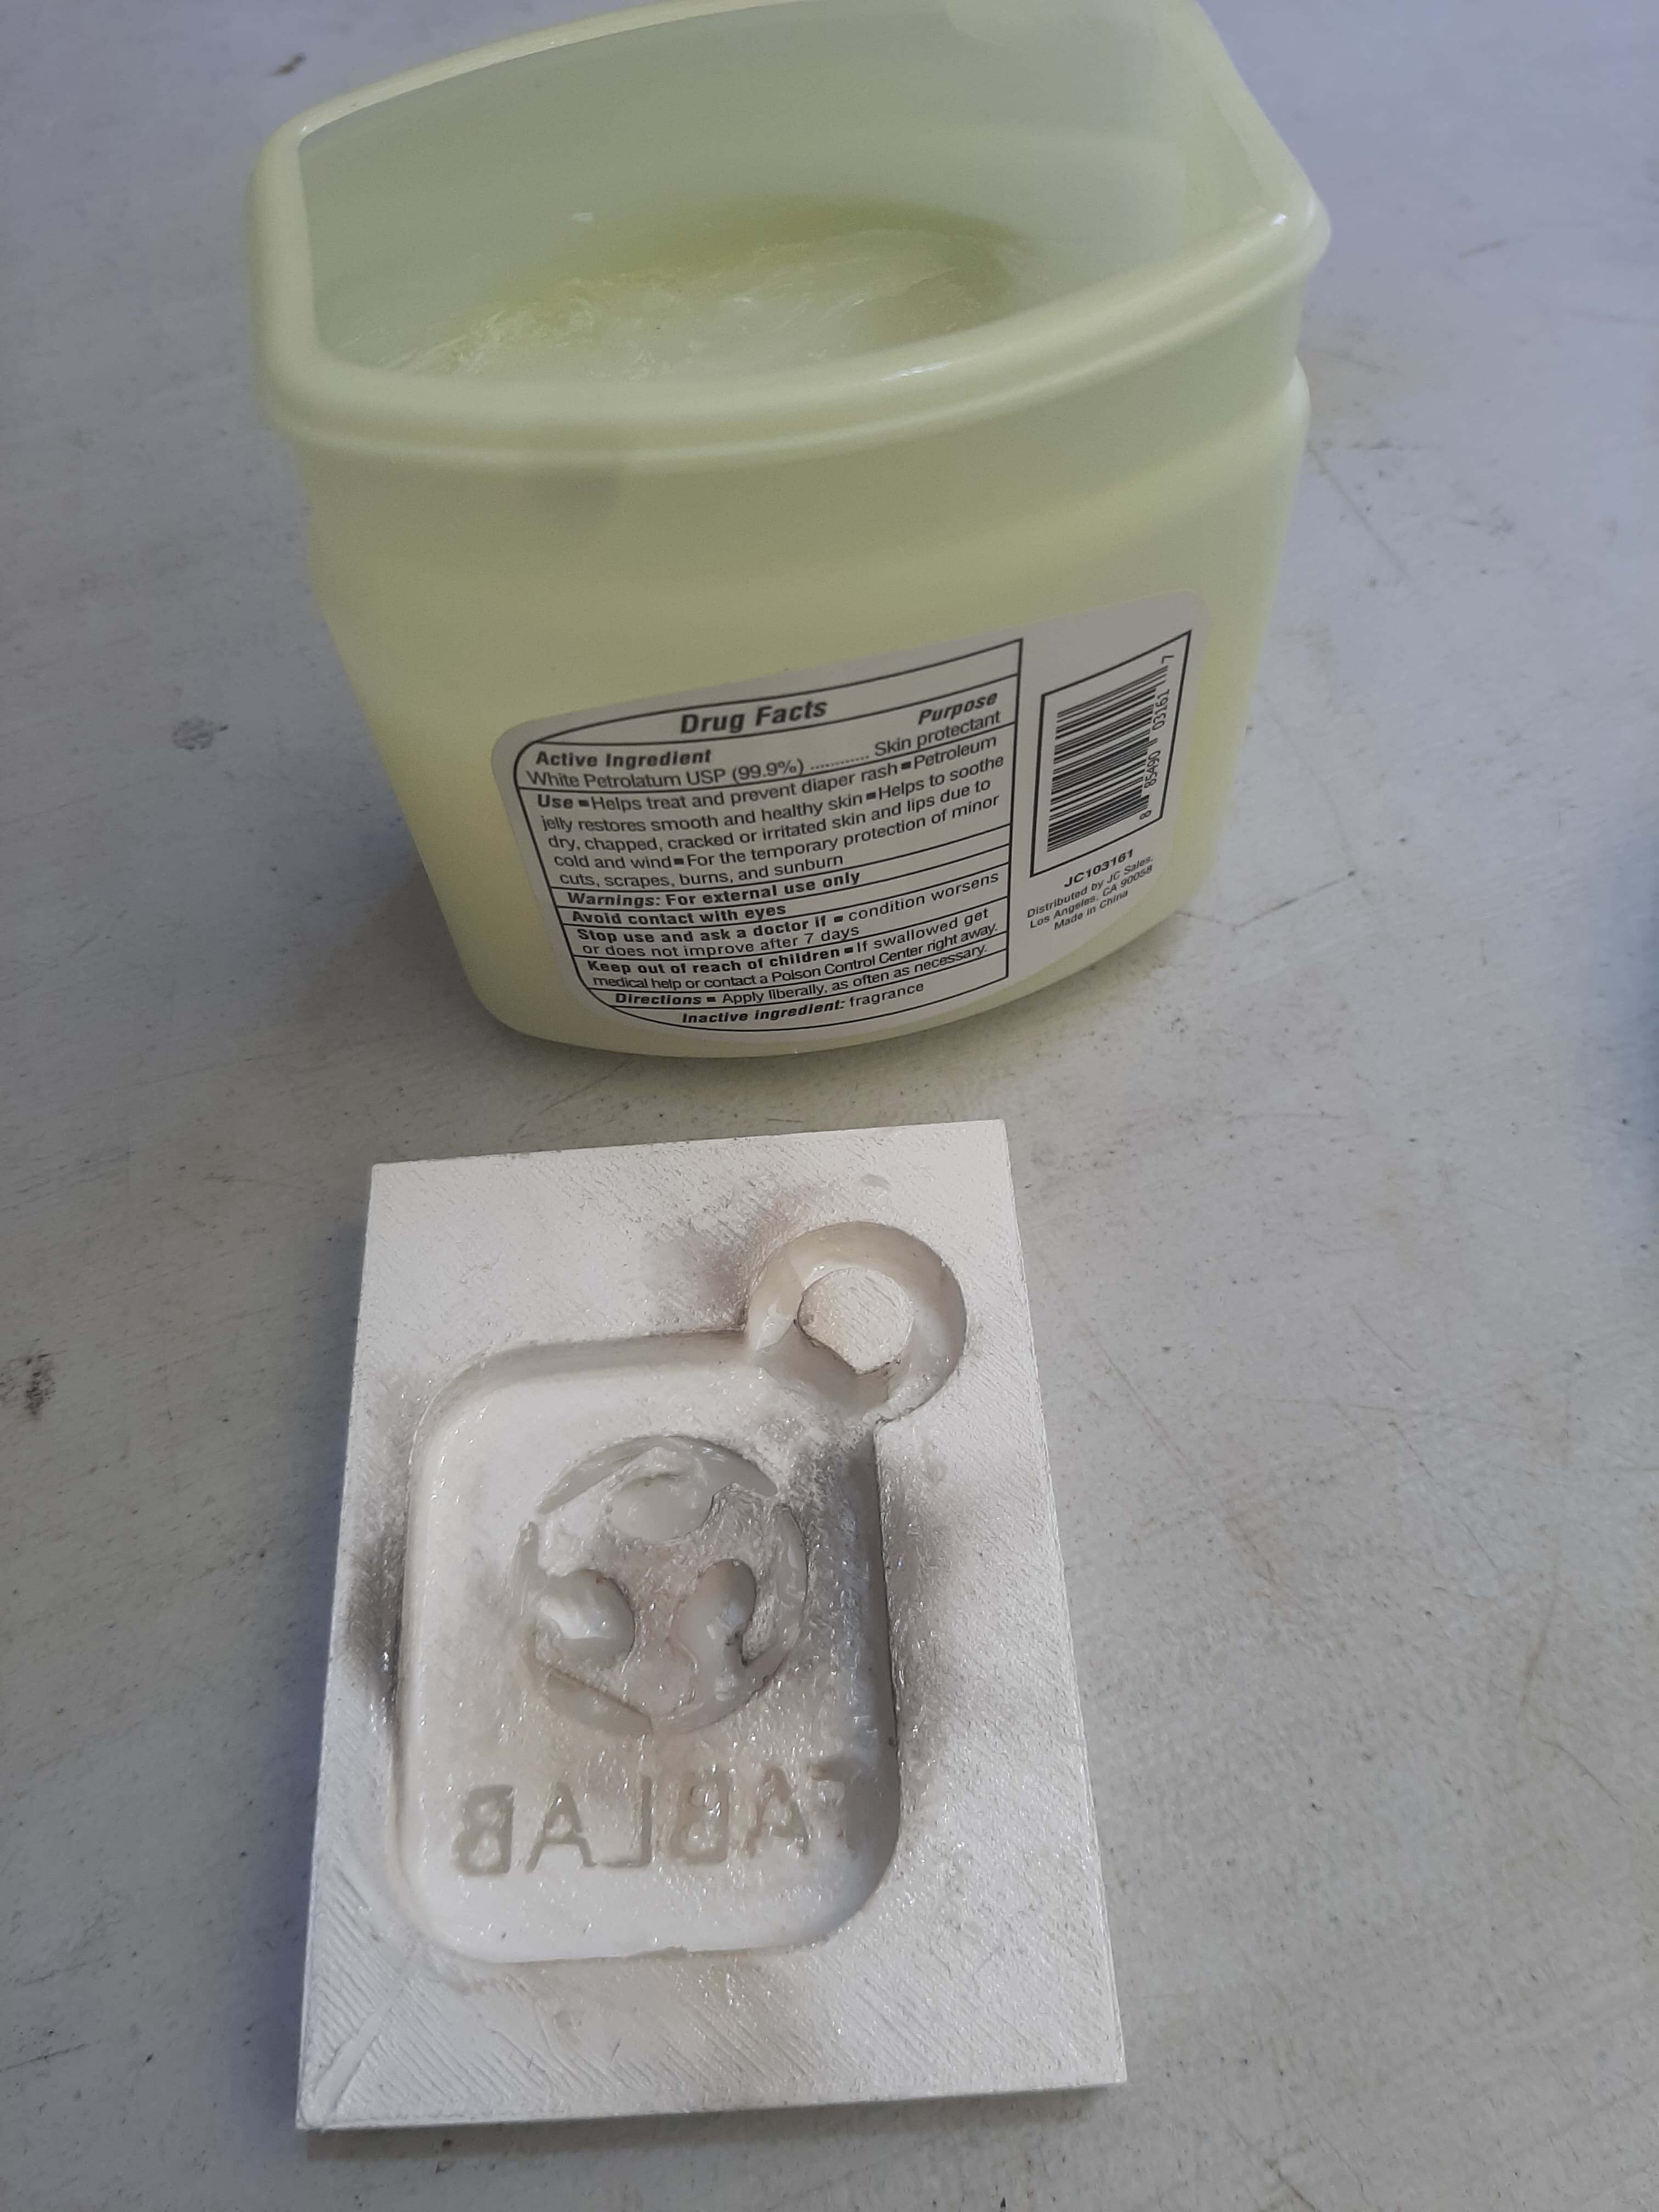
Something hard to do with the hot silicone is to used it fast enough to pour the silicone in the mold, this can be a problem because the silicone will harden fast and you will not have time to pour it in the mold. Giving you a bad result, this is something that I learned during the process.

How I mention before, the hot silicone is a material that solidifies fast, so if you are unable to pour it in the mold, you can get a bad result, However, that is a result that I spected to get, because the main purpose of this test was to see if the petroleum jelly works to release the part from the mold and it worked, the part came out easily from the mold.
Ones I got that result, I start woroking preparing the second part od the test, using the mold silicone, this is a material that is flexible and can be used for molds or parts.
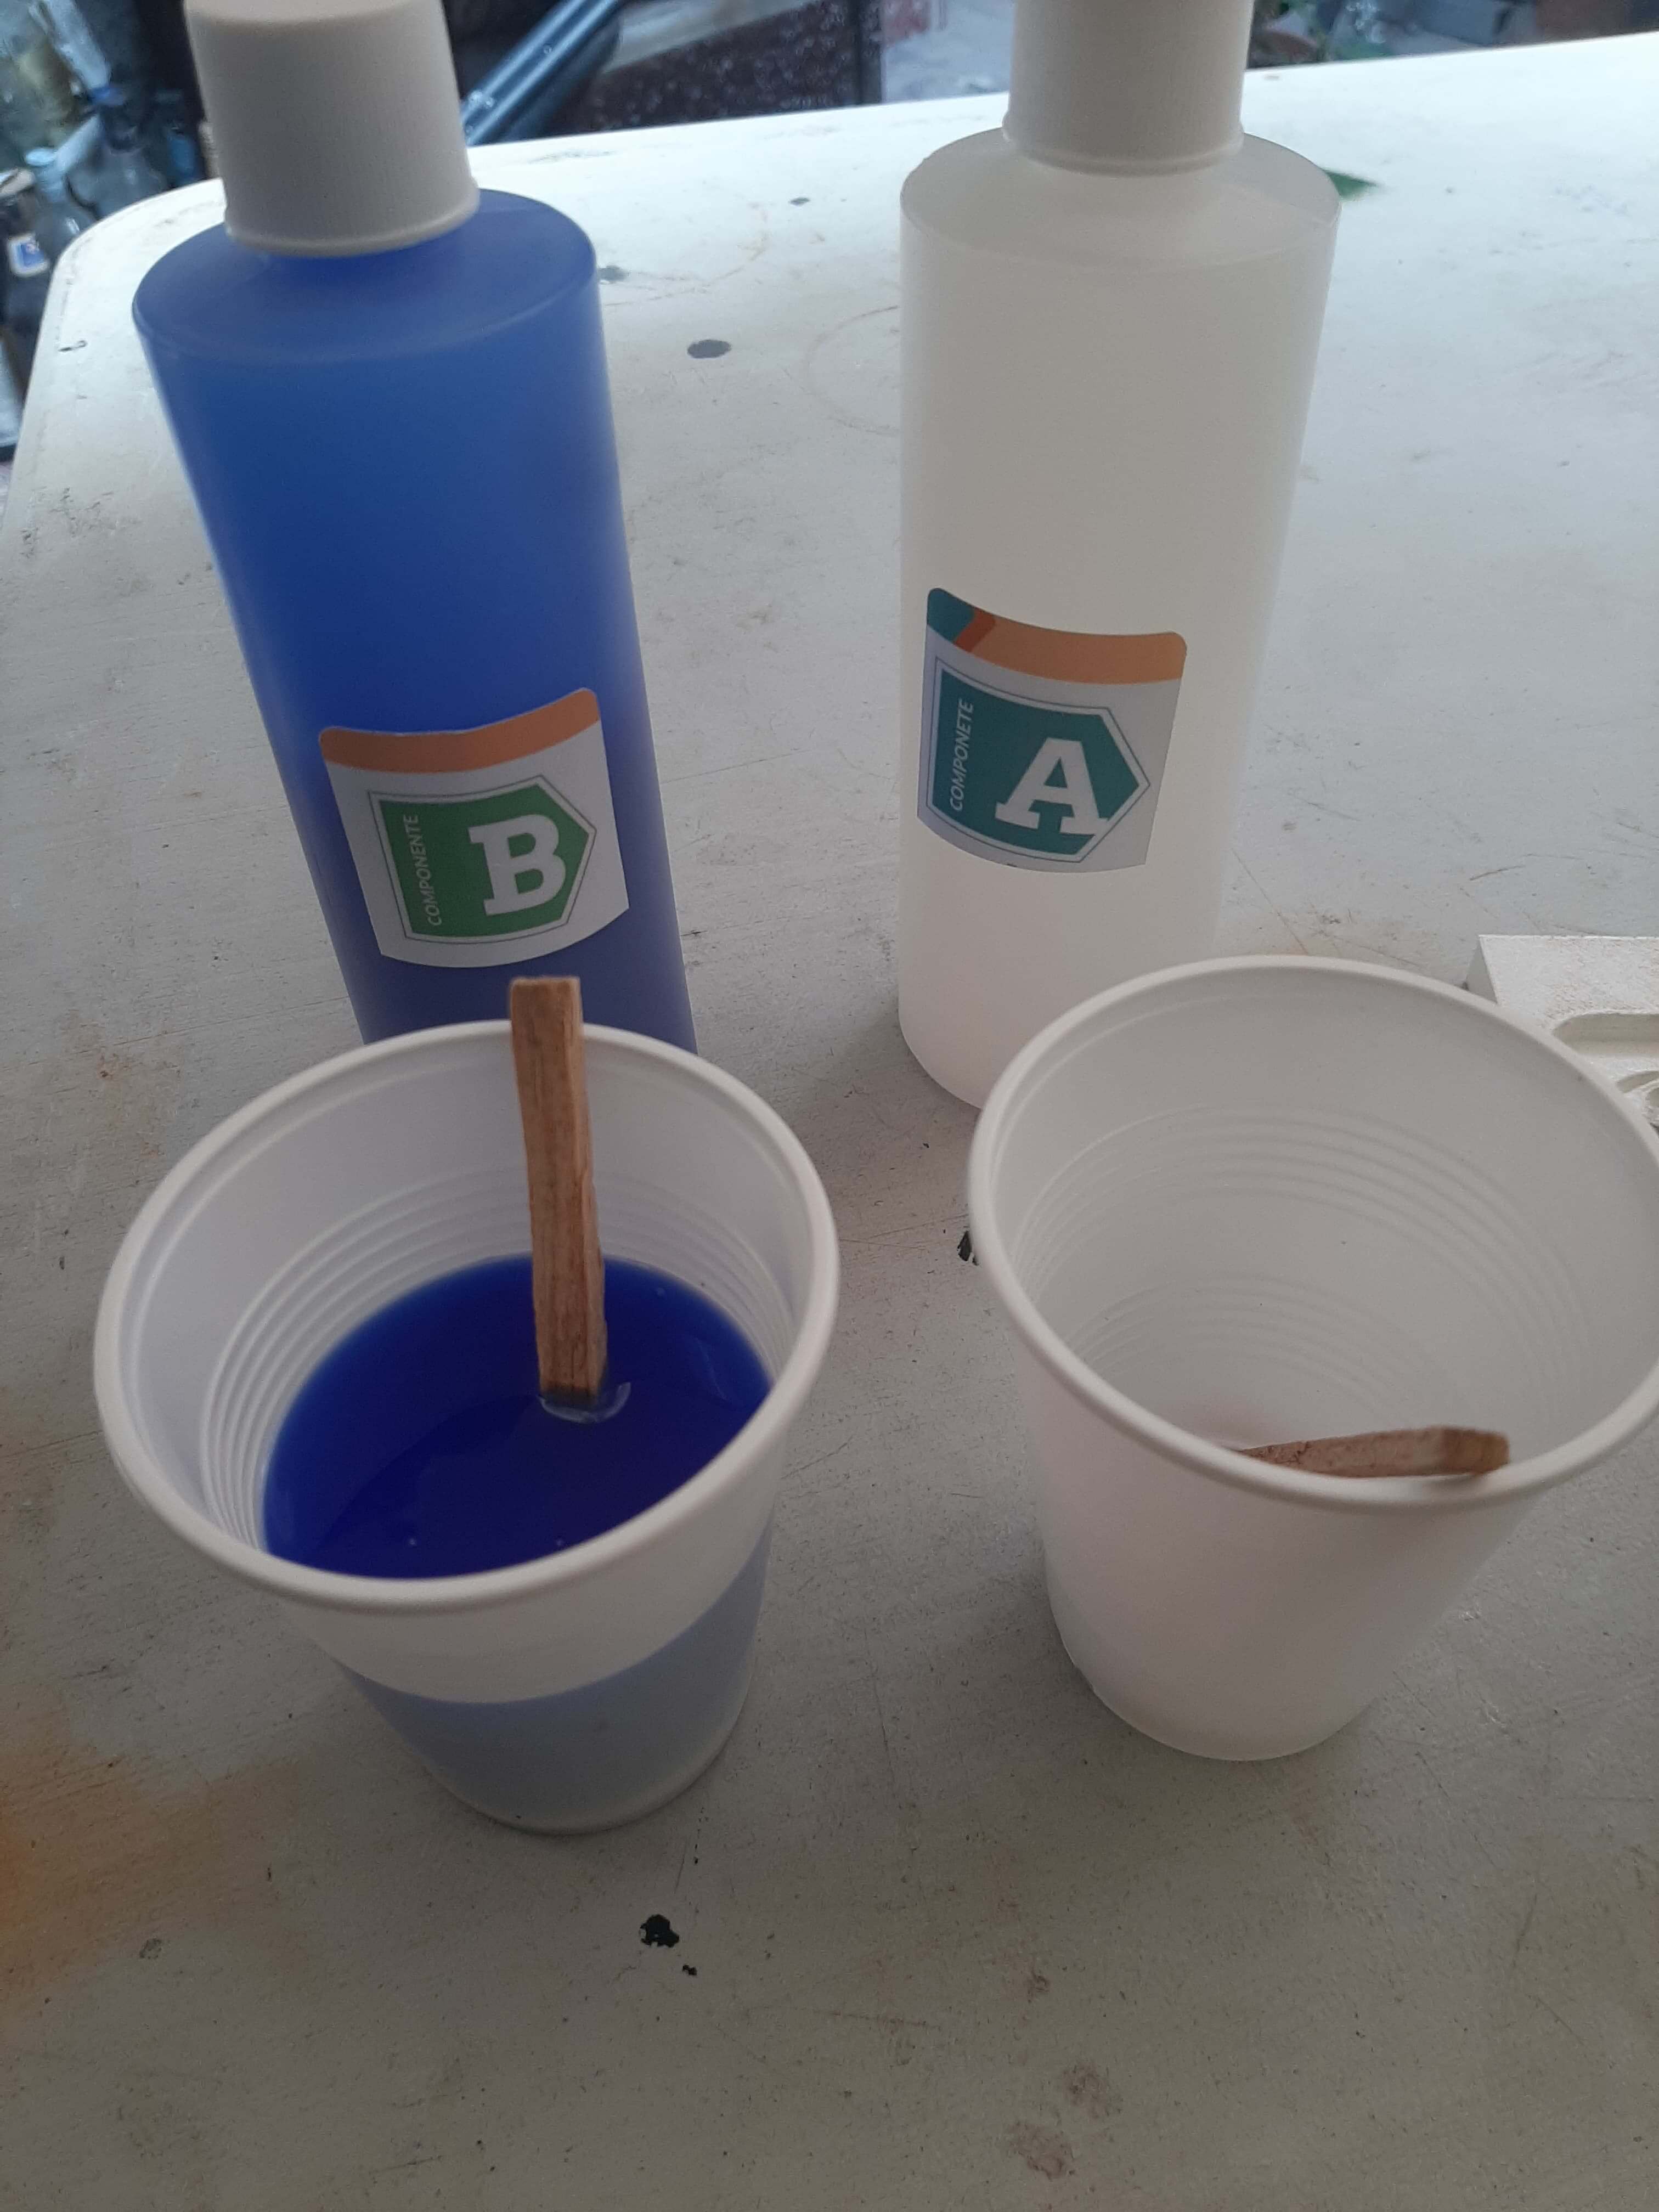
This particular silicone is a two part silicone, this means that you have to mix two parts to get the final product, in mi case I used volume ratio of 1:1, this means that you have to mix one part of the first part with one part of the second part, then well mix it until we get a homogenous mixture. This is a simple process that can be done with a stick or a spoon.
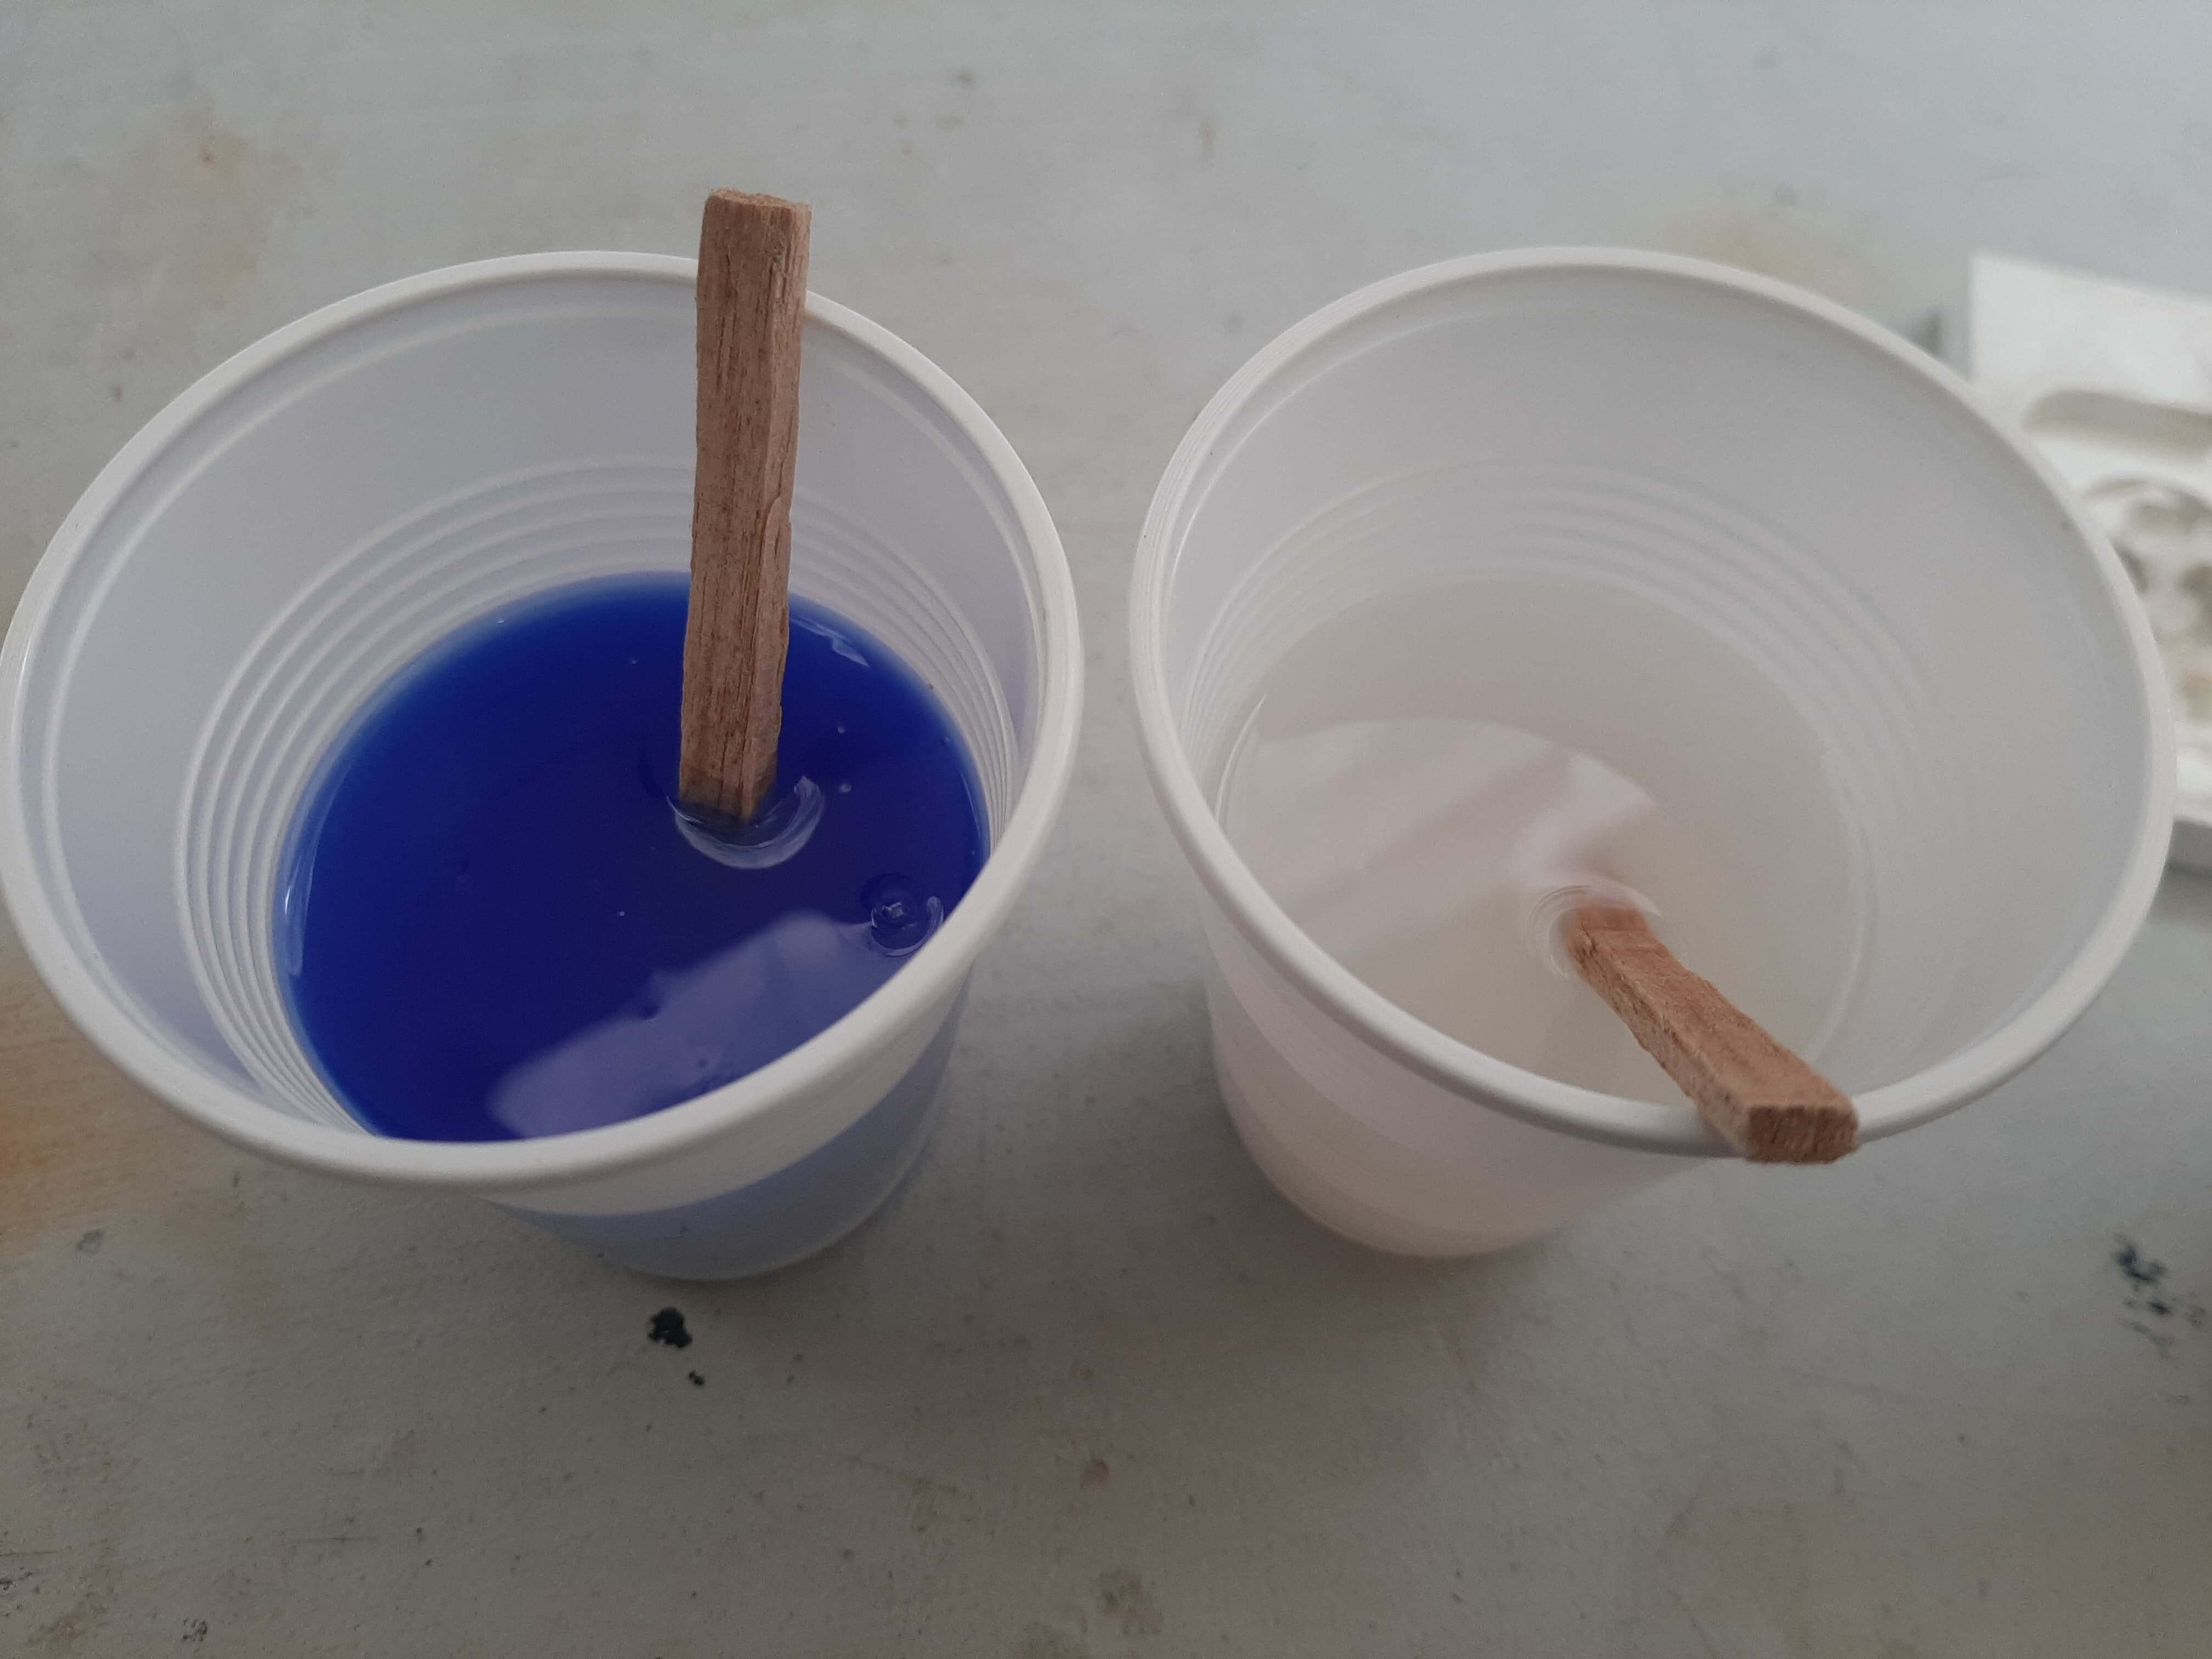
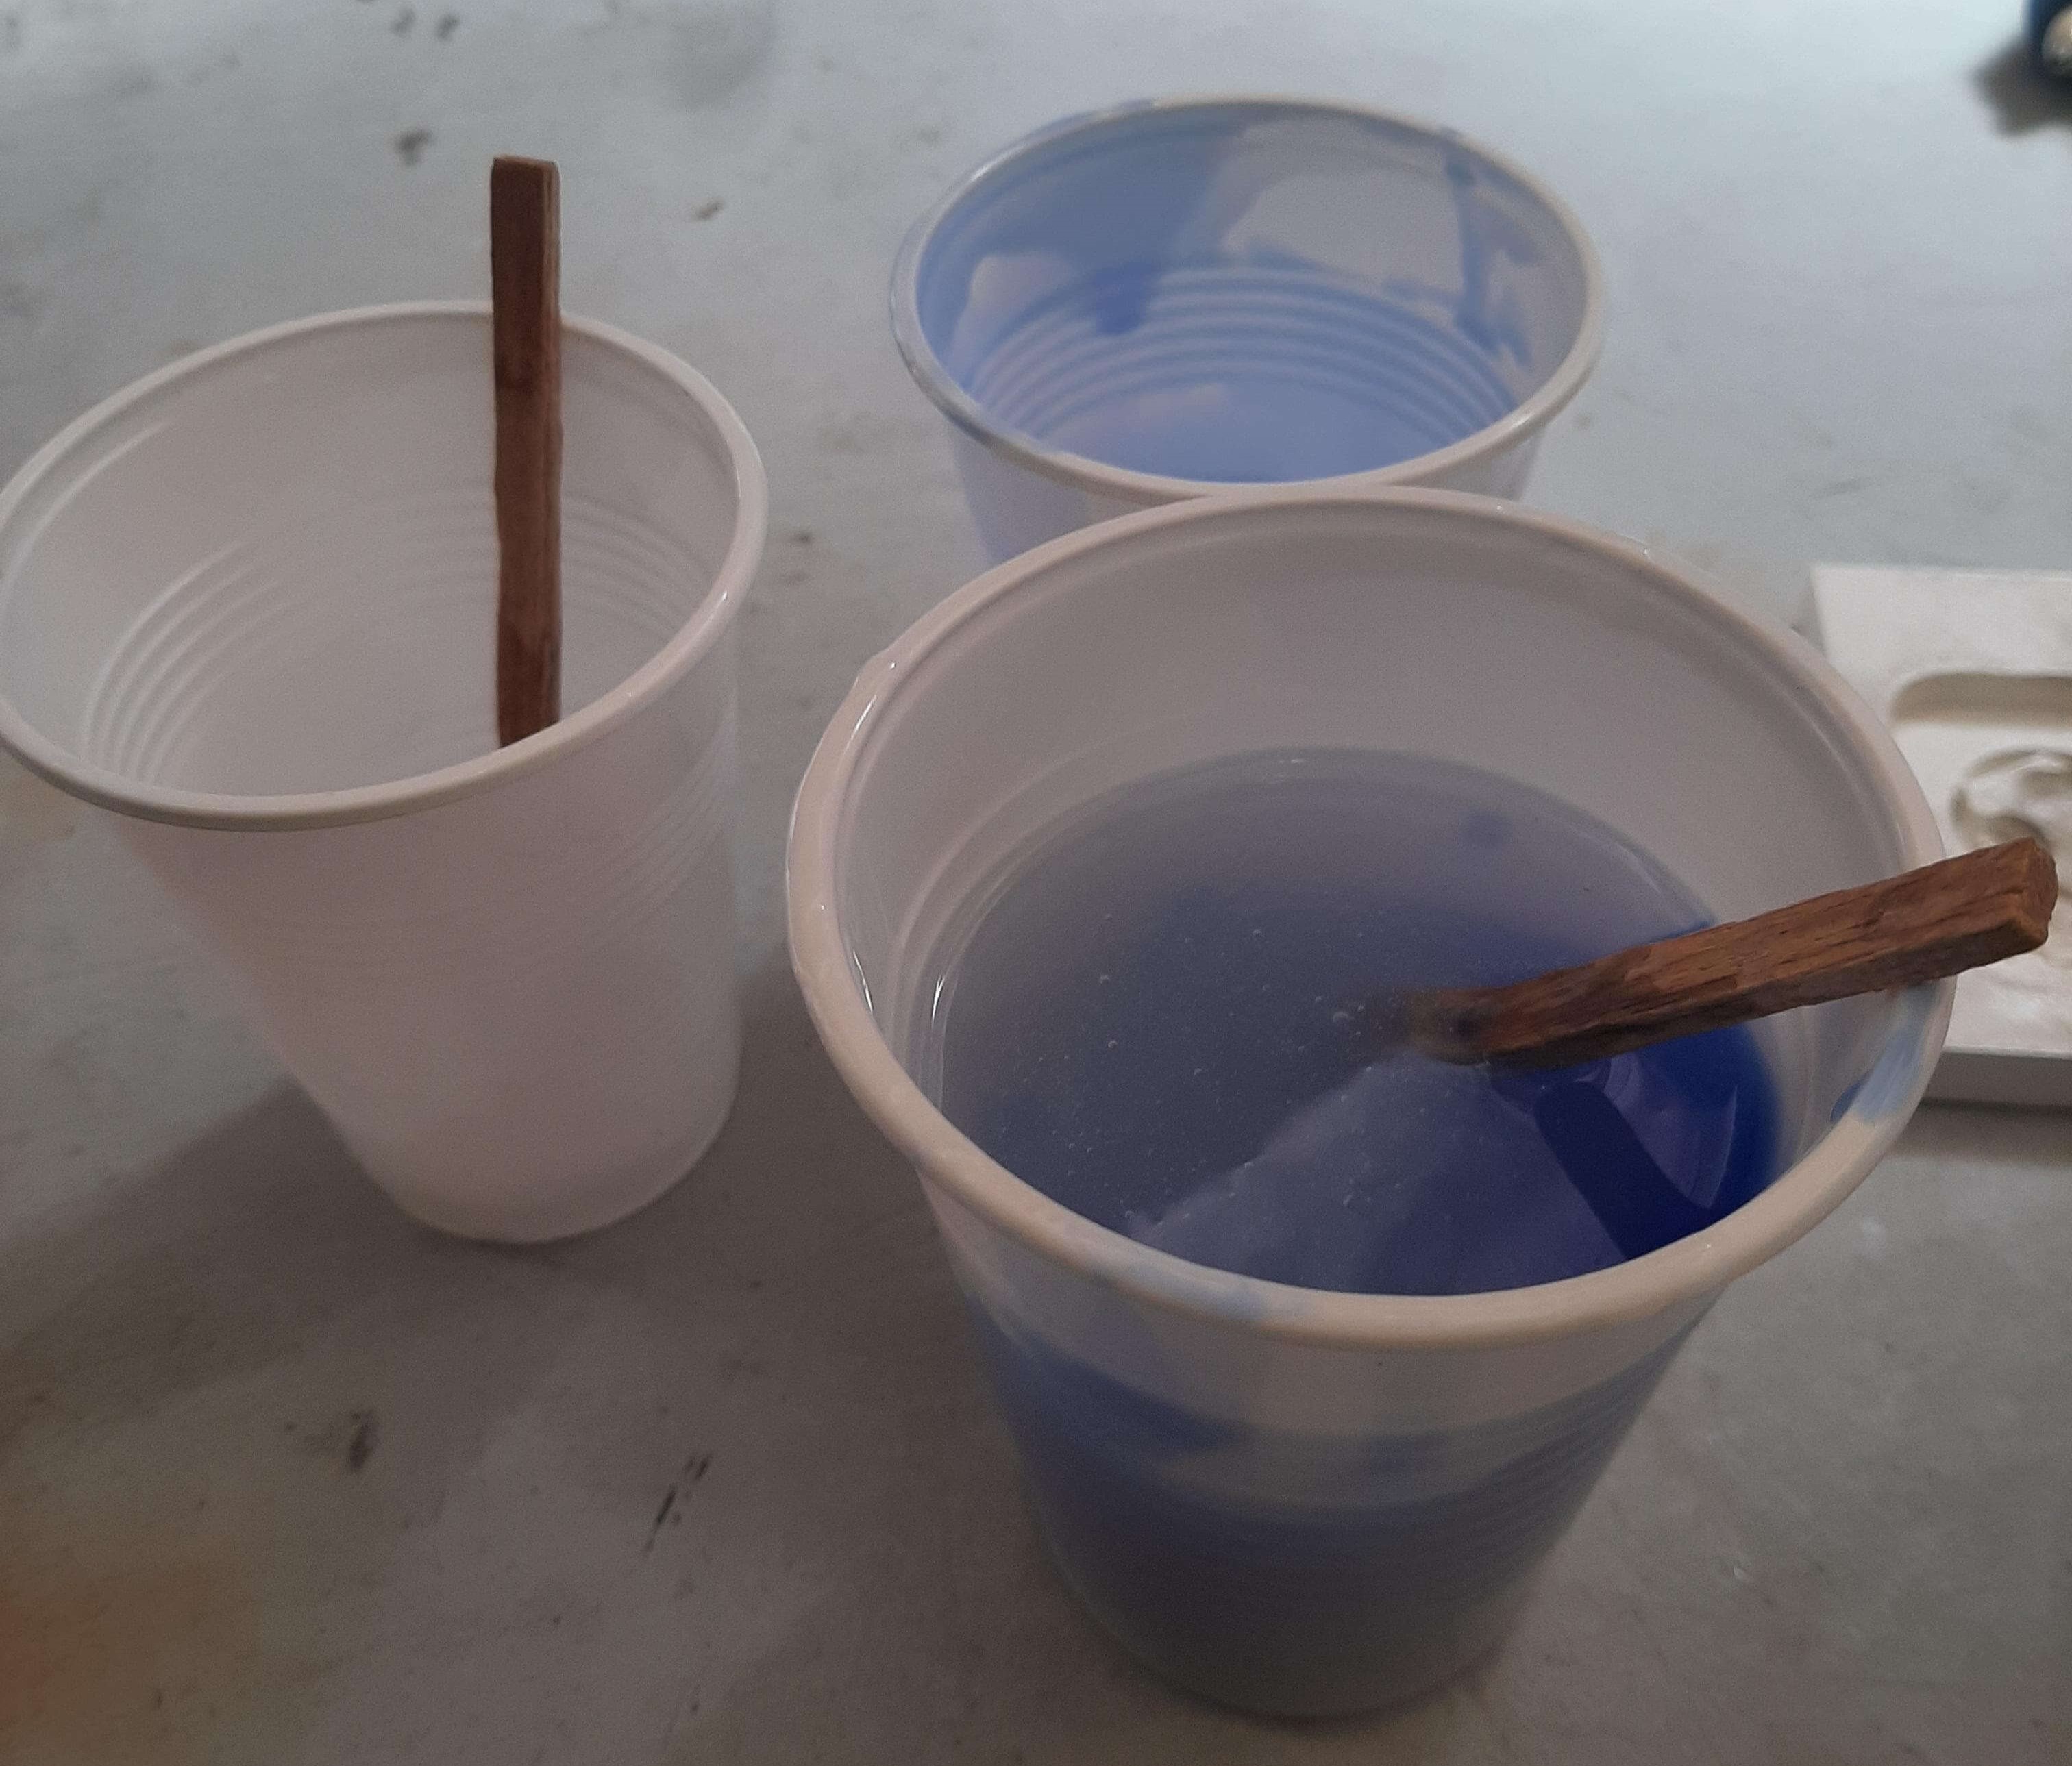

Something important to mention is that I used plastic cups to mix the silicone, this is a good idea because let you see the volume of the silicone and ensure that you are using the right amount of silicone, this is important because if you use a wrong proportion of silicone, you will not get the right result.
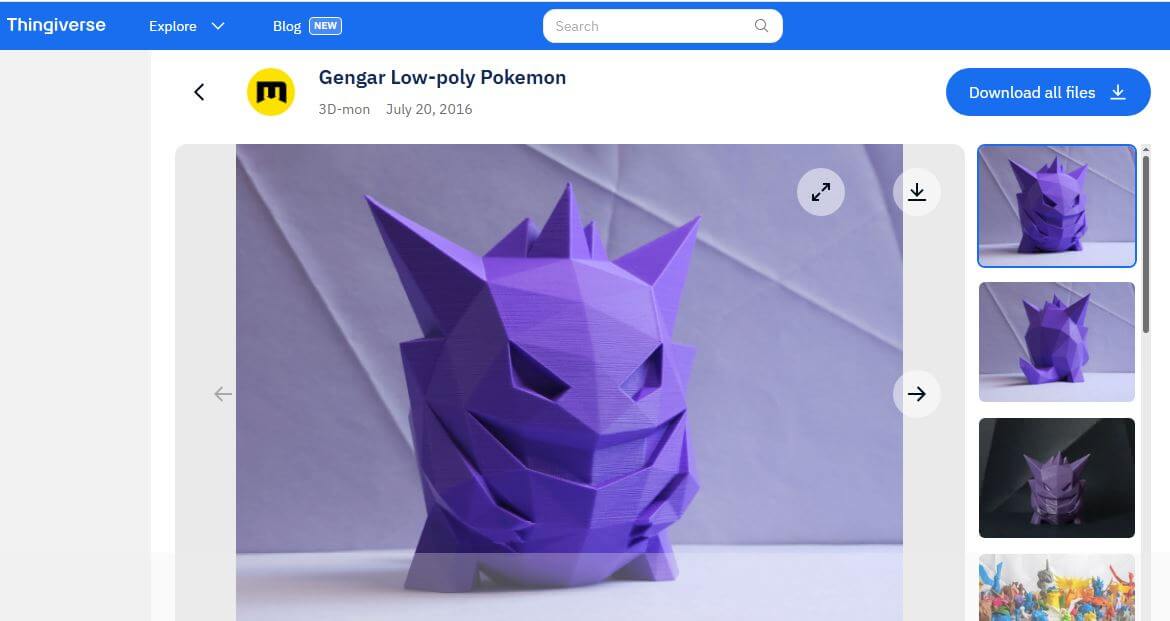
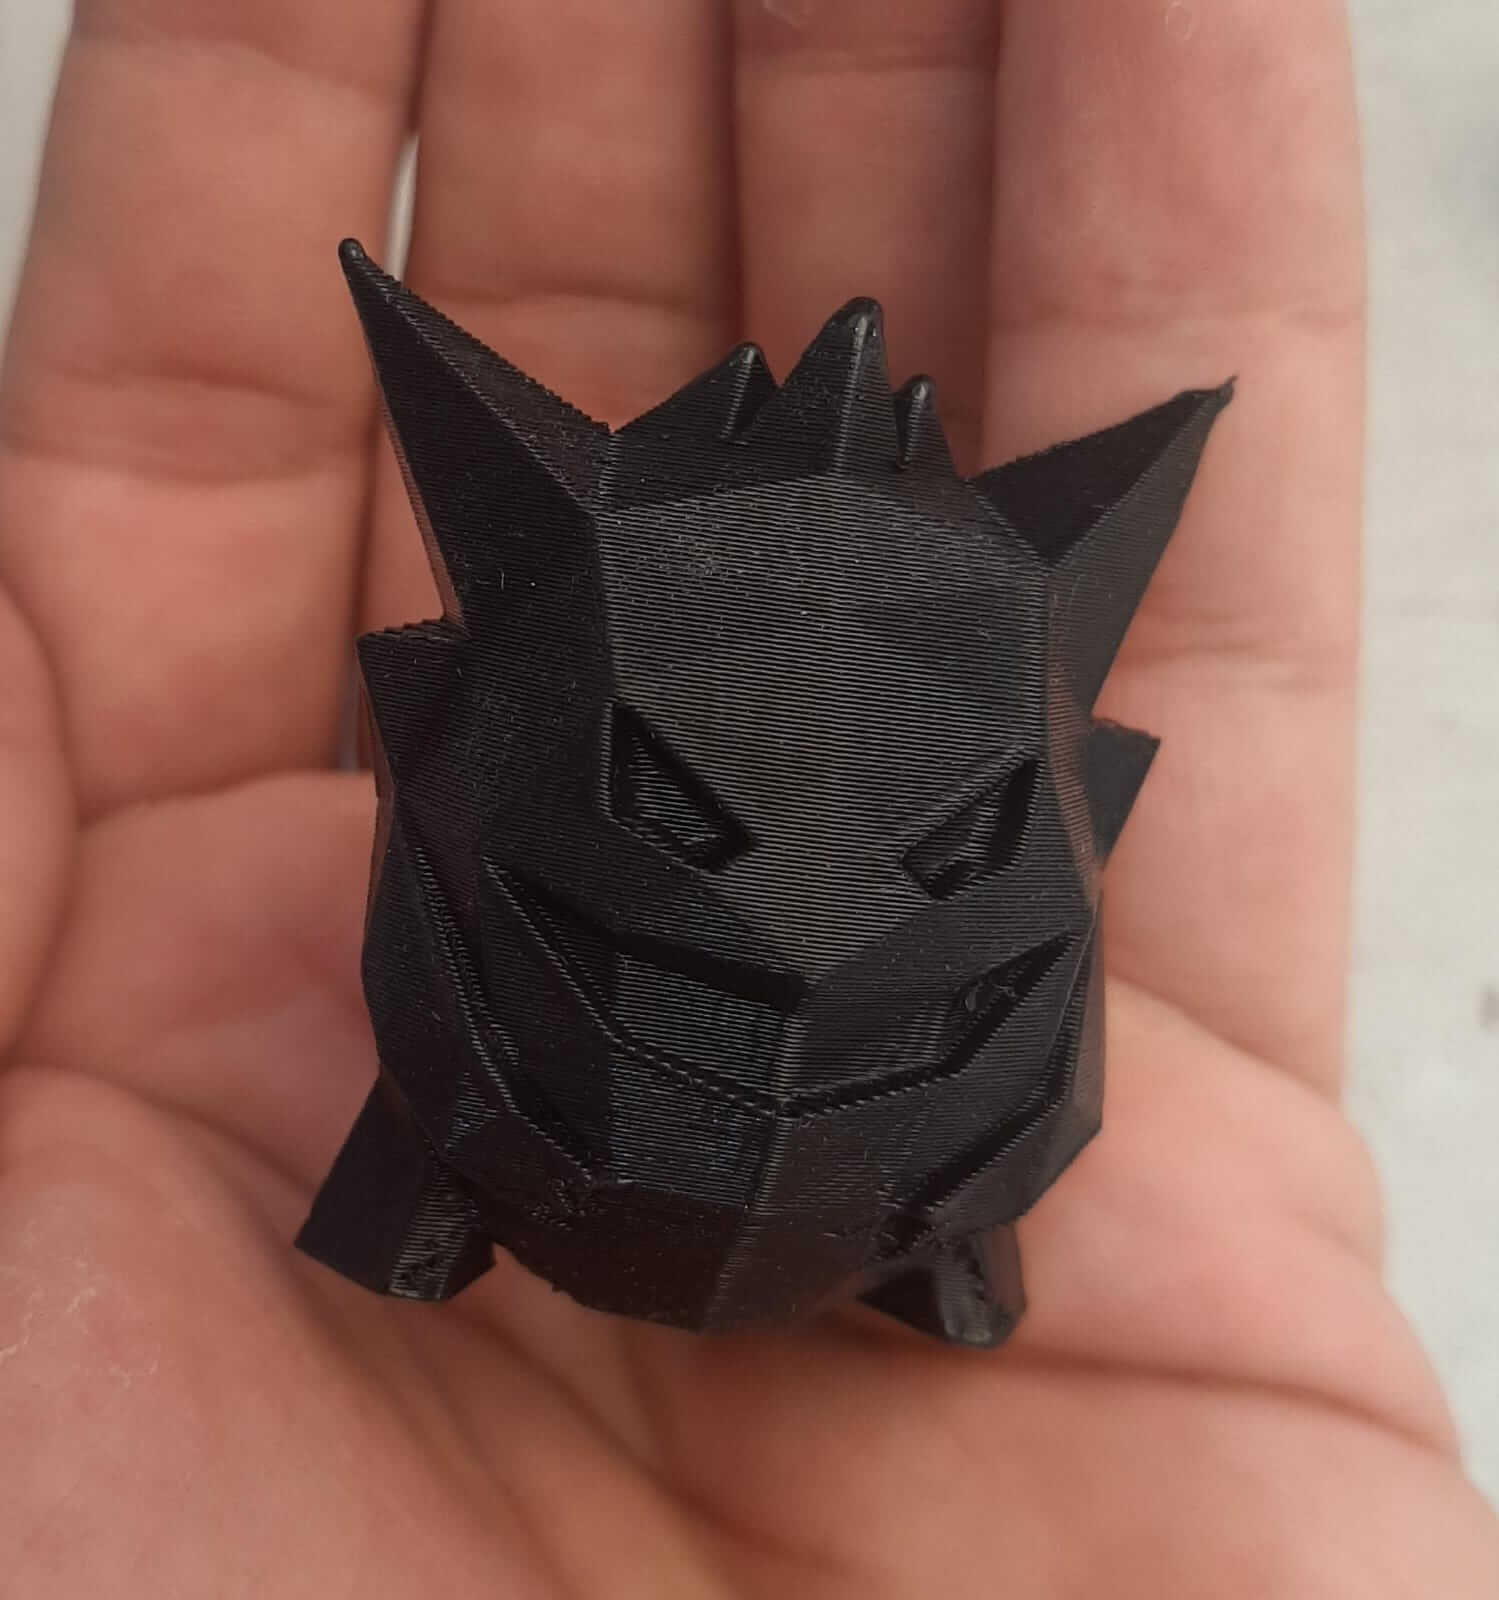
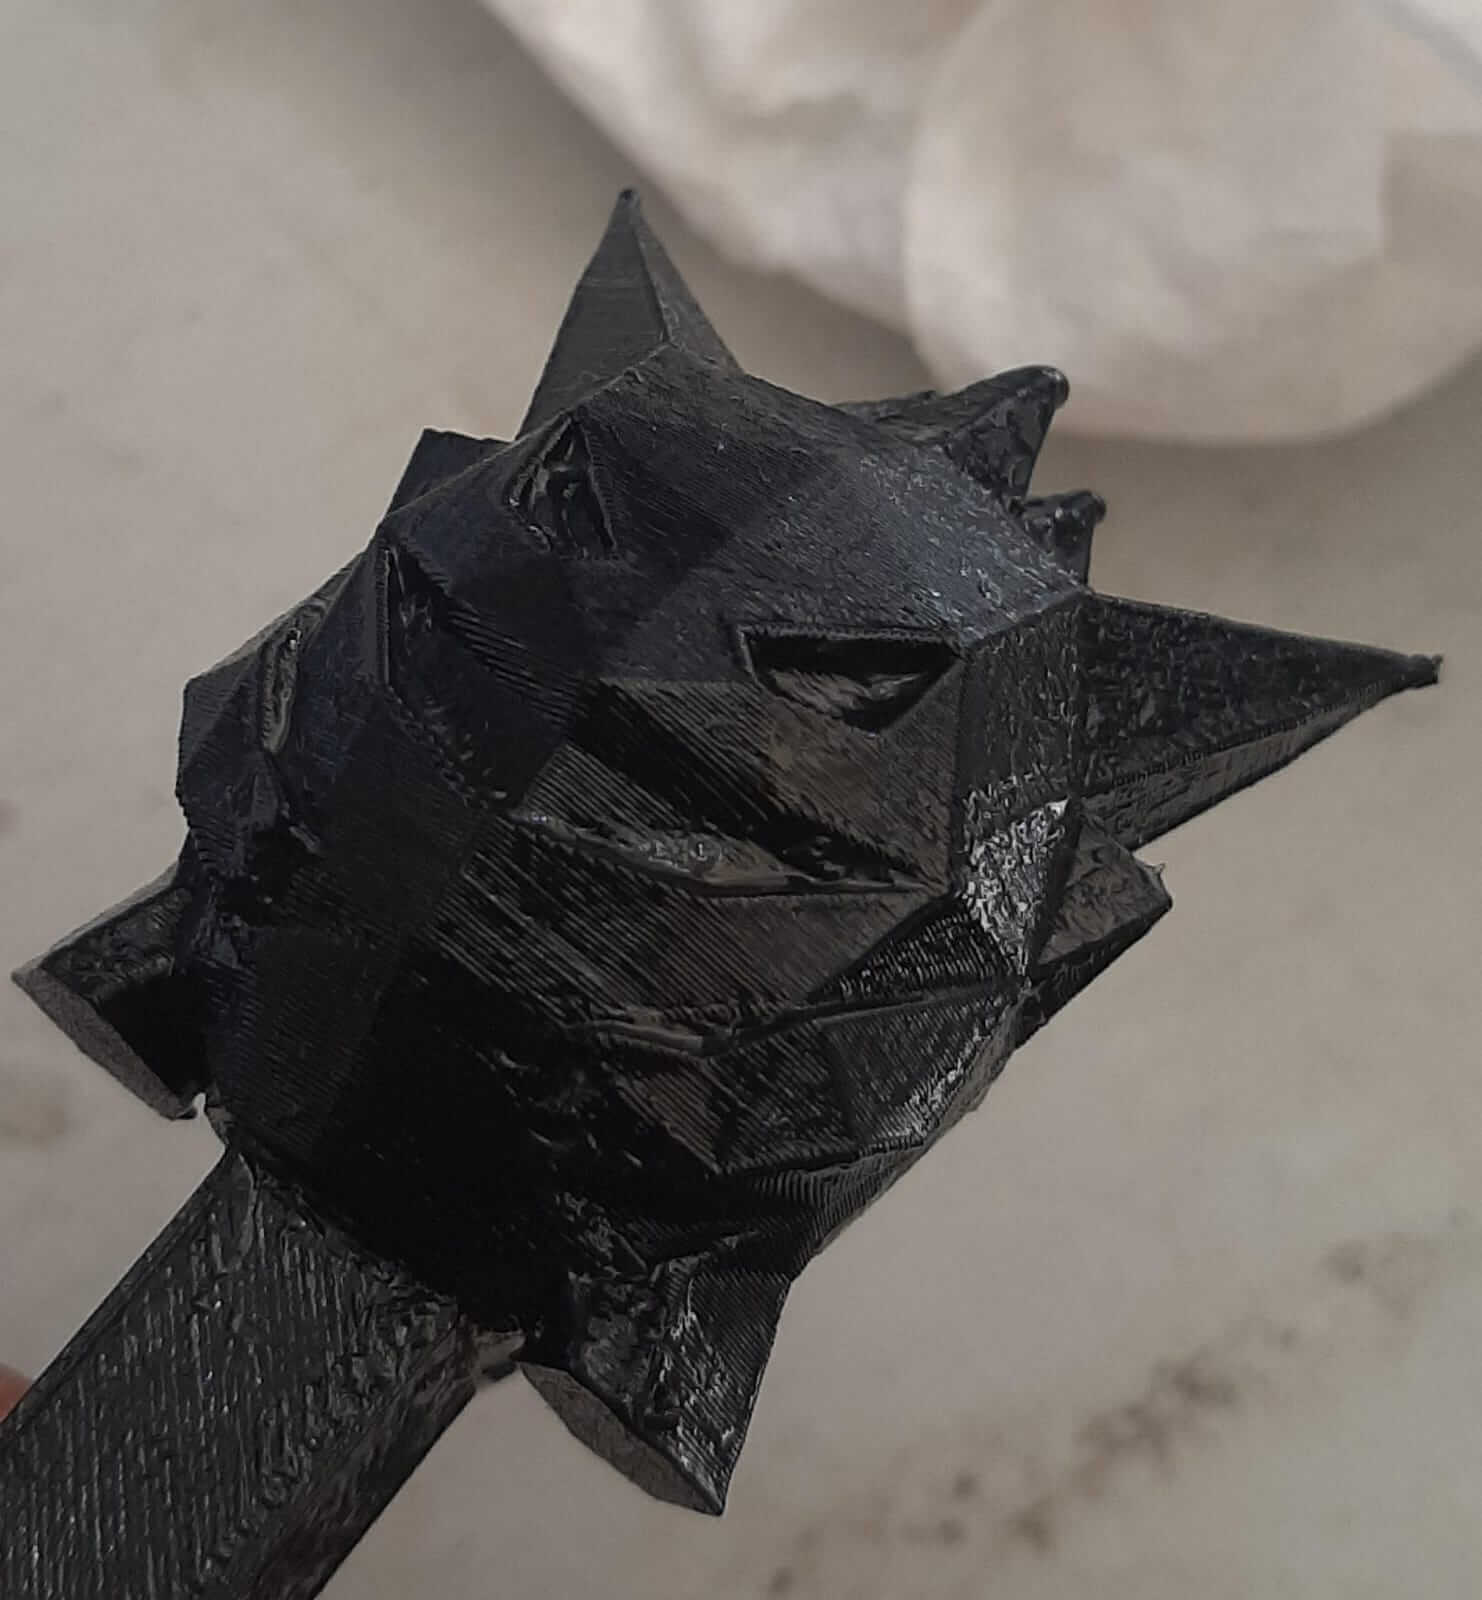
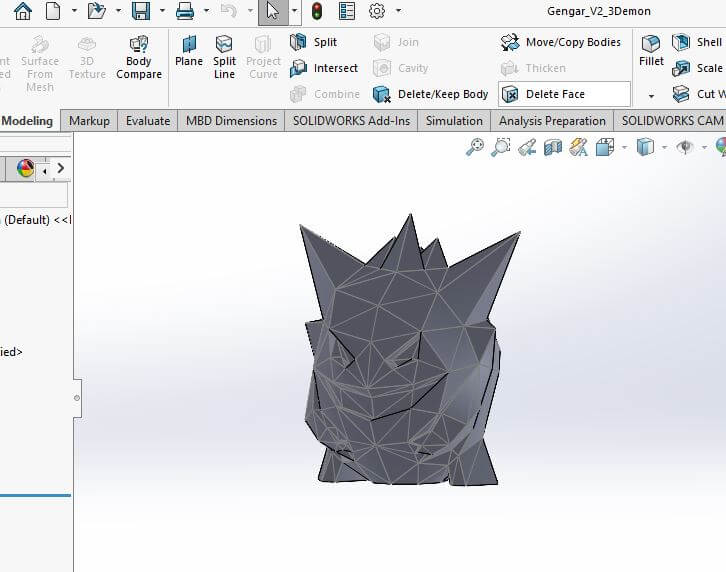
To test more the silicone, I decided to print a small figure to used it to create a mold, for the figure I downloaded a model from Thingiverse, this is a website that has a lot of models that you can download and use for your projects. The name of the figure is Gengar and you can download the STL in the next link: GENGAR POKEMON .
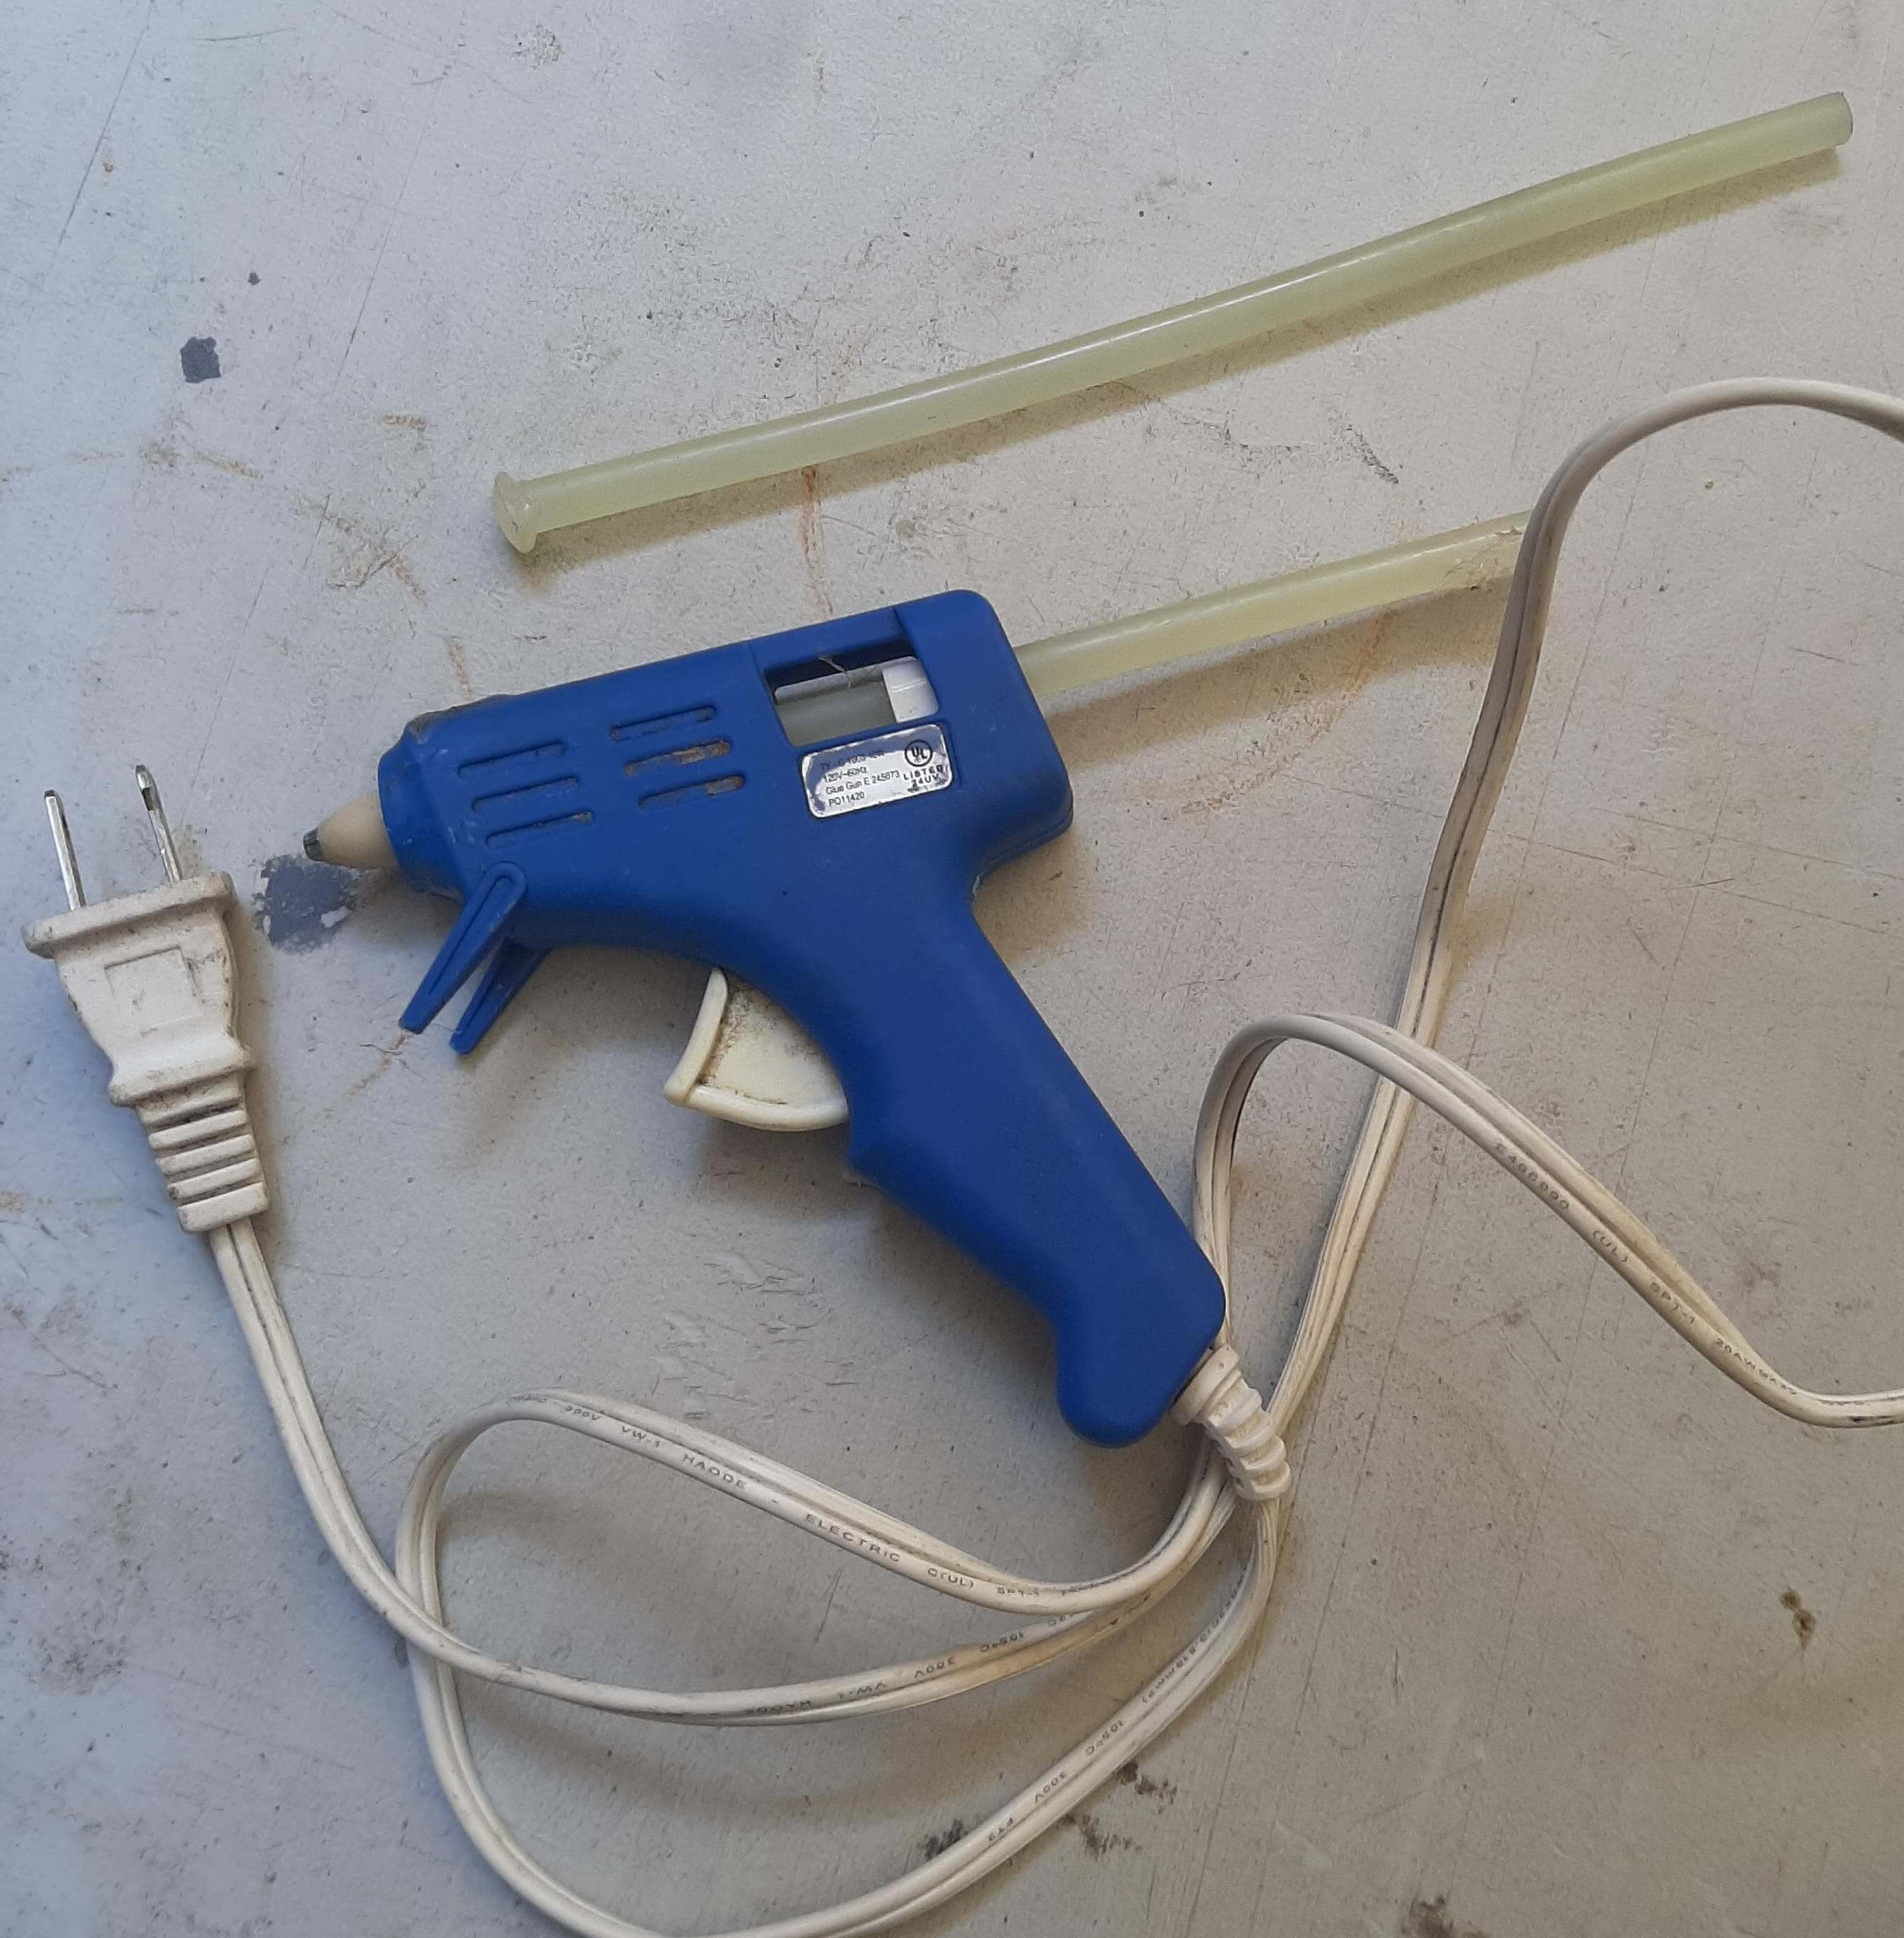
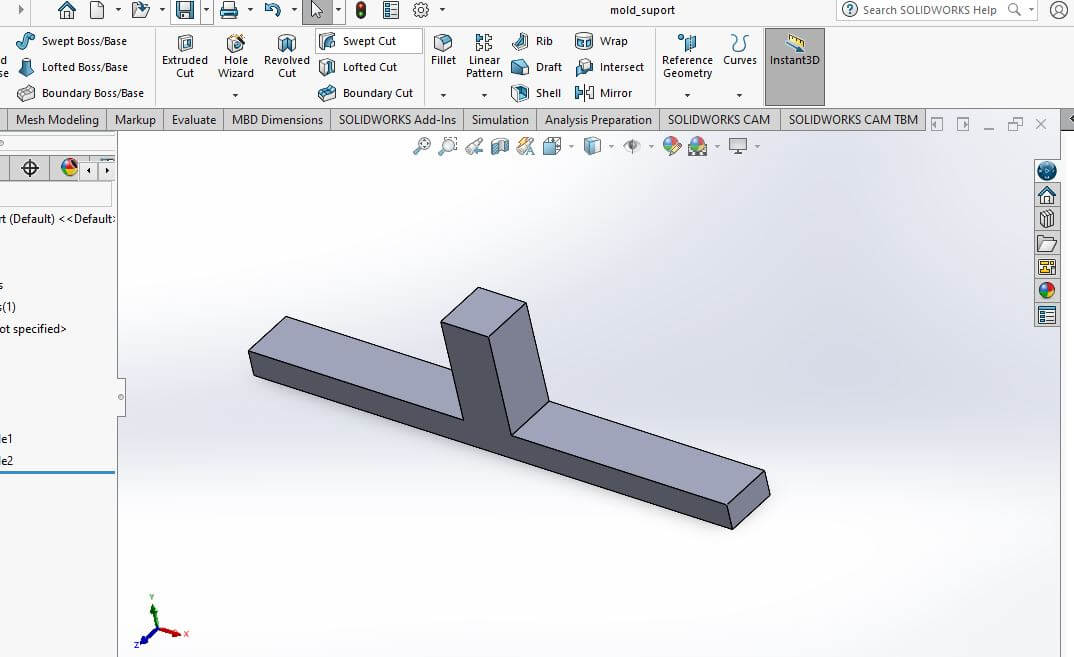
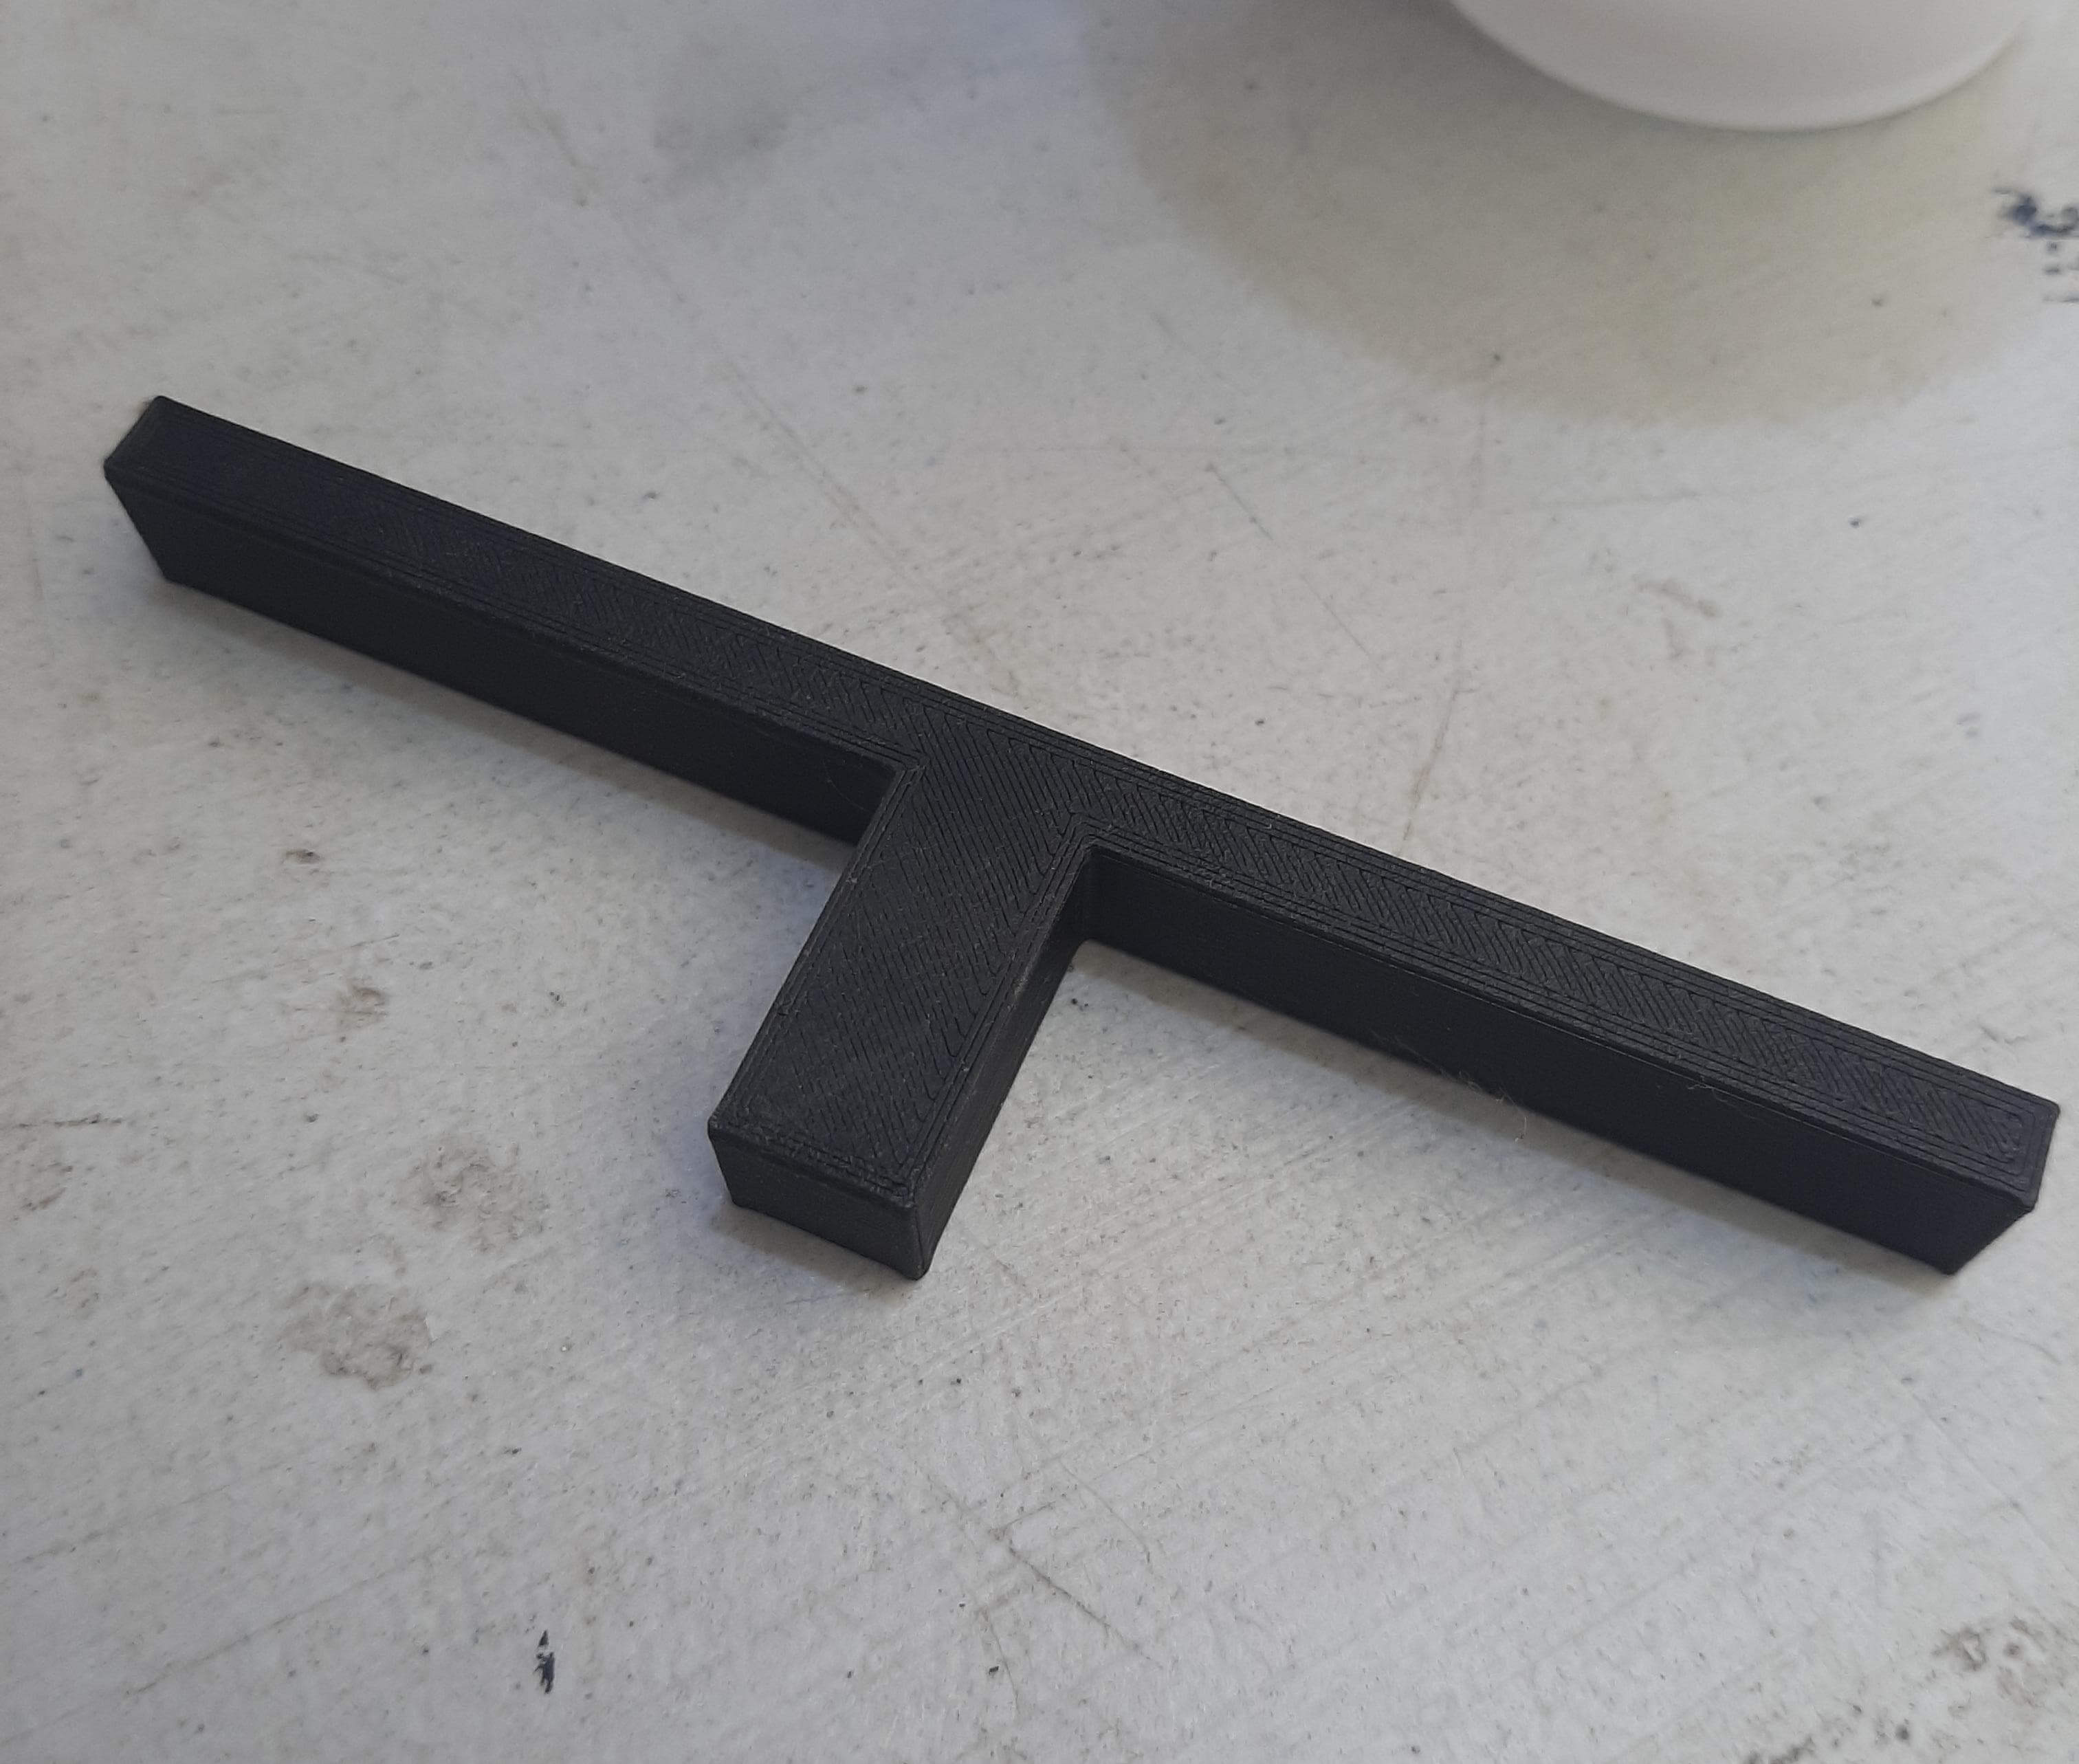
I also designed an small support for the figure and I printed it separately, because we will use it to hold more figures, Ones the support is printed, I used the hot silicone to attach the figure to the support, this is a simple process that can be done with a glue gun.
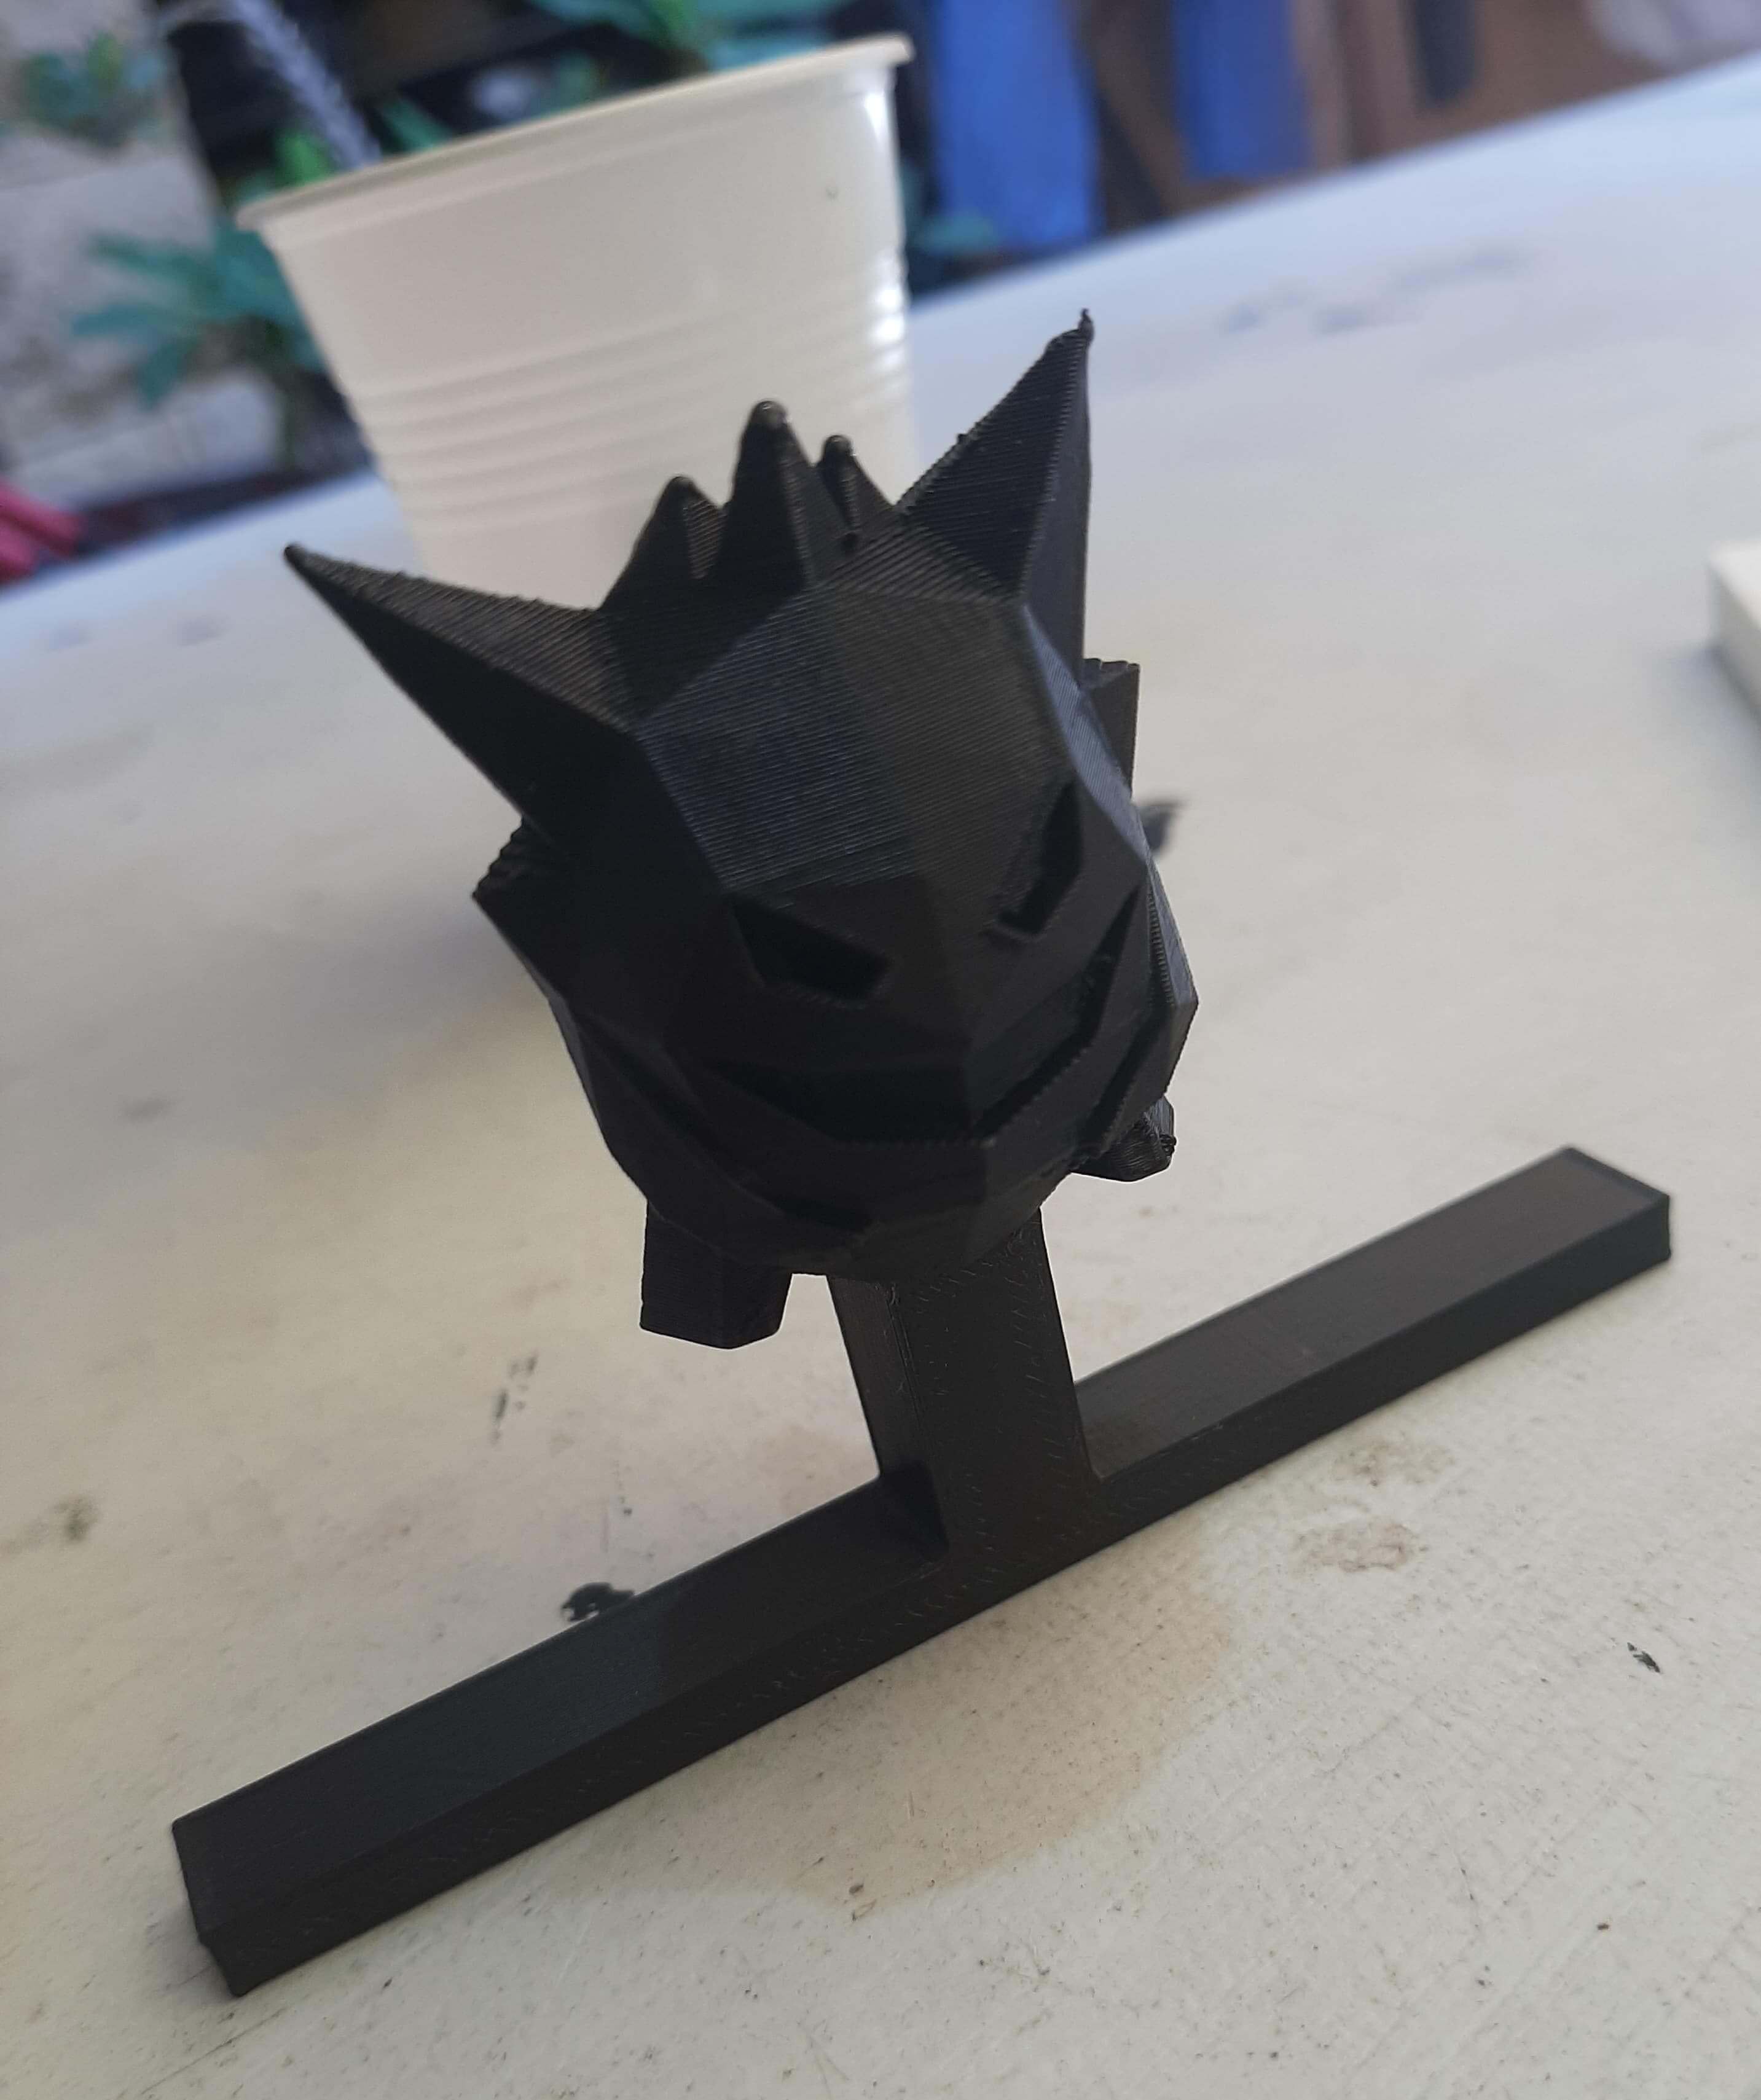
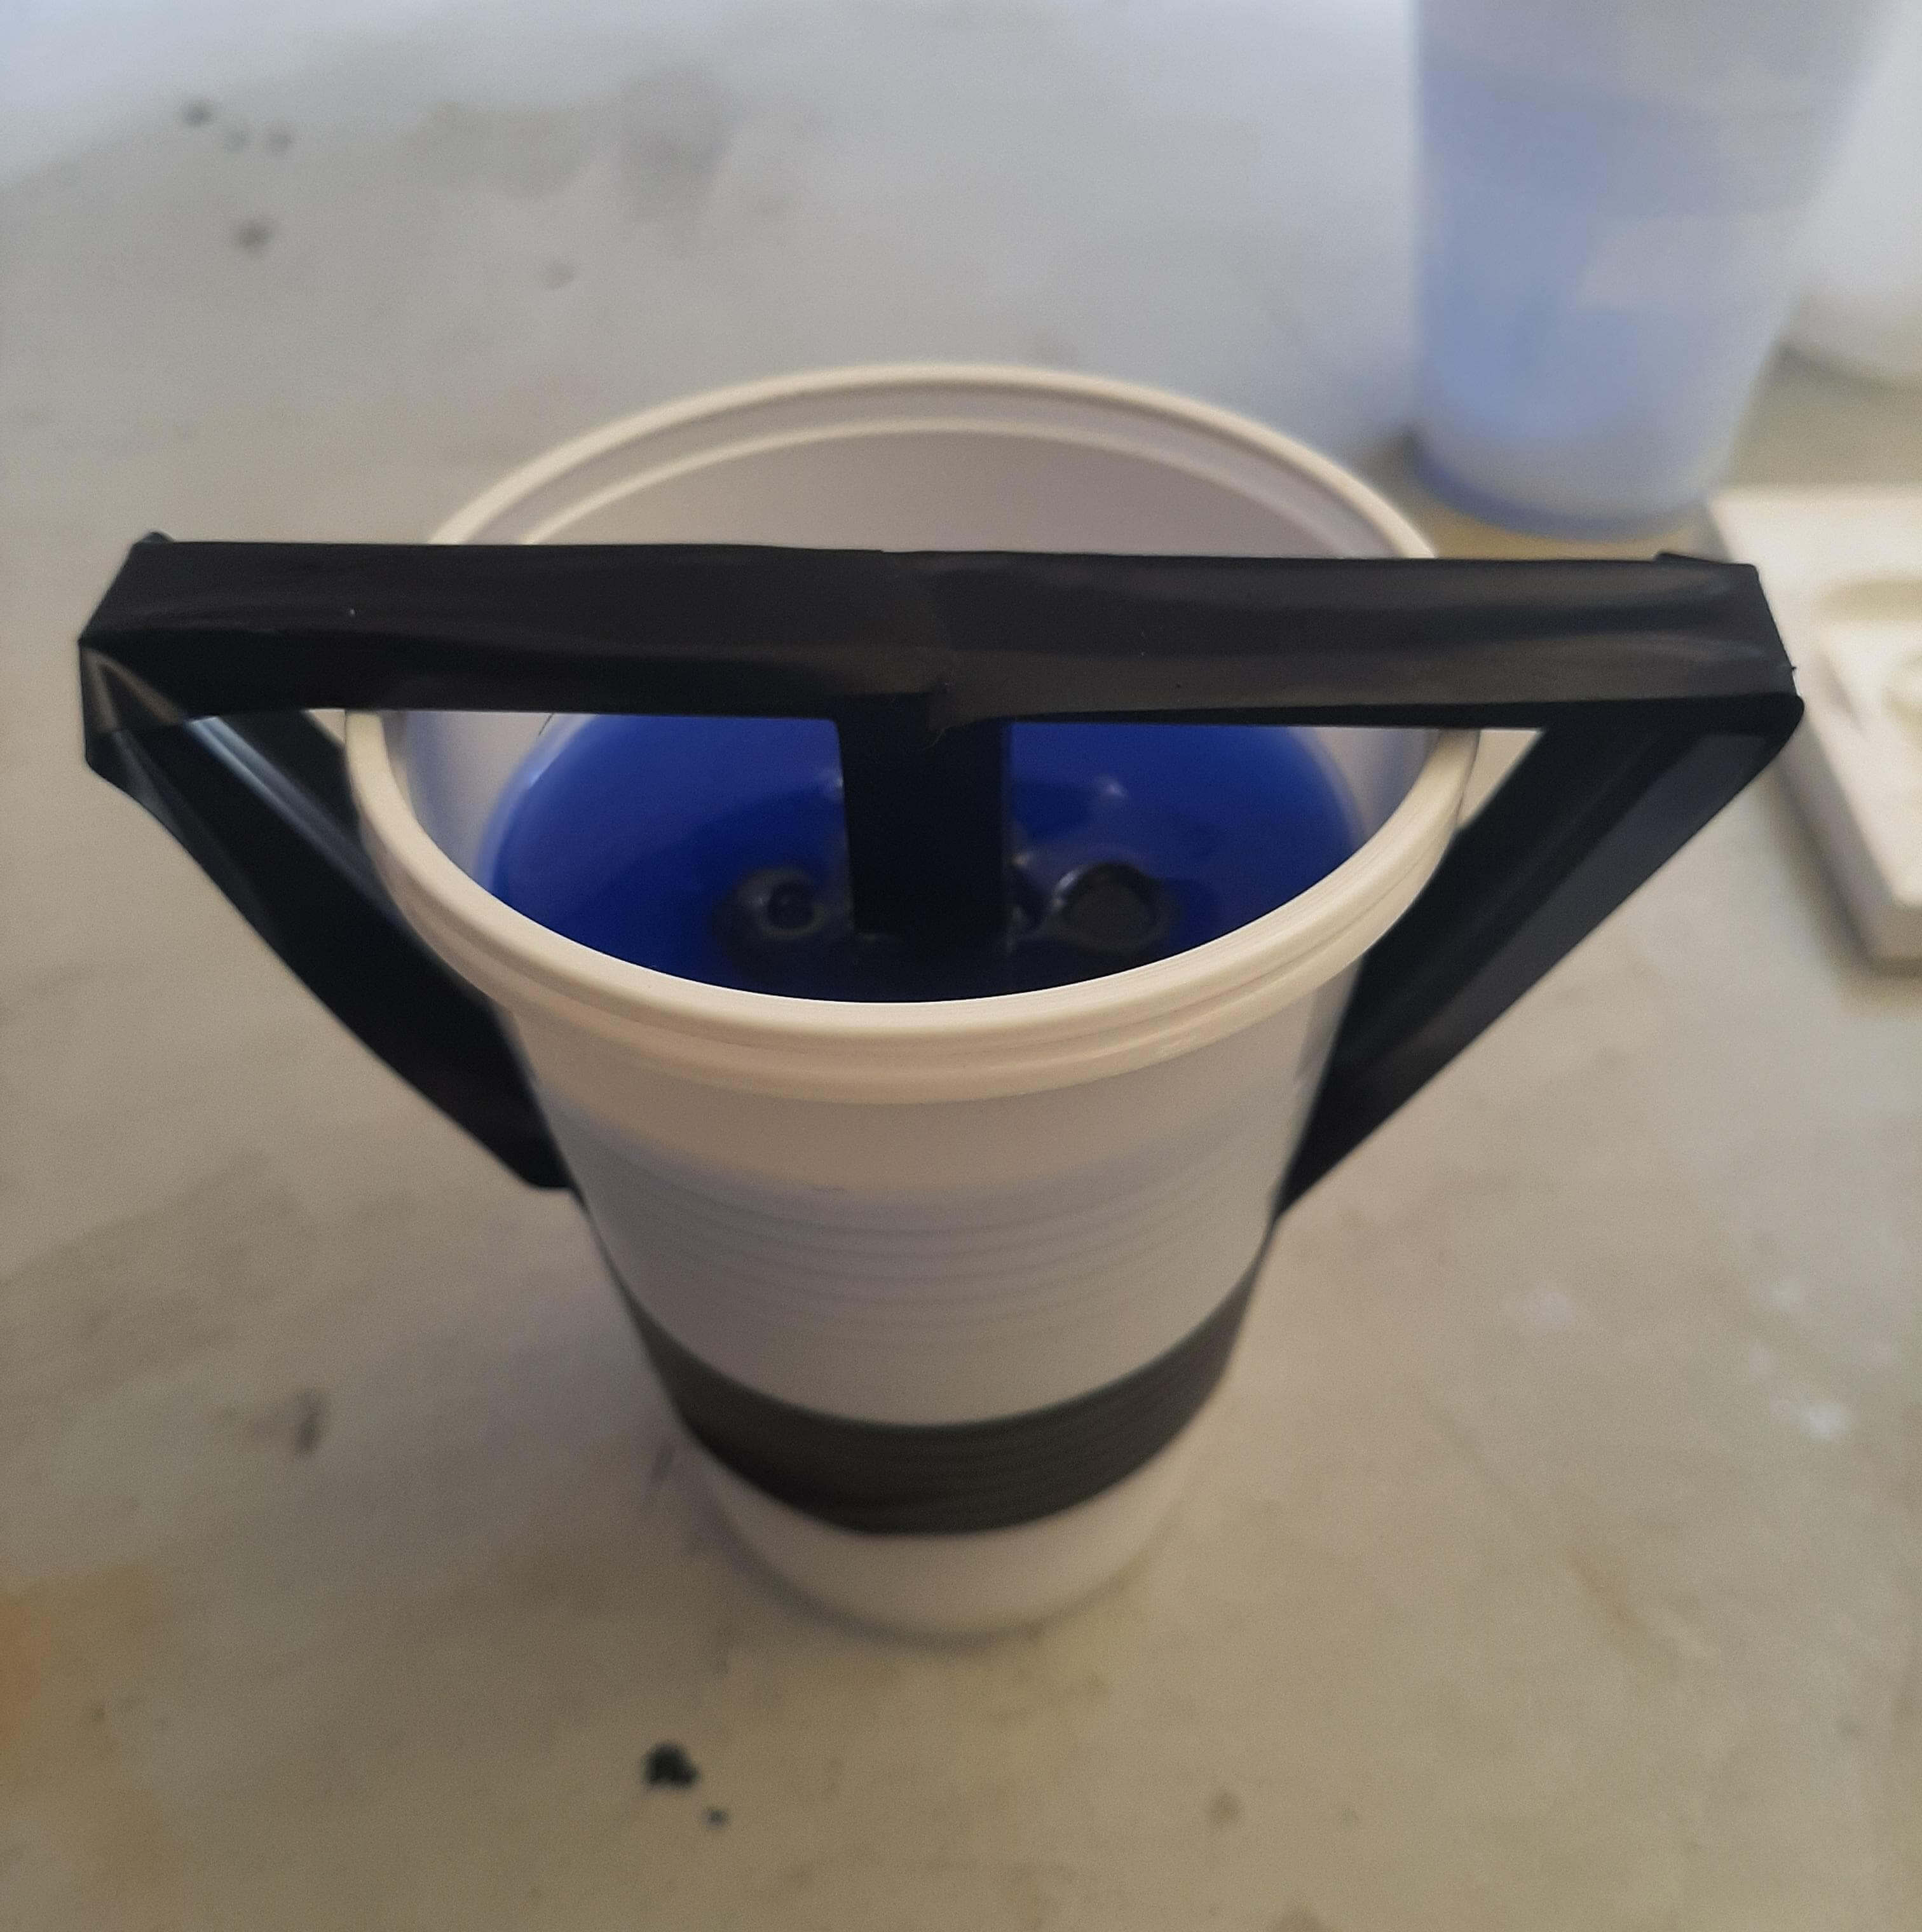
Now that I have the figure and the support, I attached the figure and the support to a plastic cup, with help of tape to avoid the figure moves during the process, also I applied the petroleum jelly to the figure and the support.
Now I am ready to pour the silicone in the cup to create the mold, and also in the mold that I created before.
After pouring the silicone in the cup and mold, I let it dry for 24 hours. Passing the 24 hours, I removed the silicone from the cup and the mold, we need to notice that the petroleum jelly works to release the part from the mold, this is a really good result because let us remove the part from the mold easily, without breaking the part or the mold.
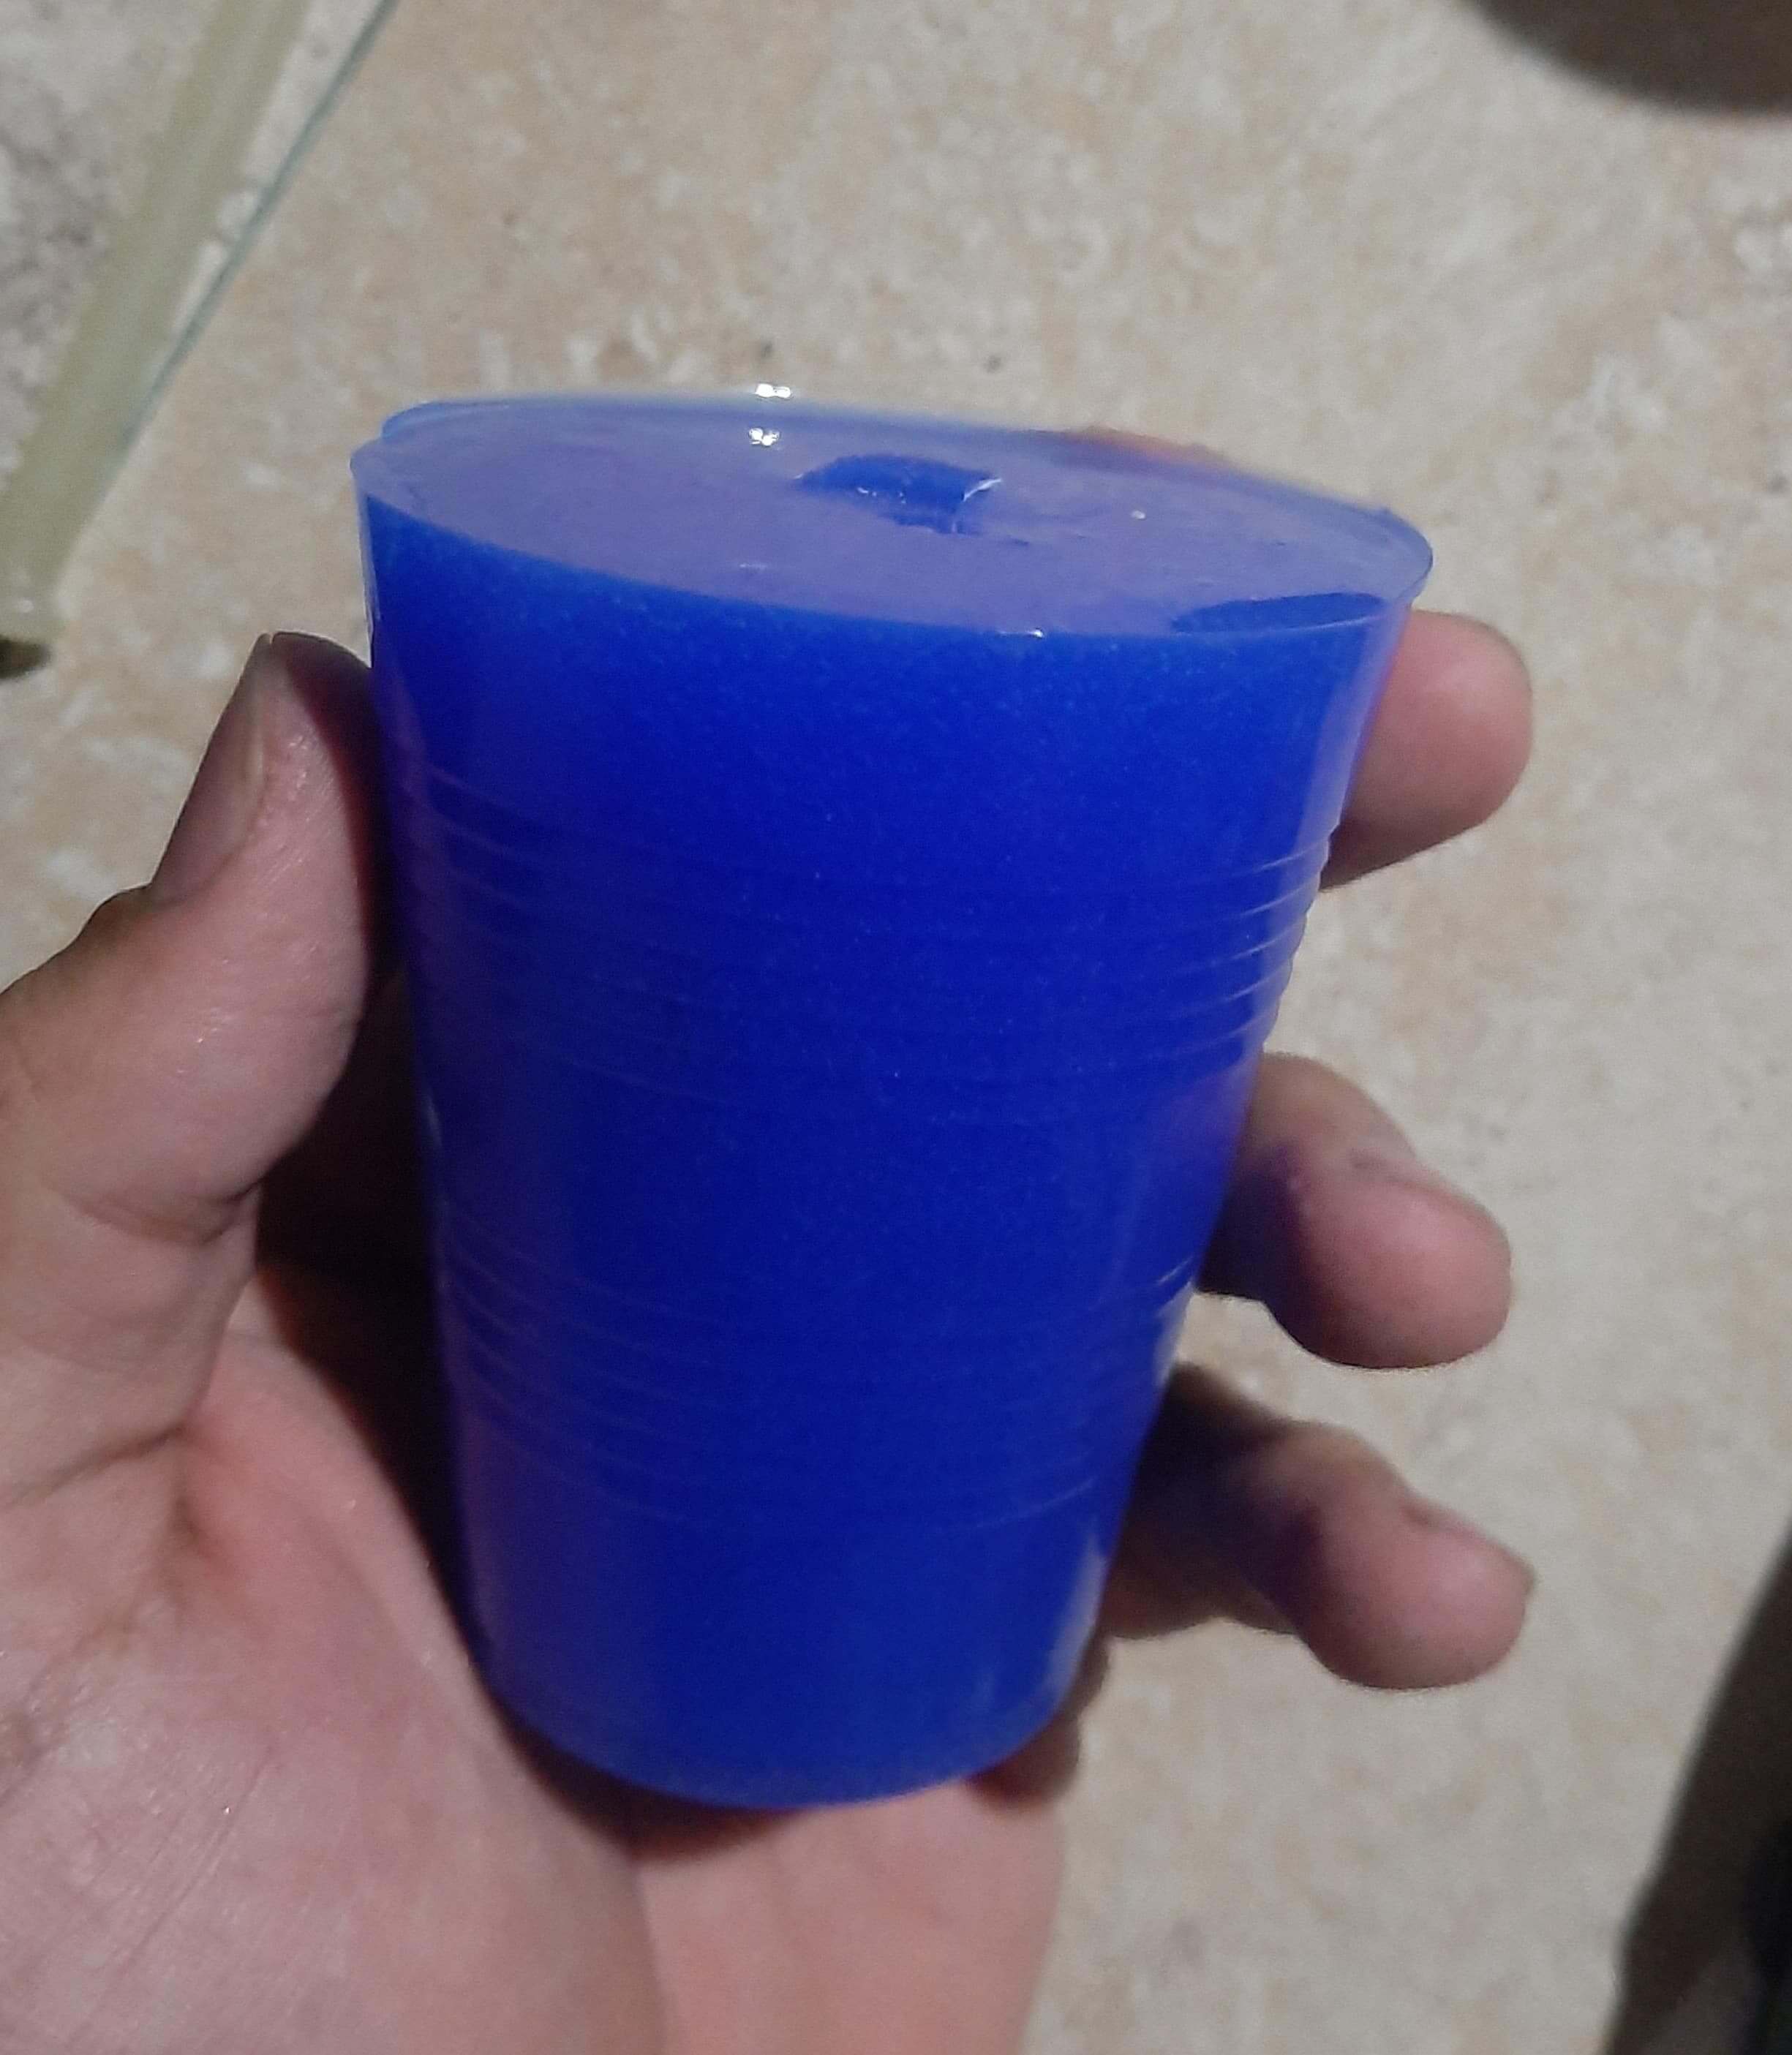
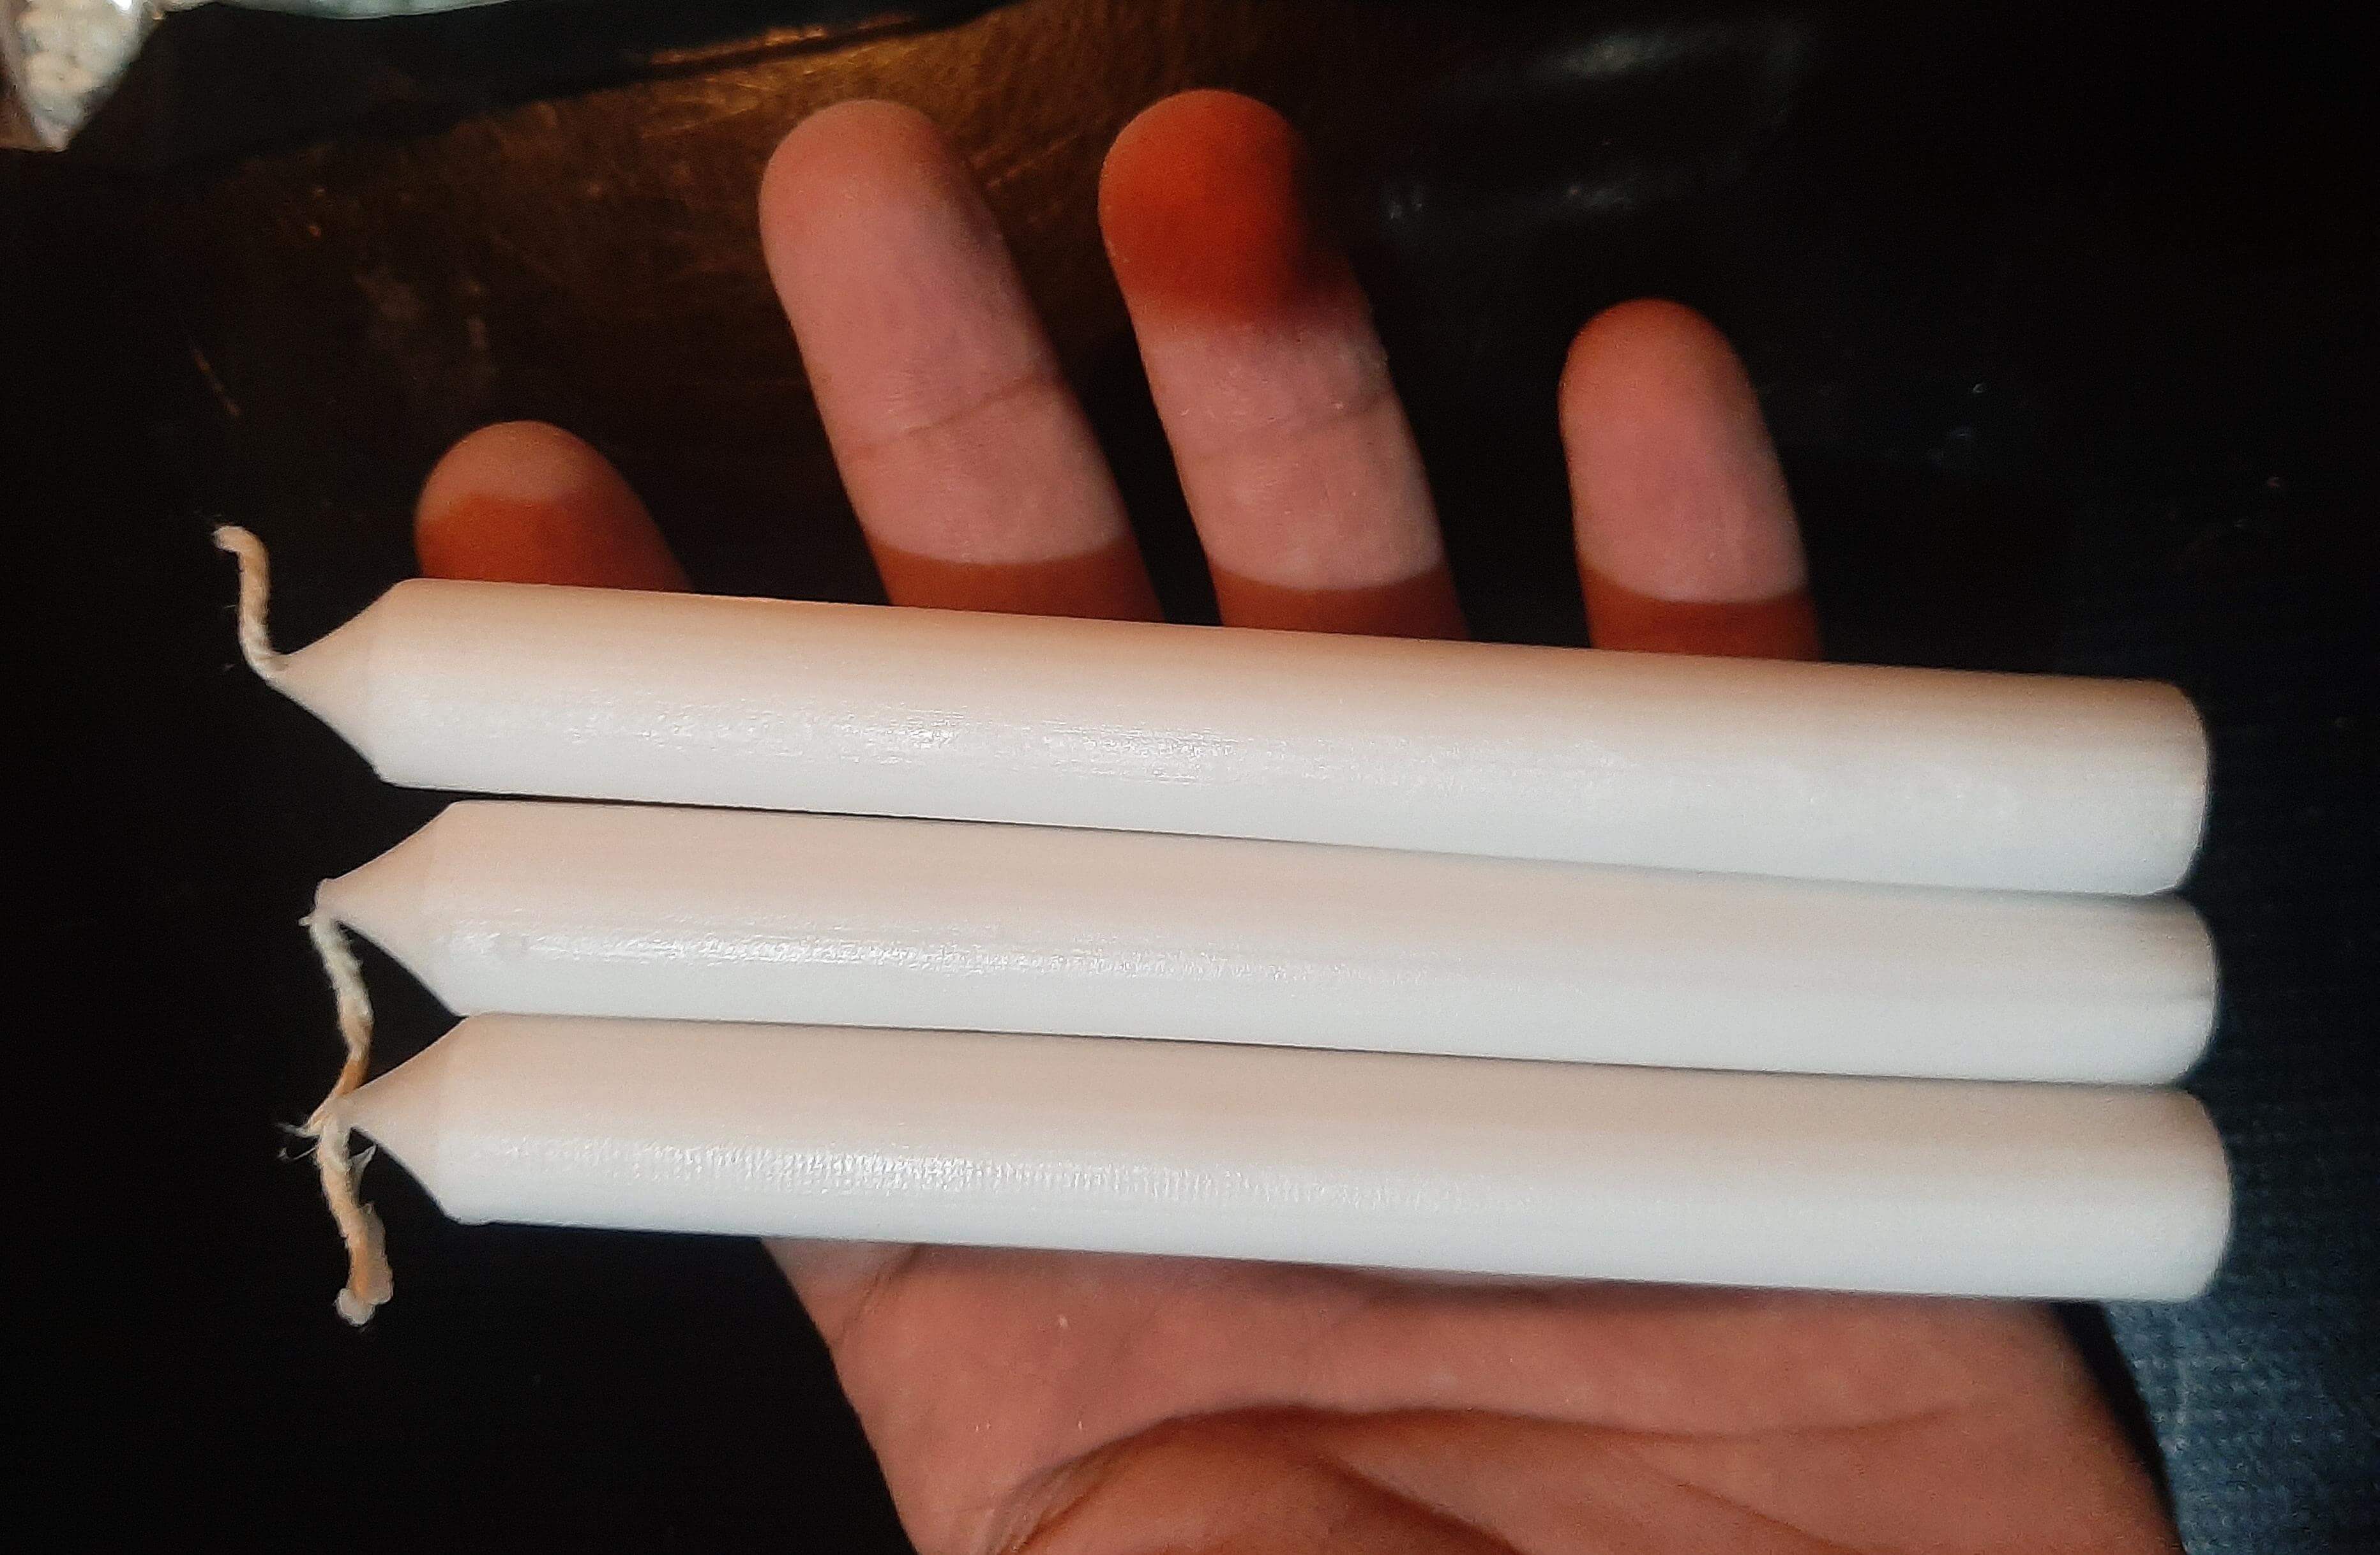
Getting this results let me continue with the third part of the test, using the Candle Wax, for this I used commercial candles, with a technique called double boiler, this is a technique that allows you to melt the wax without burning it.
Before pouring the wax in the mold, I applied the petroleum jelly to the mold, and also prepared the molds just to fill them with the wax, we need to notice that the wax is a material that solidifies fast, so we need to be fast to pour the wax in the mold, However, not too fast like the hot silicone.
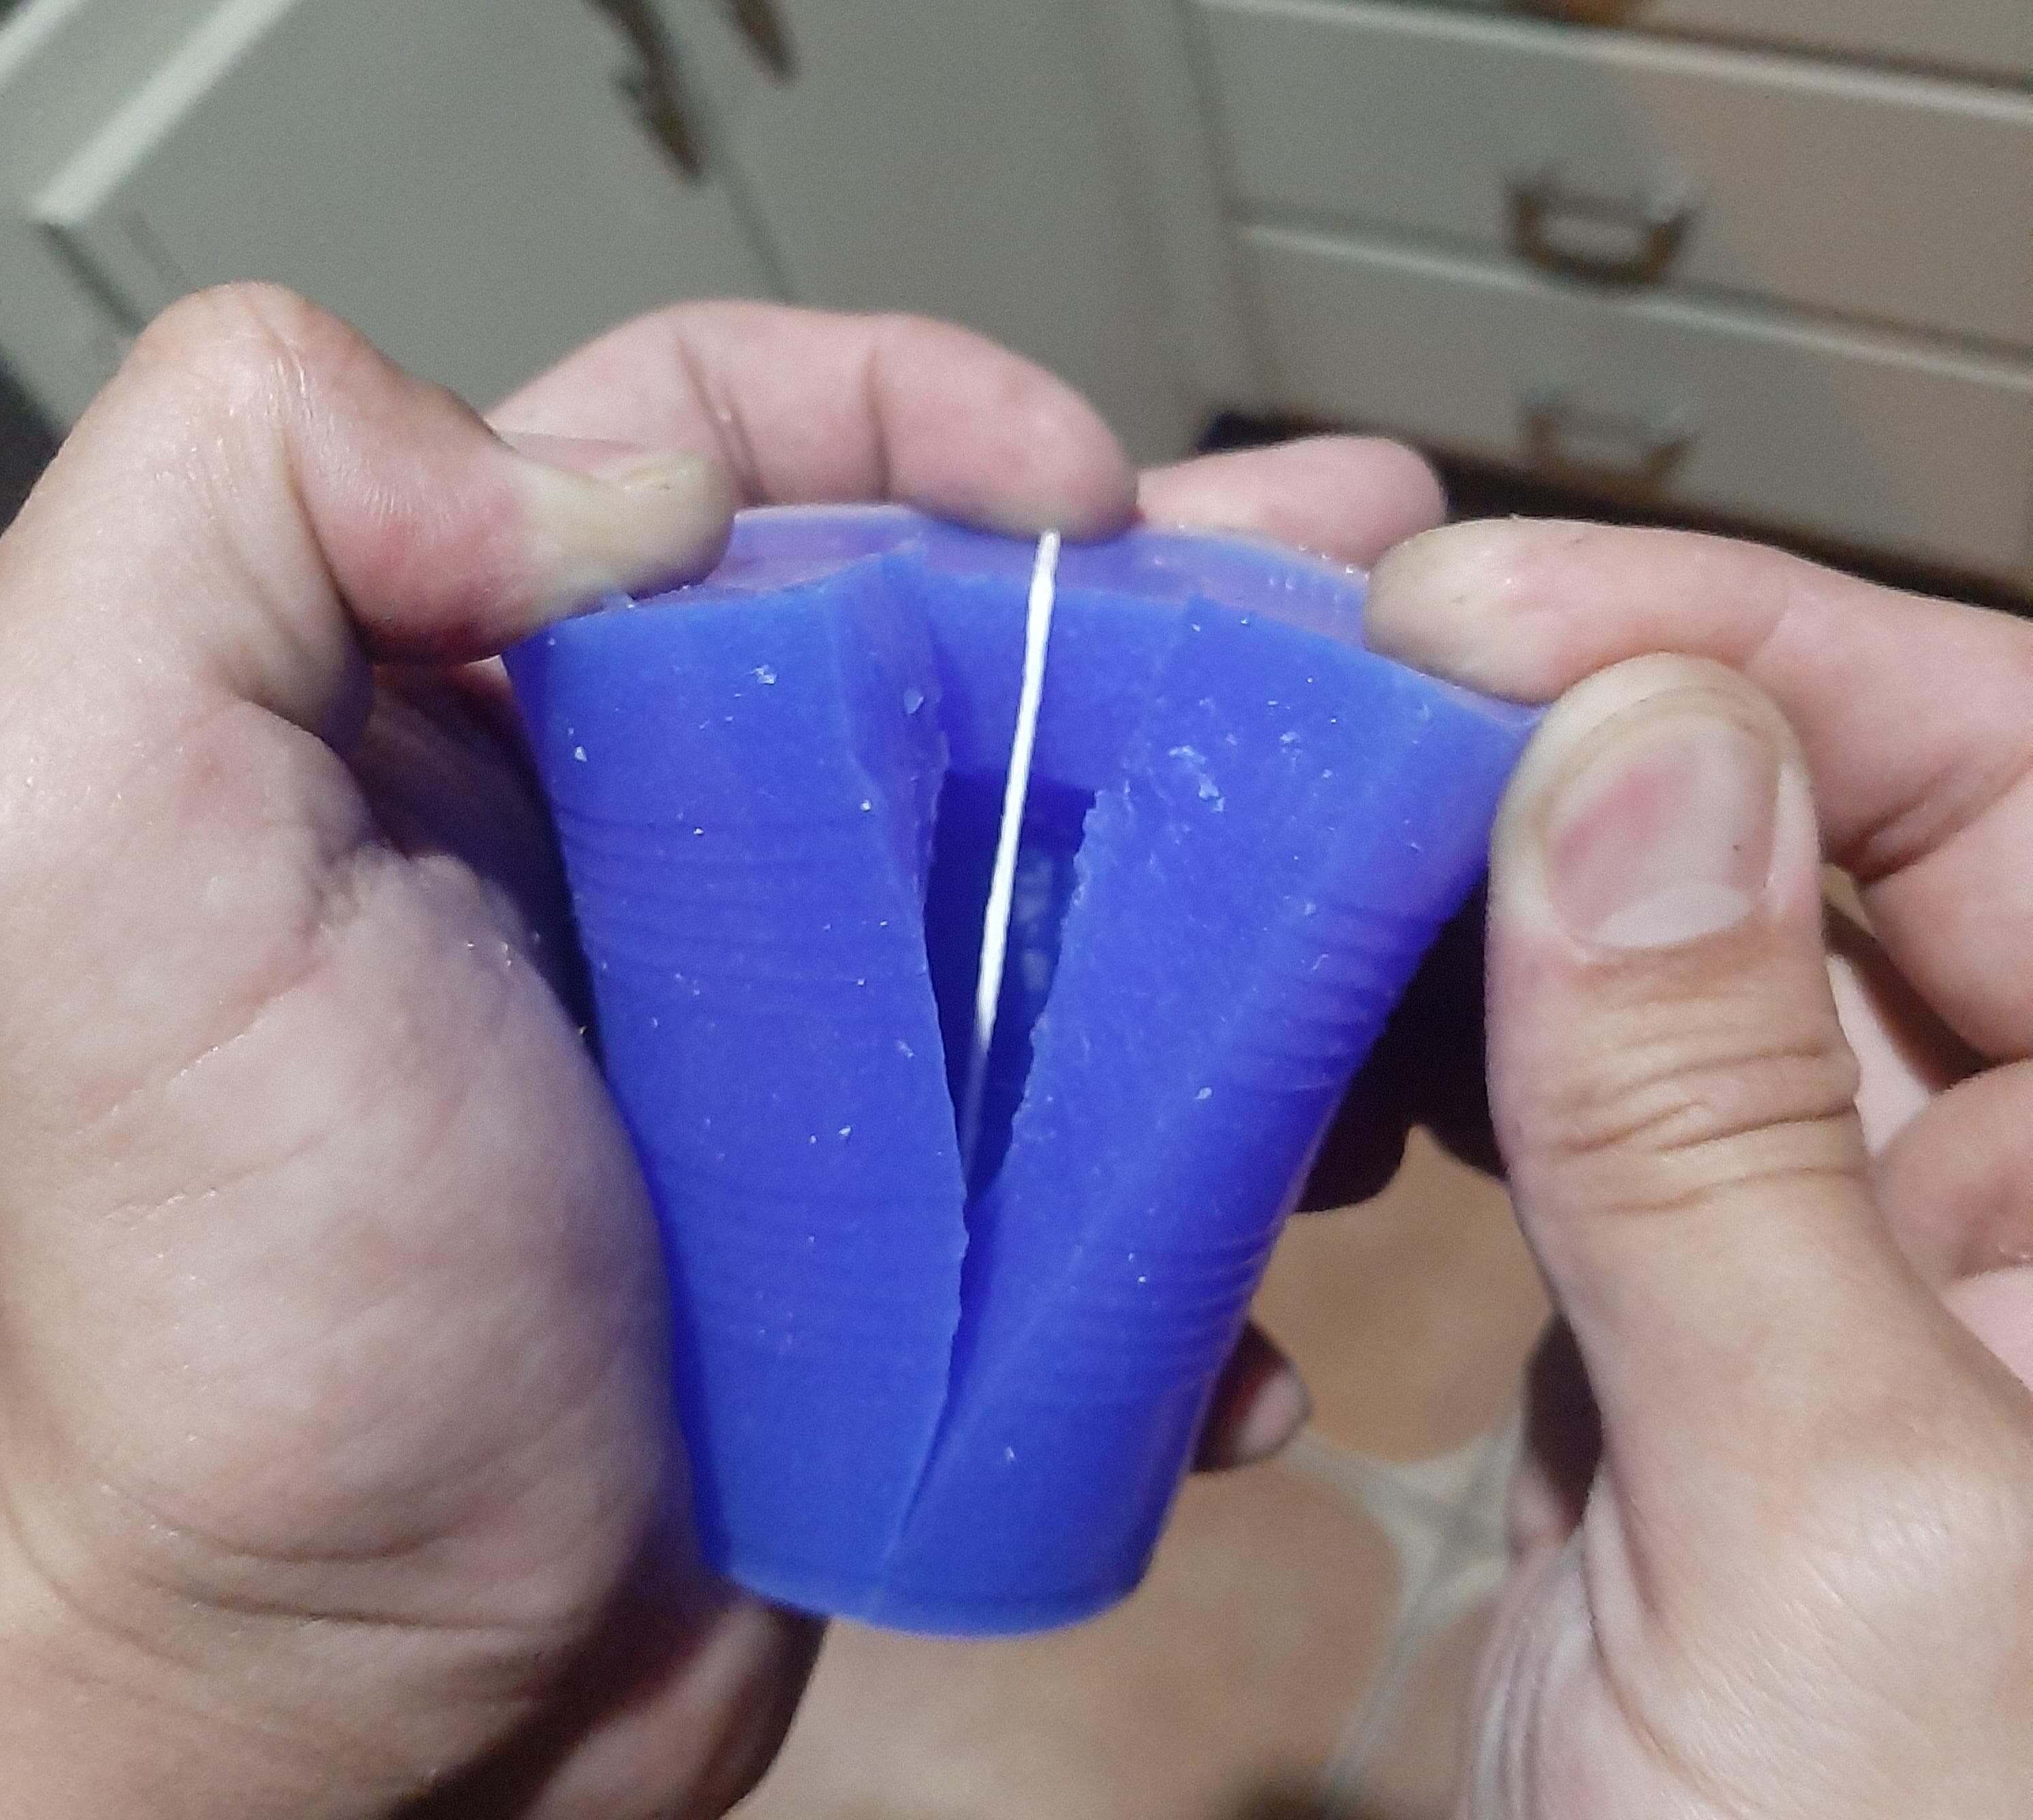
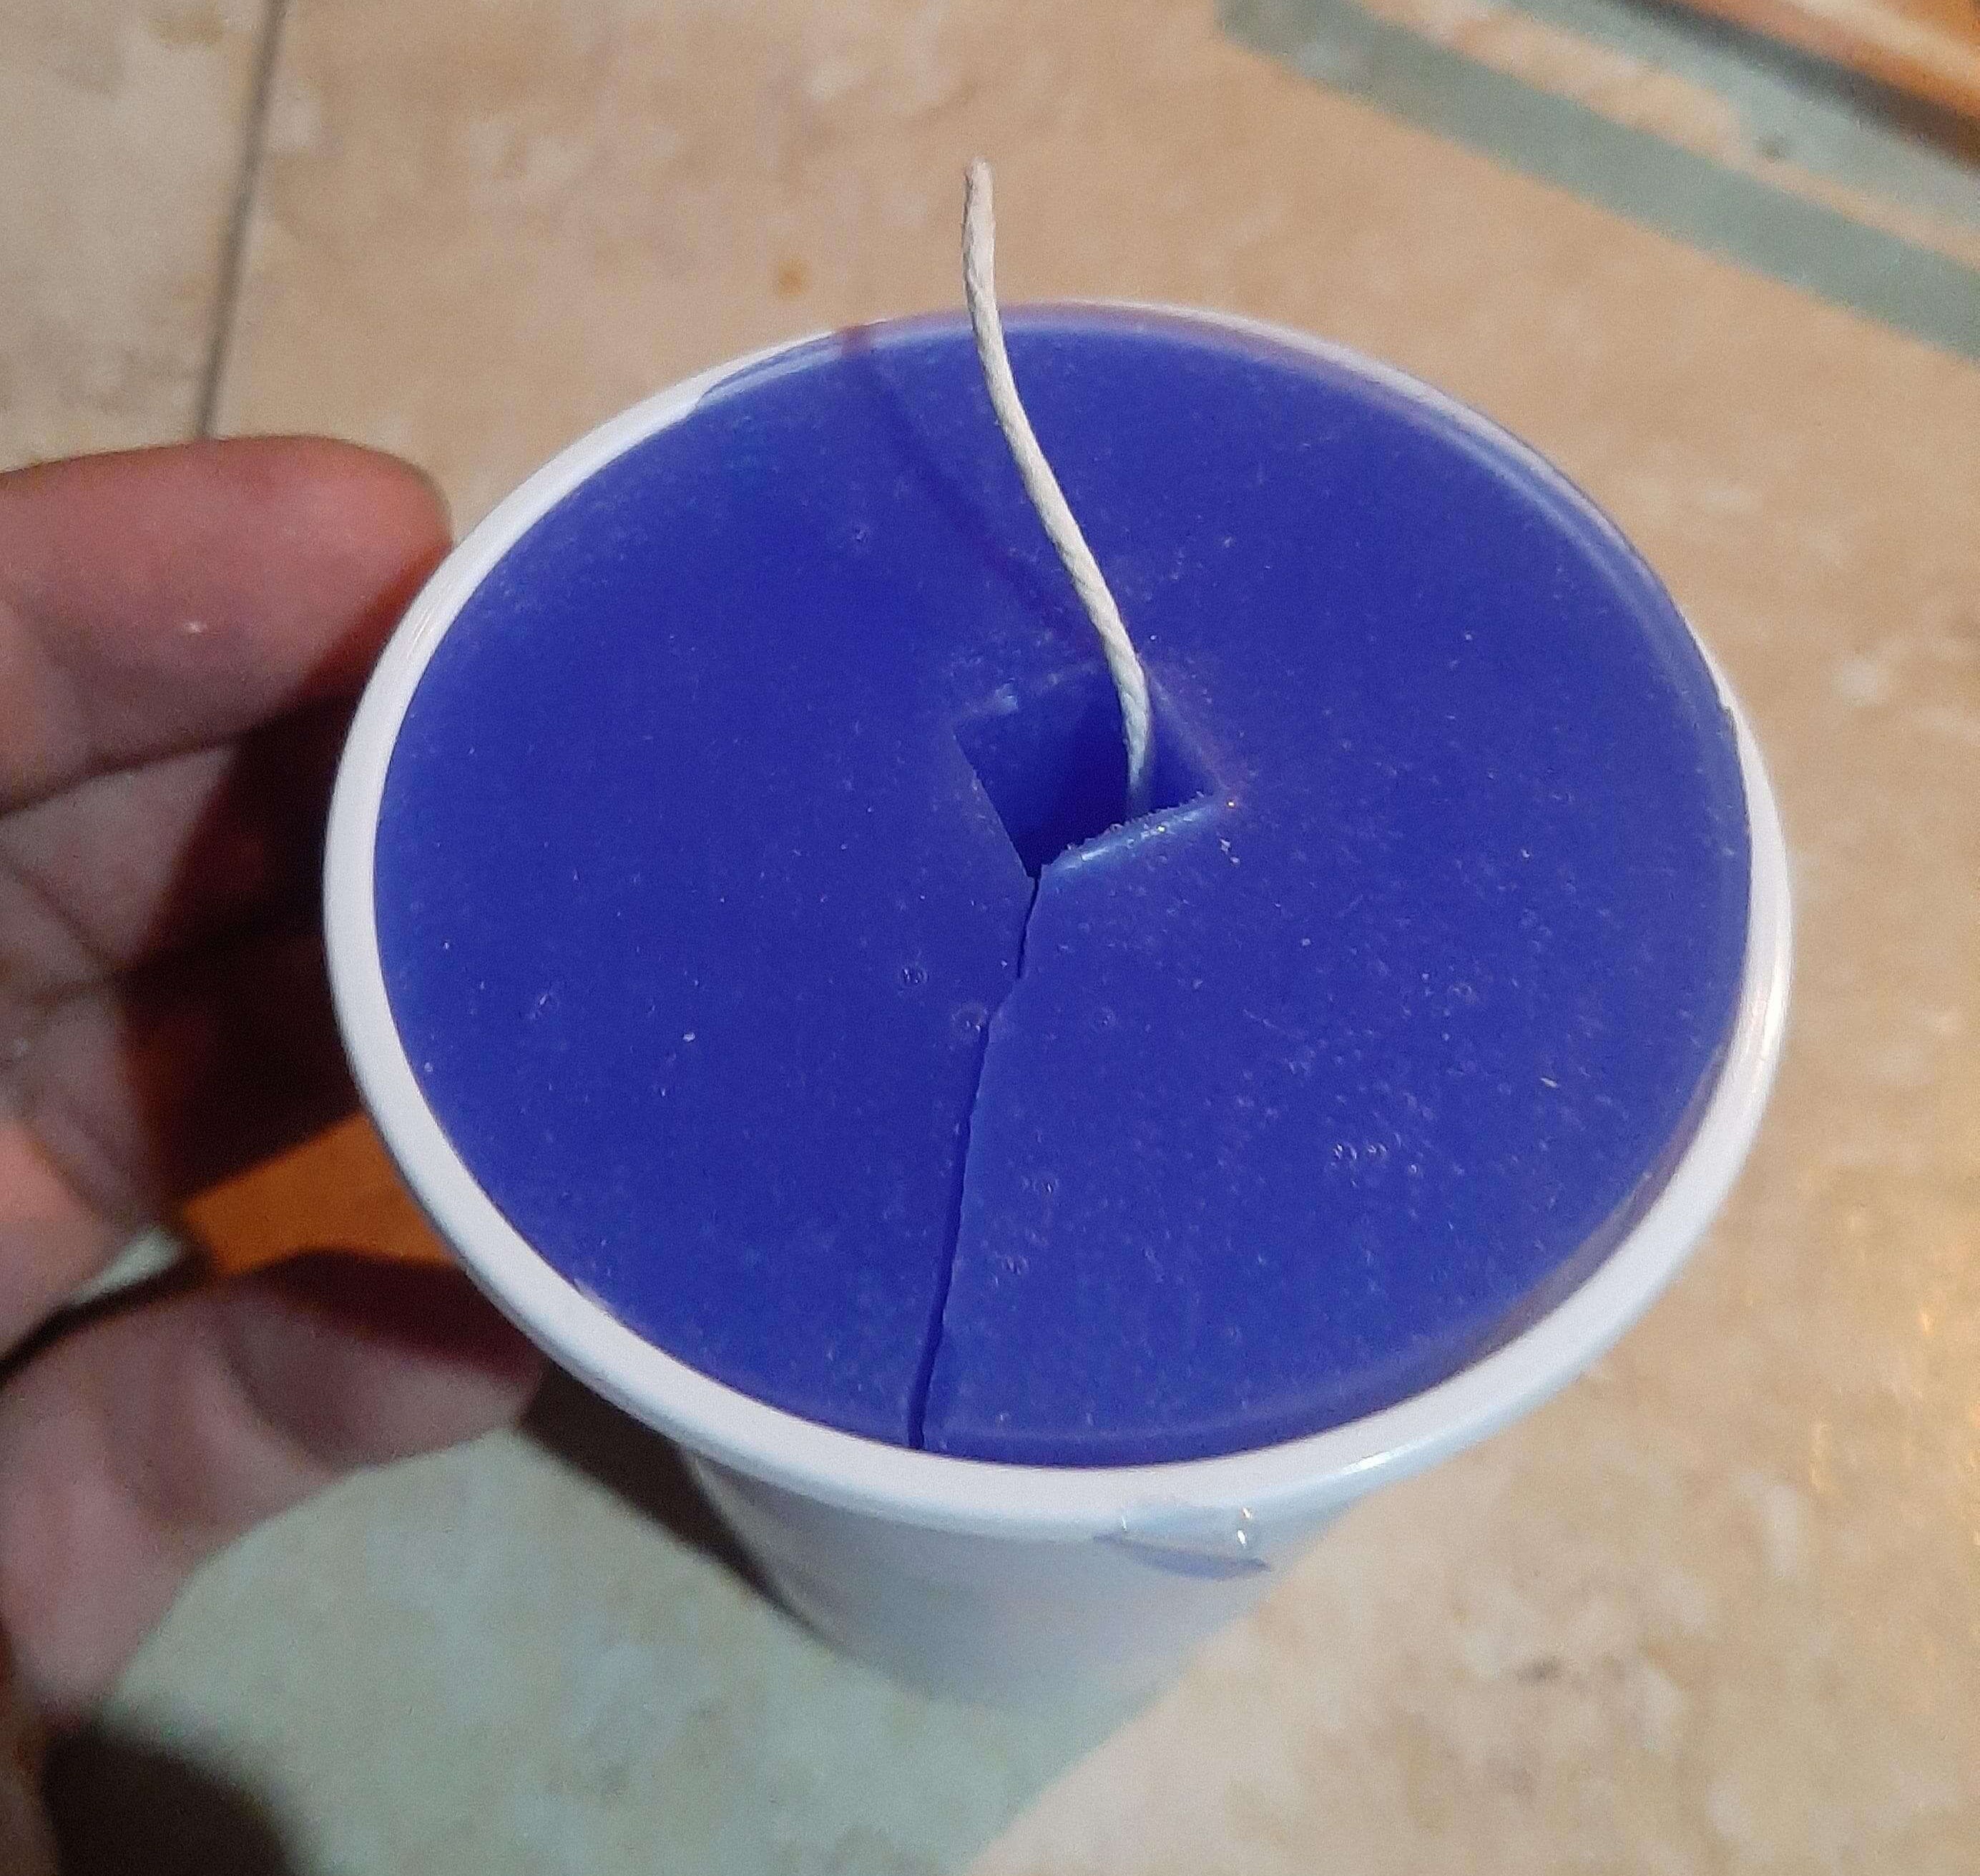
After pouring the wax in the mold, I let it dry for a few hours, passing the time, I removed the wax from the mold, we need to notice that the petroleum jelly works to release the part from the mold, but the wax is a material that is not flexible, so it is a little bit harder to remove it from the mold.
Issues
The main issue that I had was with the 3D printed mold, even when is easy and fast to print the mold, prepare the mold surface is a little bit harder than the silicone mold, also the 3D printed molds has problems with small details, and makes harder to create a smooth surface finish, However, we got a good result with the mold silicone and the 3D printed mold.
With The candle wax, I had a problem removing the part from the mold, this is because the wax is a material that is not flexible, and I believe that the wax wasn't already dry, the part finished breaking.
However, I got a good result with the second mold I created, the mold silicone, works really good with the wax, and is easy to remove the part from the mold.
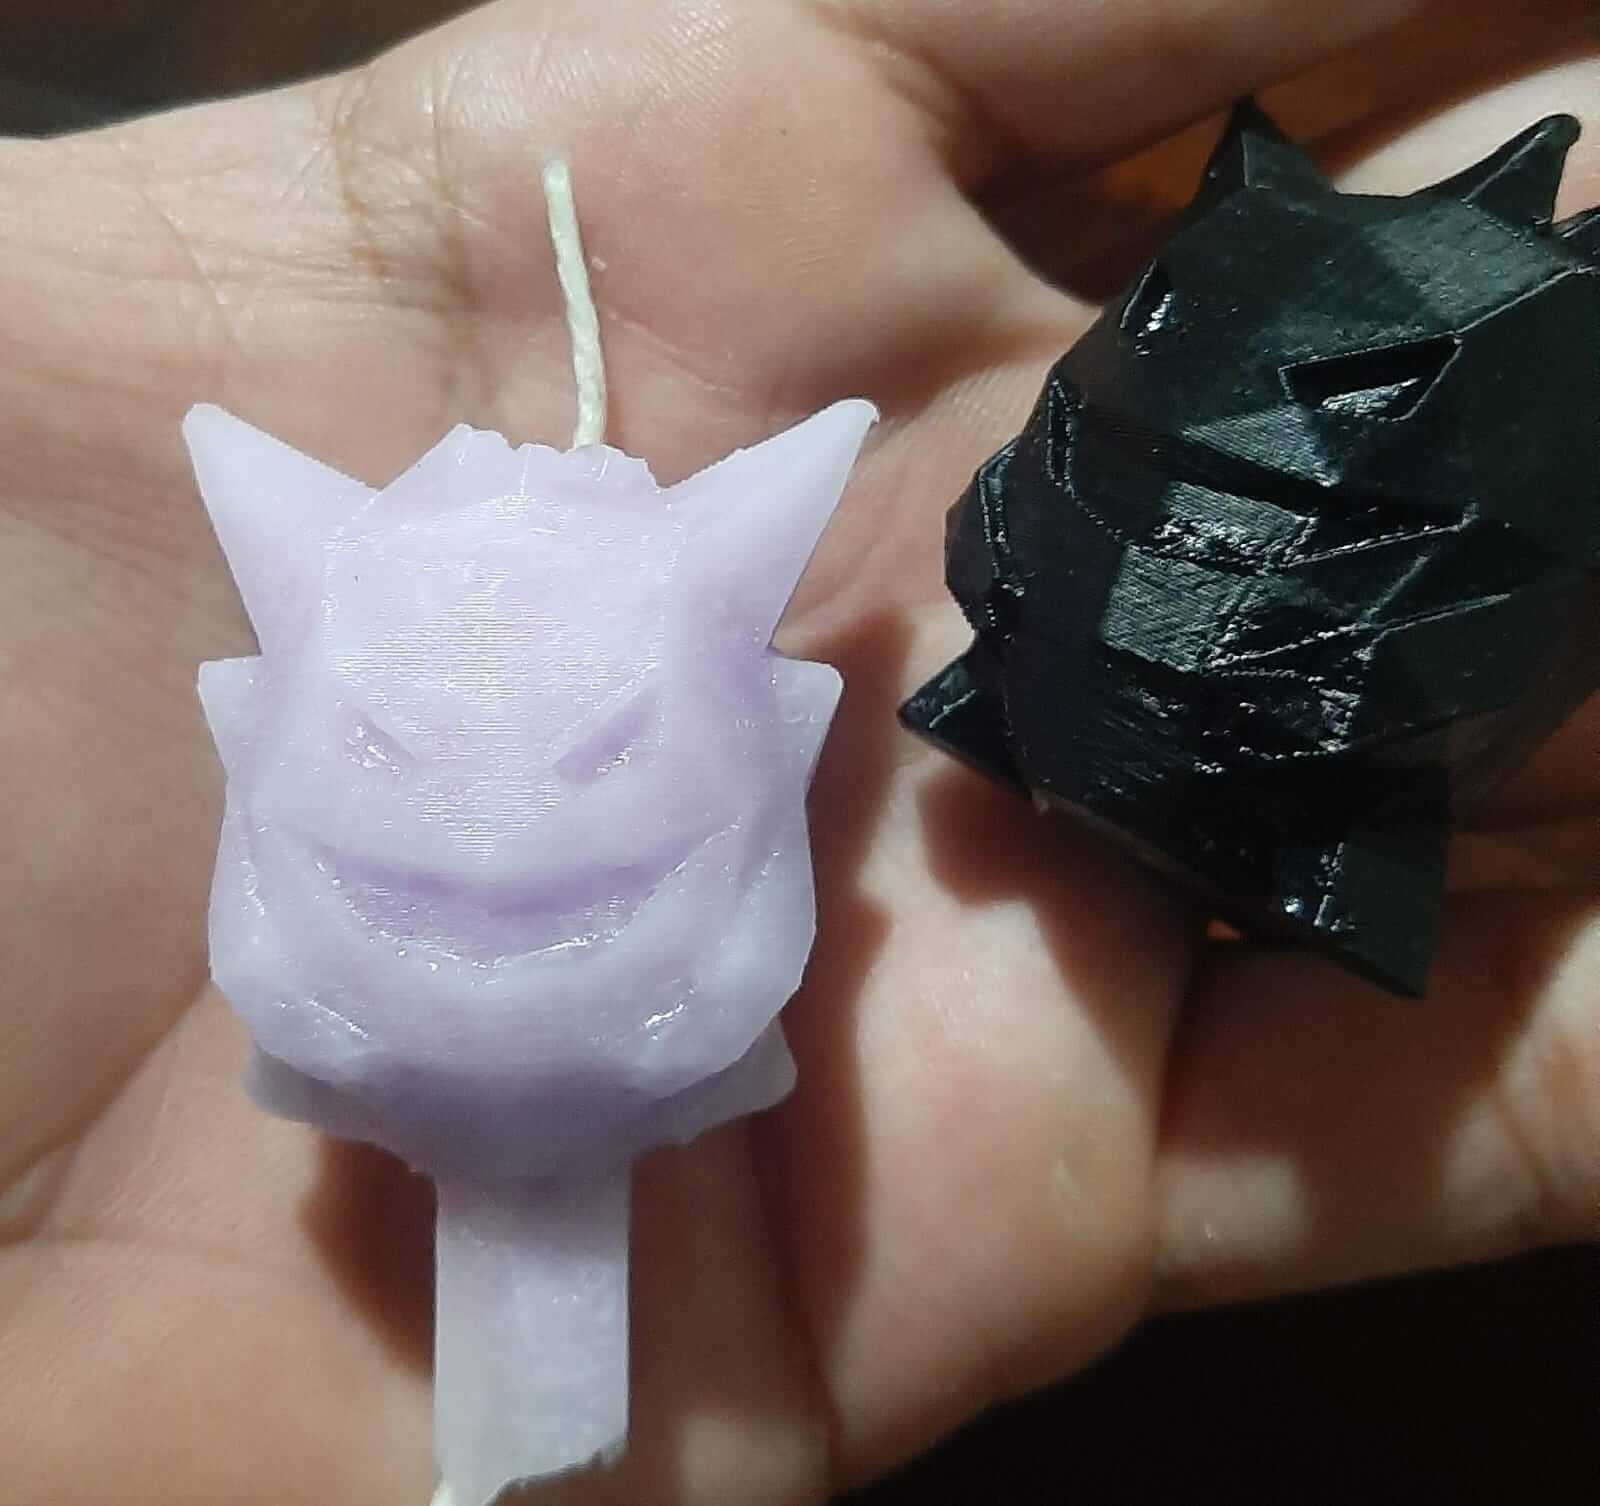
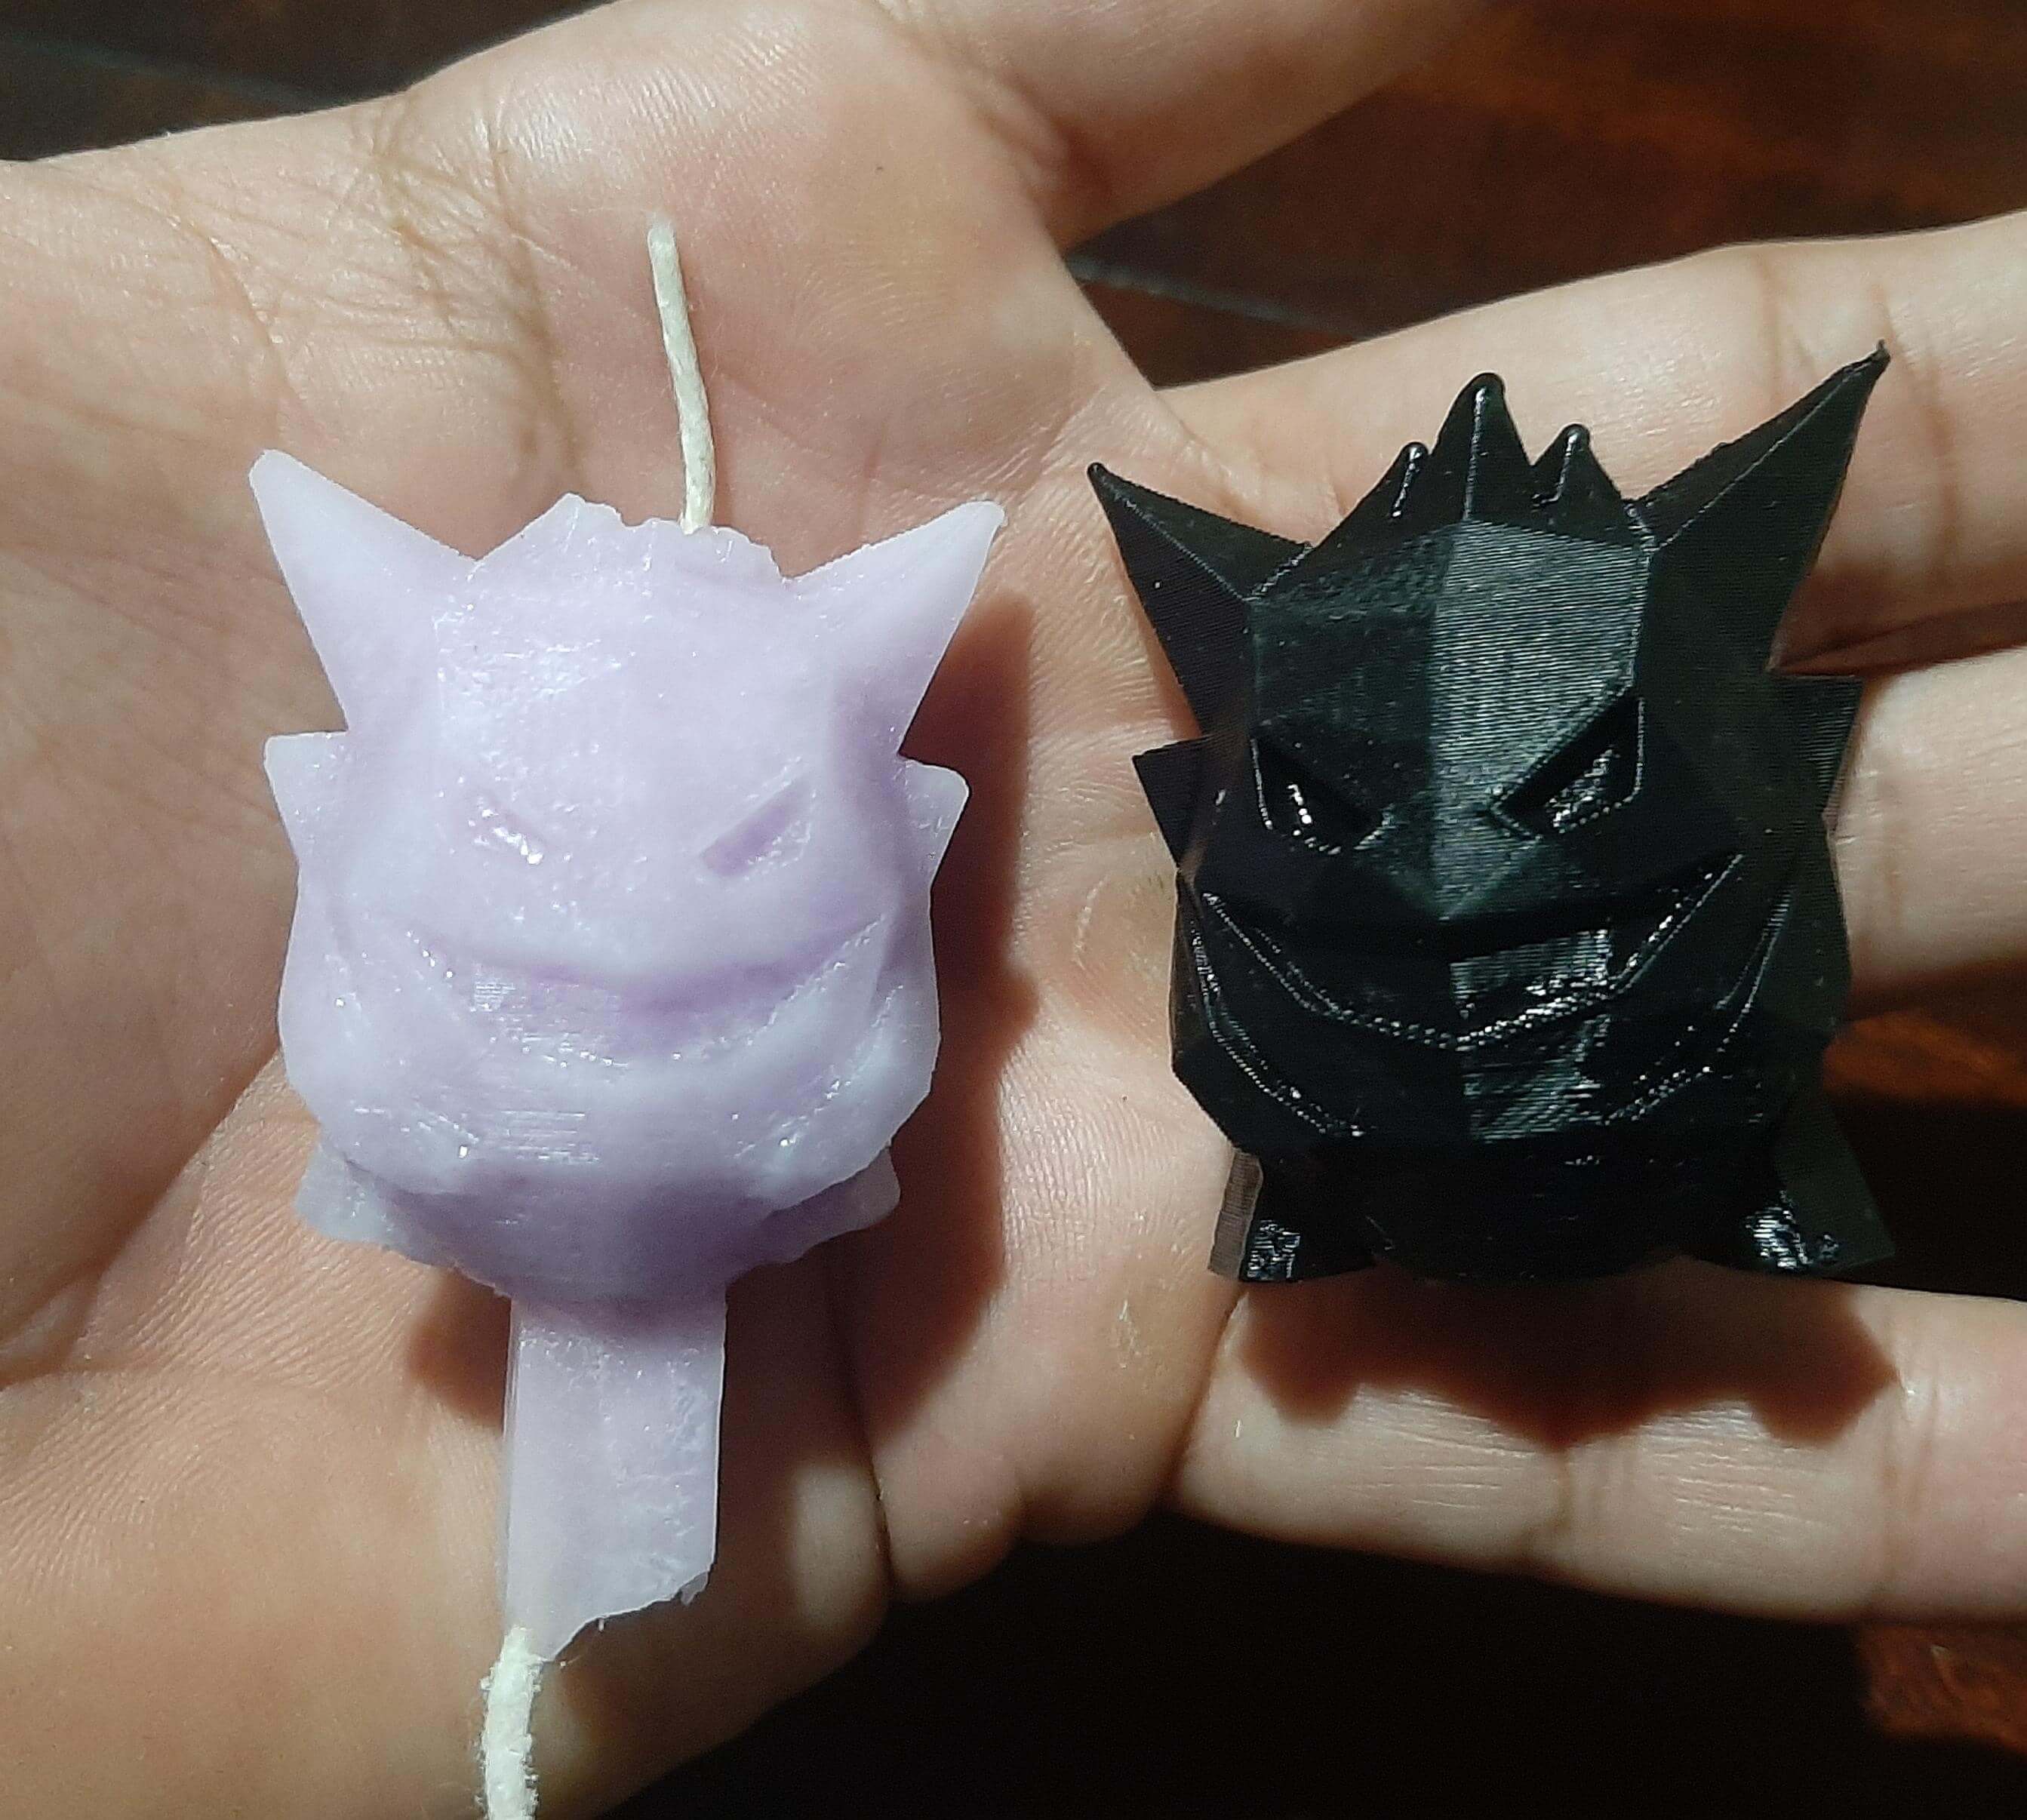
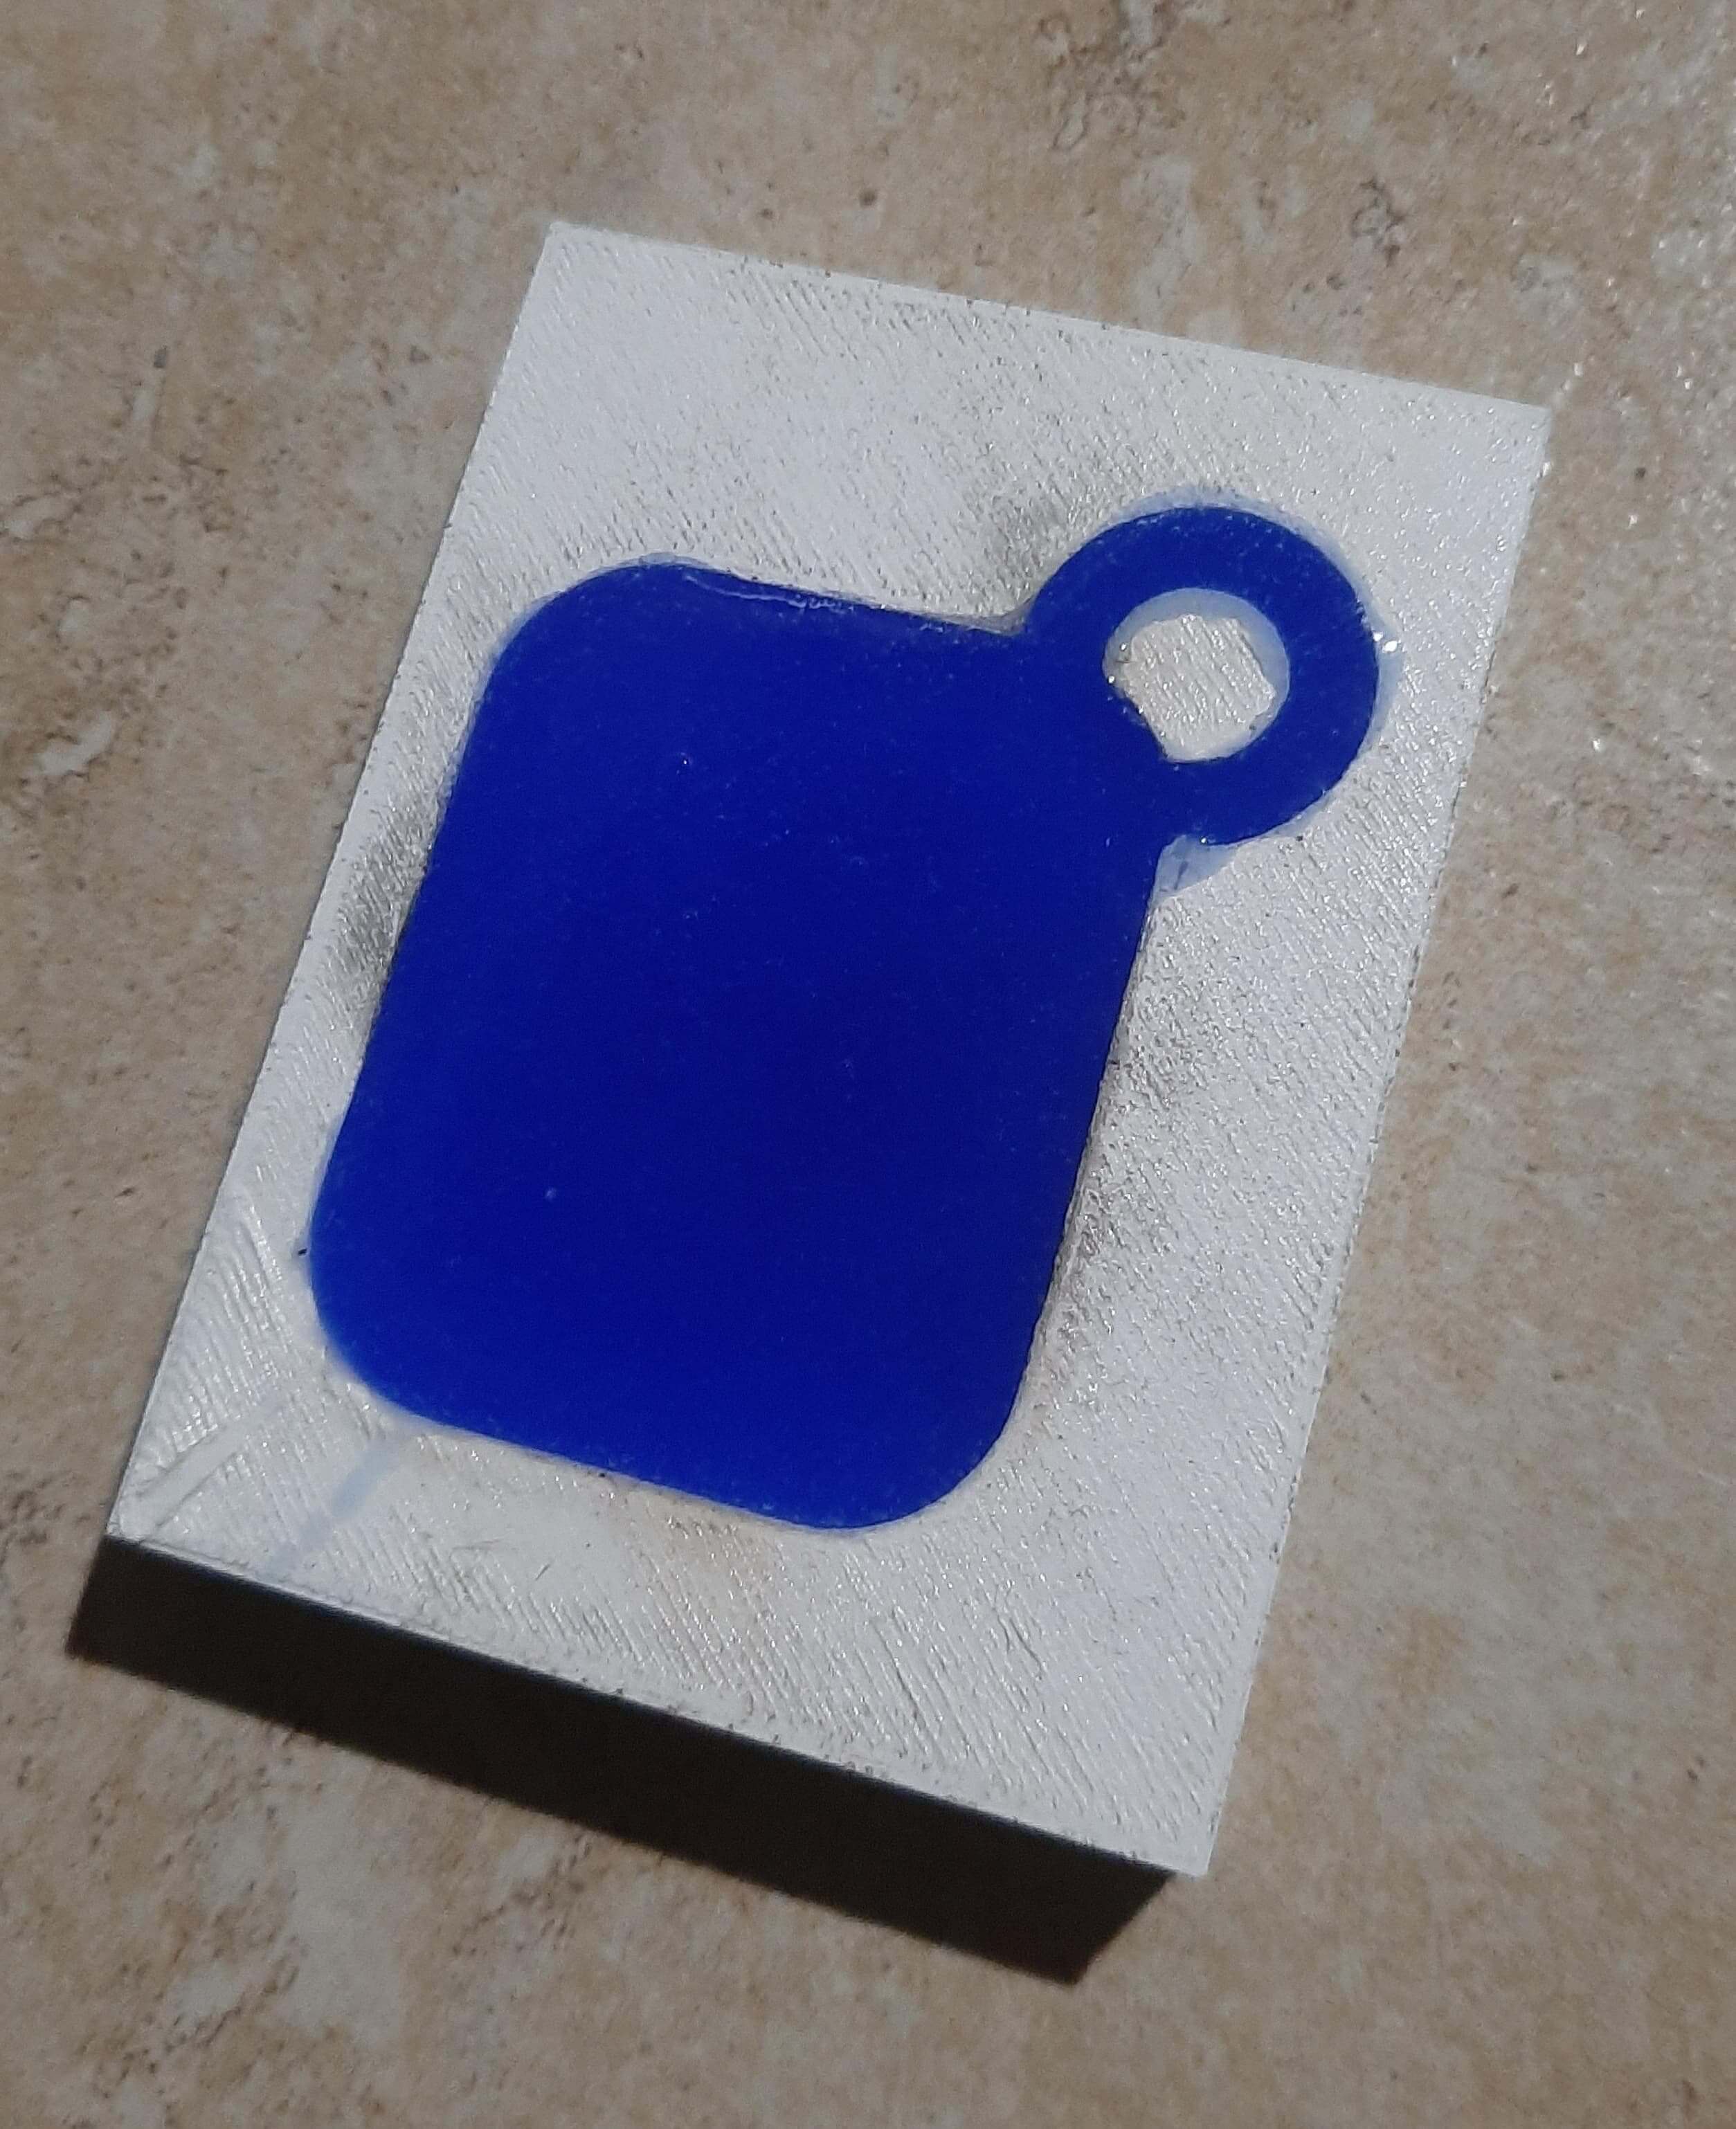
We can compare the result of the candle and the original part, even when the 3D printed part has the filament lines, we can see that the petroleum jelly works to release the part from the mold and also to reduce the lines of the filament, that is also why we got a good result with the 3d printed mold and the mold silicone test.
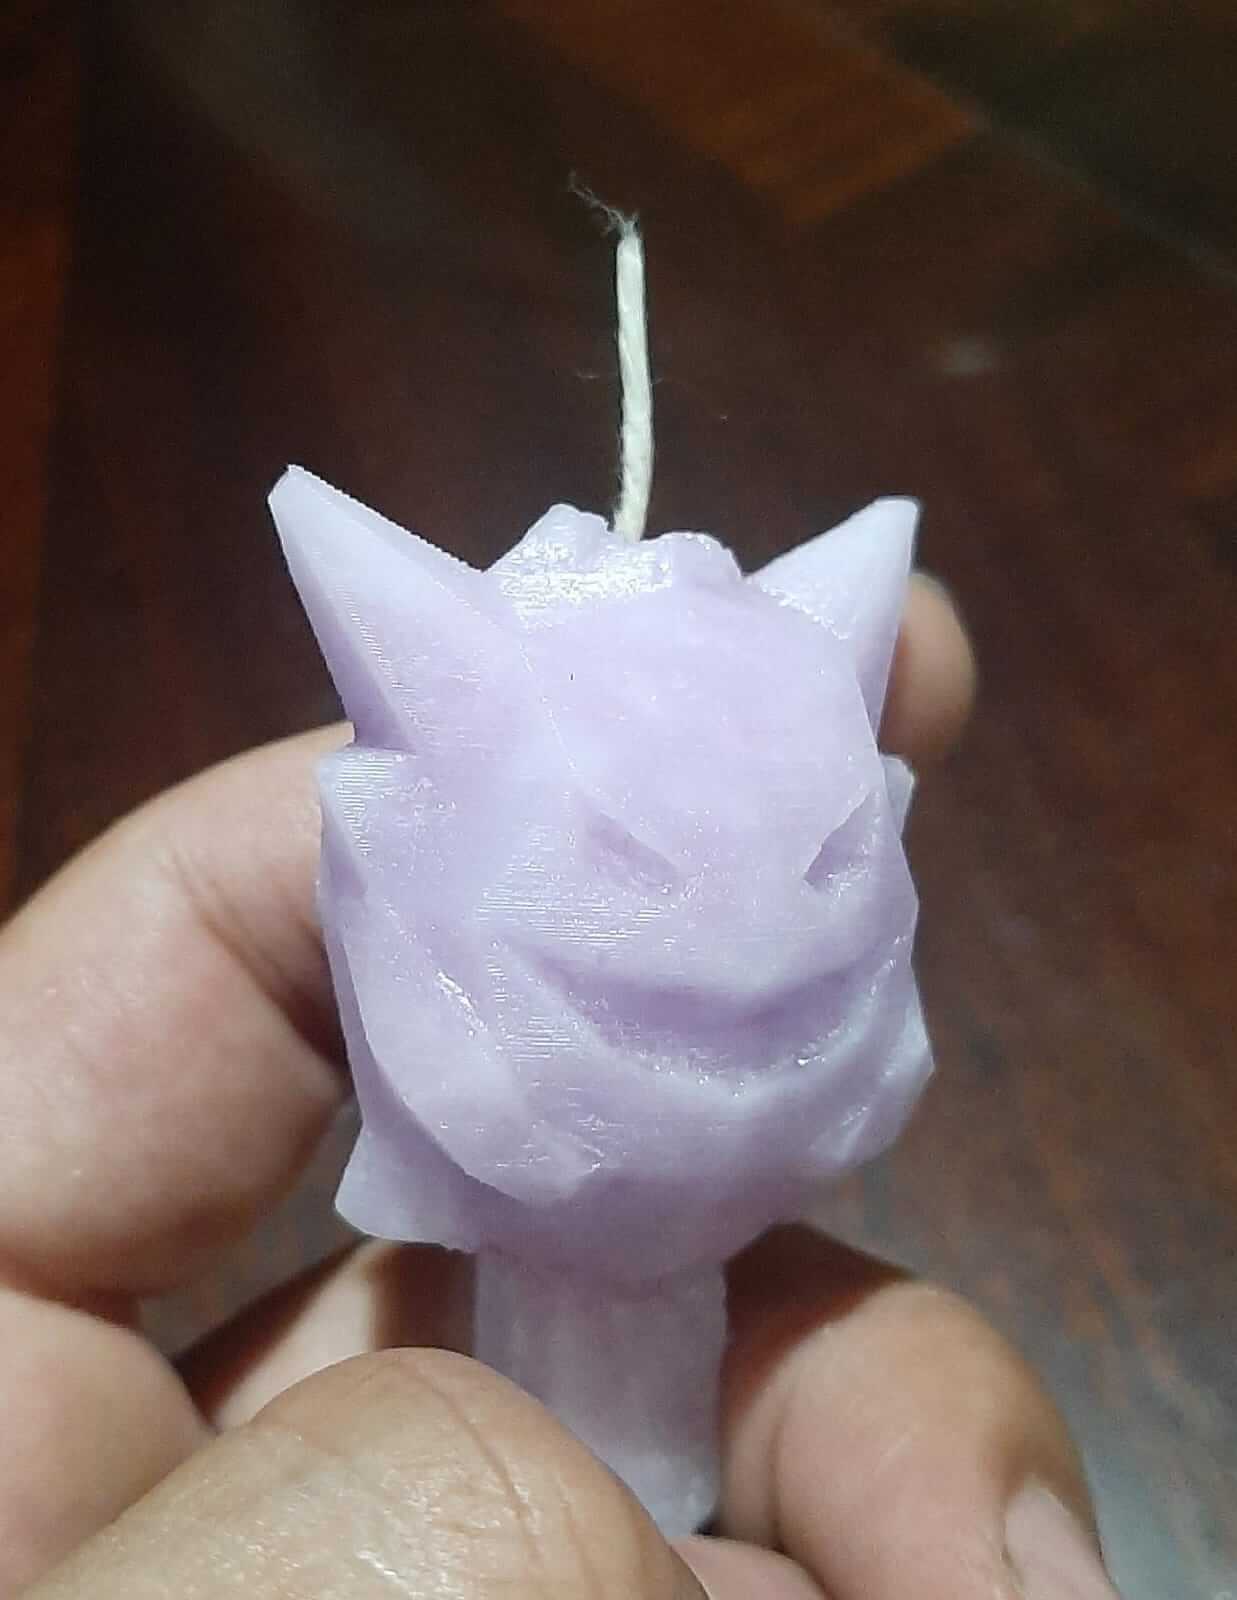
HERO SHOT
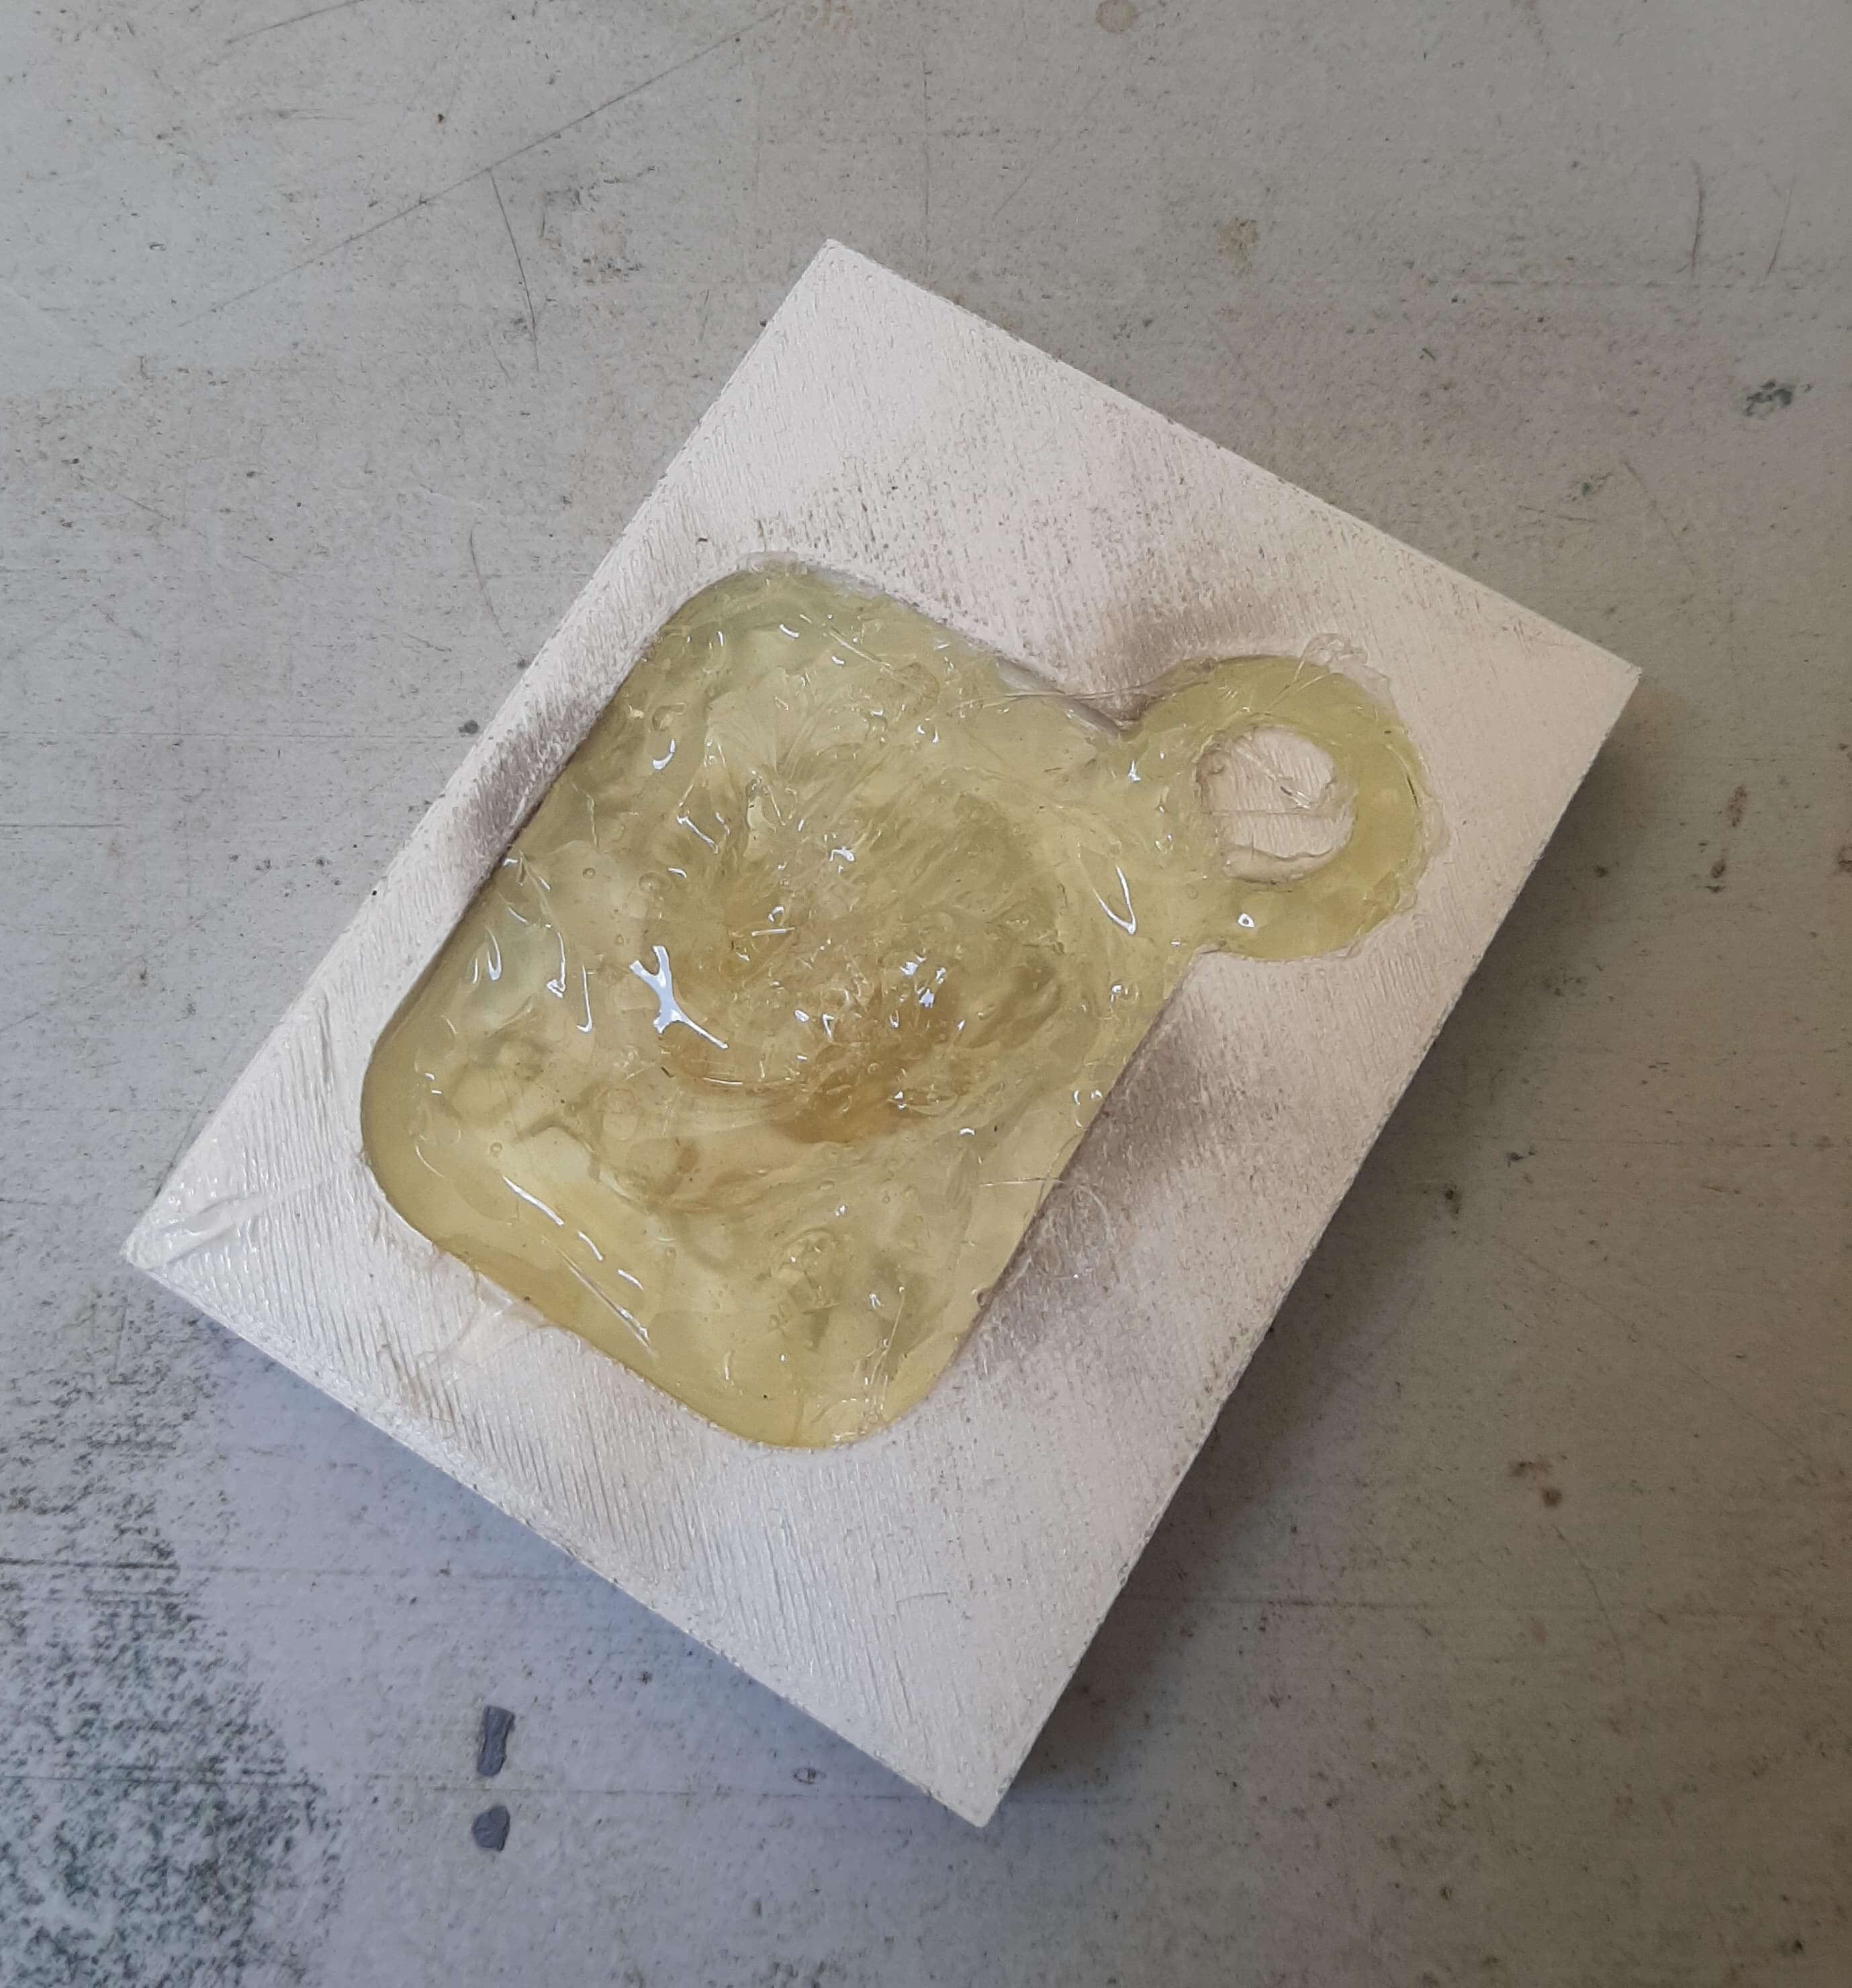
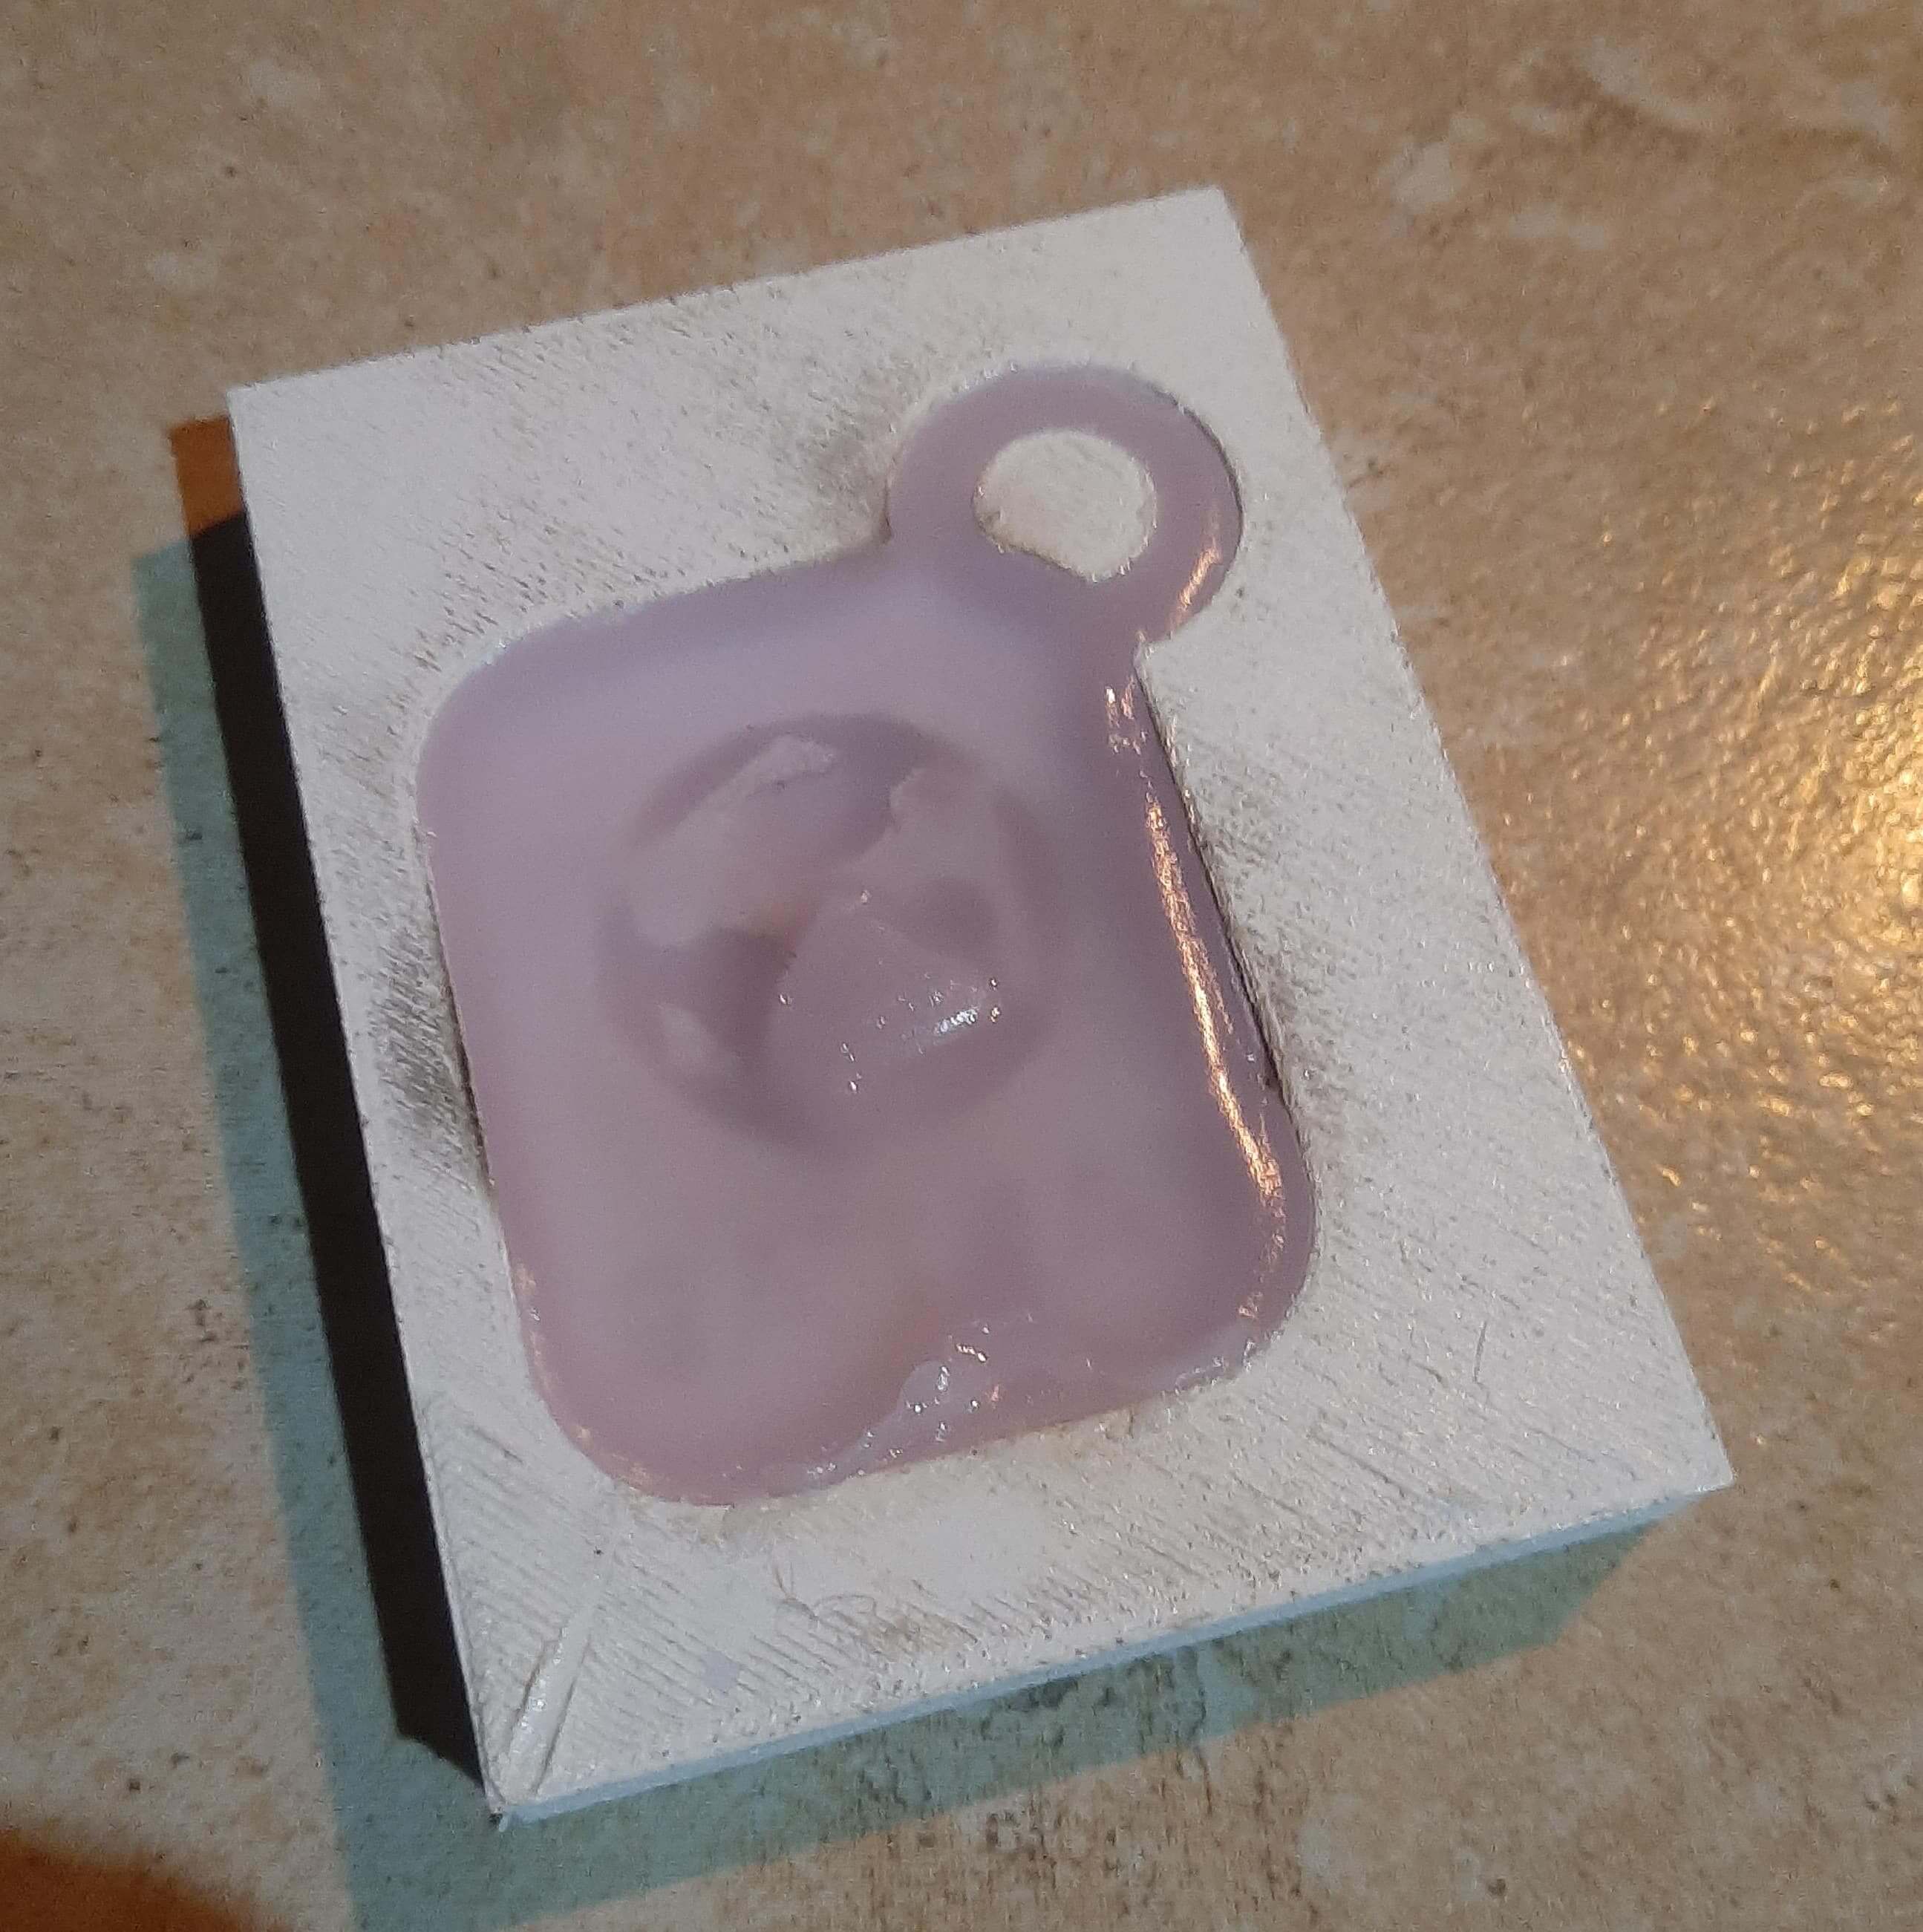
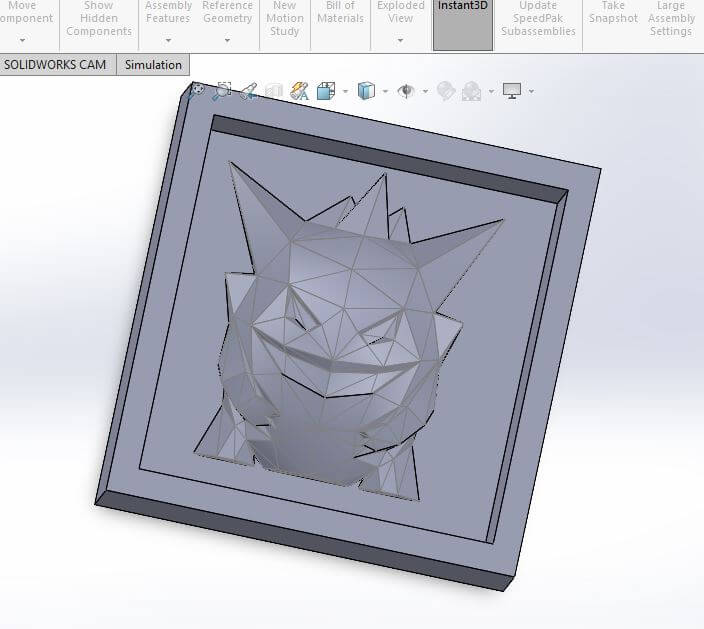
After crating this molds and casting the parts, I also try to create a negative mold using 3D printing, this works almost the same as the mold we created before in the 3D printer, but in this case I will create a mold that let us create another mold.
To create the negative mold, I used Solidworks to design the mold, and the same pokemon figure, so let see the next images to check the progress.

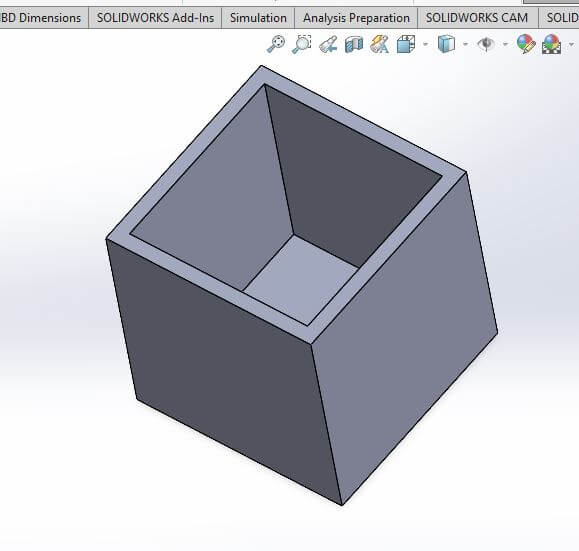
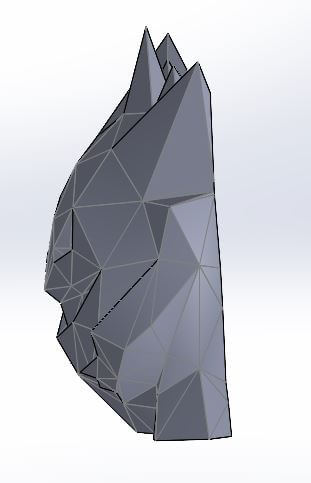
One difference with this mold is that the figure is not going to be complete, just the front part, to avoid destroyint the mold when removing the part.
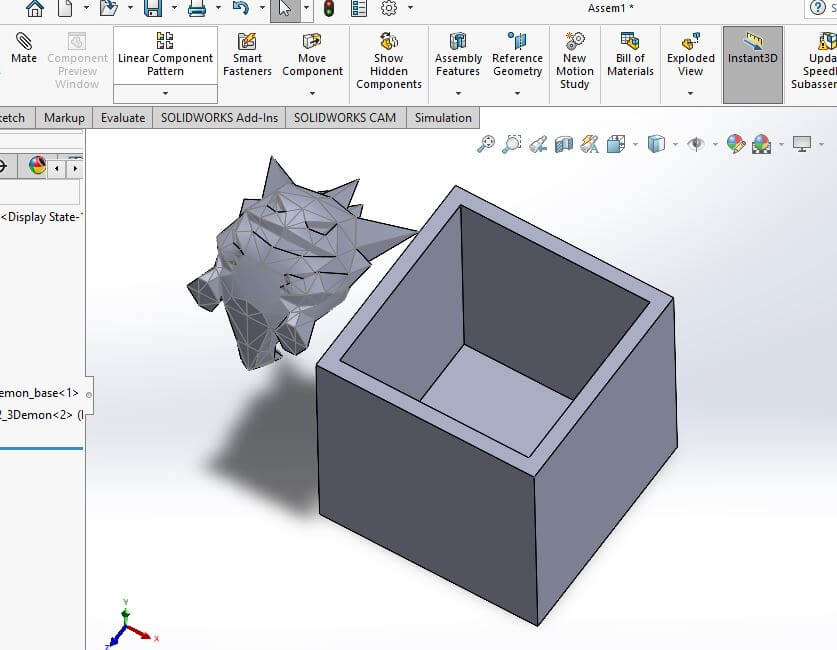
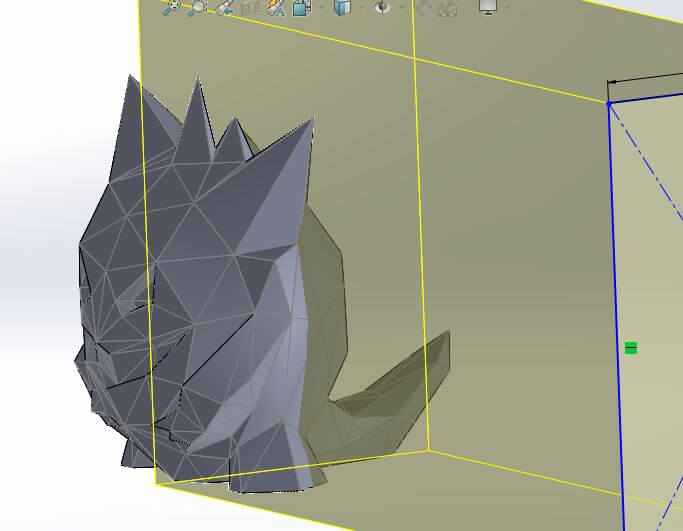
To just use the front part of the figure, I created a rectangle and just cut the figure in the middle, this will let me locate the figure in the bottom of the mold.
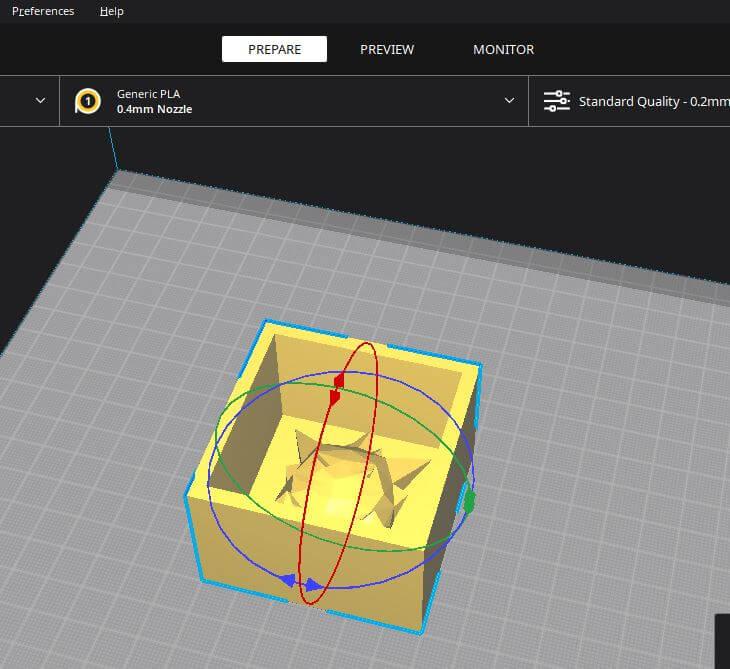
Now that the mold is ready to print, I exported the mold as an STL File and using CURA, I sliced using the configurations for get an Ironning Surface, you can find more information about this setting in this link: IRONNING
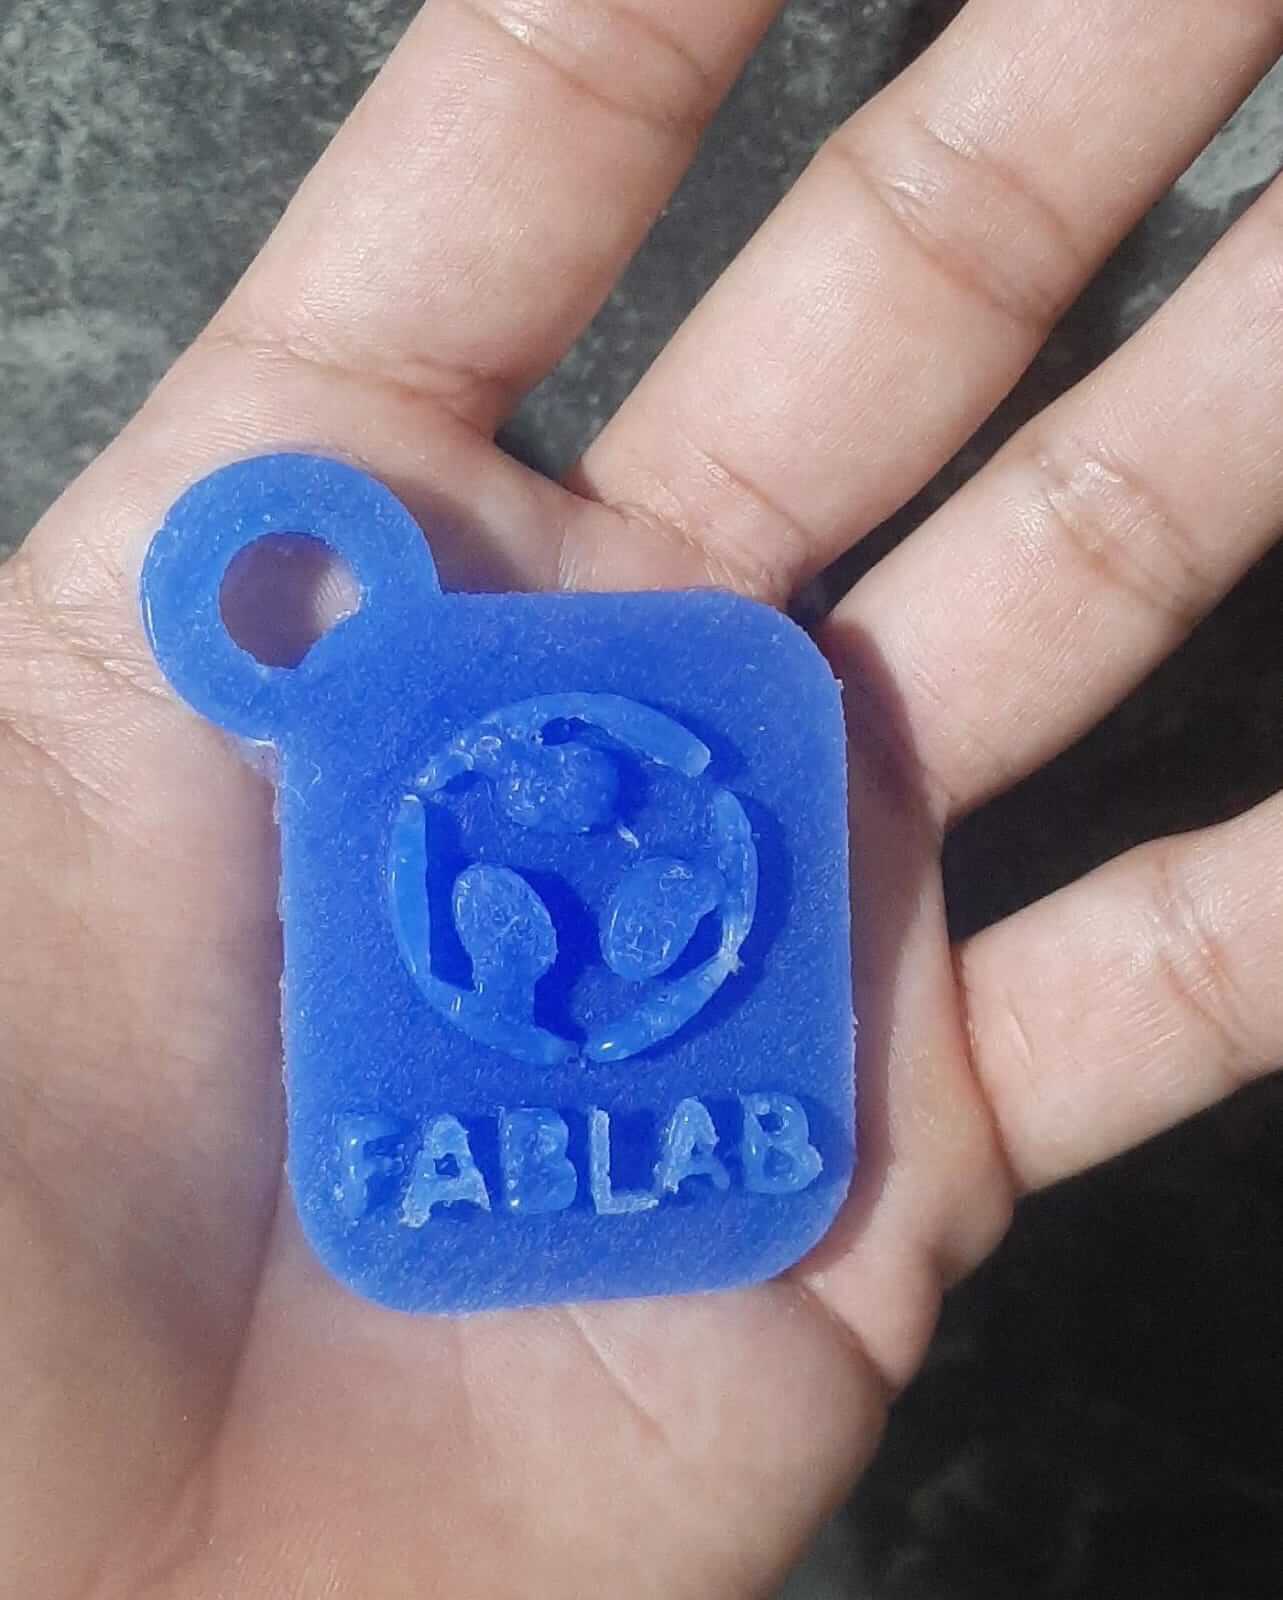
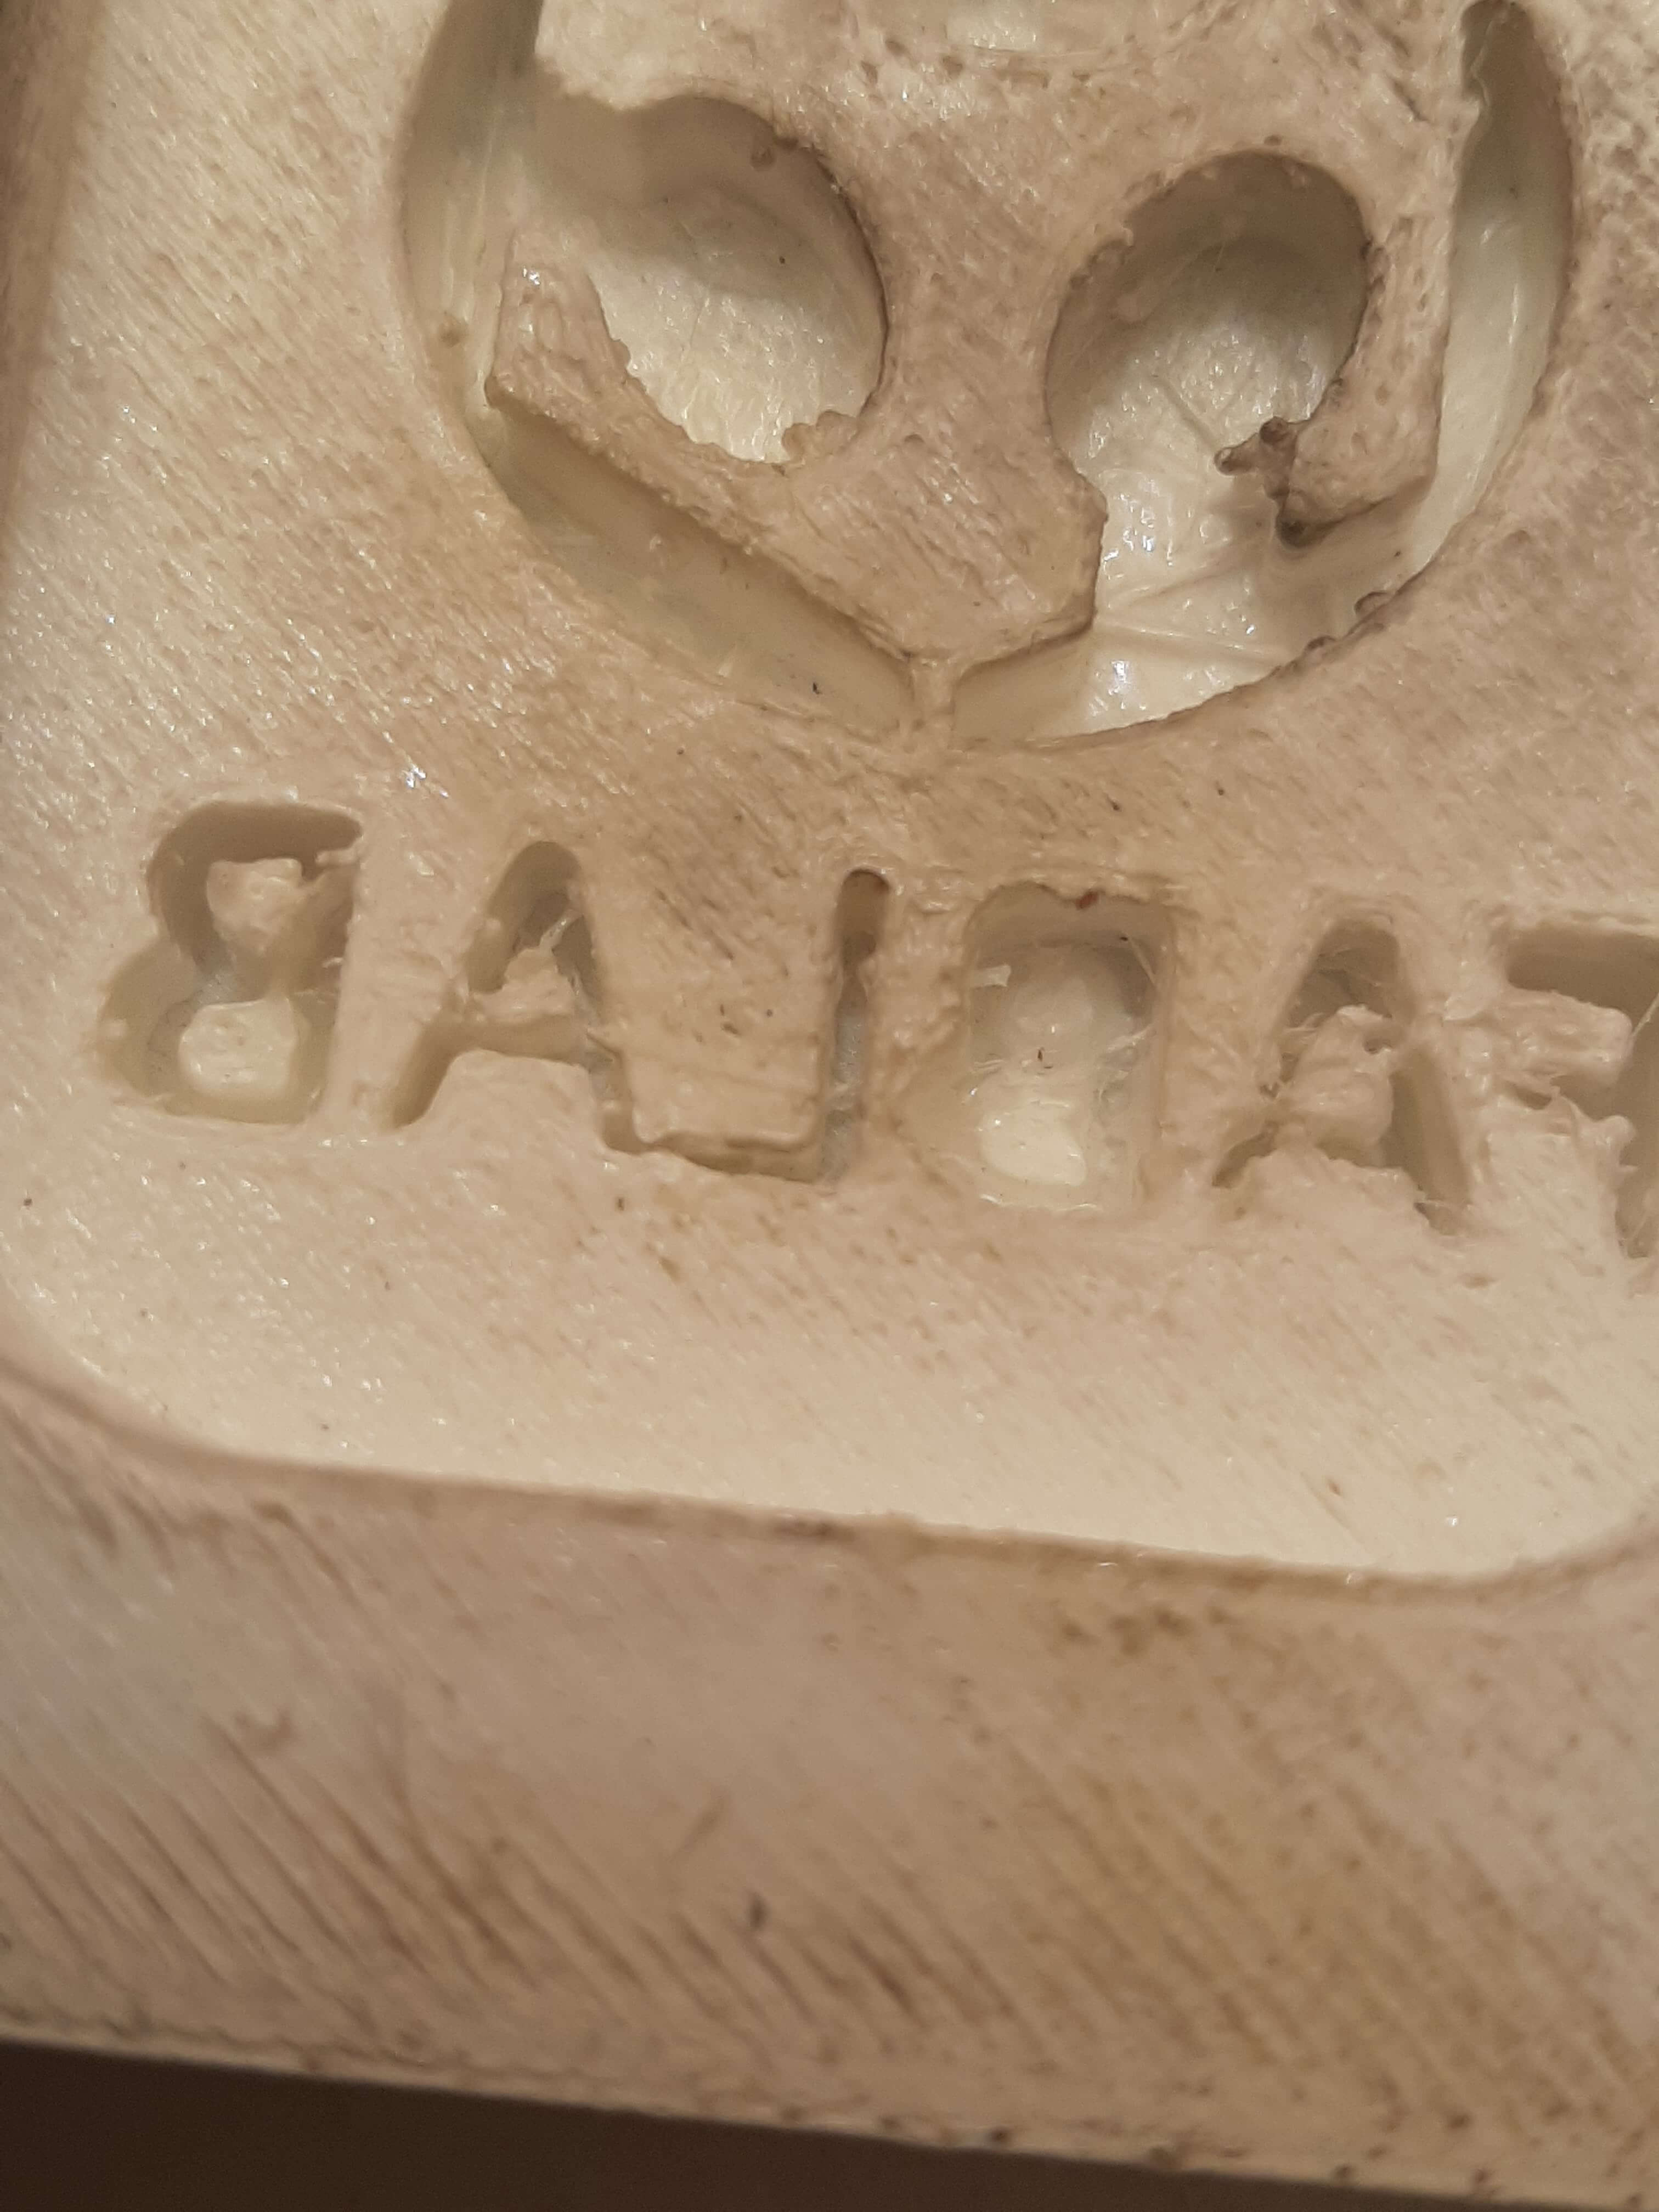
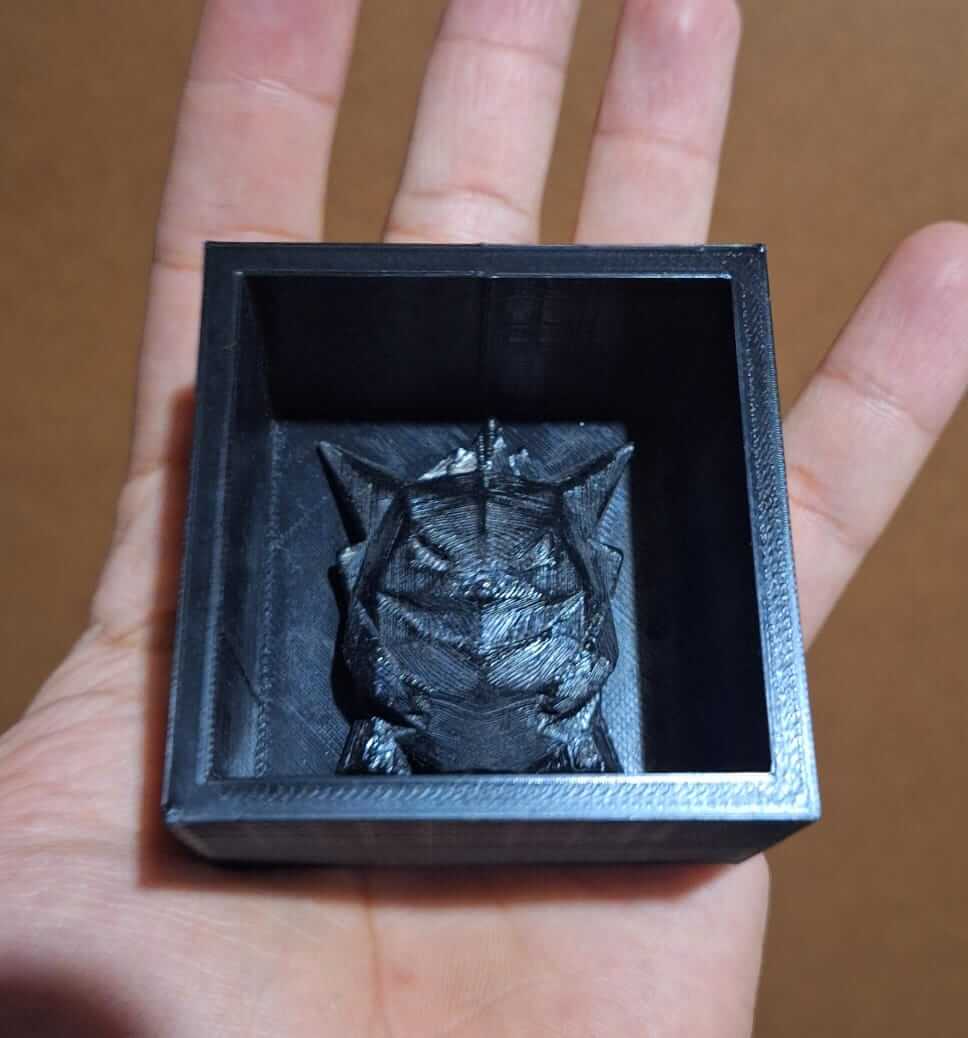
You can se the final result in the next image, however, I need to mention that the ironing surface is not perfect because doesn't work well with non flat surfaces, and our figure has a complex geometry, and I notice that after printing the mold.
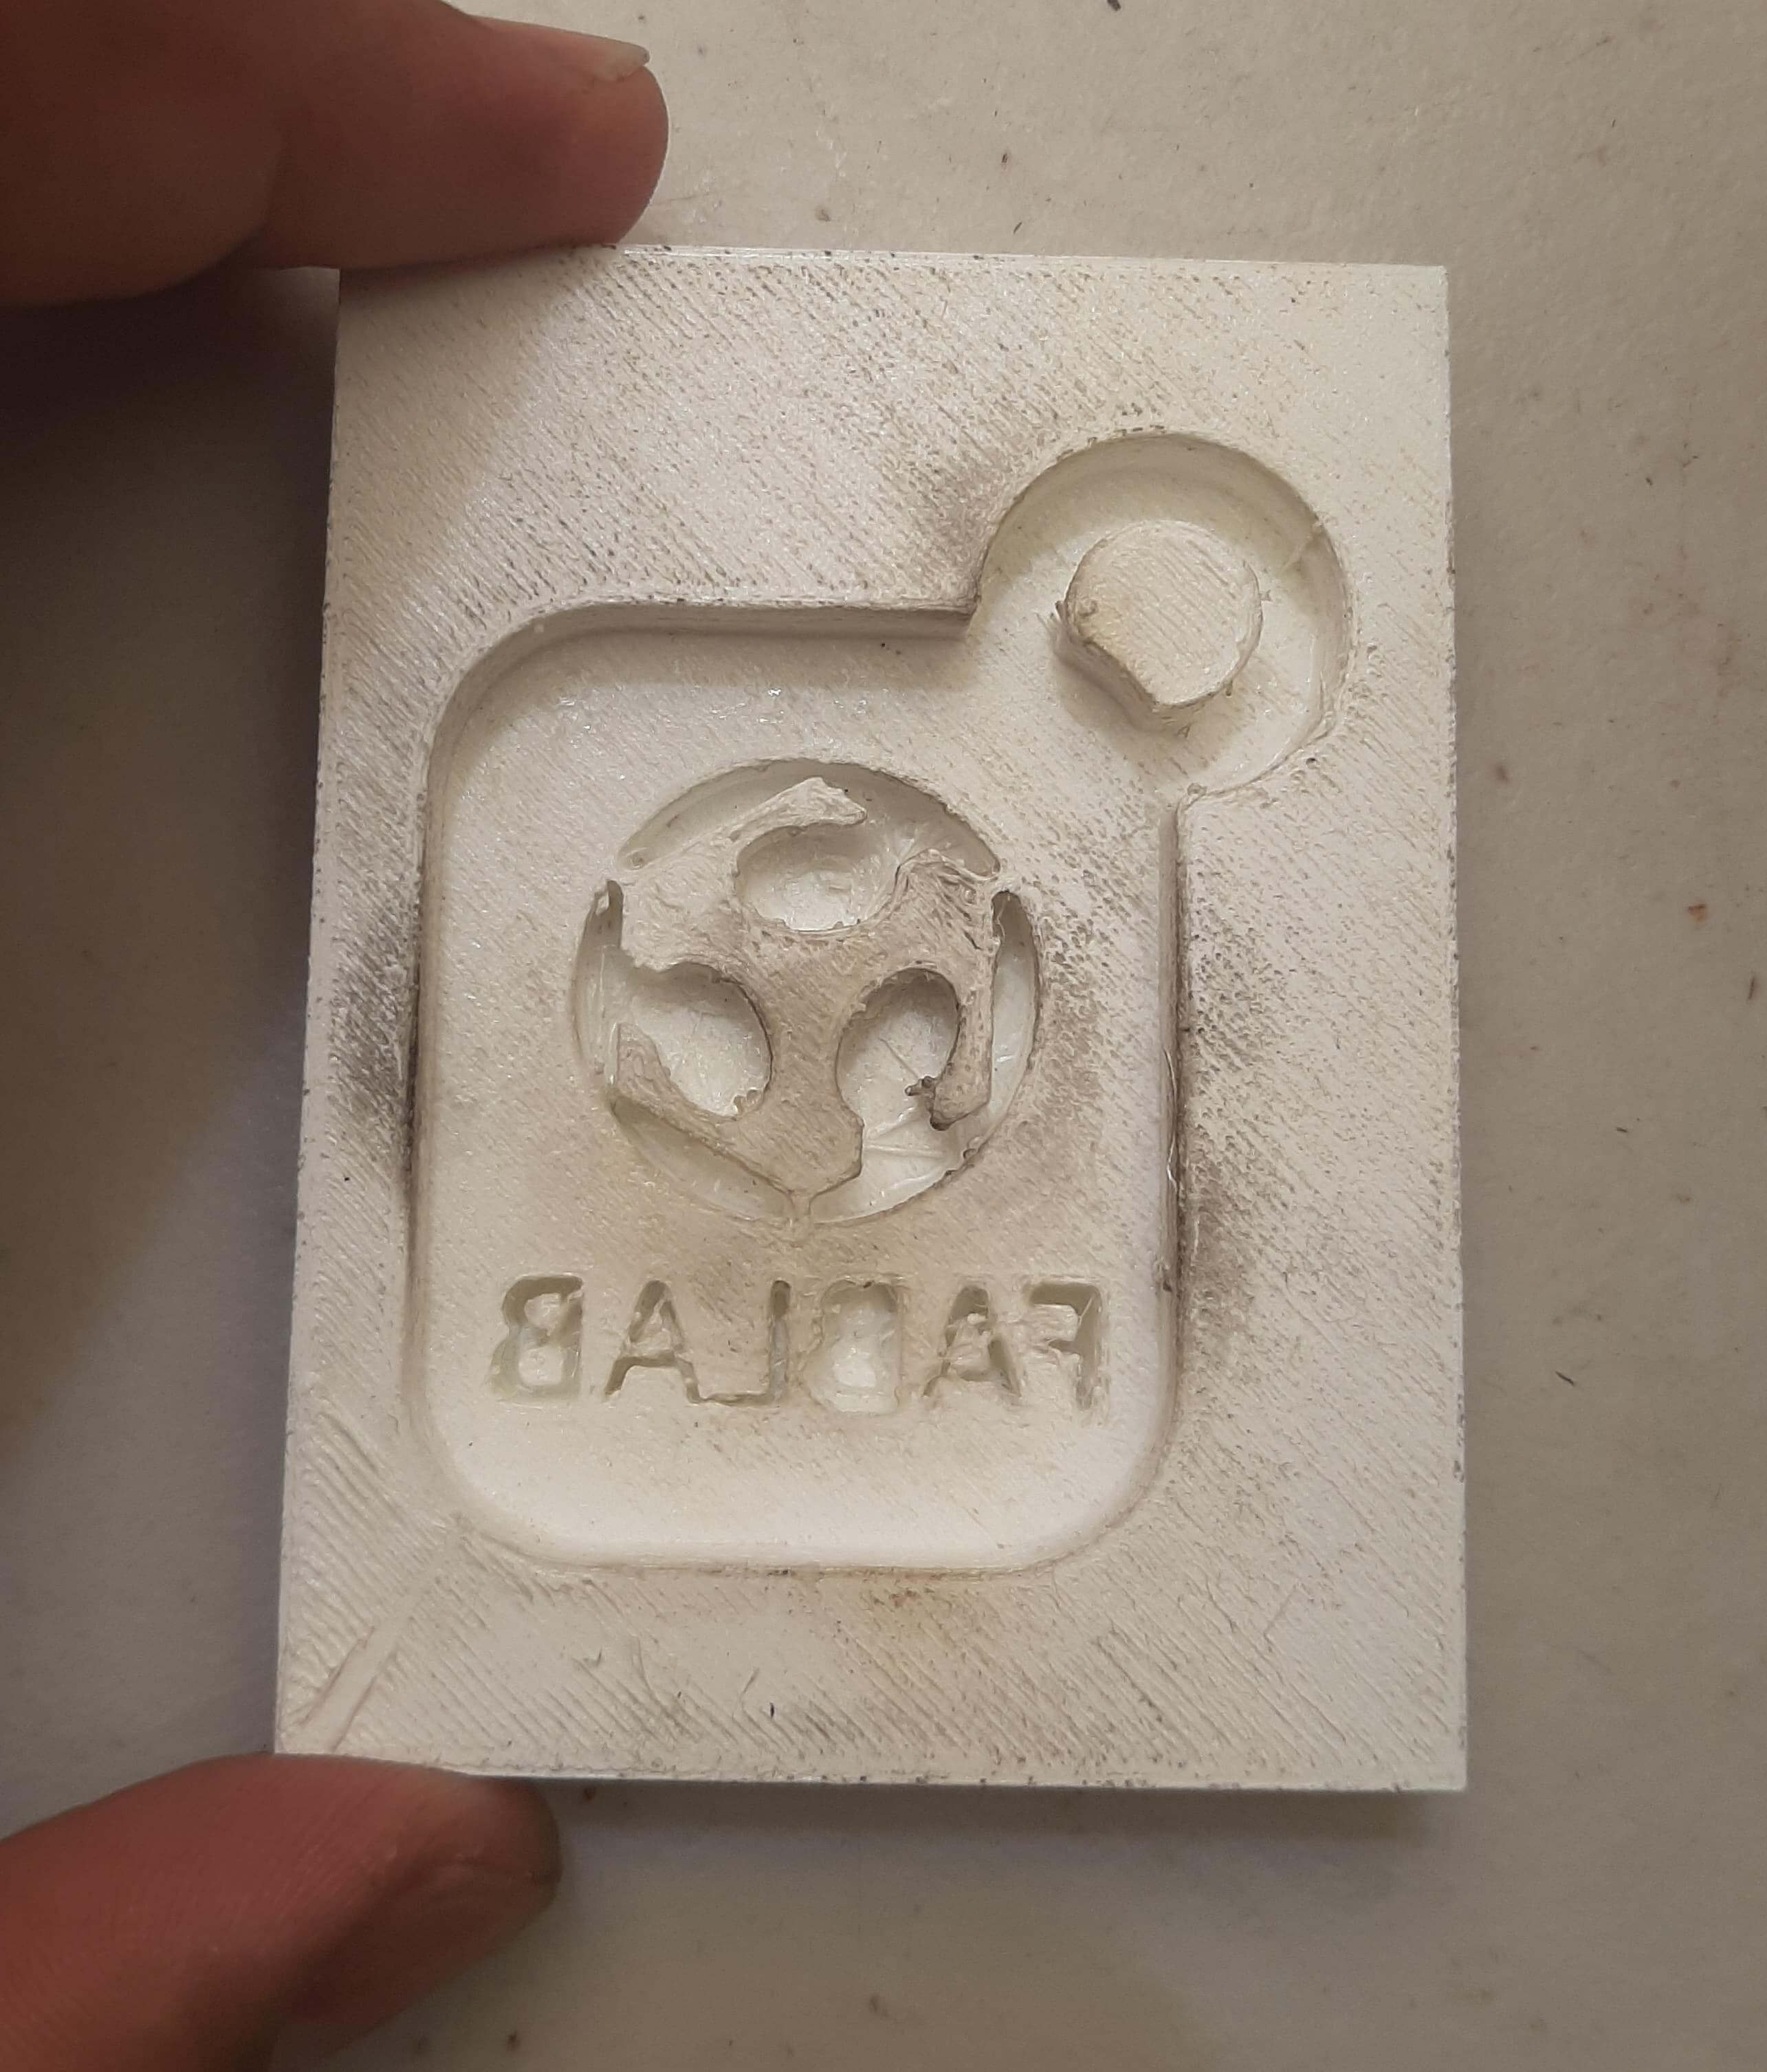
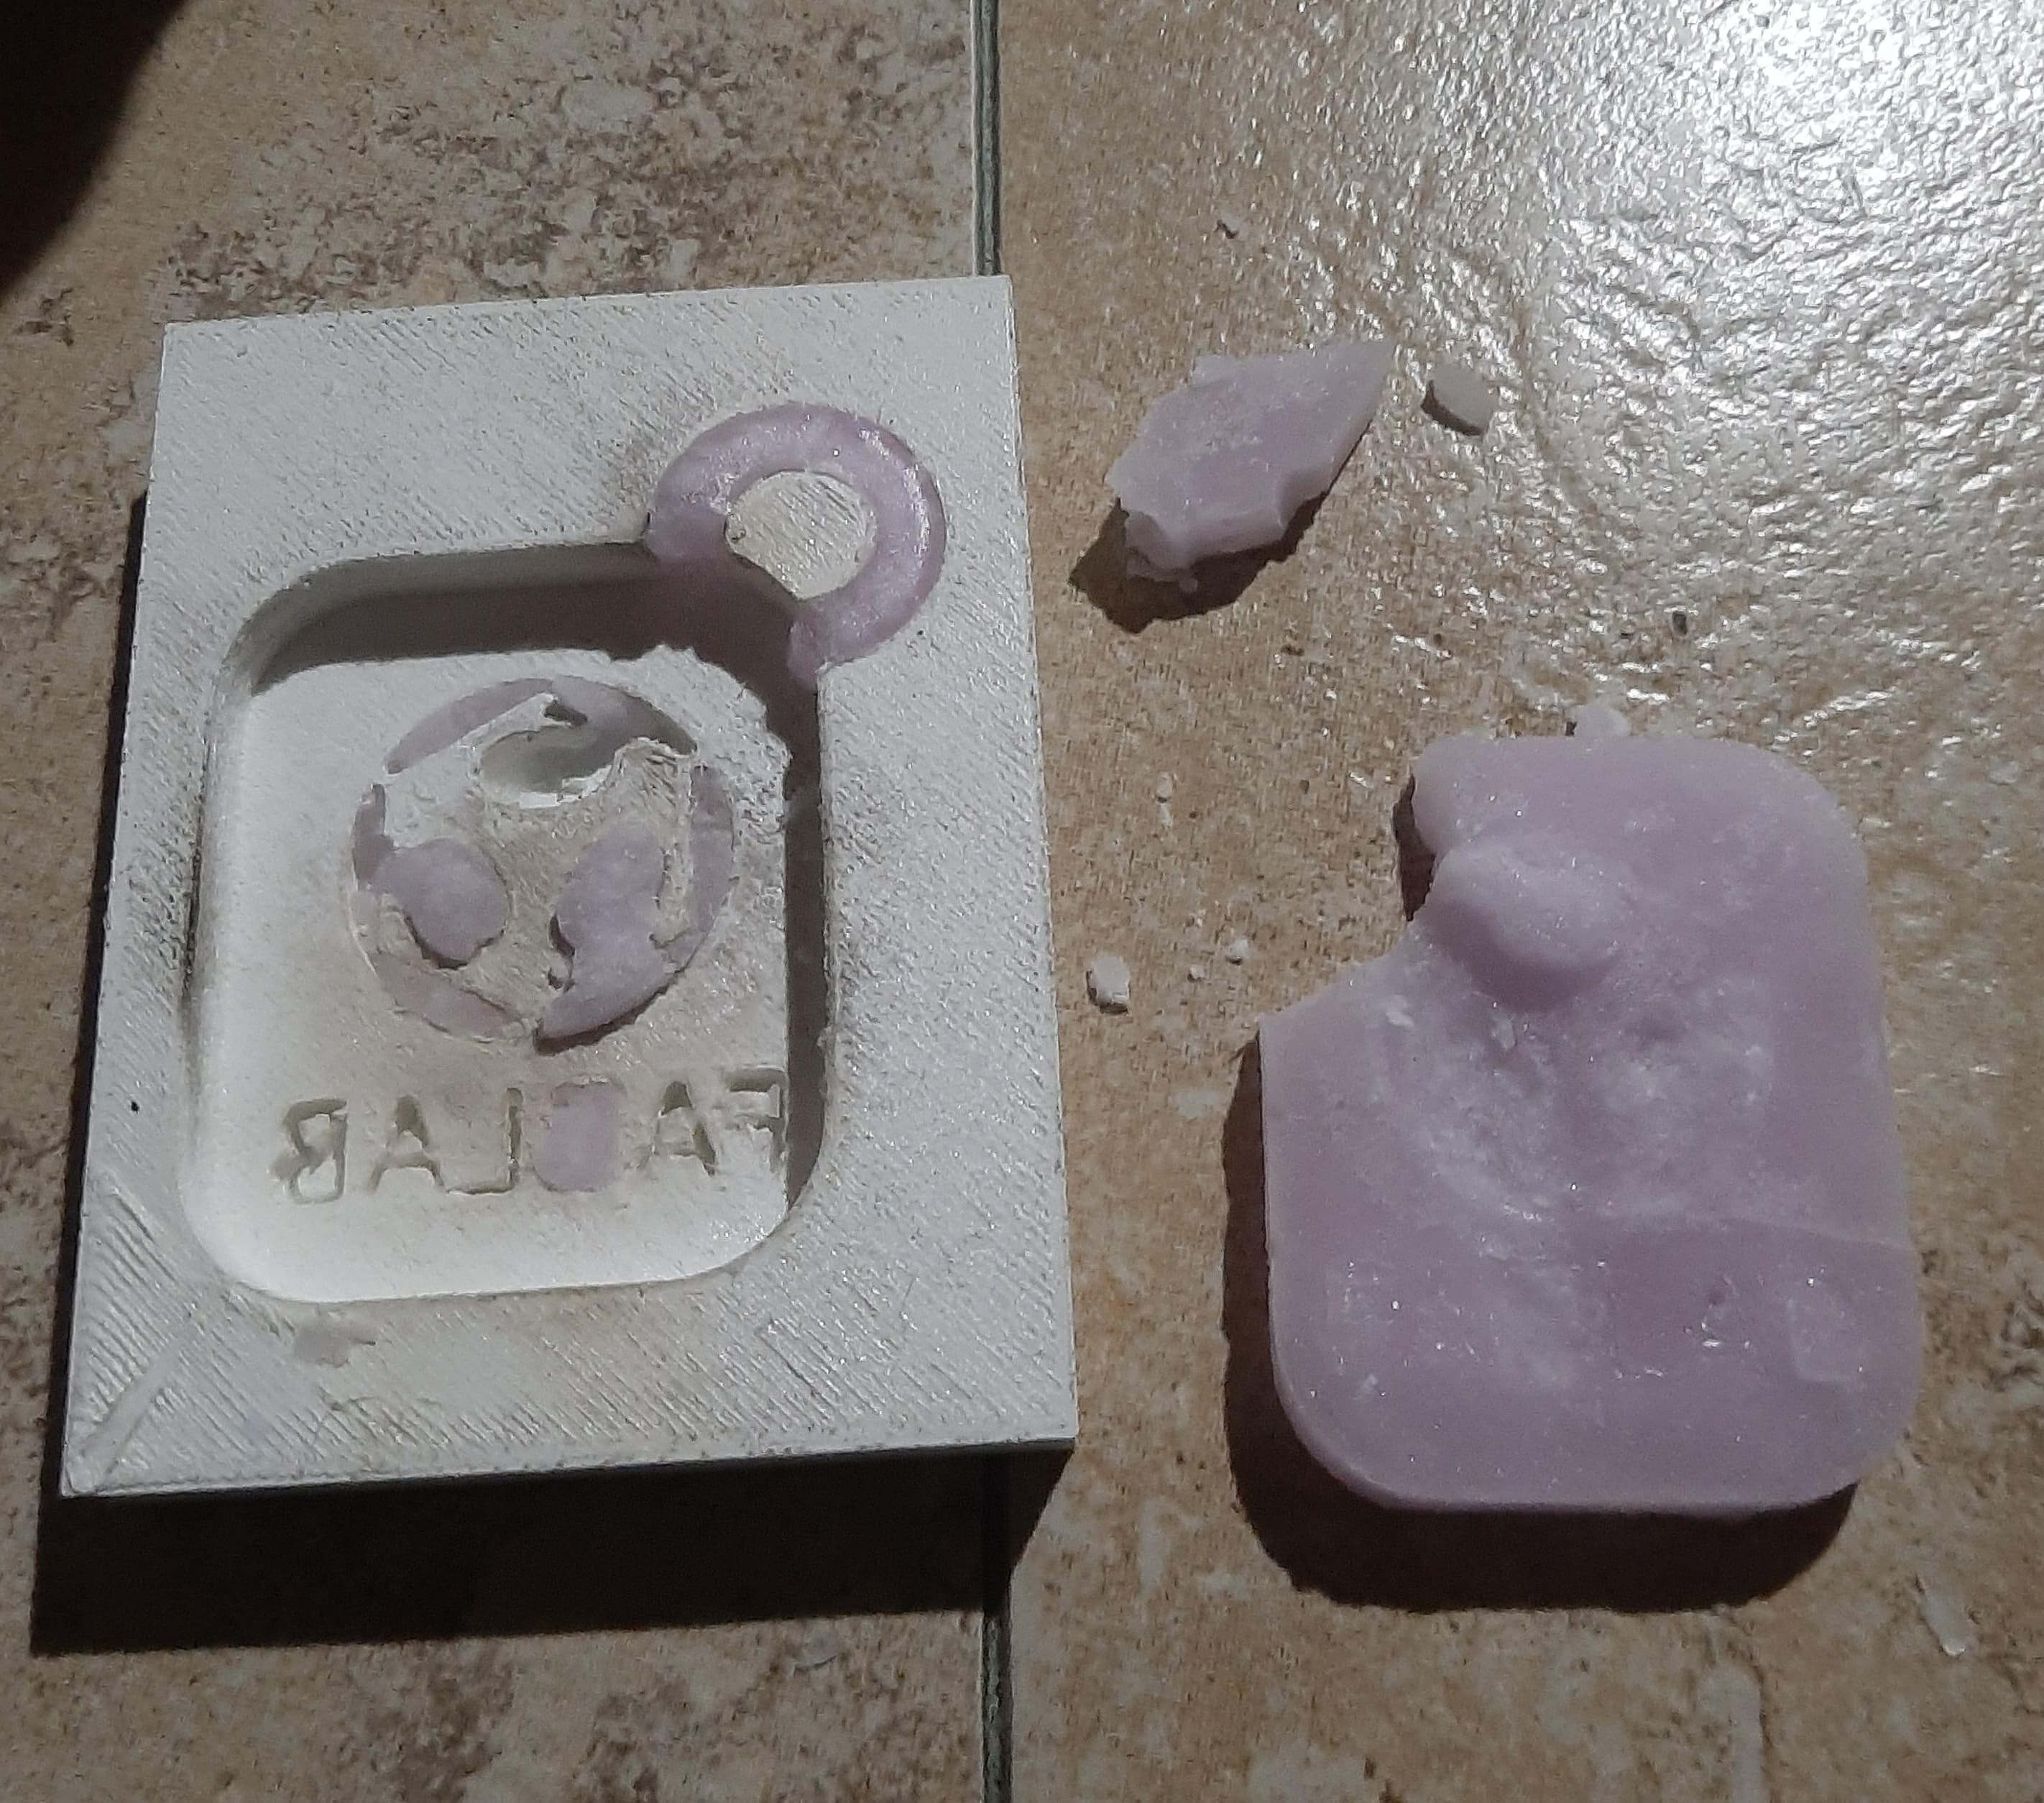
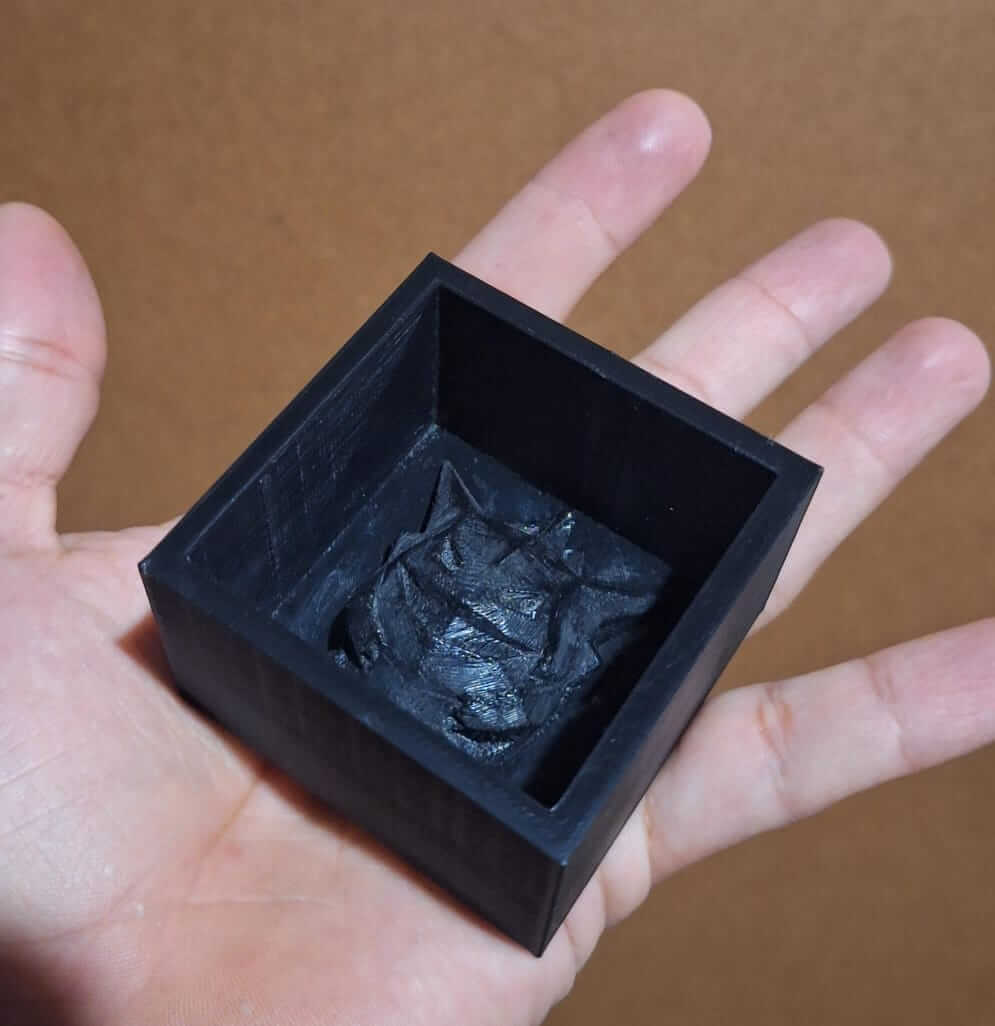
To solve that I decided to use sanding paper to smoooth the surface, and also acetone to clean the mold, was a simple process but I couldn't get a smooth surface, but really acceptable for the proccess.
This is the result, however I will try a few more things to get a better result, before add and create the mold with the flexible silicone. Sooooo, Wish me luck!
Project Files links
In the next links, you can download the files for the assignments.
- SOLIDWORKS FABLAB Keychain
- SOLIDWORKS FABLAB Mold
- SOLIDWORKS FABLAB Assambly Mold
- STL FABLAB Keychain
- SOLIDWORKS FABLAB Mold Support
- STL FABLAB Mold Support
Conclusion
In conclusion, this week was a great experience to learn about molding and casting processes. I learned how to create molds using different materials and techniques, and how to cast parts using those molds. I also learned about the importance of safety when working with chemicals and hot materials. The results were good, and I am happy with the outcome of the project.
Lessons Learned
- Always wear safety equipment when working with chemicals and hot materials.
- Use the right amount of material when mixing.
- Be careful when pouring hot materials into molds.
- Use petroleum jelly to release parts from molds.
- Test different materials and techniques to find the best results.
- Be patient and let the materials dry completely before removing them from the molds.