
Week 2
Introduction
This page outlines the steps followed during week 2 of the Fab Academy assignments.
The tasks for this week involved 3D Modeling and the following assignments:
- Model (raster, vector, 2D, 3D, render, animate, simulate, ...) a possible final project.
- Compress your images and videos.
- Post a description with your design files on your class page
Let's start

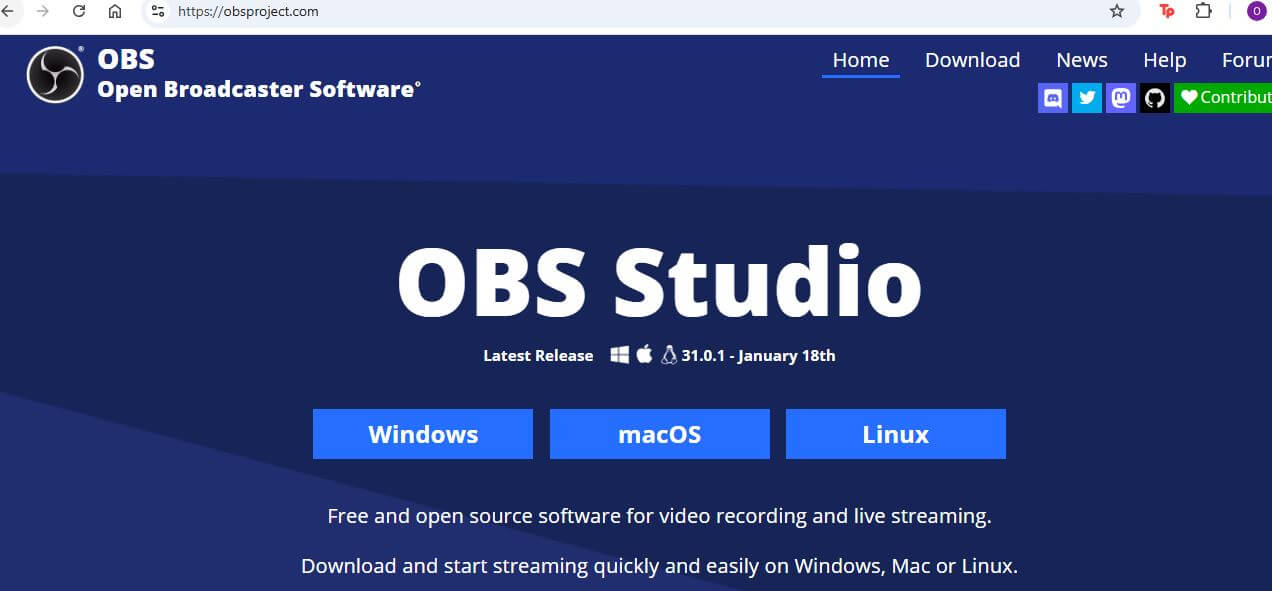
Download SolidWorks
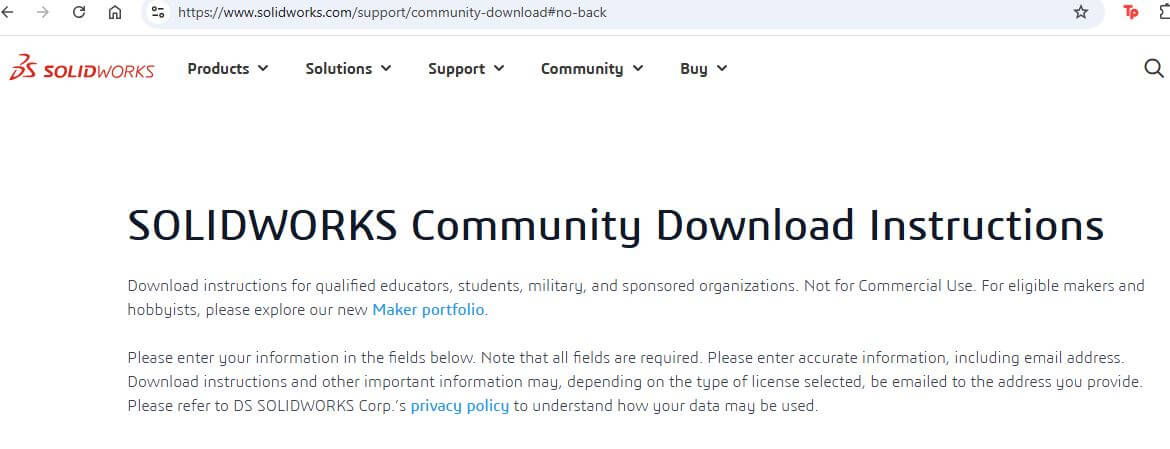
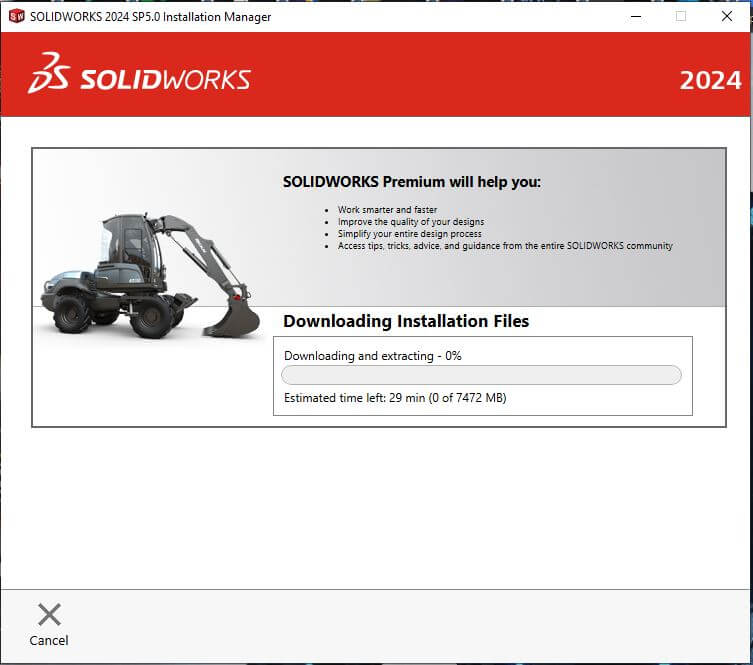
One thing to consider is that SolidWorks is a paid software. However, Fab Academy provides us with a student license which allows us to use the software at no cost to complete the assignments. To install SolidWorks, we need to follow these steps: go to the main SolidWorks page and select the download option. Once the version is chosen, it will proceed to download on our computer as shown in the following image.
Useful links
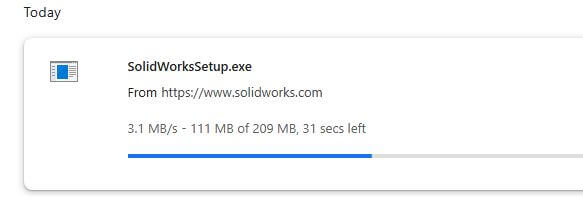
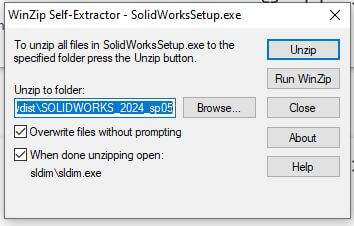
Once the download is complete, we proceed to install the software, following the steps indicated by the installation wizard.
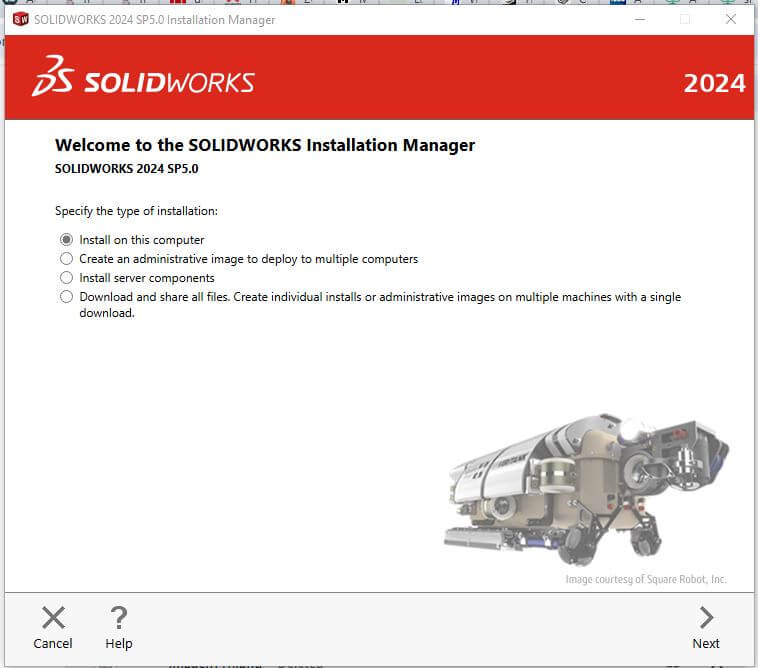
The first option the installer gives us is to install the software, is
to select the type of installation, in this case, we choose the option
Install on this Computer, after this we proceed to the next step.
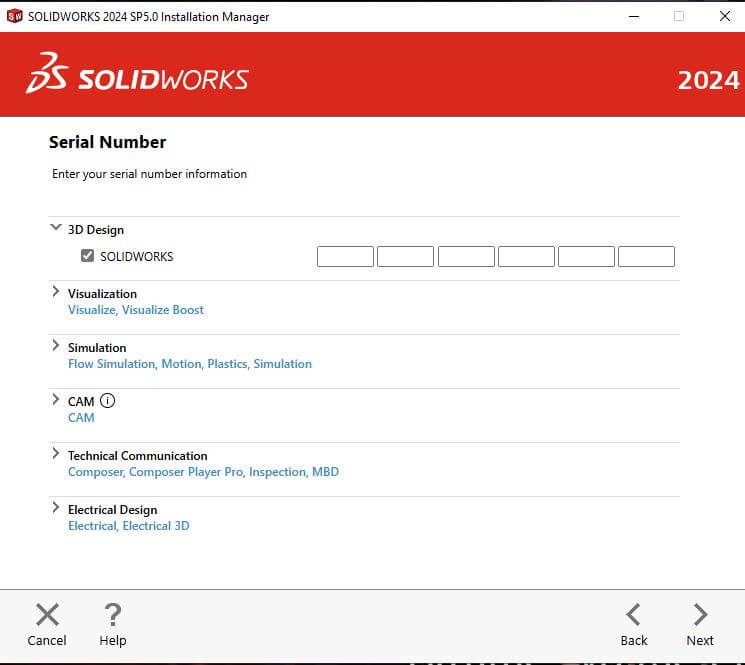
providing the serial number and the version of the software
that we are going to install. How I specify we introduce the serial number
the Fab Academy provides us in the option 3D Design.
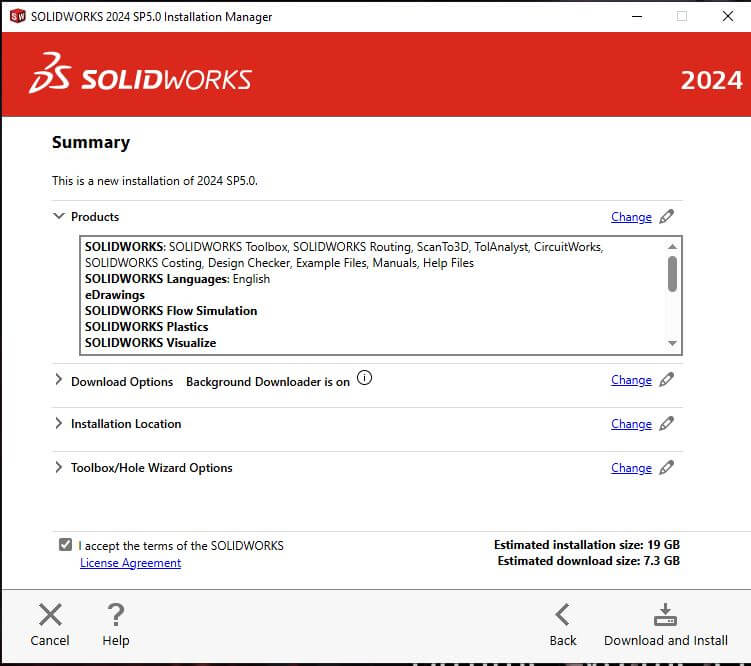
After the previous steps, we proceed to see a summary of all the products the license includes, and we proceed to install.
Ones the intallation is complete, we are ready to start using SolidWorks, and a shortcut will be created on the desktop to access the software.
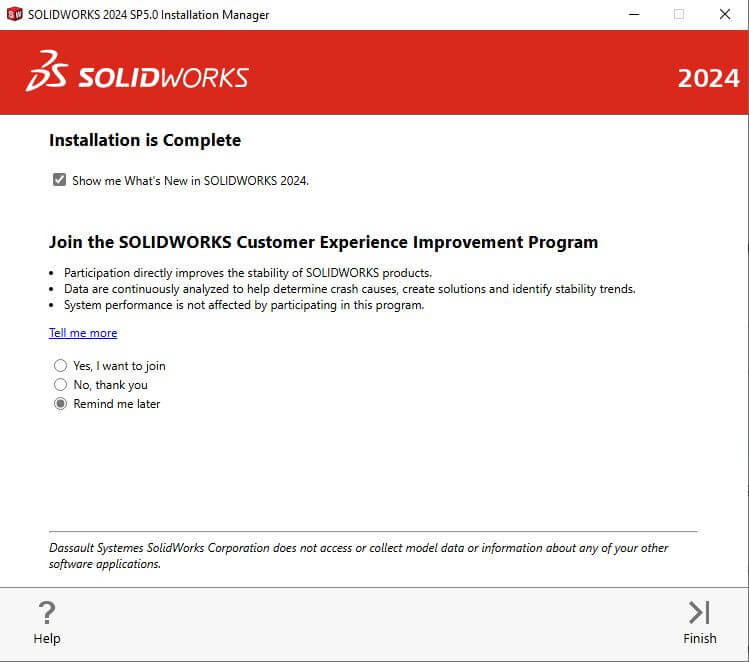
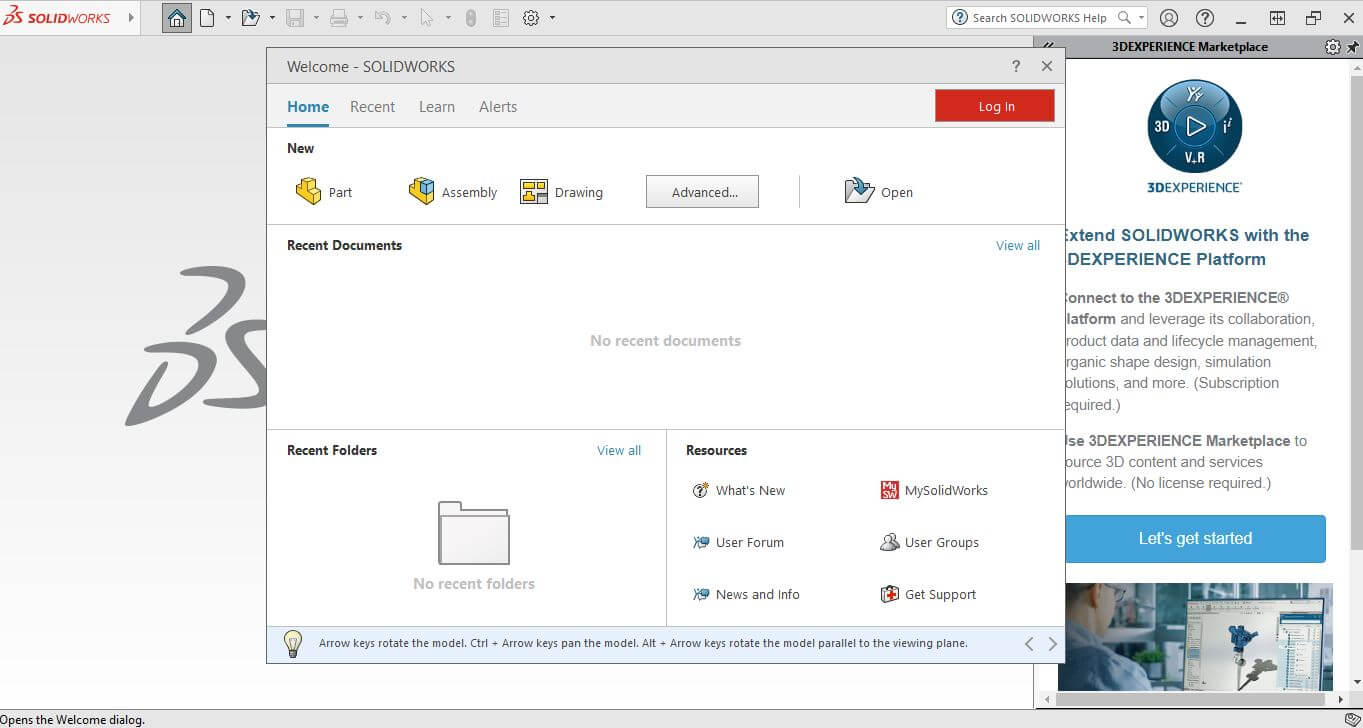
Upon opening the software, we will see the following screen, from which we can start designing.

Designing
Our task is to design a possible final project, for this we will take the Smart Bartender project as a reference to create a first 3D model view, this will help us to have a better idea of the project and the components.
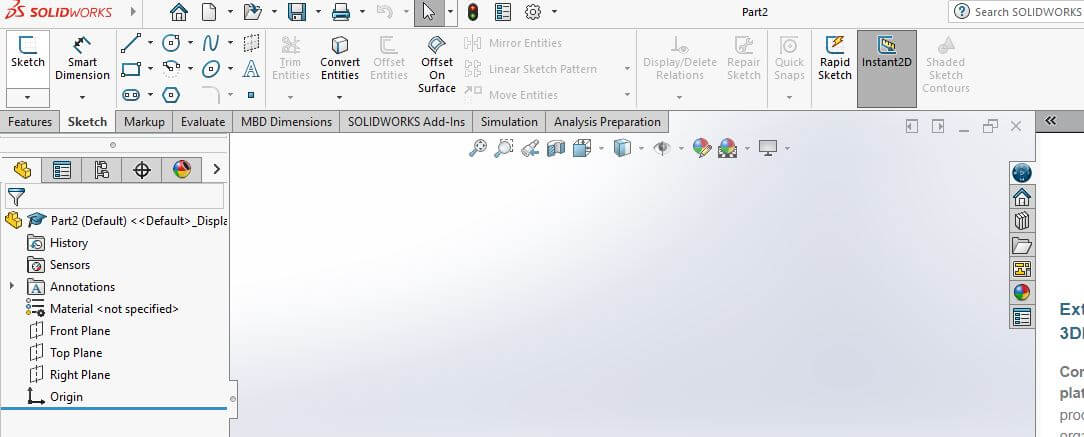
The first step is to create a new part, solidworks gives us three options part, assembly, and drawing, in this case, we choose the part option.
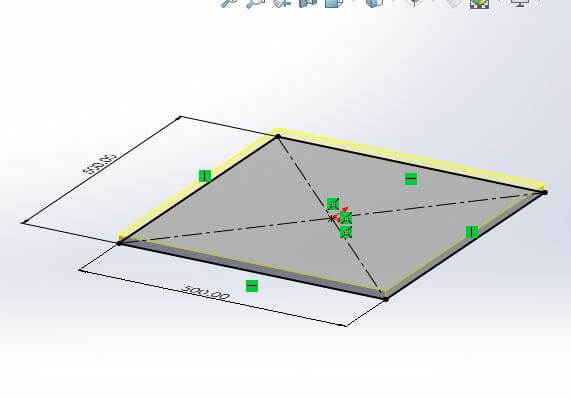
With the new part created, we proceed to design the first component, solidworks provide us with a wide range of tools to create the components, in this case, we are using lines, circles and squares for 2D sketches, and for 3D sketches we use the extrude tool to give volume to the components.

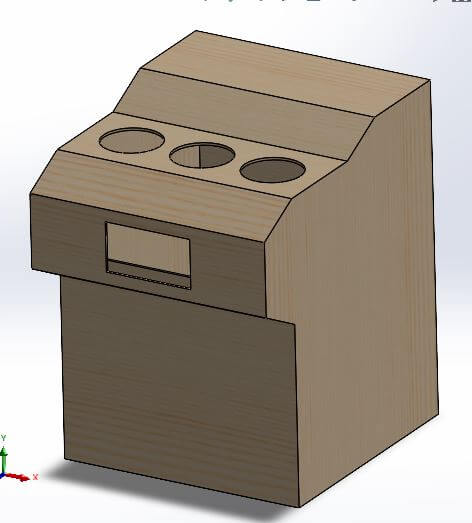
Another tool that we use is the extrude cut, which allows us to make holes for see the specific position of the components, in this case, we use it to locate the bottles holders, screen and glass holder, parts that we will design in the next steps.
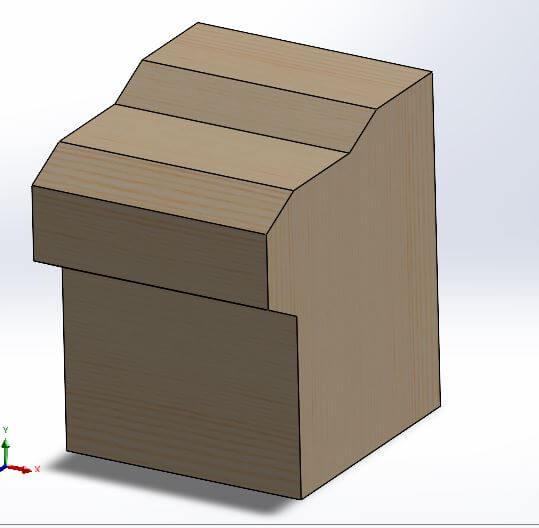
Now that we have the first component ready, we also include to the frame an specific material appearance, in this case, we use wood material, because we will create the frame with laser cut wood. Now we can design the other components.
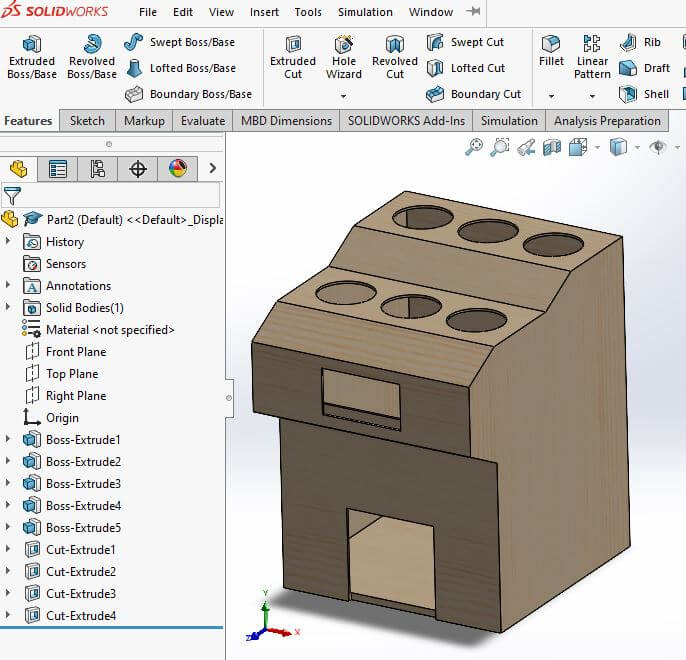
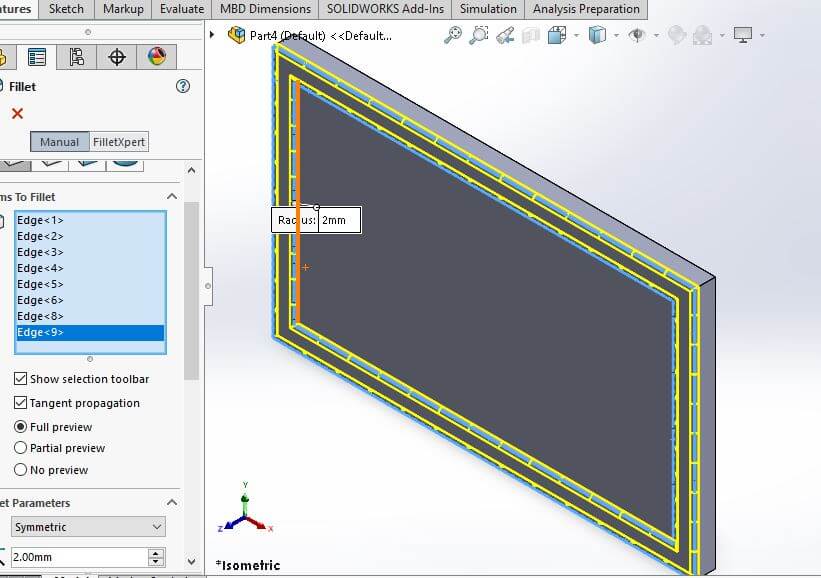
To create the rest of the parts of the Smart Bartender, we explore some tools solidworks provides us, in this case, we use the revolve tool to create the bottle holder, to create the screen we use the extrude tool and the fillet tool to give a better appearance to the components.
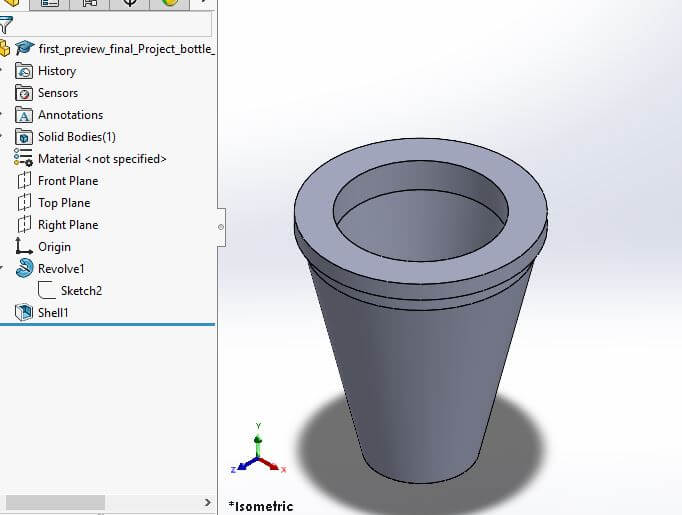
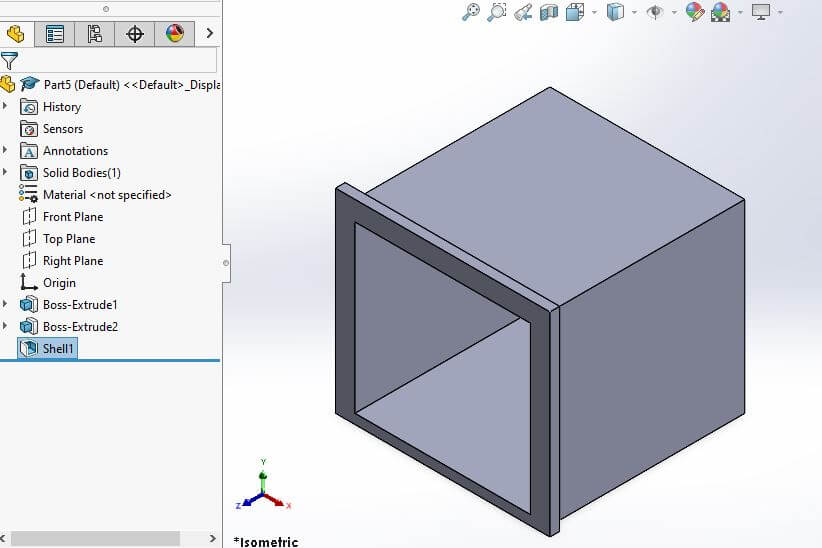
The last part of the Smart Bartender is the glass holder, for this we use the shell tool to create the hole where the glass will be placed, then this part is going to be able to be sense if we have a glass or not, the main idea it's to create the last three components with 3D printing.
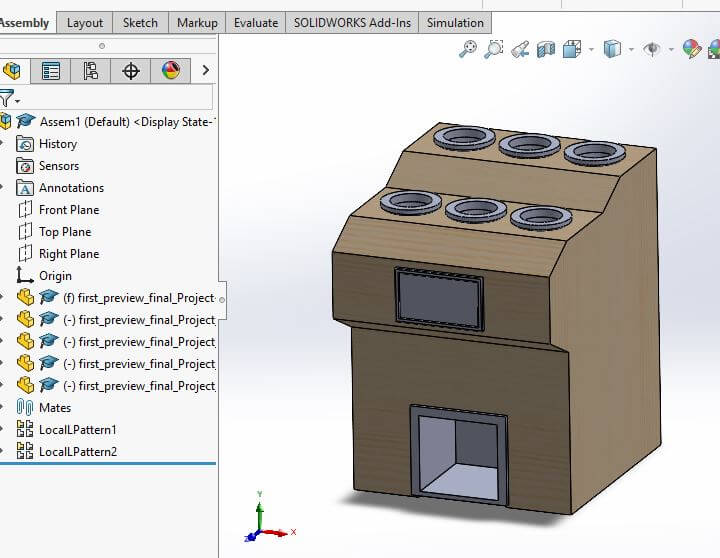
In this last image, you can see the final view of the Smart Bartender, with all the components together, this is the first view of the project, to create this view we use the assembly option, and some mates to locate the components in the correct place and orientation, also tools like local pattern to create the bottles holders with just one instance.
2D Design
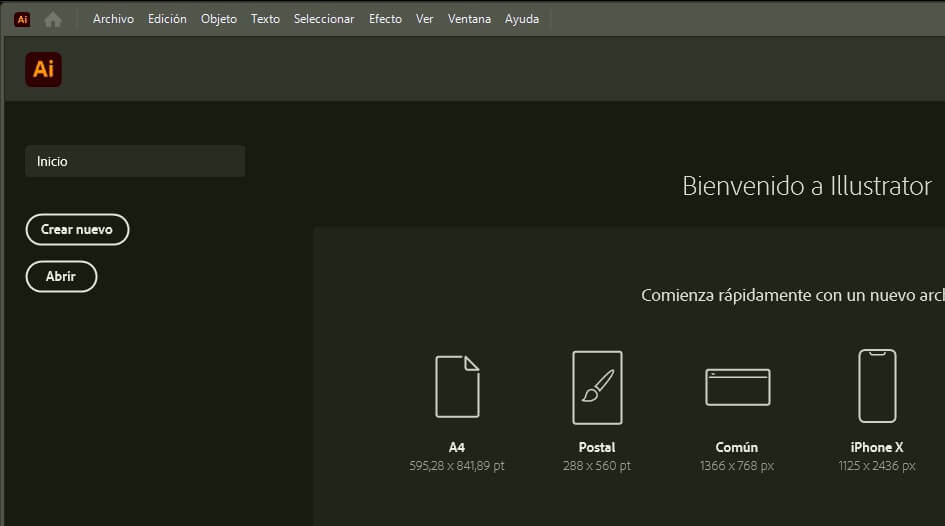
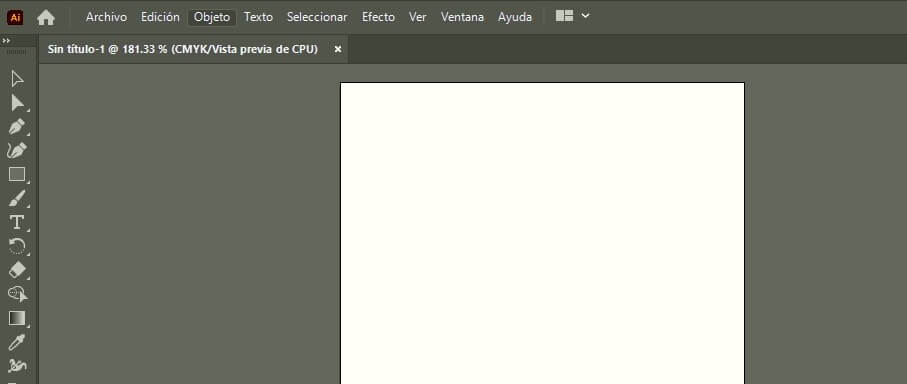
In this case, ones I have the main idea of the 3D model, I can create a 2D design to cut it with a laser cutter in the future if it is needed, the software I'm goind to use is Ilustrator, this software is a vector graphics editor and let us create vector and edit images, text and other elements. I selected this software because I own a student license because I'm using a .edu email account. Also I have used it in the past, so I have some experience.

The first step is to create a new document, then we select the size of the document, this size in particular could be A4, A3 or any other size that we want, I created a custom size document of 1200 x 2400 mm, this is the size of a commercial wood sheet.
After creating the document, we can start creating the vector design, for this, I used the shapes tool to create the frame I needed. Also, something to consider is set the document settings into the units we are going to use, to my file I set the units to centimeters.
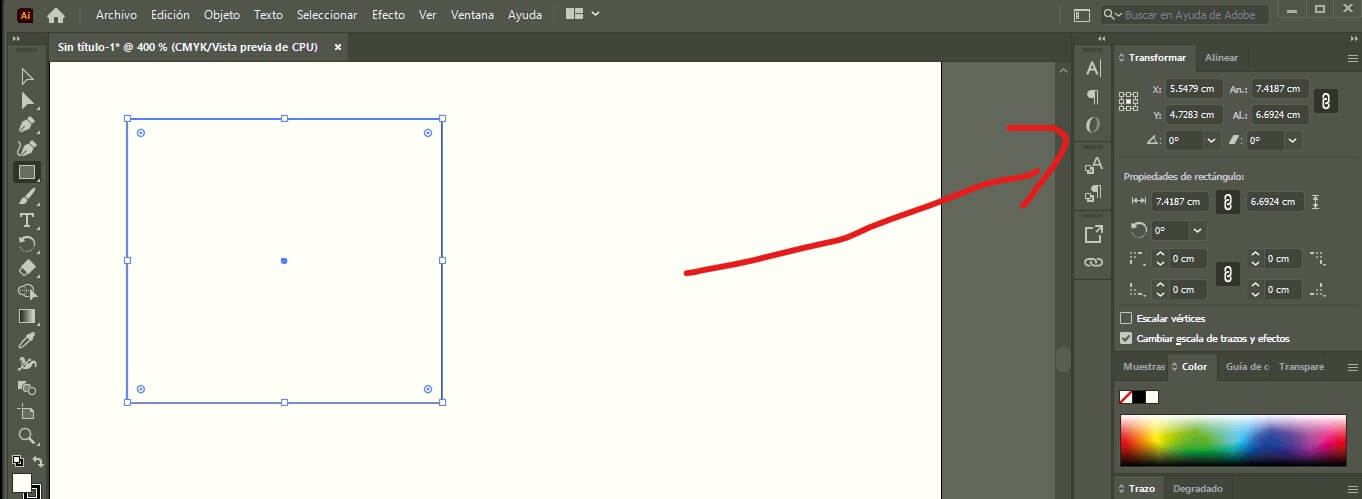
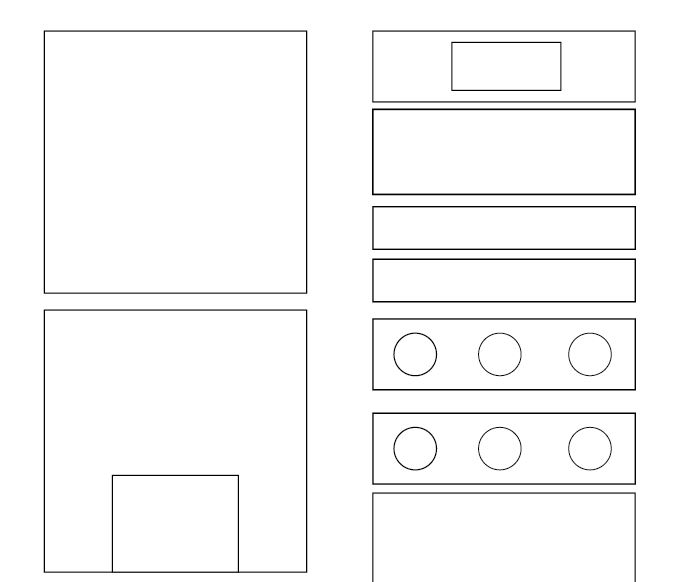
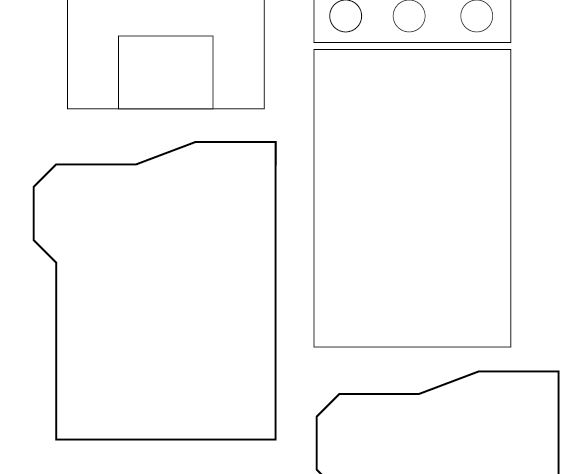
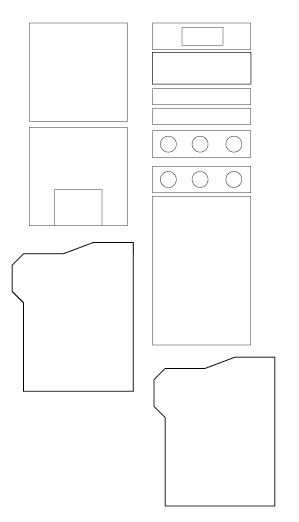
After a while, I created the shapes I needed, as you can see in the next images, I created a first iteration of the frame, this will alow me to test in the future.
Project Files links
In the next links, you can download the files and the assembly for the Smart Bartender.
- Wood Frame (First Preview)
- Bottle Holder
- Screen
- Glass Holder
- Complete Assembly
- Wood Frame Ilustrator File
- Wood Frame PDF file
Rest of the Assignments
To complete the rest of the assignments, we need to create and compress the images and videos, we use different tools to do this, in this case, we use the following tools:
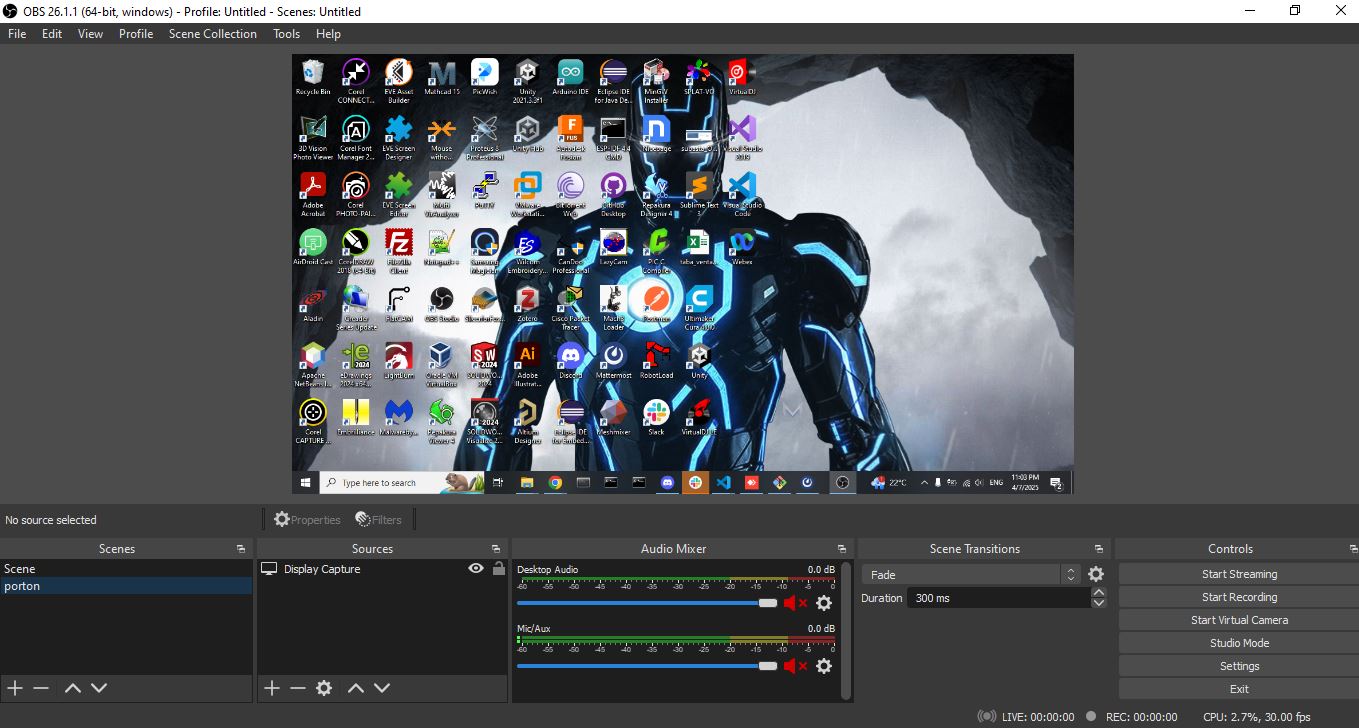
- OBS Studio to Video recording
- tinify to compress all the images
- Convertir-pdf.com to compress videos
For video recording, we use OBS Studio, which is a free and open-source software for video recording and live streaming. It allows us to capture video from our screen and save it in different formats. The software is easy to use and provides a wide range of options for customizing the recording settings. We can choose the resolution, frame rate, and audio settings to suit our needs. Once we have finished recording, we can save the video in a format that is compatible with our website.
For compressing images, we use tinypng, which is a free online tool that allows us to compress PNG and JPEG images without losing quality. The tool is easy to use and provides a simple drag-and-drop interface for uploading images. Once the images are uploaded, the tool automatically compresses them and provides a download link for the compressed images. This is a great way to reduce the file size of images without sacrificing quality, which is important for optimizing website performance.
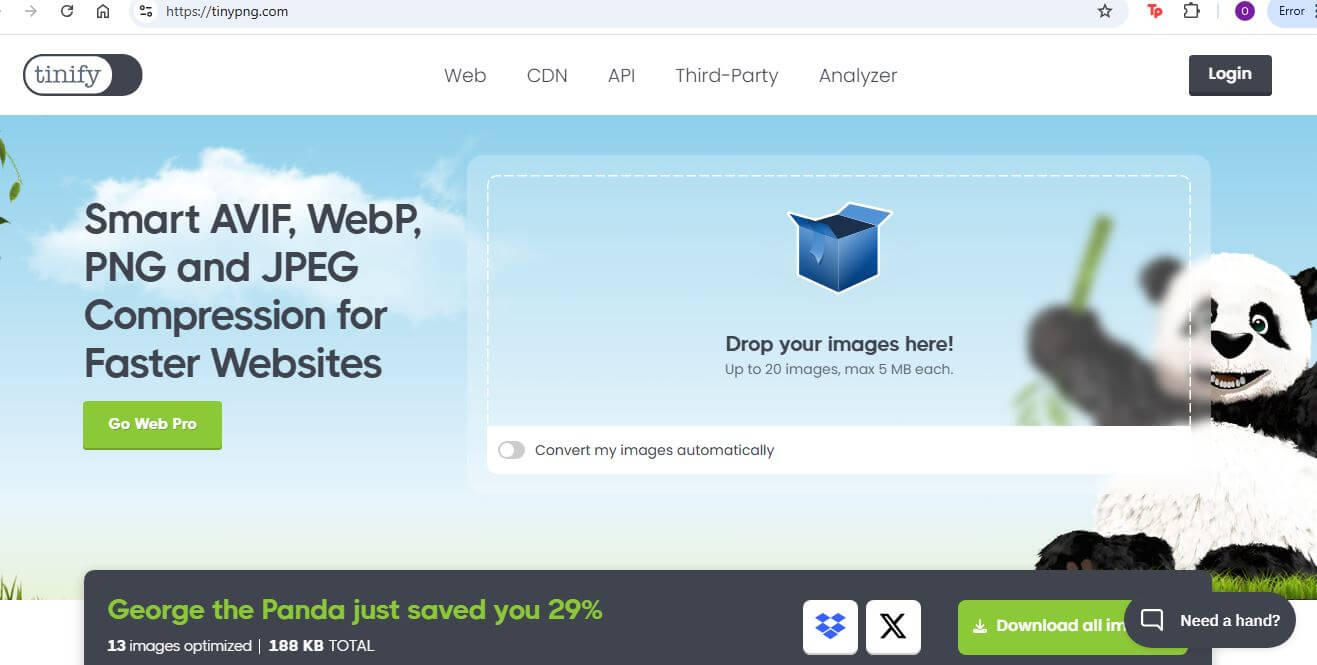
In the page we can drop the images we want to compress, and the page will do the rest, once the images are compressed we can download them and use them in our website.

Also you can select the option to compress the images in bulk, this is a great option to save time, and to compress all the images at once, this is a great option to save time and to compress all the images at once.

Ones the images are compressed, we can use them in our website, and the page will give us the option to download all the images at once. This is a great option to save time and to compress all the images at once.
For compressing videos, we use Convertir-pdf.com, which is a free online tool that allows us to compress videos without losing quality. The tool is easy to use and provides a simple drag-and-drop interface for uploading videos. Once the videos are uploaded, the tool automatically compresses them and provides a download link for the compressed videos. This is a great way to reduce the file size of videos without sacrificing quality, which is important for optimizing website performance.
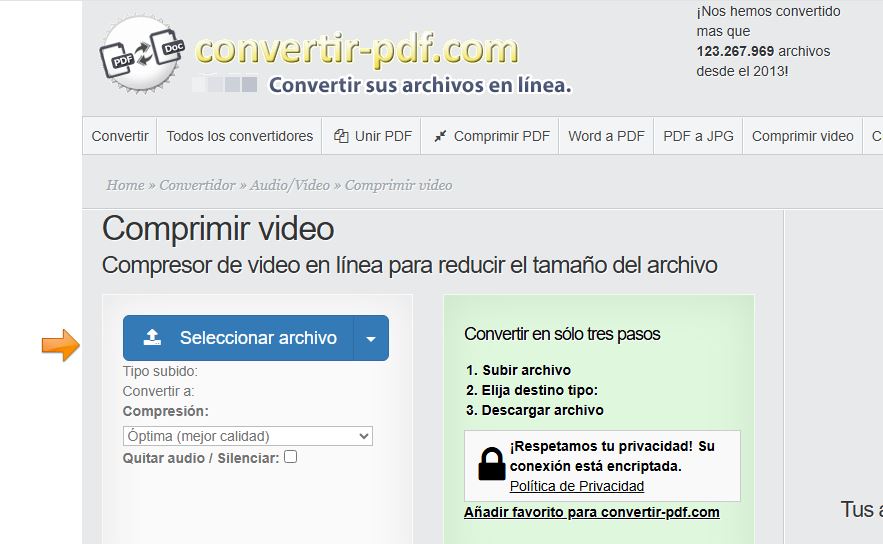
In the page we can drop the videos we want to compress, and the page will do the rest, once the videos are compressed we can download them and use them in our website.

Conclusion
This week's assignments provided a valuable opportunity to apply 3D modeling skills to a practical project. By designing a possible final project, I was able to visualize the components and their interactions, which will be beneficial for the project's development. The use of SolidWorks allowed for precise and detailed modeling, ensuring that all parts fit together as intended.
Lessons Learned
Throughout this assignment, I reinforced the importance of planning and organization in 3D modeling. Properly structuring the design process and using the right tools for each task can significantly improve efficiency and accuracy. Additionally, the experience highlighted the value of compressing images and videos to optimize web content, ensuring faster load times and better user experience.