
Week 7
Introduction
This page outlines the steps followed during week 7 of the Fab Academy assignments.
The tasks for this week involved Computer Controlled Machining and the following assignments:
- Do your lab's safety training
- Test runout, alignment, fixturing, speeds, feeds, materials, and toolpaths for your machine.
- Make (design+mill+assemble) something big (~meter-scale).
- Extra credit: don't use fasteners or glue.
- Extra credit: include curved surfaces
group assignment:
Individual assignment:
Let's start.....................

Lab's safety training
1. Introduction to Lab Safety
- Purpose of Training: To ensure all users understand and follow safety procedures.
- Scope of Equipment: Introduction to machines such as the vinyl plotter and laser cutter.
- Responsibilities: Outline the safety responsibilities of both users and supervisors.
2. General Safety Guidelines
- Dress Code: Wear closed-toe shoes, avoid loose clothing, and use safety goggles.
- Housekeeping: Maintain a clean and organized work area.
- Signage and Labeling: Adhere to all lab safety signs and labels.
3. Operating Procedures
- Pre-Use Checks: Inspect machines for any issues before use.
- Usage Guidelines: Follow specific step-by-step operating procedures for each machine.
- Post-Use Procedures: Properly shut down and clean machines after use.
4. Specific Equipment Safety
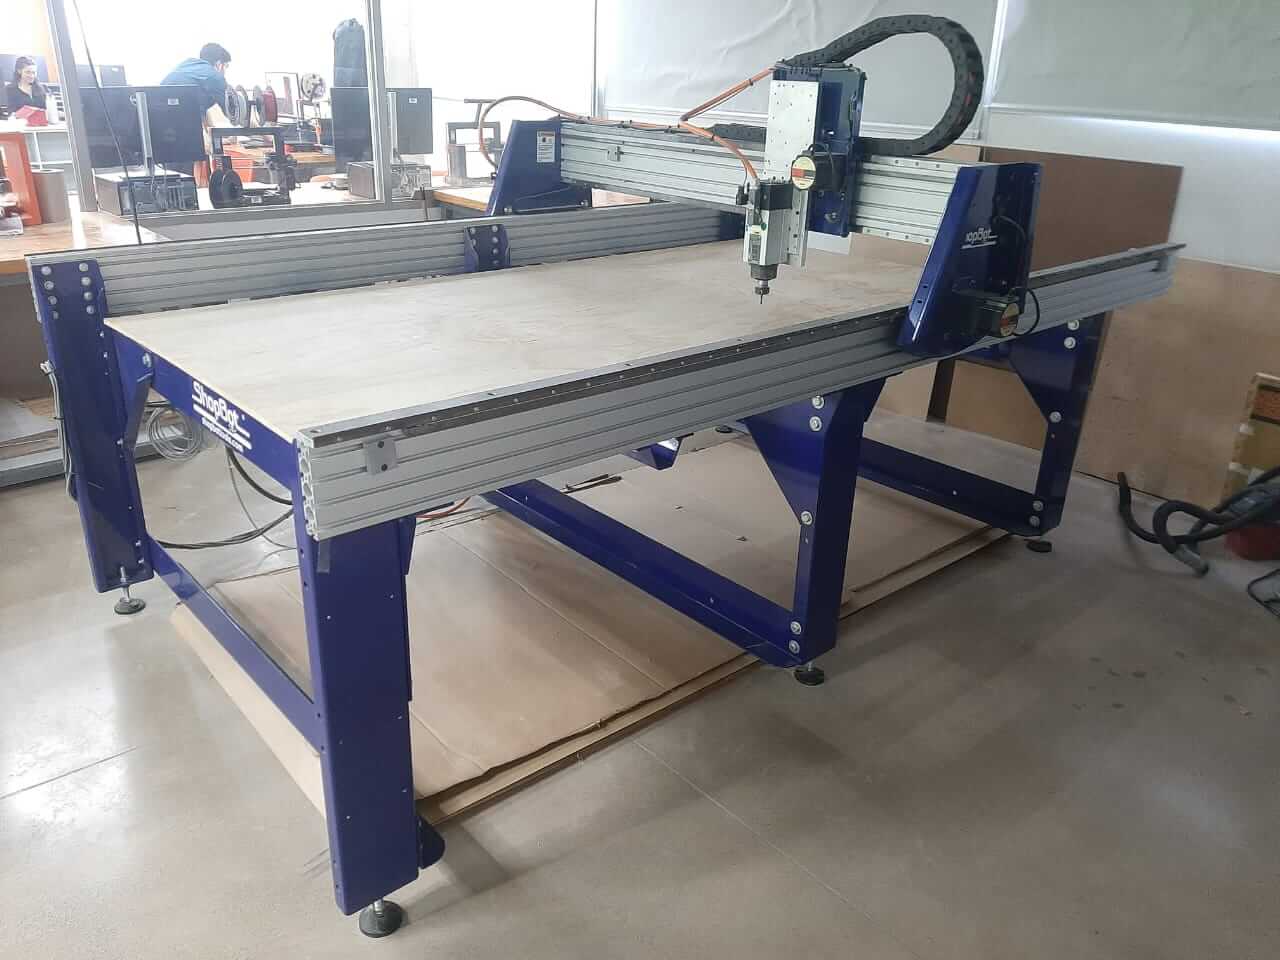
CNC Router ShopBot
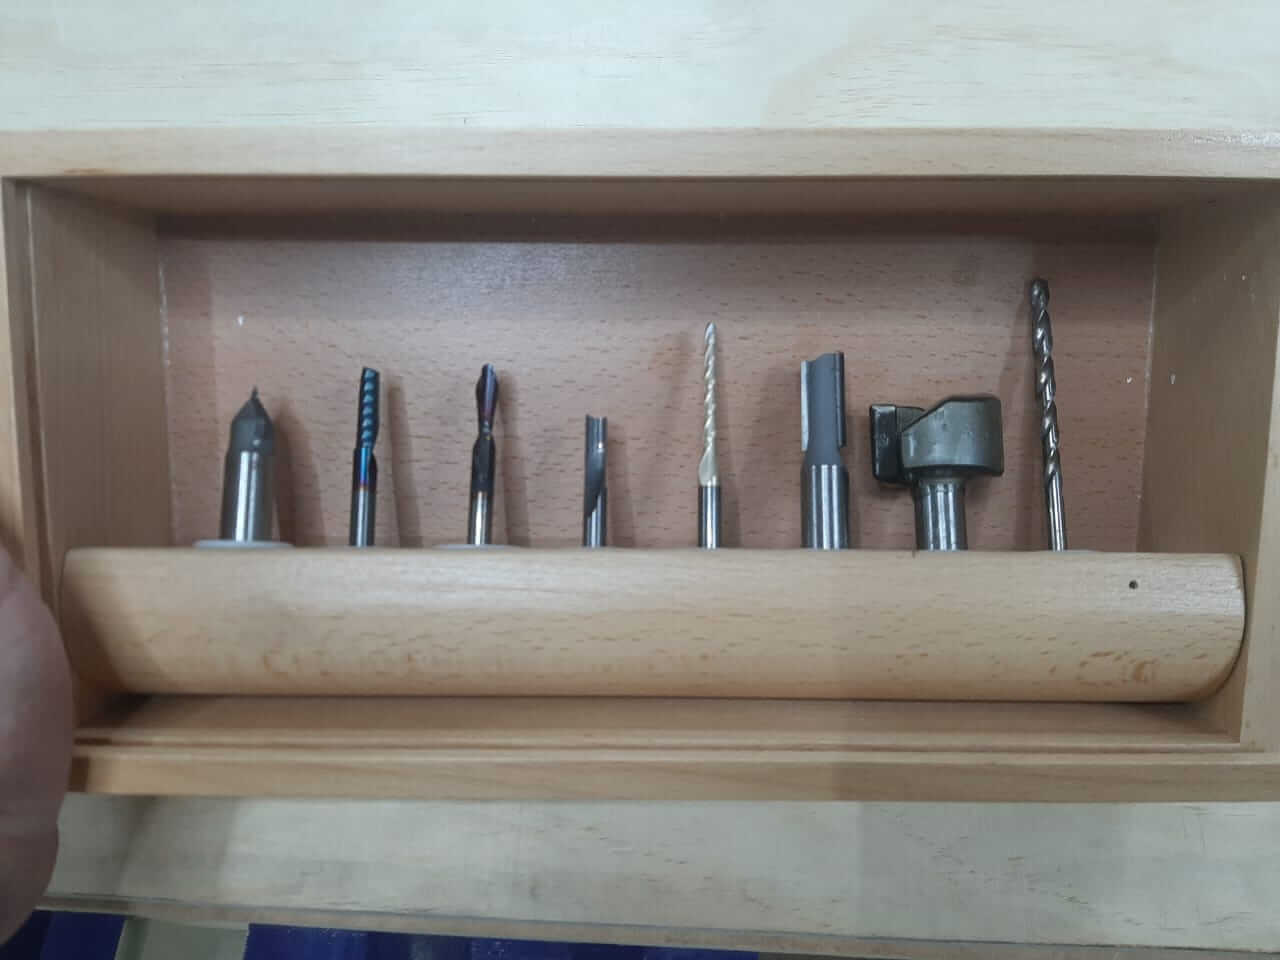
- Handling Materials: Carefully handle mills, drills and materials.
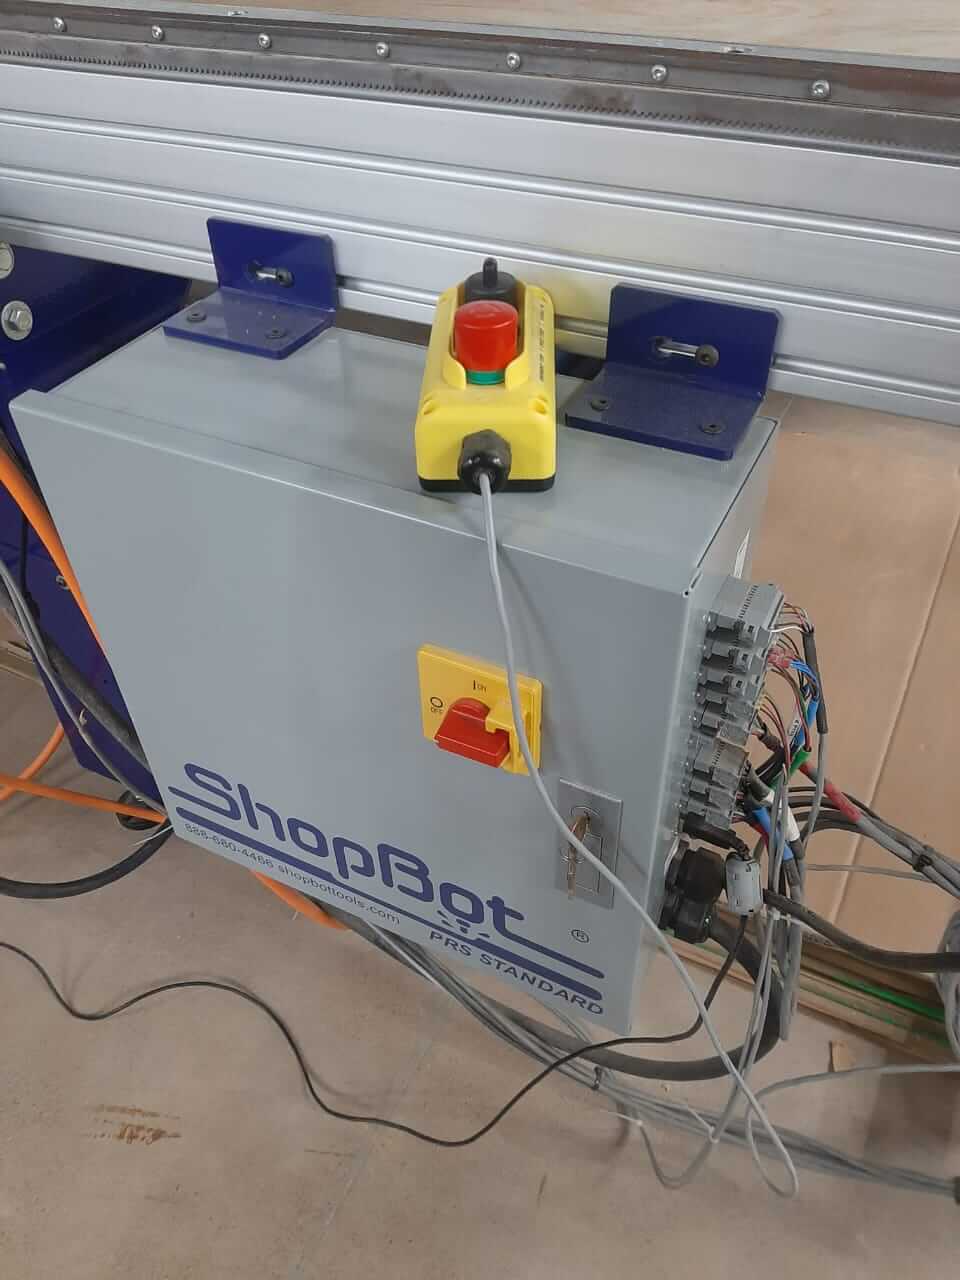
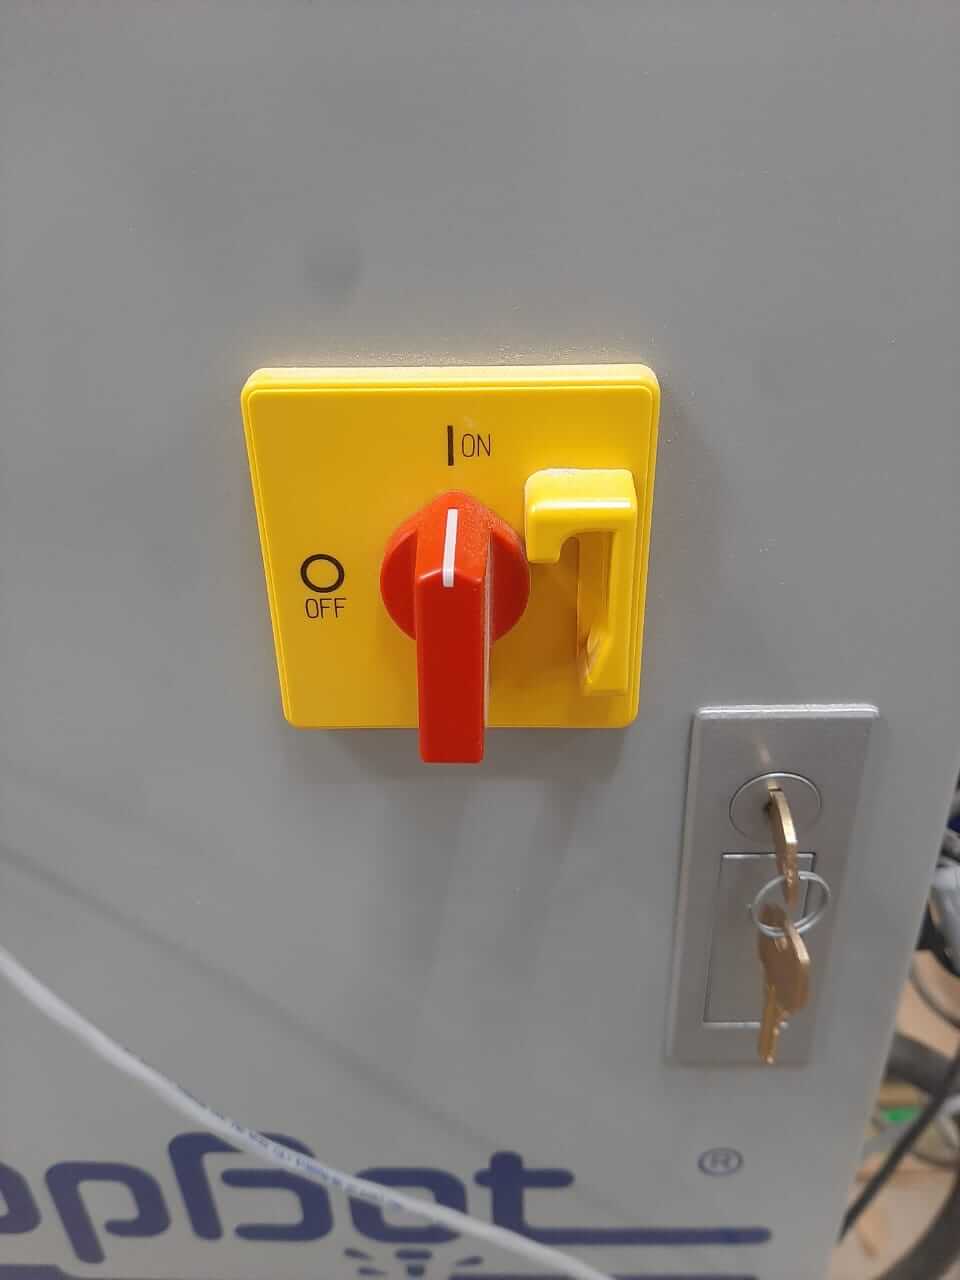
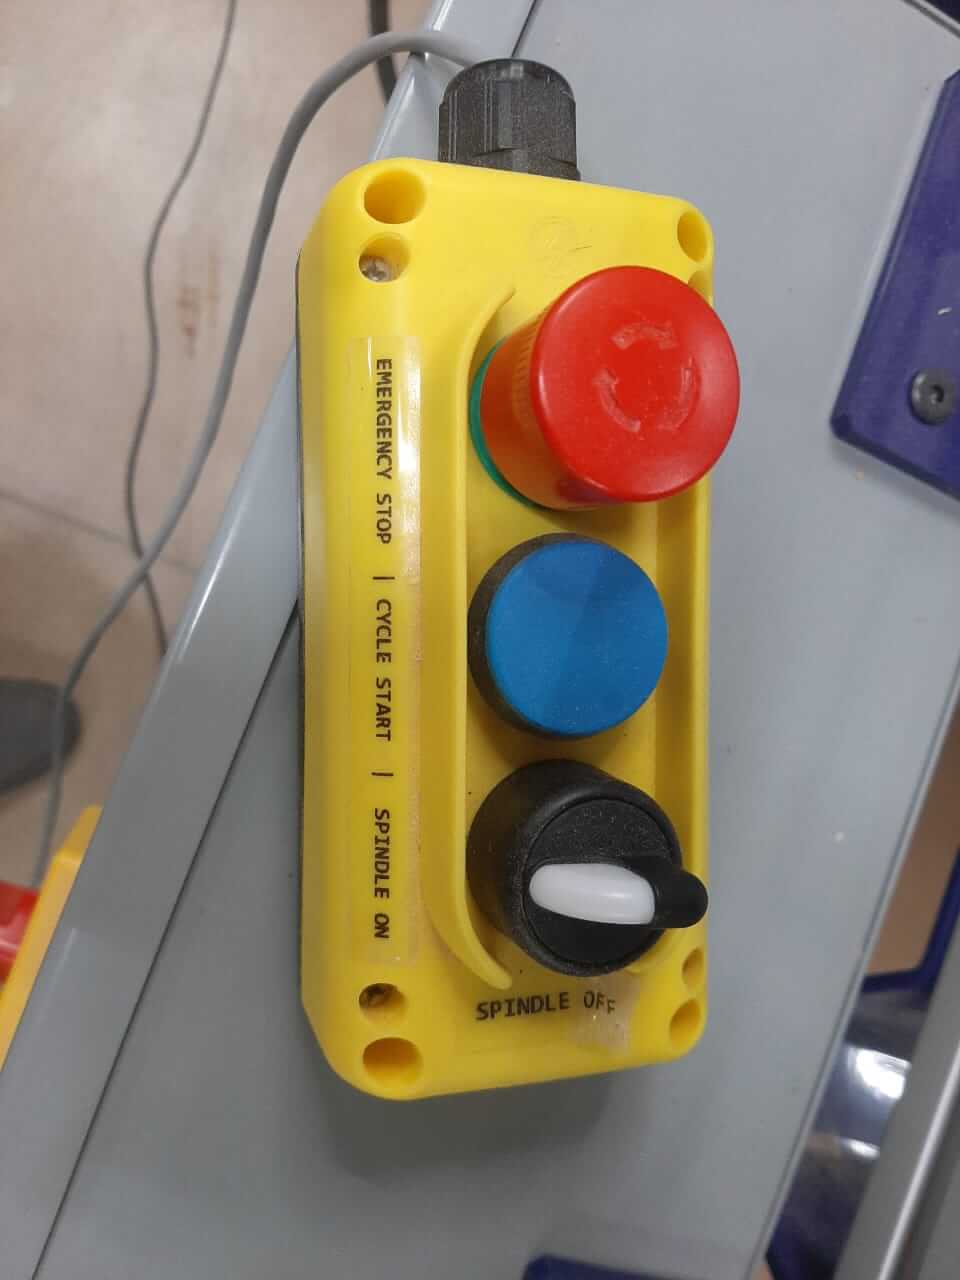
- Machine Settings: Identify the stop and all the emergency buttons for the machine.
- Material Safety: Use only materials that are safe and avoid those that can damage the machine.
- Operational Safety: Always use exhaust systems and monitor the process also use glasses and hearing protection.
- Fire Safety: Know how to use a fire extinguisher and procedures for handling fire incidents.
5. Emergency Procedures
- Accidents and First Aid: Know the steps for injury response and the location of first aid kits.
- Fire Safety: Know the locations of fire extinguishers and emergency exits.
- Reporting Incidents: Report any safety incidents or near misses.
6. Training and Record Keeping
- Hands-On Training: Require demonstrations for all users.
- Documentation: Maintain records of who has been trained and any incidents.
7. Evaluation and Feedback
- Assessment: Conduct a quiz or practical test to assess understanding.
- Feedback Mechanism: Provide a way for users to give feedback on safety training.
Source Teaching Laboratory Safety Procedures
Characterize Your CNC ShopBot
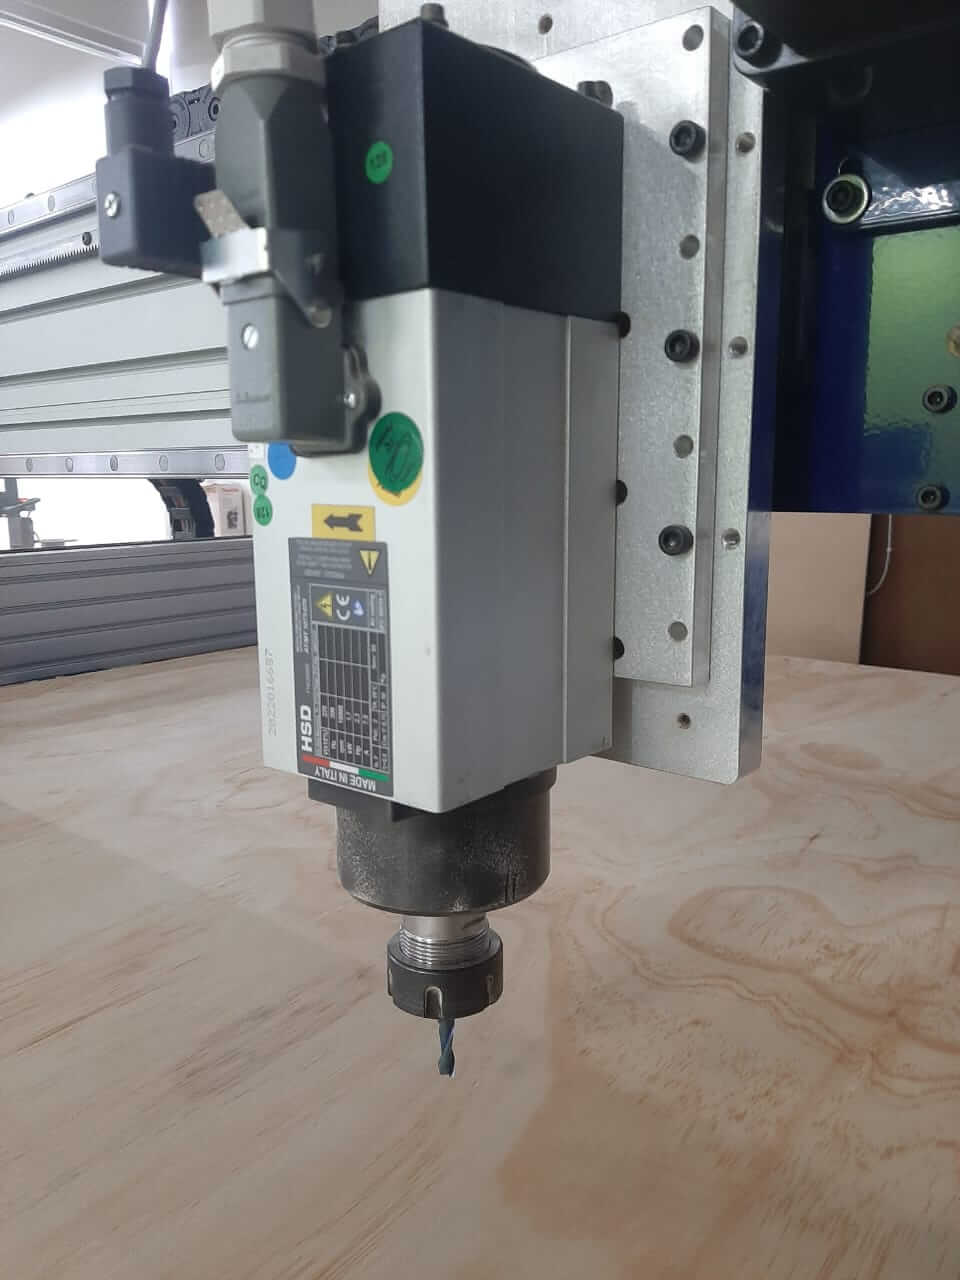
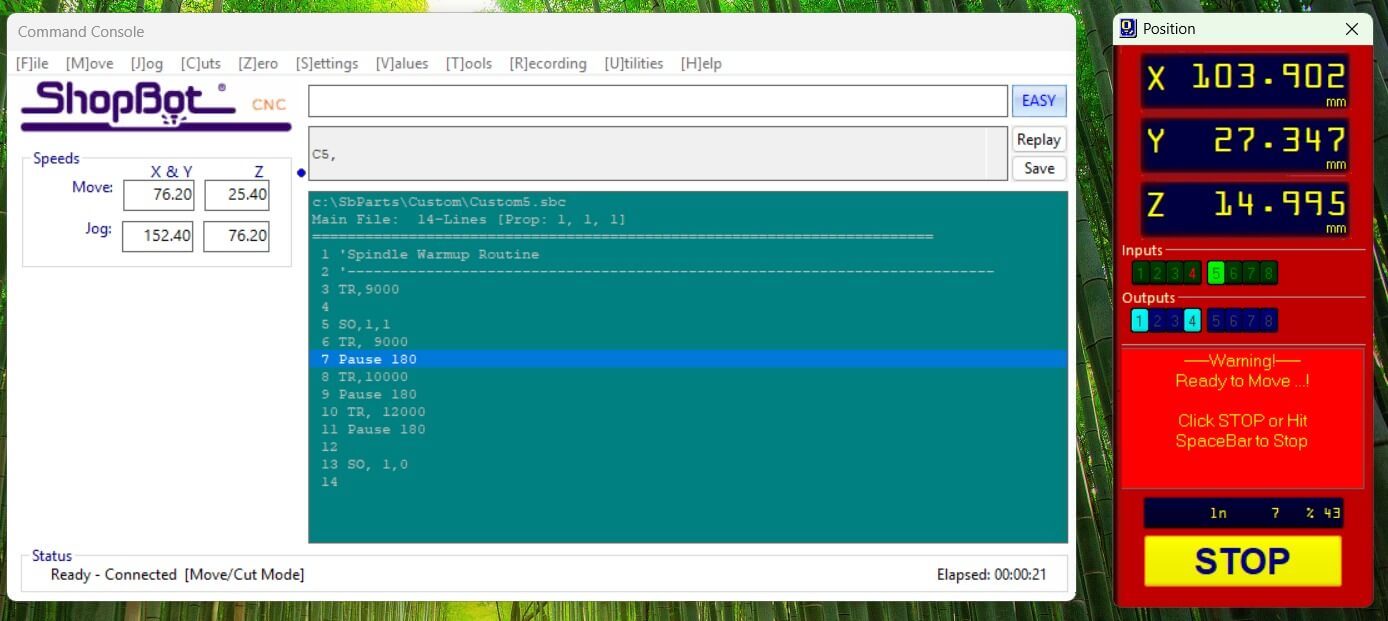
Setting the Machine
To begin the characterization of the CNC ShopBot, we first need to set up the machine. This involves checking the machine's alignment, ensuring the spindle is perpendicular to the bed, and that the machine is properly calibrated. We also need to check the machine's runout, which is the amount of wobble in the spindle when it rotates. This is important to ensure that the machine can cut accurately and consistently.
To check the runout, we used a dial indicator to measure the amount of wobble in the spindle. We attached the dial indicator to the spindle and rotated it to measure the runout. We found that the runout was within acceptable limits, which means that the machine is properly aligned and calibrated.
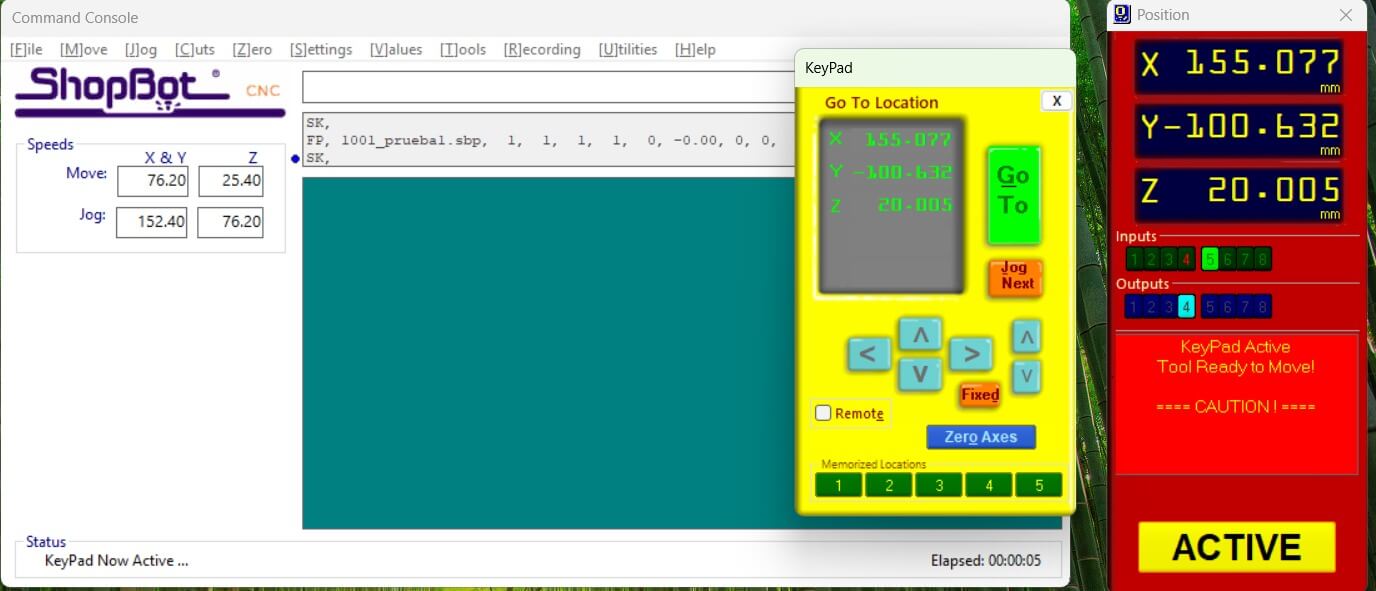
We need to notice that the machine has a friendly interface, which allows us to control the machine's movement and speed, as well as the spindle's rotation speed. This is important to ensure that the machine is set up correctly and that the cutting parameters are optimized for the material being used.
Once the machine is set up, we can begin testing the machine's cutting capabilities.
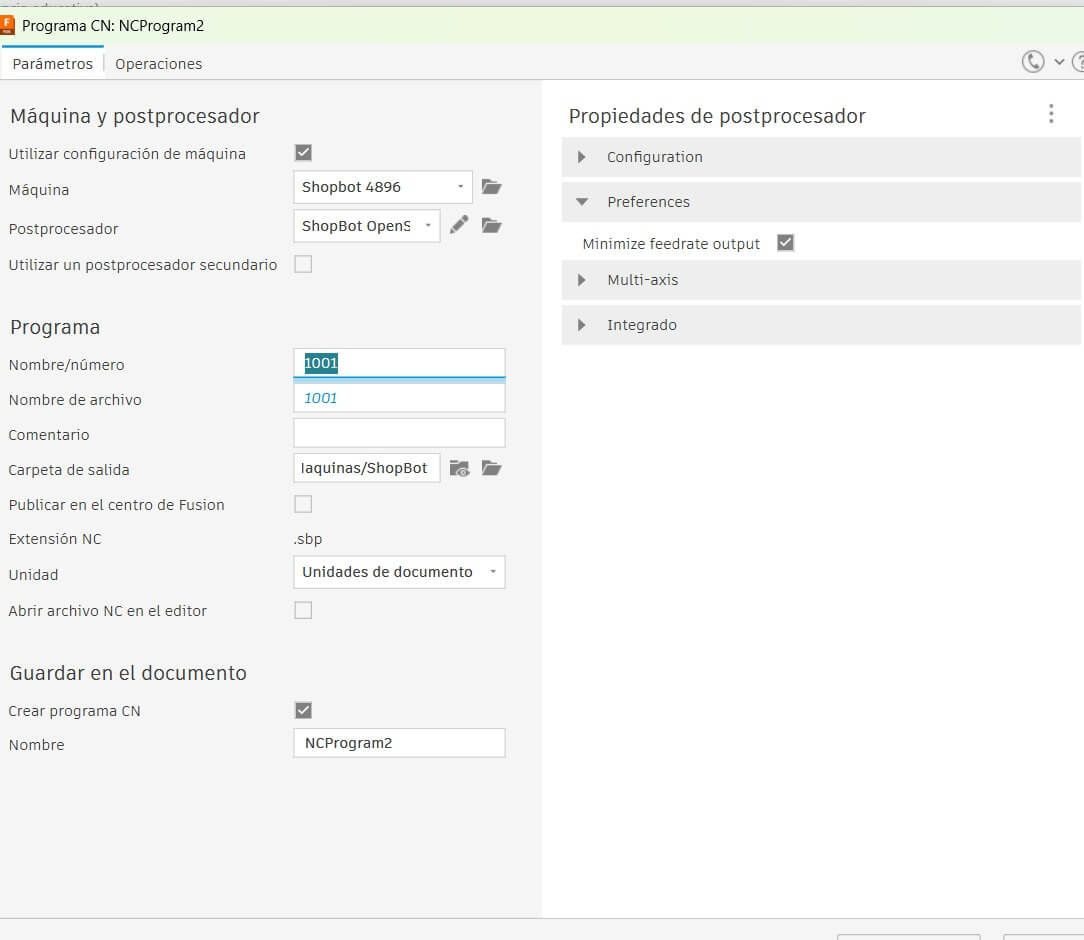
The CAM software we used to generate the toolpaths for the machine is Fusion 360. This software allows us to create 2D and 3D models of the parts we want to cut and generate the toolpaths needed to cut them. We can also specify the cutting parameters, such as the spindle speed, feed rate, and depth of cut.

We used Fusion 360 to create a simple 2D model of a part that we wanted to cut. We then generated the toolpaths needed to cut the part and exported them to the ShopBot software, which controls the machine.

Once we upload the toolpaths to the machine, we can generate a preview of the cutting process to ensure that the part will be cut correctly.
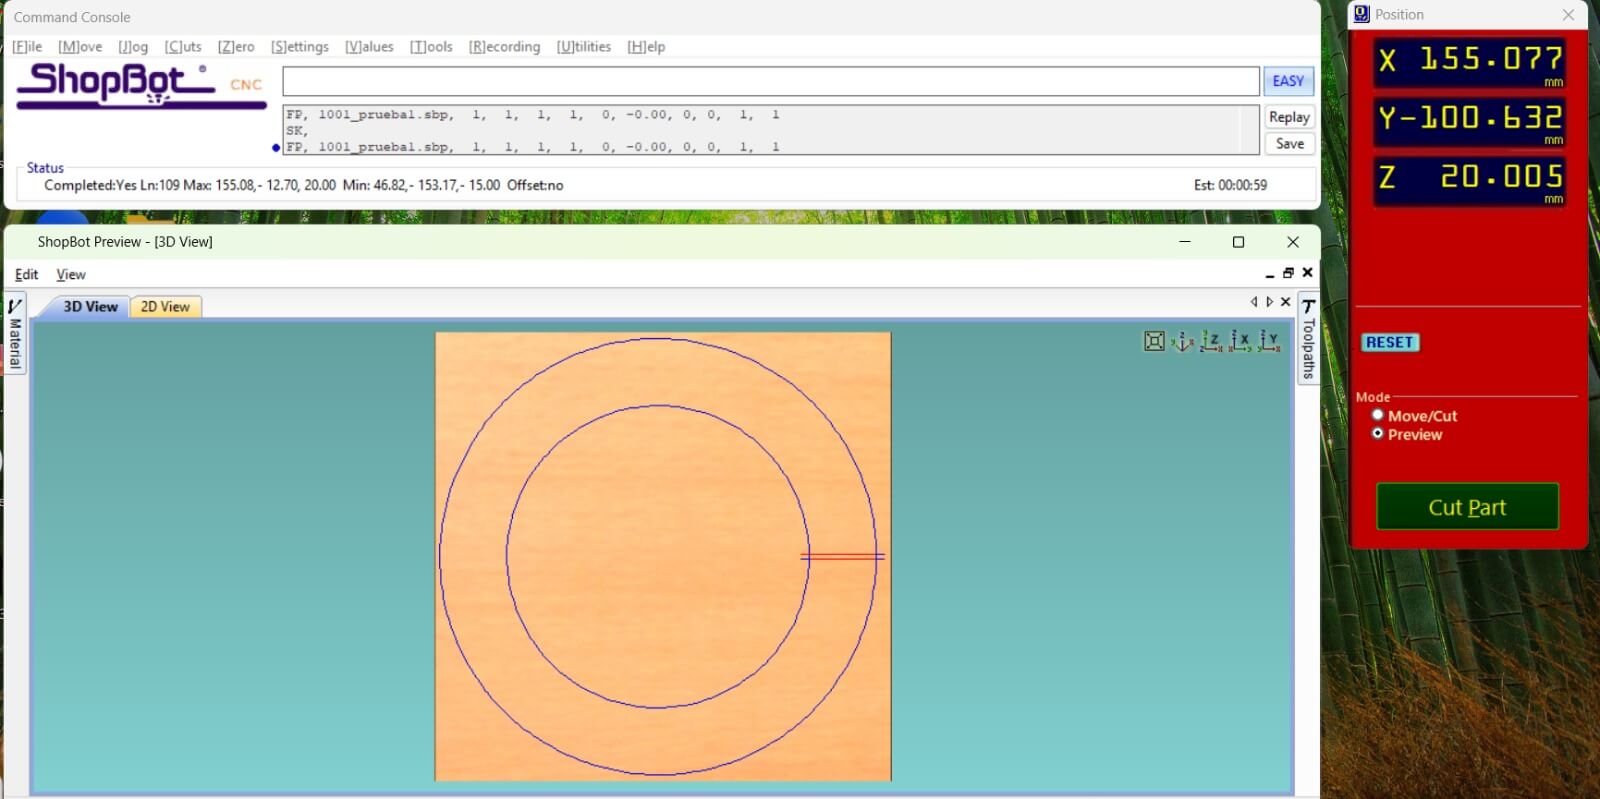
After the preview is generated, we can start the cutting process. The machine will follow the toolpaths we generated and cut the part out of the material.
The machine software let us check the line flow and the cutting process, allowing us to stop the process if we see something wrong.
Individual assignment
Make something big
For the individual assignment, we were tasked with making something big using the CNC ShopBot. We decided to make a Rocket furniture using a piece of wood.
This is the design of the Rocket furniture we made. We take a picture from the internet and we used it as a reference to make the Rocket.
The link of the picture is the next: ROCKET

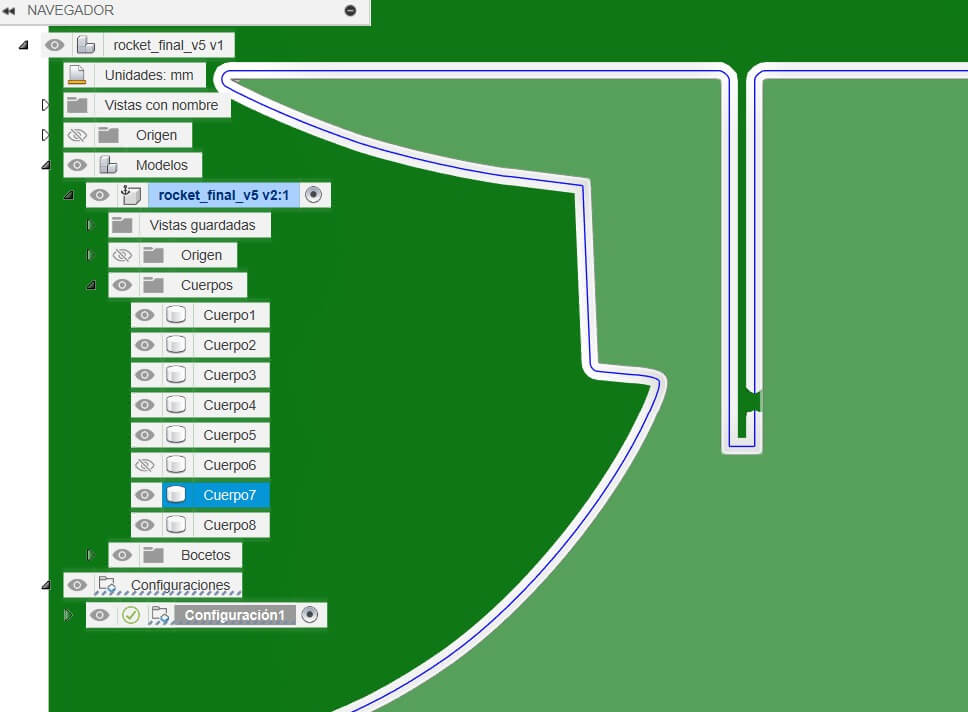
We started by designing the Rocket furniture in Fusion 360. We created a 2D model of the Rocket and generated the toolpaths needed to cut it out of the wood.

We use revolve funtion to make the rocket, this help us to make the rocket in a fast way. and let us export it as STL file.
With the help of the software SLICER for Fusion, let us import the STL file and slice it to generate differents pieces capables to join them.

After finished the slicing process, we export the file as DXF file to use it in fusion to star the CAM process.


With the DXF file, we import it to Fusion 360 to start the CAM process. But first we need to create the solid body to use it as a reference to make the CAM process.
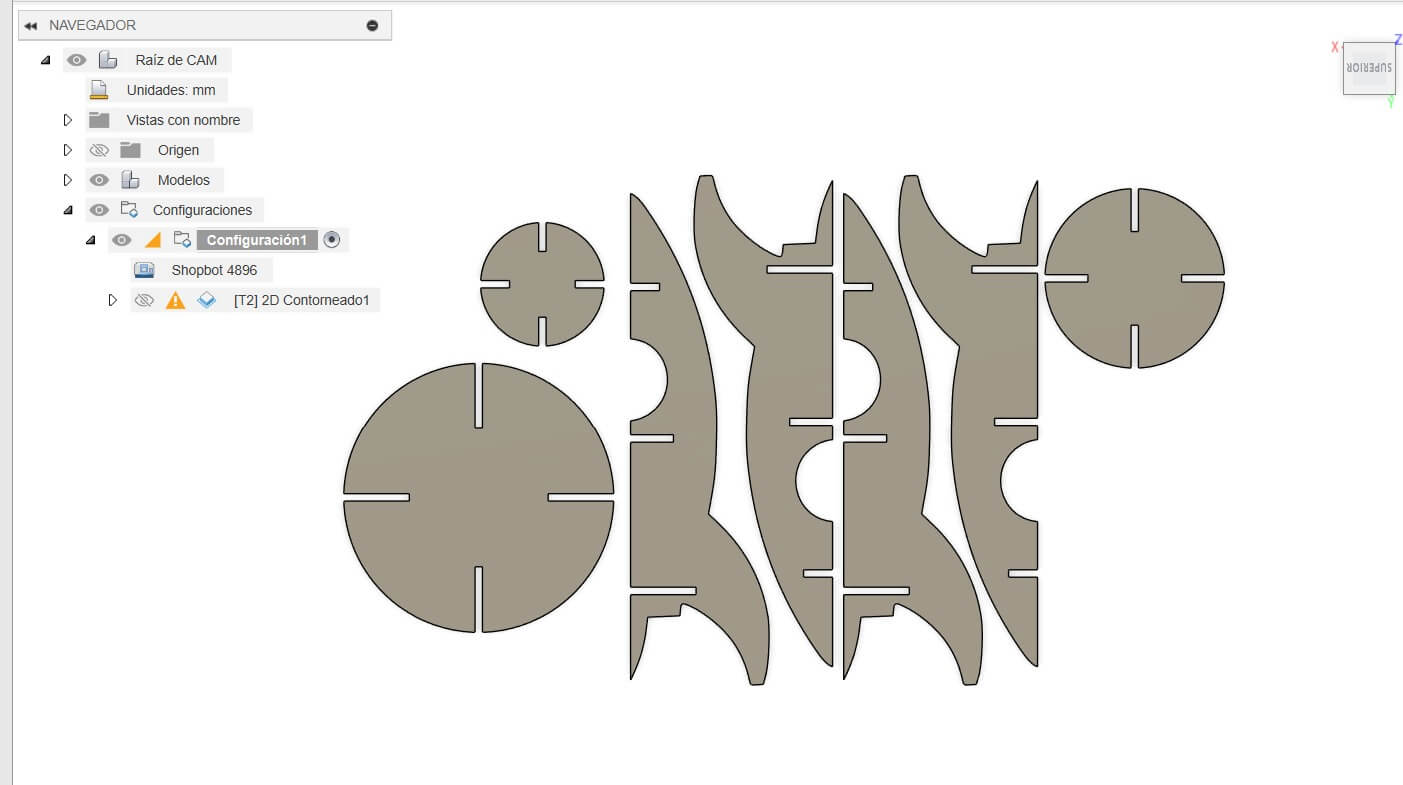
Using the different tools in Fusion 360, we create the toolpaths to cut the rocket. We use the 1/4" end mill to cut the rocket. Also funtions like 2D Contour.
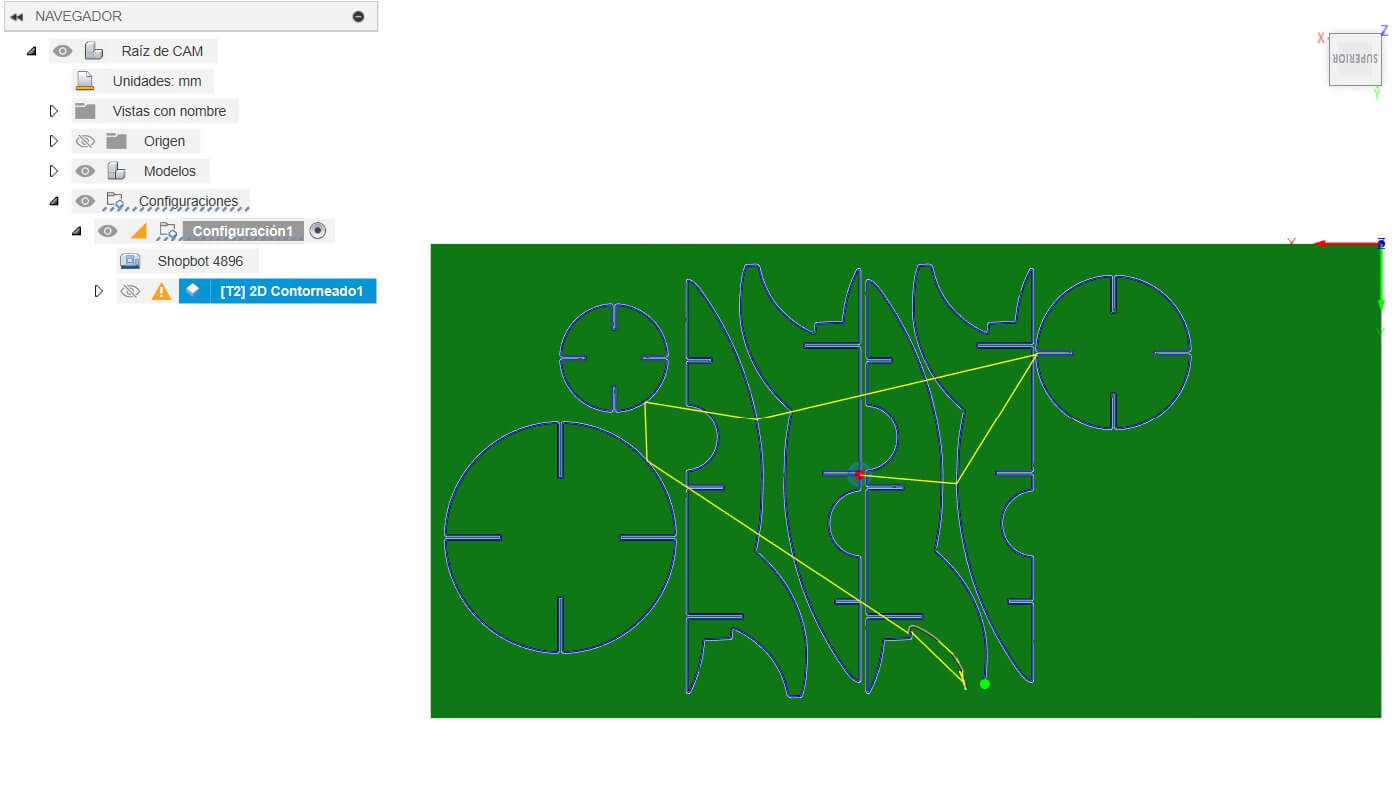
Somethings to consider is the cutting parameters, like the spindle speed, feed rate, and depth of cut. This is important to ensure that the machine is set up correctly and that the cutting parameters are optimized for the material being used.
Also, to avoid any issue, we set small paths to hold the rocket in place. This is a really useful tool Fusion provides.
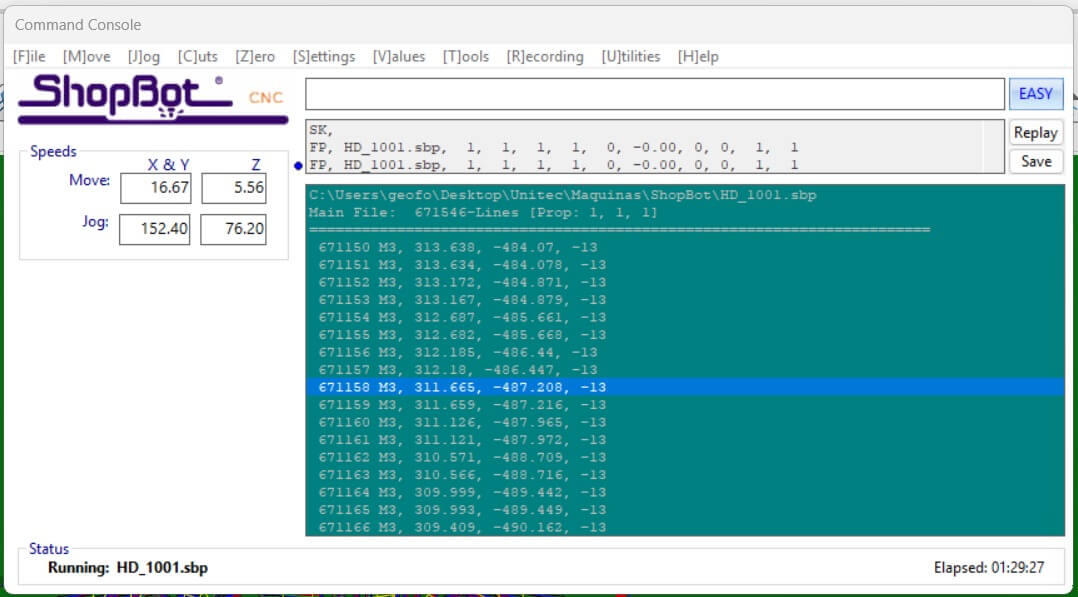
Once we finished the CAM process, we exported the file to the ShopBot software to start the cutting process.
In the ShopBot software, we set the origin of the cutting process and started the cutting process. The machine followed the toolpaths we generated and cut the rocket out of the wood.

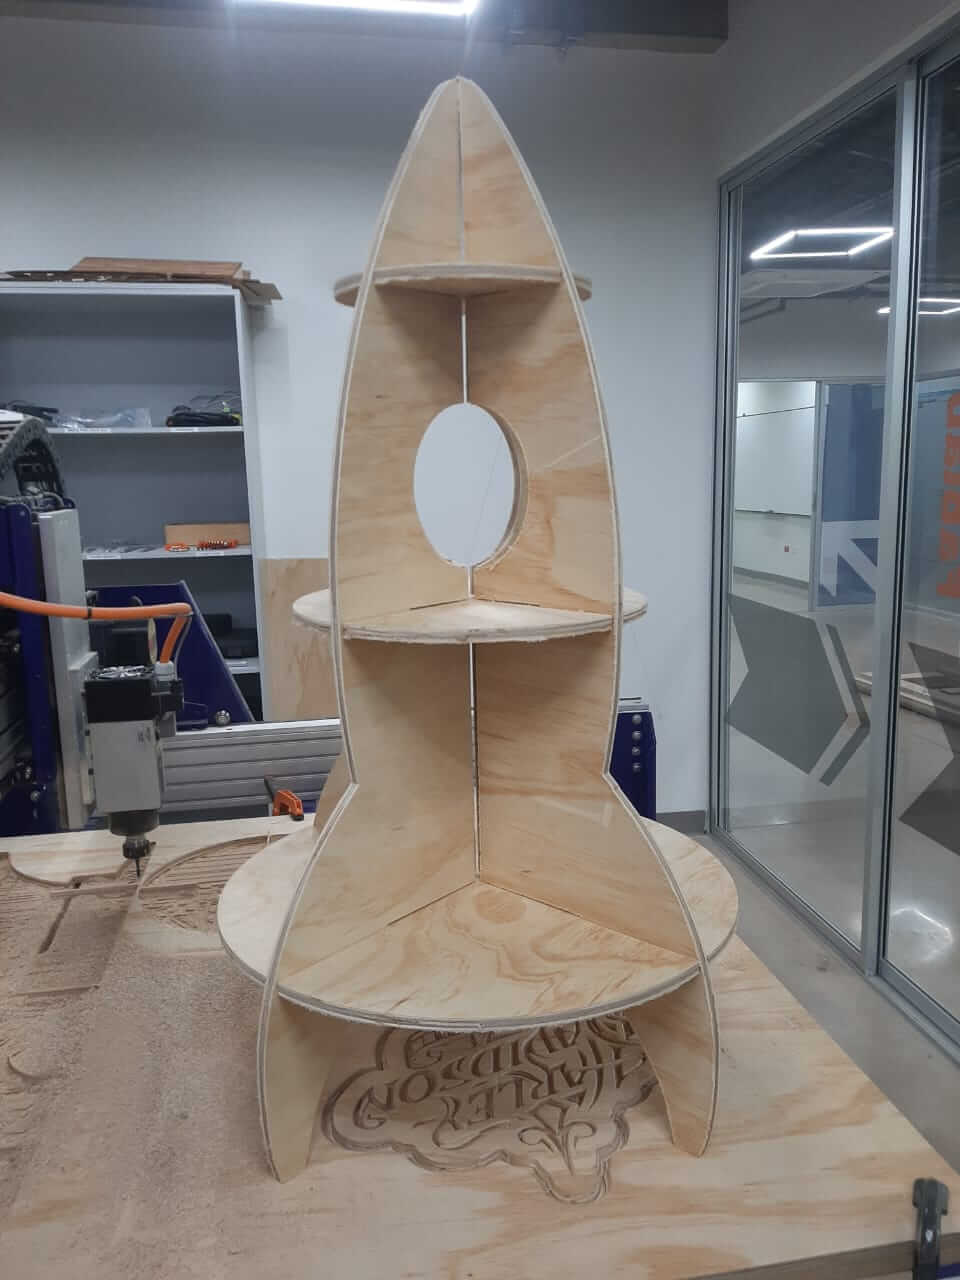
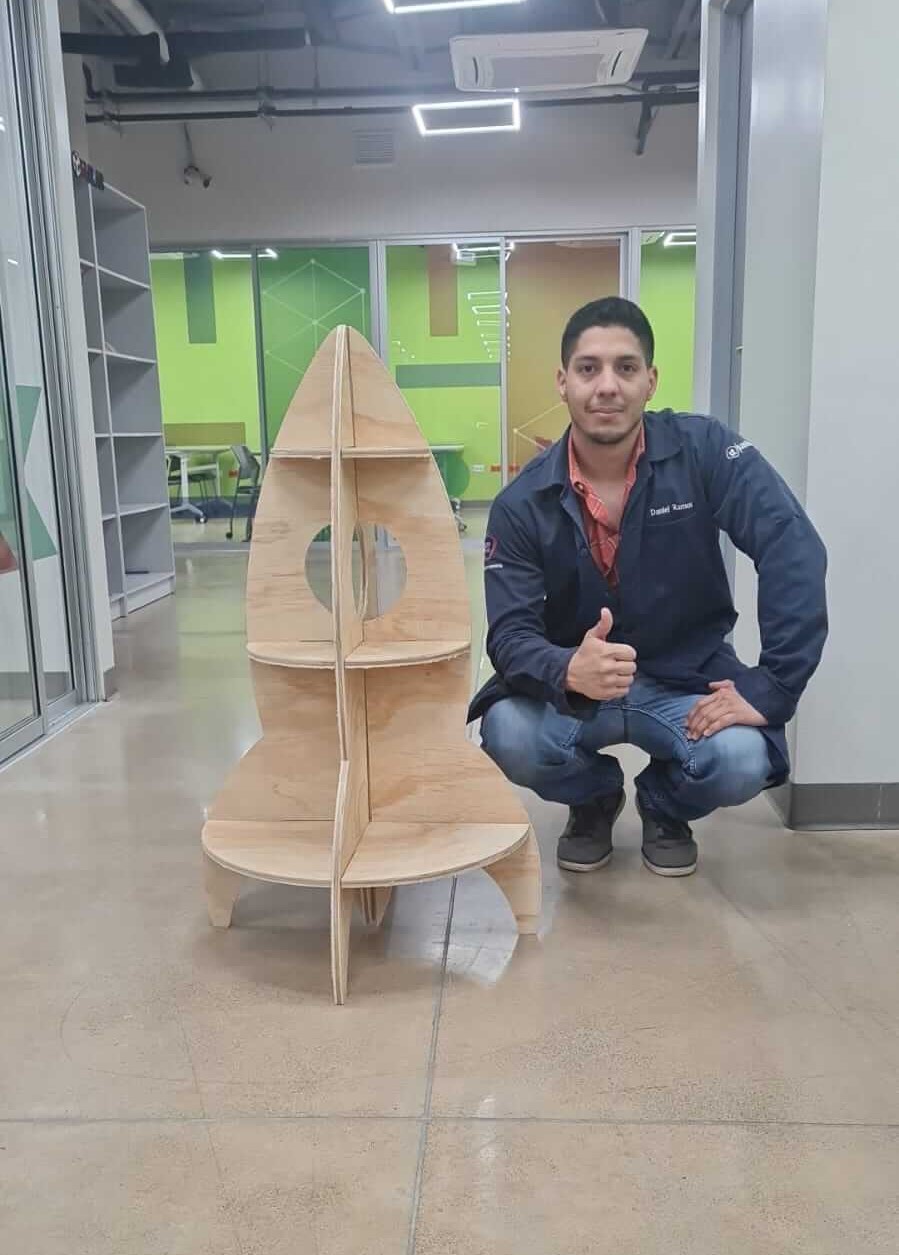
After the cutting process, we had the pieces of the rocket ready to assemble. In the next images, we can see the result of the whole process.
Hero Shot
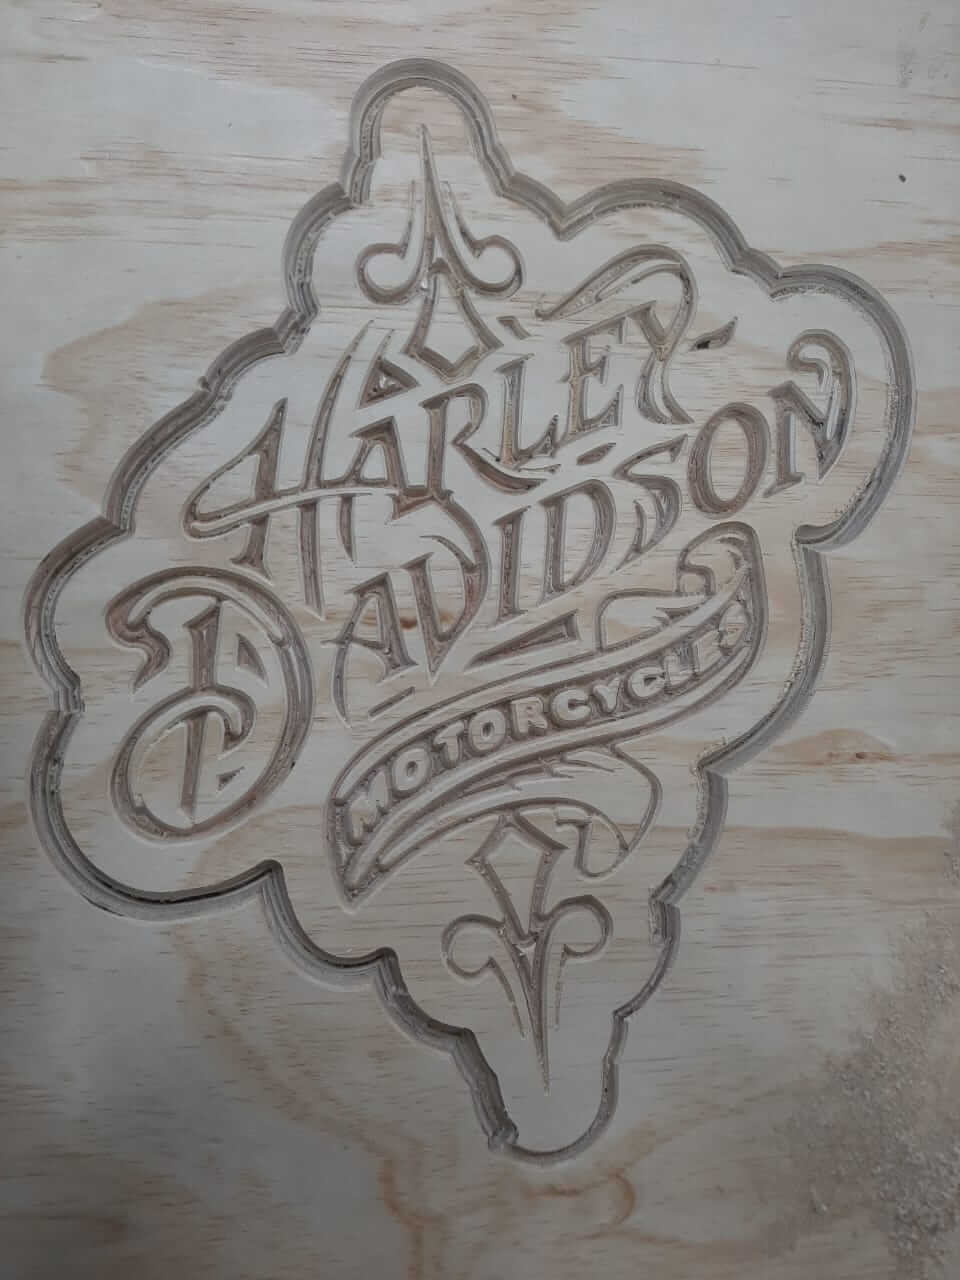
We also made a Harley Davidson sign using the same process. We take a picture from the internet and we used it as a reference to make the sign. The link of the picture is the next: HARLEY DAVIDSON

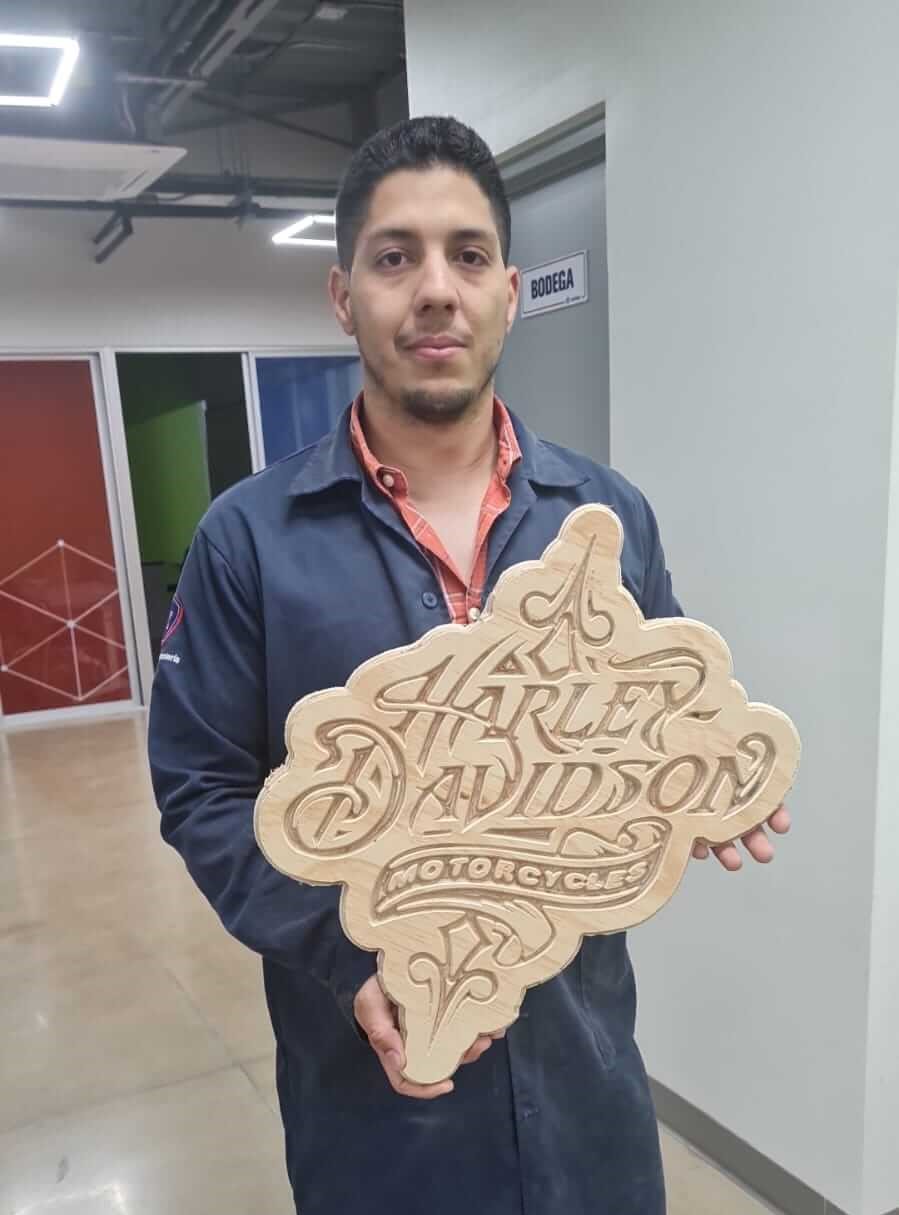
The only different thing is that we used a 1/2" V mill to cut the sign. This helped us achieve a better finish on the sign. However, during the cutting process, the power supply was accidentally disconnected, which caused the machine to stop. To resolve this, we manually finished cutting the last 10 cm of the edge.
We also observed that the material was not completely flat, which led to some uneven cuts. To prevent this in future projects, we added additional supports to secure the material more effectively.
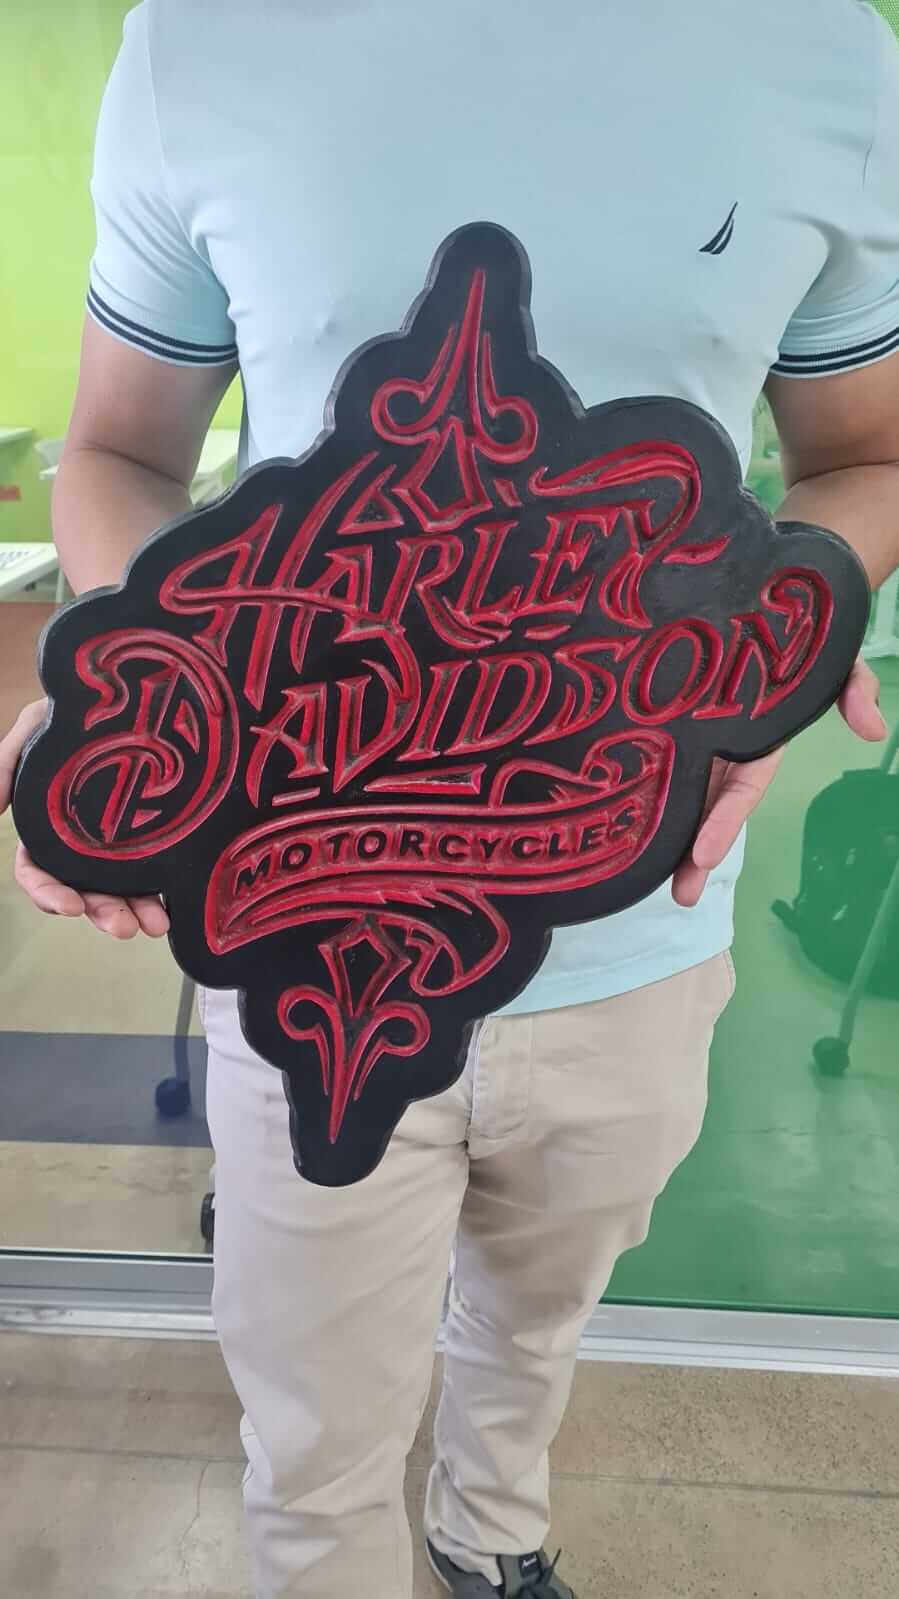
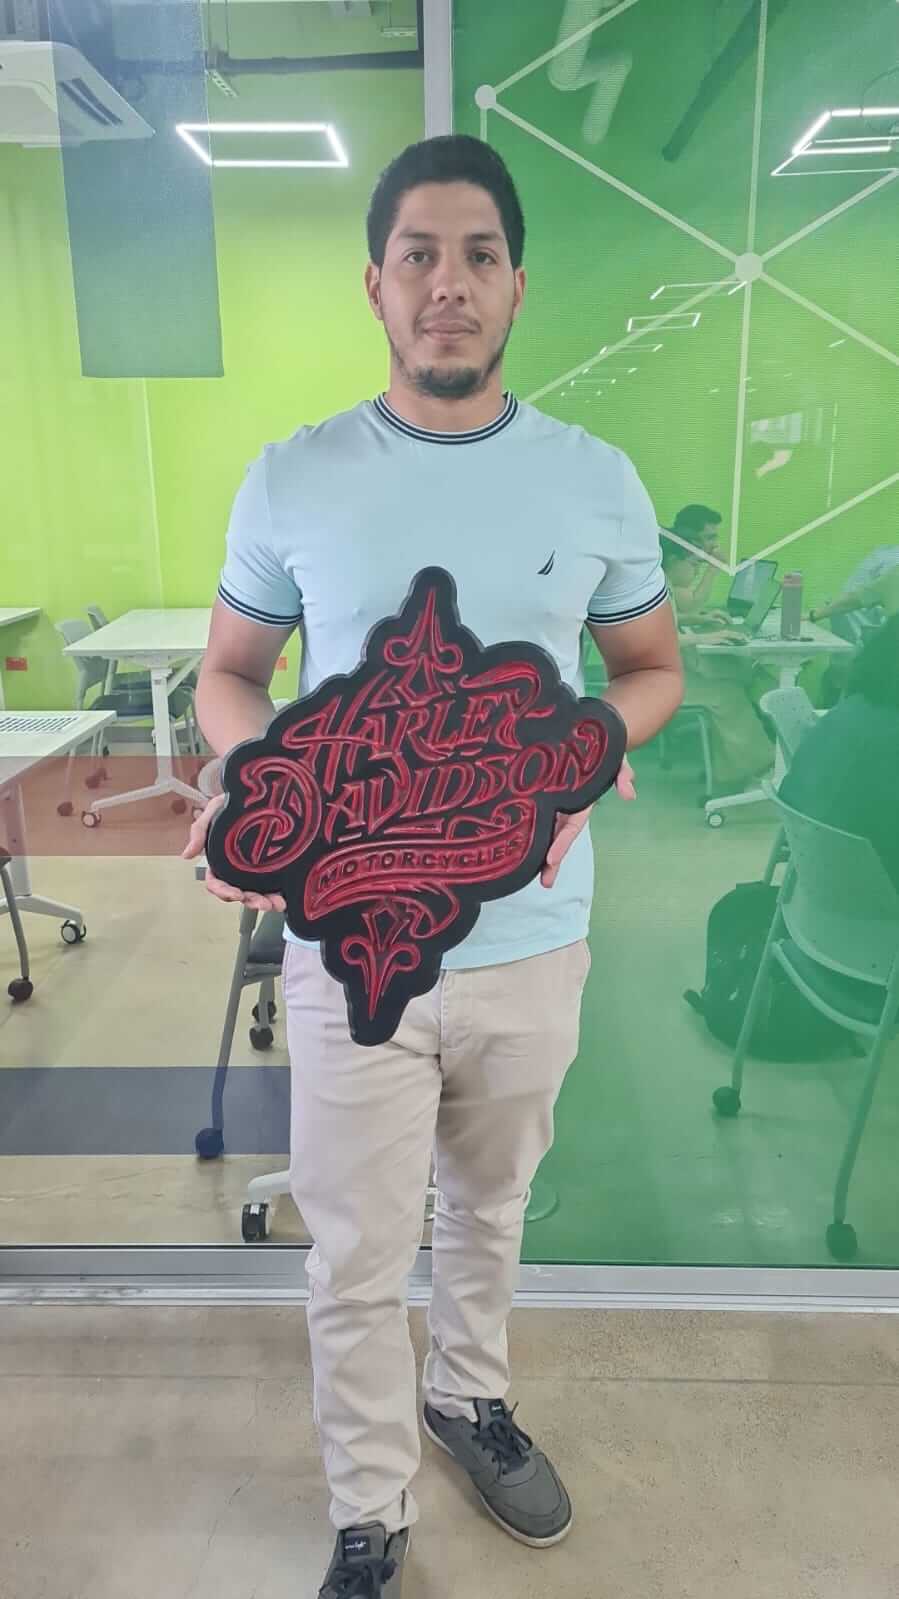
Hero Shot
In the next images, we can see the result of the HD sign after a paint job.
Issues
During the cutting process for the Harley Davidson sign, someone accidentally disconnected the power supply of the machine. This caused the cutting process to stop abruptly. To resolve this issue, we manually finished cutting the last 10 cm of the edge.
Additionally, we noticed that the material was not 100% flat, which caused some uneven cuts. To address this, we added more supports to secure the material properly and ensure a smoother cutting process.
Project Files links
In the next links, you can download the files for the assignments.
- Rocket Slicer PDF File
- Rocket Slicer Fusion 360 File
- Harley Davidson Sign PDF File
- Harley Davidson Sign Fusion 360 File
Conclusion
This week we learned how to use the CNC ShopBot to cut parts out of wood. We learned how to set up the machine, generate toolpaths, and cut parts. We also learned how to design parts in Fusion 360 and generate toolpaths for the machine. Overall, it was a fun and interesting week, and we are excited to continue learning about CNC machining.
Lessons Learned
- How to set up the CNC ShopBot
- How to generate toolpaths in Fusion 360
- How to cut parts out of wood using the CNC ShopBot
Resources
- Manuals: Access user manuals and safety guidelines for CNC Mchine.
- Material Safety Data Sheets (MSDS): Check out the MSDS Online Search for information on the materials you use.
- Online Safety Training Resources: Explore the OSHA Training Resources for comprehensive safety training materials.
- Fusion 360
- ShopBot