Group Documentation: Week 4, Group 1 (Tammi, Gillian, Hanna, Sierra Seetin)
Hello World, this is Group 1! We started our group work by first cloning the group repo by visiting the Gitlab projects tab and clicking on group assignments. We then clicked on the blue box down drop down menu labeled "code" where we could copy the SSH clone link. Next we visited the gitbash interface and used the "git clone" command followed by SSH code we had copied and pressed enter. By cloning this repo we will be able to work on editing the same files in Visual Studio Code and can share work with each other. It will be necessary for us to pull from the repository to receive the latest updates to the shared pages as well as push to the repository in order to share our latest changes made.
This week, we are attempting to do embedded programming using Arduino IDE and CircuitPython toolchains on the Arduino Uno and Raspberry Pi Pico boards.
Challenge 1: Arduino Uno board with Arduino IDE
Our first challenge was to program the Arduino Uno board with the Arduino IDE toolchain. A quick Google search revealed a tutorial for Blinking the LED light for the Arduino Uno board located on the Arduino documentation site. The tutorial can be accessed at the following link here
We downloaded the Arduino IDE Toolchain at the following link located here and downloading the appropriate version to match your computer’s operating system. Once opening the Arduino toolchain we entered the code from the tutorial which can be seen in the in the photo below. Since the LED light was built in, rather than use a pin location number we were able to use LED_BUILTIN when specifying the pin mode. We started with the delay set at 1000 as suggested by the tutorial and then later changed the delay to 500 which resulted in the LED blinking much faster.
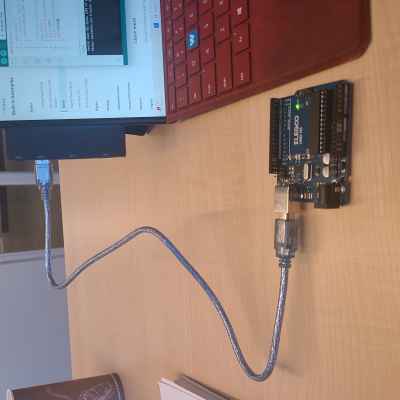
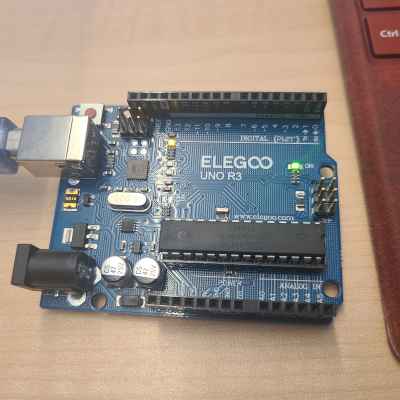
Once the code is entered, click the checkmark in the upper left corner to verify the code. Plug in your USB-A cable into the Arduino Uno board while the UBS 2.0 can be connected to your computer's USB port as seen in the picture below. Next, click the right arrow in the upper left to upload the code to Arduino IDE. The program will soon begin to run and make the on-board LED light blink. As mentioned earlier lowering the delay number to 500 will make the light blink twice as fast, but certainly, a lower delay could be entered depending on preference.
Challenge 2: Raspberry Pi Pico board with CircuitPython
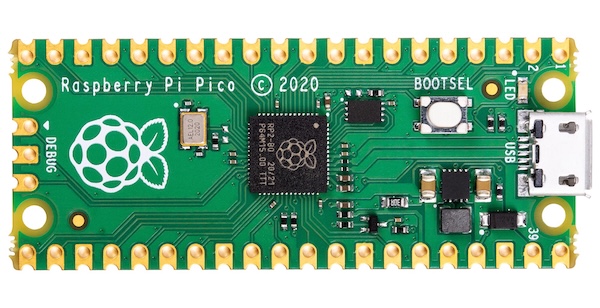
Our second challenge was to program the Raspberry Pi Pico board with the circuit python toolchain. For this challenge, we needed to use a new toolchain with a new kind of board so it provided two challenges involving becoming familiar with the new software as well as understanding the new board.

During this process, I referred to the following links;
- Overall Documentation
- Install Mu Editor
- Download CircuitPython UF2
- CircuitPython for Pico
- Programming Basics for Raspberry Pi Pico
Step 1. Download Mu Editor
Now, I’m using CircuitPython to program a Raspberry Pi Pico board. The purpose of using a toolchain is to create a language that the board can understand. CircuitPython allows you to use Python to code the controls you want the Pico board to execute.
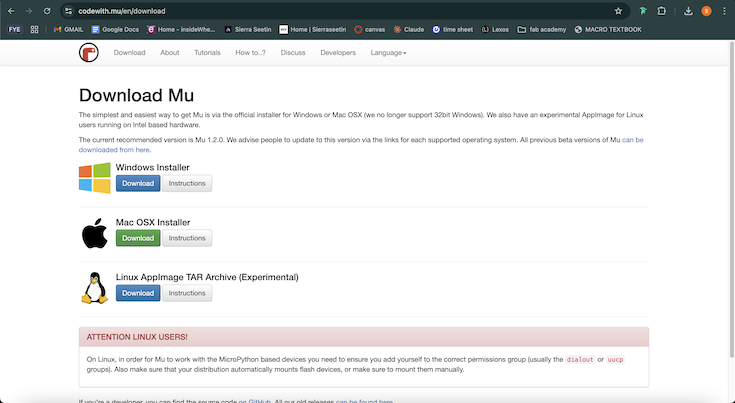
First, I downloaded Mu Editor here to edit Python scripts.
Step 2. Download .U2F For Raspberry Pi Pico
You need to download the UF2 file because it installs CircuitPython onto the Raspberry Pi Pico, replacing its default software. This makes the Pico work like a USB drive where you can easily add and run Python code. Before installing the UF2 onto the Raspberry Pi Pico, you first need to download it onto your computer.
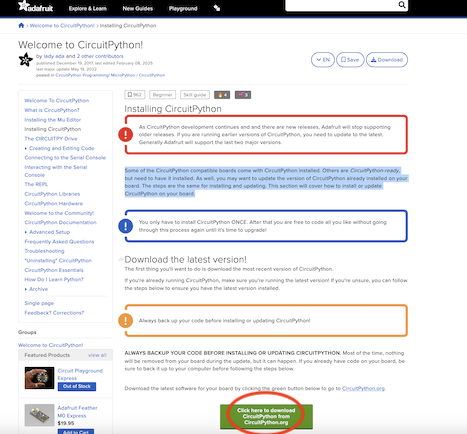
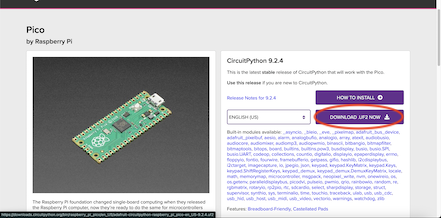
First, navigate to the Adafruit Installing Circuit Python Guidelines. CLick the green download button at the bottom of the page.
Then, you will be on the CircuitPython site. Here, select the board you're working on, the Raspberry Pi Pico.
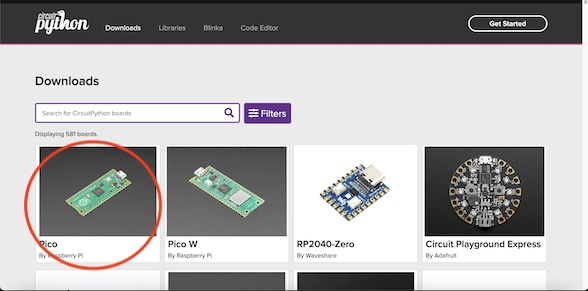
Click again. Then, navigate to the purple download button and download the .UF2 file onto your computer.
Step 3. Plug In Raspberry Pi Pico
Now the .UF2 file is downloaded, locate this file on your computer.
Unplug your Pico from USB, then hold down the BOOTSEL button while plugging it back in.
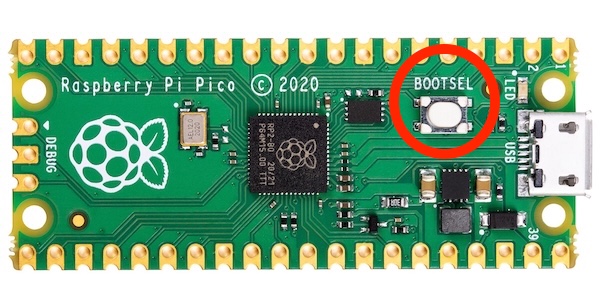
Keep holding the button until you see the RPI-RP2 drive appear on your computer. If it doesn’t show up, try again. This step is necessary because it puts the Pico into bootloader mode, allowing you to install CircuitPython. Make sure you’re using a USB cable that supports data transfer, not just charging, or your computer won’t recognize the device.
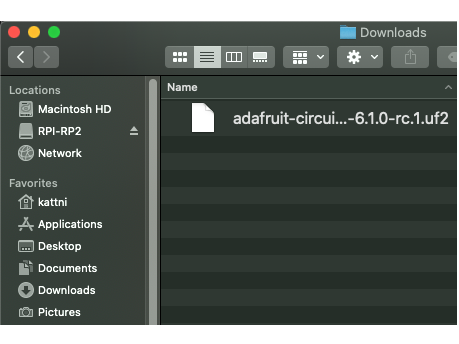
Drag the .UF2 file into the RPI-RP2 drive. A new drive titled CIRCUITPY should appear.
This will write the Raspberry Pi Pico board to now use the CircutPython toolchain, and we can begin to write some Python code.
Step 4. Edit Code in Mu Editor
Our Raspberry Pi Pico board is now set up to read Python, but it sadly has no code to read. We can use the Mu Editor to write a short Python script to set the inboard LED light to blink on and off repeatedly.
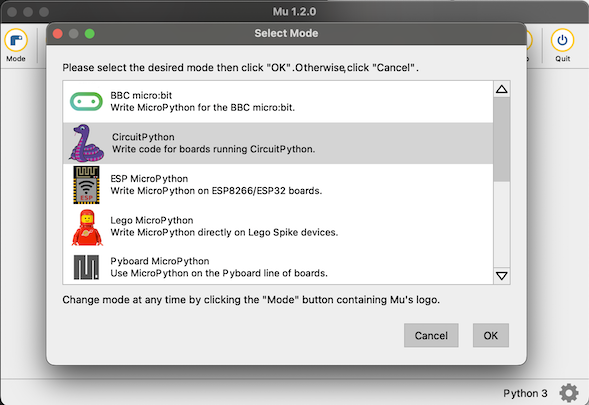
Open Mu Editor. Select the Circut Python mode on start-up. If you aren't given this option, you can change the mode by navigating through the toolbar on the top of the program.
Now the editor is up and working and connected to the board, we need code. Instead of painstakingly writing some, we can use simple sample code from the Adafruit website. I used this tutorial to create a blinking light effect.
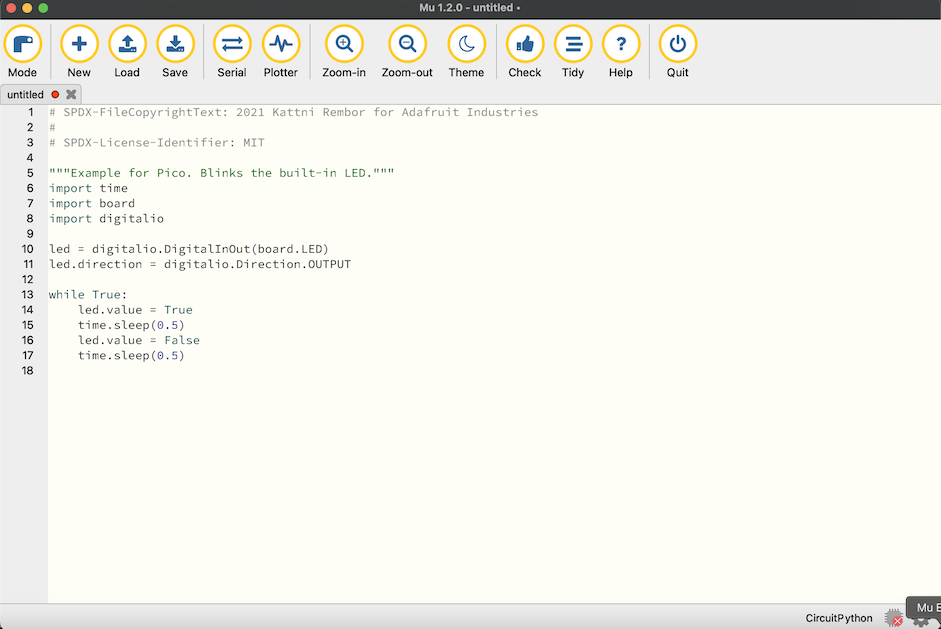
I searched through the site and found this bit of basic code:
# SPDX-FileCopyrightText: 2021 Kattni Rembor for Adafruit Industries
      #
      # SPDX-License-Identifier: MIT

      """Example for Pico. Blinks the built-in LED."""
      import time
      import board
      import digitalio

      led = digitalio.DigitalInOut(board.LED)
      led.direction = digitalio.Direction.OUTPUT

      while True:
          led.value = True
          time.sleep(0.5)
          led.value = False
          time.sleep(0.5)
This code makes the built-in LED on the Raspberry Pi Pico blink continuously. It first imports the necessary modules for controlling the LED and handling time delays. Then, it sets up the LED as an output, allowing the program to turn it on and off. Inside an infinite loop, the LED turns on, stays lit for 0.5 seconds, then turns off for another 0.5 seconds. This cycle repeats forever, creating a blinking effect.
Paste this code into Mu Editor. It should look like this.
Step 5. Send Code
Now your code is complete. Time to send it to the board and actually do something! As your board is already plugged in and connected, just press Load. This will send the code to your board.
Step 6. Final Blinking
After everything, your Raspberry Pi Pico board's LED should now be blinking on and off repeatedly. Well done!
Challenge 3: Raspberry Pi Pico board with Arduino IDE
First, install the basic Arduino IDE:
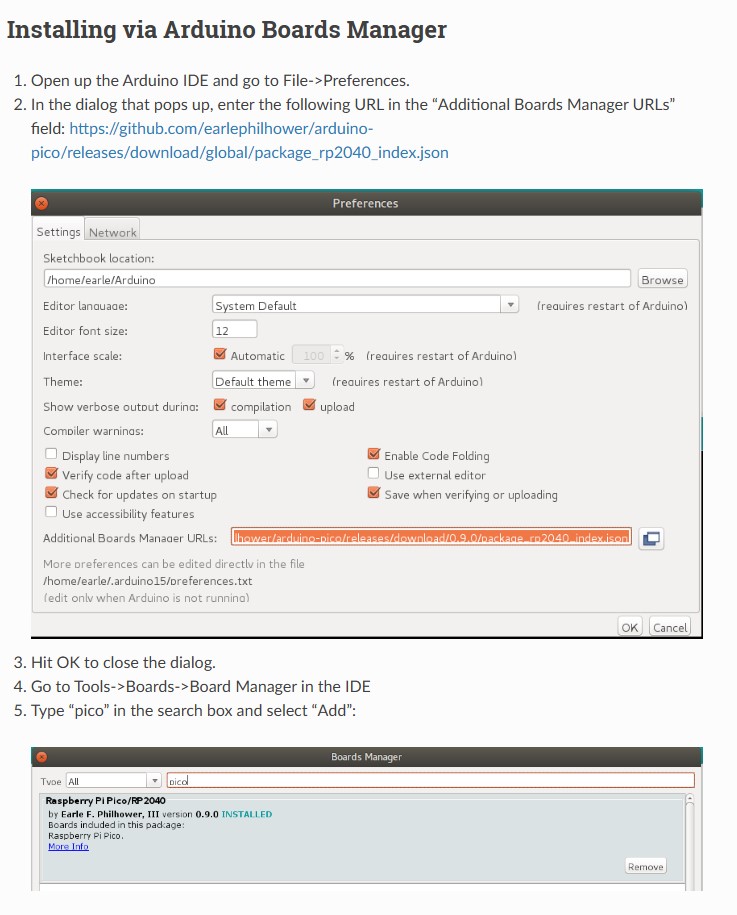
Next, install the Arduino-Pico core to the Arduino IDE, using the steps below from this source.
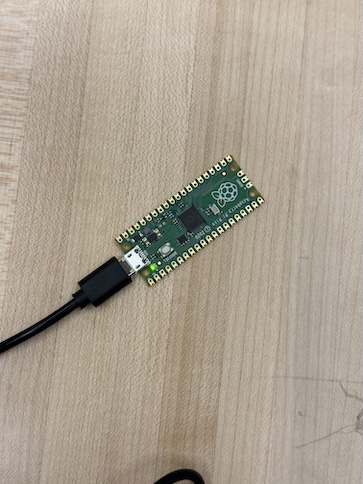
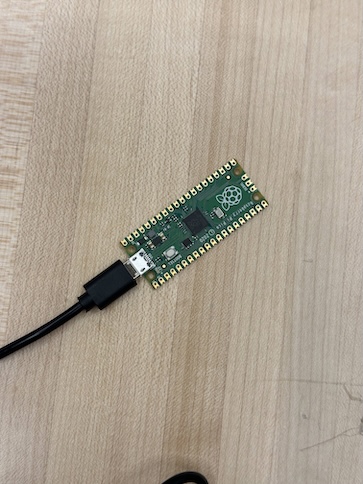
Plug in your Raspberry Pi Pico to your computer's USB outlet using a Micro USB cable, such as the one pictured below:

After you've plugged in the Pico, select a port from the circled dropdown menu. A USB port should show up automatically if you have installed the Arduino-Pico core. Make sure you've selected Raspberry Pi Pico as the device.
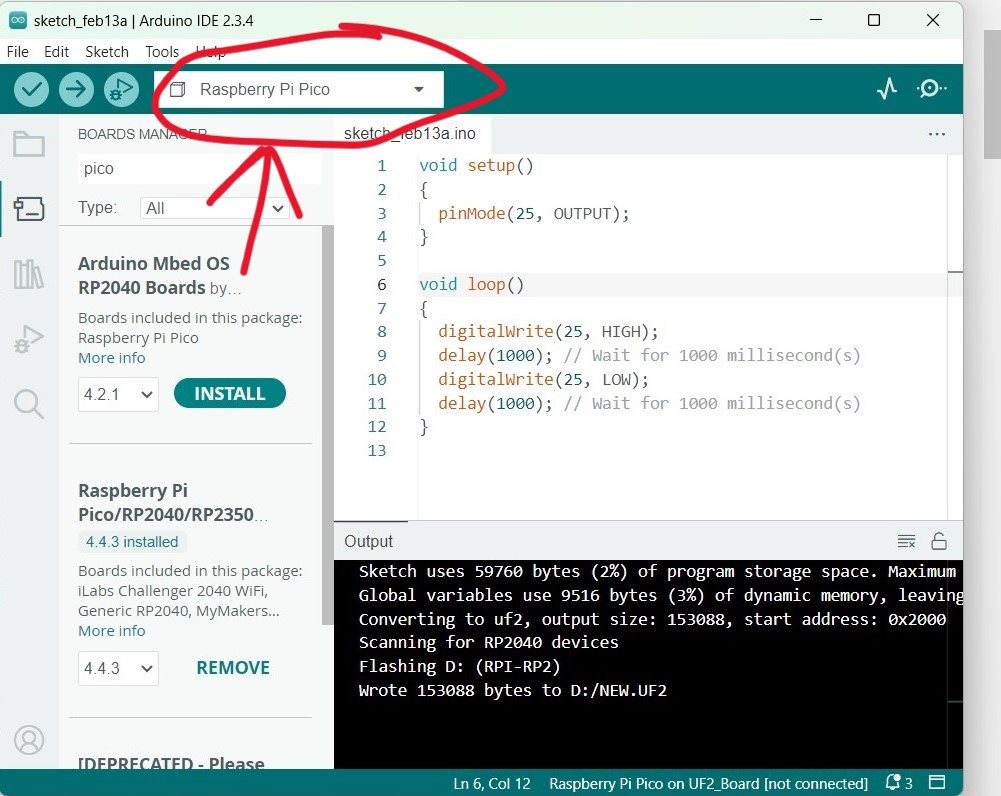
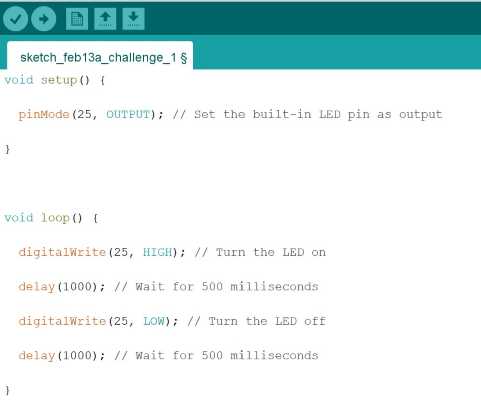
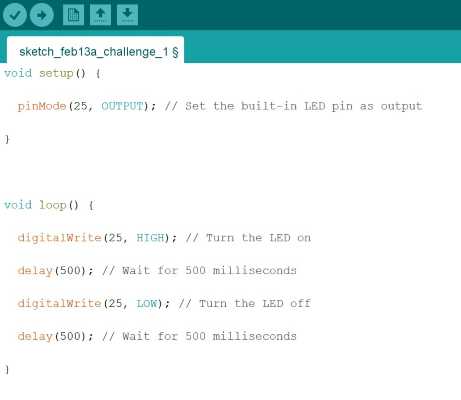
The pin number for the built-in LED for the Pico is 25. Once you've written code in the IDE, such as the basic blinking light code below, press 'Verify'. This ensures the code runs in the IDE without any errors.
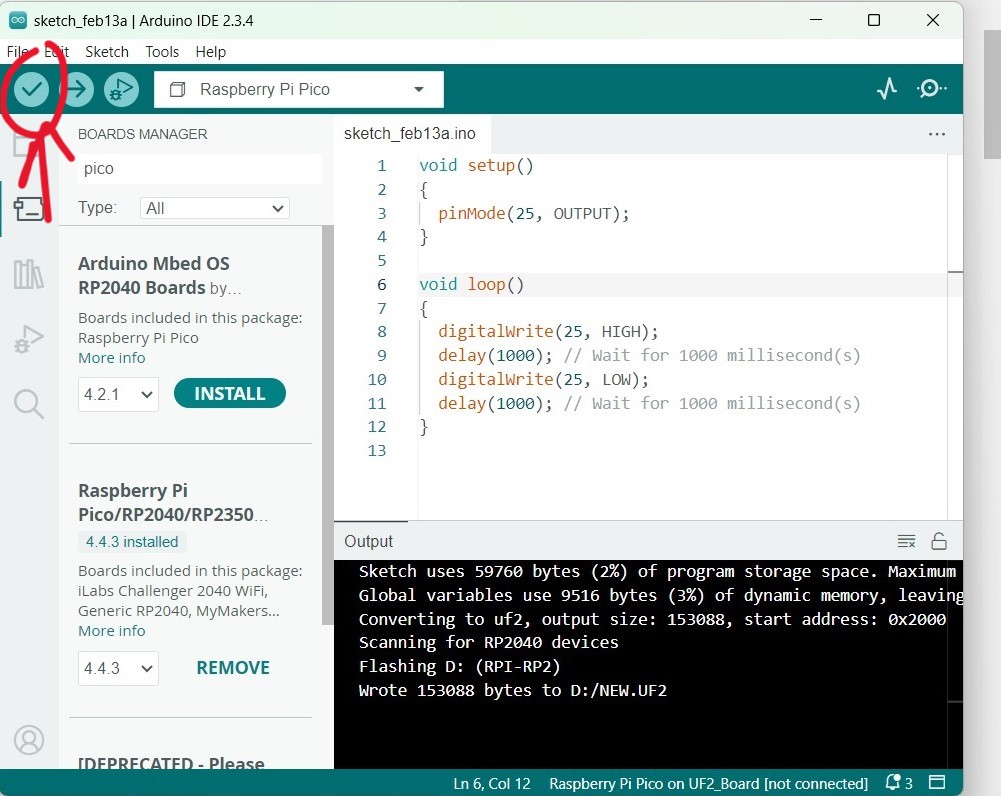
Finally, press 'upload' to upload the code in the IDE to the Raspberry Pico. Once the code has finished uploading, the program will begin running on the Pico.
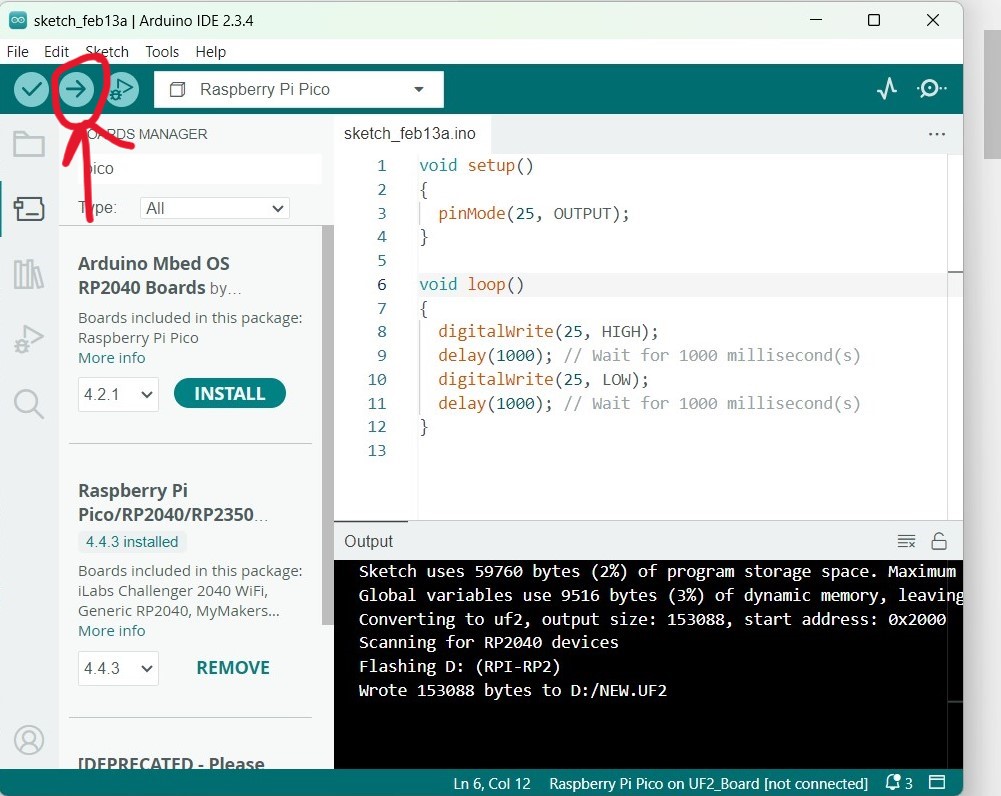
Now, we'll start with a delay of 1000ms, meaning the light will blink every second. I've uploaded a video below. Convert videos from mov to mp4 if you're using an iPhone to upload them to git. Then, compress the videos. The blinking is slow for now, but we can speed it up.
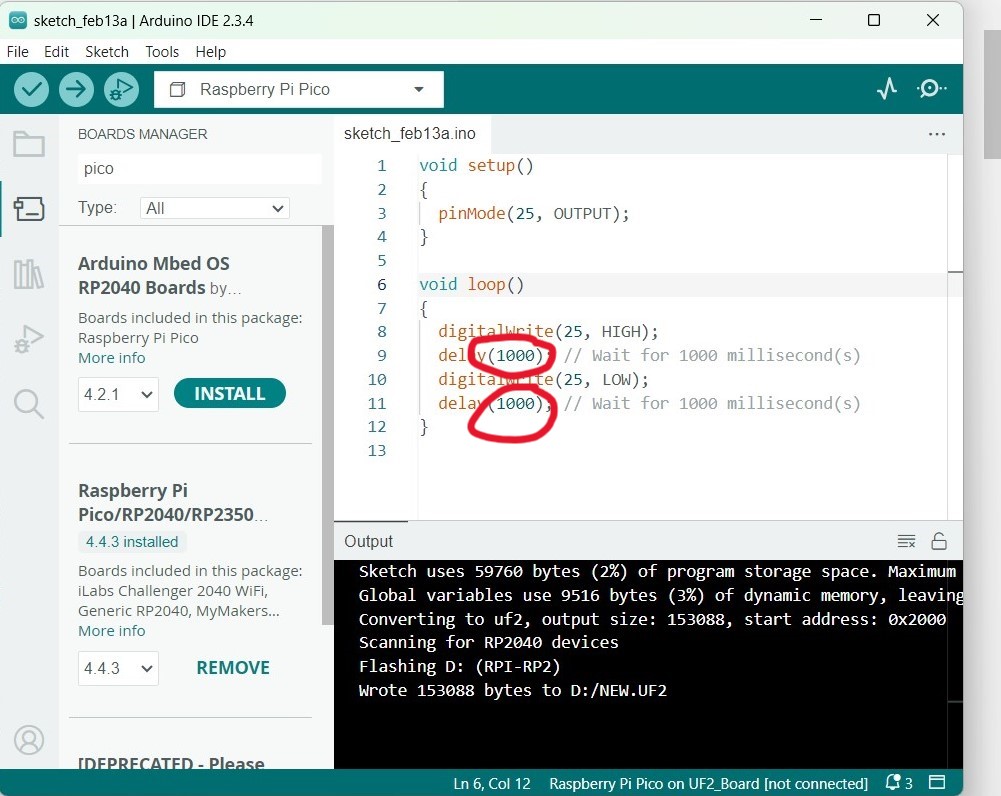
To make it a bit faster, we'll change the delay to 500ms. But we can still go faster!
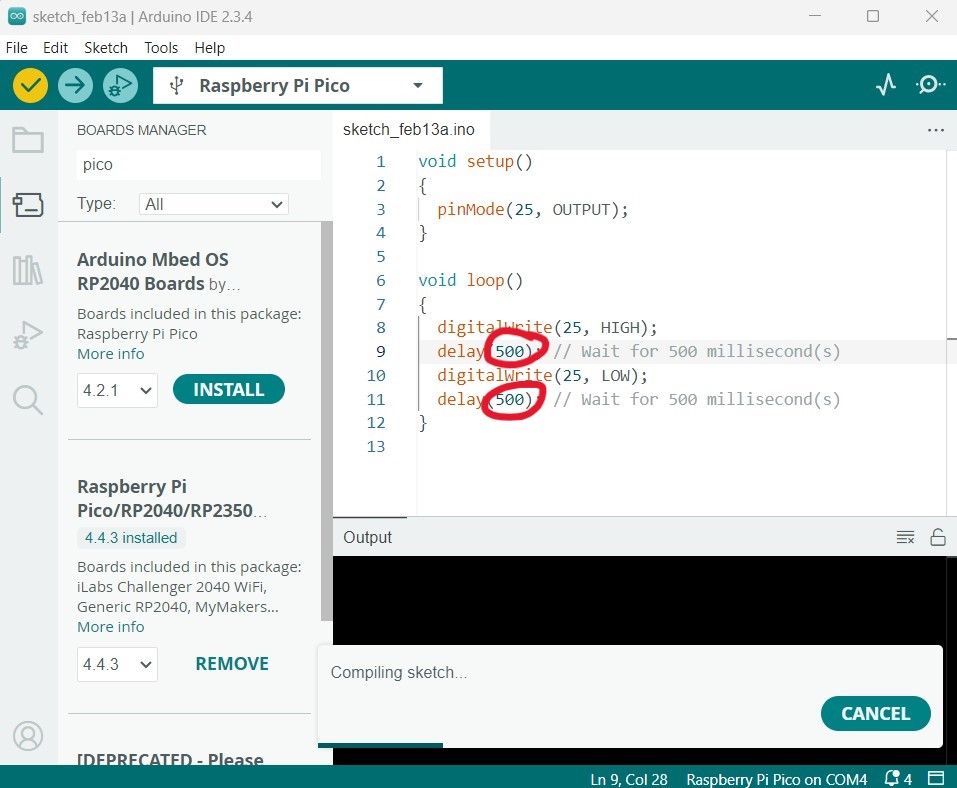
Finally, we'll make the delay 100ms. The blinking is now 10x faster than it was at 1000ms.
