Group Documentation: Week 7, group 1 (Tammi, Gillian, Hanna, Sierra S.)
Computer-Controlled Machining
Safety
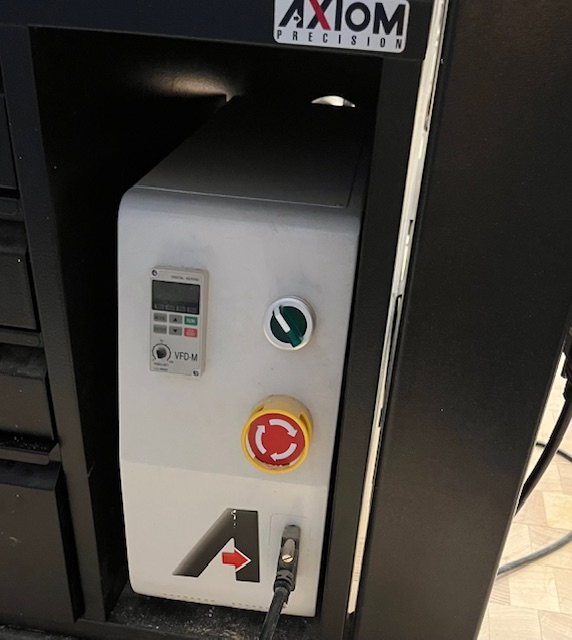
Emergency Stop Button
Safety is more important than ever this week since CNC machines are the most dangerous thing we’ve used thus far. When using the machine, make sure you don’t have anything that could get caught in the machine. Take off jewelry, don’t wear clothing with strings, and have your hair pulled back if applicable. Wear closed toed shoes in case of falling debris. When the machine is cutting, wear safety glasses and ear protection. Never reach into the machine when it is cutting if you want to keep your hand intact. Stay alert when using a CNC machine. Listen for any unusual sounds. Watch for fire, any tool breakages, or the machine cutting where you don’t want it to. Also stop the machine if you smell smoke. Make sure the dust collection system is on if your machine has one to avoid breathing in dust from whatever you’re cutting. If anything goes wrong with the cut, use the emergency stop immediately. The machine in our lab has a big red button on the side as well as one on the control panel. Have someone else nearby when cutting so that if an emergency arises, someone can call for help. Stay alert and follow these rules and you should be able to safely use a CNC machine.
Runout

Diagram of Runout. Link to Source
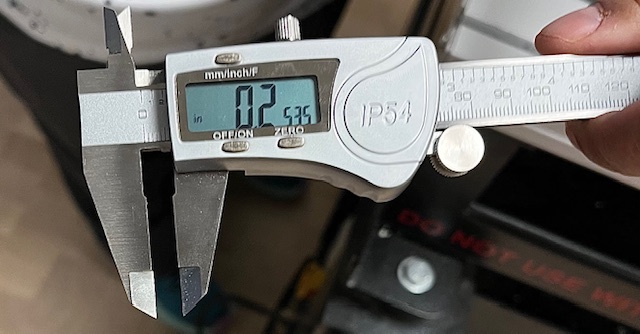
Measurement of Gap Between Cut Piece and Board
Runout is when extra material is cut by the end mill when it spins away from the center axis. This can be caused by machine imperfections or chip/debris build up. To test the runout, we measured the gap between the cut piece and the wood (1/2” sande plywood) that had been cut with a 1/4” endmill. We got an average width of 0.253”. Since our expected width is 0.25”, the runout is 0.003”, which is very small.
Alignment
Proper alignment of the CNC machine ensures accurate and precise cuts. To achieve this, it is essential to check and adjust the machine’s zero points before cutting. The machine, the Axiom CNC machine, zeros itself when we first turned it on. It moved the cutting head to the leftmost point on the bed and then we set this. Then, we needed to set the Z height, basically the heigh from the cutting bed the head would be. We did this by plugging in a metal puck into the machine and moved and lower the cutting head to touch this puck slightly. This completed the circut (as the puck and head are both metal) and signalled to the machine where to keep the Z height when it came time to make the cut.
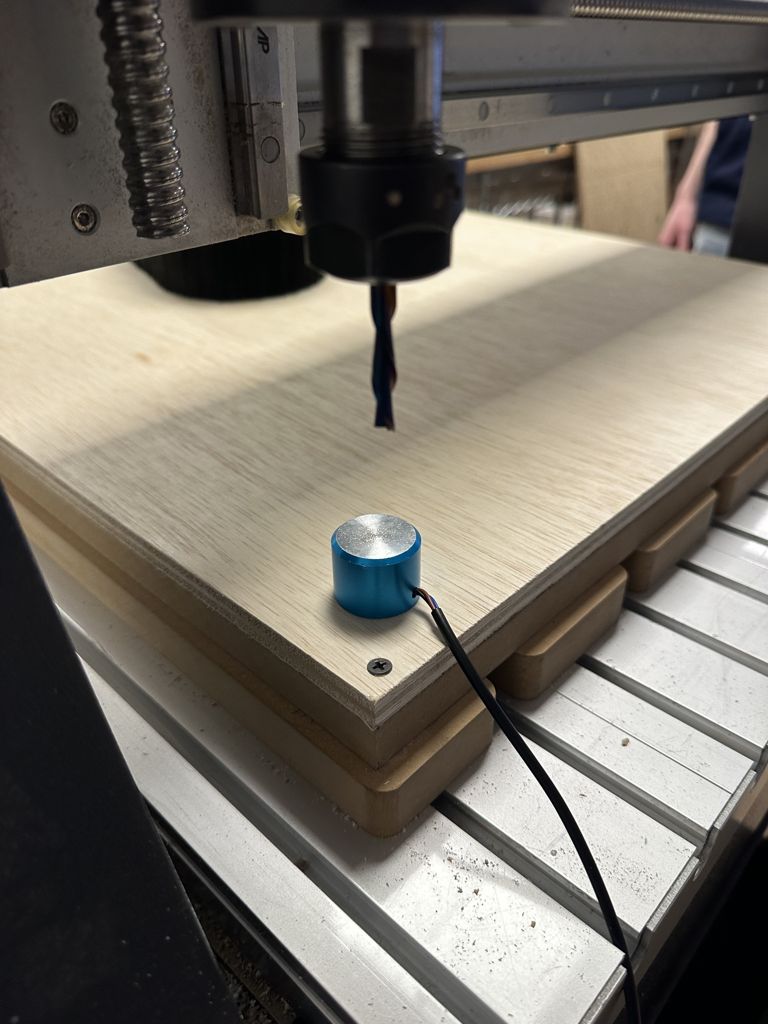
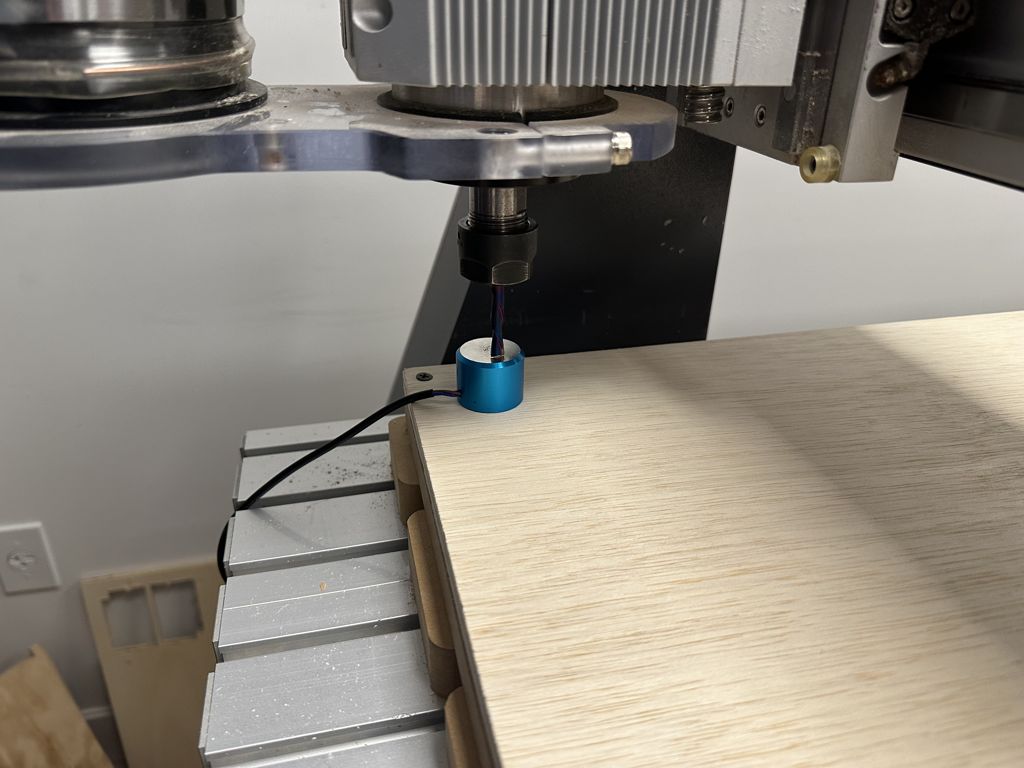
Then, on the remote I used the Tool Set function to save this settings. I was able to monitor the machine moving at any time and I had easy access to stop the machine if needed.

Fixturing
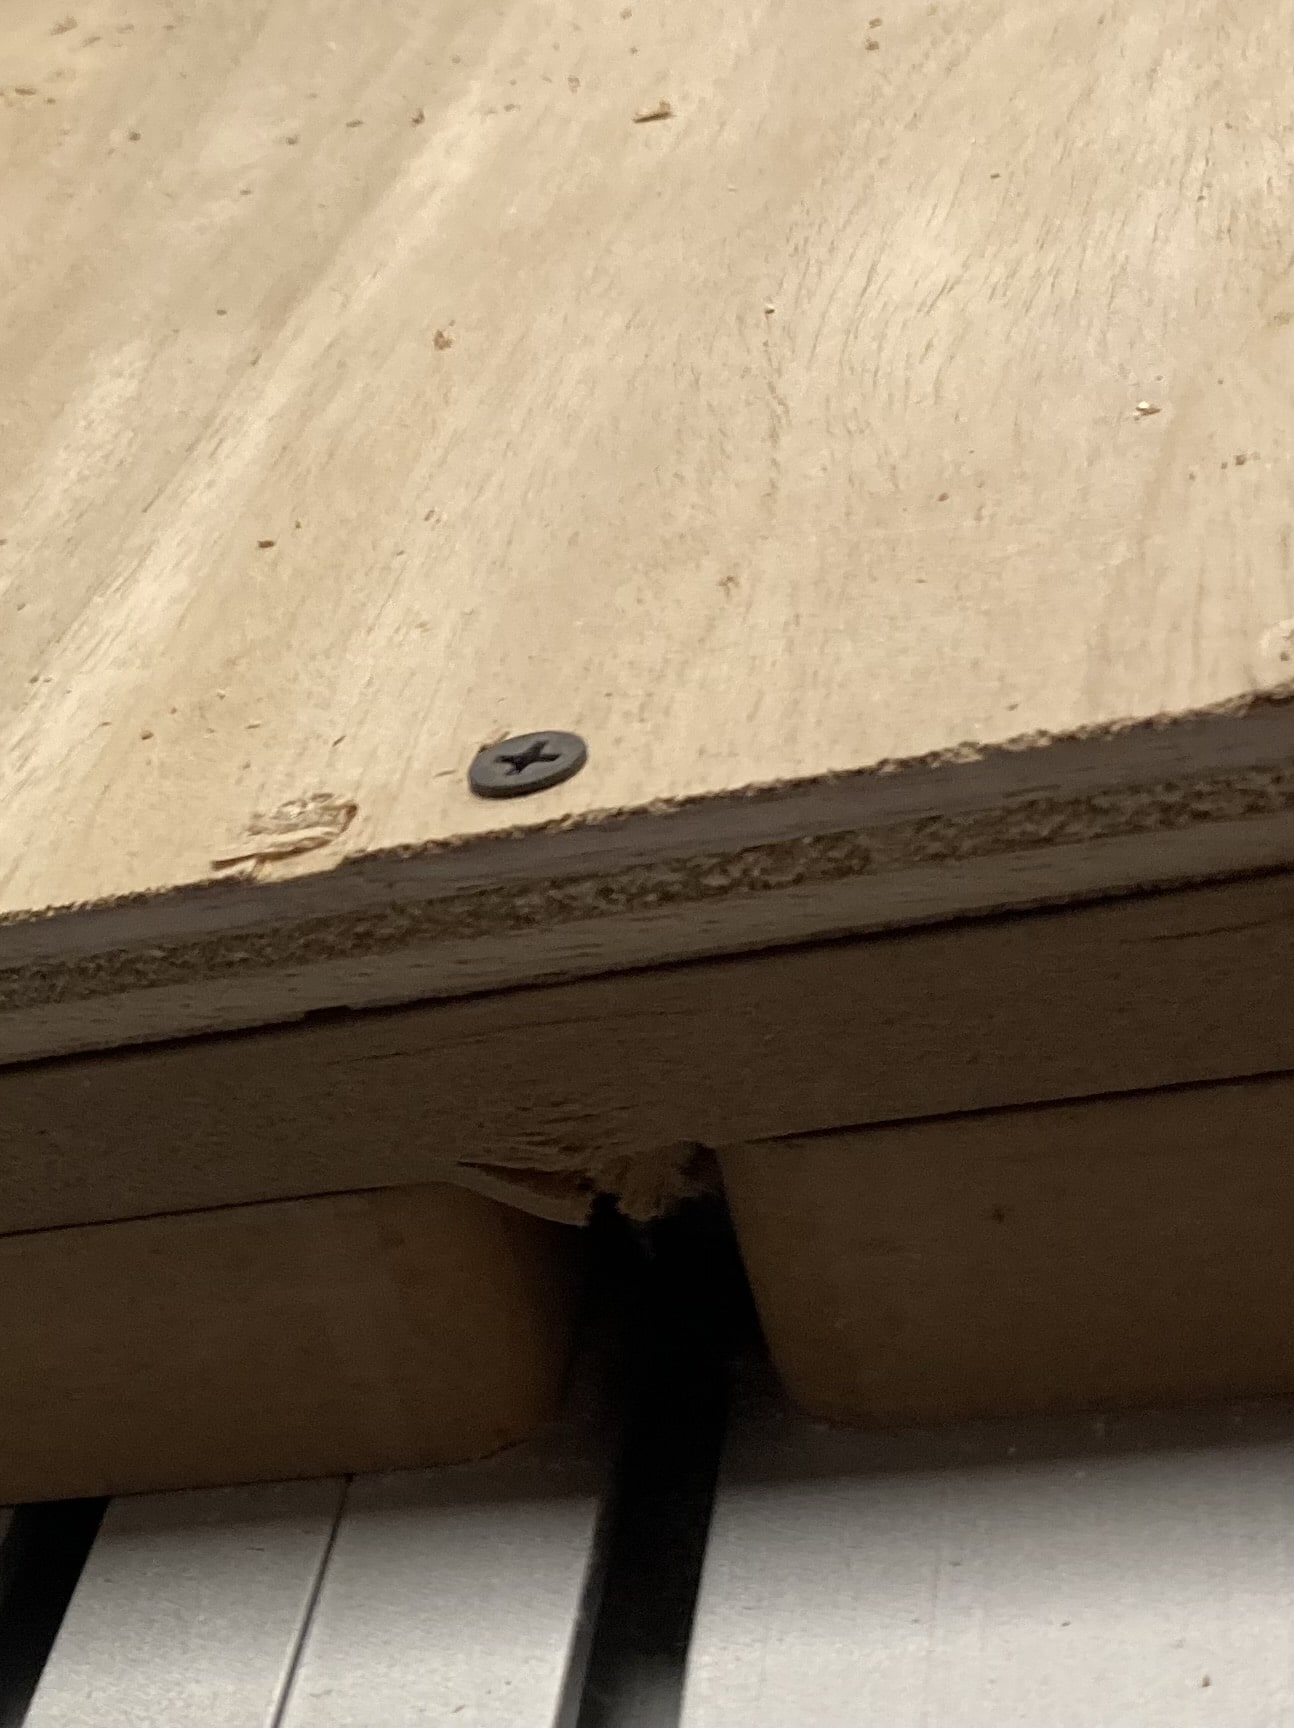
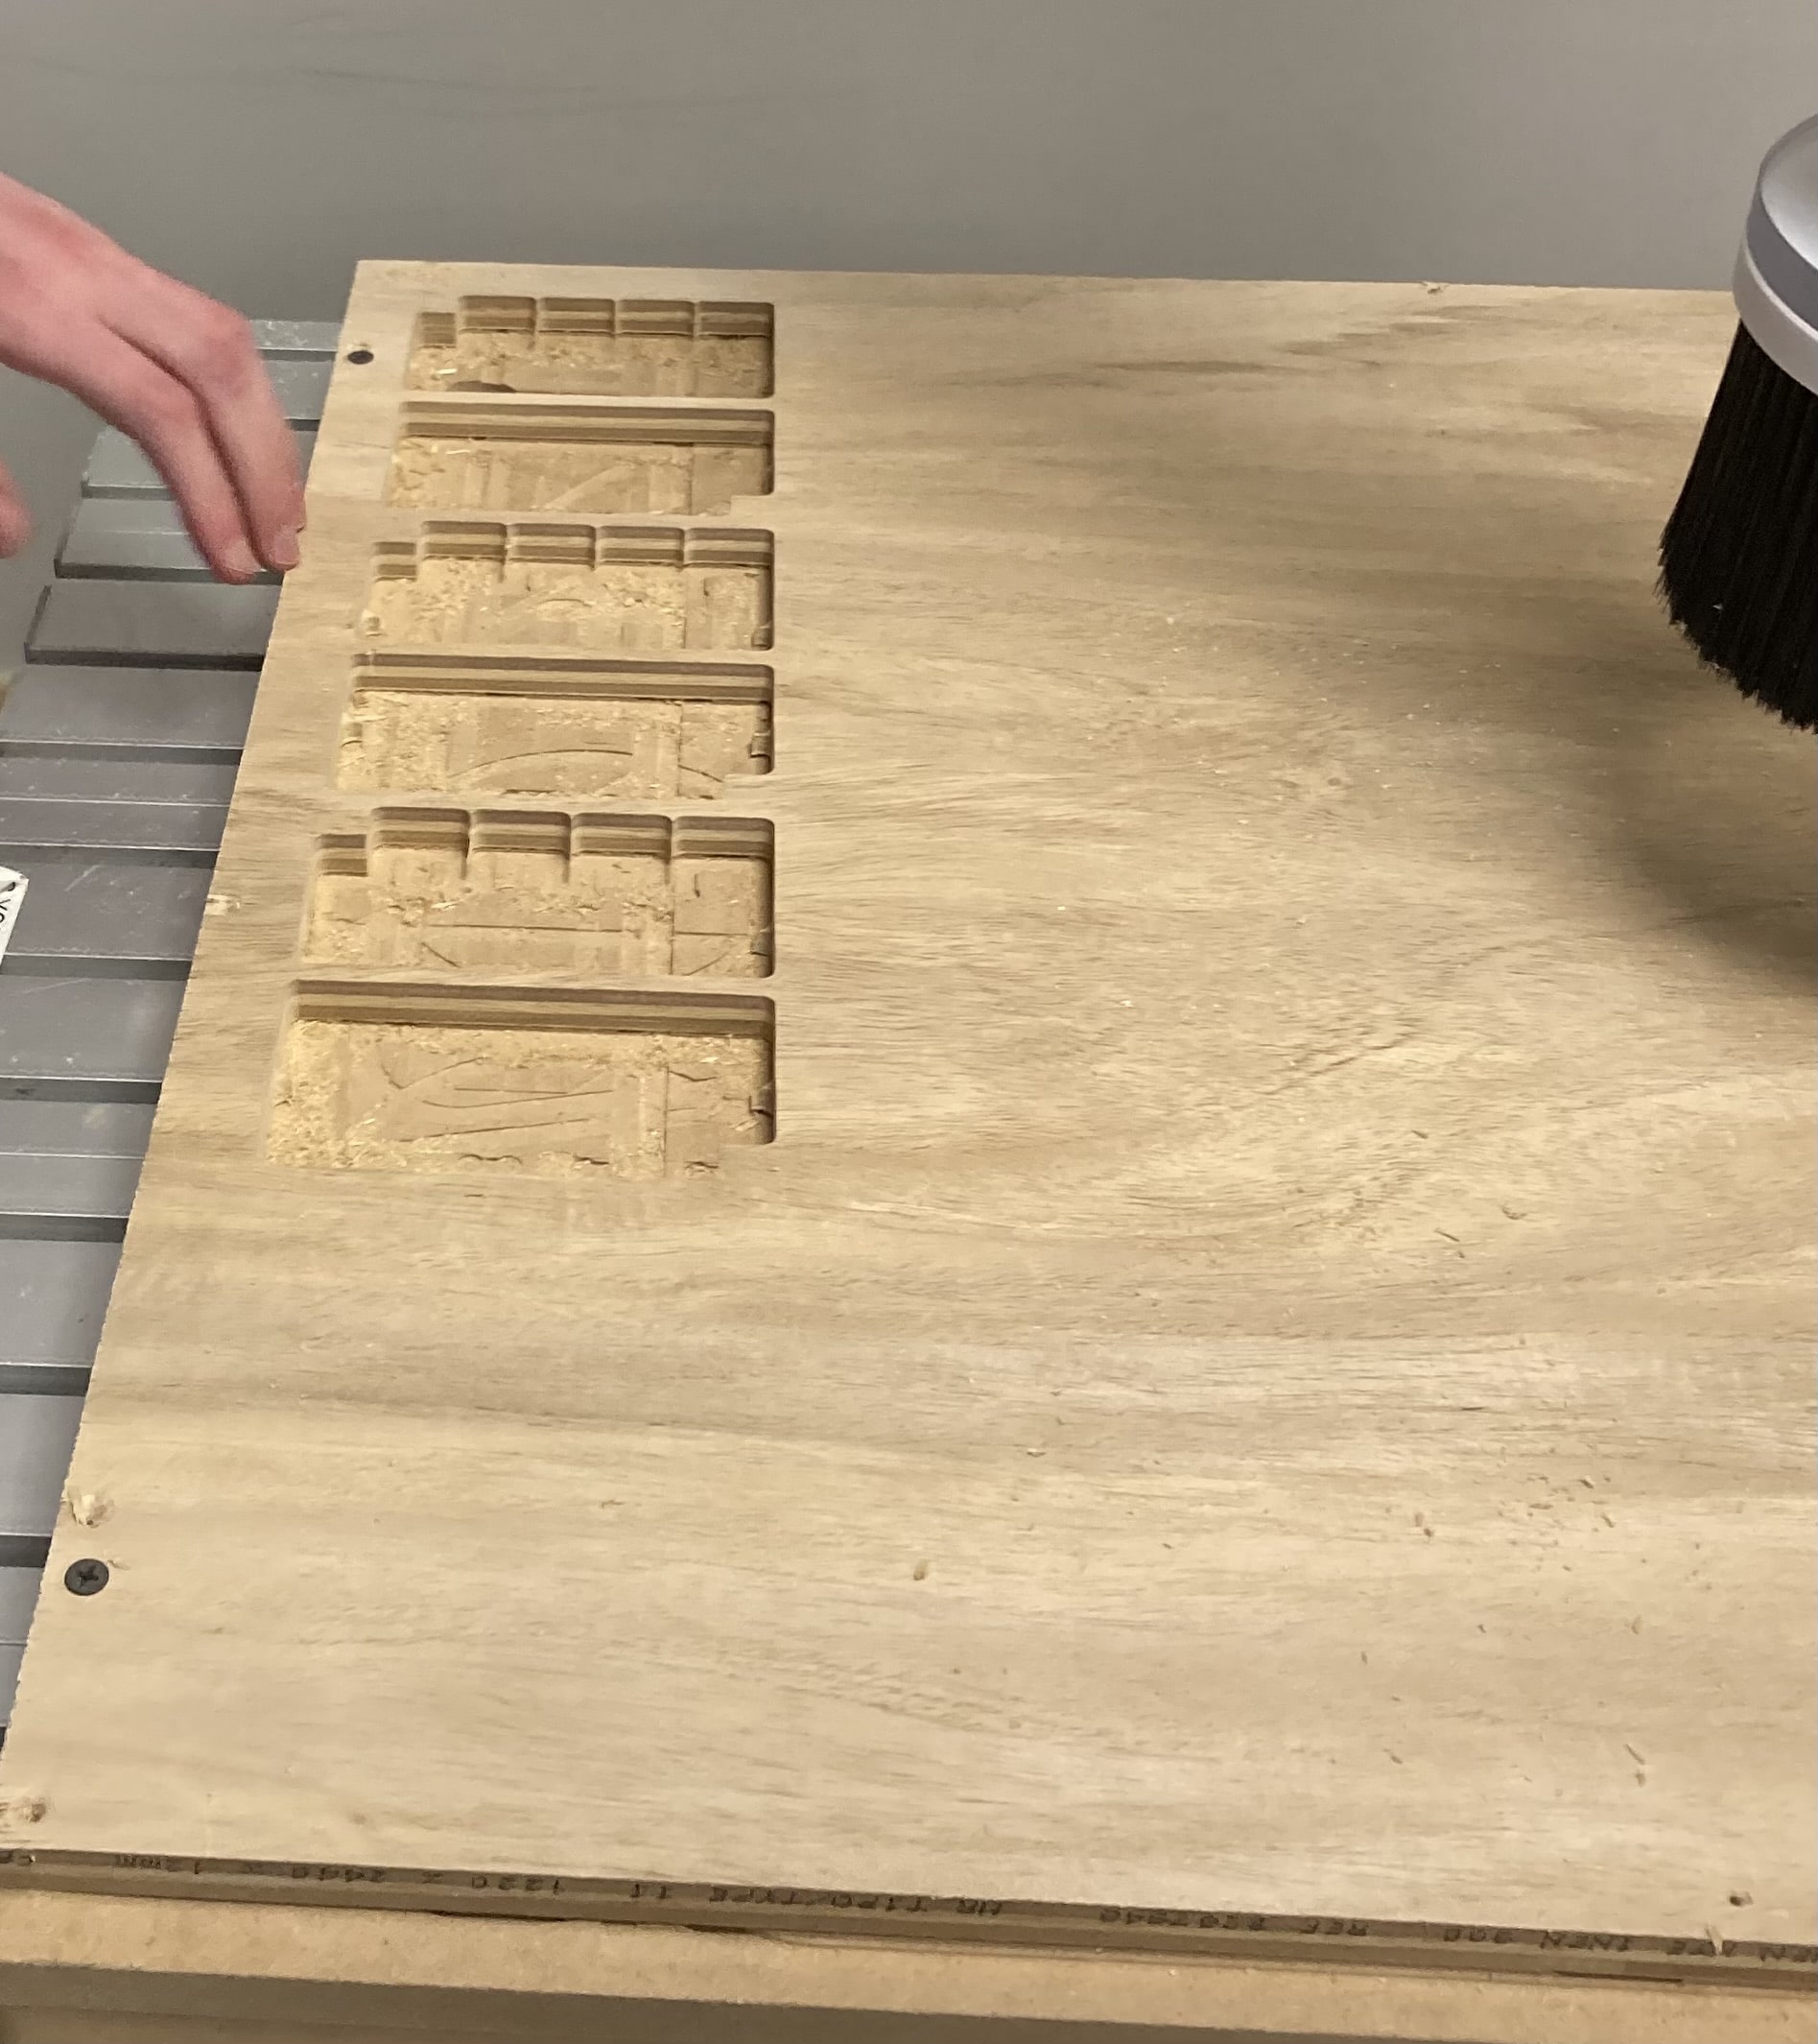
CNC machines are very dangerous. They are spinning heads that are merciless and will take anything with them. To protect ourselves, the material and the machine it is important to fix the wooden board to the spoil board. The spoil board is a piece of thickish wood that protects the actual bed of the machine from damange. If you're performing a cut and the machine cuts too deep then only the spoil board will be damanged and nothing else. So, it's ok to screw into the spoil board. We fastened the plywood we were cutting on using short drywall screws, which were tough to get into the wood. They splintered the topmost layer of the plywood. It might have been better and easier to use screws meant for wood.
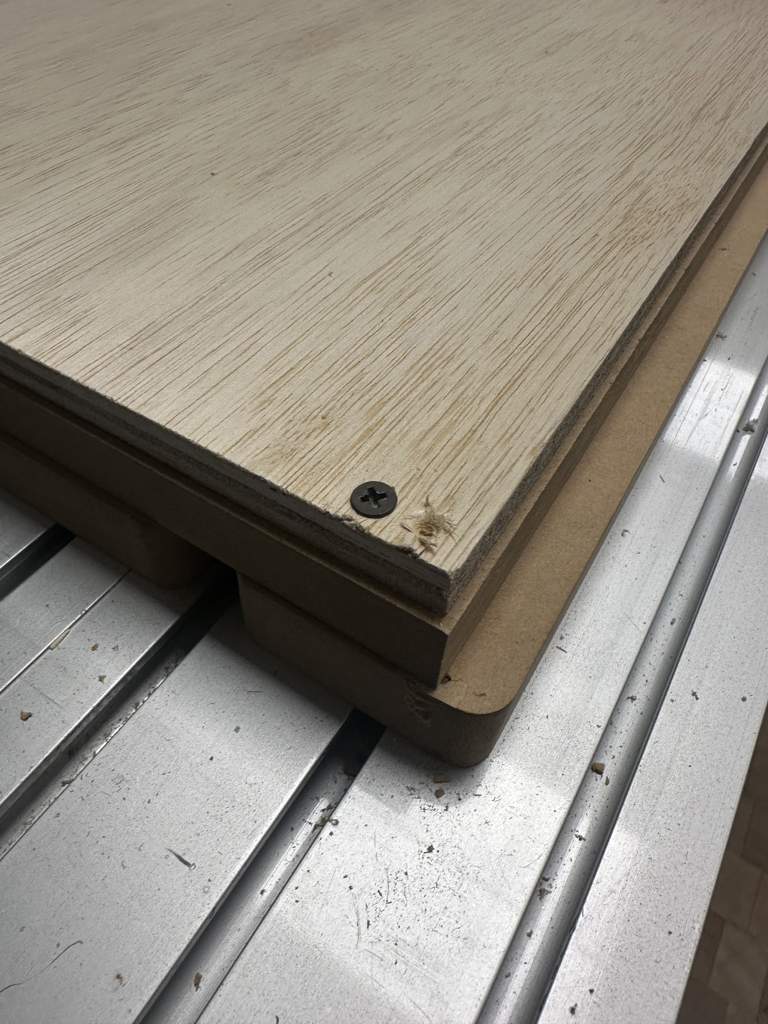
We made sure to screw into the board where it would not damage the board beneath the spoil board.
For fixturing, in our lab, we used screws in the wood and spoilboard to secure the piece of wood as it is being cut/engraved. However, other fixturing options include vises bar clamps nails, nailers vacuum wedges weights glue tape encapsulation. Below, you can see how we drilled the screws so they are in the gaps in the spoilboard.
Speeds
Speed measures how fast the bit itself moves. It is measured in rotations per minute. For speed, we used 16,000 RPM, a bit slower than on our machine's sheet. This is because one of our professors thought 18,000 RPM was too fast. You can see the speed & feed rates for our down bit and engraving bit below.
Feeds
However, it's important not to change the feed rate from the manufacturer's recommendations. The feed rate is the speed at which the cutting machine continues into the material. A changed feed rate may result in cuts that are not in the proper position because the machine is moving too fast. You can see the speed & feed rates for our down bit and engraving bit below.
Materials
For our project, we used a 24" x 48" x .5" piece of plywood. We input these settings into the program that we used to create the Toolpath for the CNC machine. Wood tends to be a softer, easier material to CNC mill than metal or plastic. Our CNC mill was also designed for wood, as it comes with a vaccum to suck up specifically sawdust. An example of a photo of our material is below.
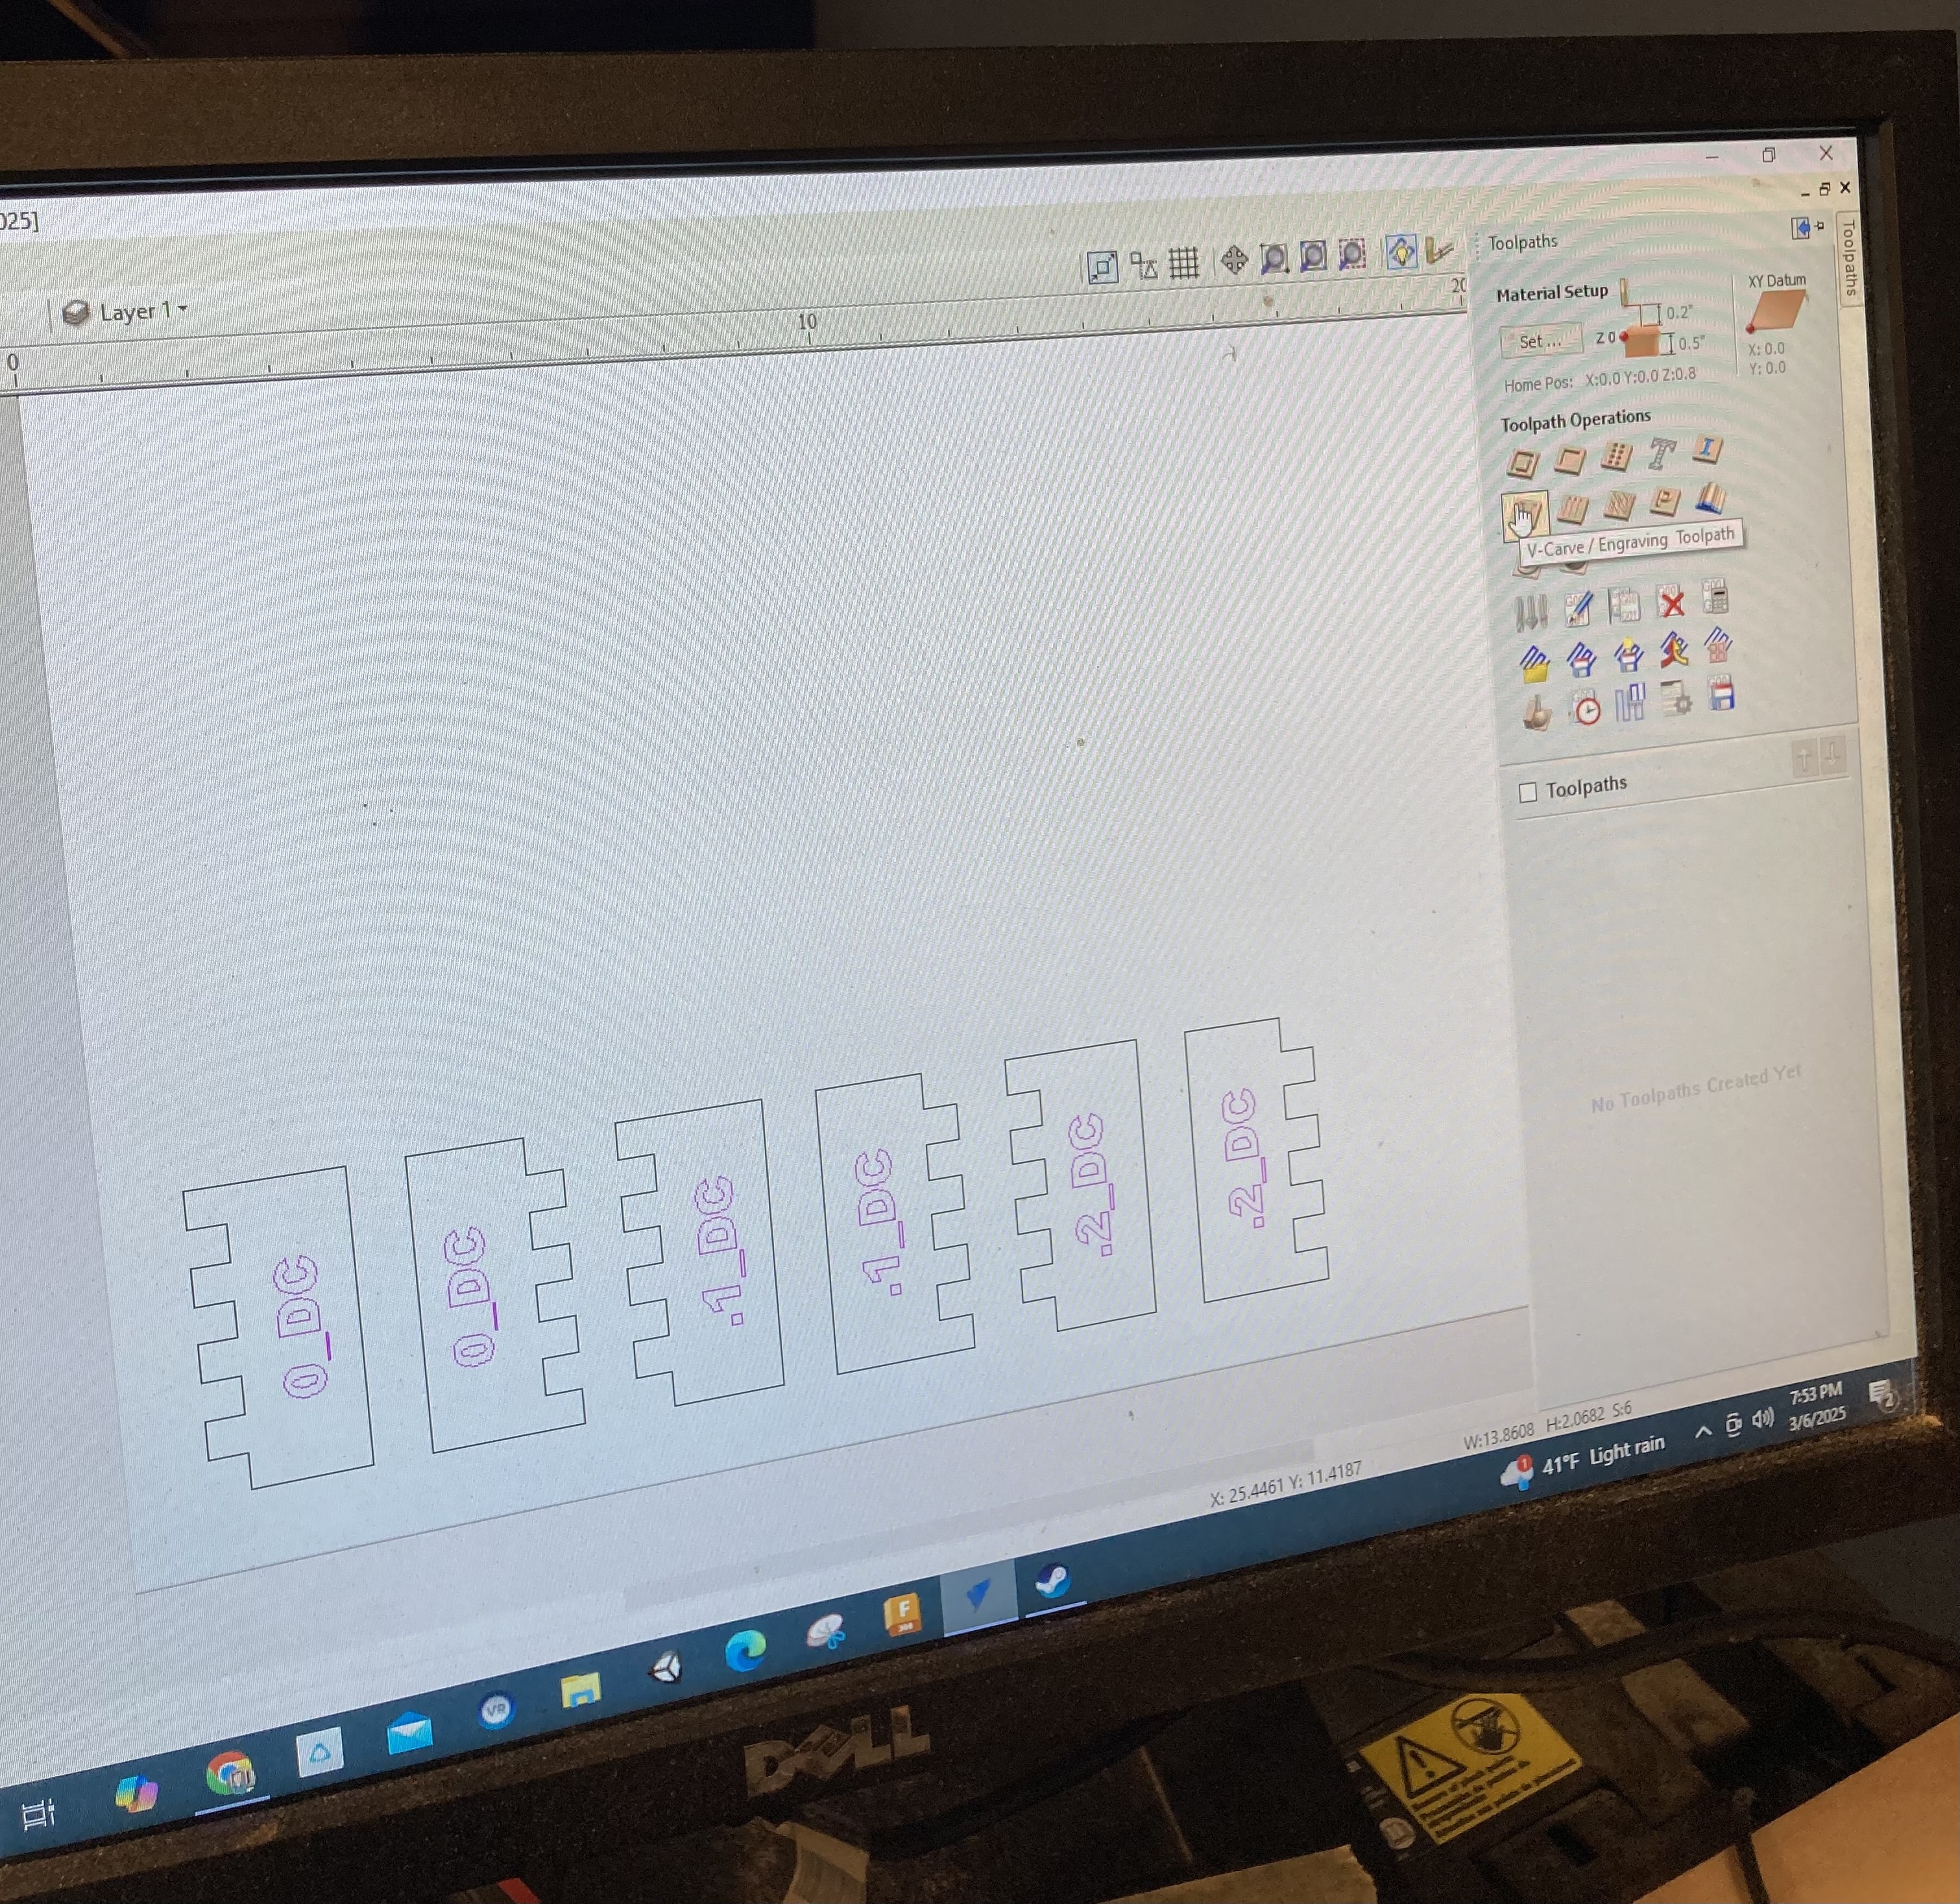
Toolpaths
A toolpath shows the trajectory of where the machine will cut. Kerf is the width of material removed by the CNC milling machine. Offsetting is the adjustment of the tool path considering kerf. However, a lower offset will result in a tighter fit of the pieces together. Dogboning is an important technique that we added to our toolpaths. The CNC mill cannot accurately cut inner square corners because of the circular shape its cutting path takes. However, dogboning fixes this issue because it makes a smaller circle where the 90 degree inner corners were. Toolpaths can be imported by STL or DXF. See our initial toolpath and an image of dogboning below.