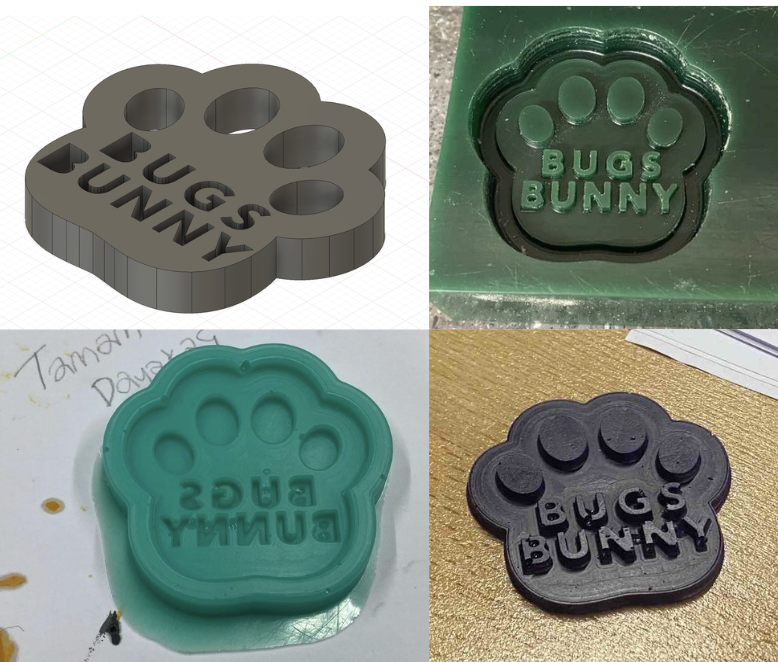
Hero Shot
For this week, I designed and fabricated a small paw-shaped BUGS BUNNY part by going through a full molding and casting workflow. I first designed the geometry in Fusion 360, then prepared the toolpaths in VCarve, milled the positive mold in machinable wax on the Roland SRM-20 using a 1 mm ball-end bit, created a flexible silicone mold with a 1:1 mix ratio, and finally cast resin parts with a 1:1 resin system.
This assignment helped me understand the full chain from CAD to CAM to mold-making to final casting. It also made the importance of draft, depth, surface quality, bubbles, and material behavior very clear. My first cast worked but had a less successful finish, while the second colored cast was cleaner and much closer to the result I wanted.
Design Process
I wanted to make a small decorative cast part with a clear outer profile and text details inside. I chose a paw-shaped geometry and added the BUGS BUNNY text so that the final cast would have readable raised features. Because I was planning to mill the mold in wax and then make a silicone negative from it, I designed the geometry with simple vertical walls, rounded boundaries, and a depth that could be machined reliably with a small bit.
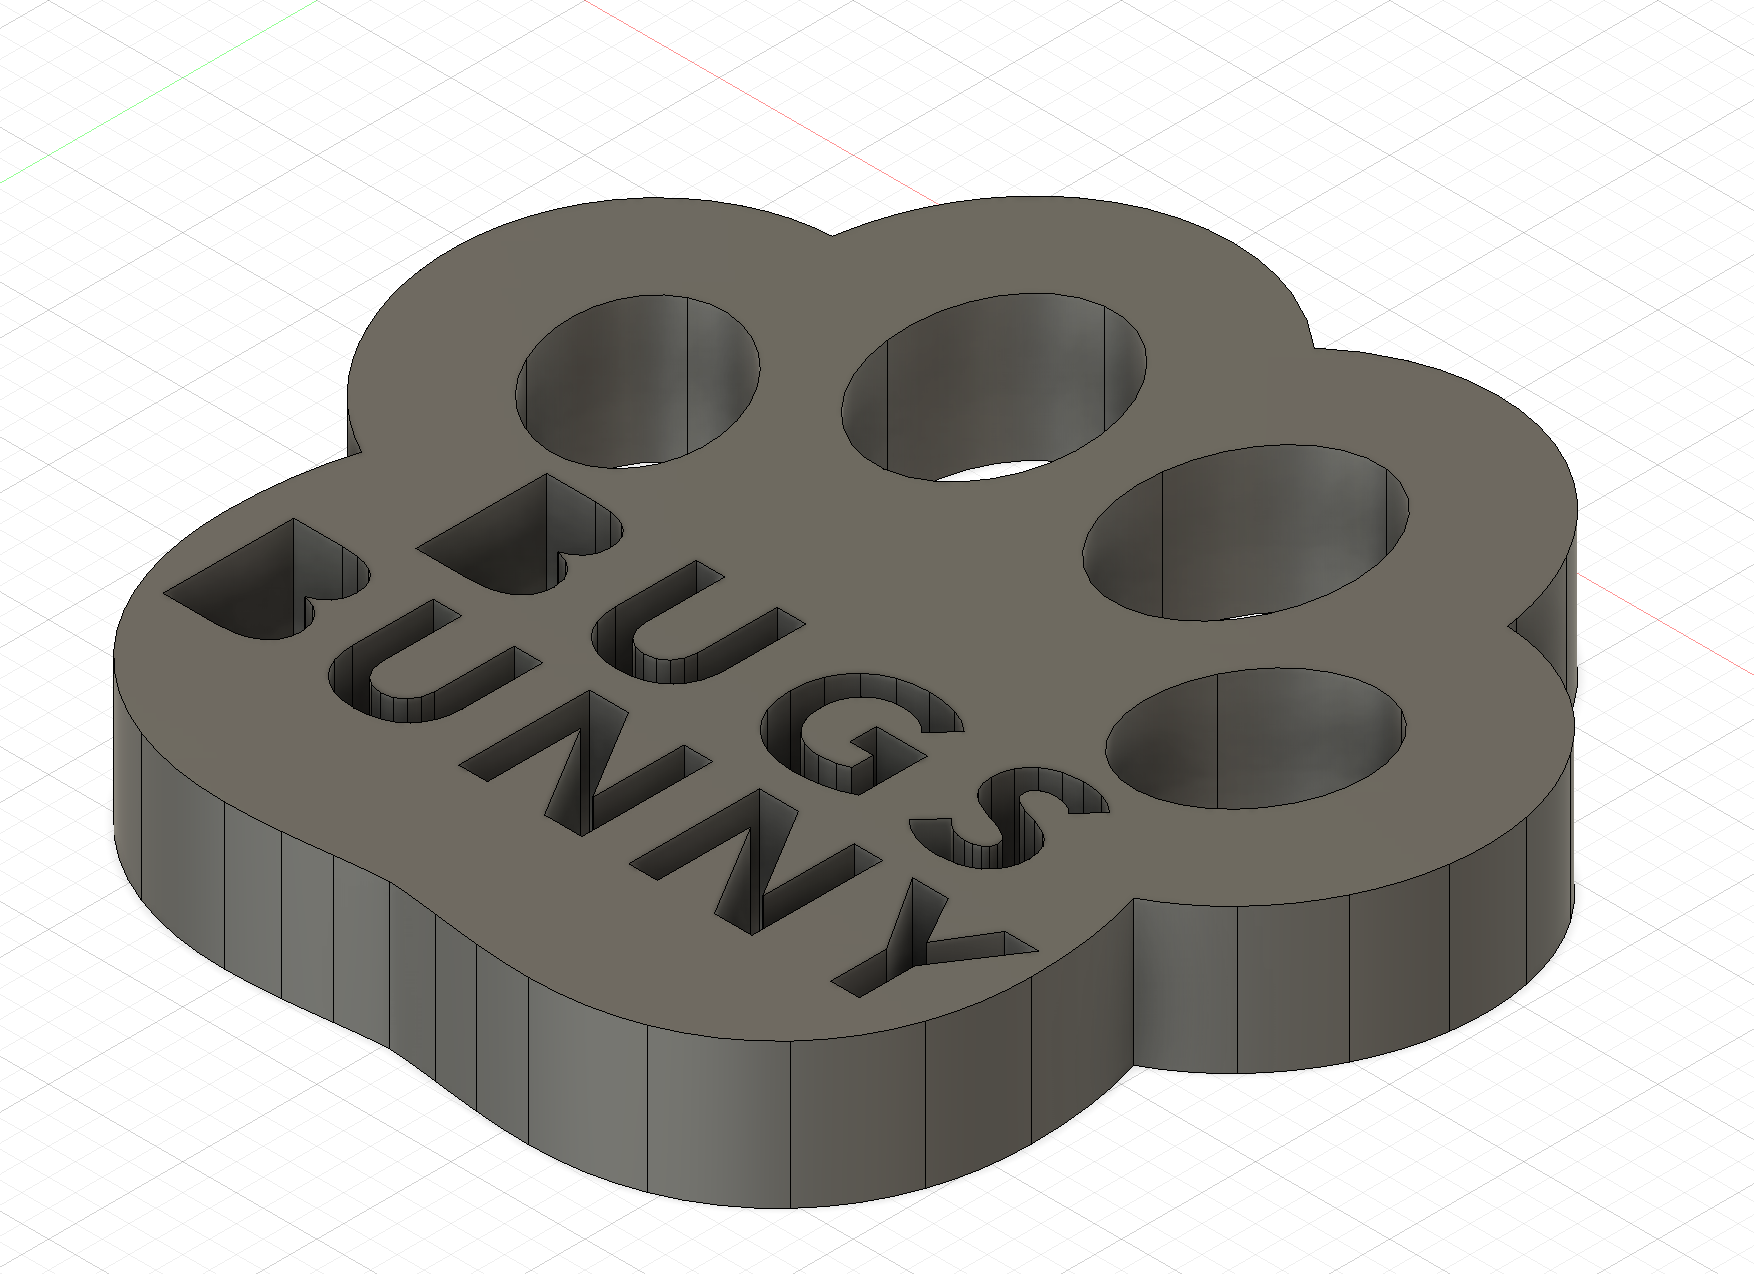
The modeling itself was done in Fusion 360. I created the main outer shape first, then added the toe pads and text features, and adjusted the pocket depths so that the final result would be visually clear after casting. I exported the design as DXF, then moved to VCarve for toolpath preparation.
The key design decisions were:
- keeping the geometry compact so it fit well inside the wax stock,
- making the paw outline large enough to machine cleanly,
- using clear, bold text for readability,
- and choosing a shape that could be demolded without needing a complicated multi-part mold.
Since the assignment emphasizes mold design around the process being used, I designed specifically for a wax-milled positive + silicone mold + resin cast workflow rather than for direct machining or 3D printing.
SRM-20 Milling
After completing the CAD stage, I exported the geometry from Fusion 360 as a DXF and imported it into VCarve. In VCarve I prepared the machining strategy for the wax block. I used a 1 mm diameter ball-end bit, which was a good choice for this small design because it could follow the curved boundaries and produce a smoother finish than a flat end mill on the detailed areas.
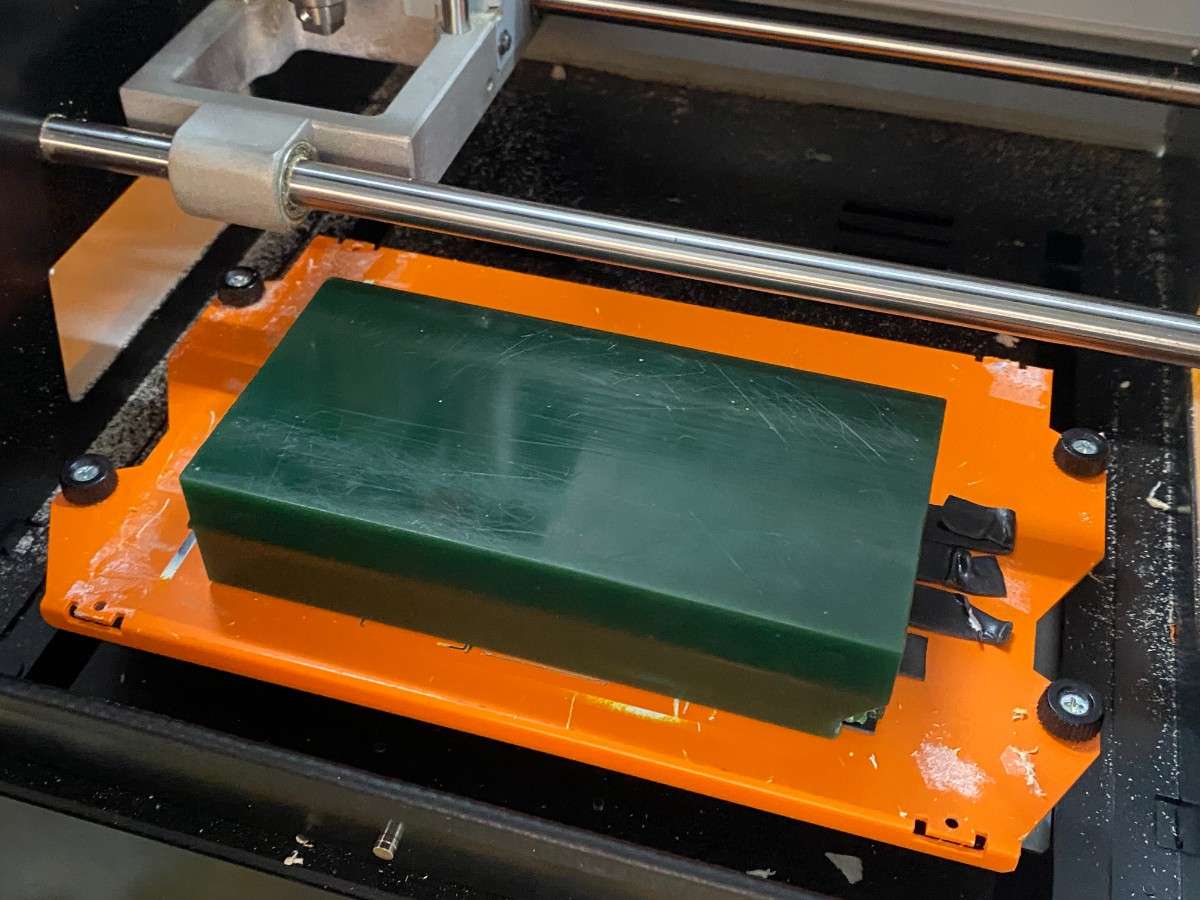
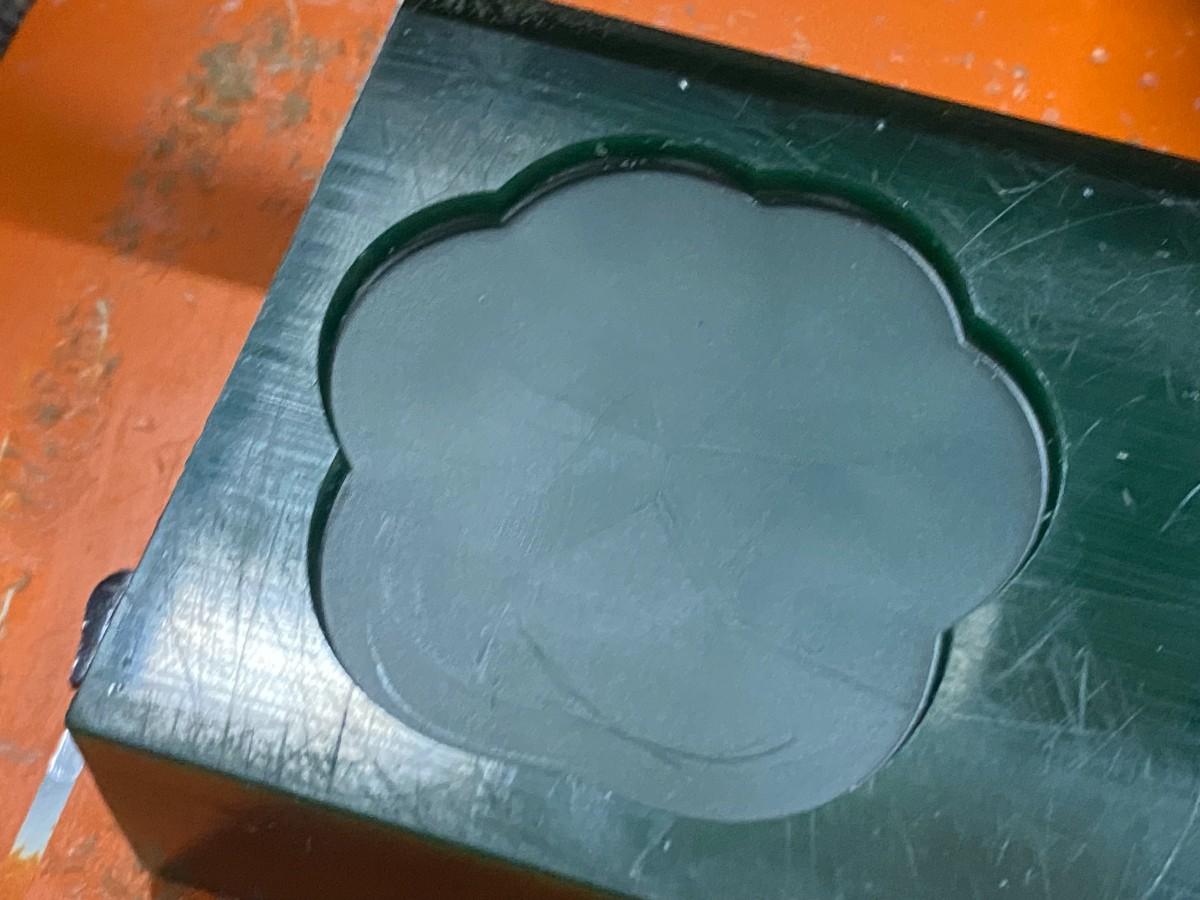
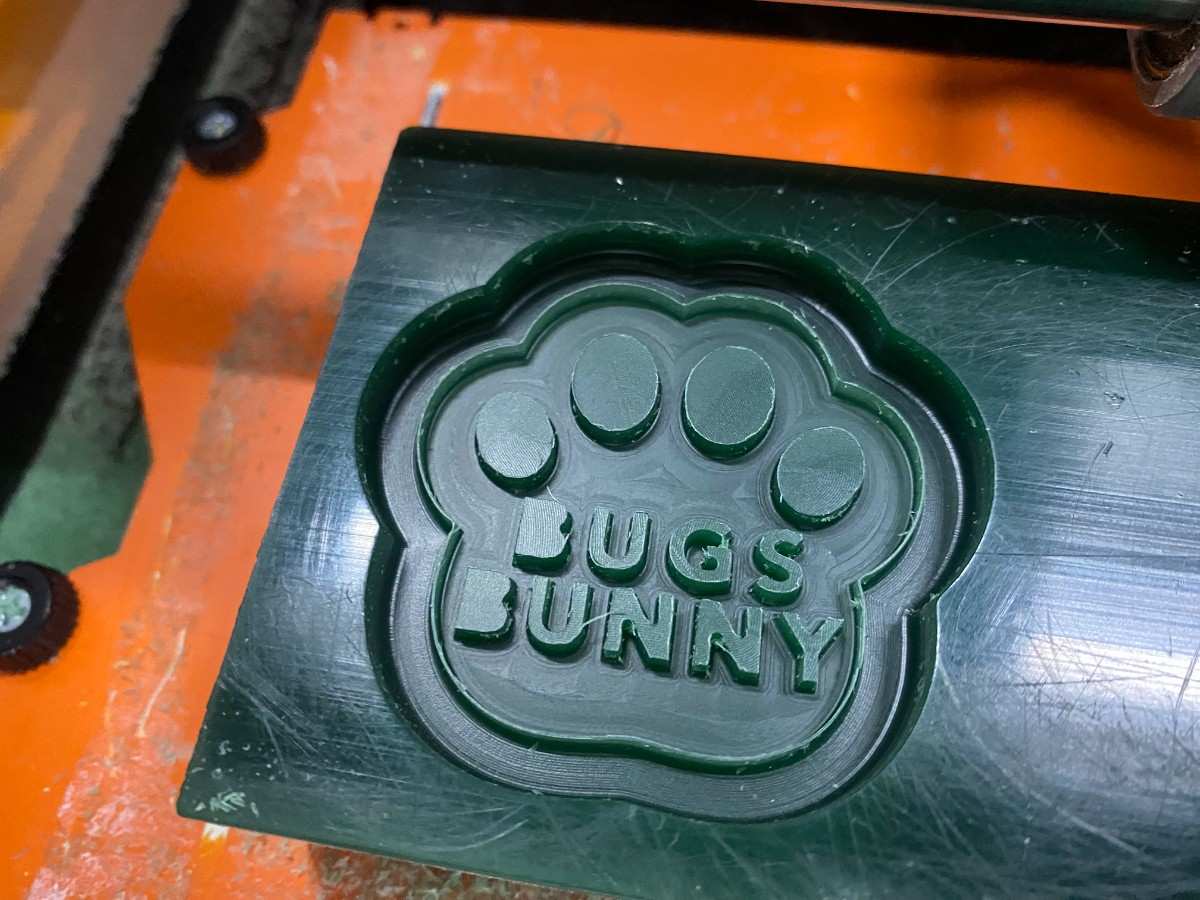
I milled the mold on the Roland SRM-20 using machinable wax. The machining process started from a rectangular wax block mounted securely on the bed. The initial pass removed the larger volume of material, and the finishing pass defined the paw outline, the circular toe details, and the text.
One important goal of this week was to produce a mold with a smooth surface finish. The ball-end tool helped reduce sharp stepping marks, especially on the curved contours. While some machining traces were still visible on the wax itself, the final silicone mold and resin cast had a noticeably smoother appearance, and the toolpath was much less visible on the final parts than on the milled wax positive.
Mold and Cast Creation
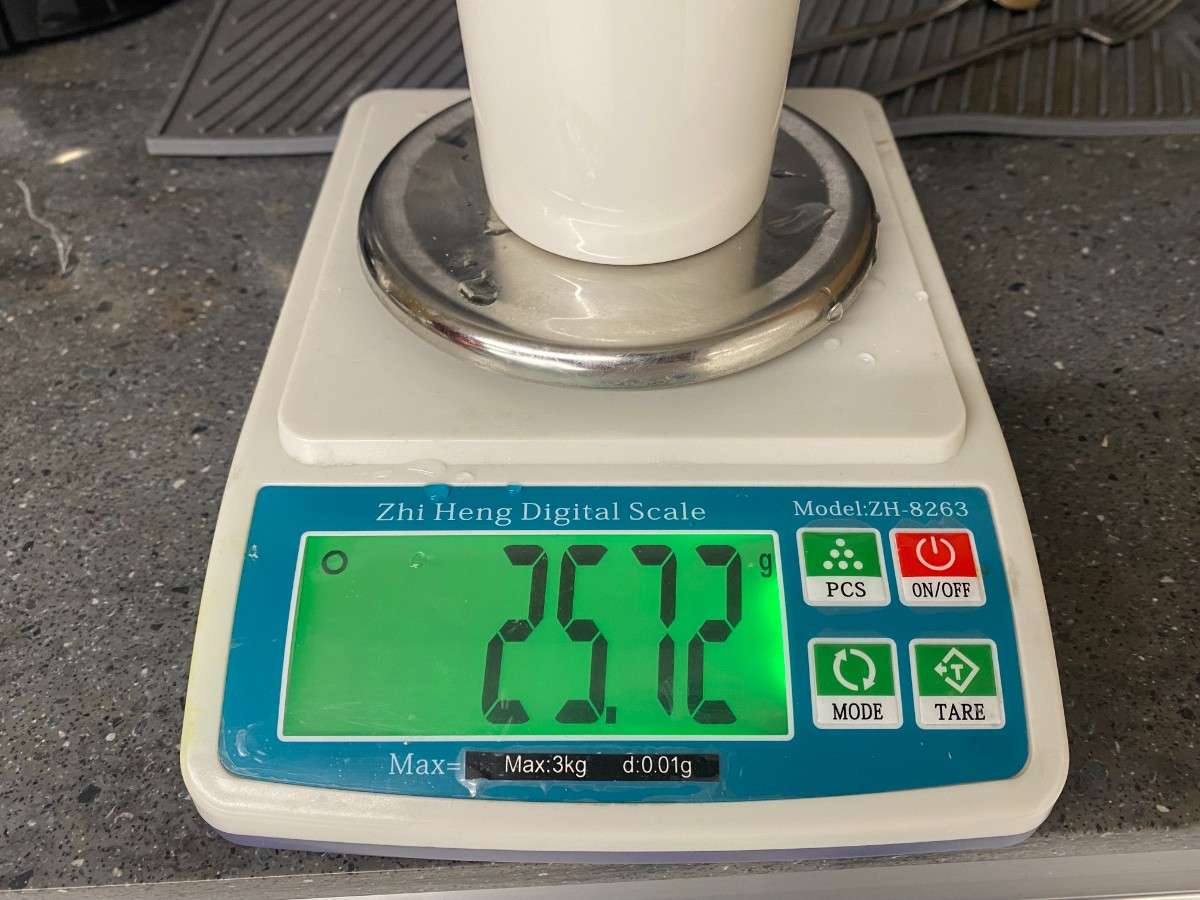
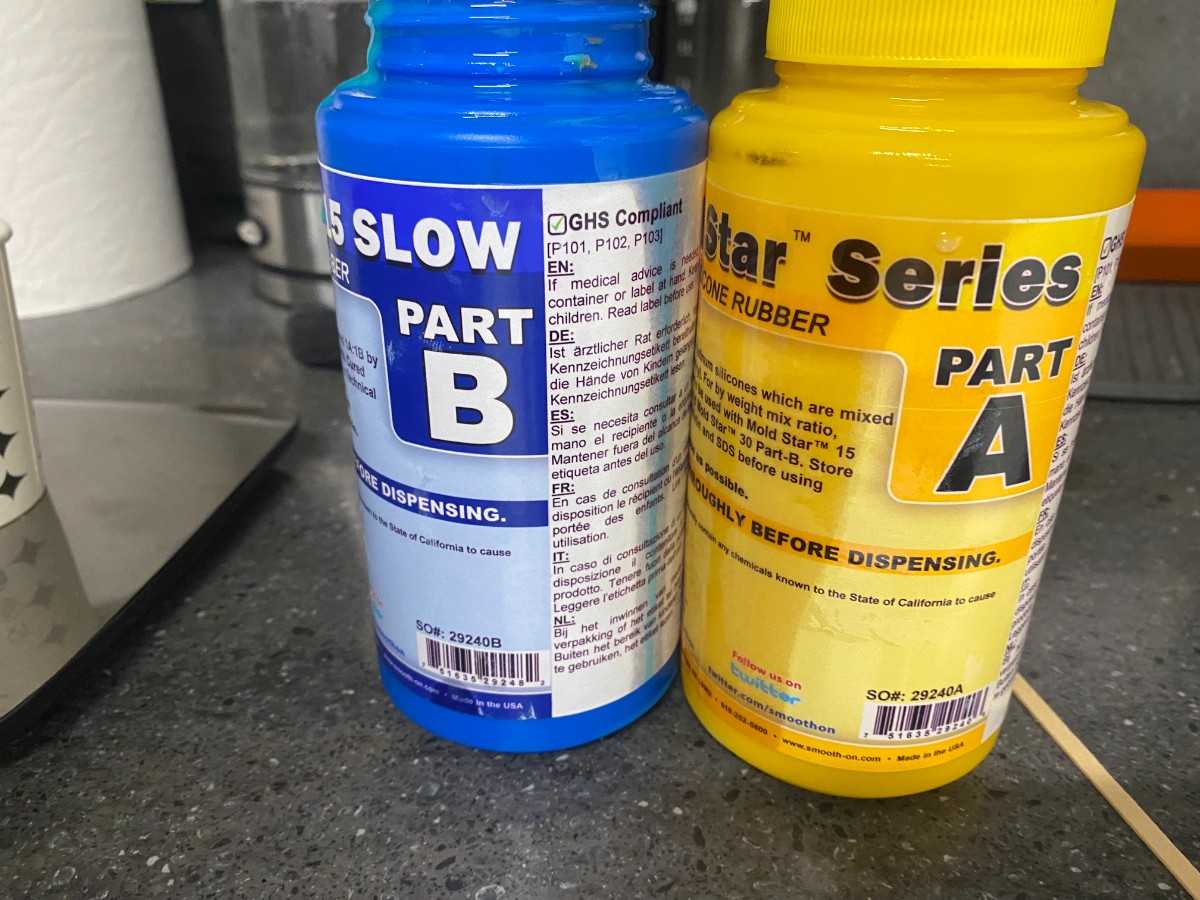
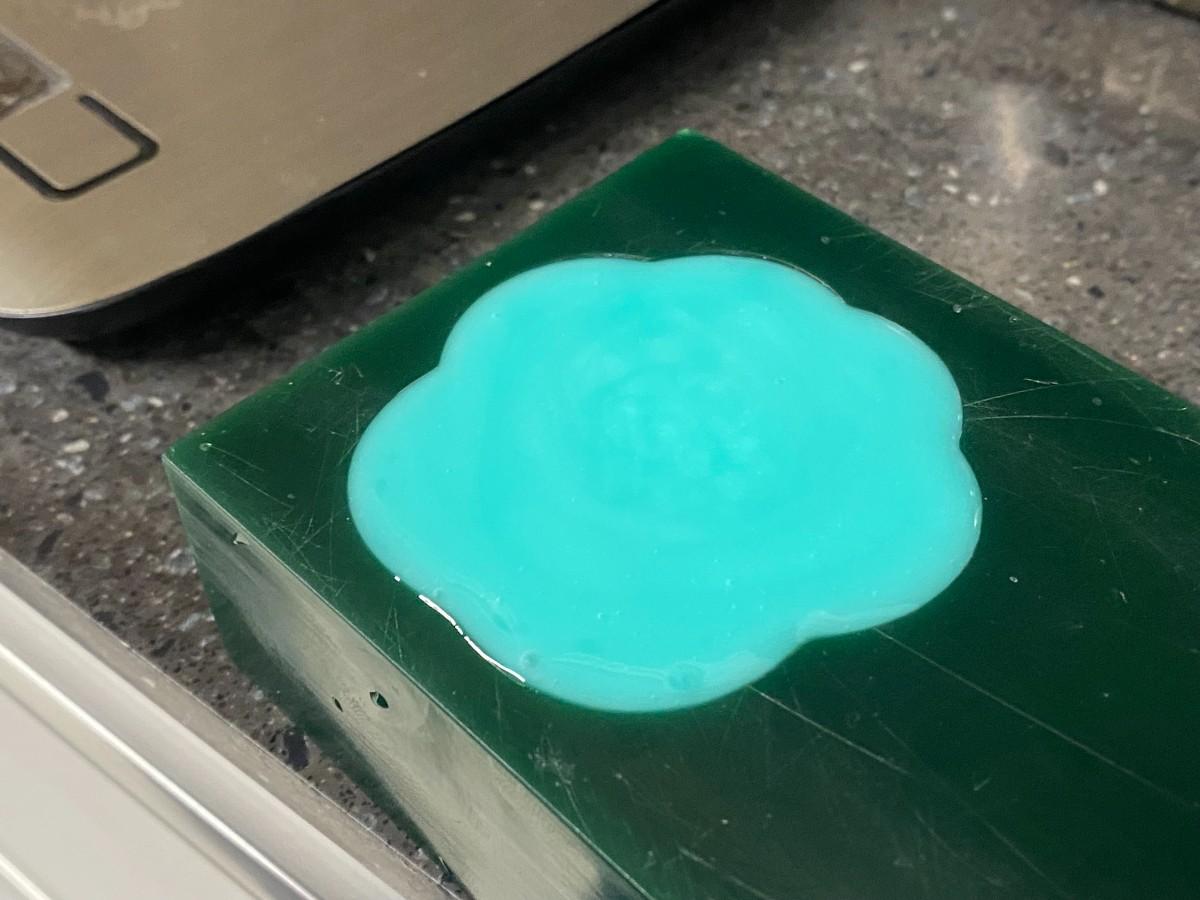
Once the wax positive was ready, I used a 1:1 ratio silicone system to create the flexible mold. Before pouring, I measured the material carefully by weight to keep the ratio accurate.
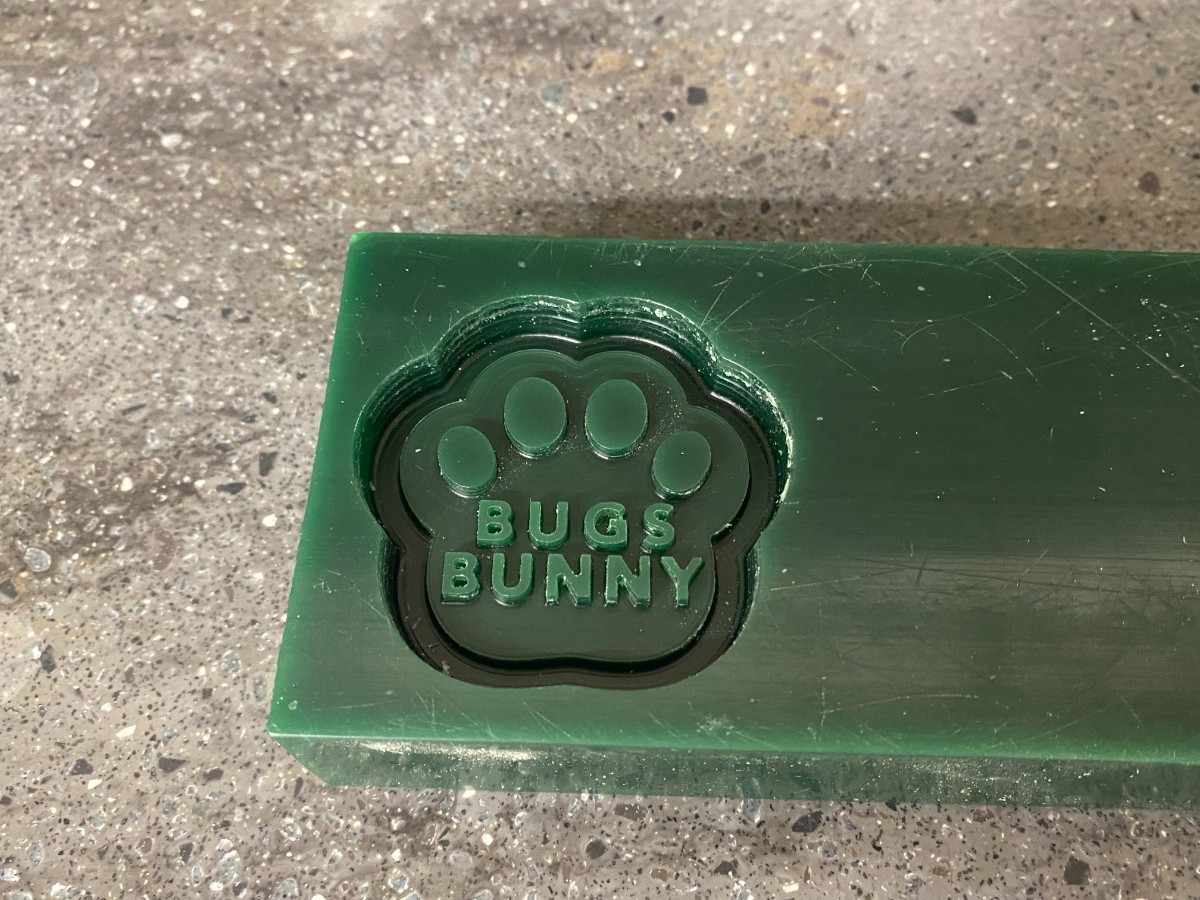
I mixed the two silicone parts thoroughly and poured the material into the wax cavity. After curing, I removed the silicone mold from the wax. The mold successfully captured the overall paw shape, the toe pads, and the text details. This stage showed very clearly how even small trapped bubbles or incomplete mixing can affect the final result.

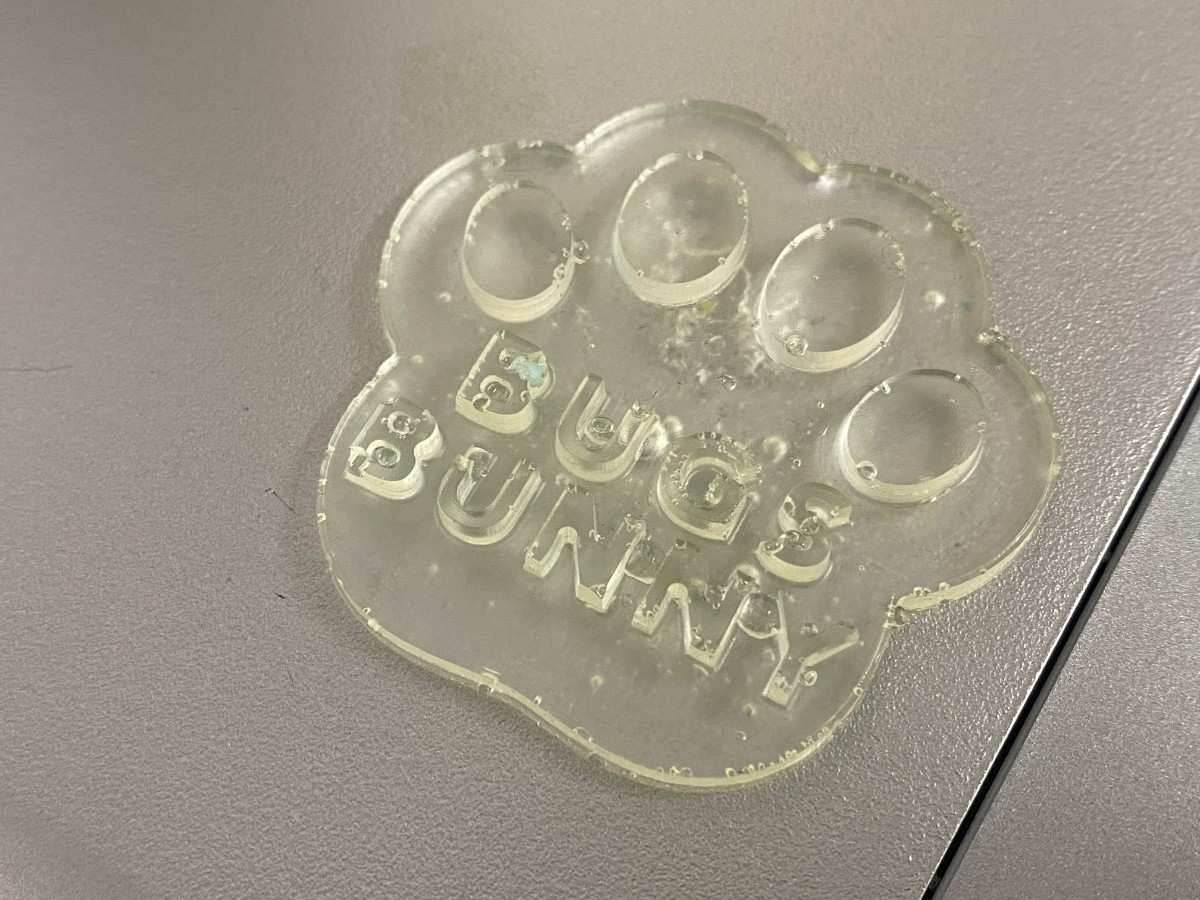
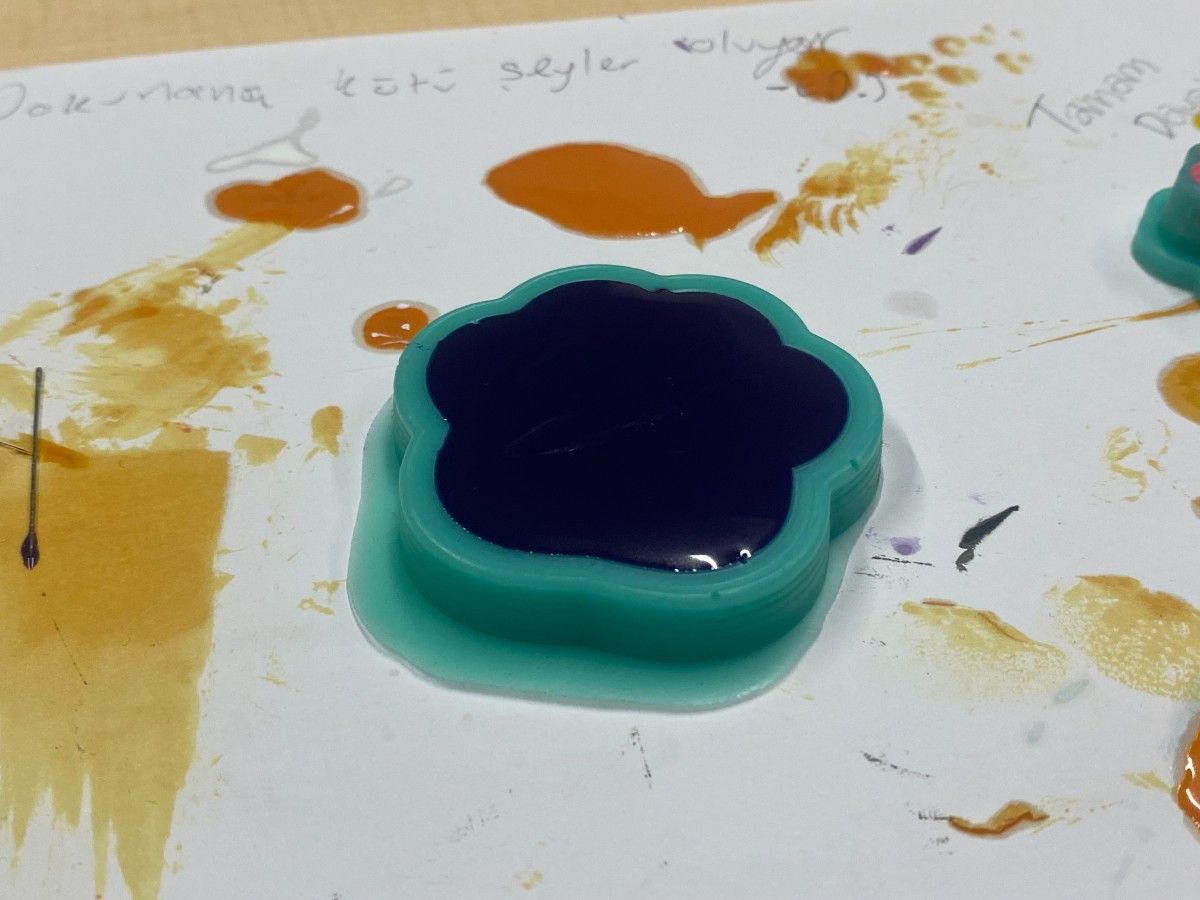
After the silicone mold was ready, I used it to cast resin parts with a 1:1 resin mix. I produced more than one cast. The first cast was made with a clear resin and technically worked, but the result was not as clean as I wanted. The finish was less successful and the details were not as visually strong. For the second attempt, I added dye to the resin, and that cast was definitely better: the color made the geometry easier to read and the overall result looked cleaner and more intentional.
The comparison between the first and second cast was useful because it showed how much presentation and finish matter in casting. Even when the mold geometry is the same, color, bubble control, pouring quality, and curing behavior can make a big difference in the final part.
And then I made a final product. Process:
Final Product
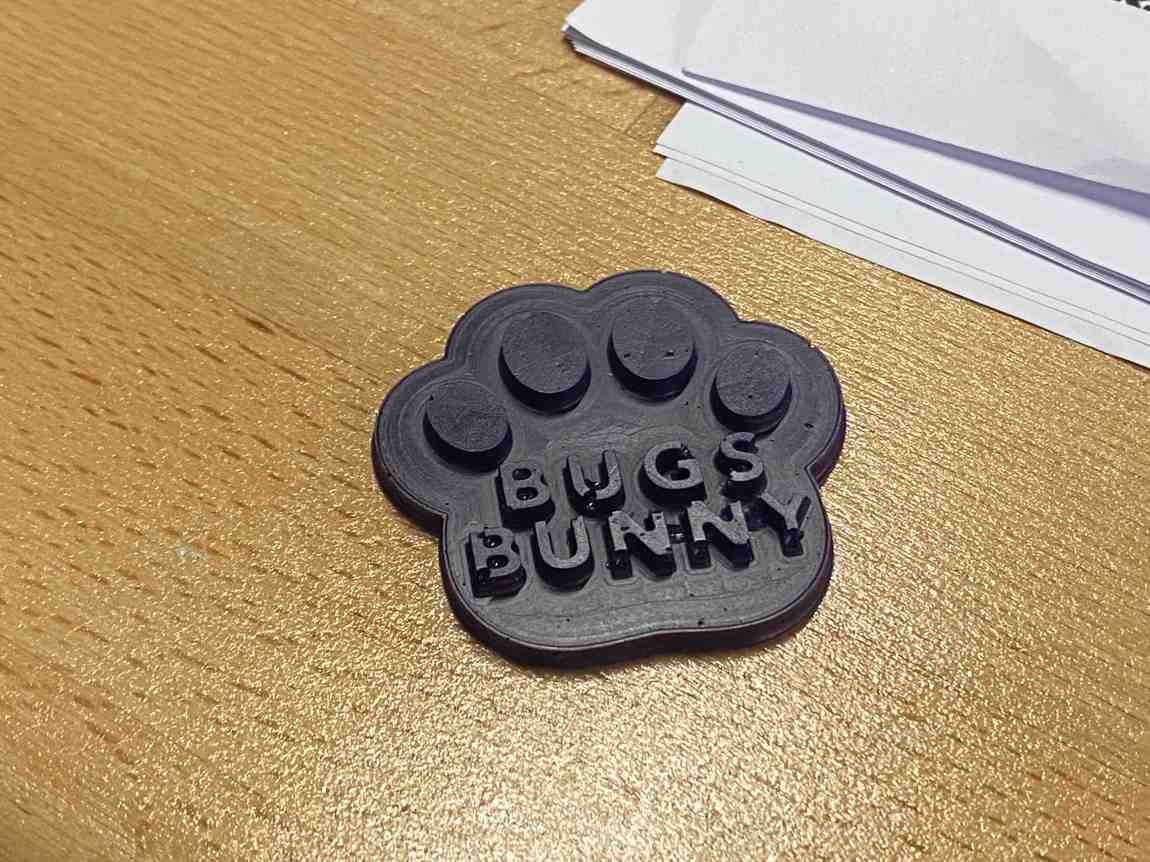
The final product is a small paw-shaped cast piece with the BUGS BUNNY text and four raised toe details. My best result was the second, colored cast, which had a better visual finish than the first transparent one. The silicone mold was reusable, so I was able to iterate and improve the result instead of stopping after the first casting attempt.
This workflow satisfied the individual assignment requirements because I:
- designed a mold around the process I was using,
- produced the mold by machining wax,
- used that mold to create a silicone negative,
- and used the silicone mold to cast parts.
I did not do the extra credit with more than two mold parts, because this project used a single-piece mold workflow. However, the assignment was still valuable because it gave me a full understanding of how digital design decisions affect milling, molding, and casting quality.
Some of my main takeaways were:
- machinable wax is very convenient for fast mold prototyping,
- a small ball-end tool helps improve finish on detailed geometry,
- accurate 1:1 mixing is critical,
- bubbles and pouring technique strongly affect the result,
- and iteration is an important part of getting a good cast.
My first cast proved that the workflow functioned correctly, and my second cast showed clear improvement in quality.
Group Project Link
You can check our group project here