Introduction
This week was focused on 3D printing and 3D scanning as two ways of working with 3D geometry. For the first part, I designed and printed a model that cannot be made subtractively, and for the second part I used a Shining 3D scanner to scan a person, meshed the raw data, and print the result on a BambuLab A1.
Group Assignment
Group assignment page:
https://week-5-group-assignment-a716f0.fabcloud.io
Tools & Materials
Hardware
- 3D Scanner: Shining 3D
- 3D Printer: BambuLab A1
- Filament: PLA
Software
- Scanning software: Shinning 3D
- Mesh processing: same software
- Slicer: Bambu Studio
Hero Shots
3D Printing an Object That Cannot Be Made Subtractively
Idea and concept
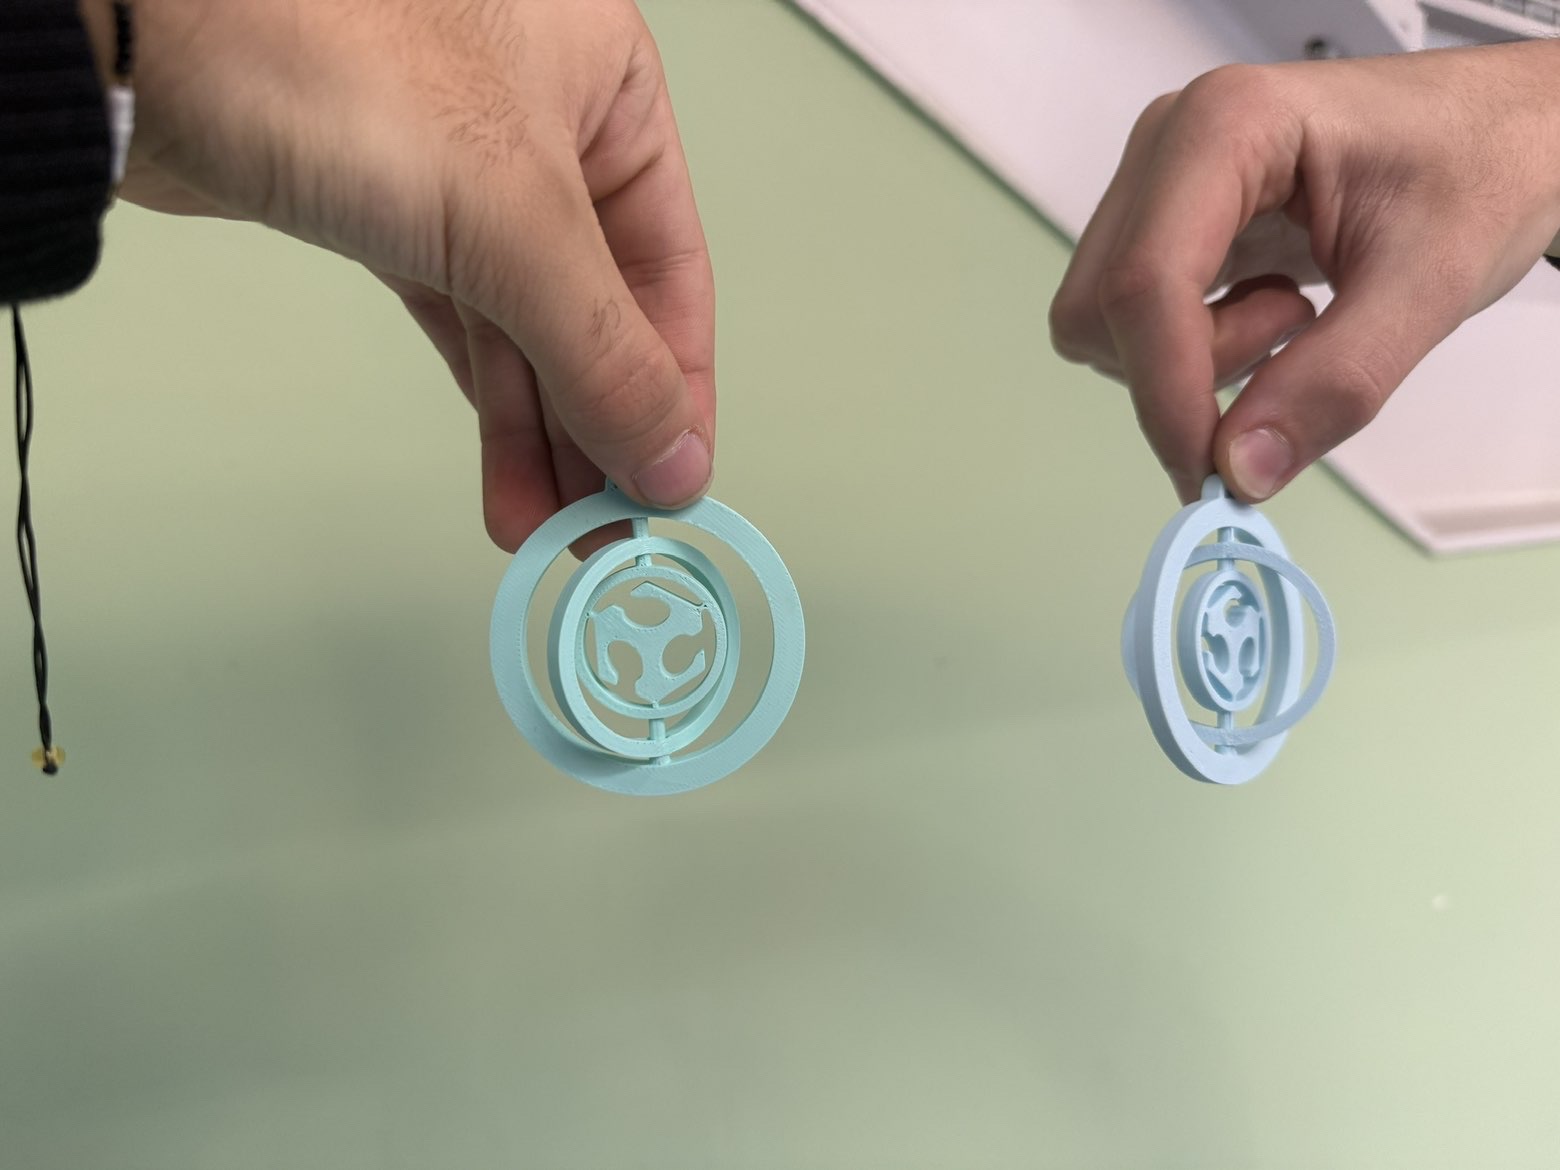
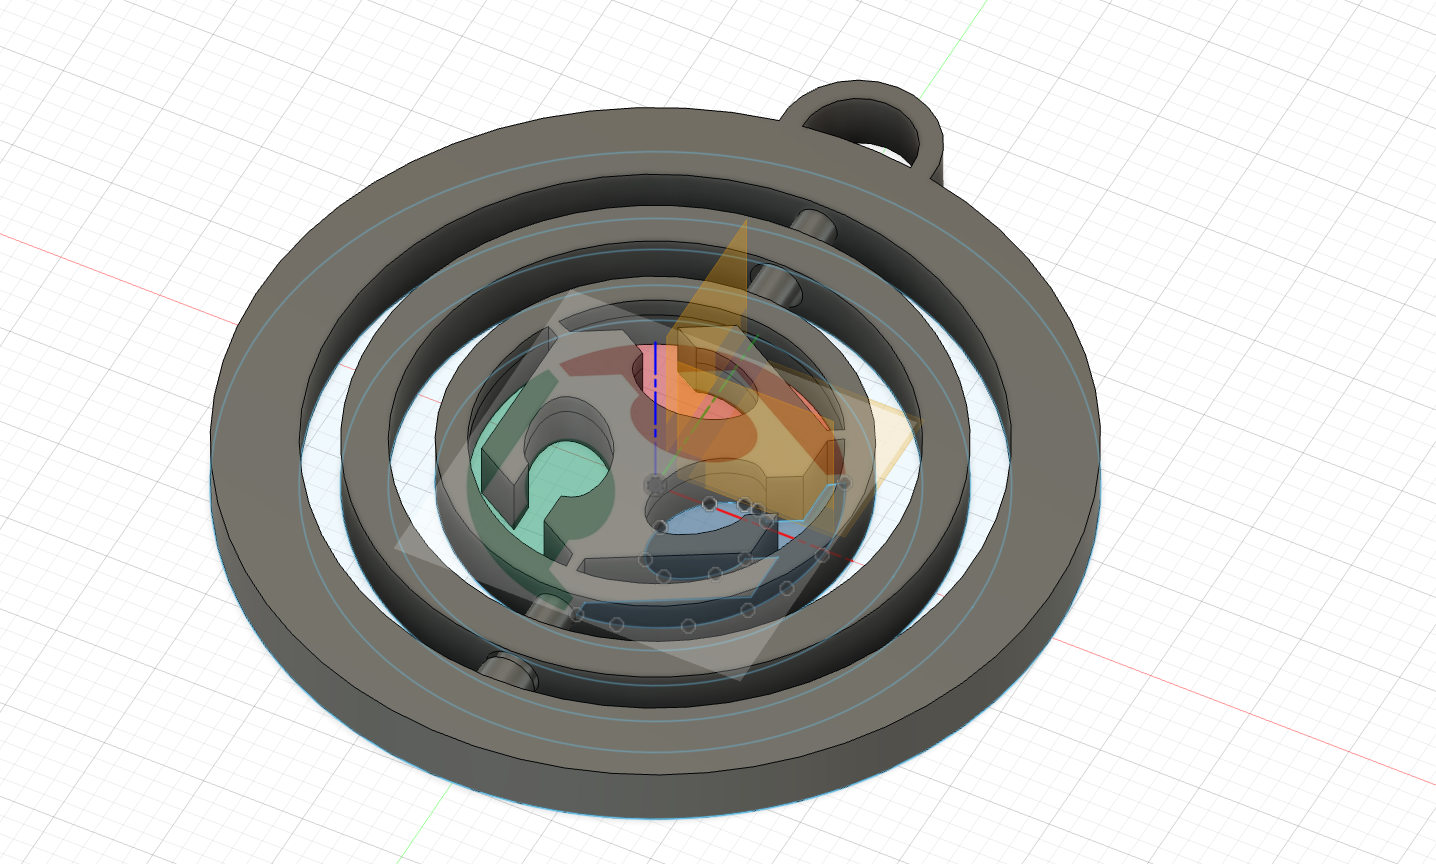
For the first individual part of the assignment, I designed a Christmas ornament that contains the Fab Lab logo inside.
The ornament consists of multiple circular rings that are vertically aligned and nested inside each other. After printing, these rings can rotate/turn, which makes the ornament interactive.
This design is a good example of something that is very difficult (or almost impossible) to manufacture using subtractive methods, because:
- the rings are inside each other
- the movement is created by clearances built into the print
- the geometry would be extremely hard to assemble manually if it was made from solid material
Why it cannot be made subtractively
If I tried to produce this design using milling/subtractive methods, the main problem would be access.
A subtractive tool cannot easily:
- reach the inner closed circular cavities
- create multiple enclosed moving parts already assembled
- produce the full geometry without splitting it into multiple parts
With 3D printing, the rings are printed already assembled, and the movement is possible immediately after printing.
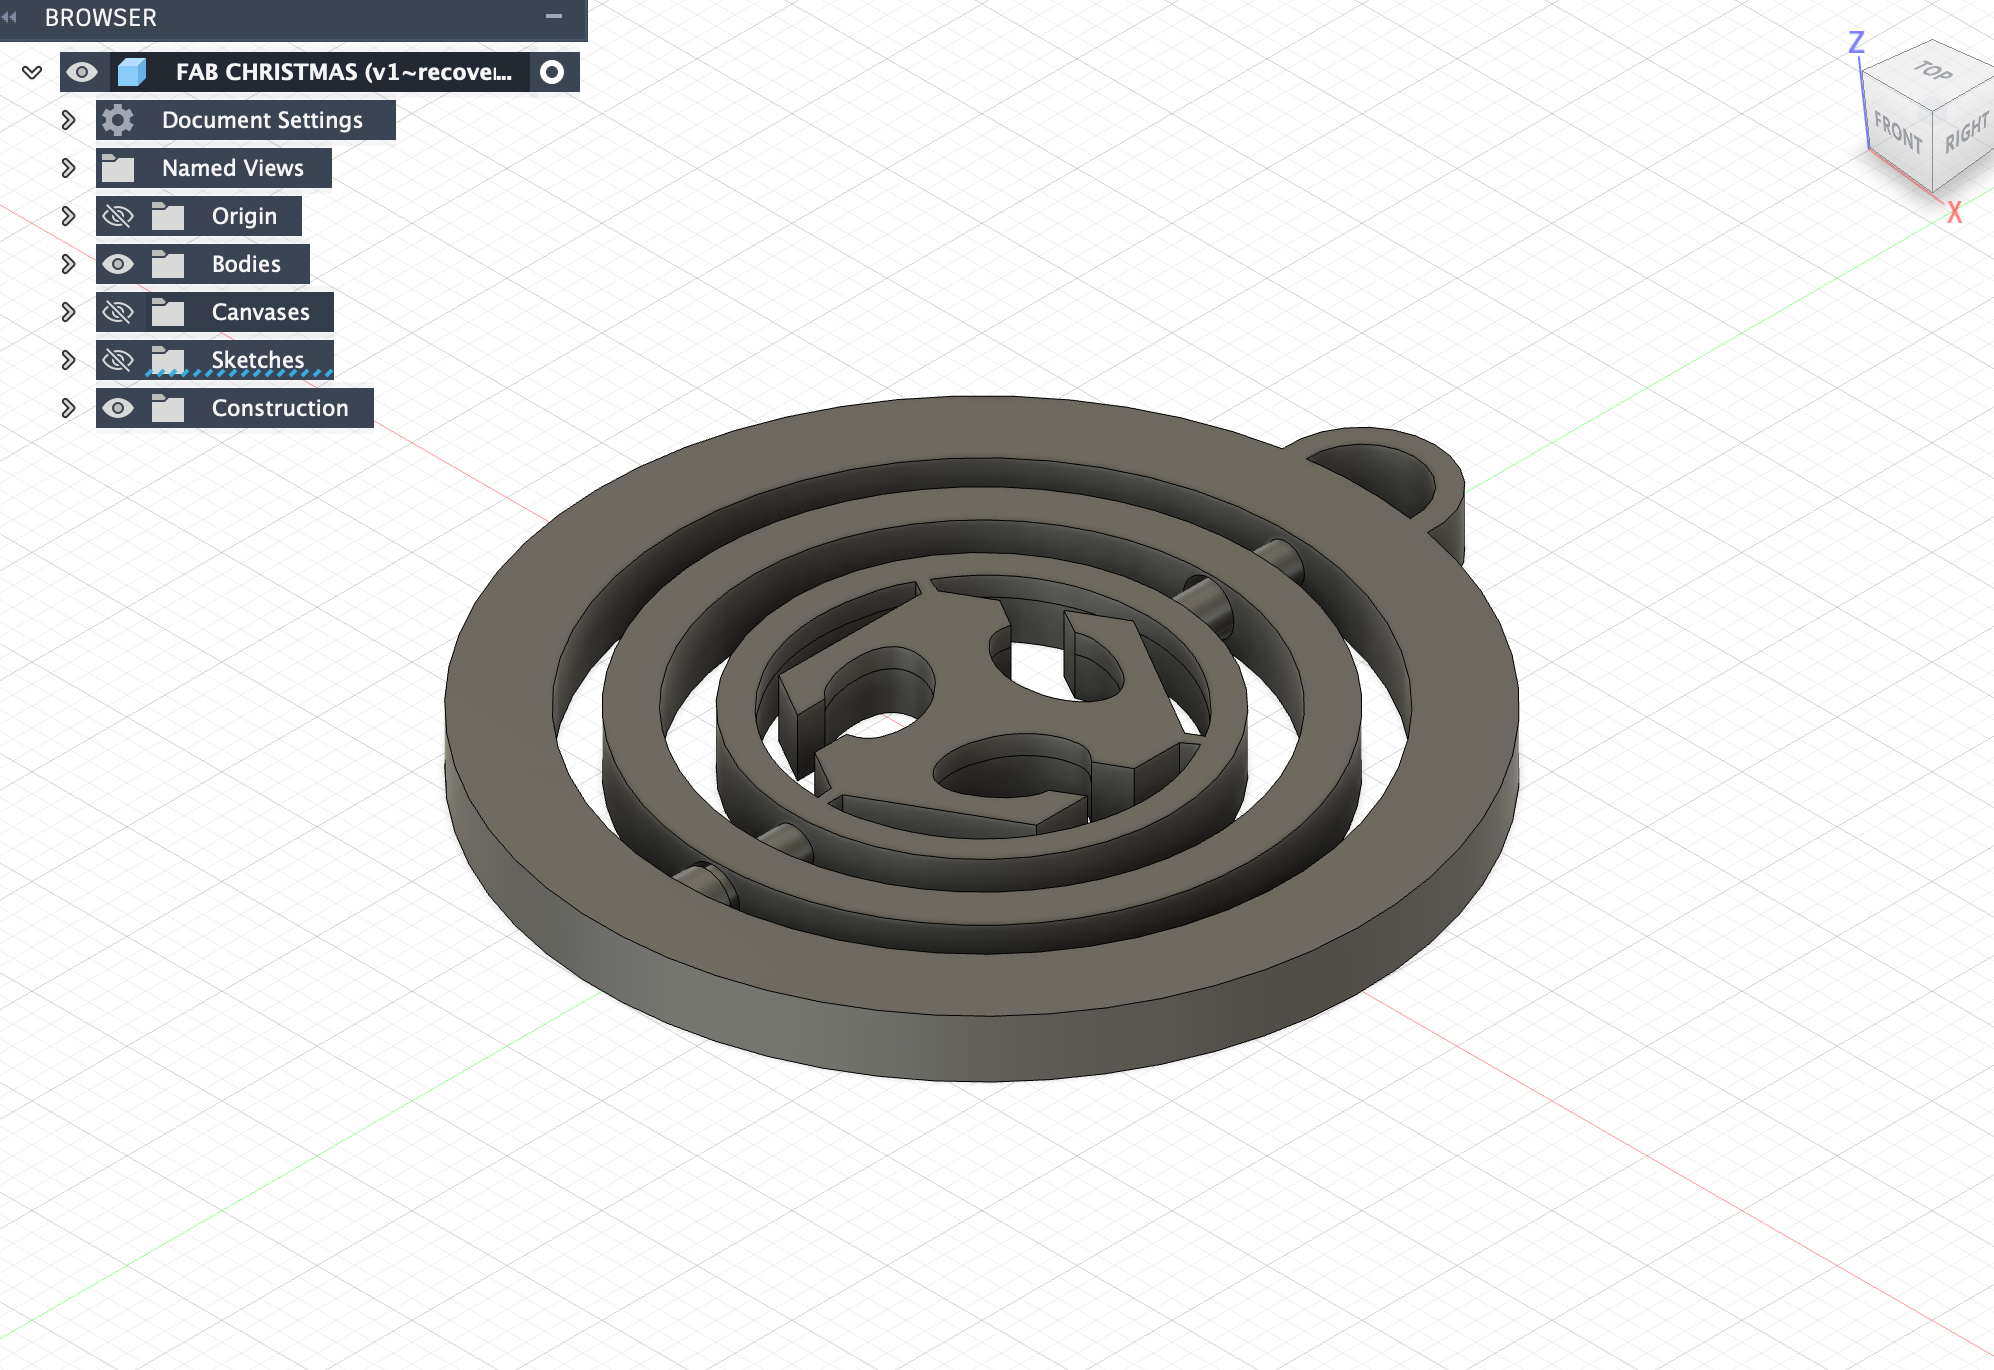
Designing the ornament
I designed the ornament with fusion 360, first i started with uploading a picture of the fab logo on the plane so that i could sketch on it get a exact fab logo.
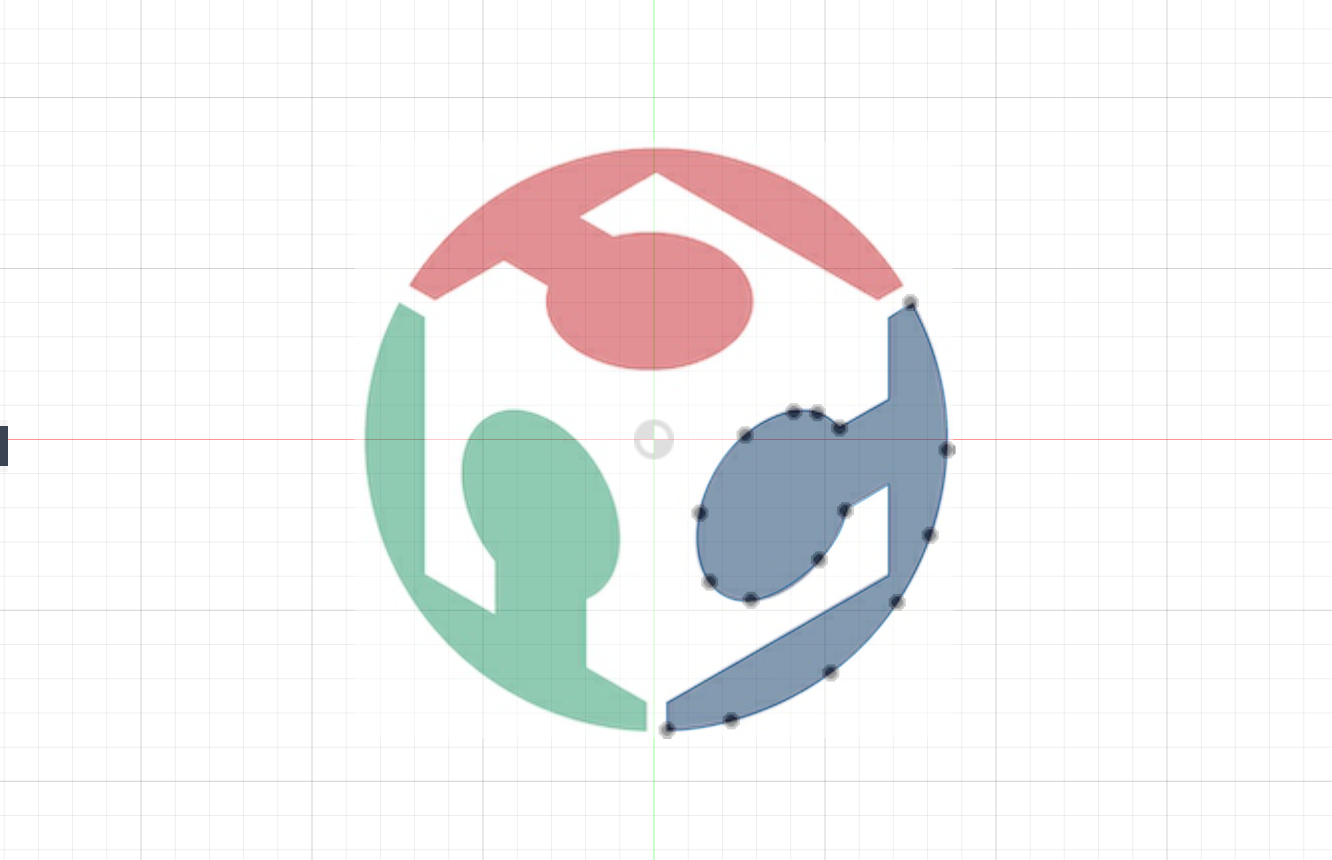
Then I added some circles around it and extruded them.
I added a cylinder that passes through the circles vertically with a clearence of 0.2mm.
Slicing the ornament
I imported the ornament model into the slicer and checked the preview.
What I checked before printing:
- if the rings are separated enough (clearance)
- whether supports are needed inside the model
- if the logo is readable at the chosen size
- layer preview (to see the internal structure)

Sliced preview of the Christmas ornament with nested rings and Fab logo.
Printing the ornament
After slicing, I printed the ornament using PLA filament and checked if the rings could move after the print finished.
At first rings didn’t move. We hadn’t done the group assignment so I wasn’t familiar with the clearence in general. I kind of randomly put the clearence value. When I tried to forcefully turn the ornament it broke :/
Then I changed the clearence value to 0.325 and printed it again.
*Video of the christmas ornament.*Result and observations
What worked well
- The ornament printed successfully as a single assembled object
- The Fab logo was visible on the ornament
- The rings were correctly aligned and printed without breaking
Challenges / limitations
- If the clearance is too small, the rings can fuse together
- Small details depend heavily on layer height
- Support settings can affect the surface quality if enabled
3D Scanner Setup (Shining 3D)
Setting up the scanner
After completing the ornament print, I prepared the Shining 3D scanner setup.
Main setup points:
- stable scanner placement
- good lighting (avoid reflections)
- clean scanning area (avoid tracking confusion)
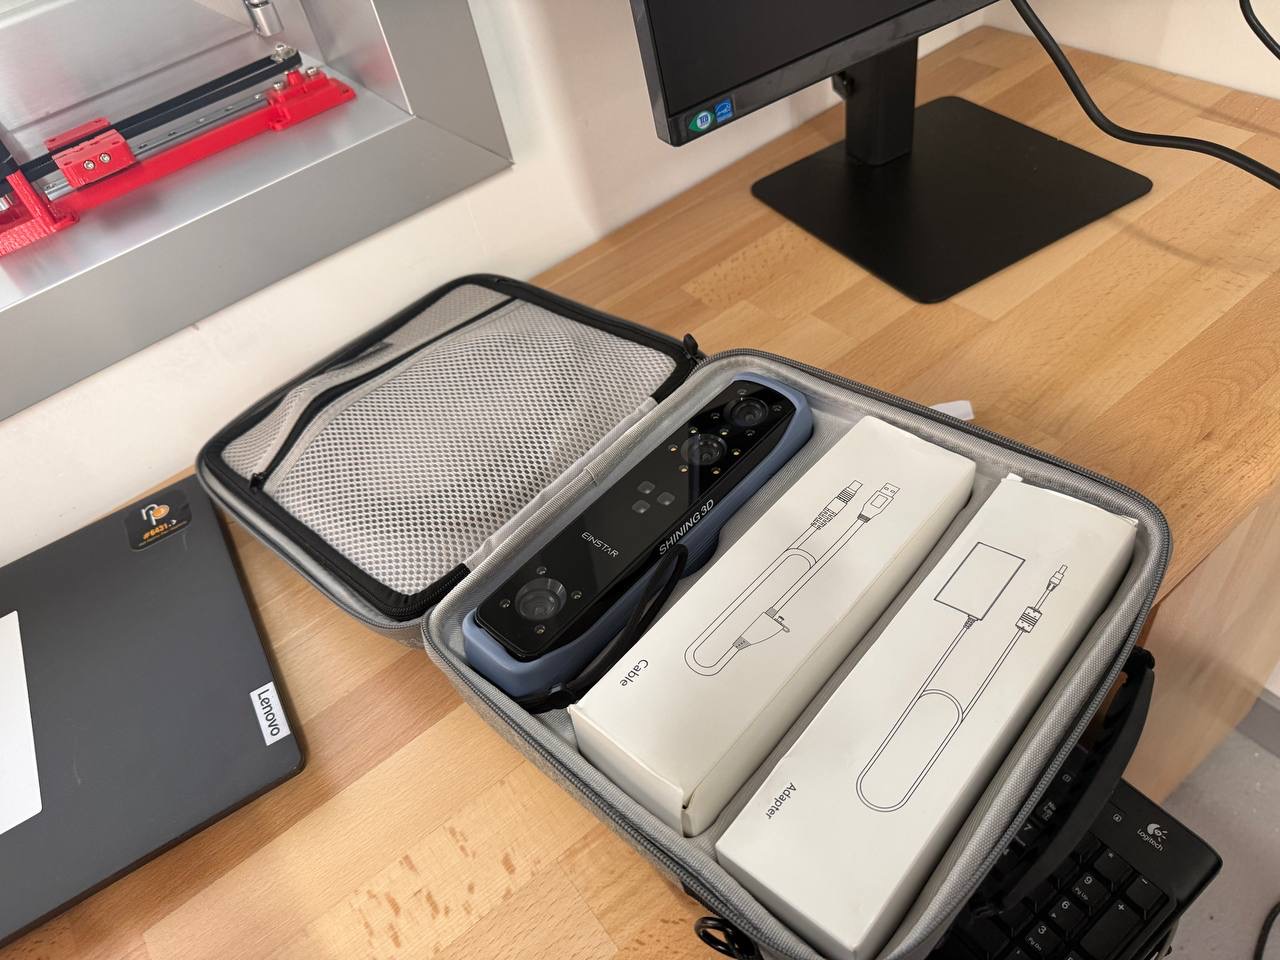
Photo of the Shining 3D scanner.
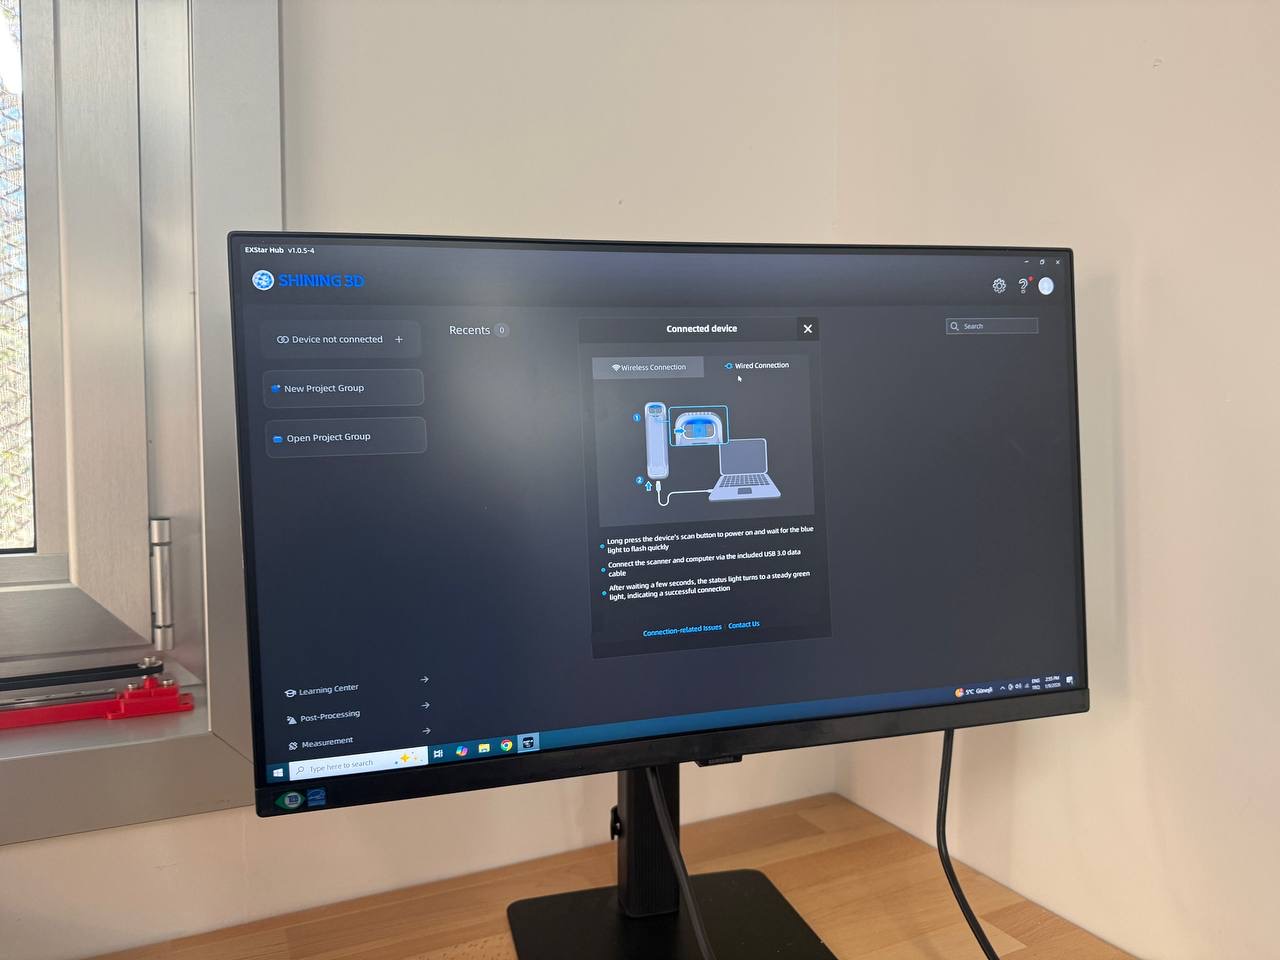
Setting up the scanner.
Preview Mode Testing
Testing brightness and working distance
Before scanning a friend, I tested the scanner’s properties in preview mode.
I adjusted:
- Brightness / exposure
- Working distance
- Scan angle
This helped reduce scanning noise and improved surface detection before starting the real scan.
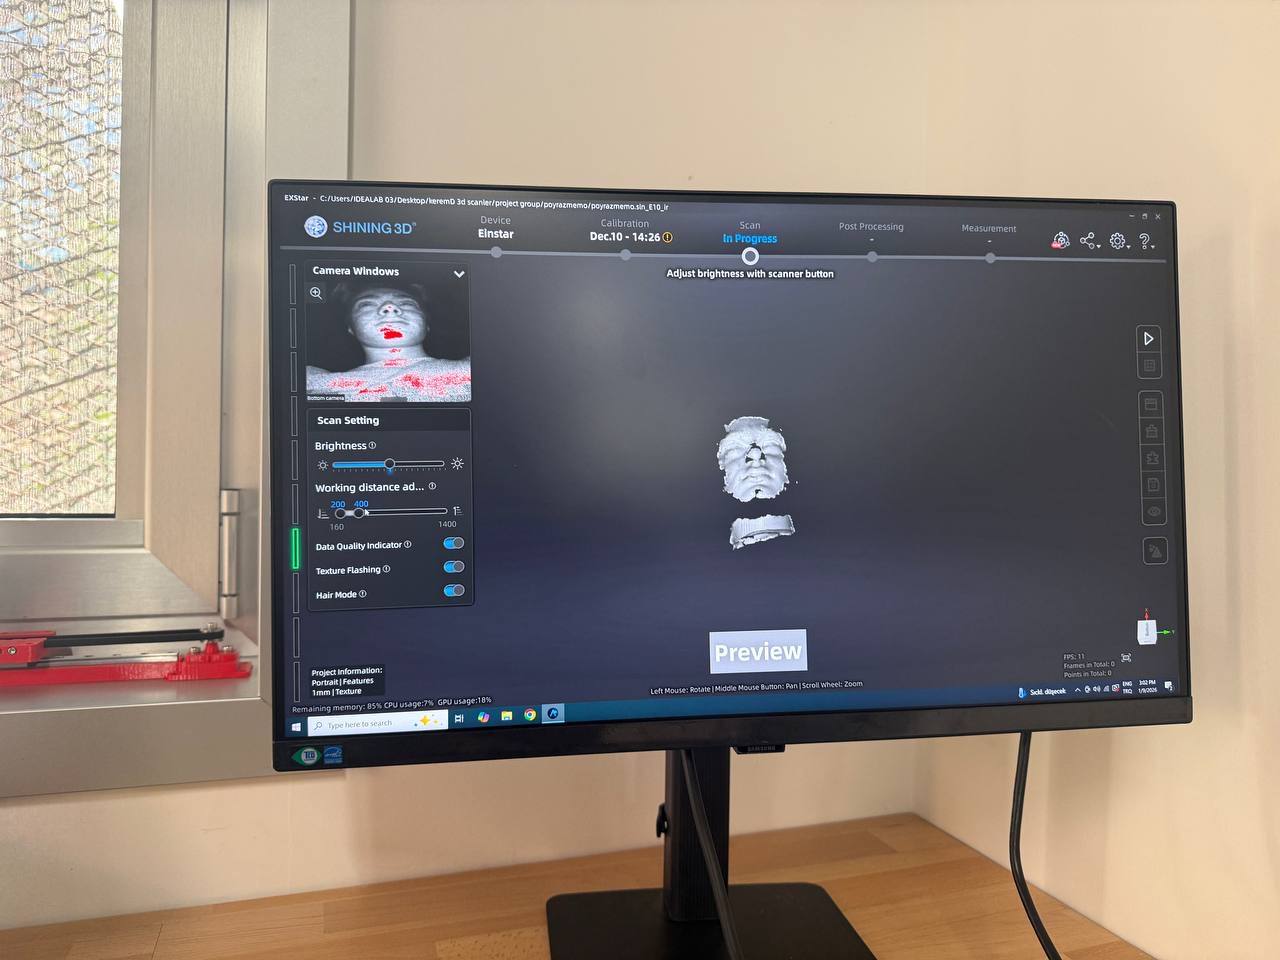
Preview mode testing: brightness and working distance.
Scanning Process
Scanning one of my friends
For the main scan, I scanned one of my friends.
Scanning a person is challenging because:
- the subject can move slightly
- hair and sharp edges create noise
- some areas can be hard to capture from one angle
During scanning, I tried to:
- keep a consistent distance
- move smoothly around the subject
- capture enough overlap
- avoid losing tracking
Scanning one of my friends.
Mesh Processing
Raw scan
After scanning, the software generated the first raw data.
At this stage, the scan still contained:
- rough edges
- missing geometry
- floating artifacts/noise
- uneven surfaces
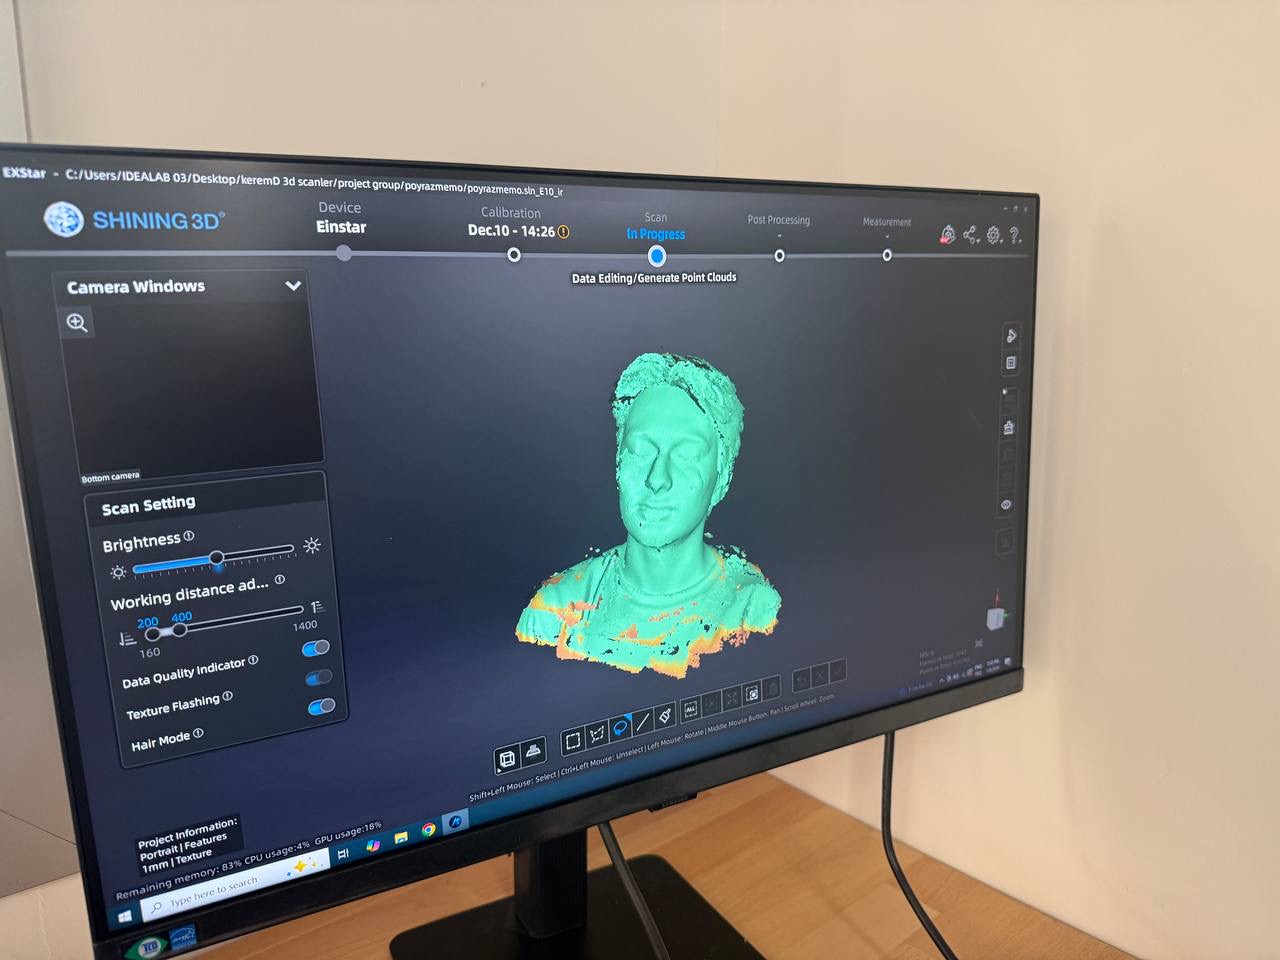
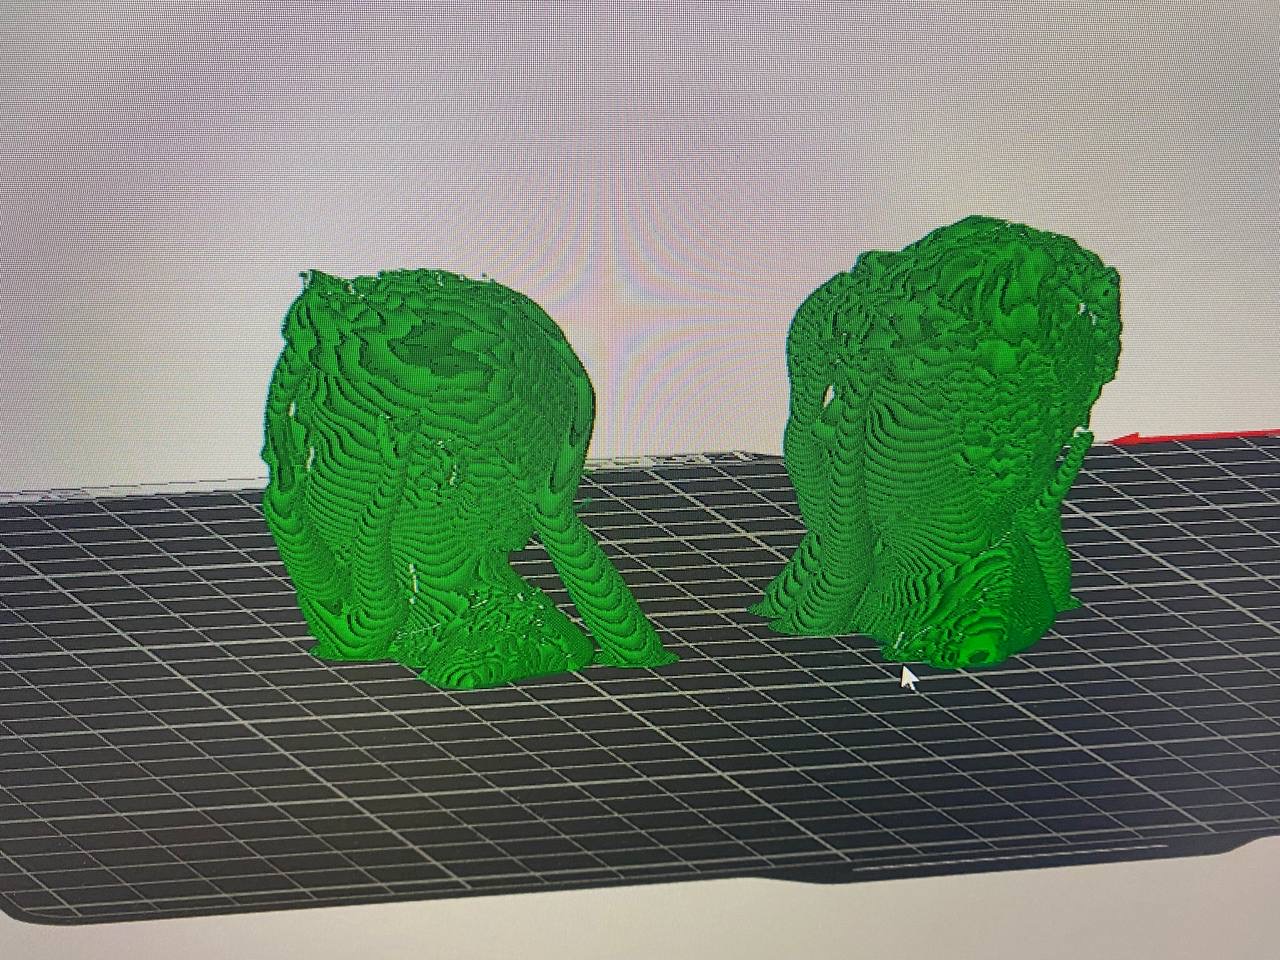
- Raw mesh output after scanning.*
Cleaned scan mesh
To make the model printable, I cleaned the data with the mesh tool.
Cleaning steps included:
- removing noise pieces
- trimming extra geometry
- smoothing areas with rough geometry
- preparing the model to be watertight and printable
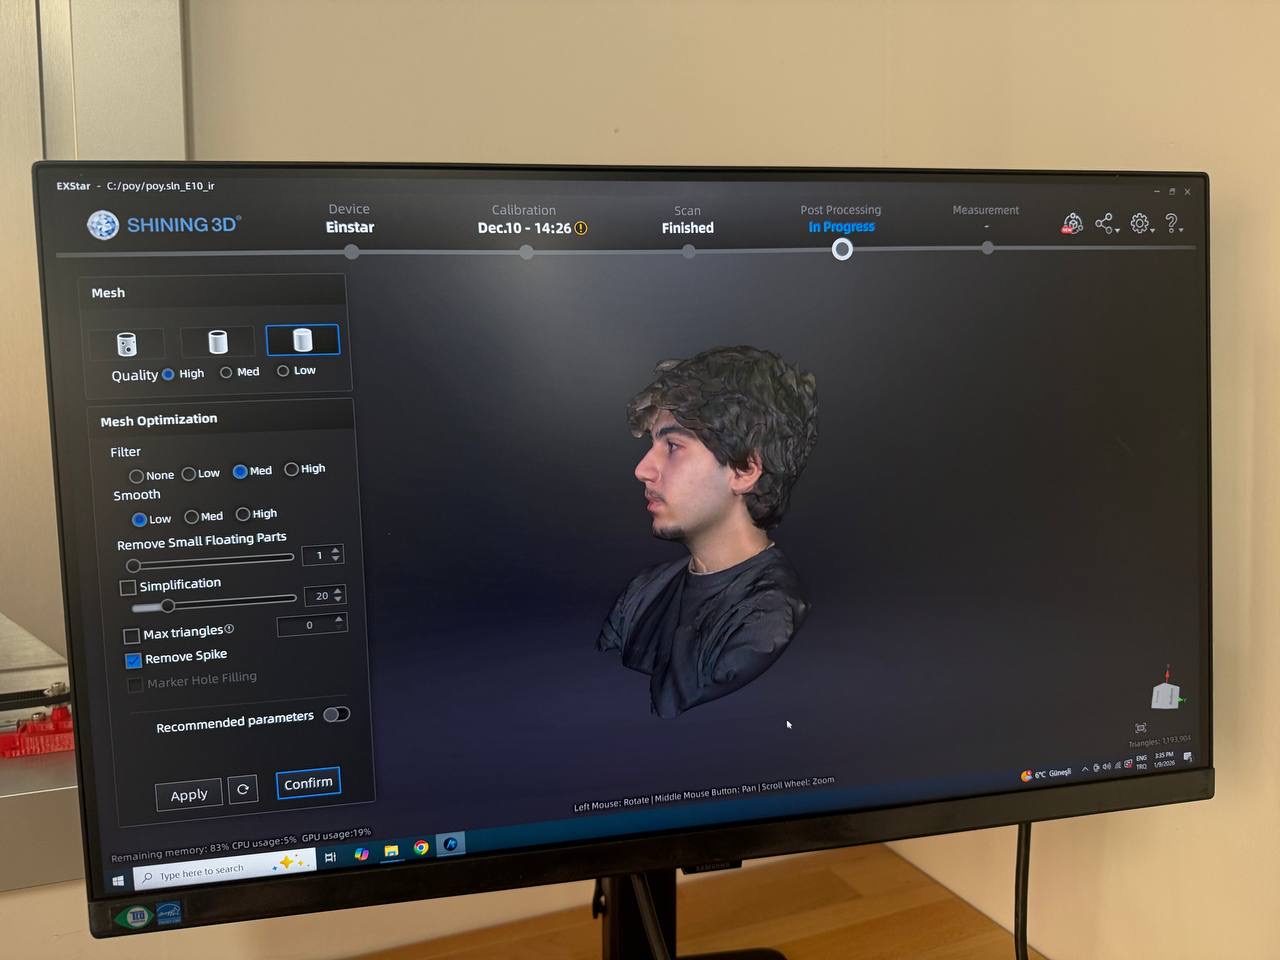
Cleaned mesh after processing.
Scaling & Exporting the scan
Before exporting, I resized the scan model to fit the printer bed and reduce printing time. After scaling, I exported the model as an STL file for slicing.
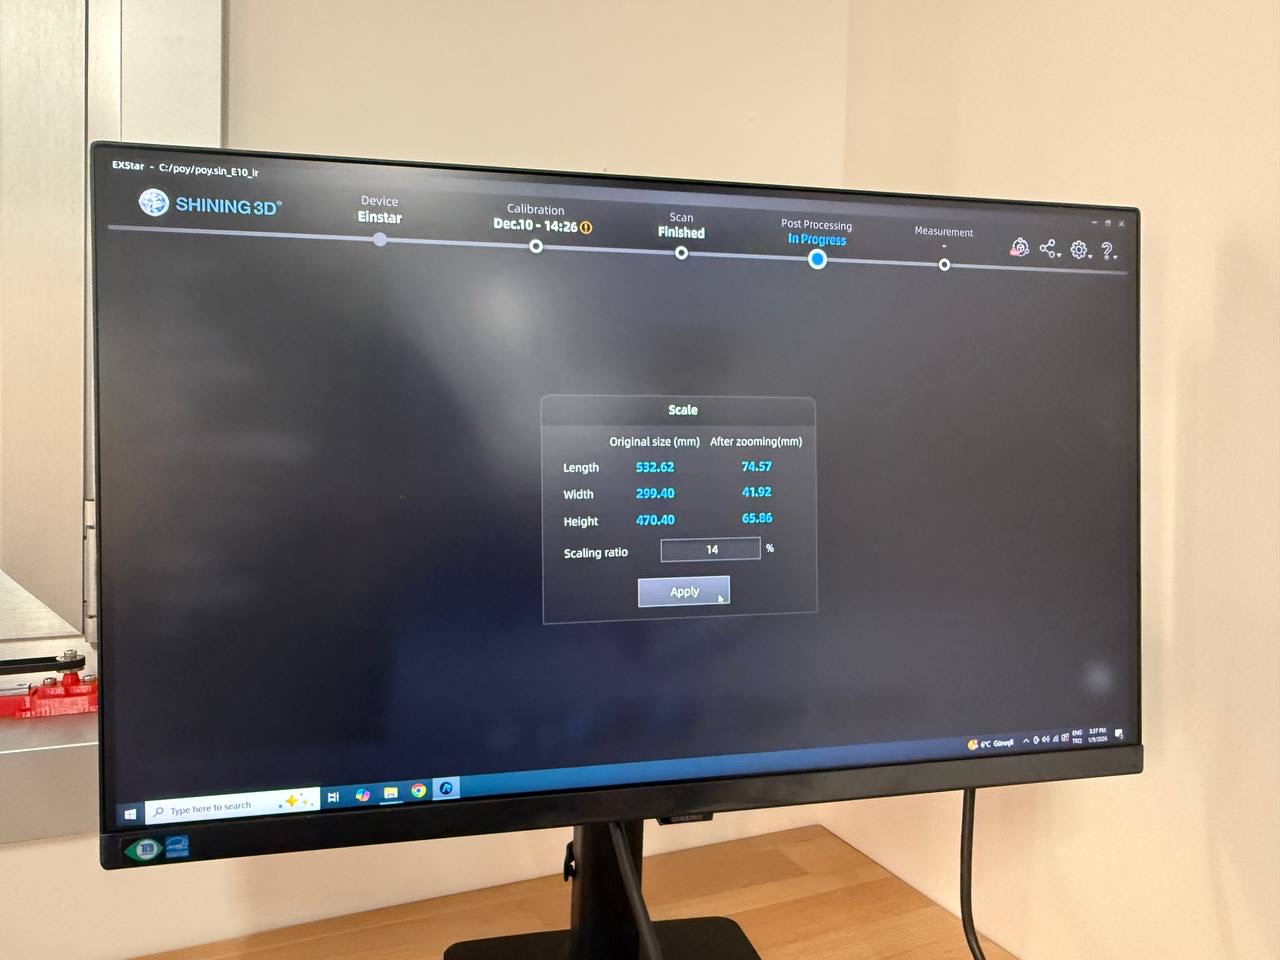
Scaling the scan before export.
Bambu Studio
Importing the STL into Bambu Studio
I imported the STL into Bambu Studio, selected the BambuLab A1 preset, and checked the model placement. Oriented the scan for a healthy print.
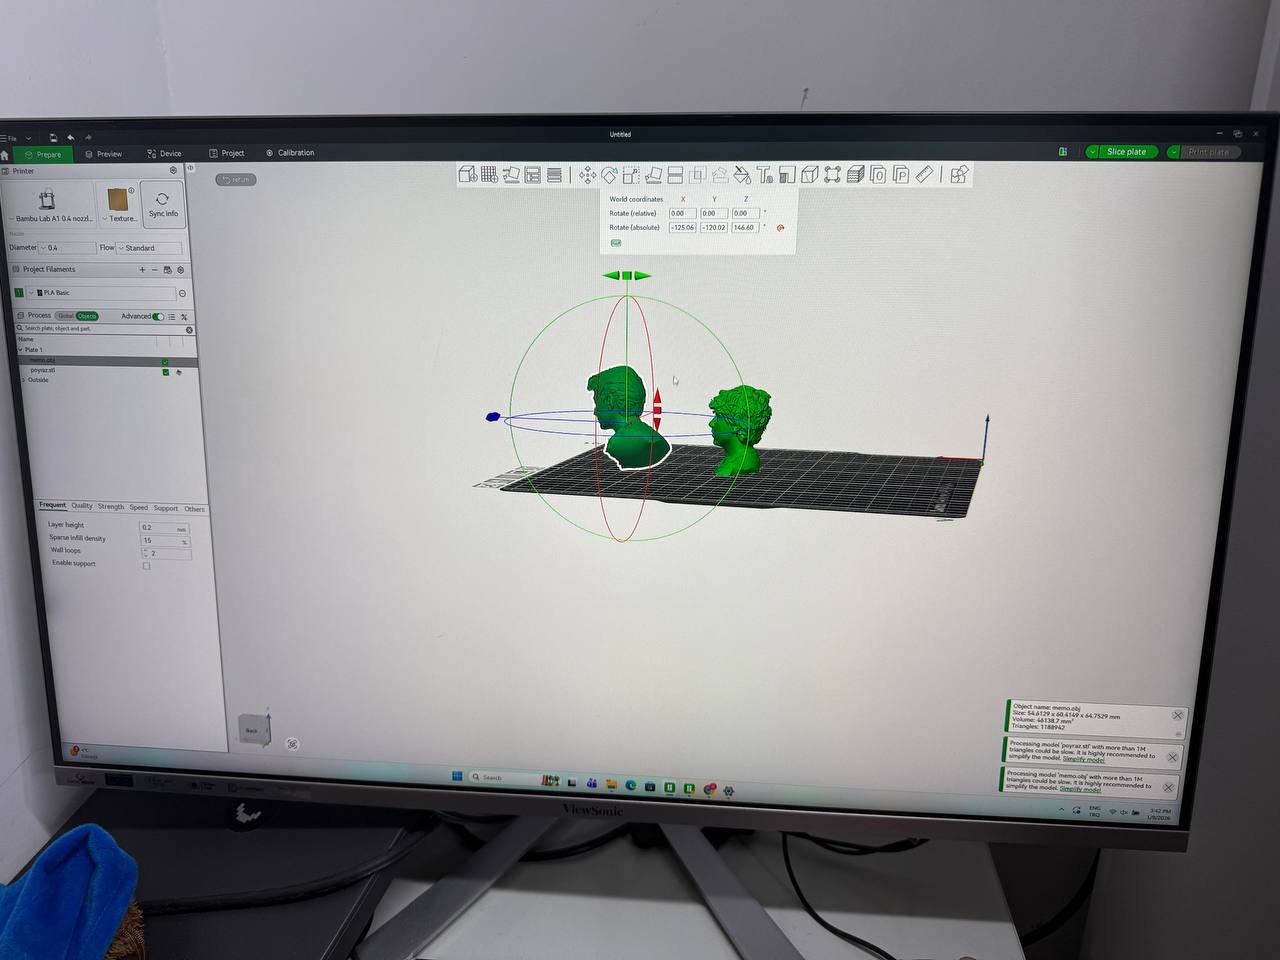
Imported scan model in Bambu Studio.
Slicing the scan
I sliced the model and reviewed the preview.
I checked:
- support placement
- overhang areas
- layer preview
- estimated print time
Sliced scan preview in Bambu Studio.
Printing the Scan
Printing on the BambuLab A1
After slicing, I printed the scan using the BambuLab A1 with PLA filament.
I monitored:
- first layer adhesion
- printing stability
- support success (if enabled)
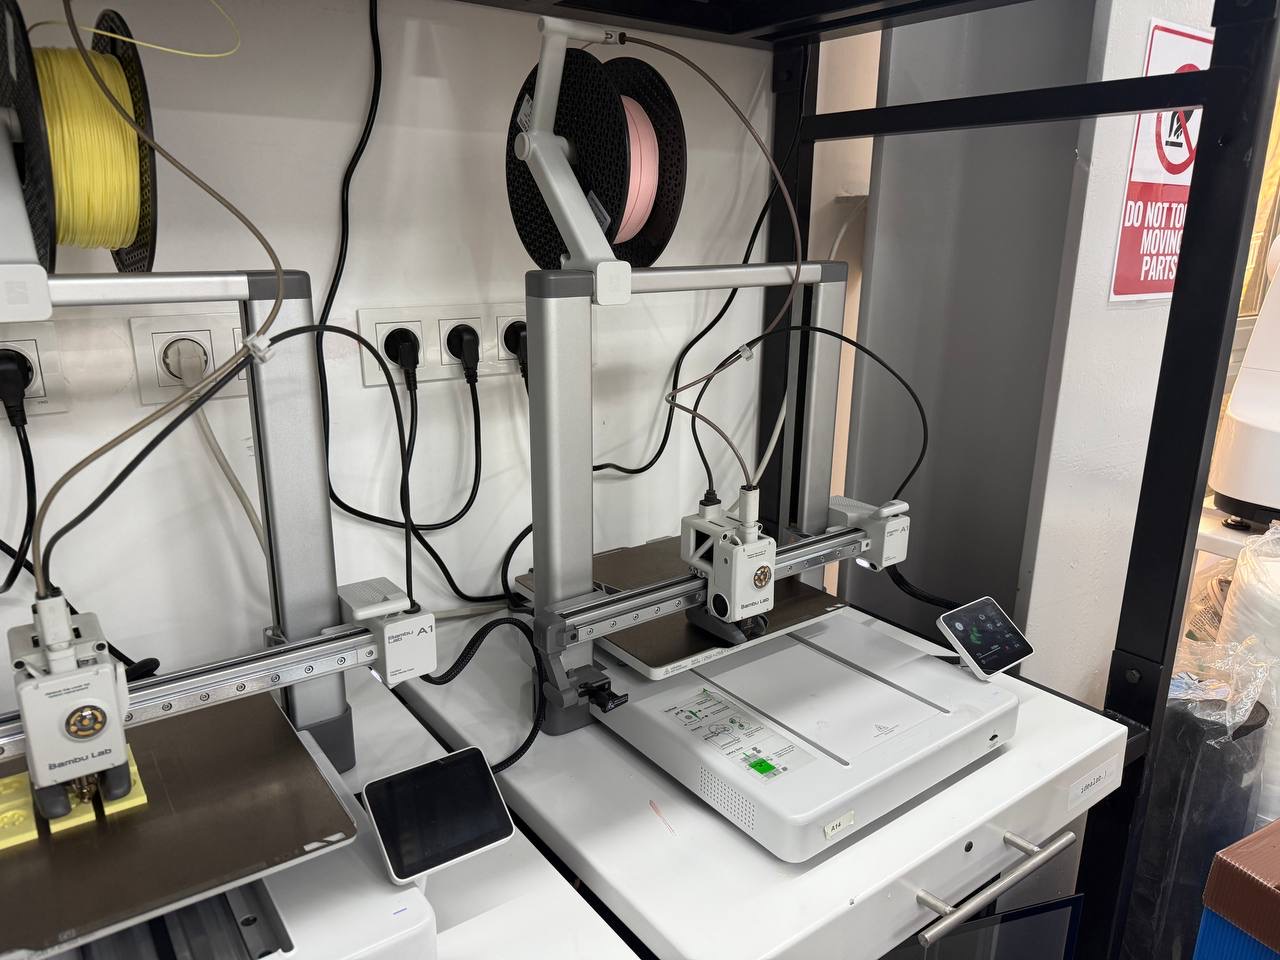
Printing the scan using the BambuLab A1.
Final Results
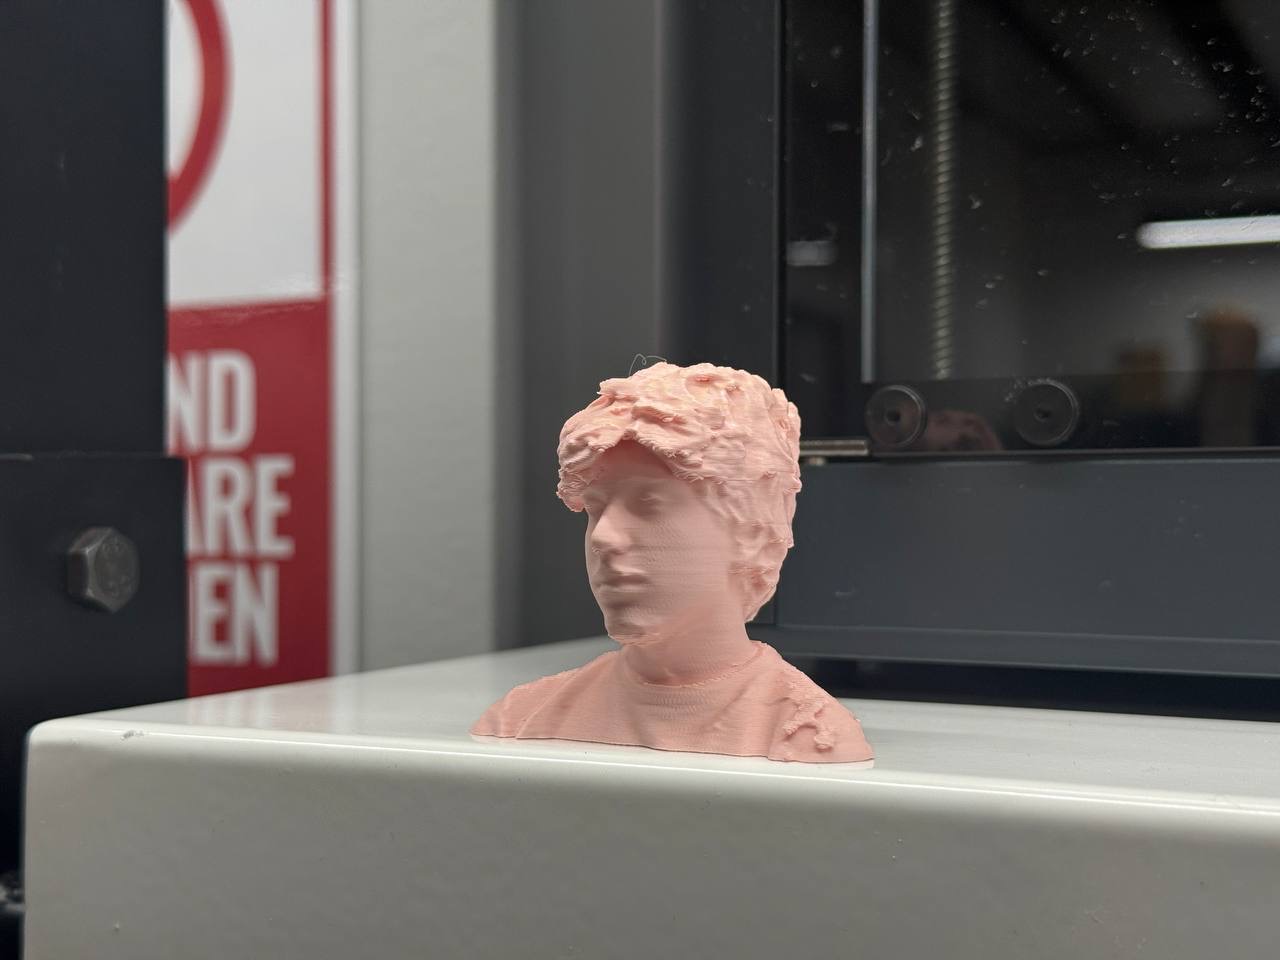
Final printed scan
The final print completed successfully and preserved the overall scanned shape.
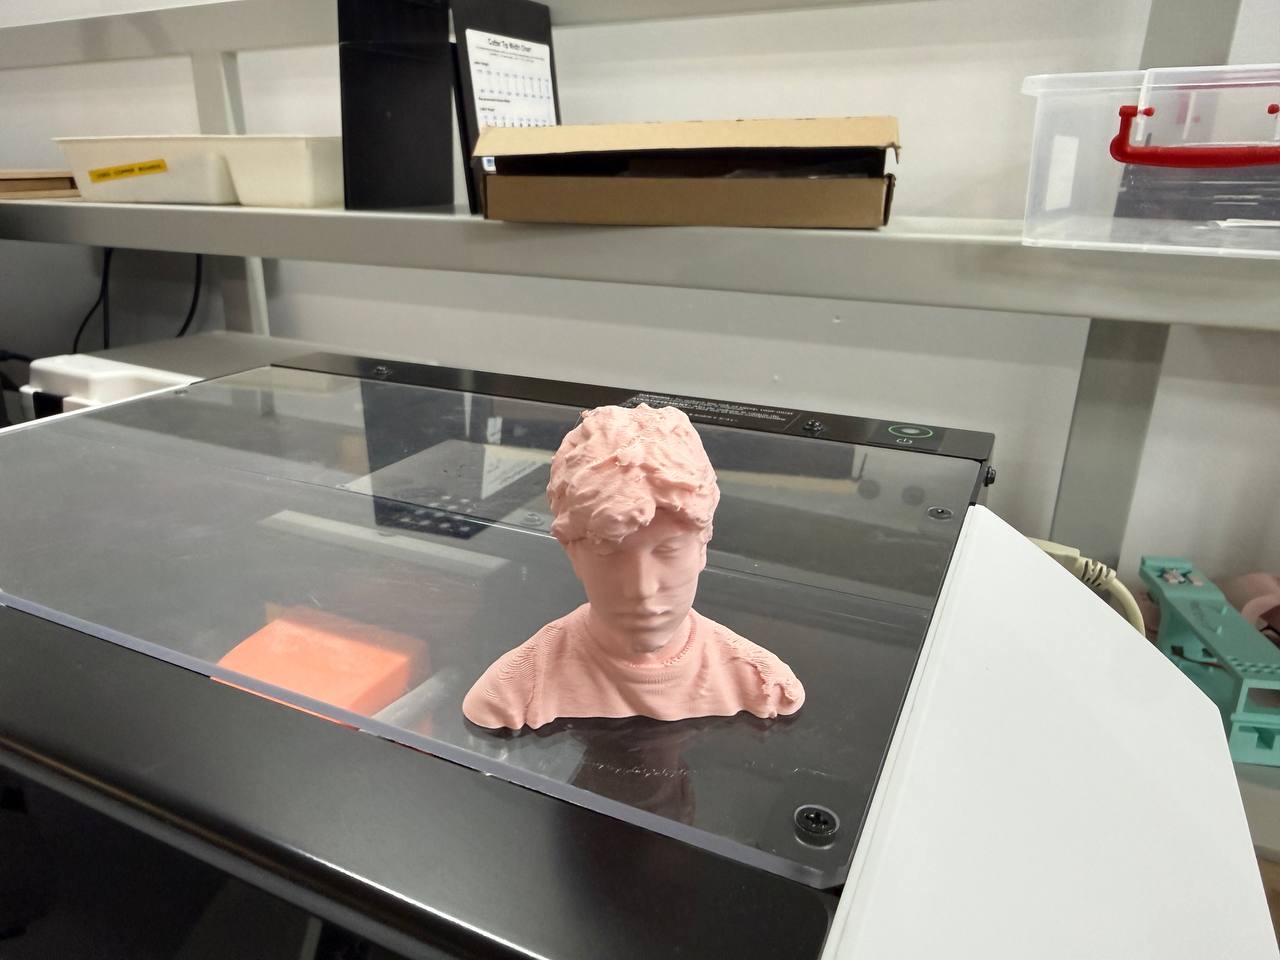
Final printed scan result (photo 1).
Final printed scan result (photo 2).
Reflection (What I Learned)
This week showed me that 3D scanning and printing requires a full pipeline.
What I learned from printing the ornament
- Designing clearances is critical for moving parts
- 3D printing allows nested/interlocked geometry without assembly
- Print settings and layer height strongly affect small details
What I learned from scanning and printing a person
- Preview mode is very useful before starting the full scan
- Raw scans almost always require cleaning
- Slicing settings and supports impact surface quality a lot
Overall, I successfully completed:
Design → Print → Scan → Raw → Clean(Mesh) → Scale → Export → Slice → Print