Introduction
This week was about moulding and casting. The goal was to design a mold, produce it using a digital fabrication process, and then use it to cast a final object.
For my individual assignment, I made a small smiley face cast. I designed the smiley face digitally, prepared it for milling, milled the shape into machinable wax, created a silicone mold from the wax, and finally used that silicone mold to cast the final smiley face part.
Group Assignment
Group assignment page:
https://week-13-group-assignment-0b048f.fabcloud.io
Assignment Goal and Hero Shot
My goal was to create a small smiley face cast using this workflow:
Digital design
      ↓
Vcarve
      ↓
Wax milling on SRM-20
      ↓
Silicone mold
      ↓
Final cast smiley face
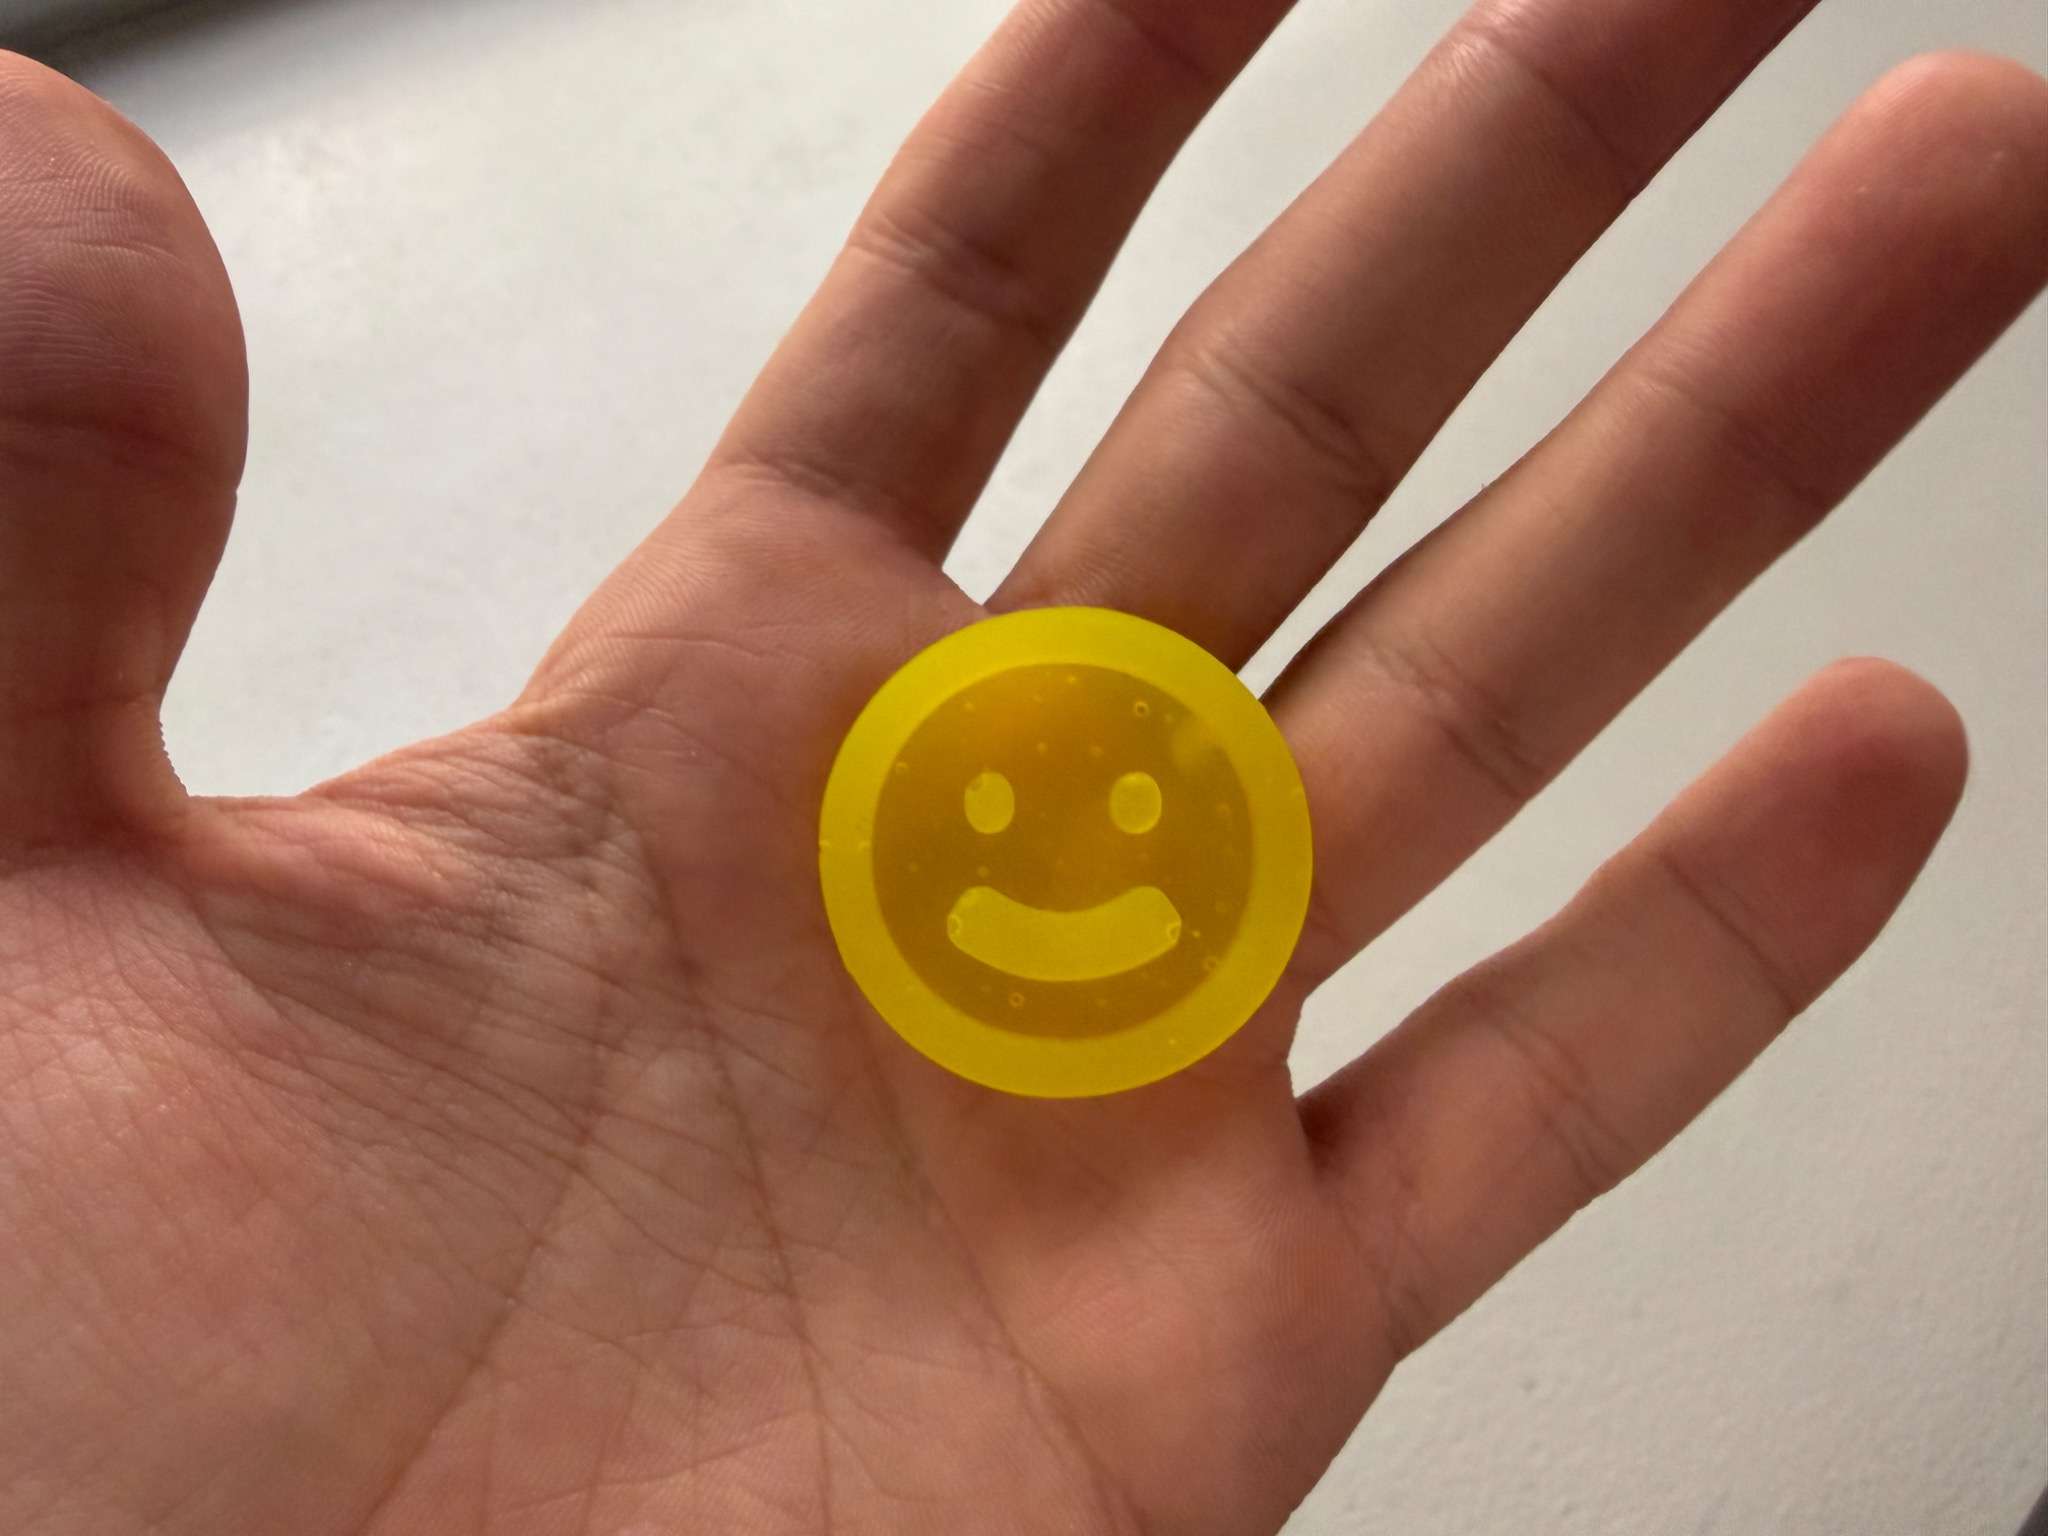
The final object was a smiley face made from a silicone mold that came from a machinable wax.
Design Idea
I chose to make a smiley face because it is a simple but recognizable shape. It also includes both large and small features.
The main design features were:
- circular outer face
- two eyes
- curved smiling mouth
- simple geometry for easier demolding
I did not want the design to have deep undercuts or very thin fragile parts because this was my first full molding and casting workflow.
Design Process
I searched the shapes part in the Cuttle.xyz to find pre-designed smiley face. I exported it as DXF and then imported it into Vcarve so that i could continue the design process.
I re-designed the dimensions of the smiley face so that it could be produced with a 3mm endmill.
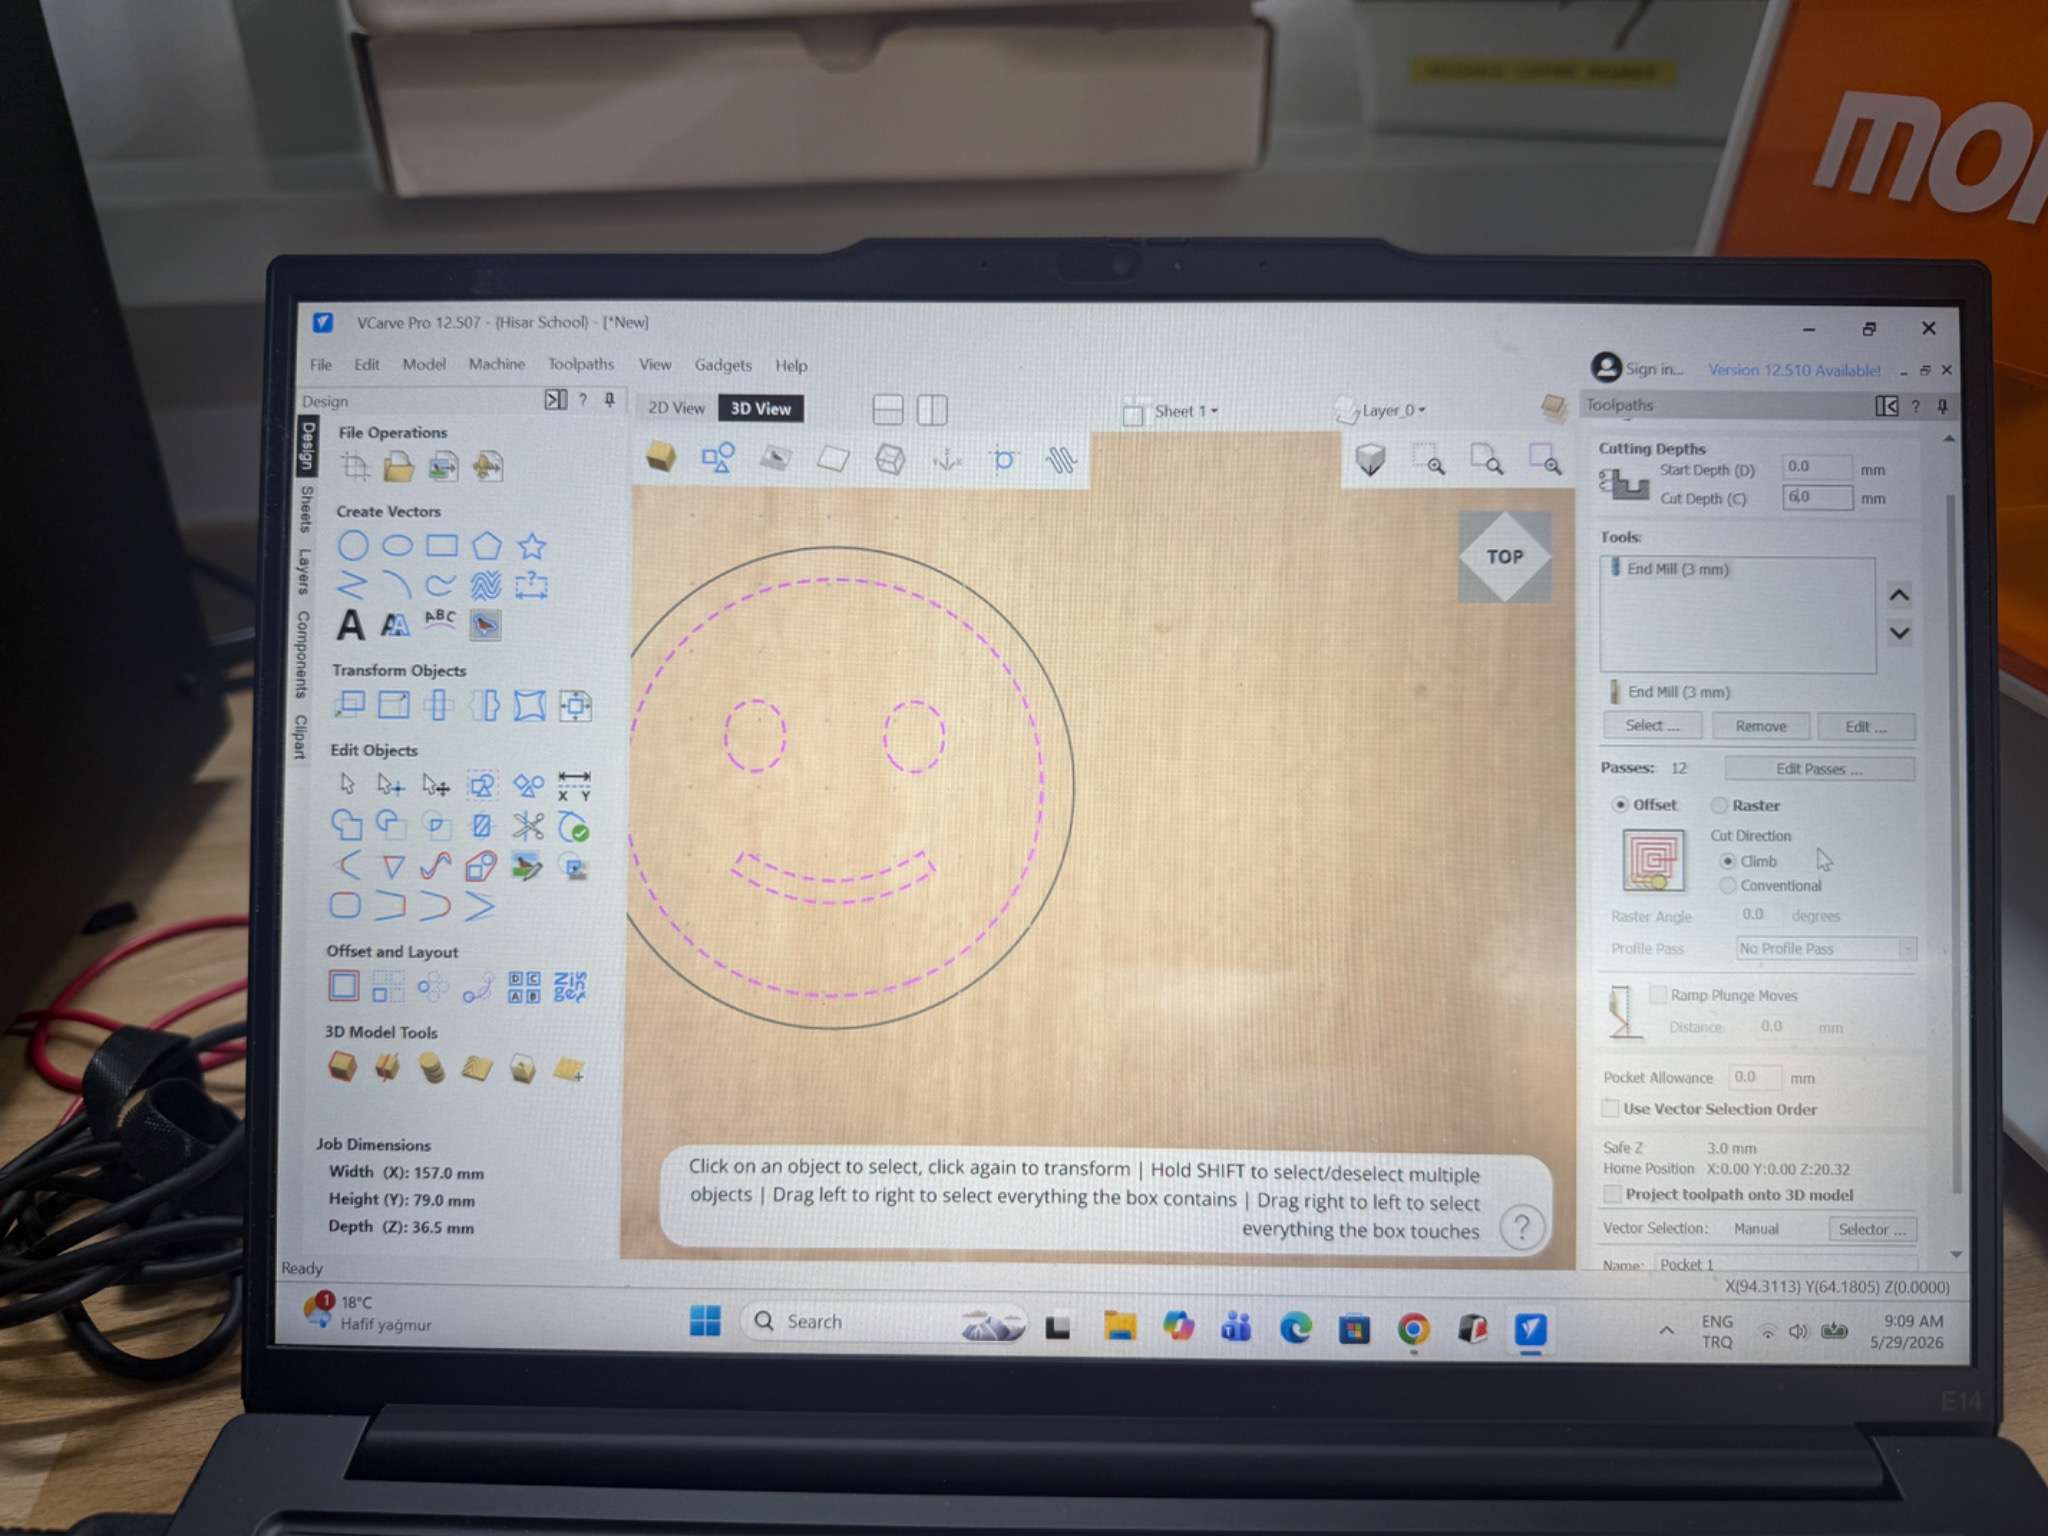
Toolpaths In Vcarve for SRM-20
While designing the toolpaths, I had to think backwards. The final cast is not made directly from the model. The process goes through wax and silicone first, so the positive and negative shapes matter.
This means that details in the wax are transferred into the silicone mold, and then the silicone mold creates the final cast.
Because of this, I tried to keep the smiley face design clear and not too complicated.
The important design decisions were:
- keeping the face compact so it fit inside the wax block
- stock size
- cutting depth
- tool diameter
- finishing toolpath
- origin position
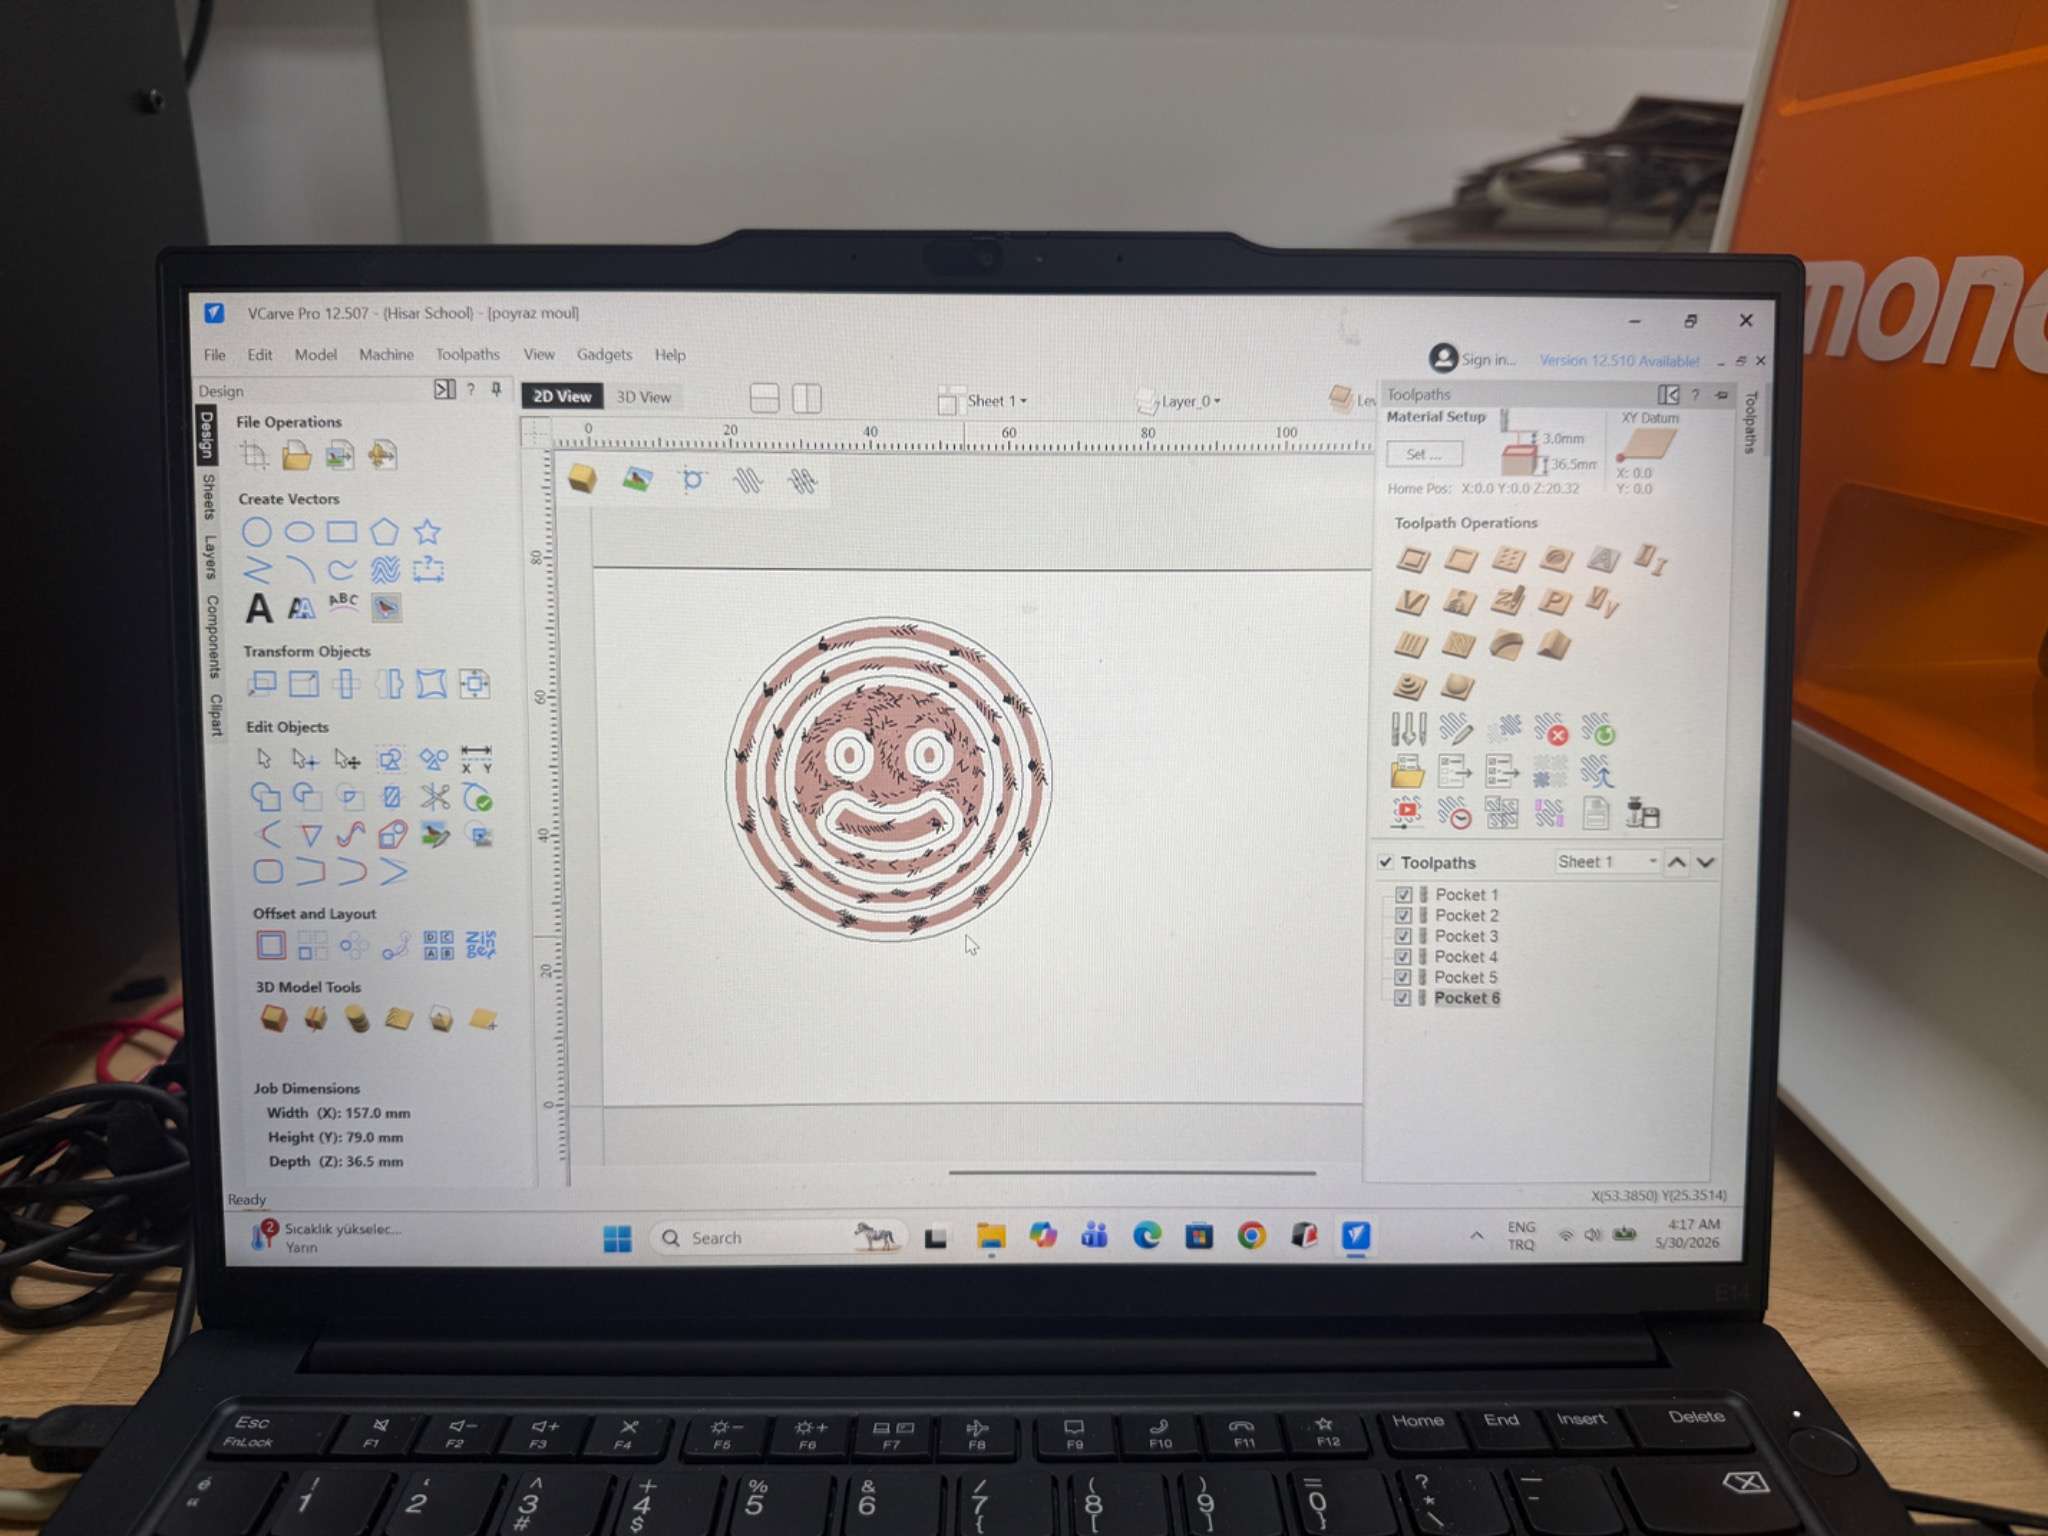
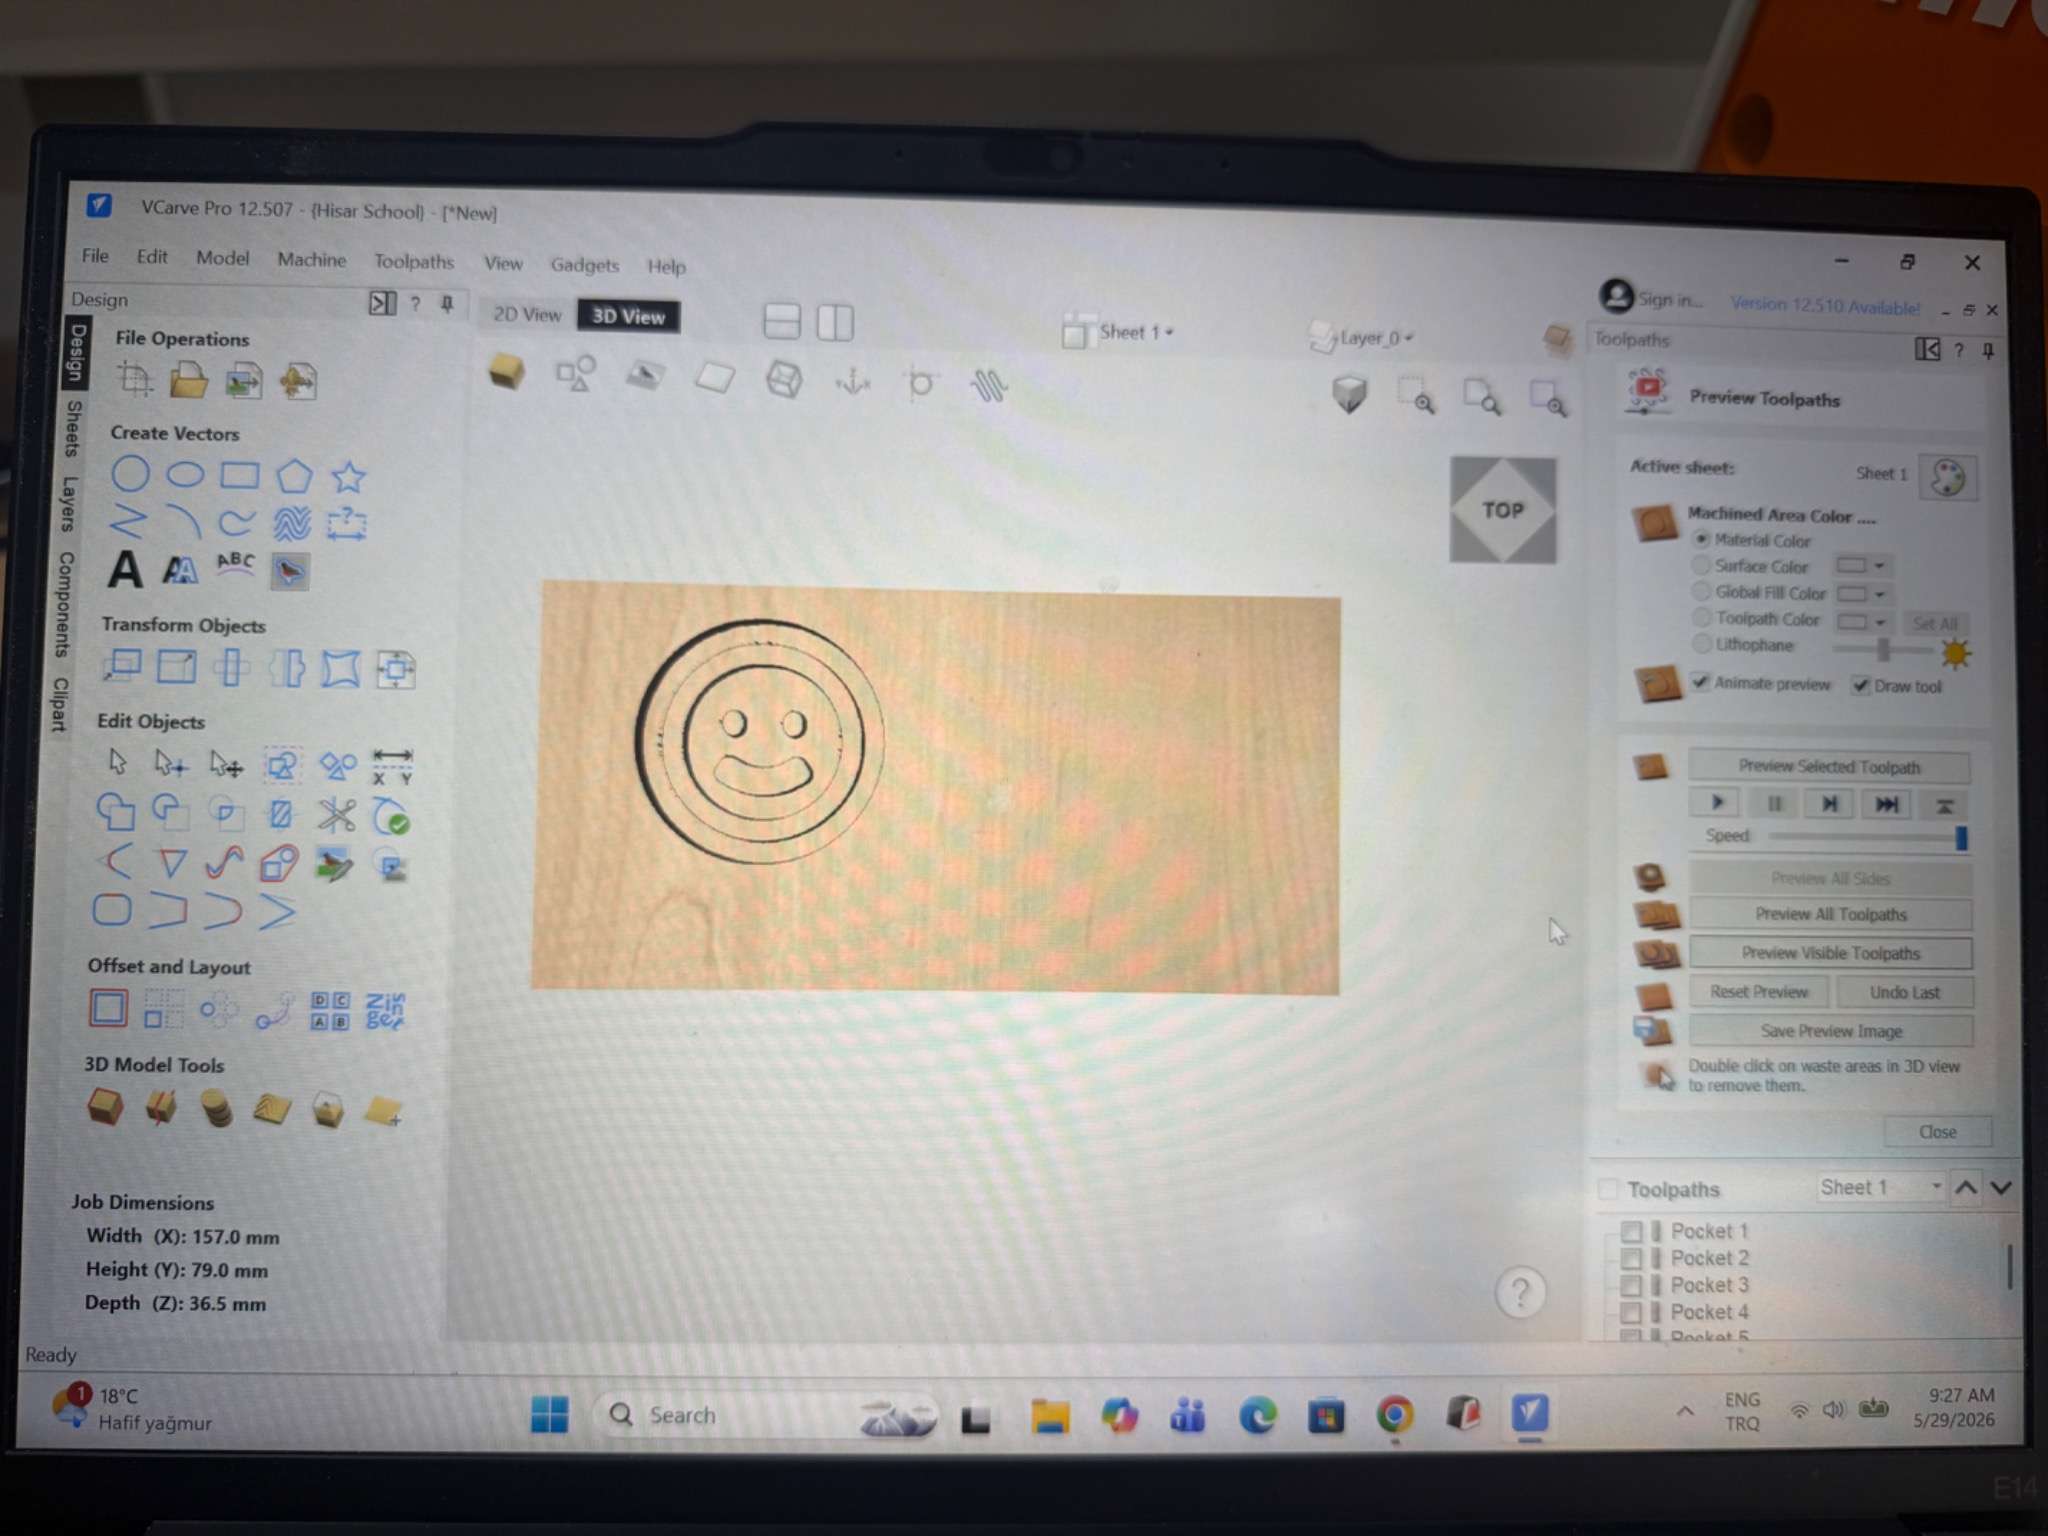
The wax block was used as the stock material. Since machinable wax is soft and reusable, it is a good material for making a mold positive.
Here is a preview of the toolpaths in Vcarve’s preview feature:
SRM-20 Milling
I used the Roland SRM-20 to mill the smiley face design into machinable wax using a 3mm endmill.
Before milling, the wax block was fixed securely to the machine bed. This was important because if the wax moved during the job, the mold would not be accurate.
Milling video:
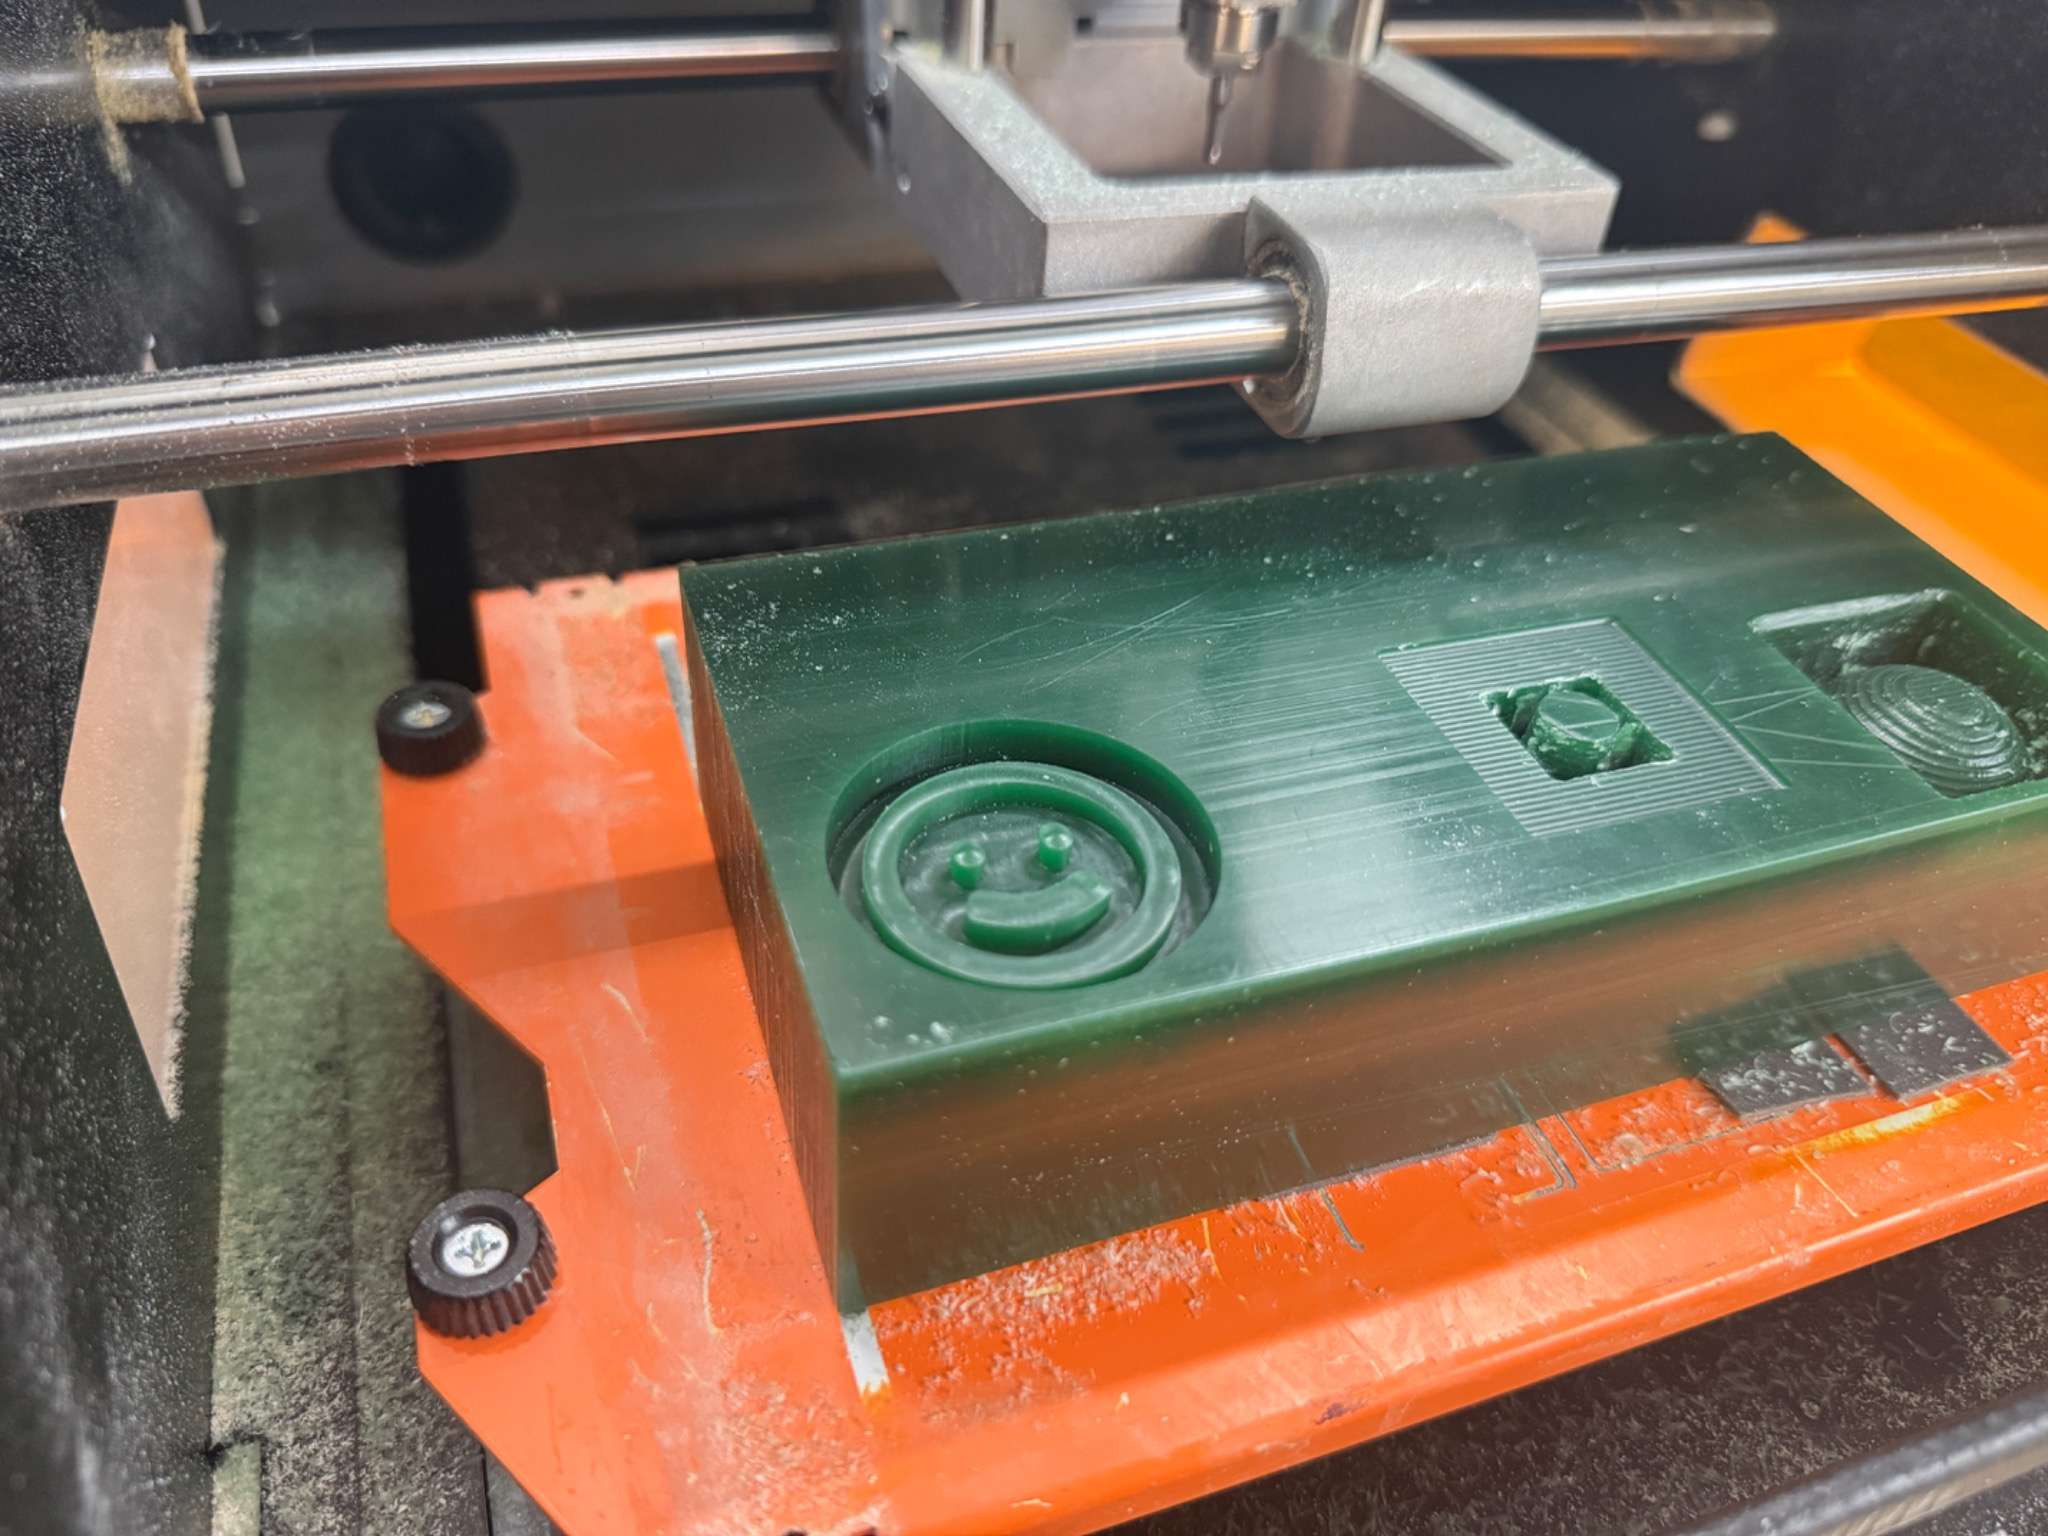
The milled wax had the smiley face geometry clearly visible. Some small tool marks were still visible on the wax, but the surface was smooth enough for the casting process.
Safety !!
Before using the molding and casting materials, I followed the safety precautions from the material information and the lab rules.
The main safety points were:
- wear gloves when handling silicone and casting materials
- avoid direct skin contact
- keep the work area ventilated
- measure the mixing ratios carefully
- mix slowly to reduce bubbles and splash
- clean the workspace after casting
Although molding and casting materials can look simple because they are liquids, they still need to be handled carefully.
Creating the Silicone Mold
After the wax was finished, I used it to create a silicone mold.
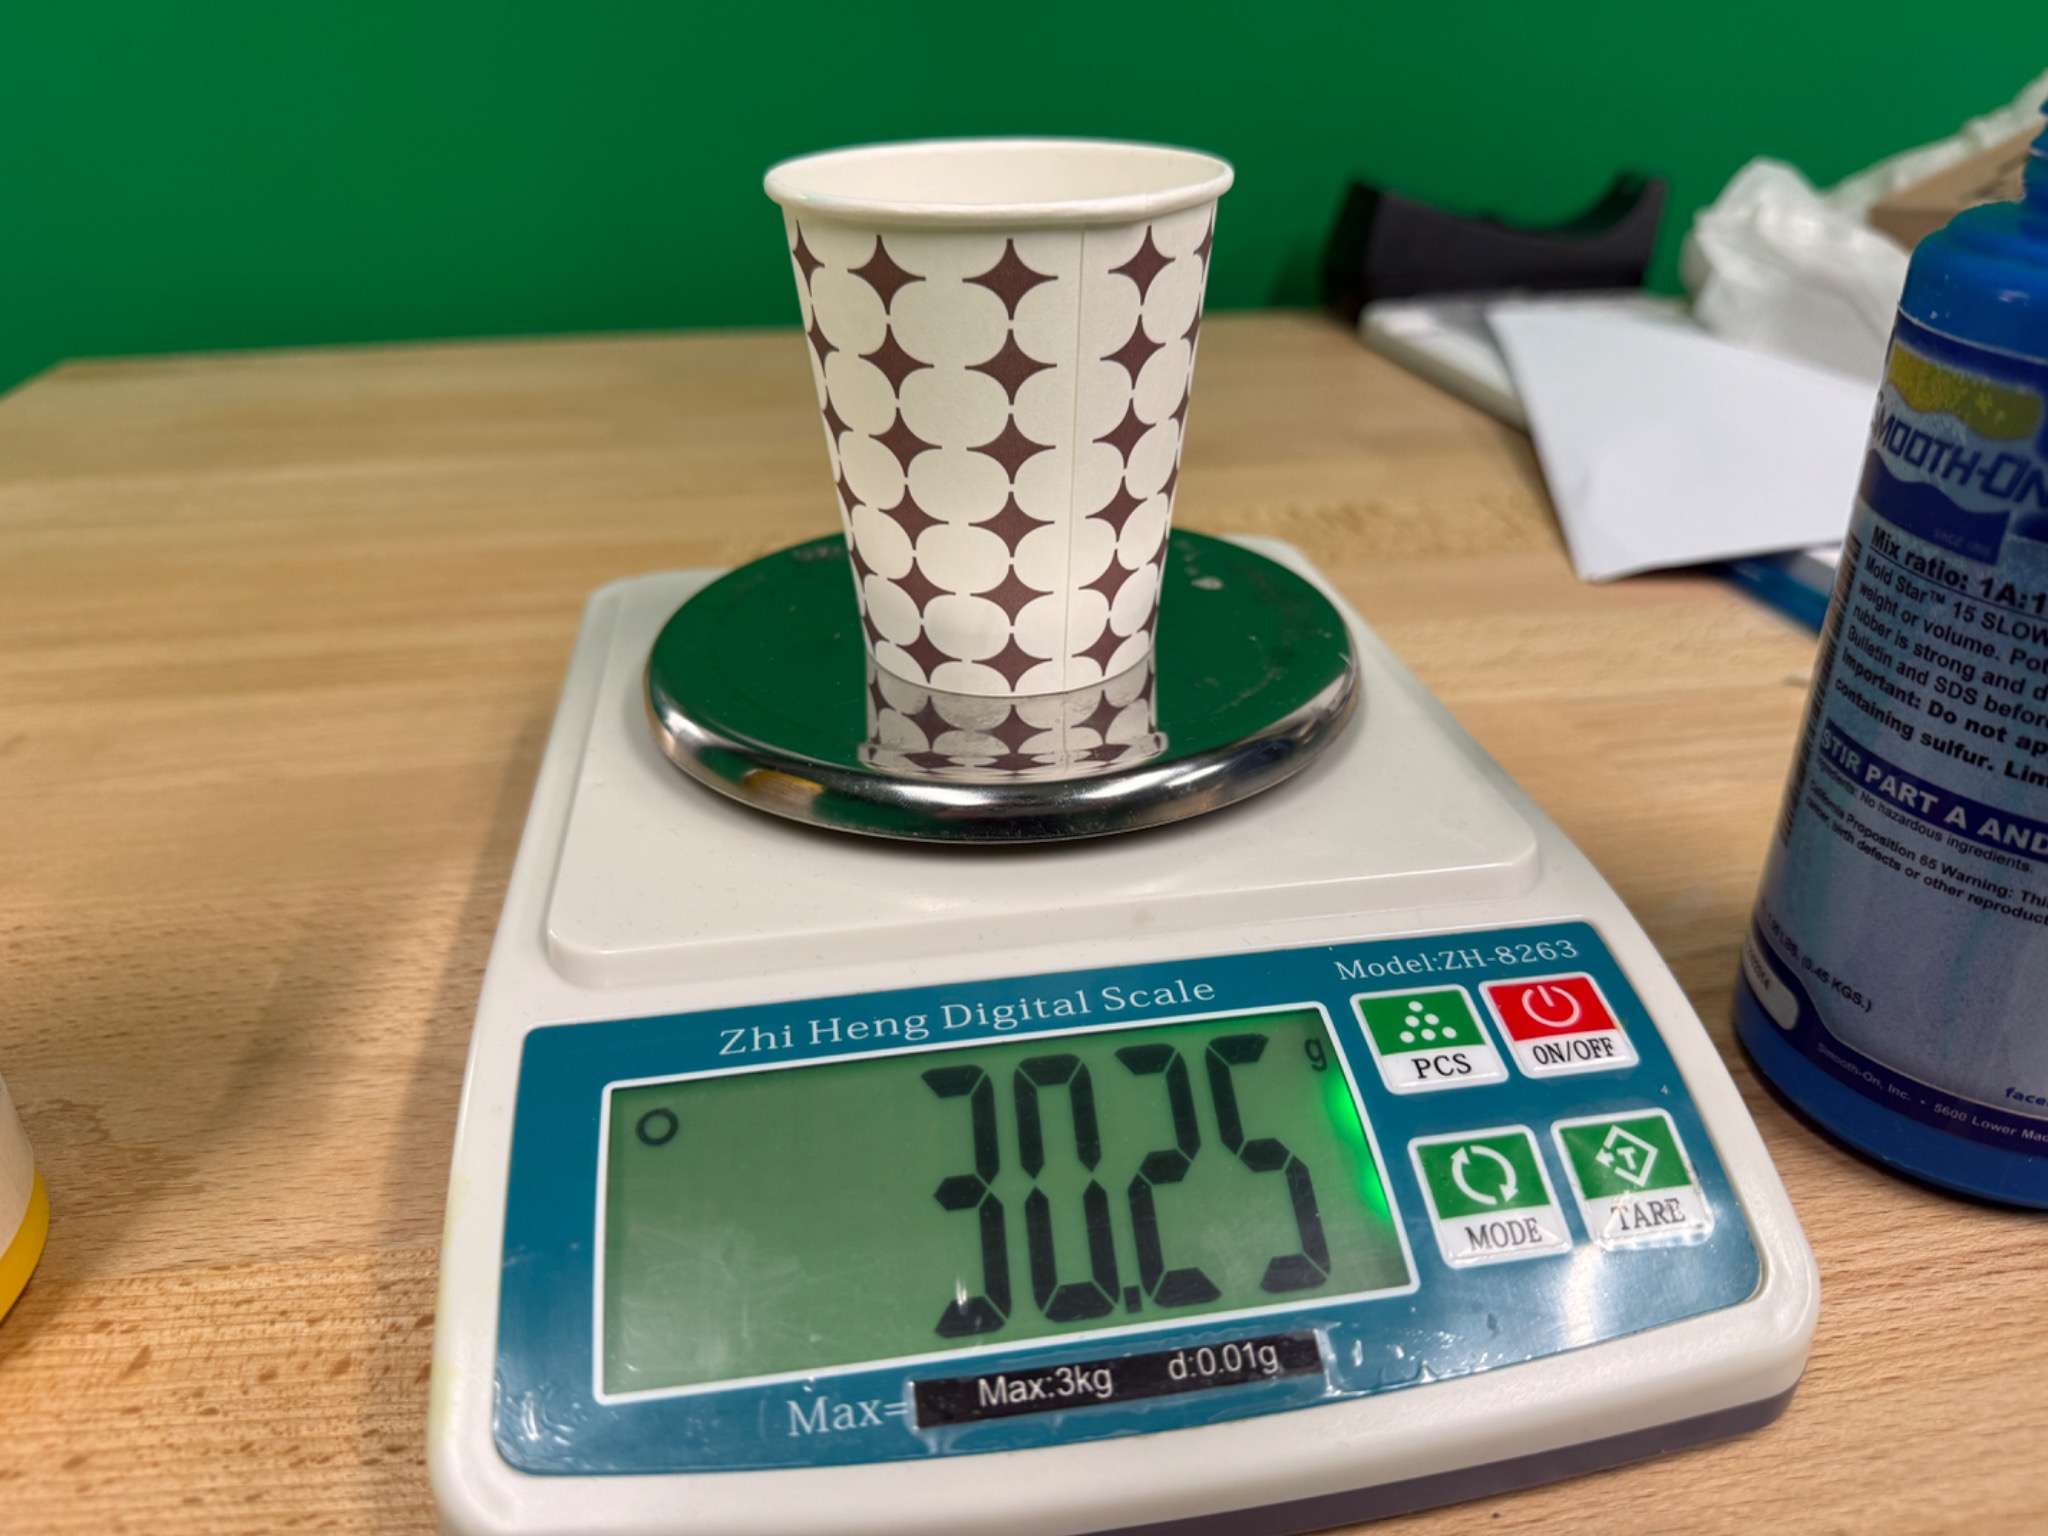
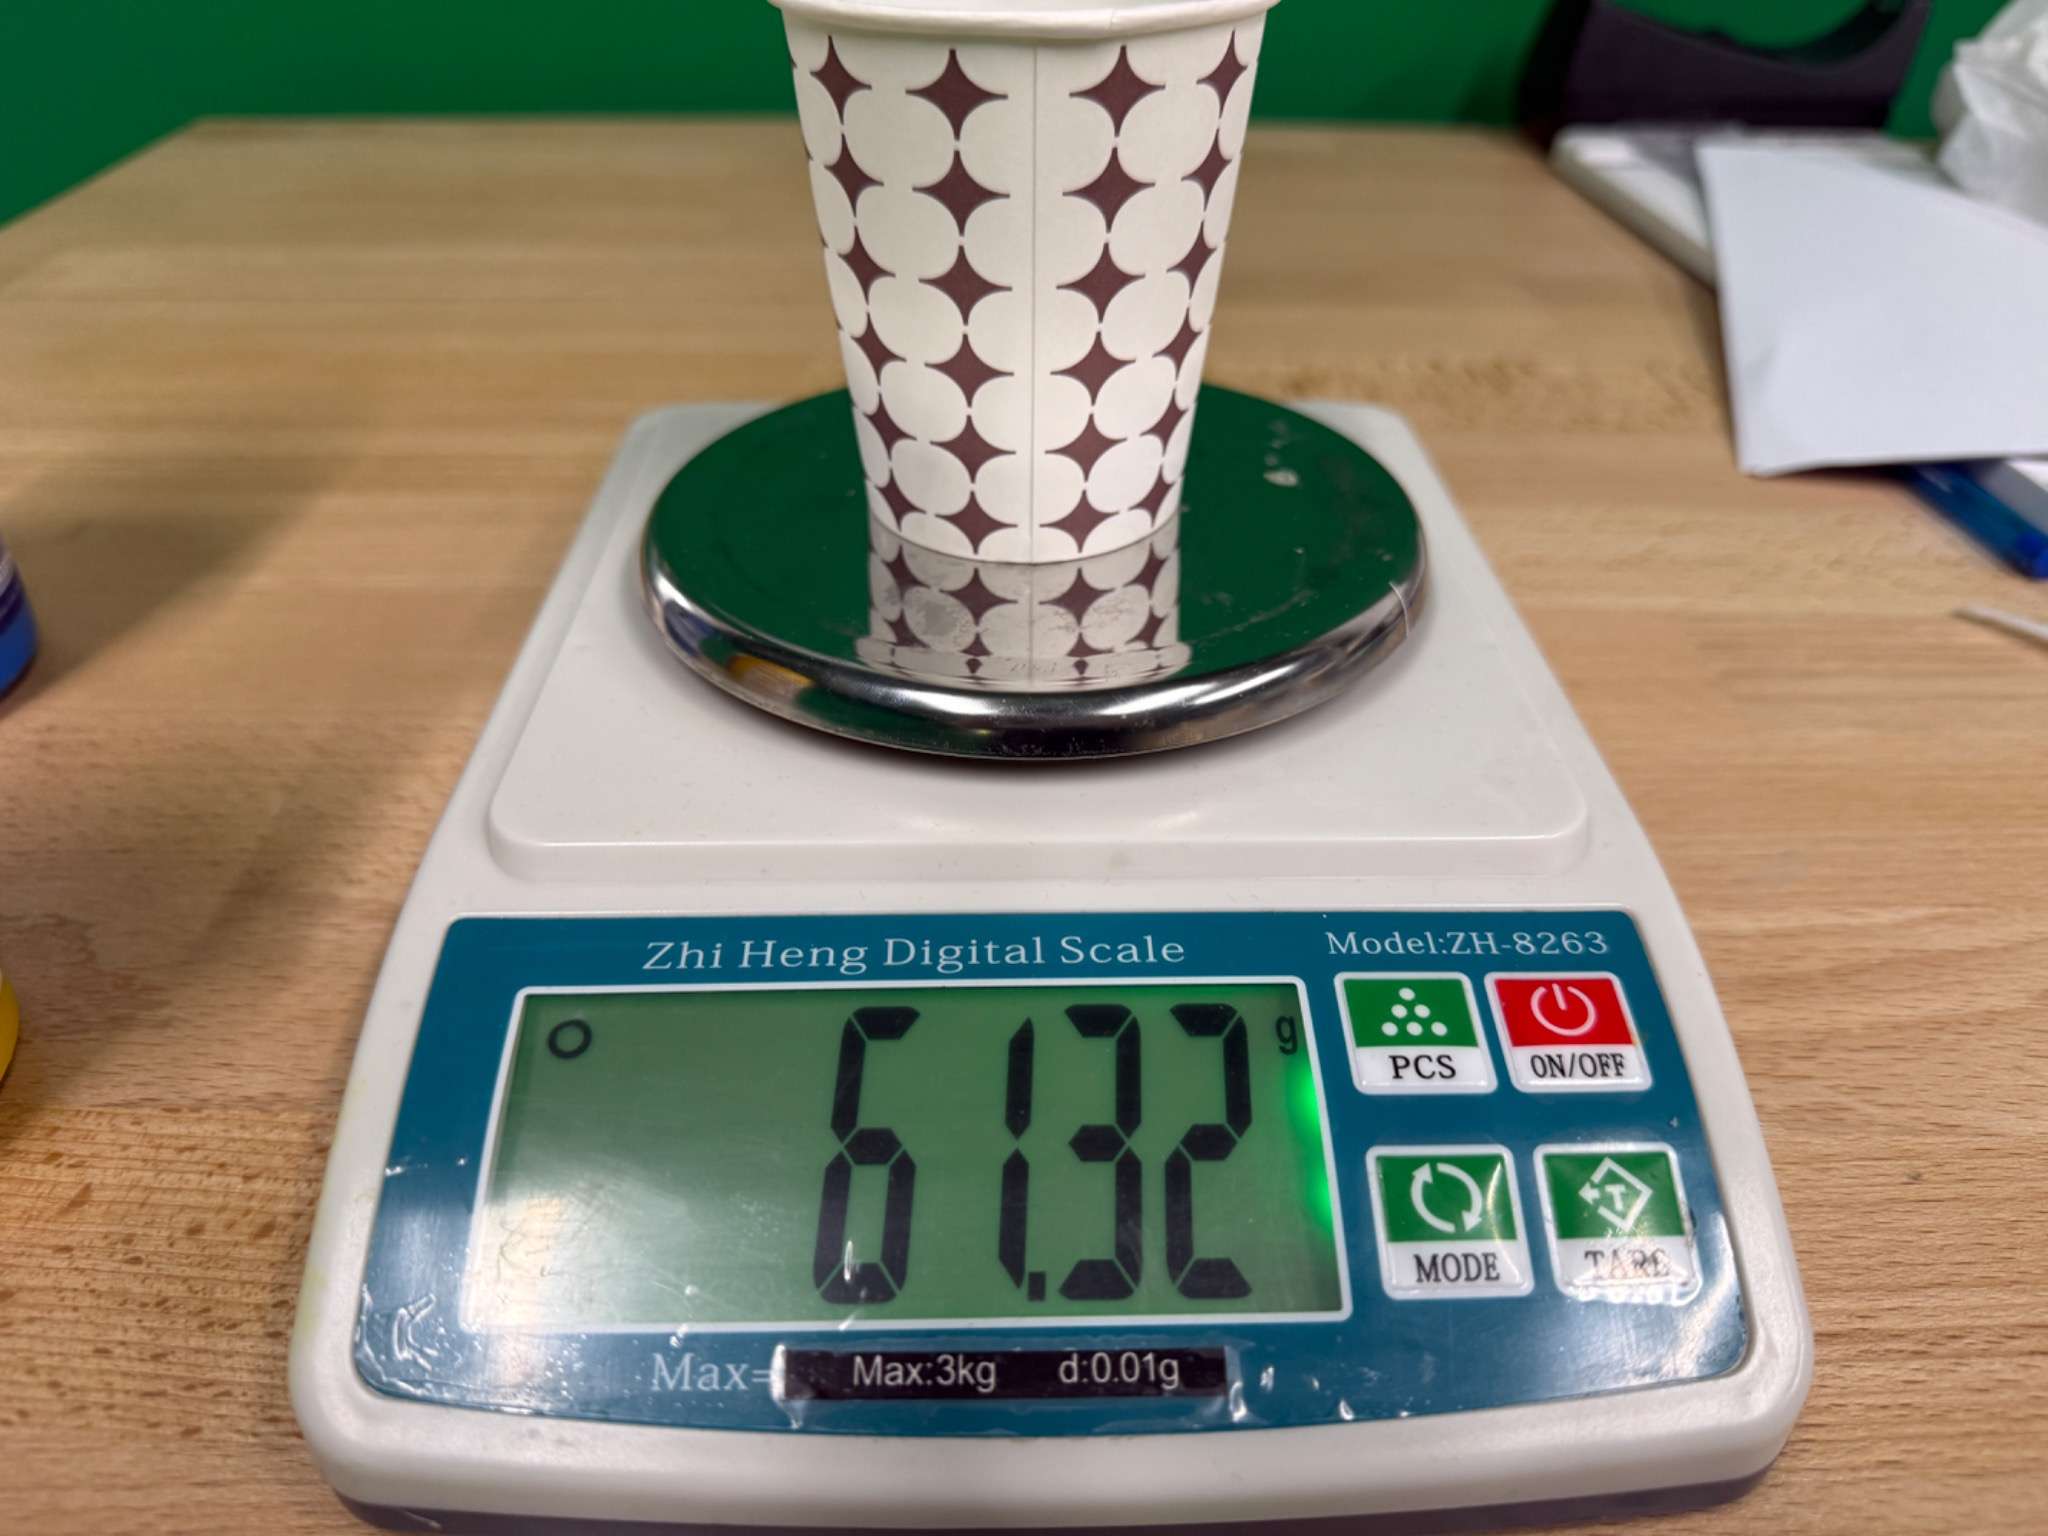
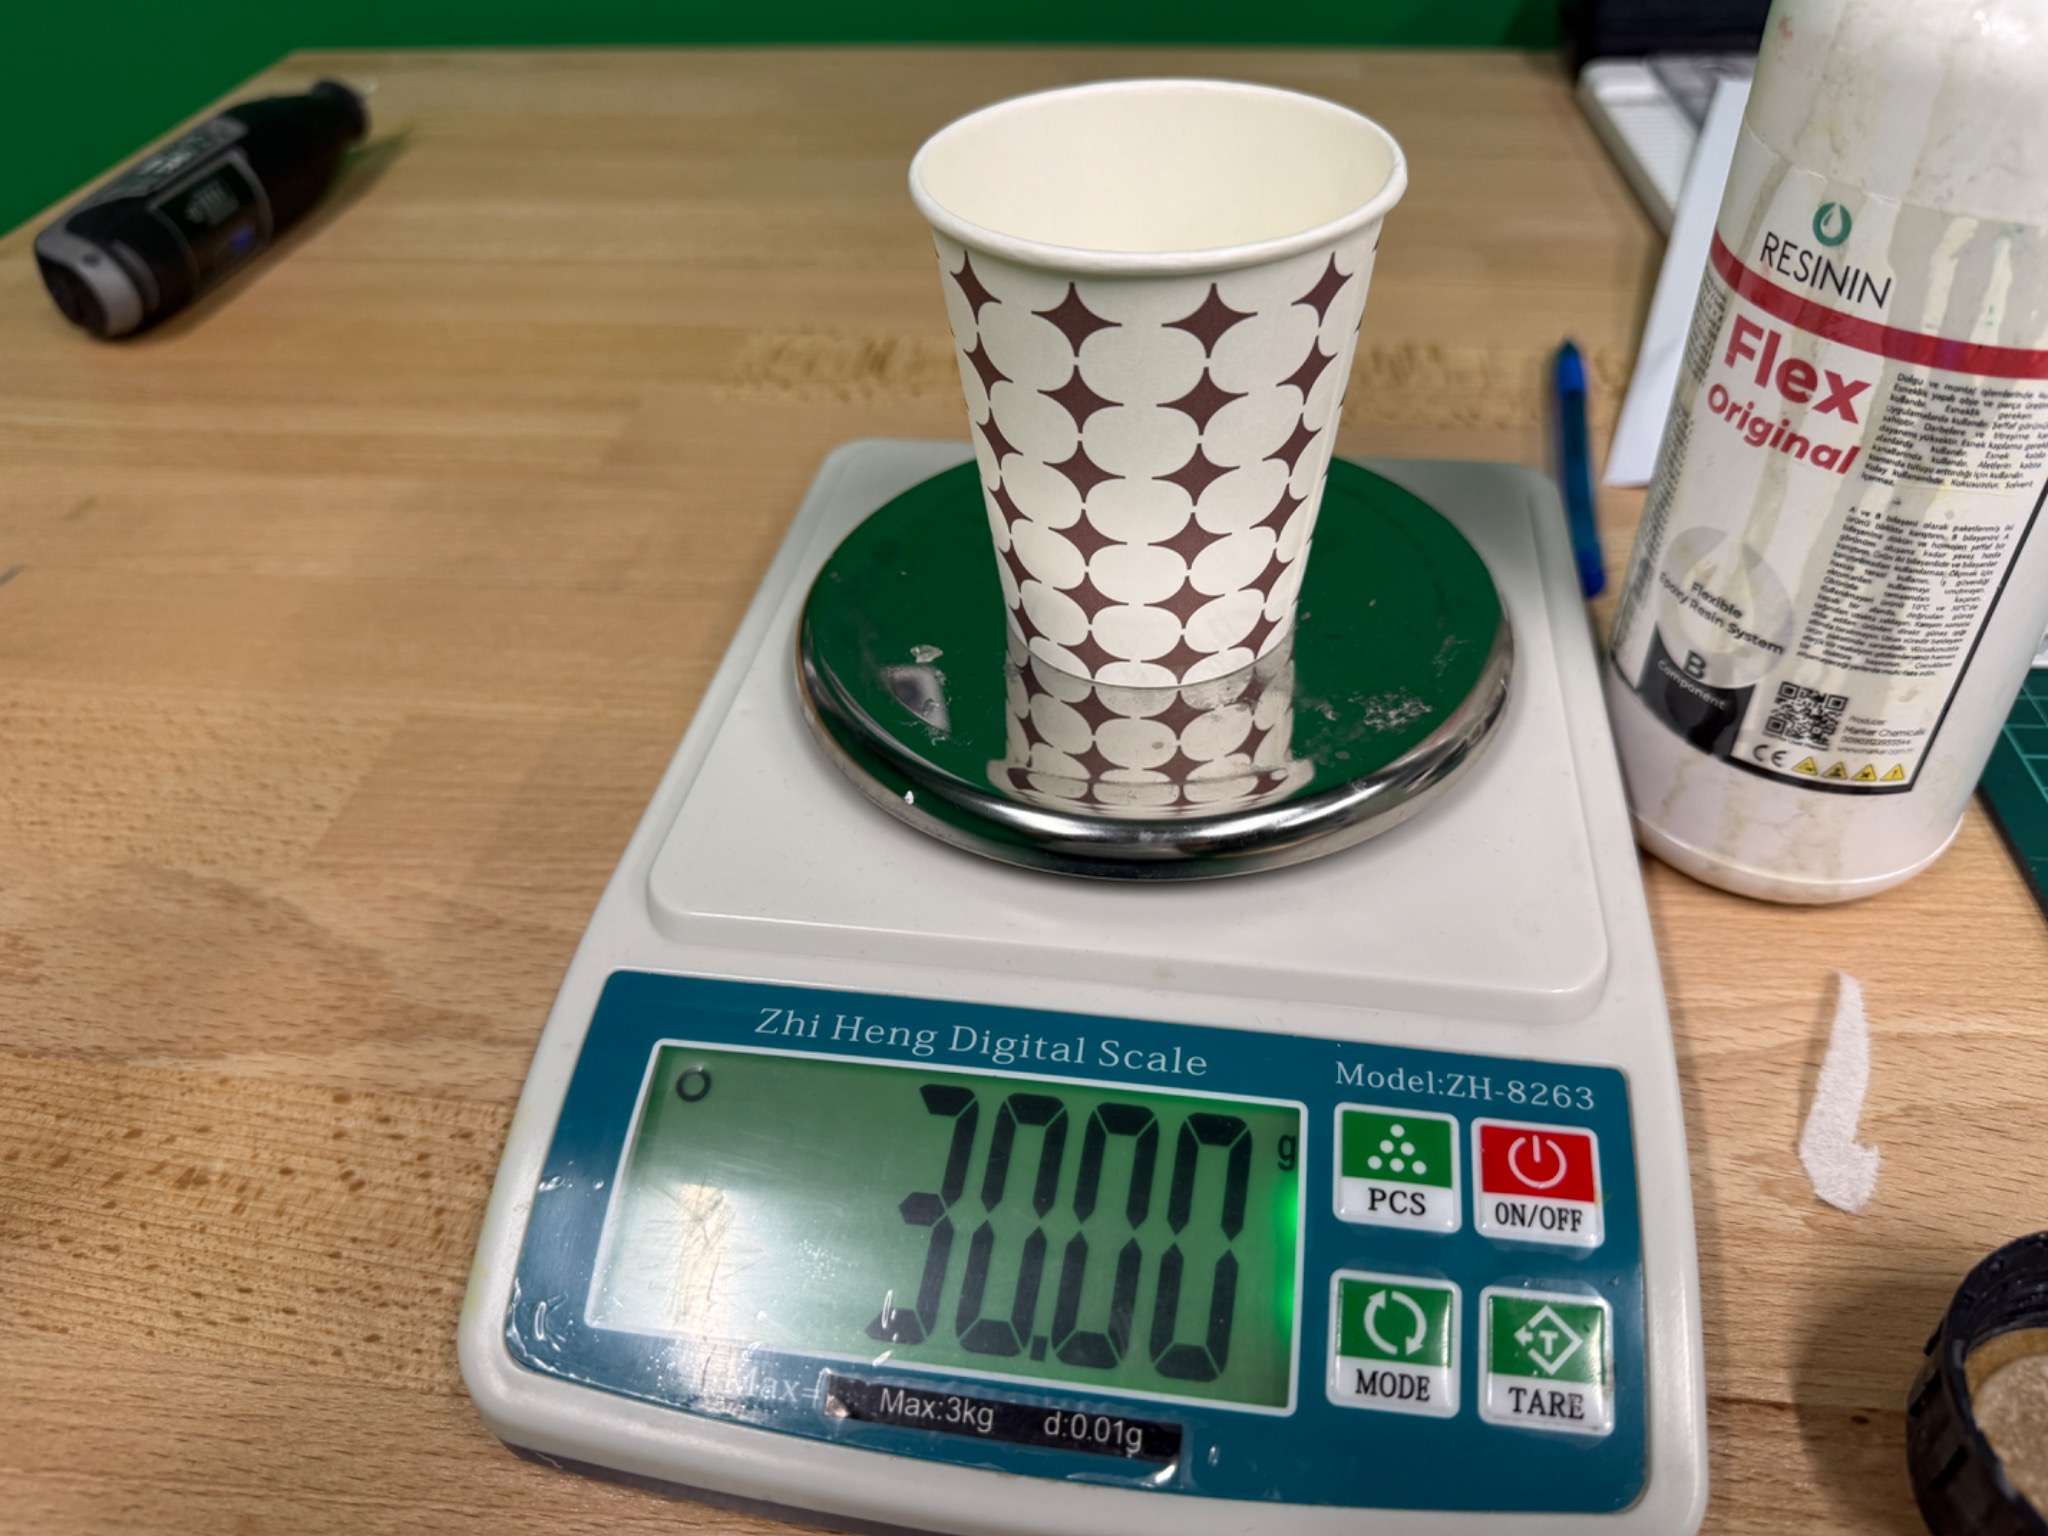
First, I cleaned the wax surface so there was no loose dust or wax chips inside the mold area. Then I prepared the silicone mixture. The silicone system was mixed using the required ratio (1:1), and I tried to mix it slowly and evenly.
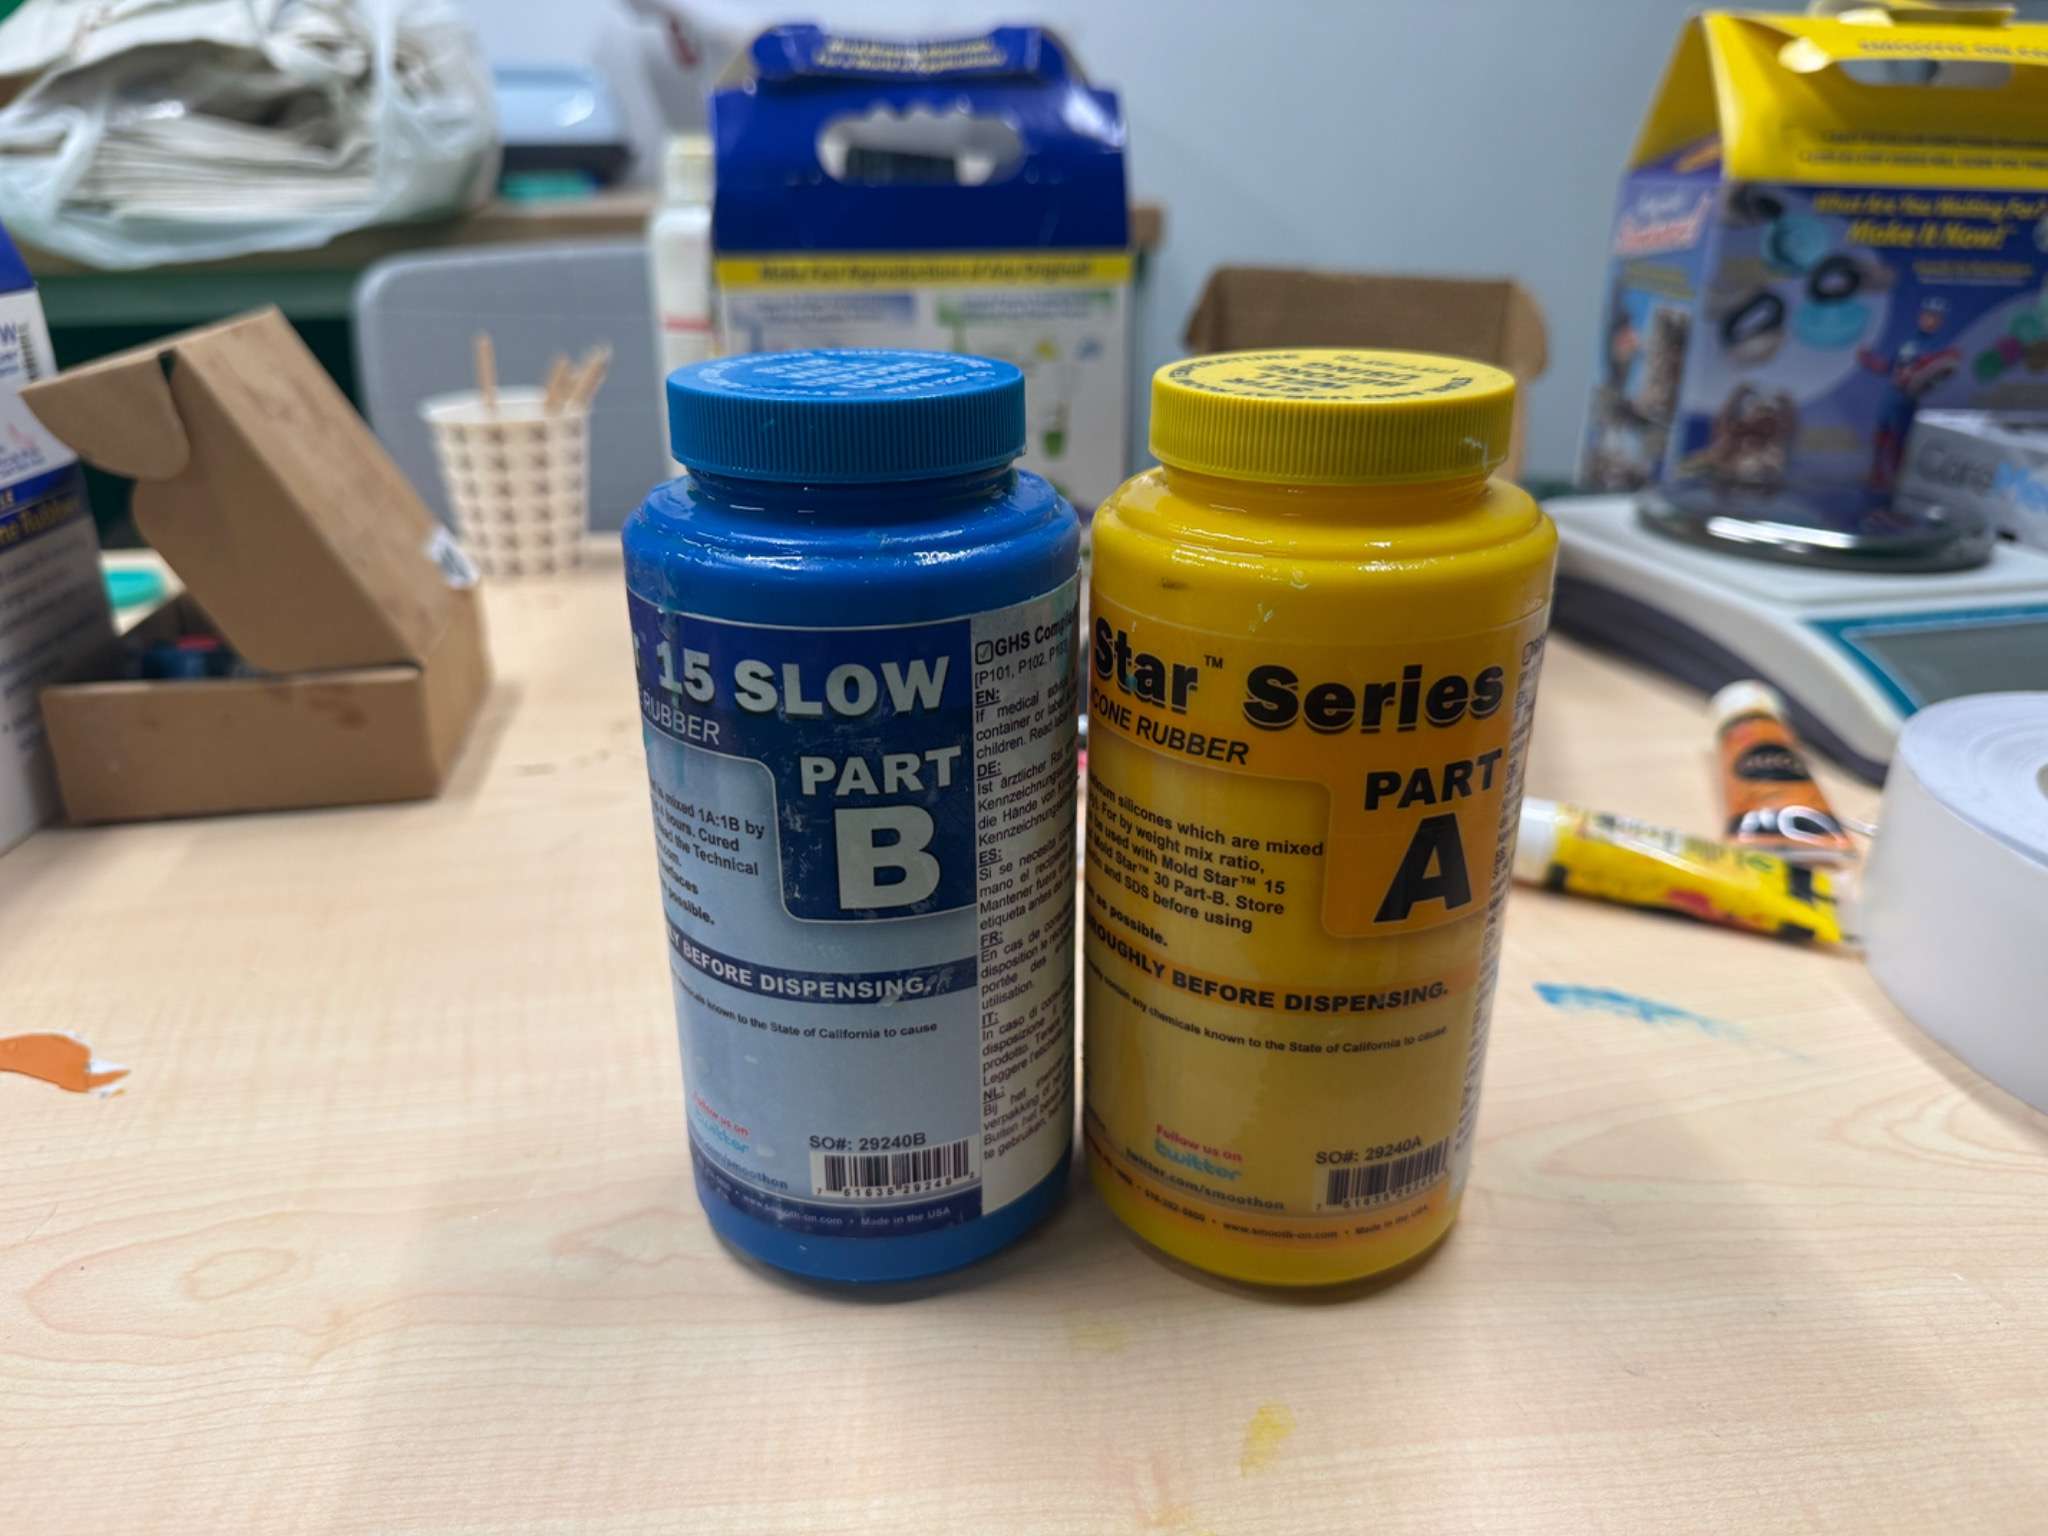
Part A:
Part B:
The most important part of this stage was avoiding bubbles. If bubbles get trapped on the surface of the smiley face, they can appear as defects in the mold and later in the cast.
To reduce bubbles, I poured the silicone slowly from one side and let it flow over the wax instead of pouring directly onto the details.
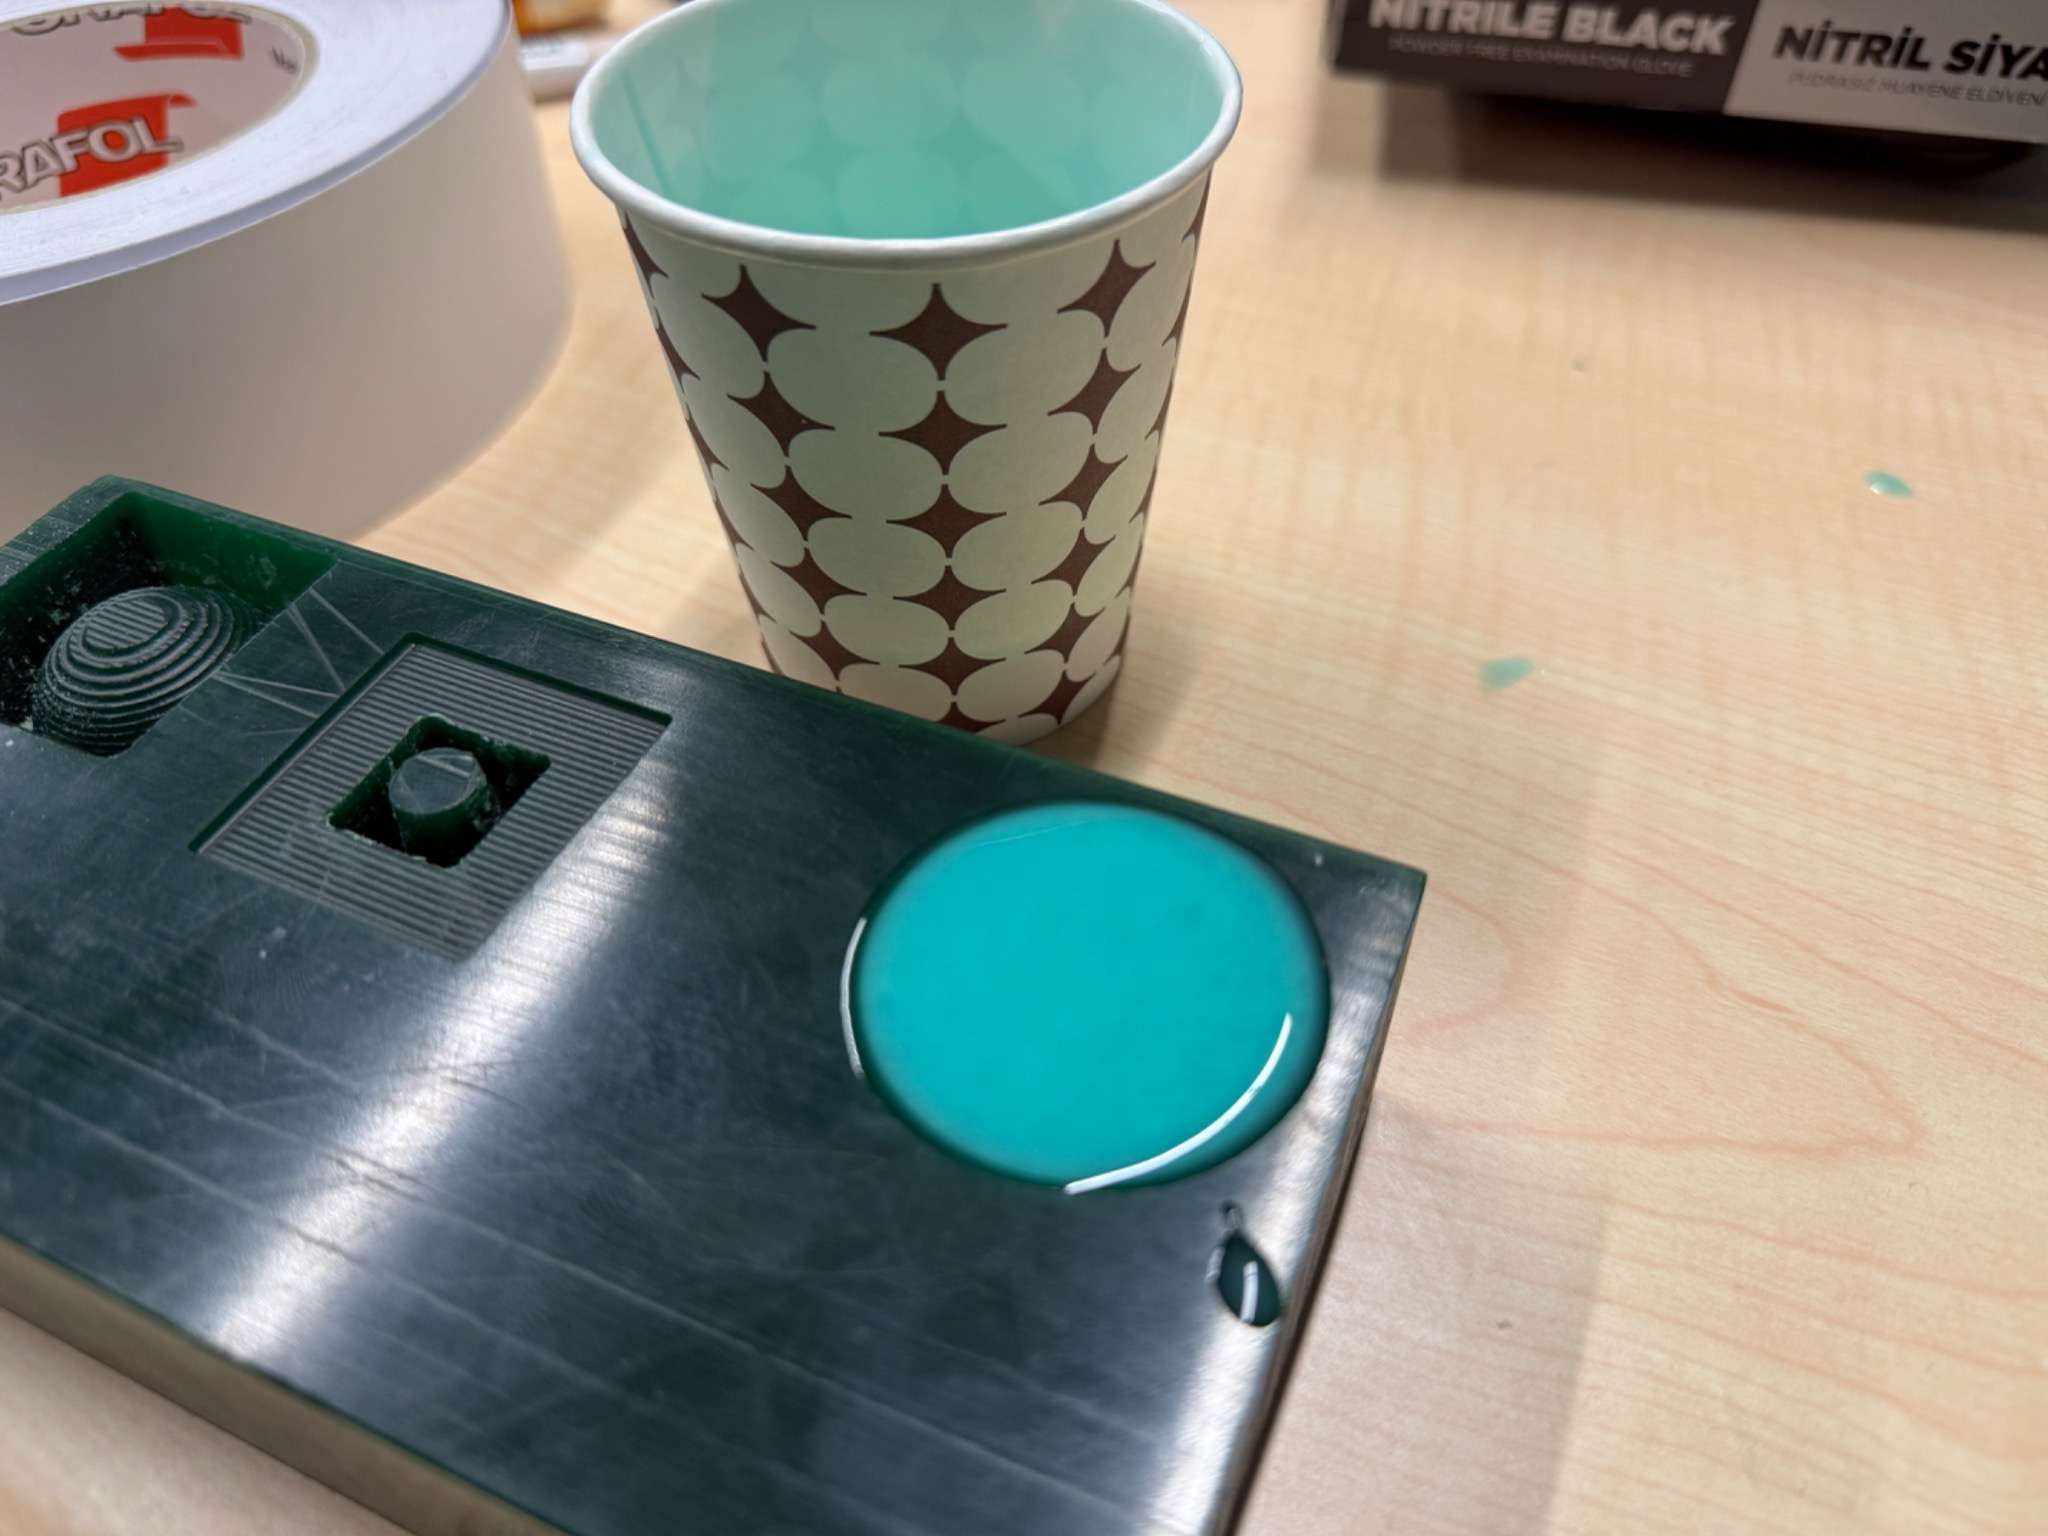
After the silicone cured (abt 5 hours ), I removed it from the wax. The mold captured the circular face, eyes, and mouth successfully.
Casting the Smiley Face
Once the silicone mold was ready, I used it to cast the final smiley face part.
I prepared the casting material according to the correct ratio and mixed it carefully.
Resin:

Hardener:
I also added yellow dye:
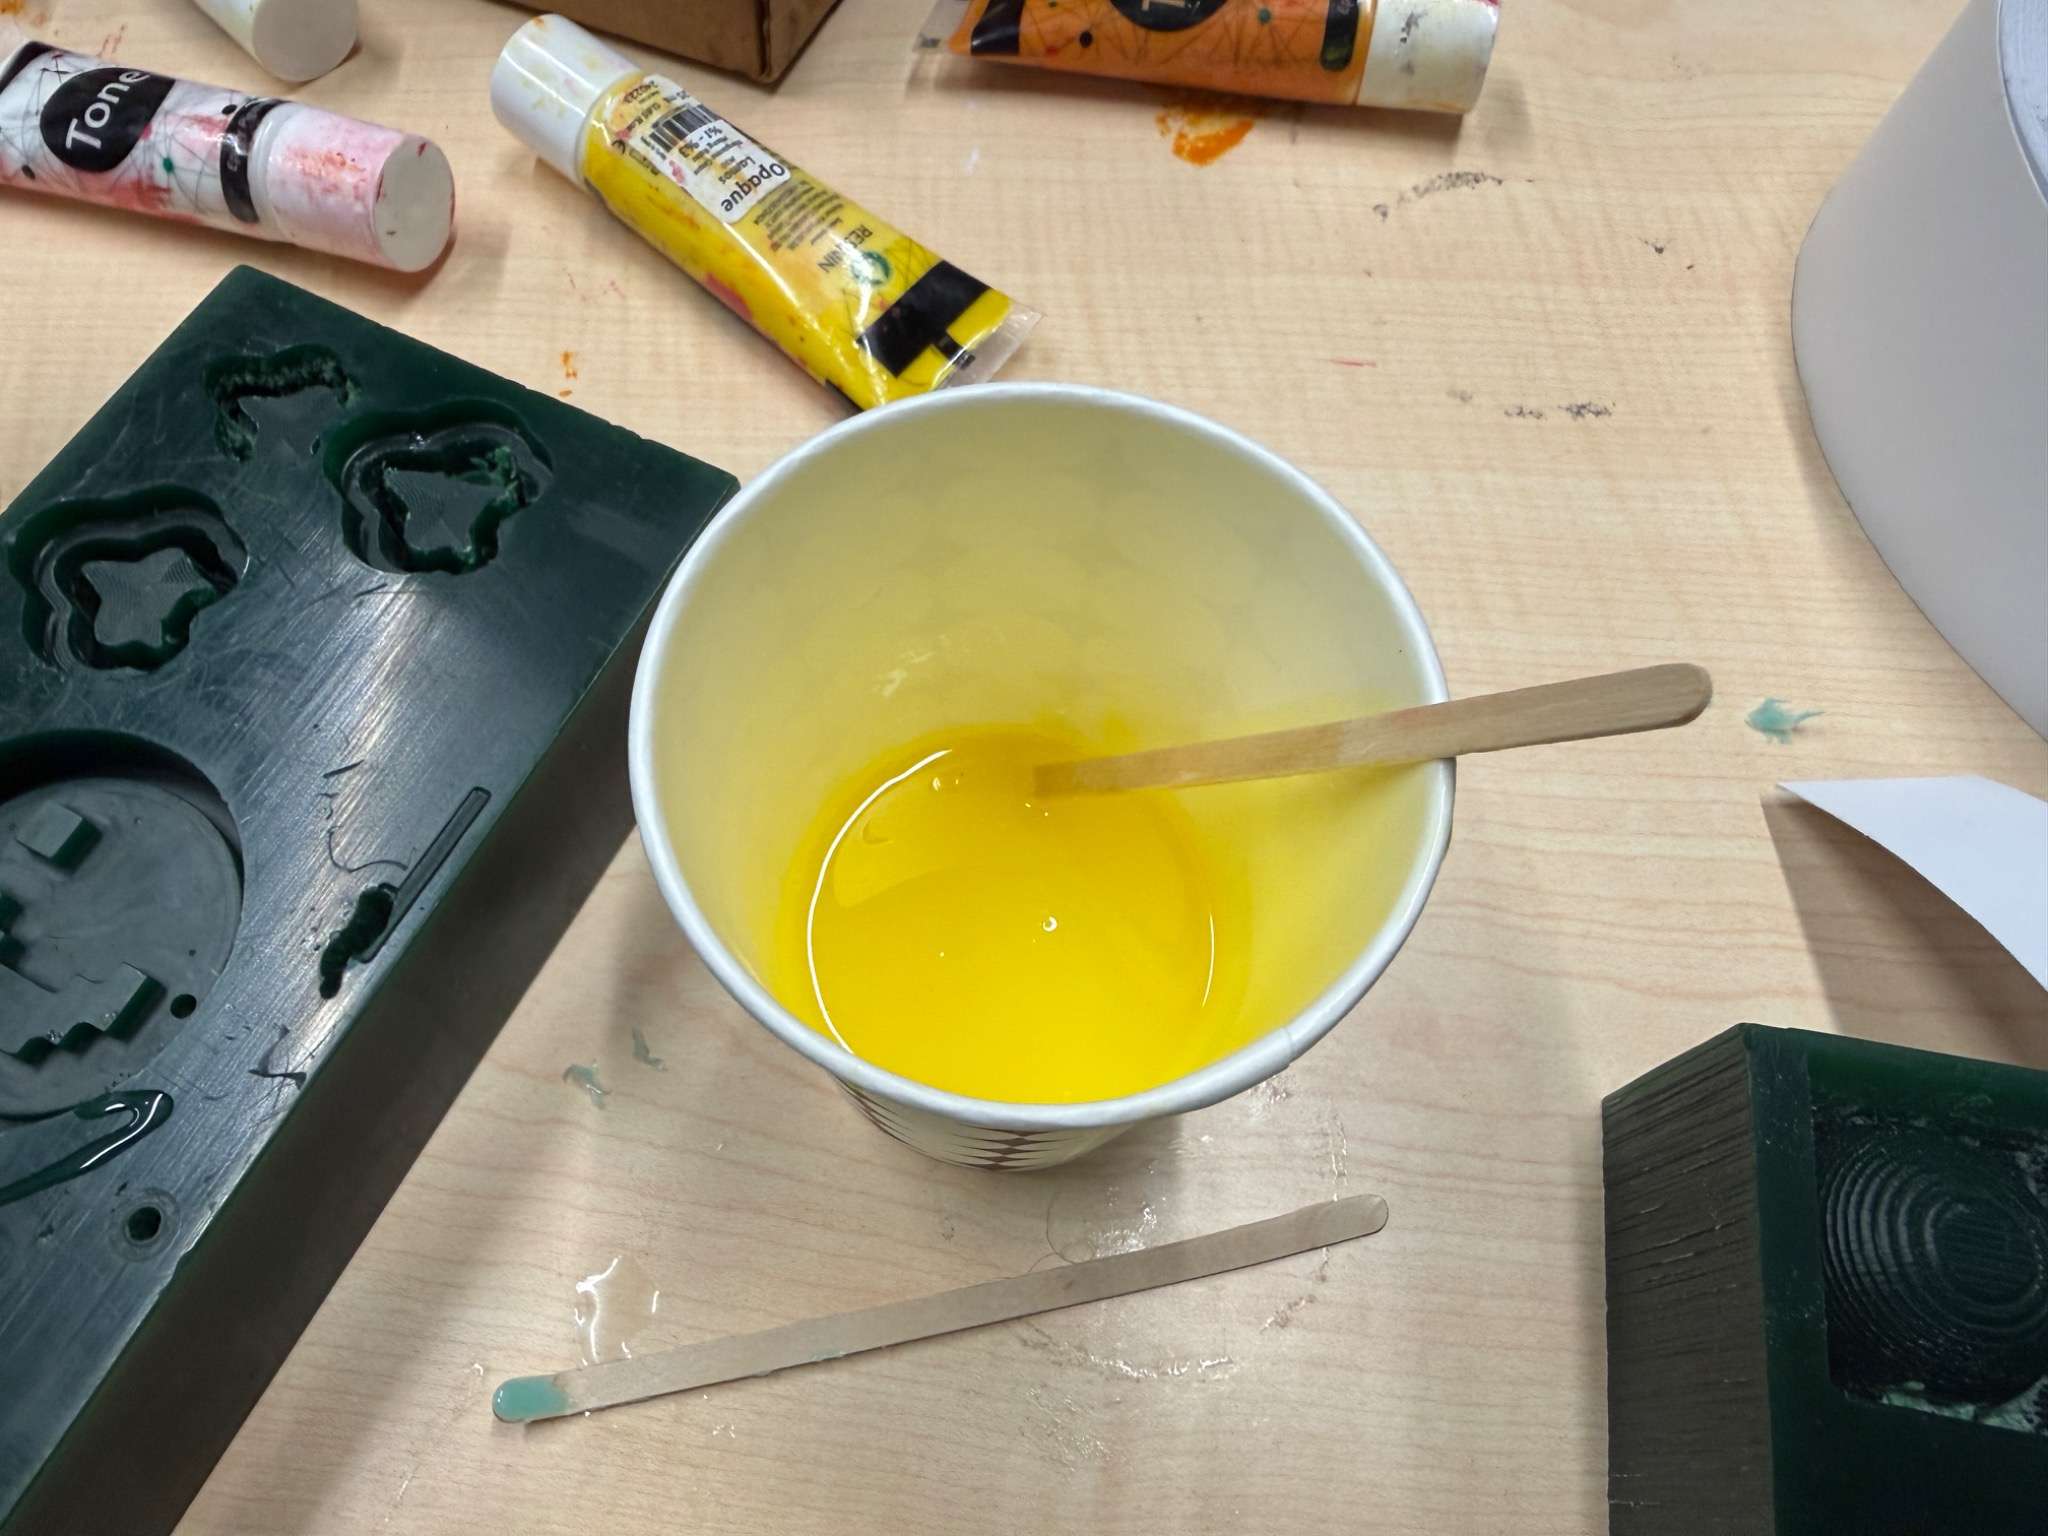
Then I poured it into the silicone mold.
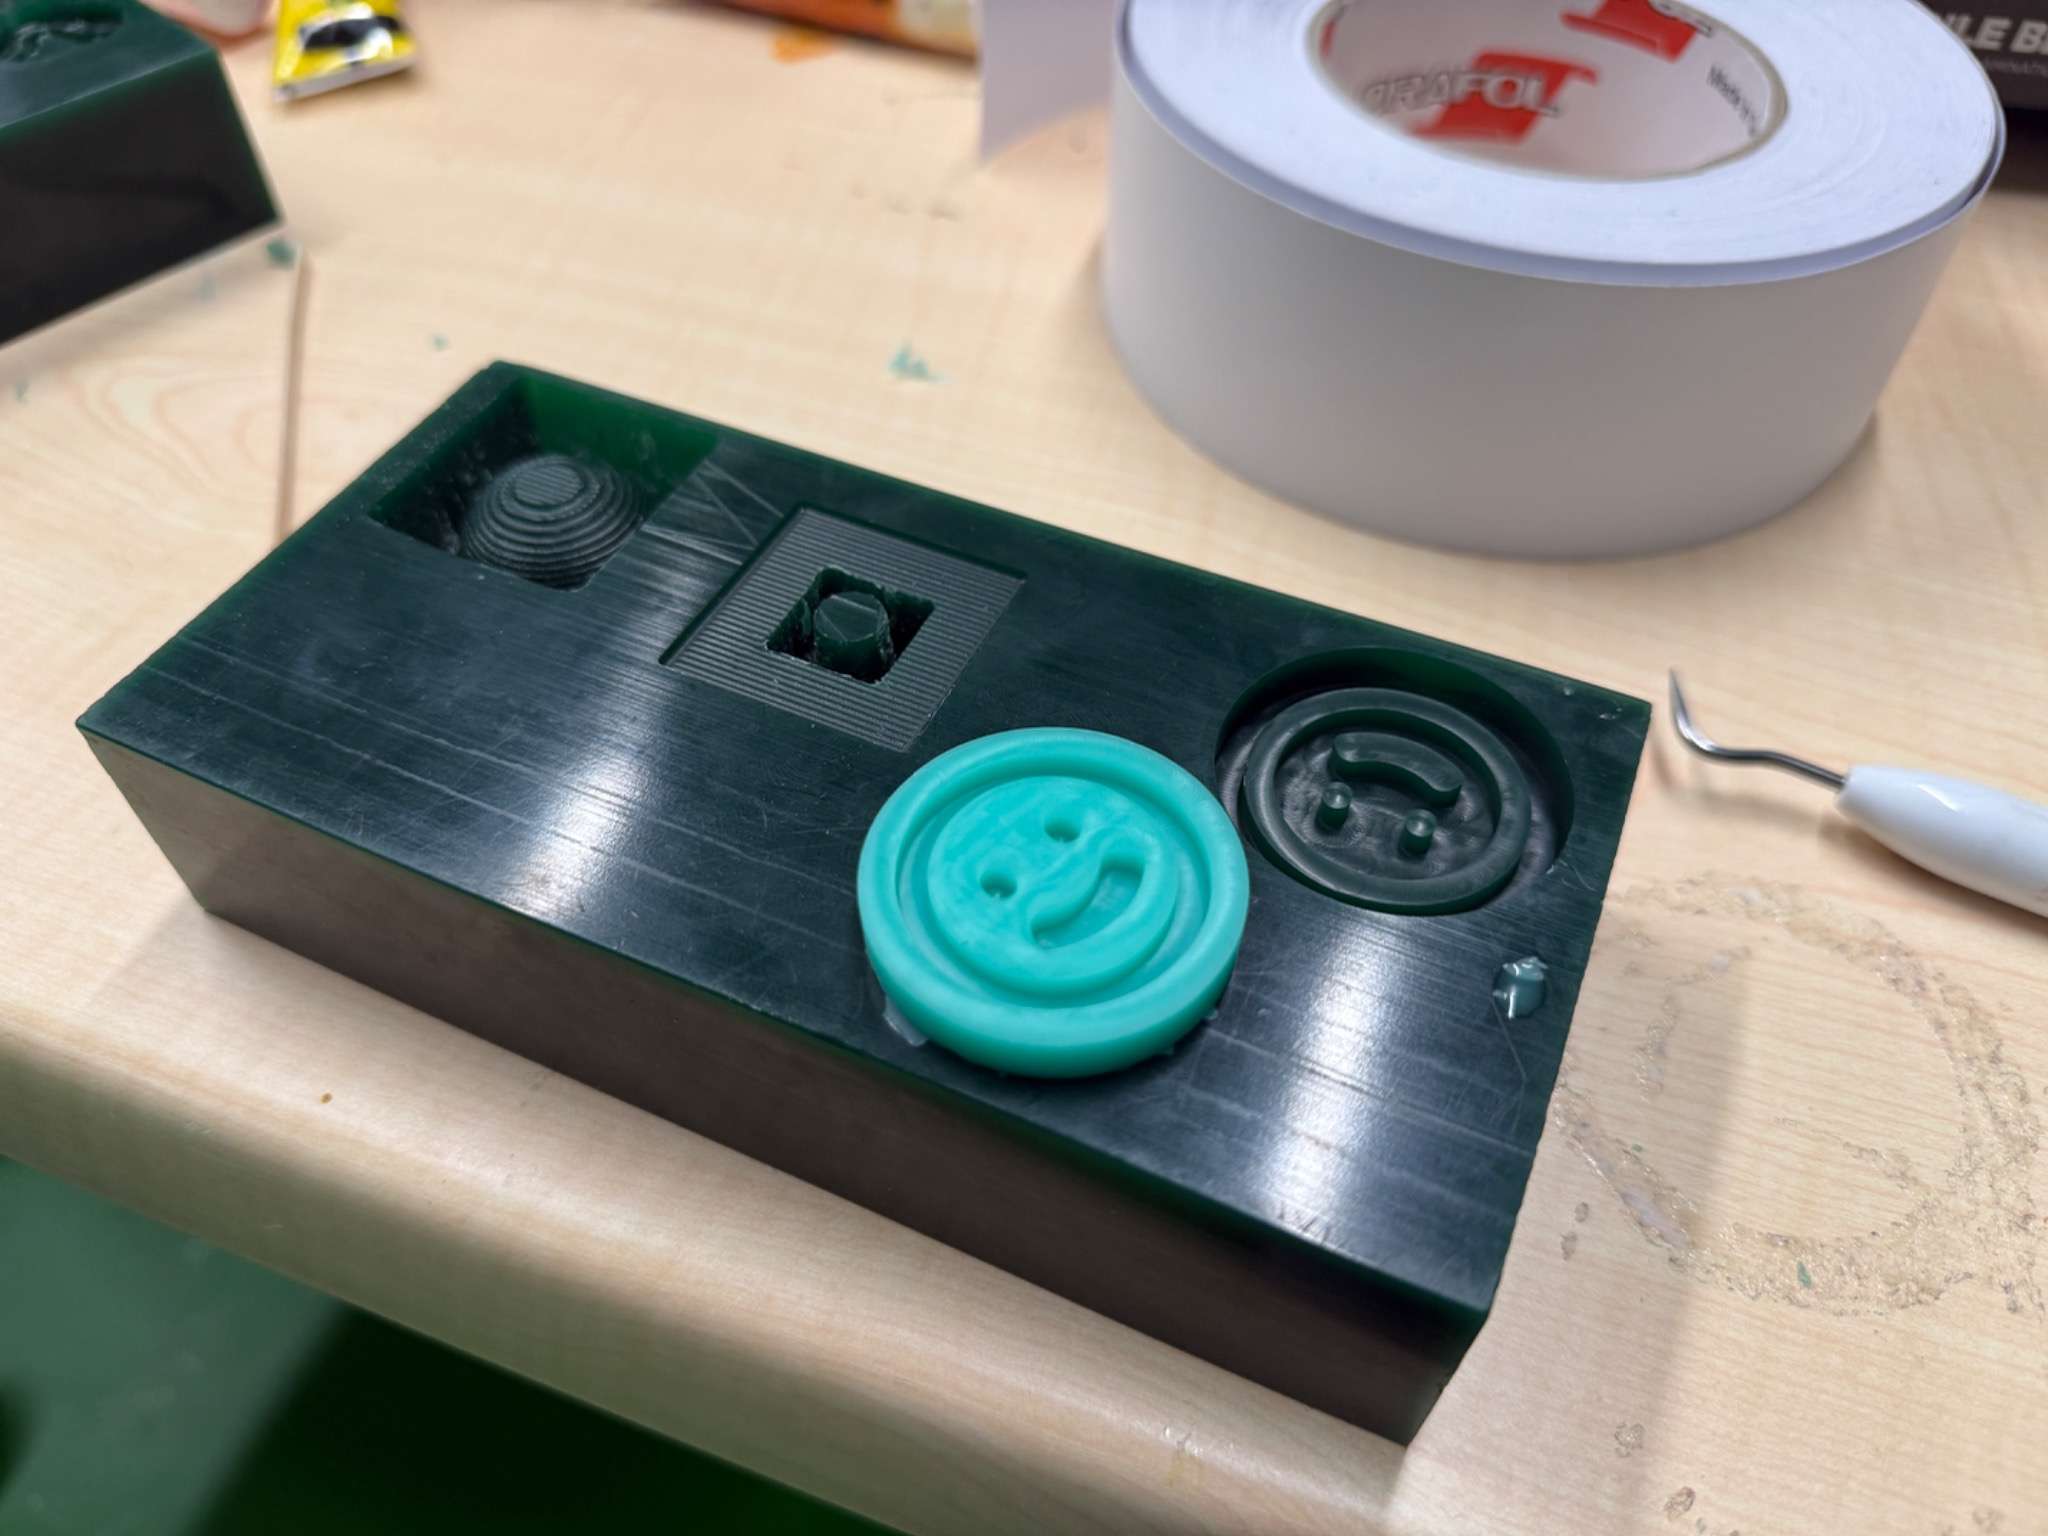
The silicone mold was flexible, which made demolding easier. After the cast cured (abt 5 hours again), I removed the smiley face from the mold.
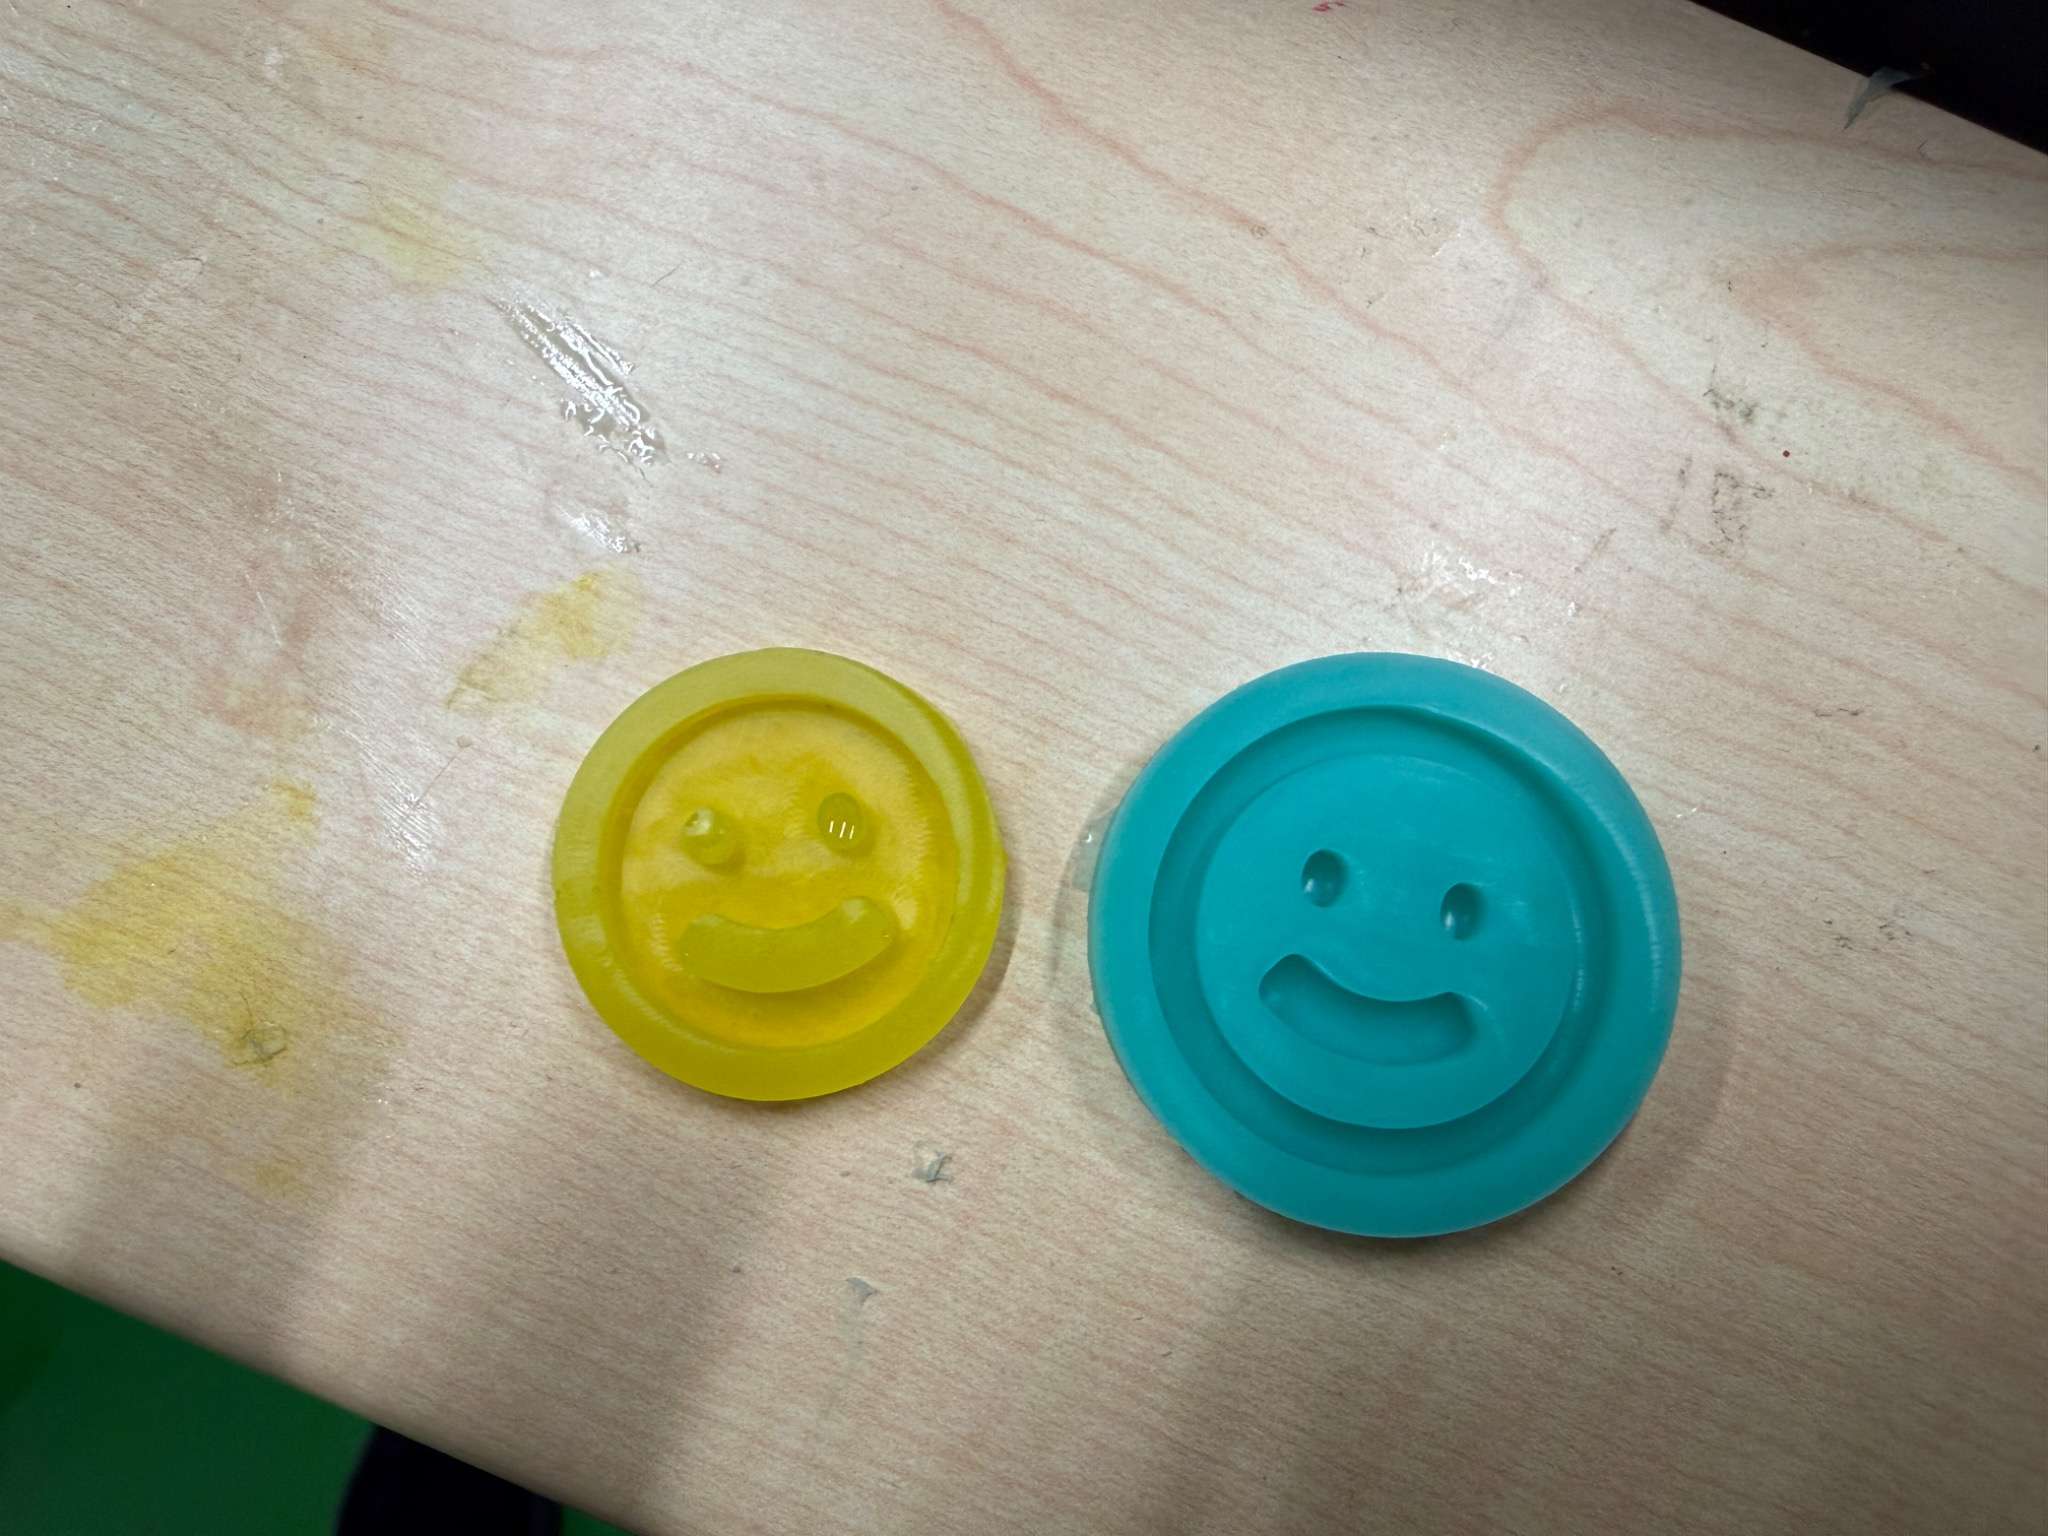
The final result was a small smiley face cast. The general shape came out clearly, and the face details were visible. The silicone mold also worked well enough that the same mold could be reused for another cast.
Final Product
The final object was a cast smiley face.
This assignment helped me understand the full process from digital design to physical reproduction. It also showed me that casting quality depends on many small details, not only the CAD model.
Problems and Fixes
Problem 1 - Thinking in positive and negative shapes
At first, the most confusing part was thinking about which parts would become raised and which parts would become recessed. Since the process goes from wax to silicone to final cast, the shape changes between positive and negative.
Fix
I checked the workflow step by step:
Wax positive
Silicone negative
Final cast positive
This helped me understand how the smiley face would appear in the final cast.
Problem 2 - Bubbles in the silicone or cast
Bubbles were one of the main risks in this process. Since the smiley face had small details, bubbles could easily get trapped around the eyes or mouth.
Fix
I mixed more slowly and poured from one side instead of pouring directly onto the detailed area. I also tapped the wax multiple times to relase trapped bubbles.
What I Learned
This week helped me understand that molding and casting is a multi-step process where every stage affects the next one.
The CAD design affects the milling. The milling affects the silicone mold. The silicone mold affects the final cast.
I also learned that simple designs can still teach a lot. My smiley face did not need to be very complex to show the important parts of the process. It had enough detail to test the mold, but it was still simple enough to demold safely.
The most important lessons for me were:
- make details large enough to survive milling and casting
- mix materials carefully
- pour slowly to reduce bubbles
- surface finish matters a lot
- the final cast depends on every previous step