
Fab Academy 2022.
We make, modify and share a new variant of the open source machine.
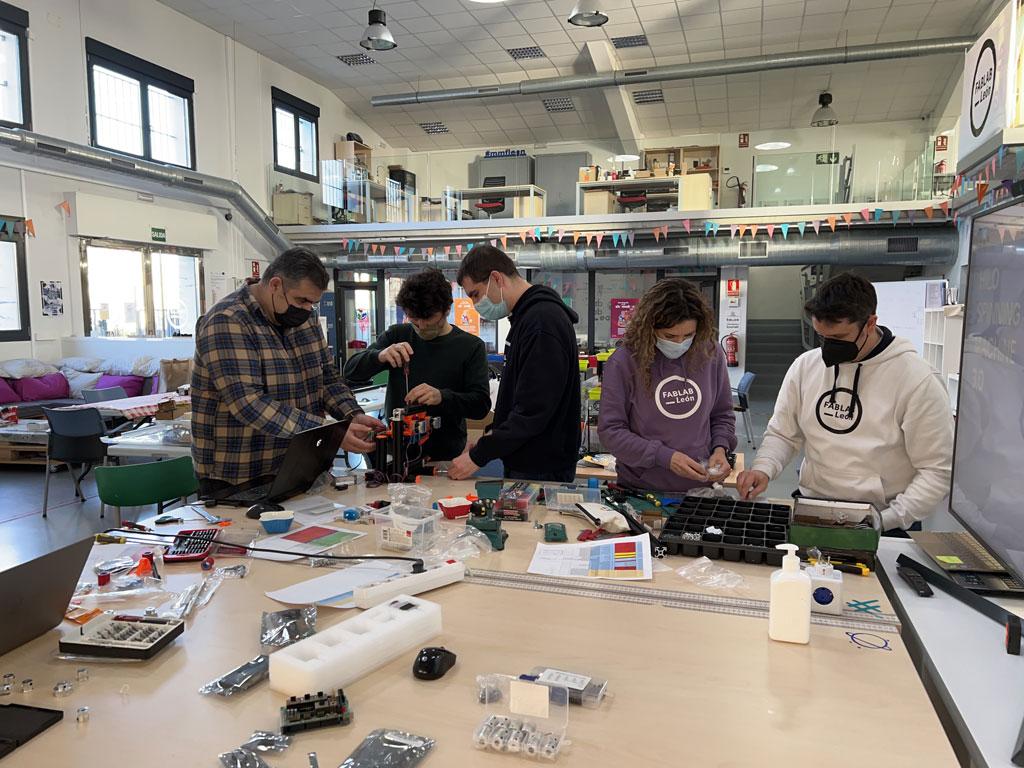
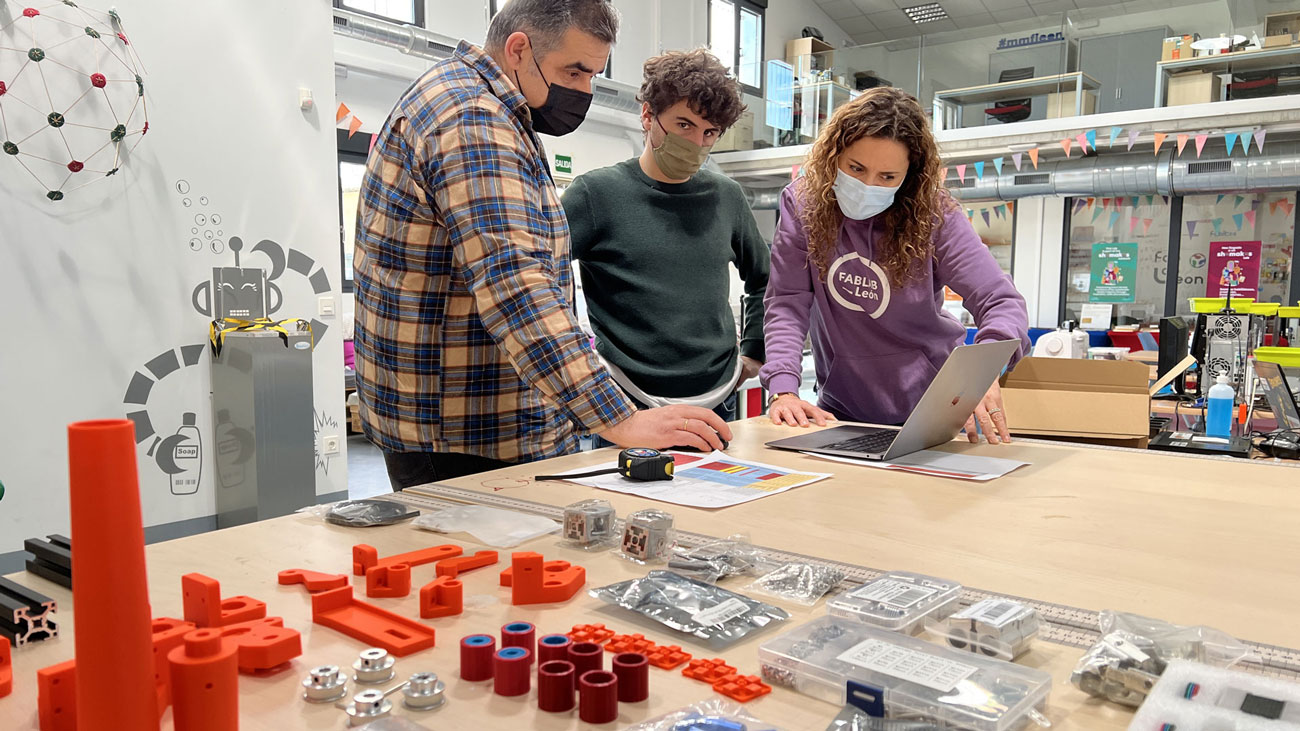
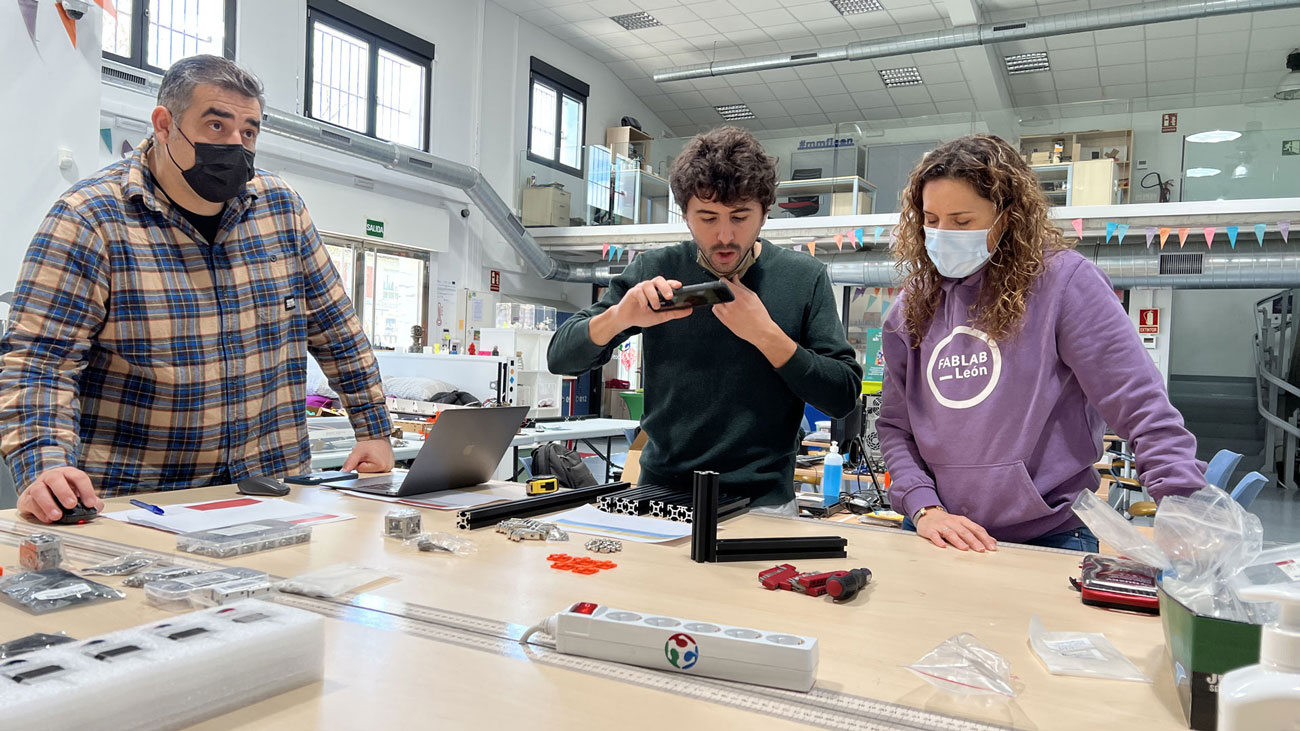
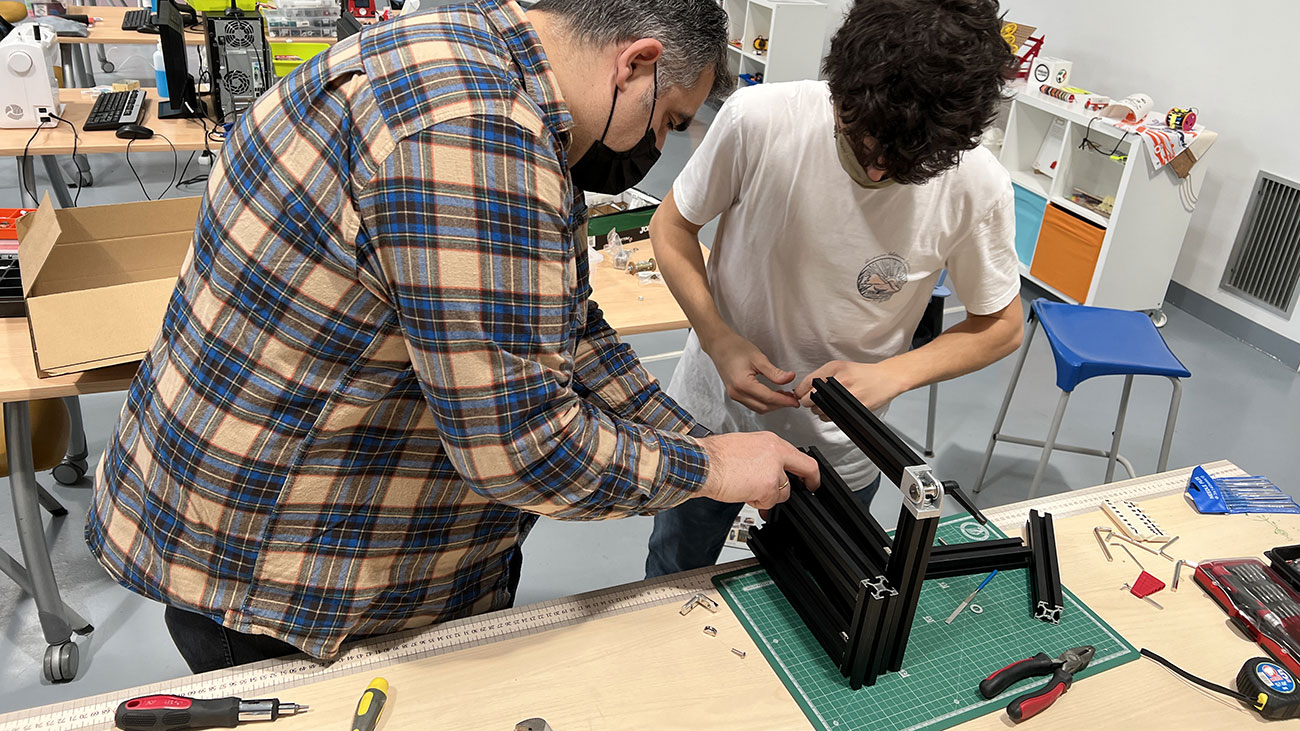
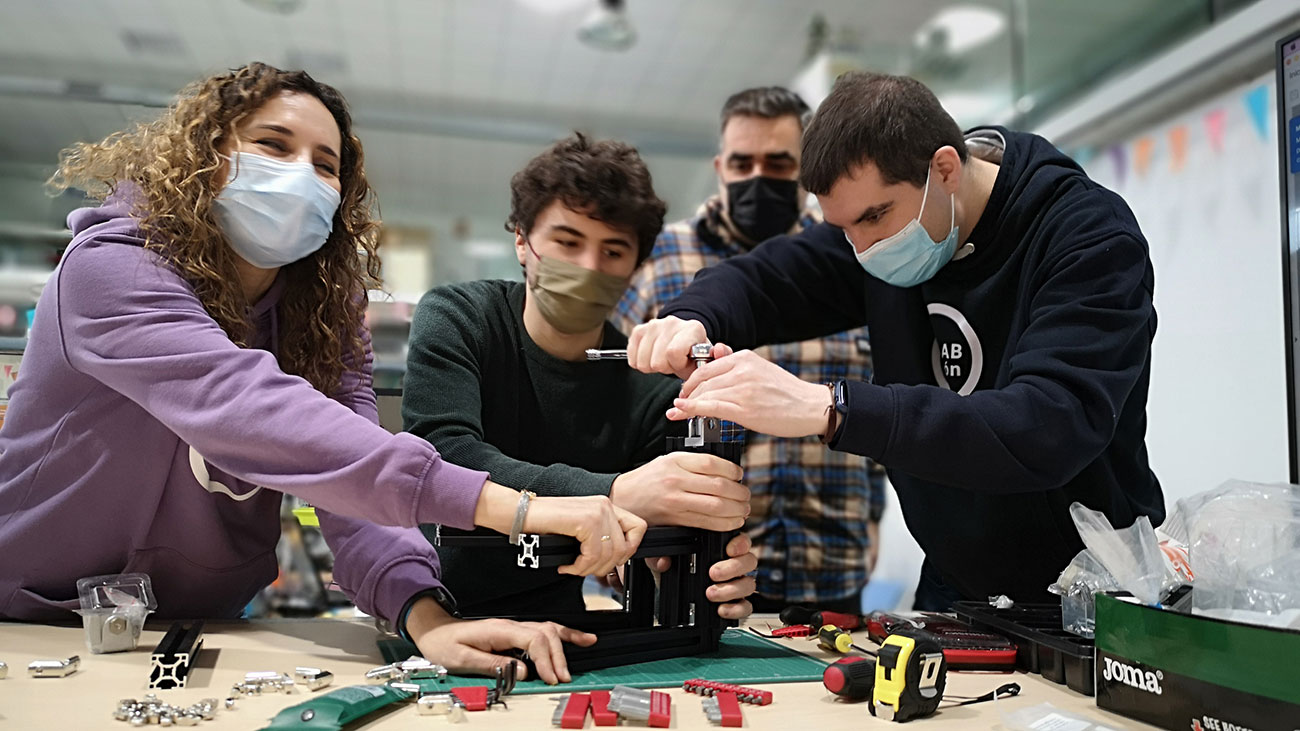
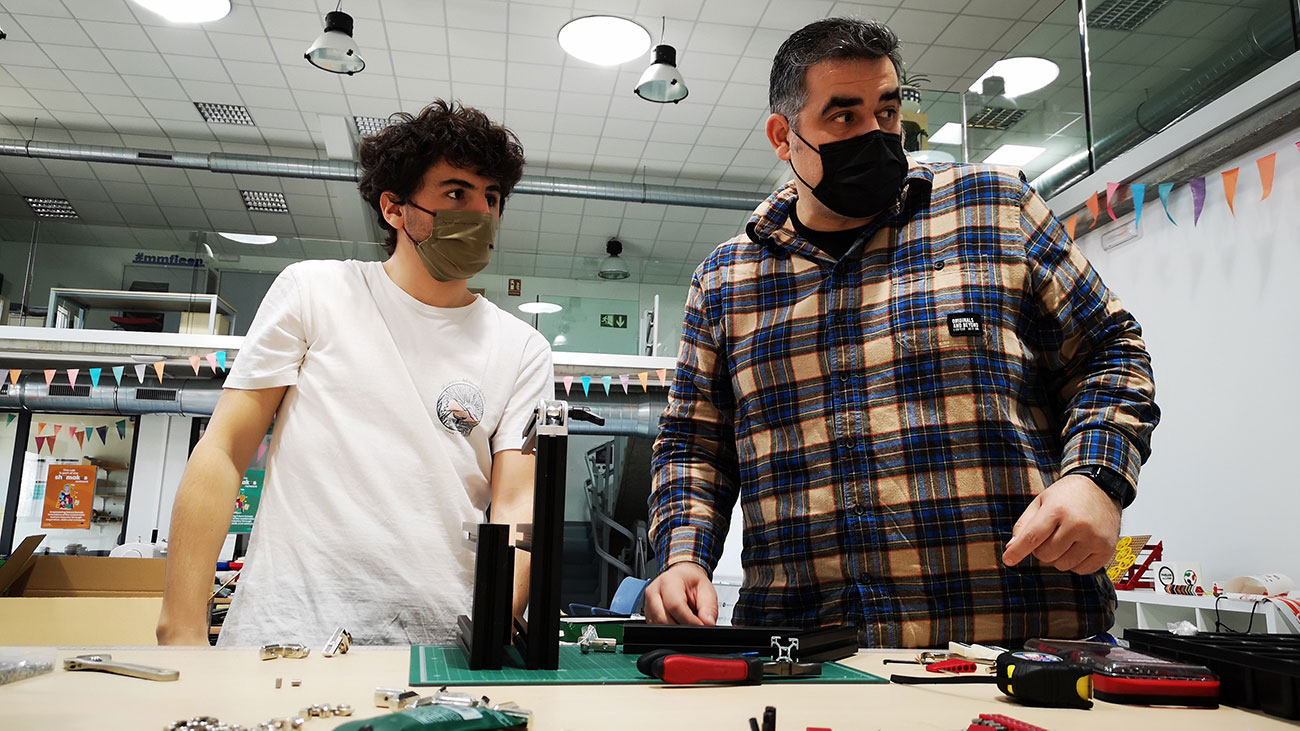
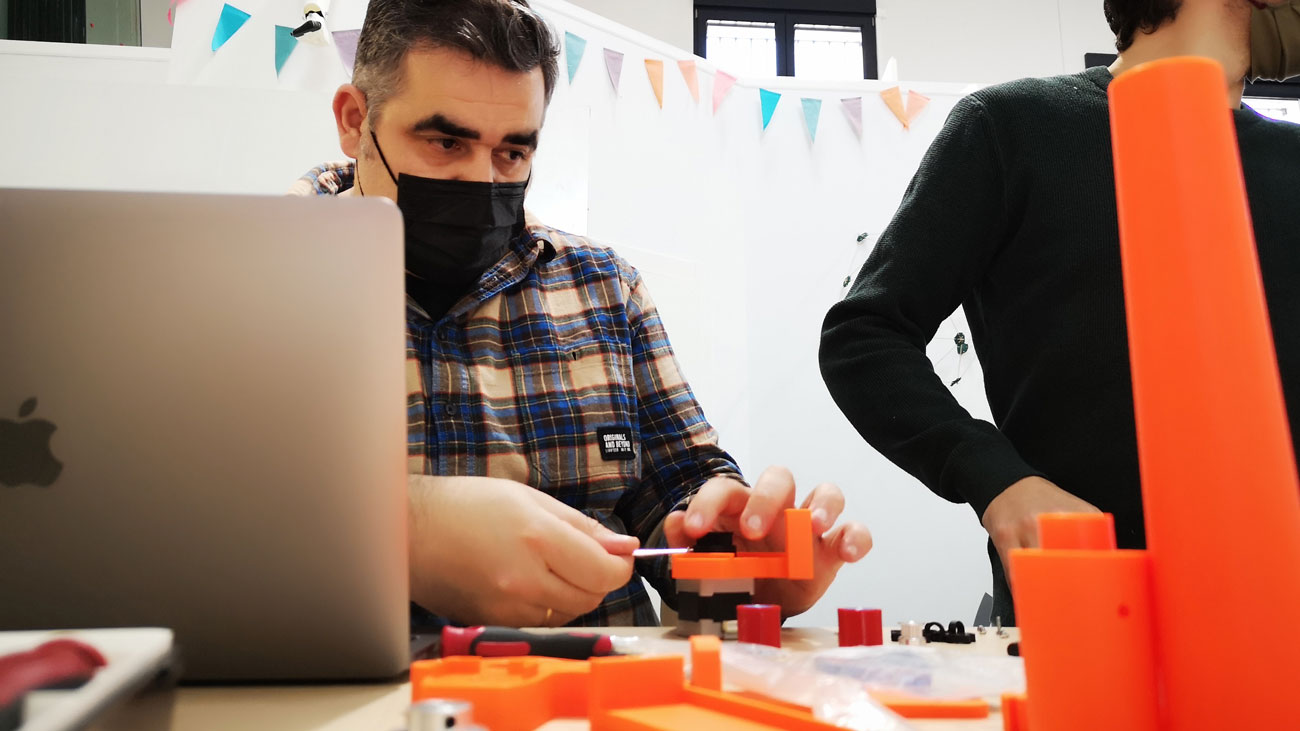
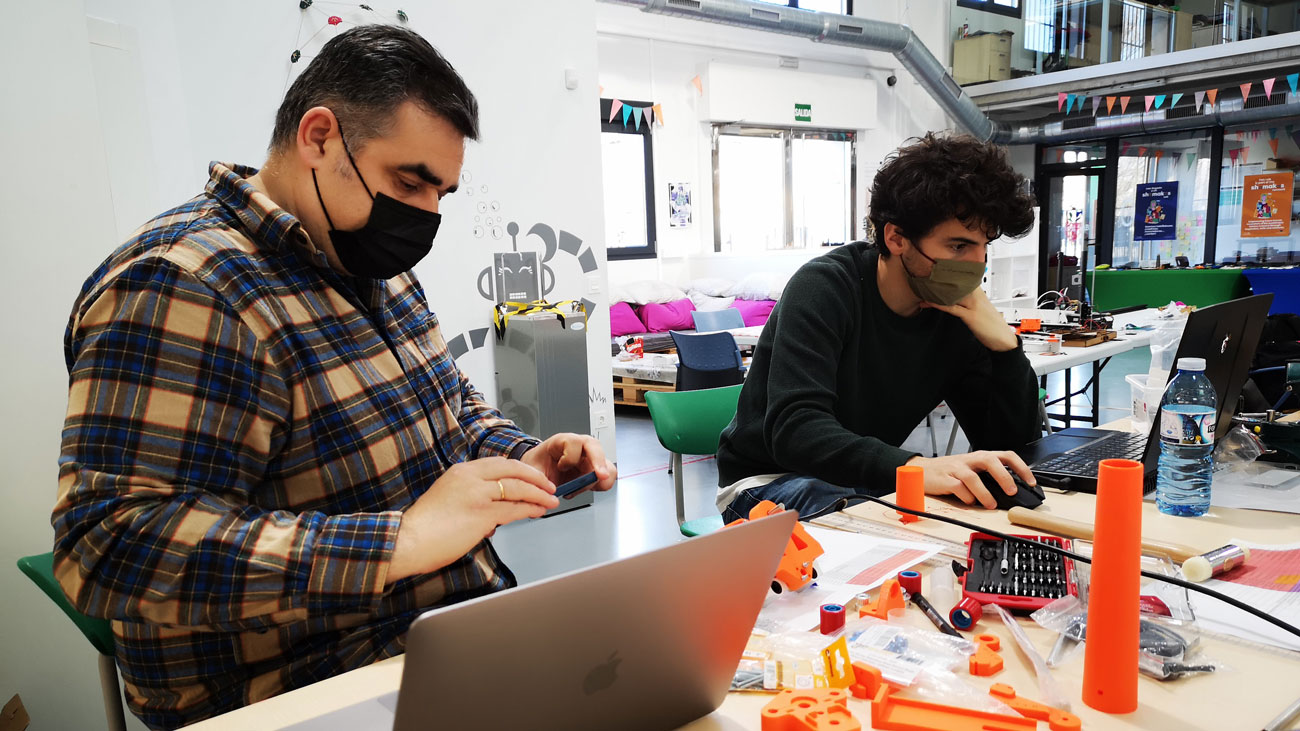
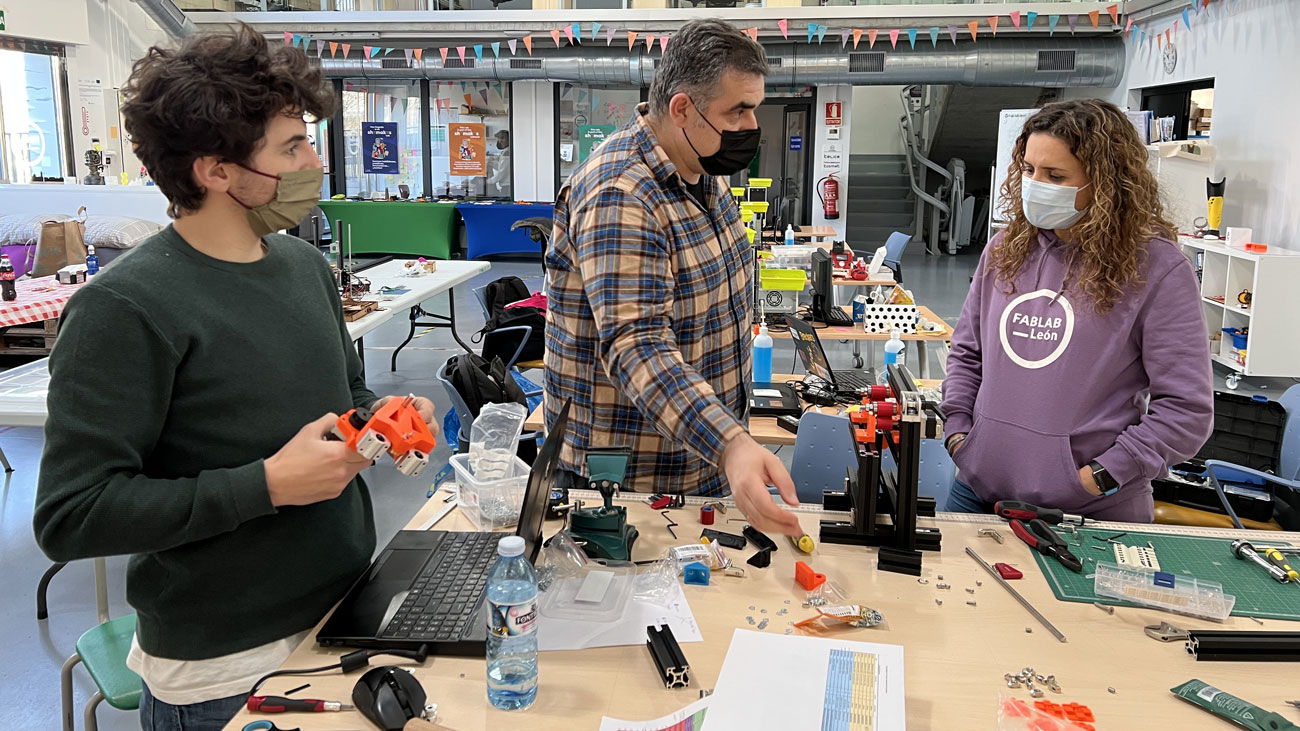
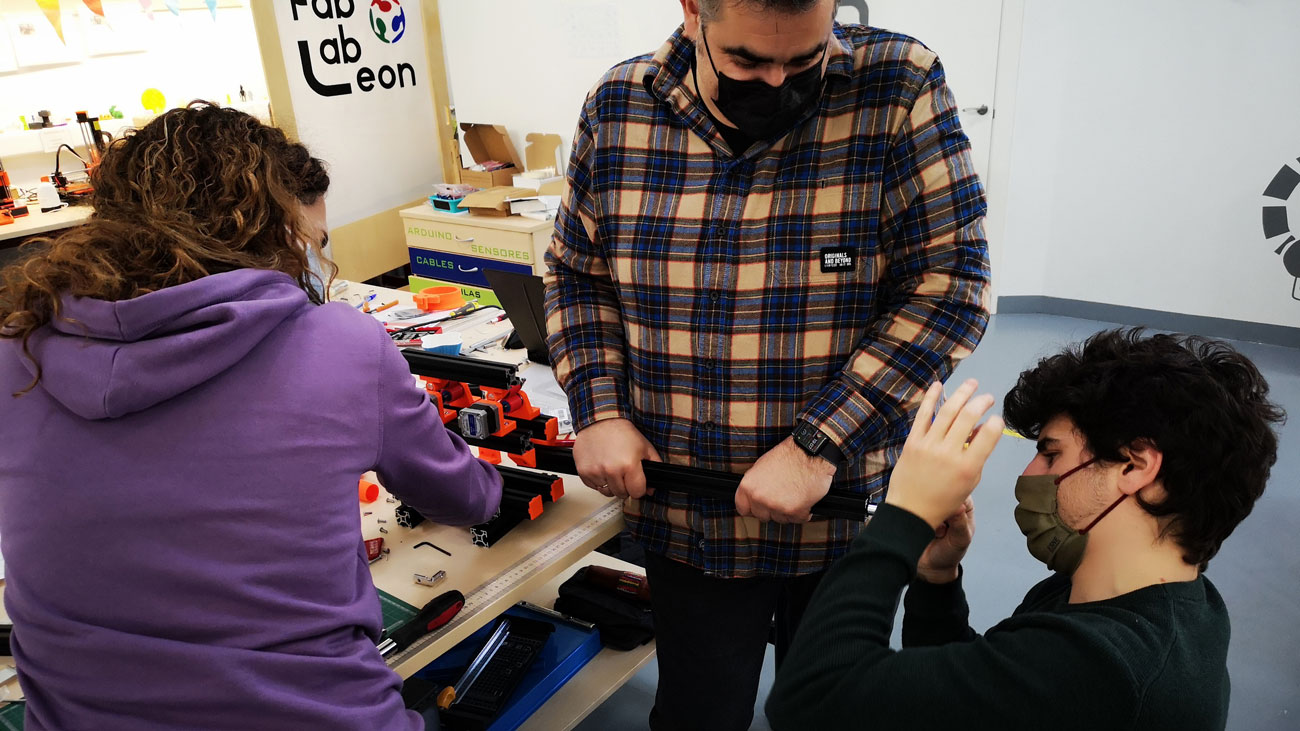
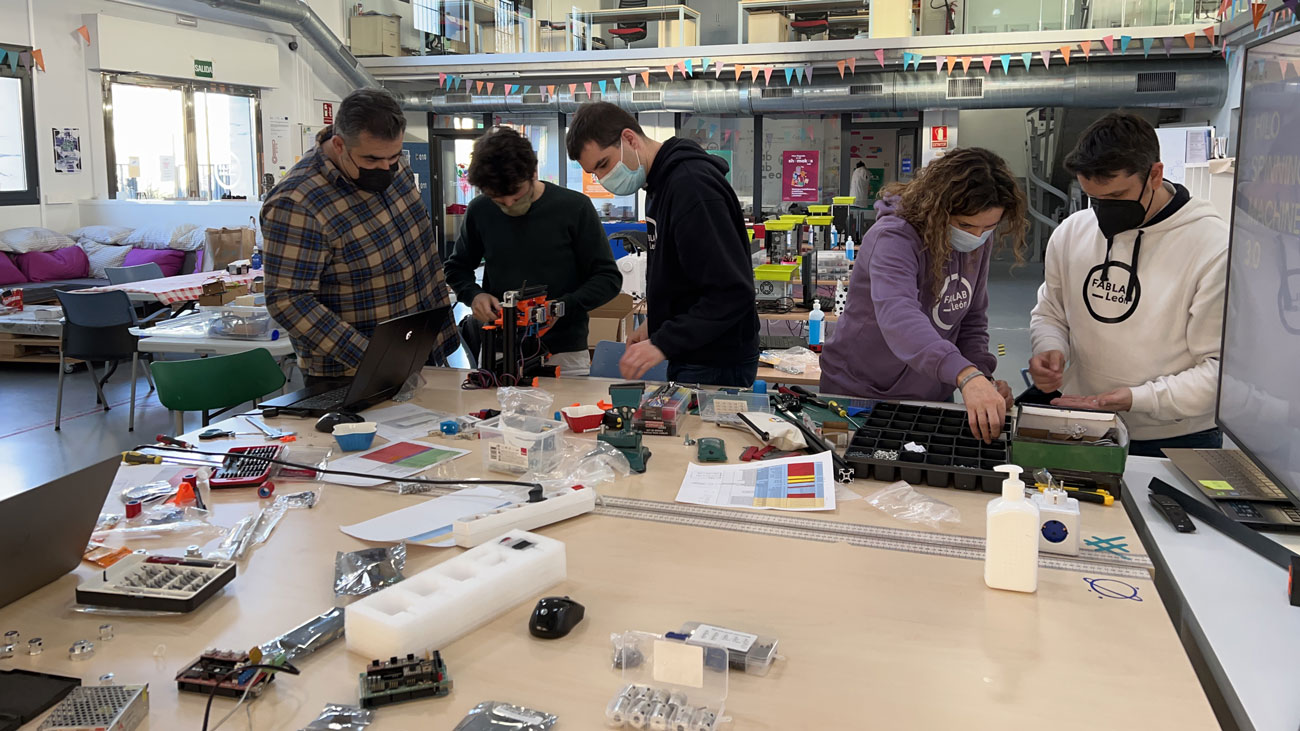
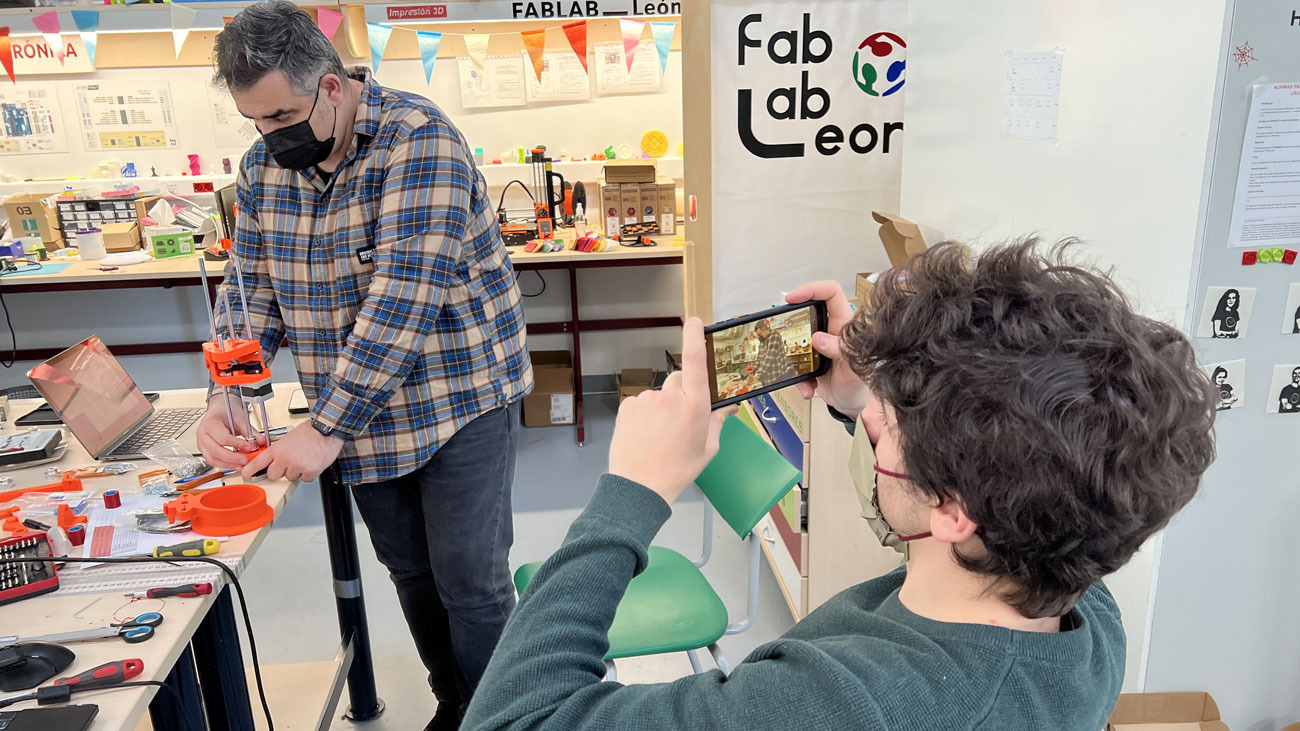
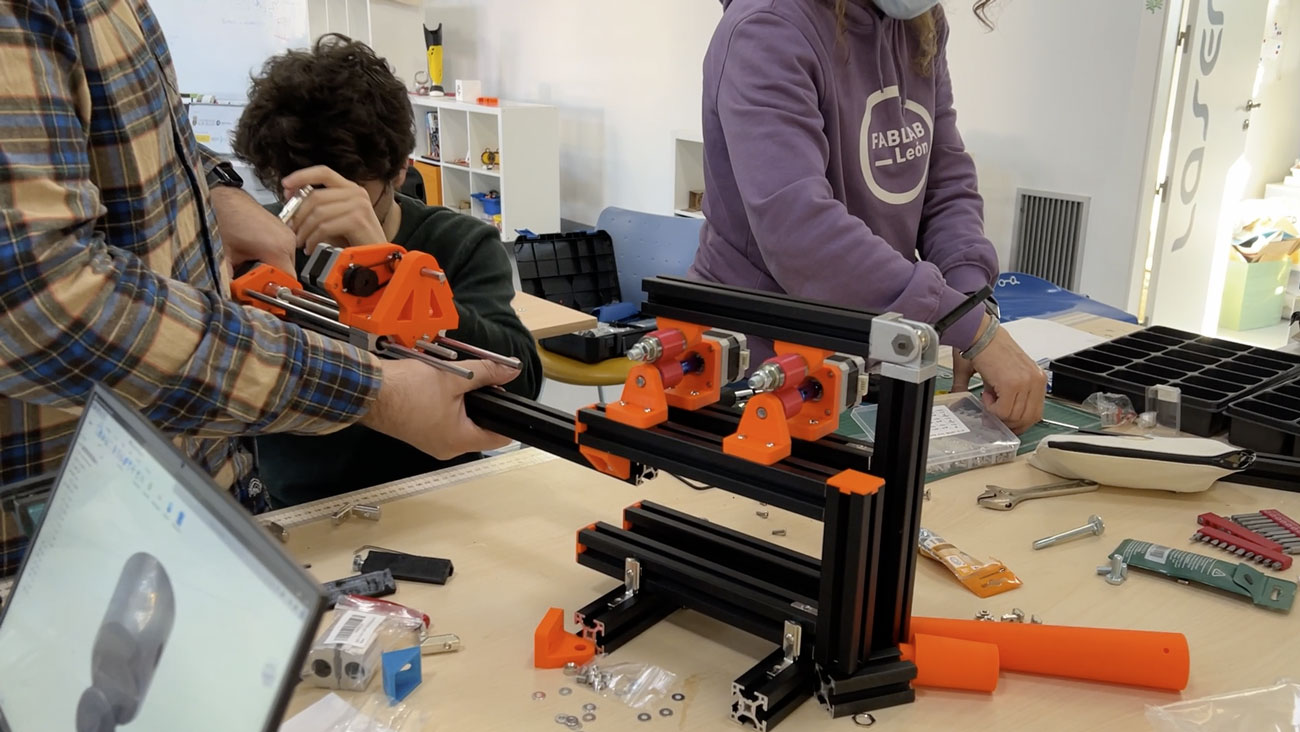
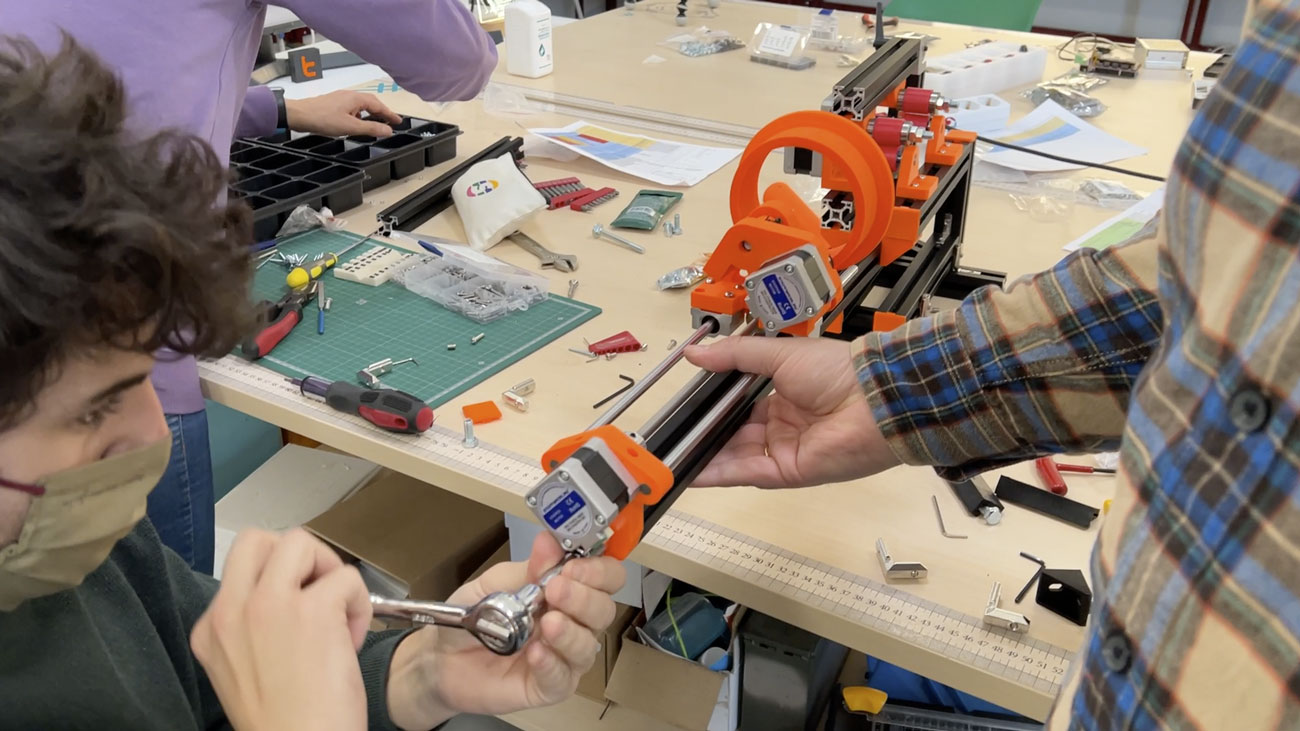
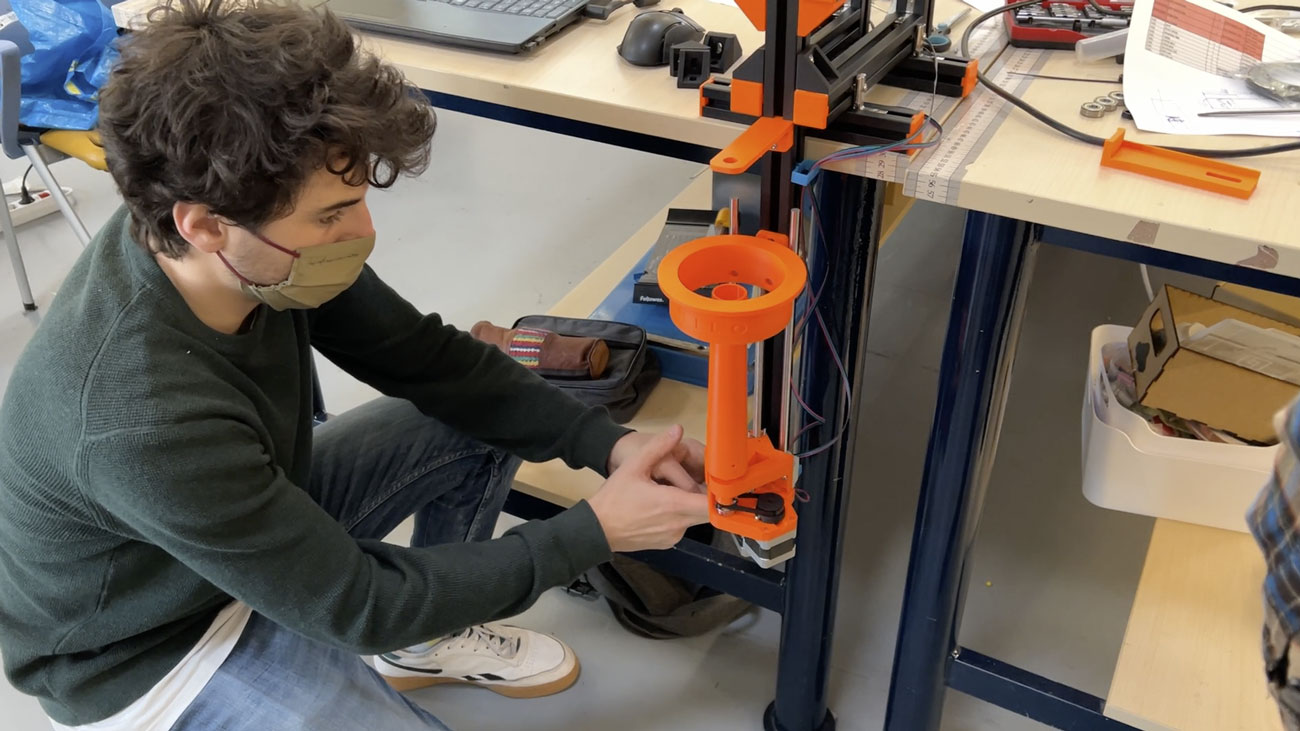
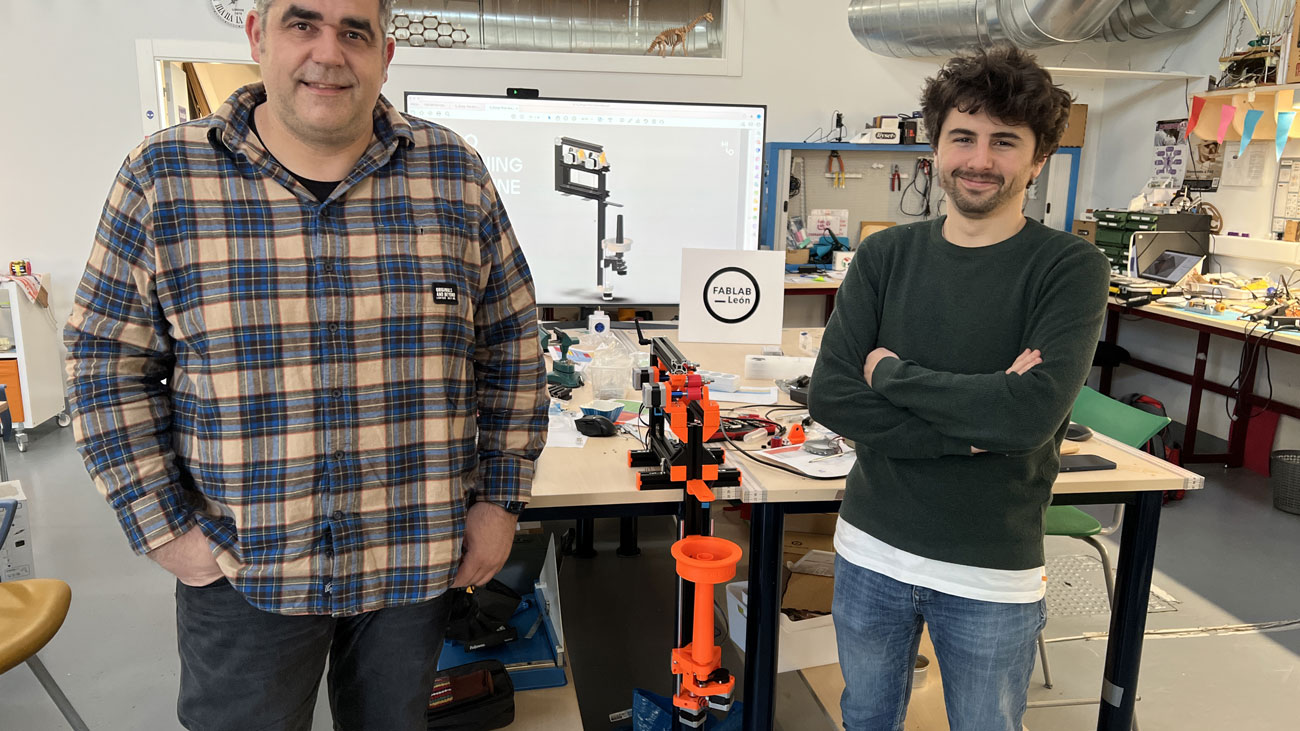
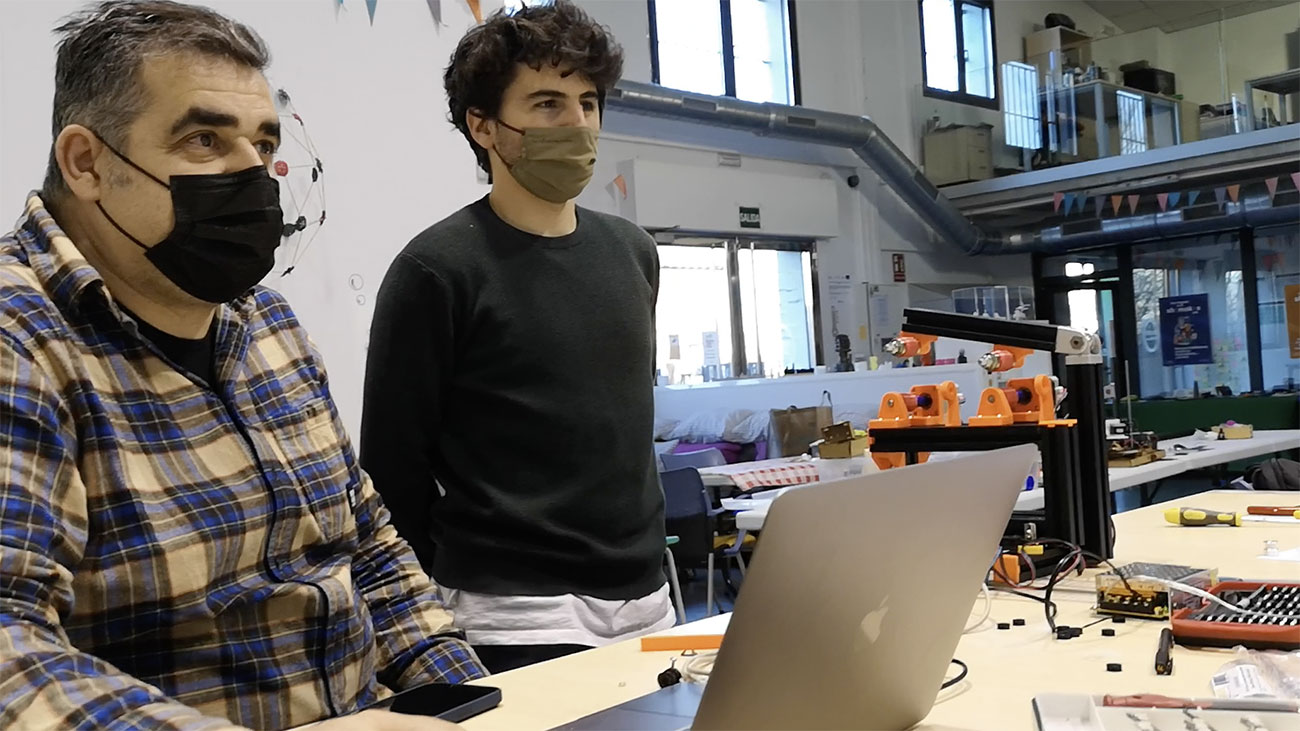
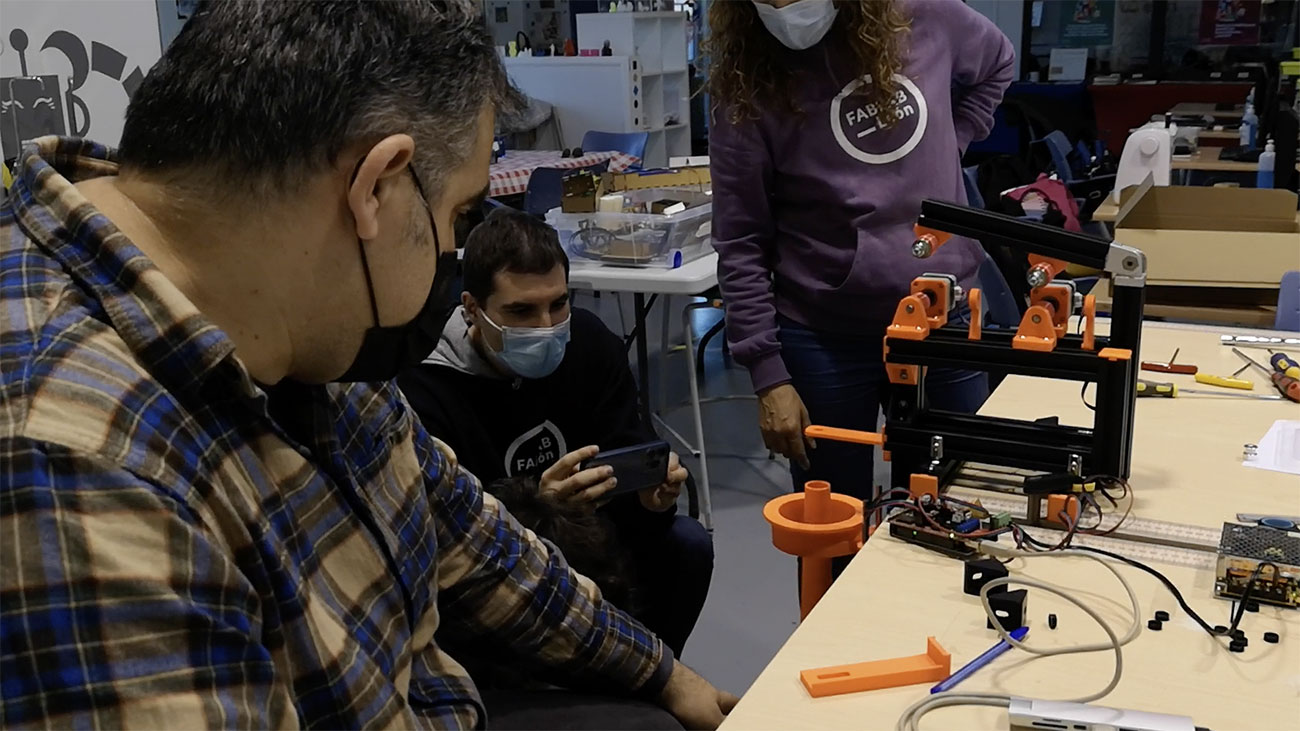
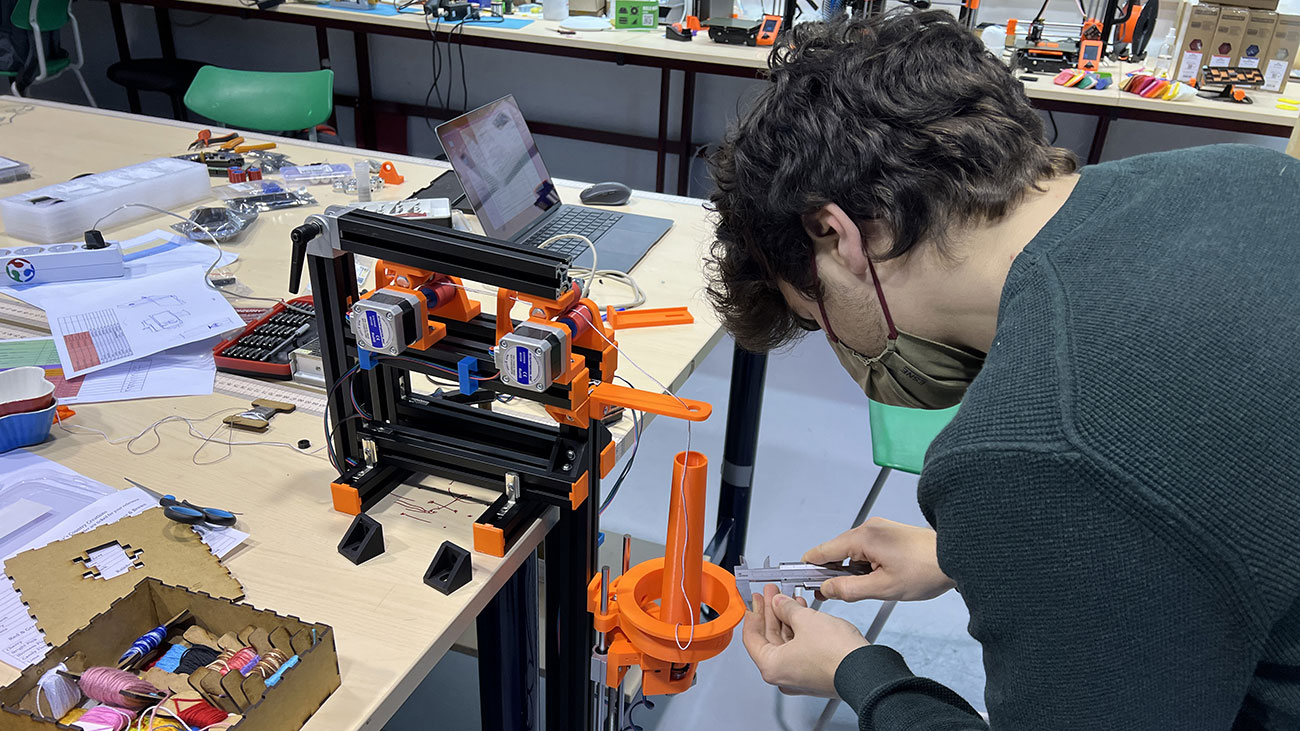
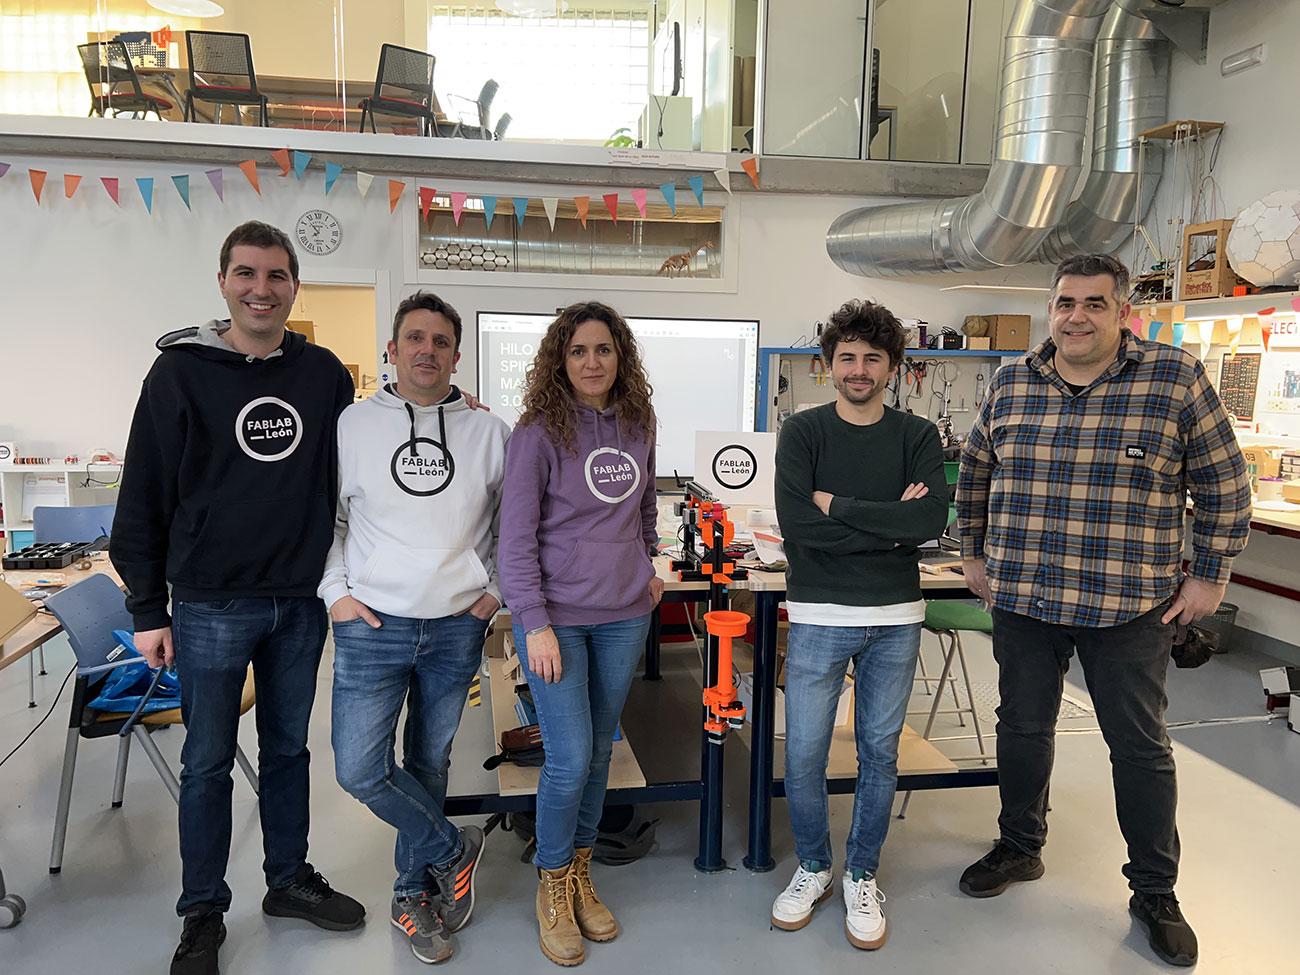
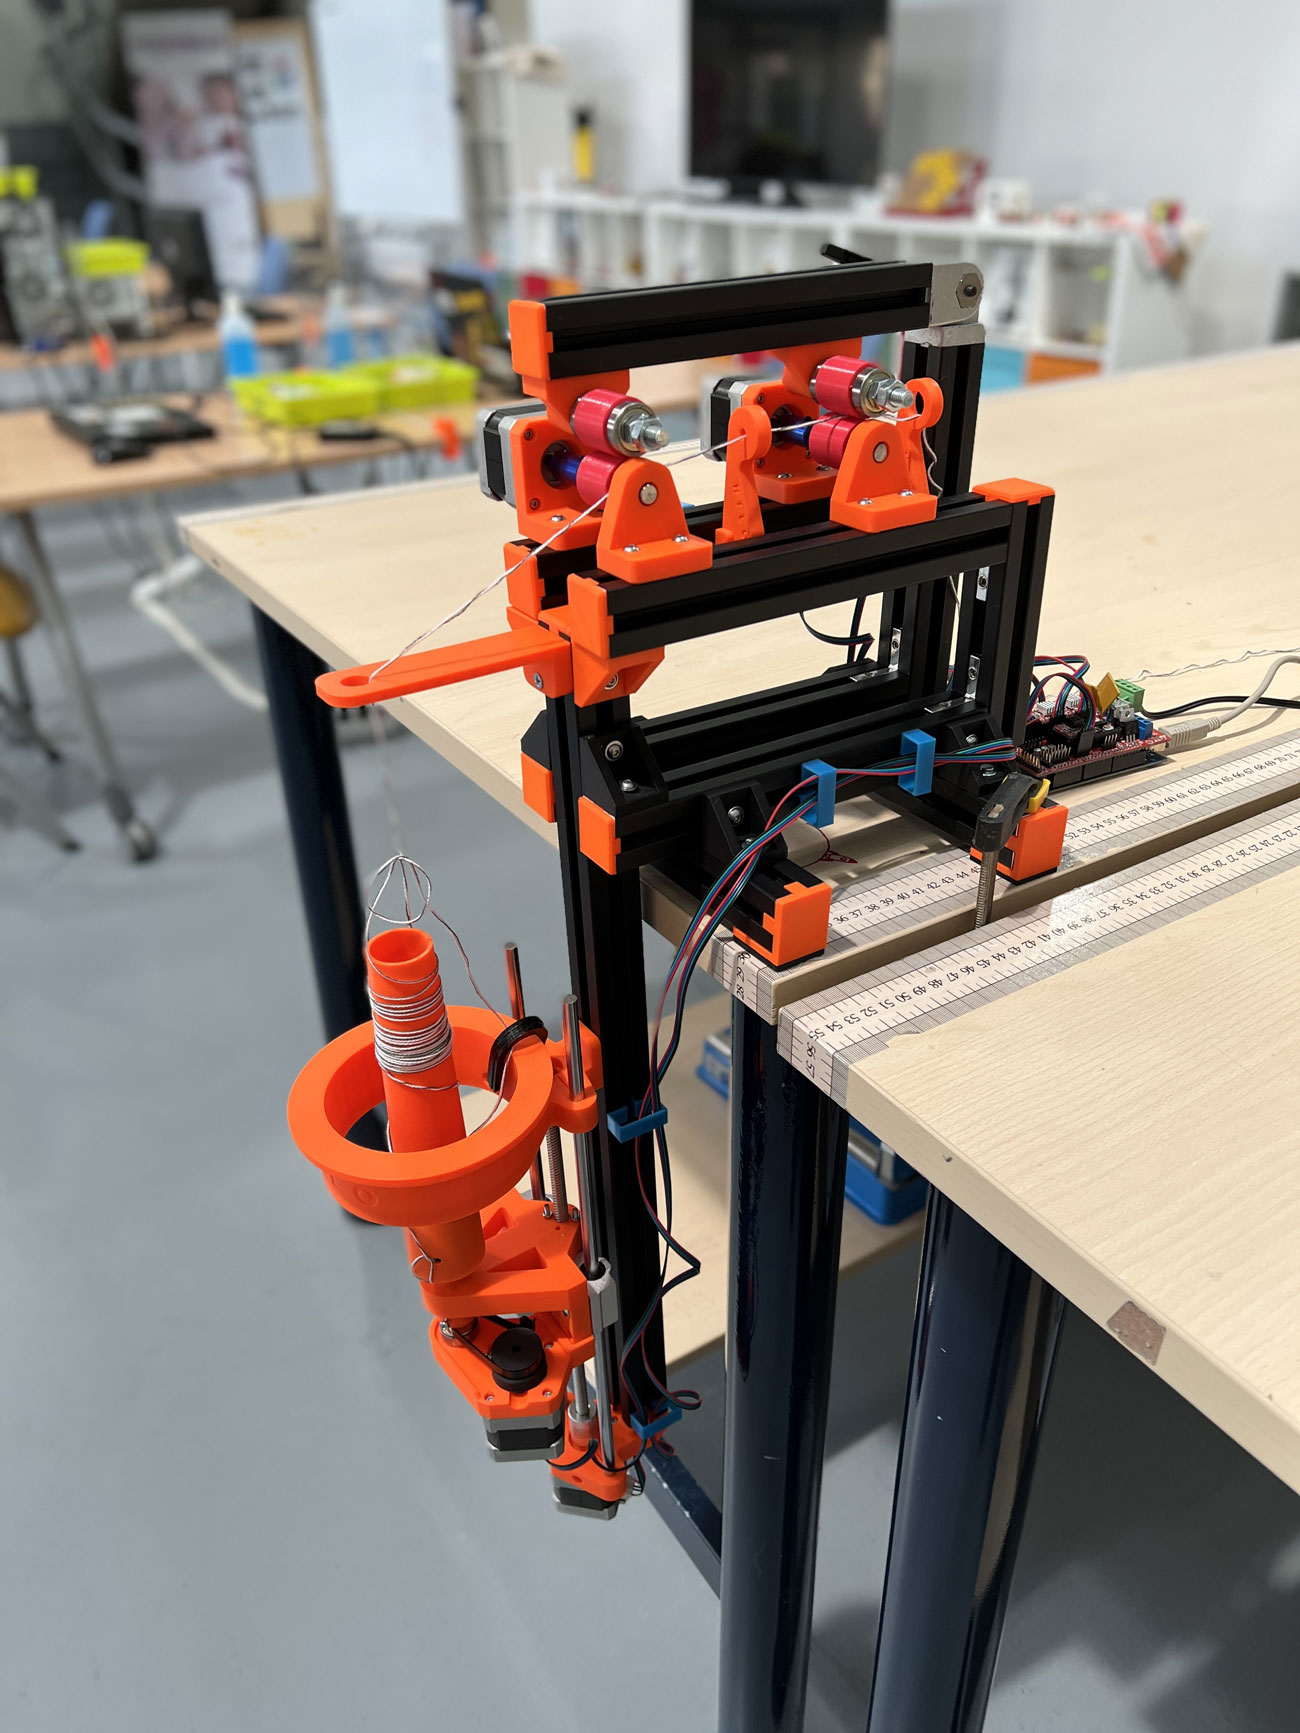
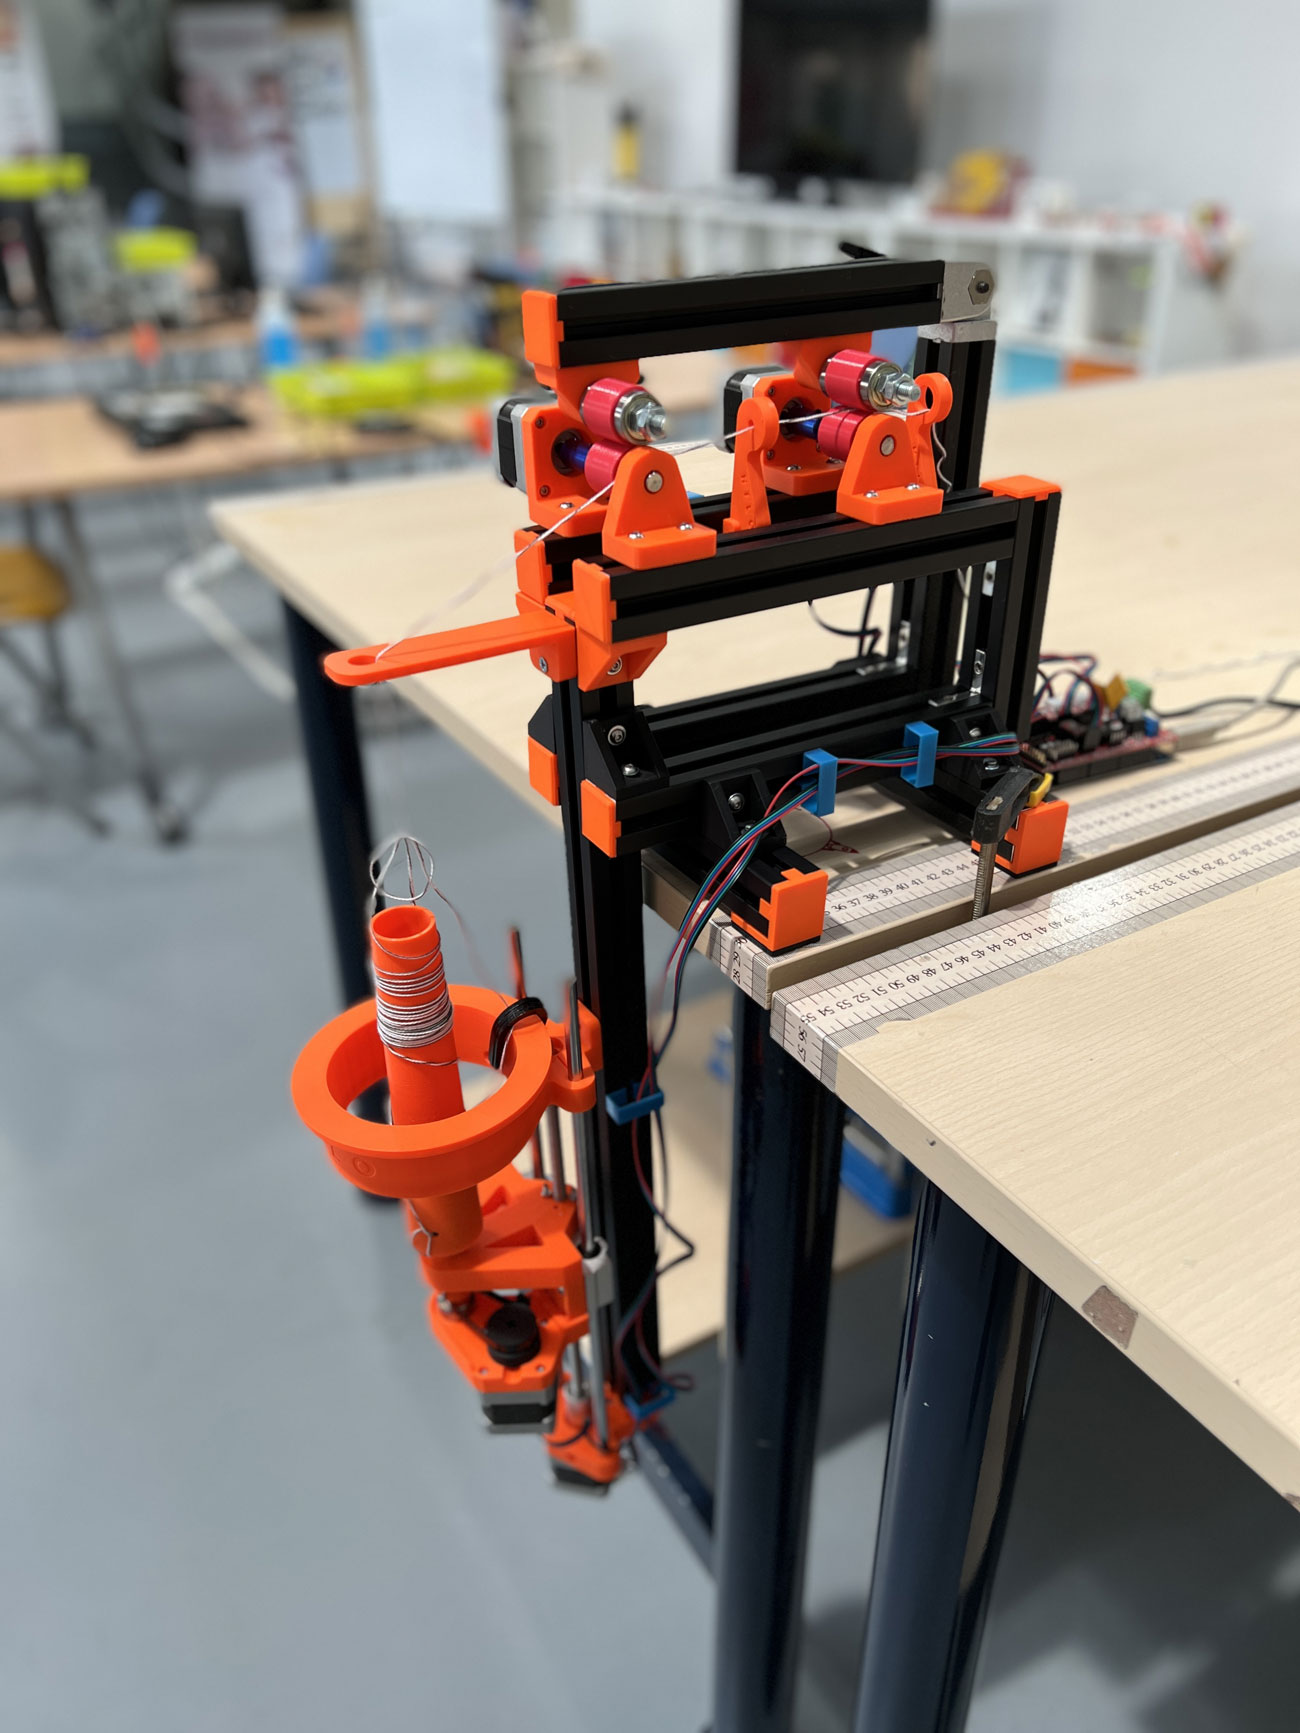
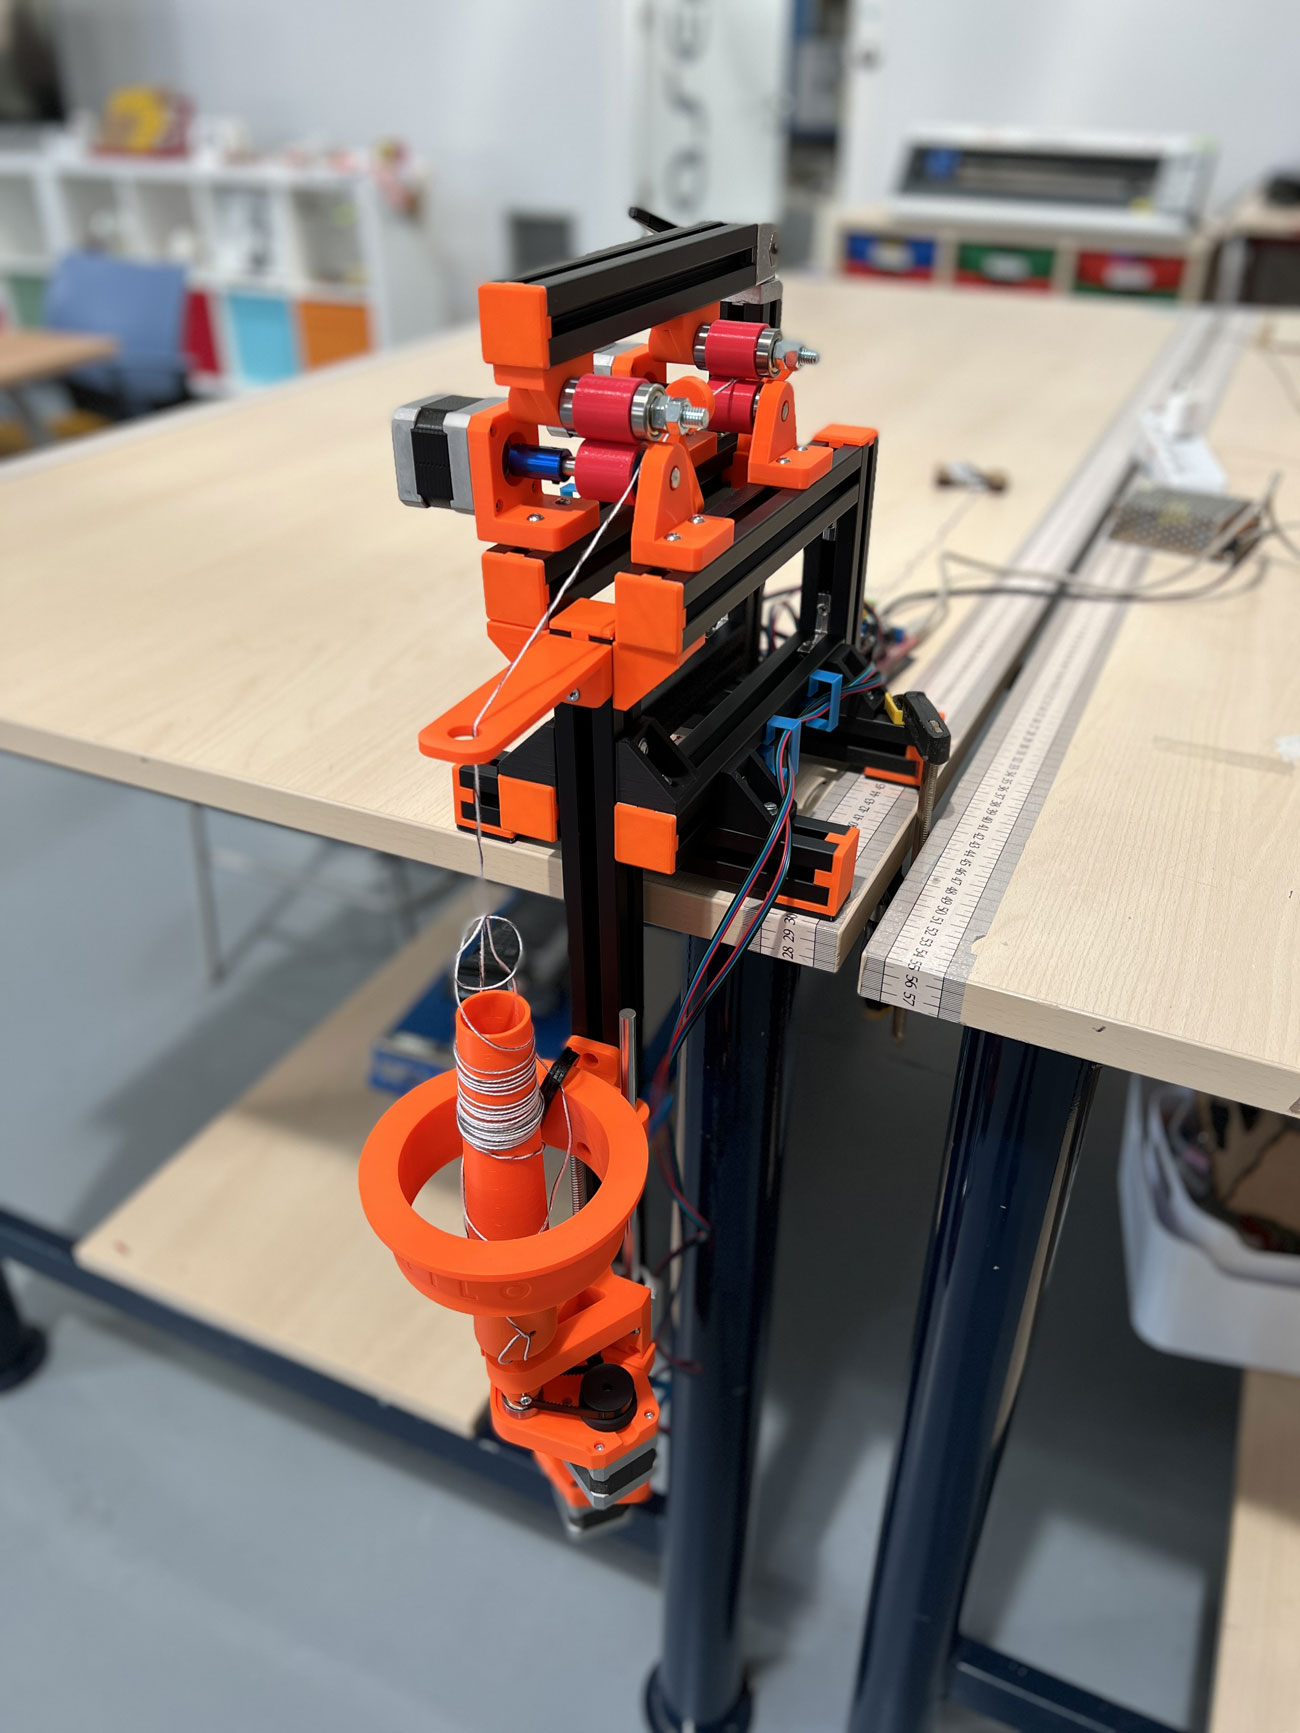
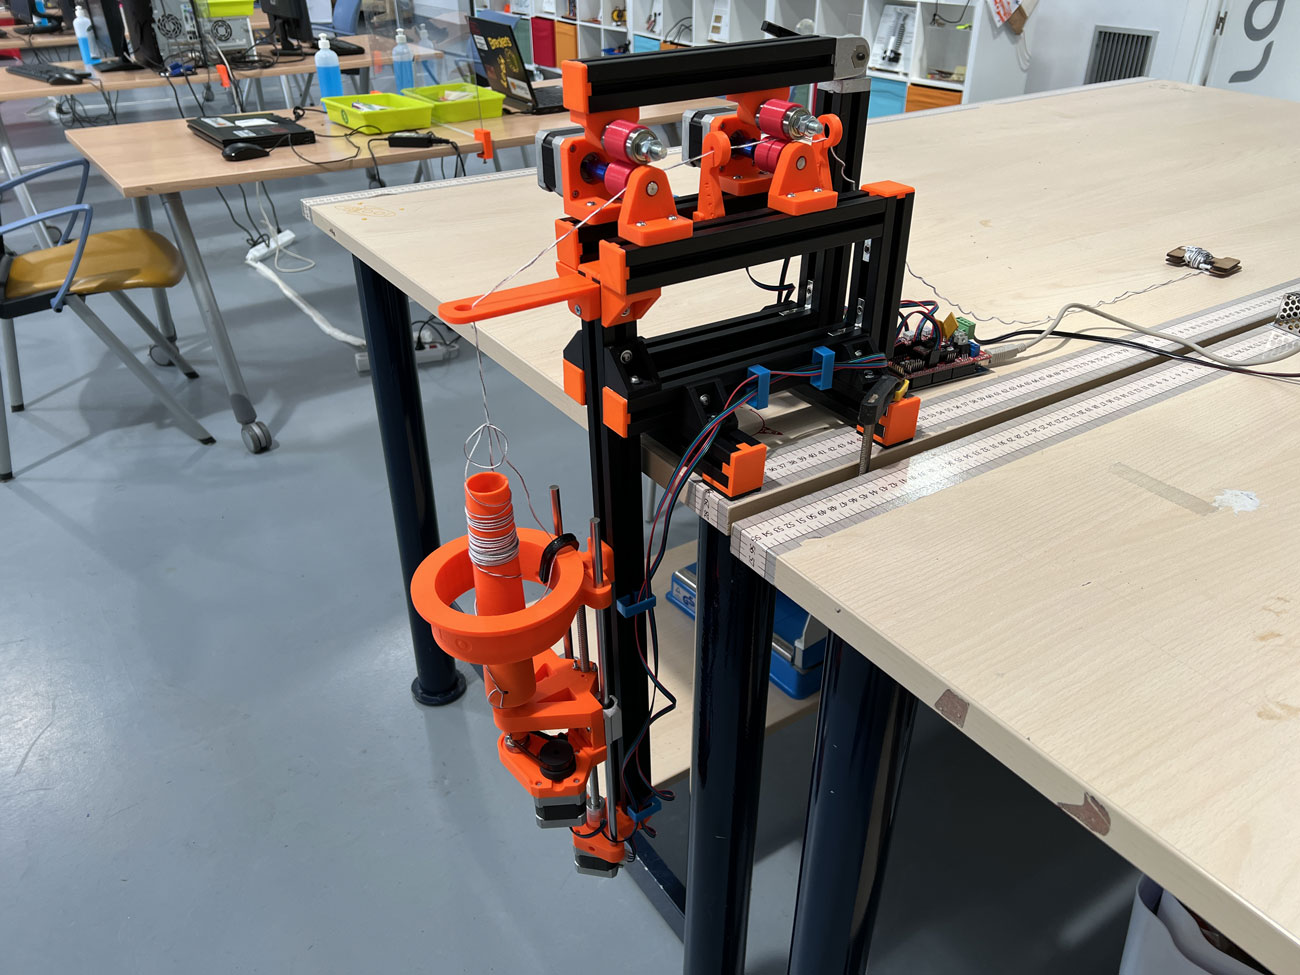
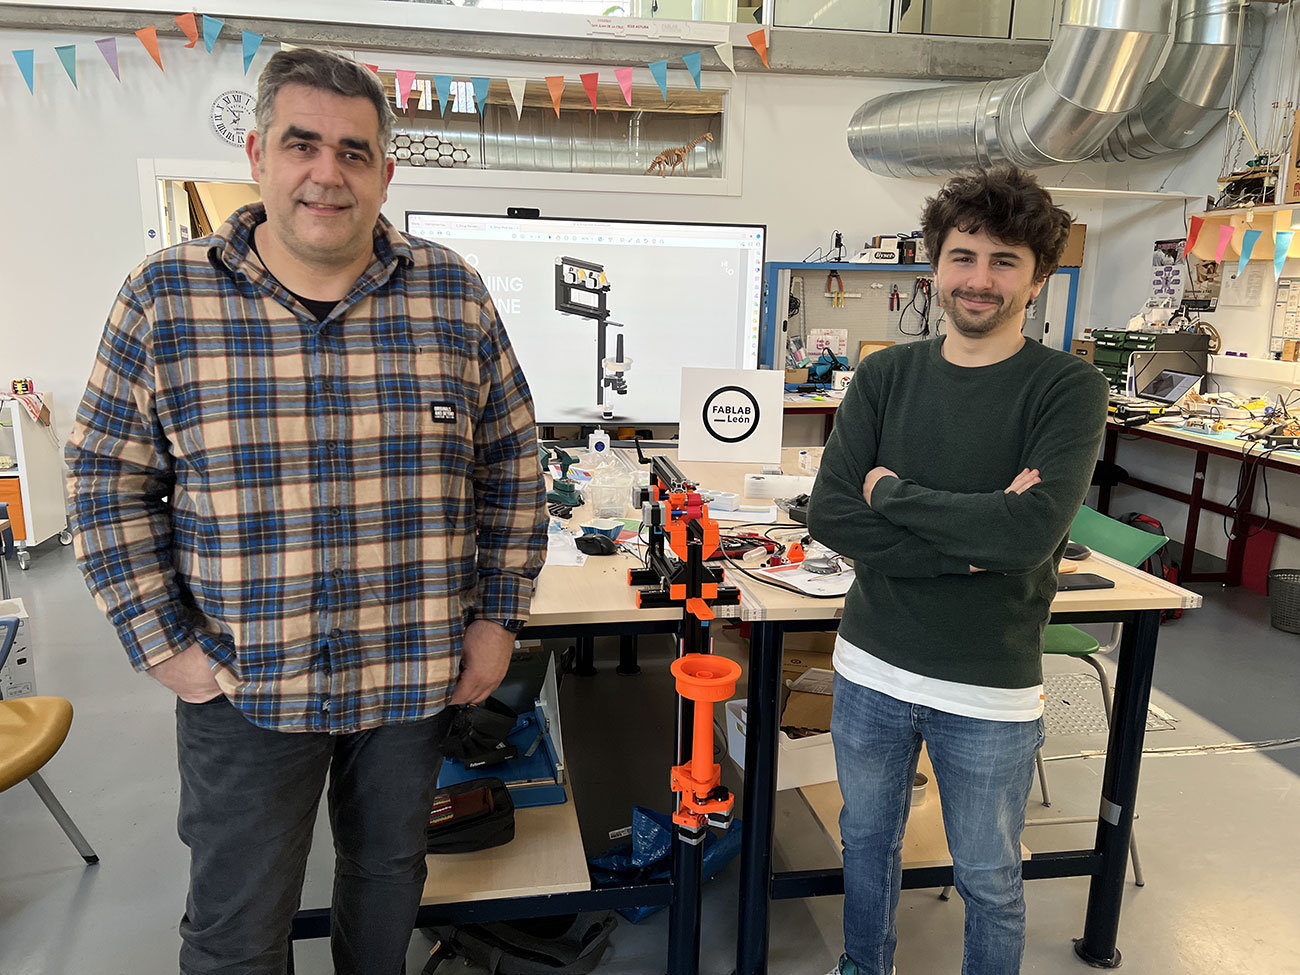
Last weekend, from April 1 to 3, we moved to the Fab Lab in León to carry out our group practice, and manufacture the HILO Spinning Machine.
The machine we decided to make belongs to studio HILO. studio hilo is defined as a Berlin-based studio for textile innovation. We rethink the textile industry by offering open tools, training and consultancy for small-scale textile manufacturing environments. HILO’s mission is to create playgrounds for independent yarn production. The HILO Spinning Machine (and Software) is an open source project by Studio HILO and allows users to produce their own customized yarn.
HILO studio has several open source machines to manufacture, in our case we manufacture the HILO Spinning Machine. The HILO Spinning Machine with its open-source software brings local yarn manufacturing into your workshop. You can choose your raw material, design the yarn properties and produce customized yarns on the spot.
Link to original project in Studio Hilo
Modifications in the original project
We make, modify and share a new variant of the open source machine.
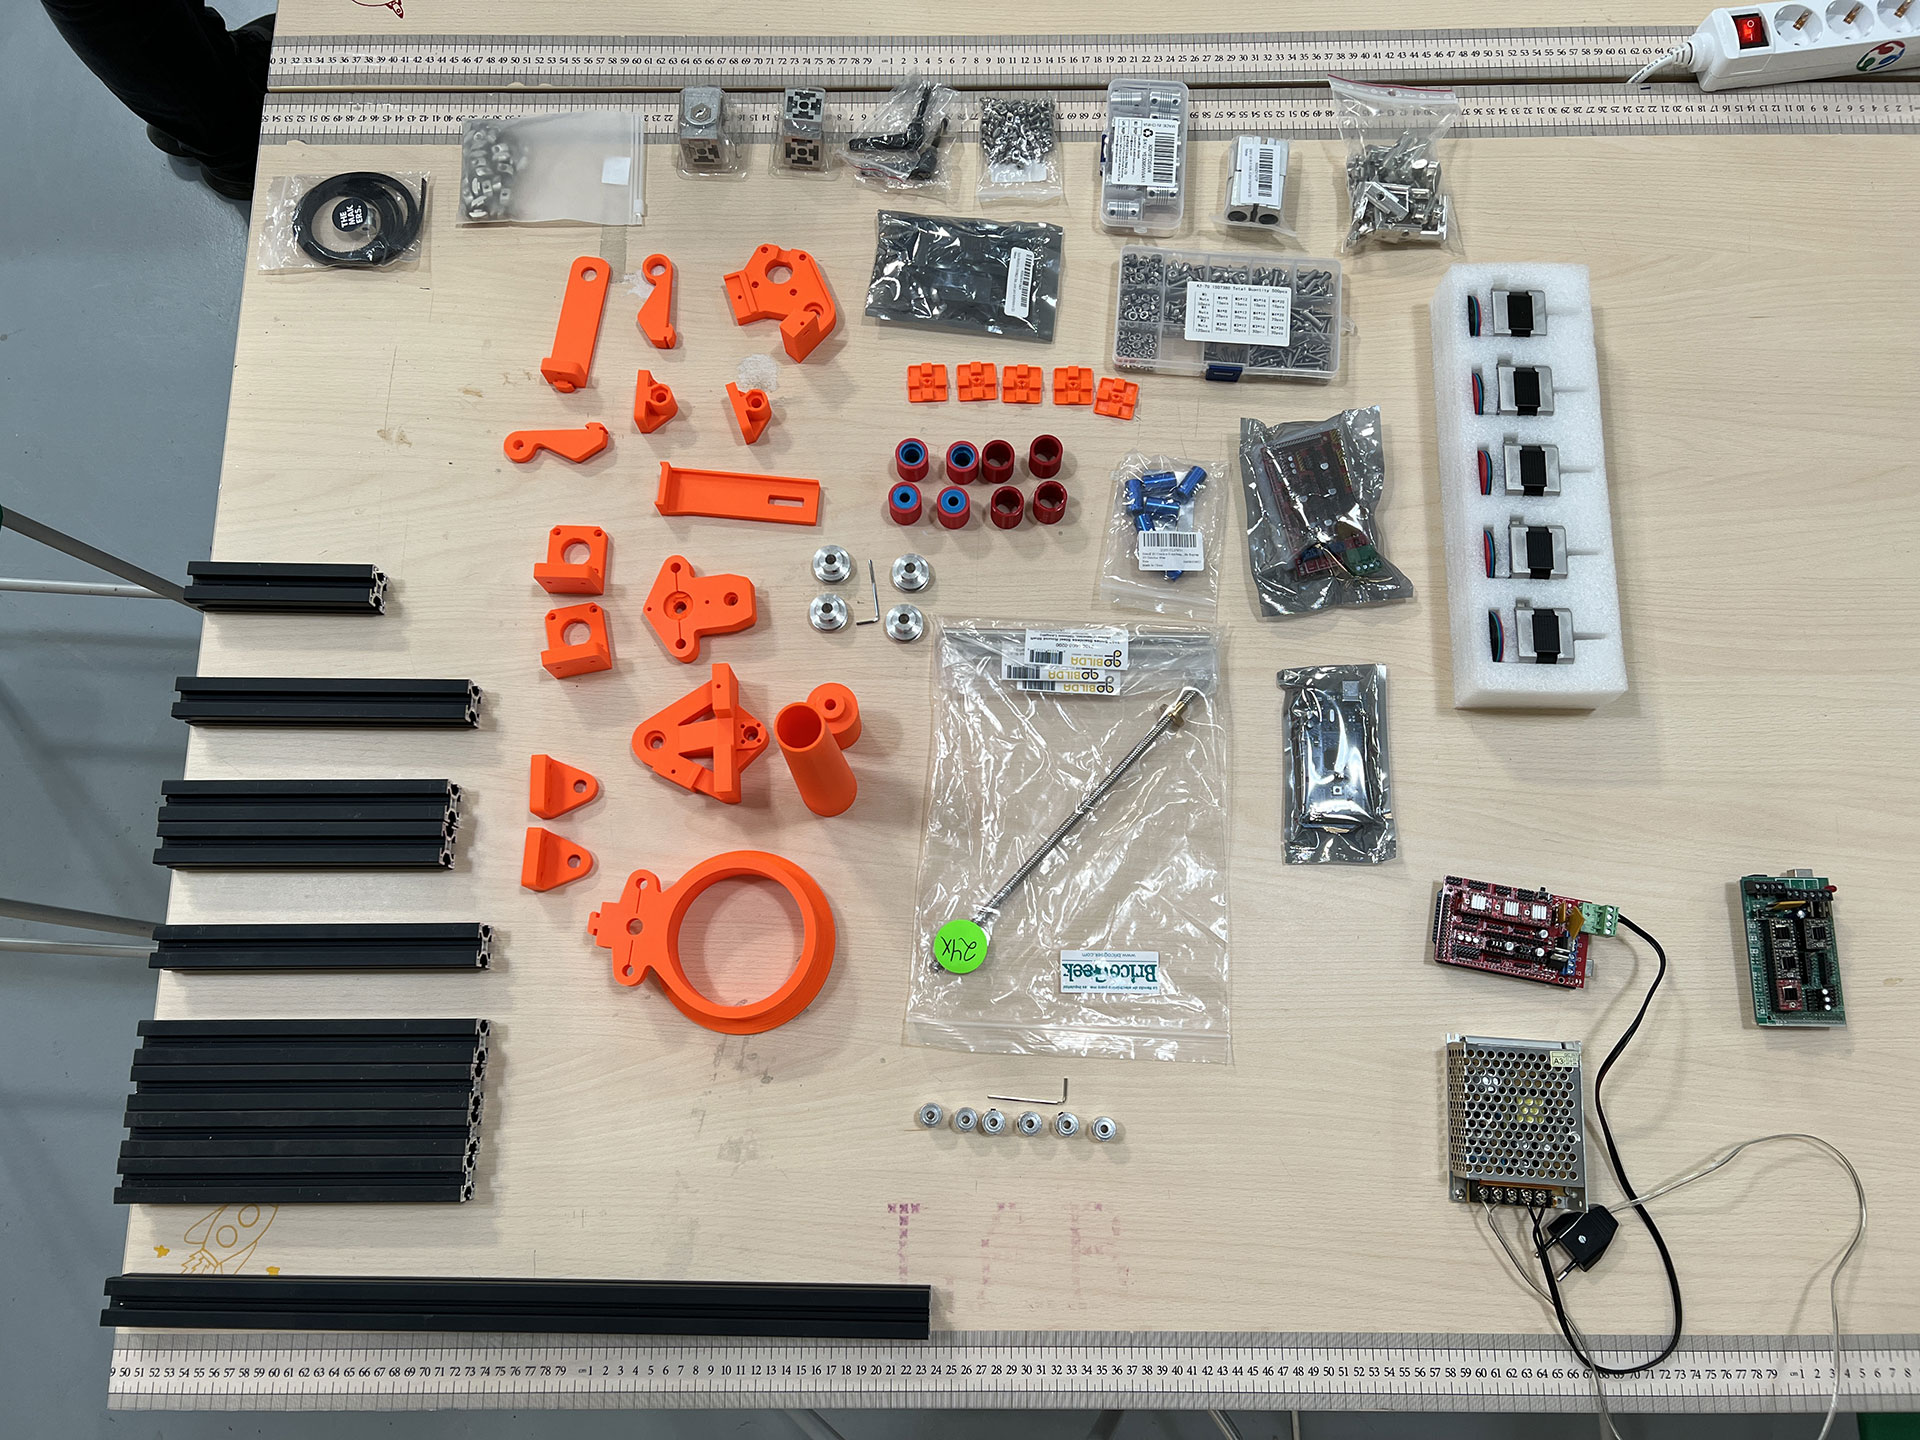
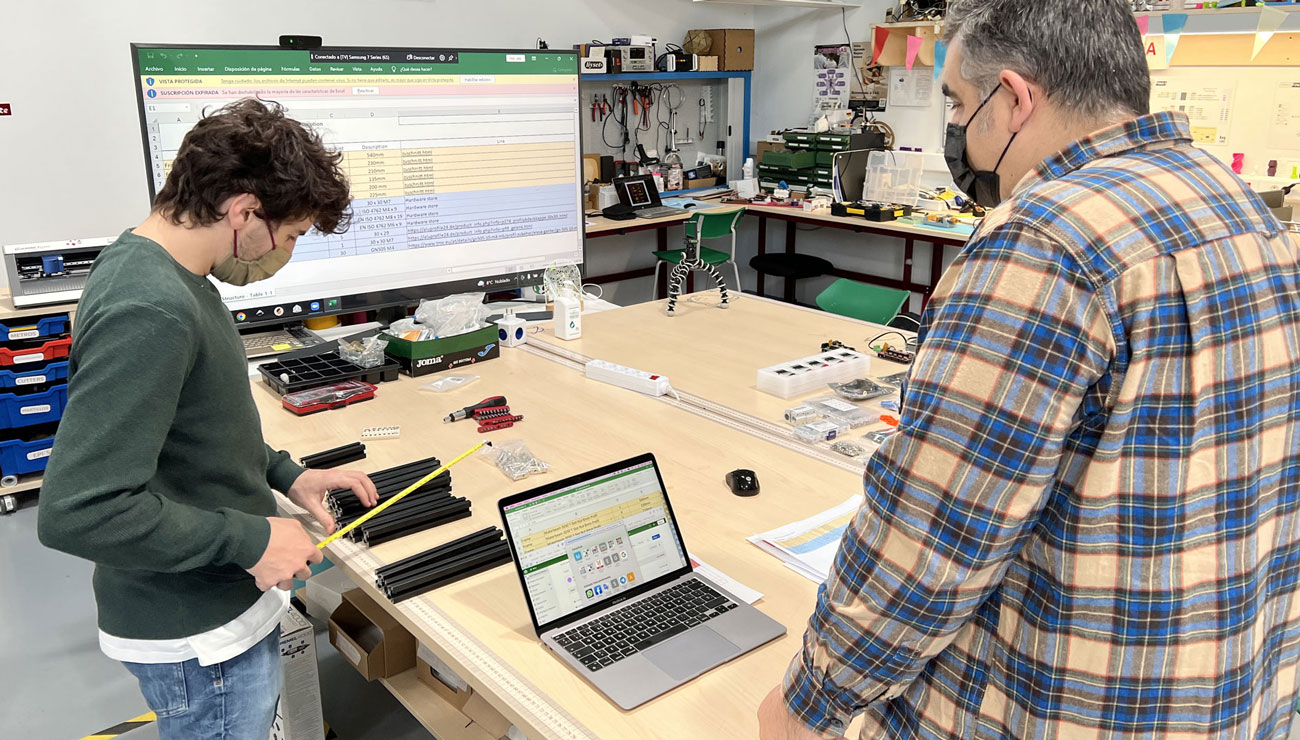
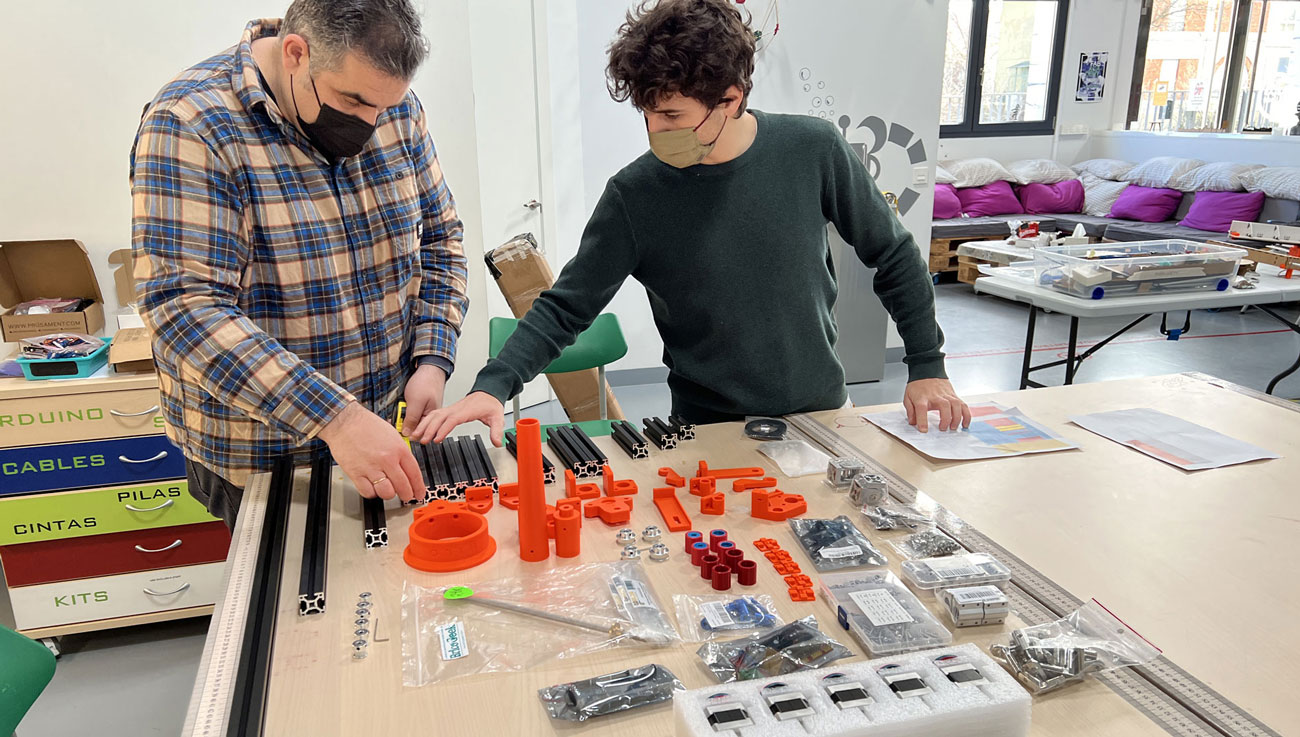
On Friday we found several pieces of the machine that could be of standard measurements in order to simplify the assembly of the whole, as well as we found that there were a significant number of parts that needed to be purchased, but they were easily replaceable with 3D printed parts, so the machine could be produced more locally.
For all this, the improvements that we will make in the project will be:
- Identify parts that may have standard measurements
- Design new parts to produce them by 3d printing that replace expensive parts
- Design and produce new parts that improve the operation and useful life of the machine
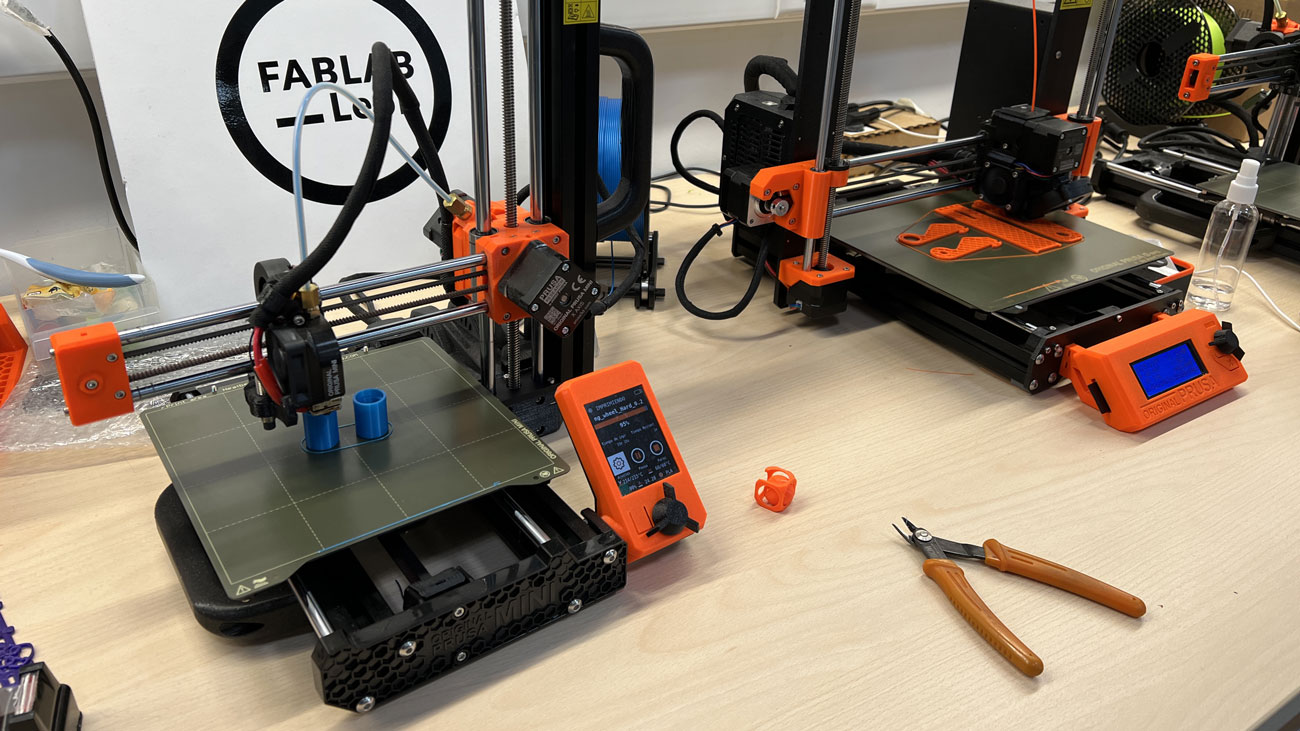
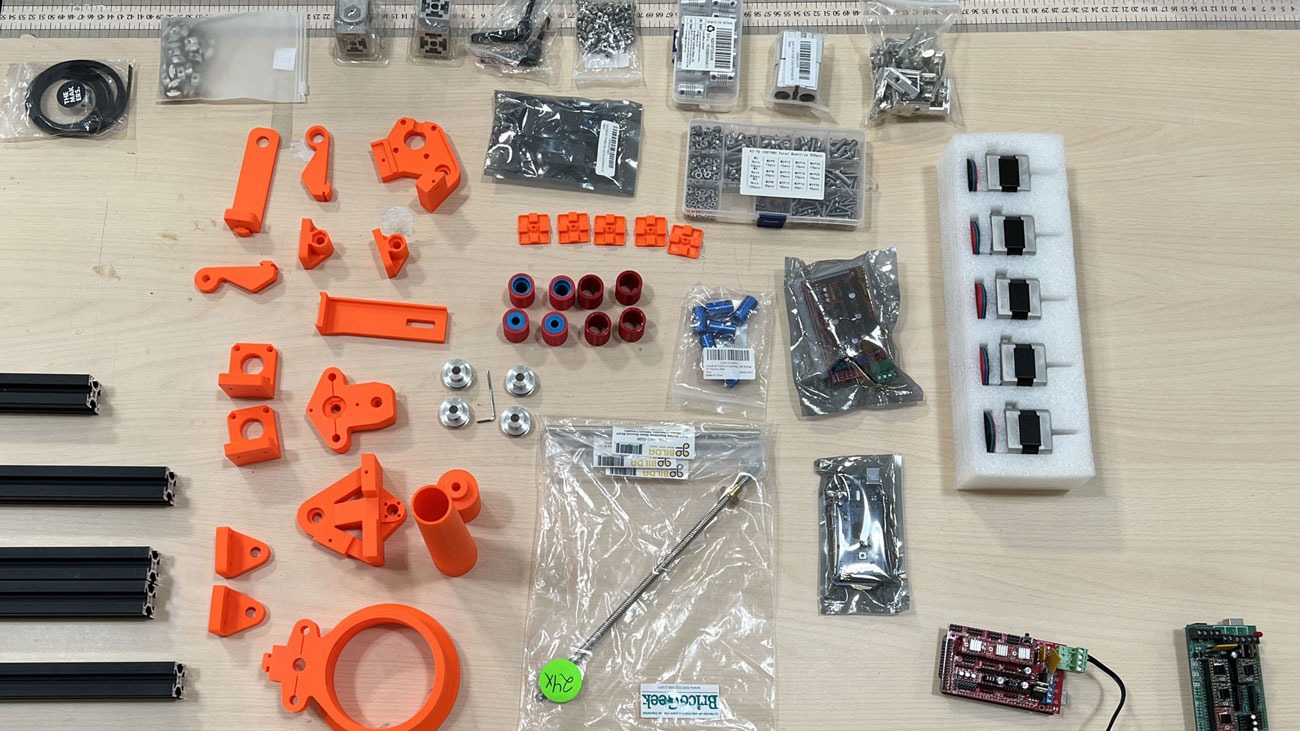
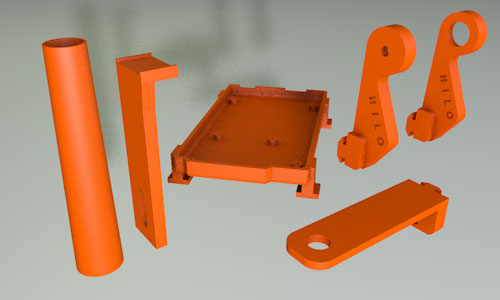
3D Print and short piezes
1 Group
Structure
Group information
- Category: Assembly
- Difficulty: Medium
- Build date: 02 March, 2022
- Build time: 20 min
- Files: Download
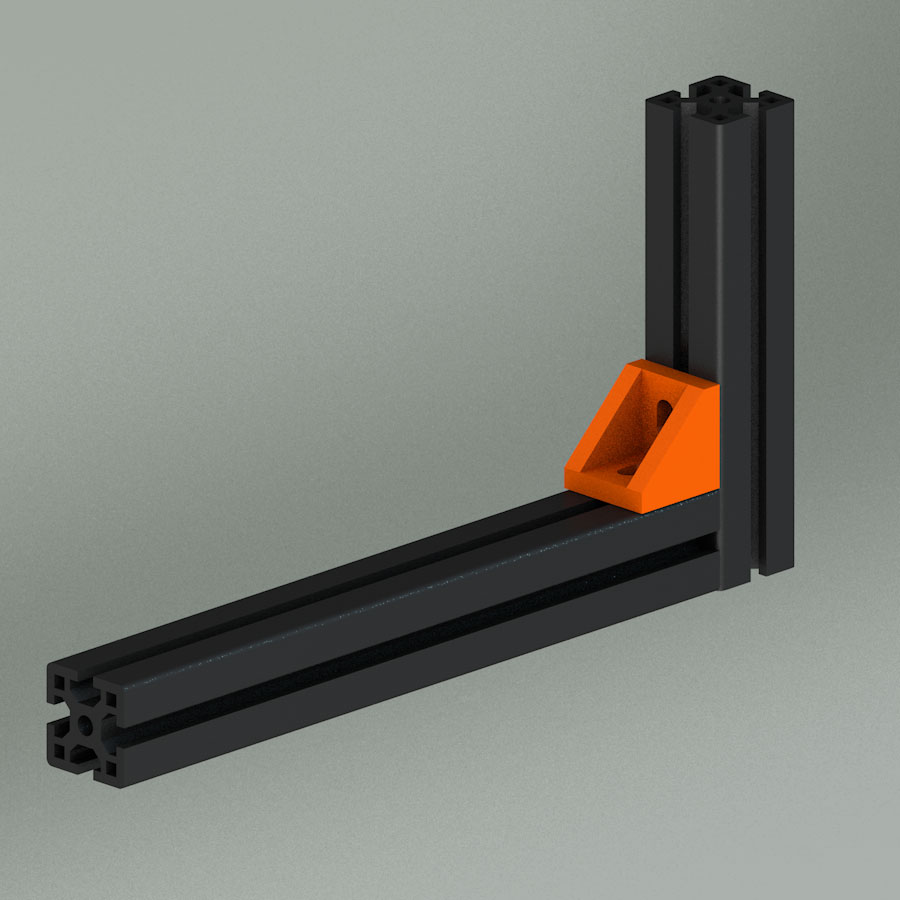
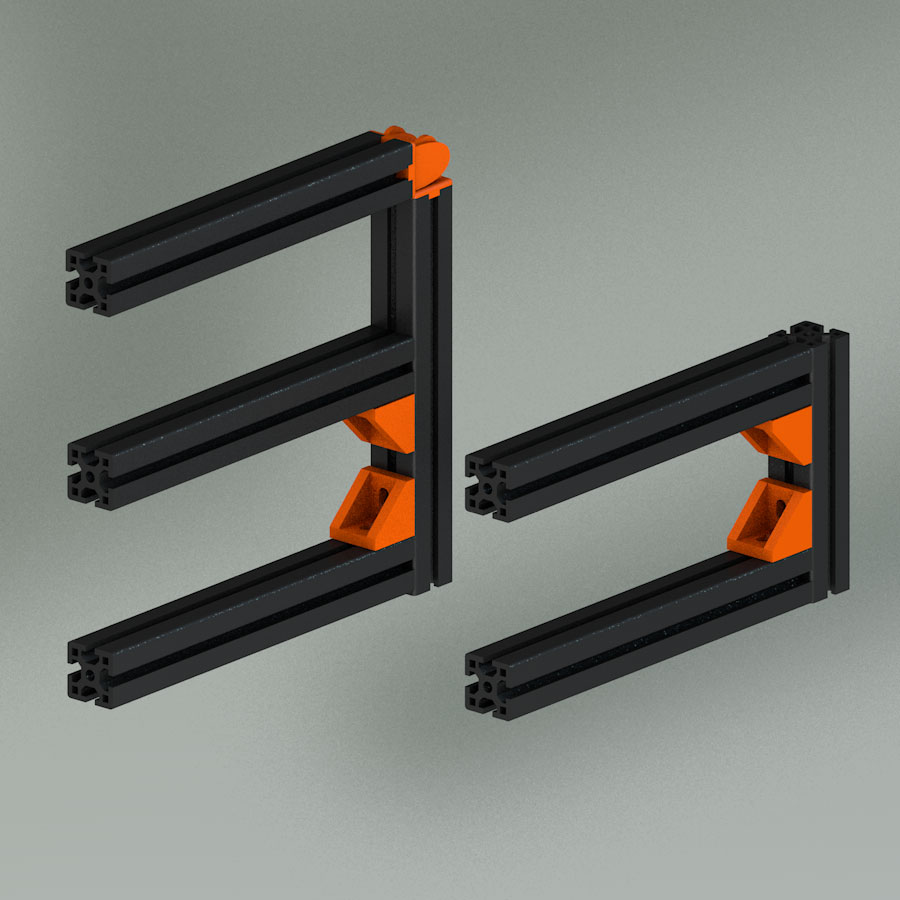
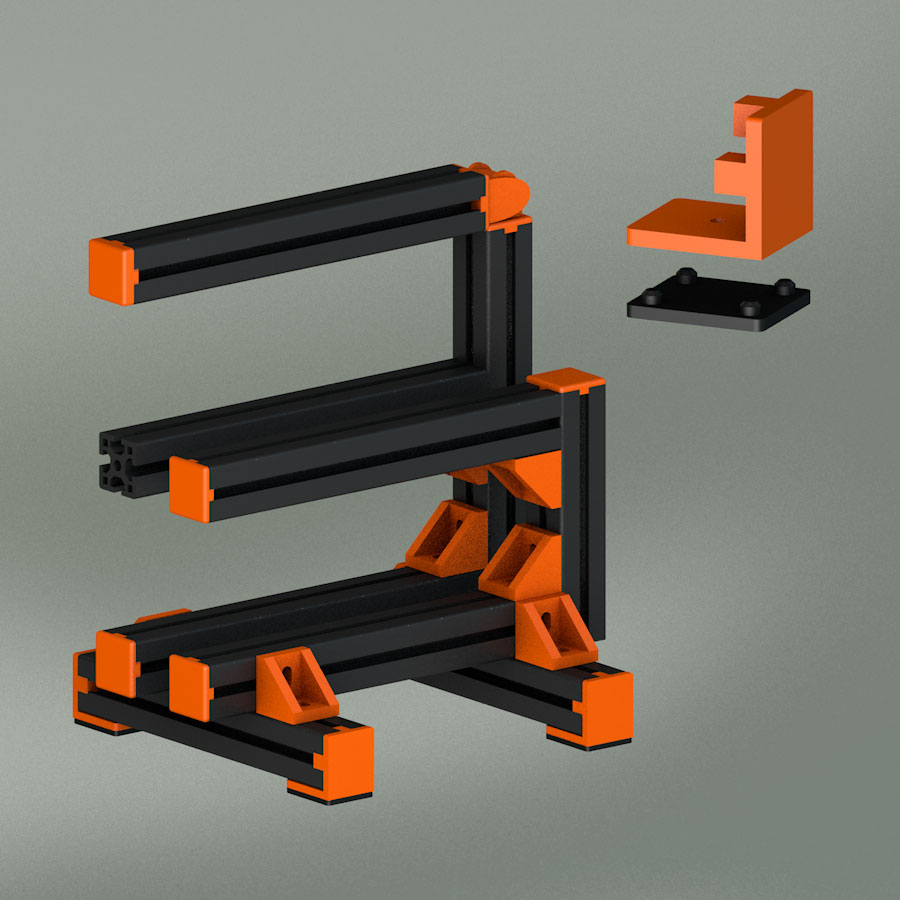
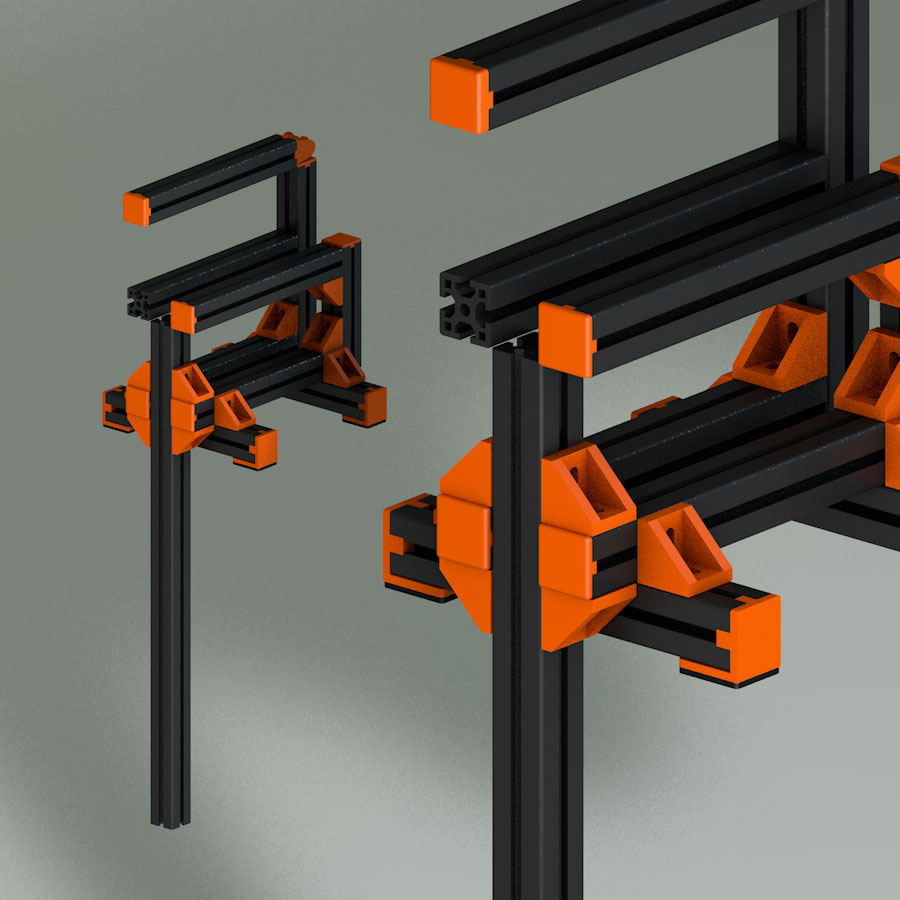
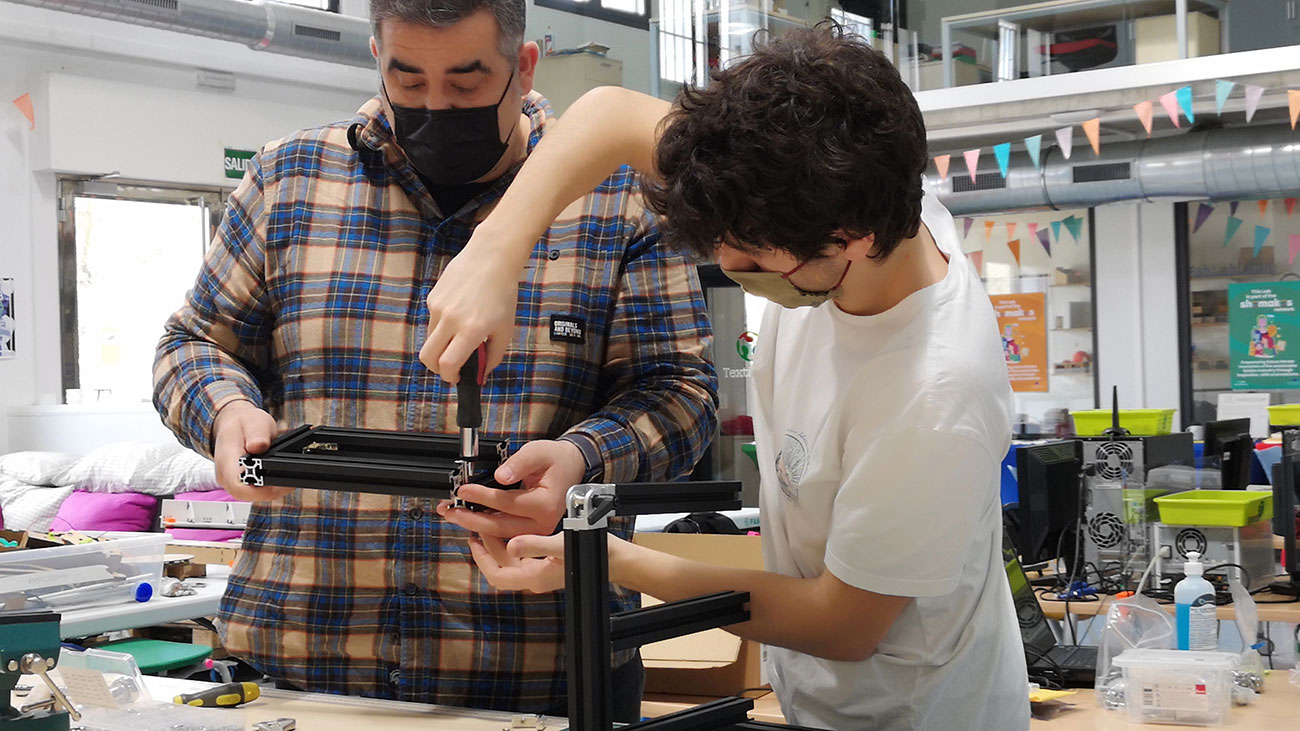
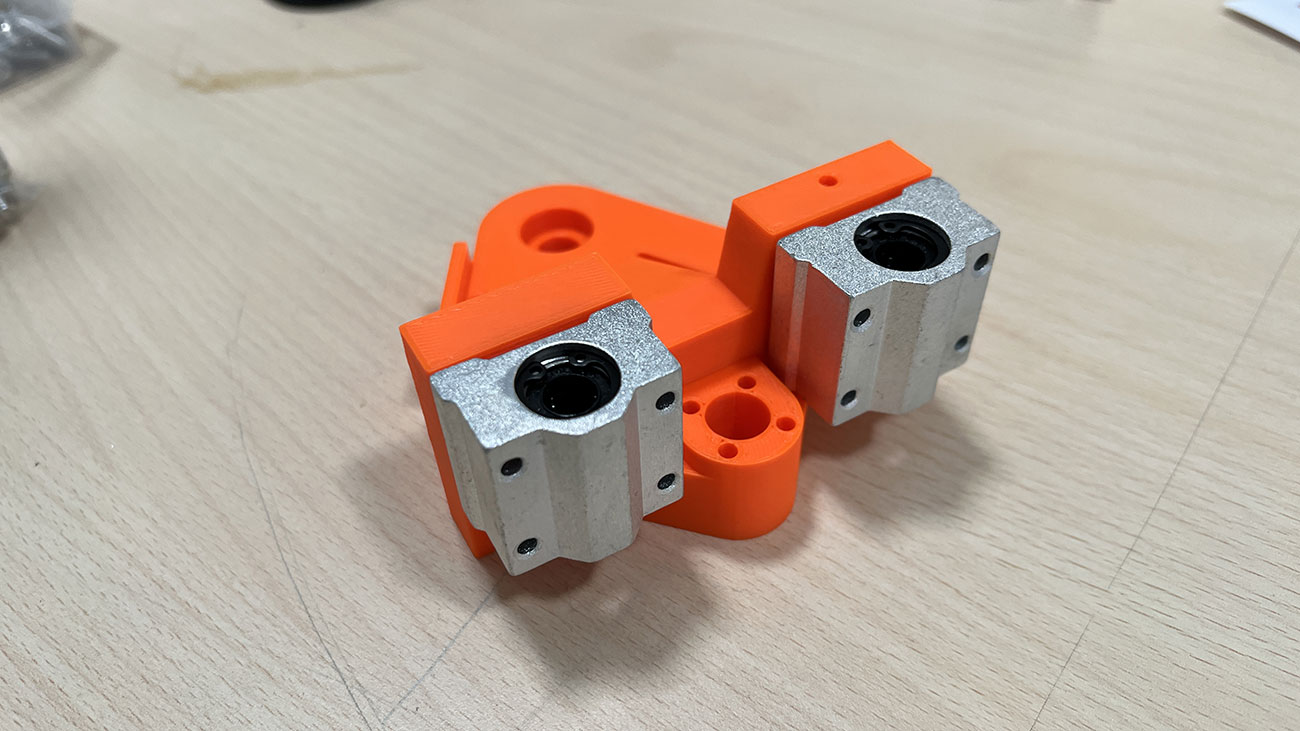
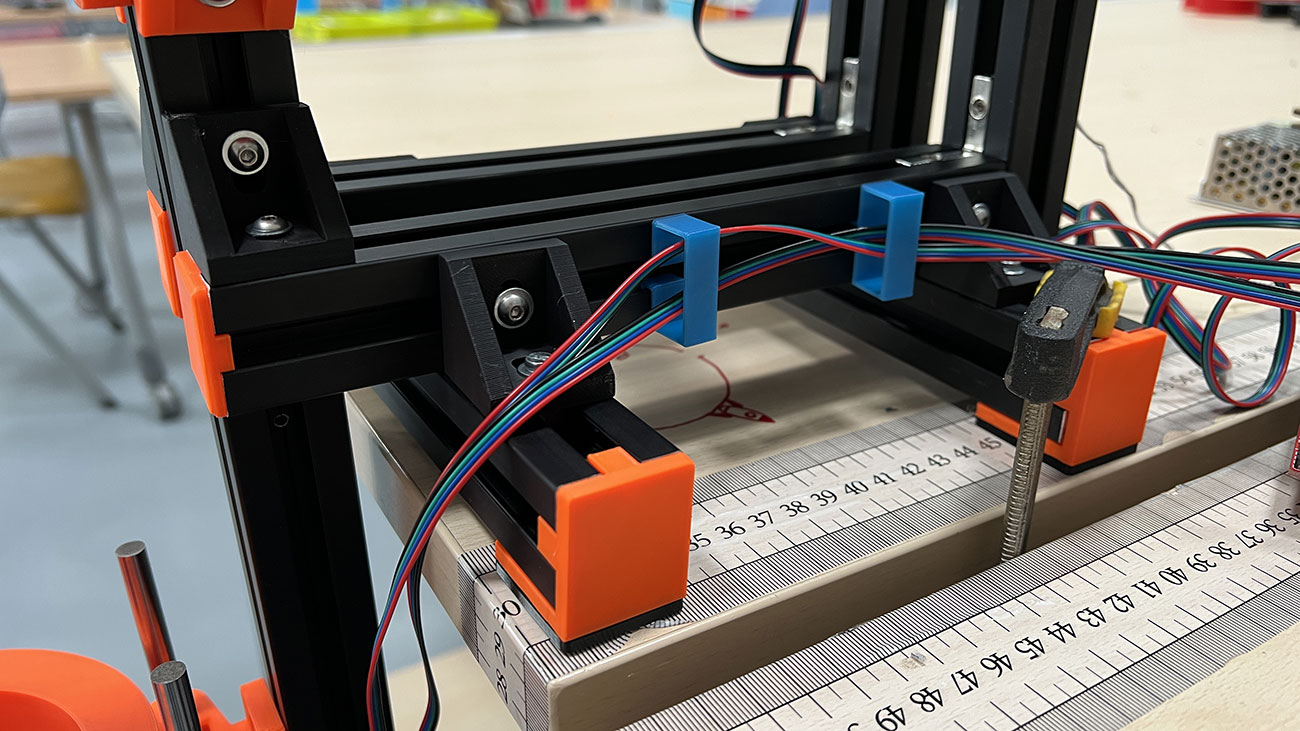
Structure assembly
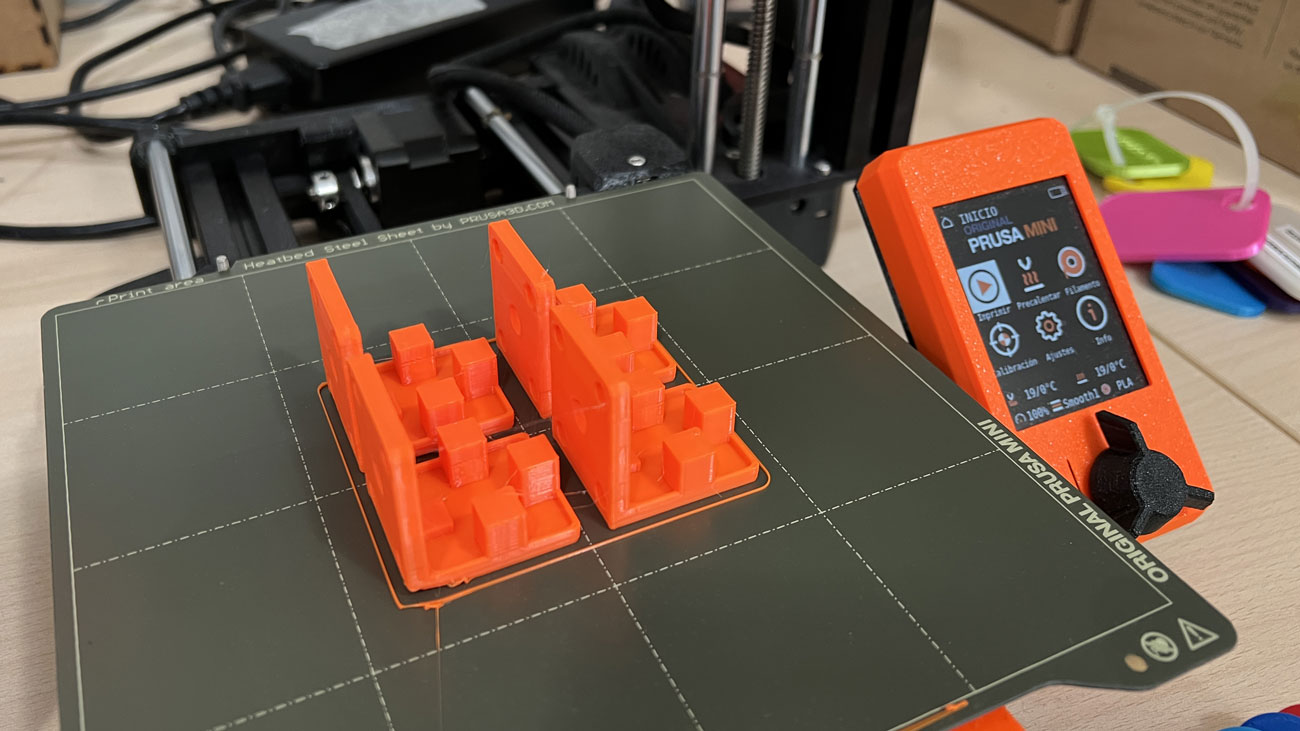
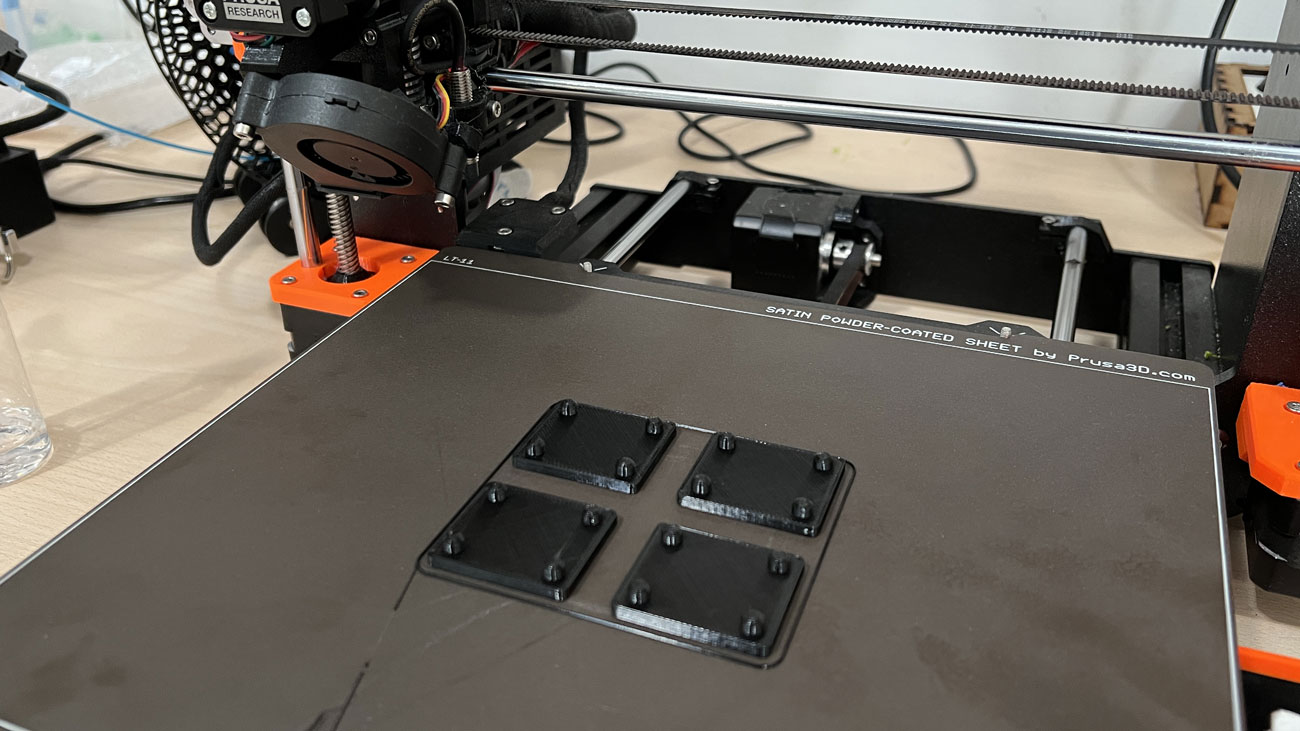
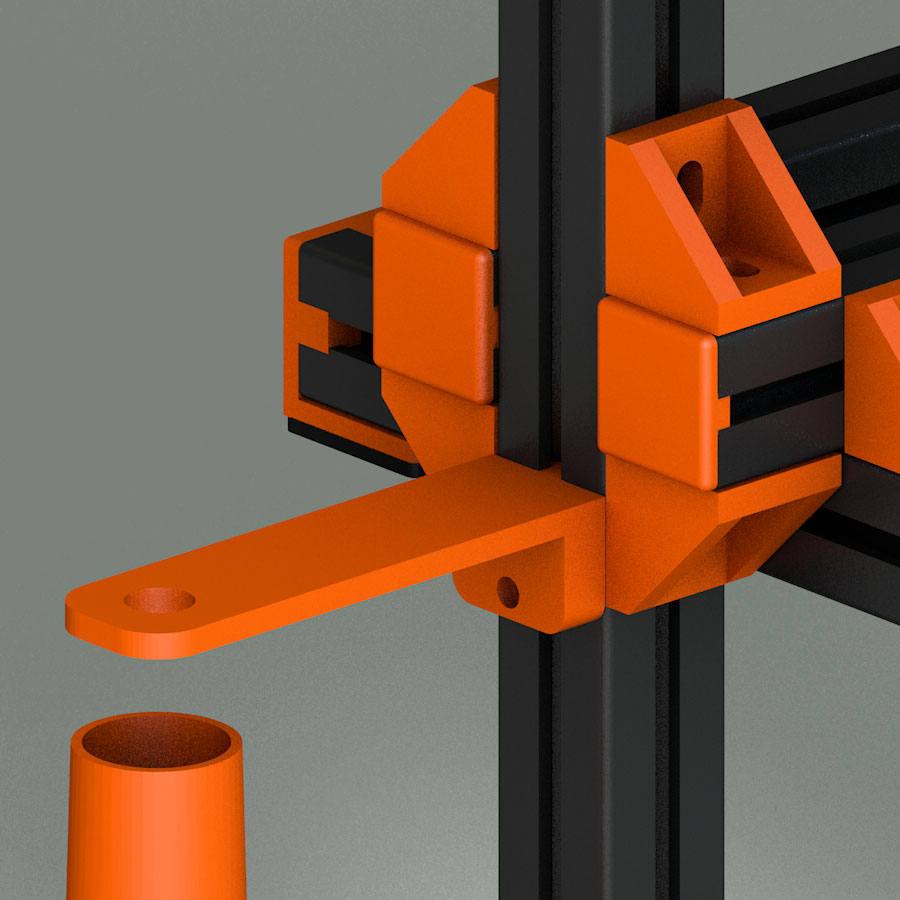
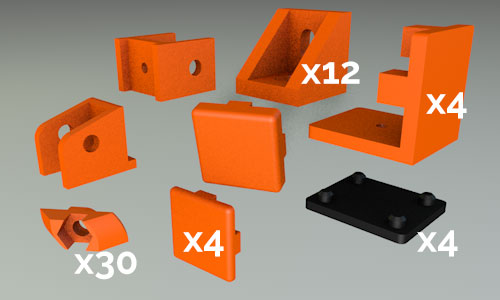
The first group of pieces that must be assembled are those that form the HILO structure, in this group we standardize the measurement of five profiles at 230 mm, we also design 90º joints, some support pieces for the machine and a hinge for the top all this parts will be made on a 3d printer.
Description of Groups Components
| Type | Component | Amount | Description |
|---|---|---|---|
| Frame | Makerbeam 3030 T-Slot Nut 8mm Profil | 1 | 540mm |
| Frame | Makerbeam 3030 T-Slot Nut 8mm Profil | 5 | 230mm |
| Frame | Makerbeam 3030 T-Slot Nut 8mm Profil | 1 | 135mm |
| Frame | Makerbeam 3030 T-Slot Nut 8mm Profil | 1 | 210mm |
| Frame | Makerbeam 3030 T-Slot Nut 8mm Profil | 2 | 200mm |
| Hardware | Angle with Nut M8 for 3030 Profil | 15 | 30 x 30 M7 |
| Hardware | Cylindrical screw M4x10 | 30 | ISO 4762 M4 x 9 |
| Hardware | Cylindrical screw M8x20 | 2 | EN ISO 4762 M8 x 19 |
| Hardware | Cylindrical screw M6x10 | 30 | EN ISO 4762 M6 x 9 |
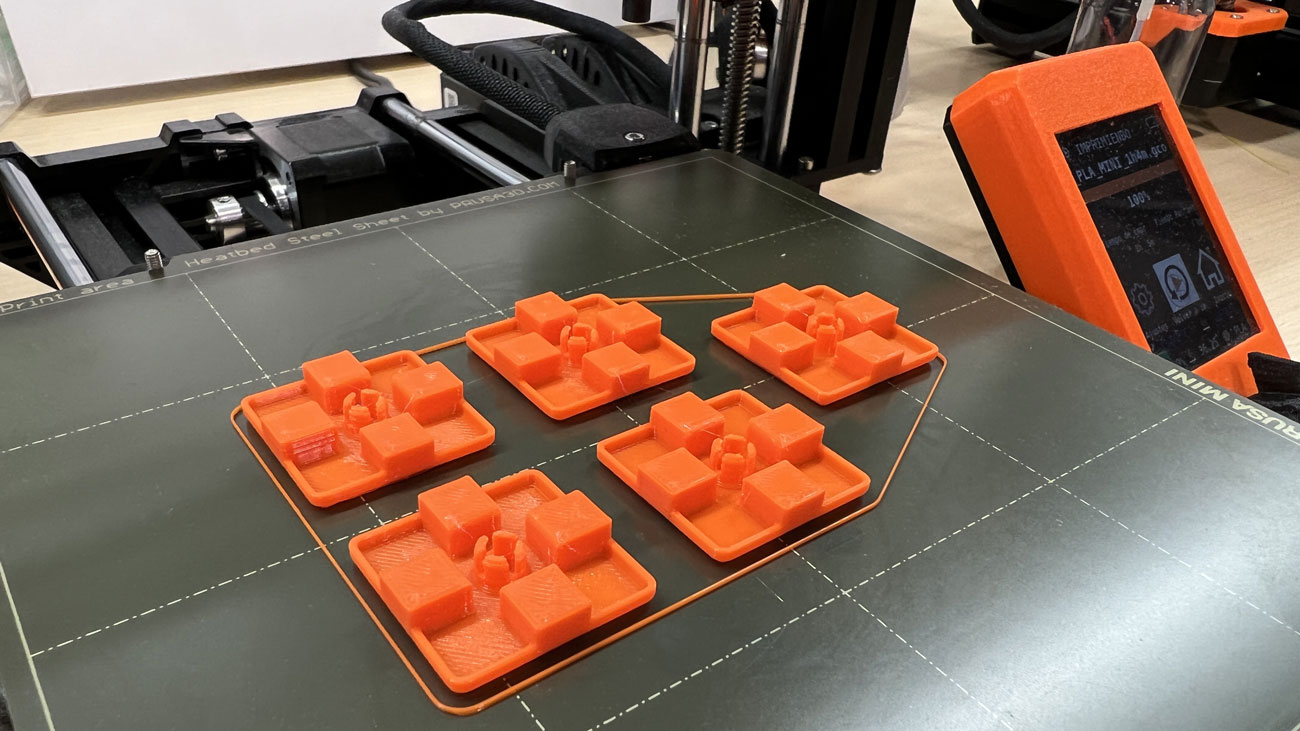
| Printed Parts | Cover cap, Type I, 30x30 mm slot 6 | 5 | 30x30 mm slot 6 |
| Hardware | Hinge for 3030 Profil | 1 | 30 x 30 M7 (3d Printed optional) |
| Hardware | T-Nut M4 | 30 | GN505 M4 (3d Printed optional) |
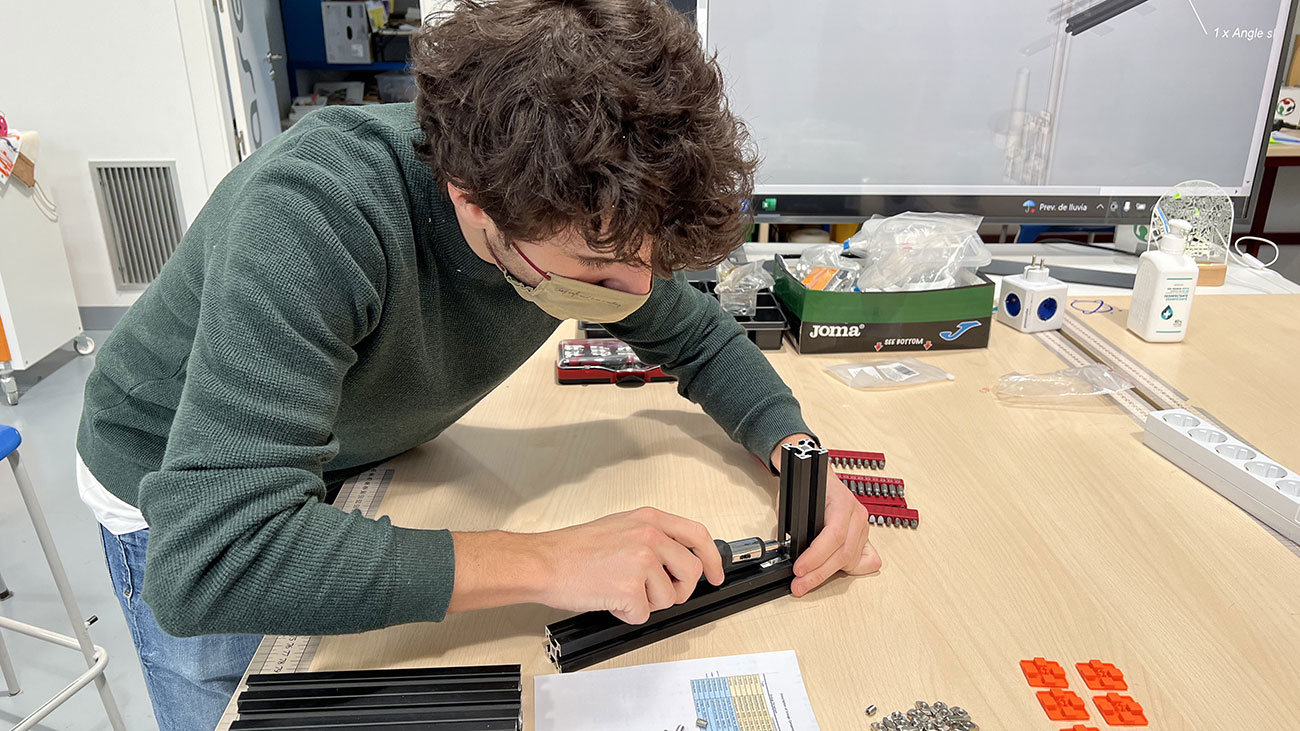
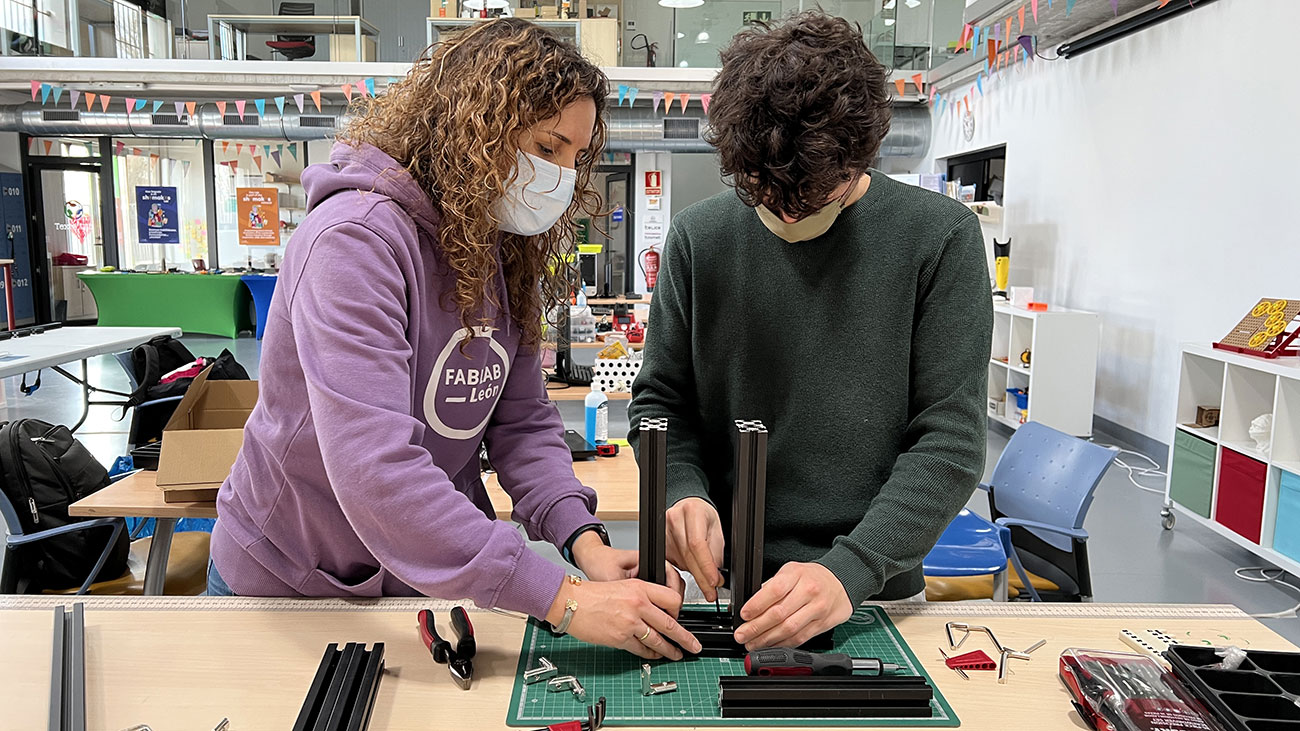
Manufacturing the structure

2 Group
Drive Wheel

Group information
- Category: Assembly
- Difficulty: Easy
- Build date: 02 April, 2022
- Build time: 10 min
- Files: Download
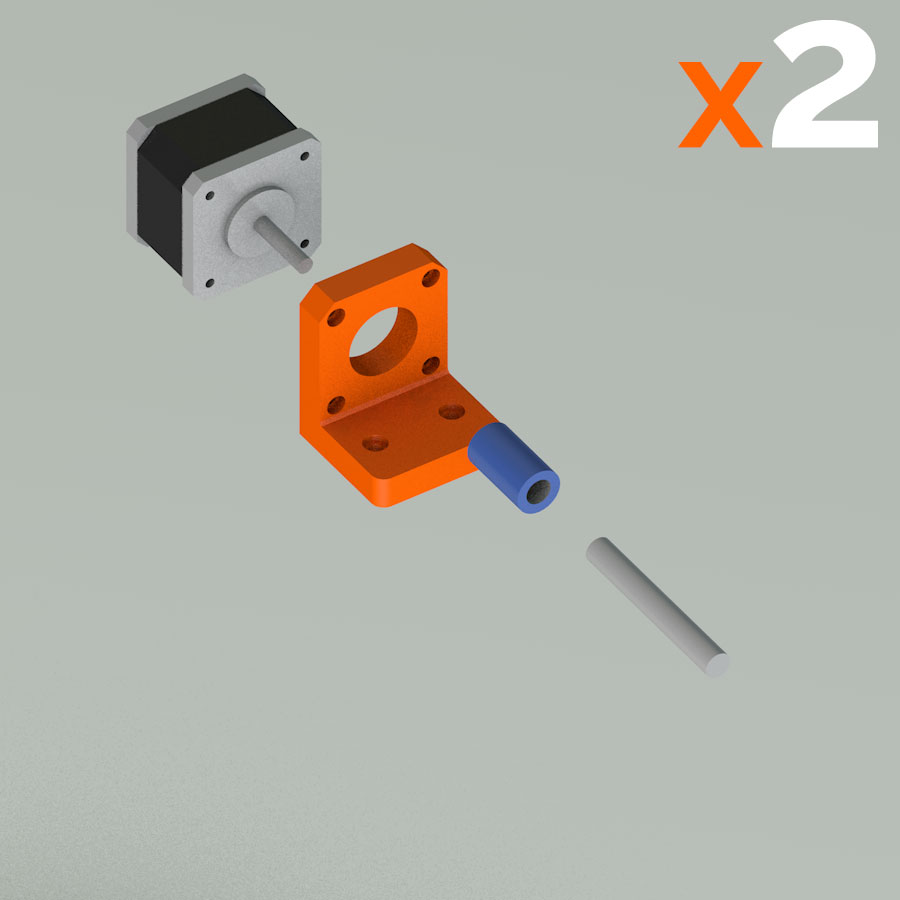
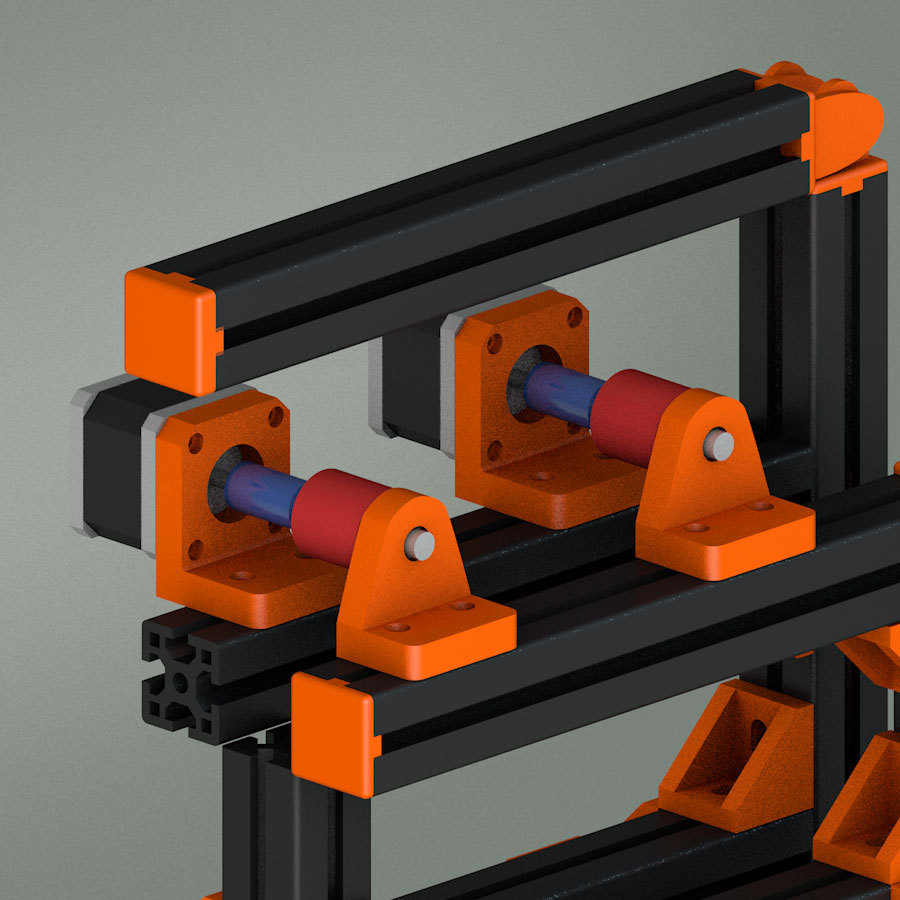
Drive wheel assembly
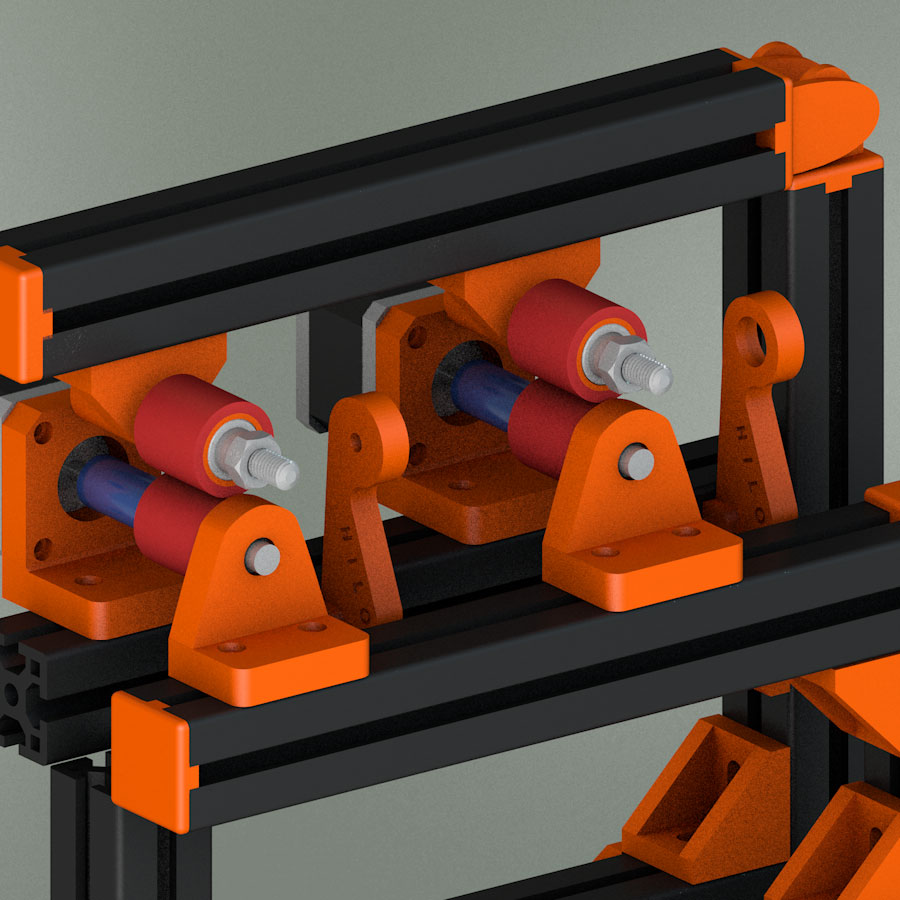
The first group of parts to assemble are the two motors that feed HILO, in this group of components we did not make any modifications because we did not consider anything to improve
Description of Groups Components
| Type | Component | Amount | Description |
|---|---|---|---|
| Hardware | Cylindrical screw M4x14 | 2 (total 4) | ISO 4762 M4 x 14 |
| Hardware | Cylindrical screw M3x14 | 4 (total 8) | ISO 4762 M3 x 14 |
| Hardware | T-Nut M4 | 2 (total 4) | GN505 M4 |
| Hardware | Round Metal Bar | 1 (total 2) | D: 8 mm, L: 60 mm |
| Hardware | Bearings | 1 (total 2) | 8x16x5 mm |
| Hardware | Motor coupling; D: 5 mm to 8 mm | 1 (total 2) | d: 5 mm, D: 8 mm |
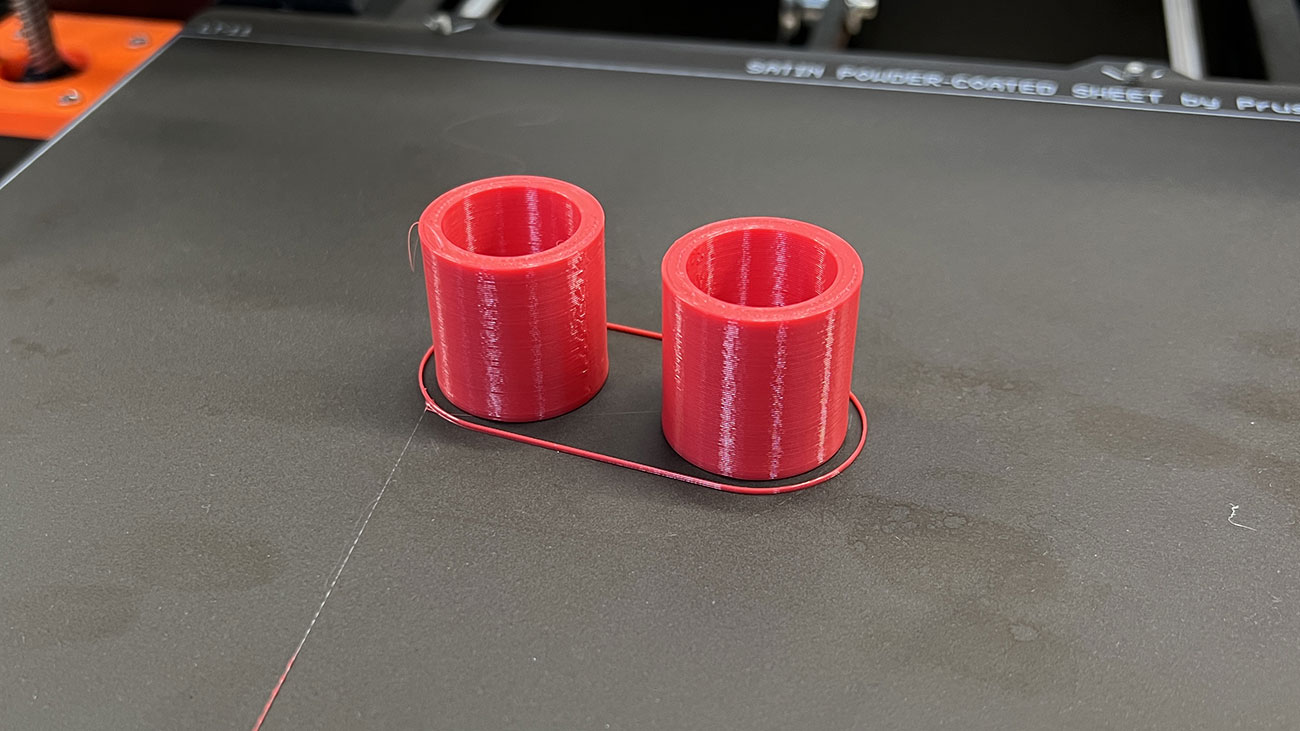
| Printed Parts | Motor mount | 1 (total 2) | PLA Filament 1,75 |
| Printed Parts | Motor Axle Mount | 1 (total 2) | PLA Filament 1,75 |
| Printed Parts | Drive Wheel | 1 (total 2) | Polyjet Print |
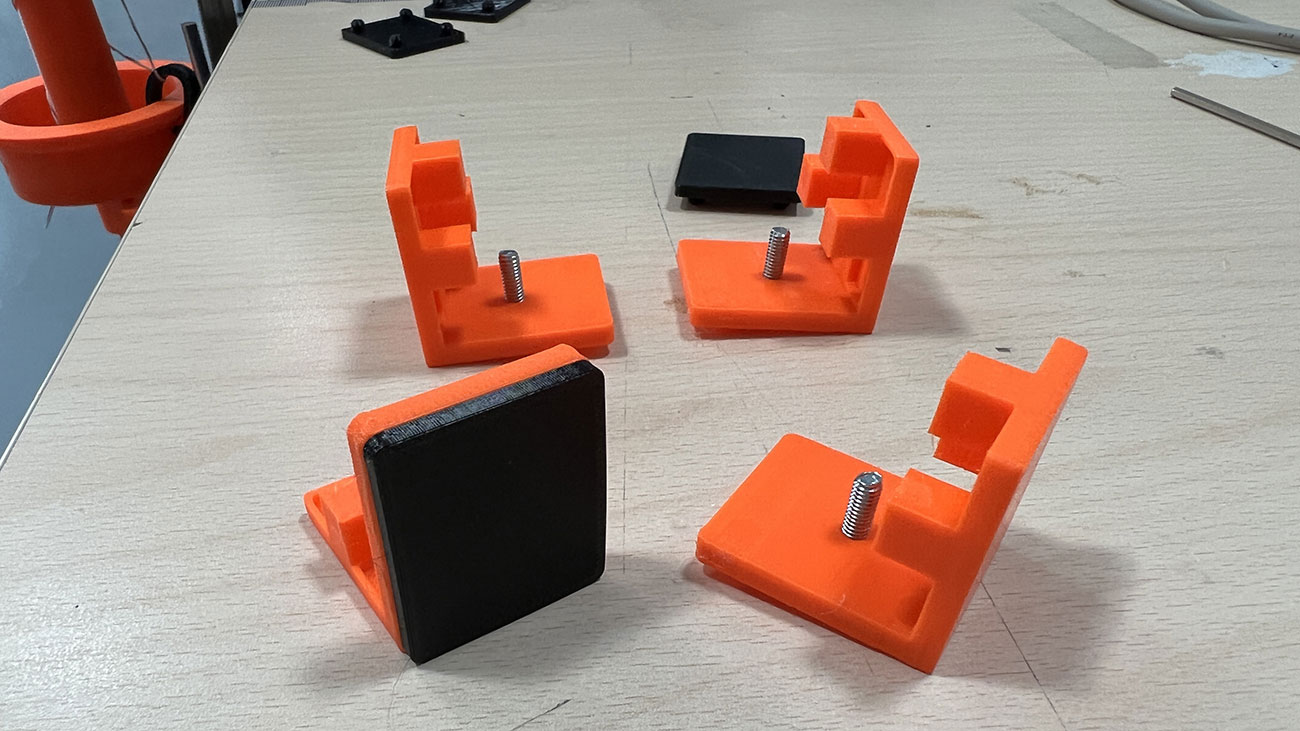
| Electronics | Nema 17 Stepper Motor | 1 (total 2) | Size: 42x42x39mm 1.5 A 12 V 39 mm, 4-Wire 1.8 Deg Stepper Motor with 1 M Wire |
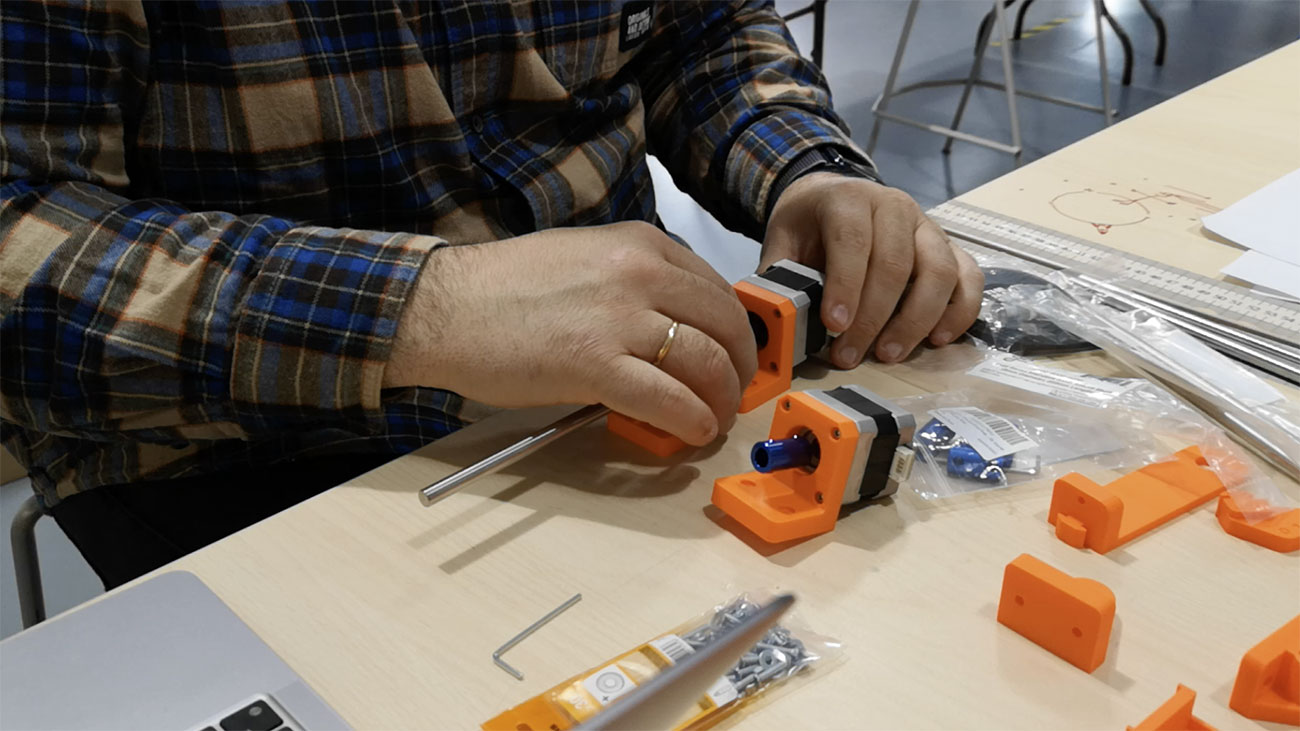
Manufacturing the drive wheel

3 Group
Trailing Wheel
Group information
- Category: Assembly
- Difficulty: Easy
- Build date: 02 April, 2022
- Build time: 10 min
- Files: Download
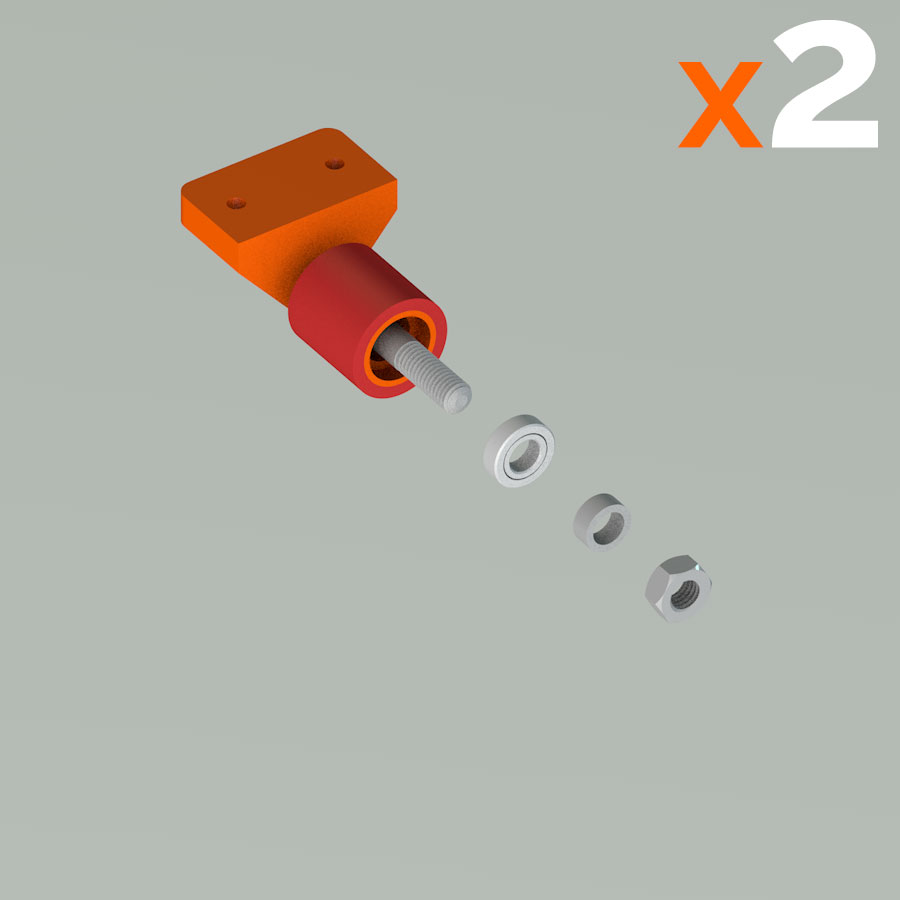
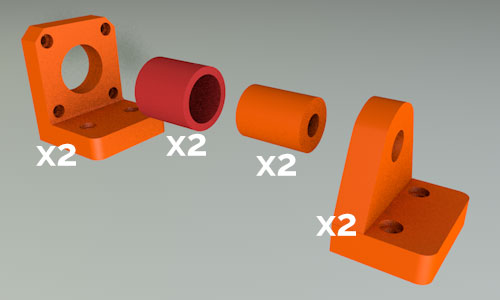
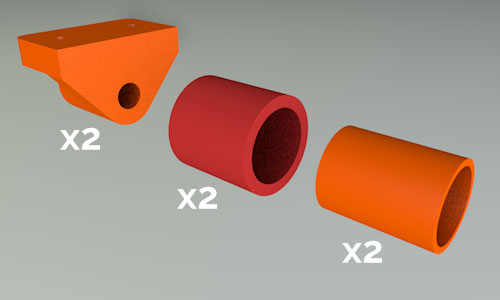
Trailing wheel assembly
Once the main motors have been assembled, the next step is to assemble the guides that each of these motors have on top. We did not make any changes to the original project in this section either.
Description of Groups Components
| Type | Component | Amount | Description |
|---|---|---|---|
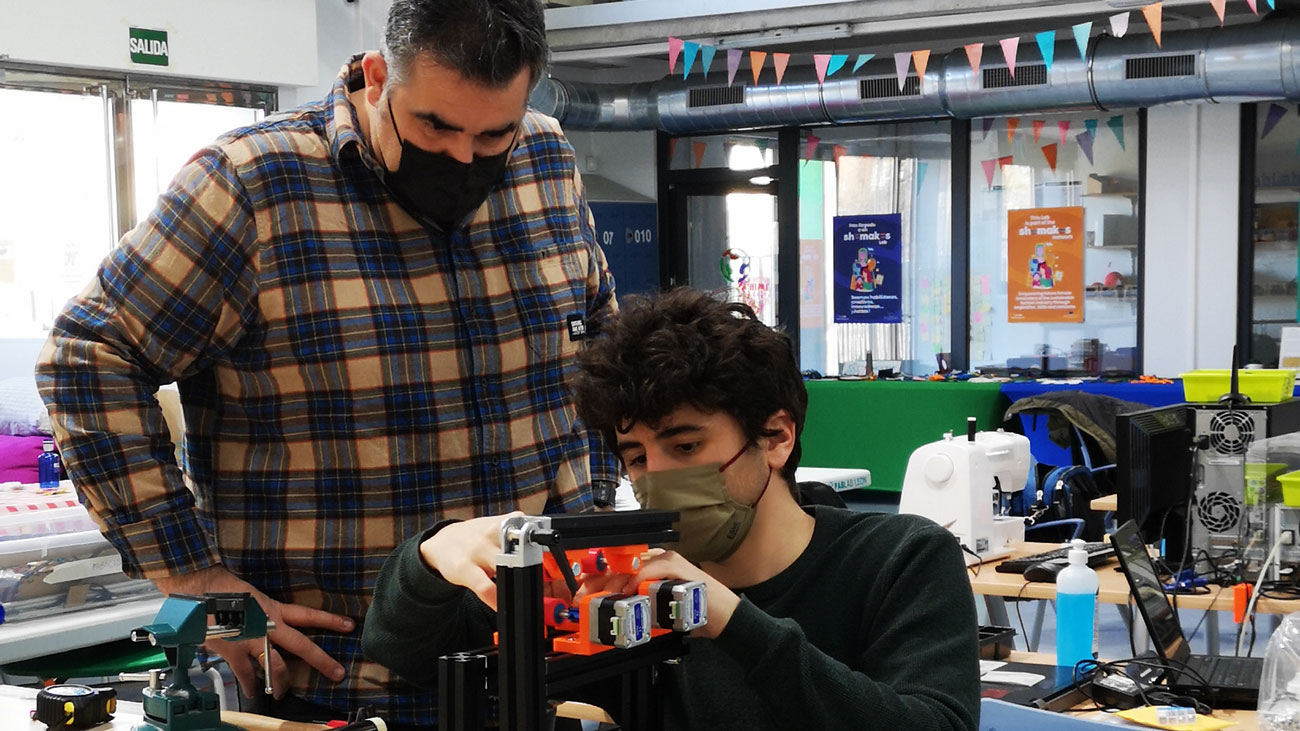
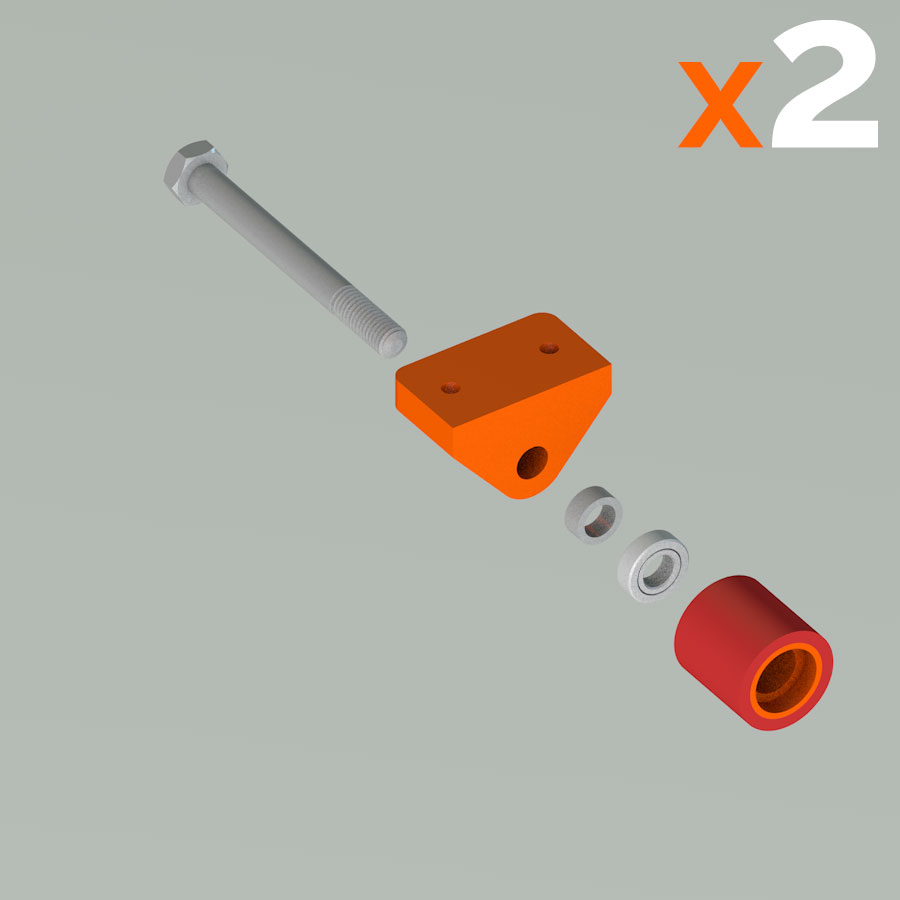
| Hardware | Hexagon Head Screws with Shaft M8 x 80 | 1 (total 2) | DIN 931 8.8 M8 x 80 |
| Hardware | T-Nut M4 | 2 (total 4) | GN505 M4 |
| Hardware | Cylindrical screw M4x14 | 2 (total 4) | ISO 4762 M4 x 14 |
| Hardware | Lock Nut M8 | 1 (total 2) | ISO 4032 - M8 |
| Hardware | Aluminium Spacer Sleeve | 2 (total 4) | EN ISO 846 |
| Printed Parts | Trailing Wheel | 1 (total 2) | Polyjet Print |
| Printed Parts | Printed Axle Holder Trailing Wheel | 1 (total 2) | PLA Filament 1,75 |
Manufacturing the trailing wheel


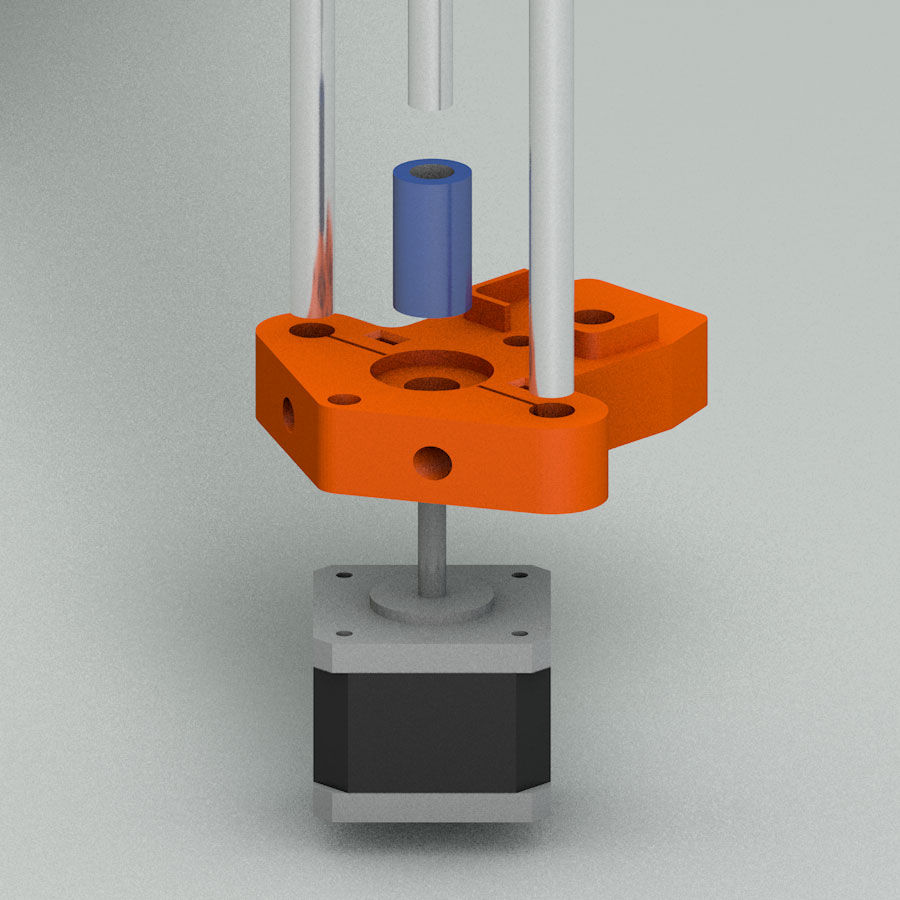
4 Group
Spindel Platform
Group information
- Category: Assembly
- Difficulty: Hard
- Build date: 02 April, 2022
- Build time: 40 min
- Files: Download
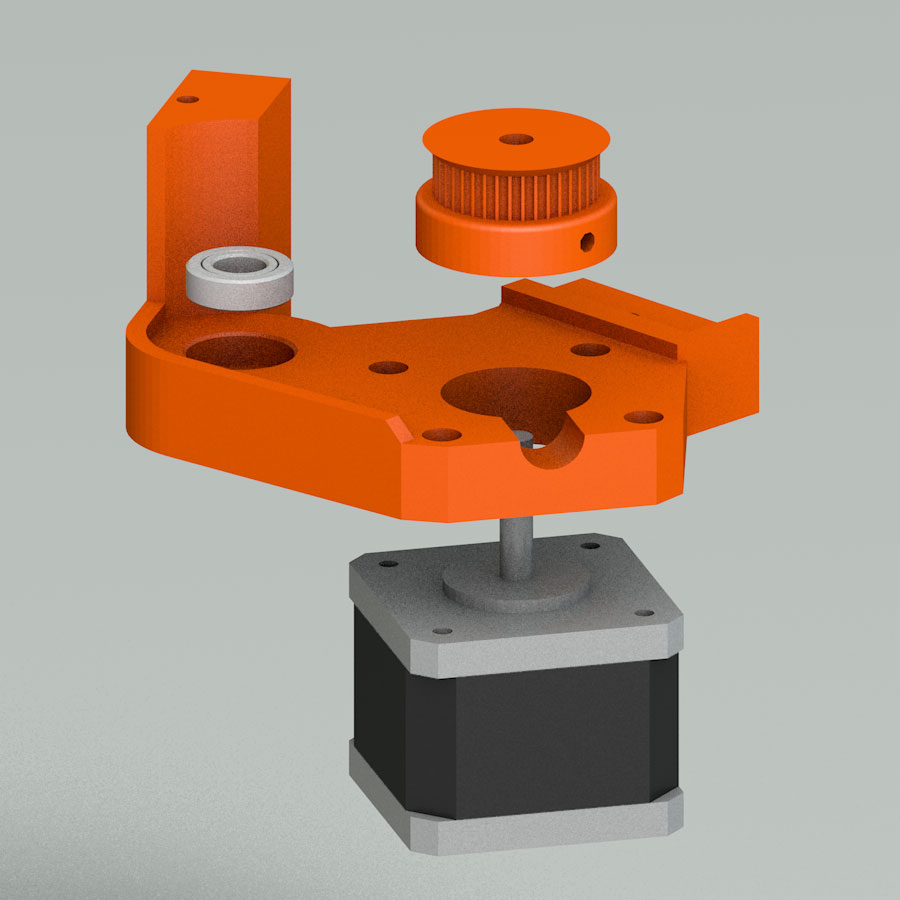
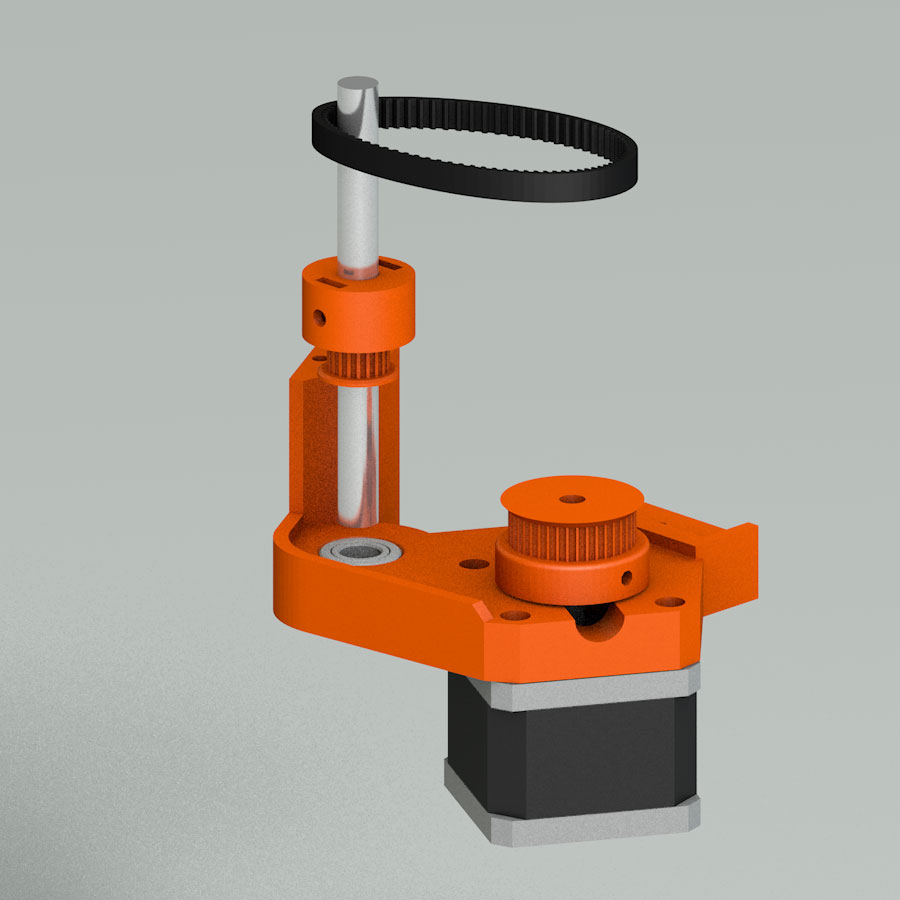
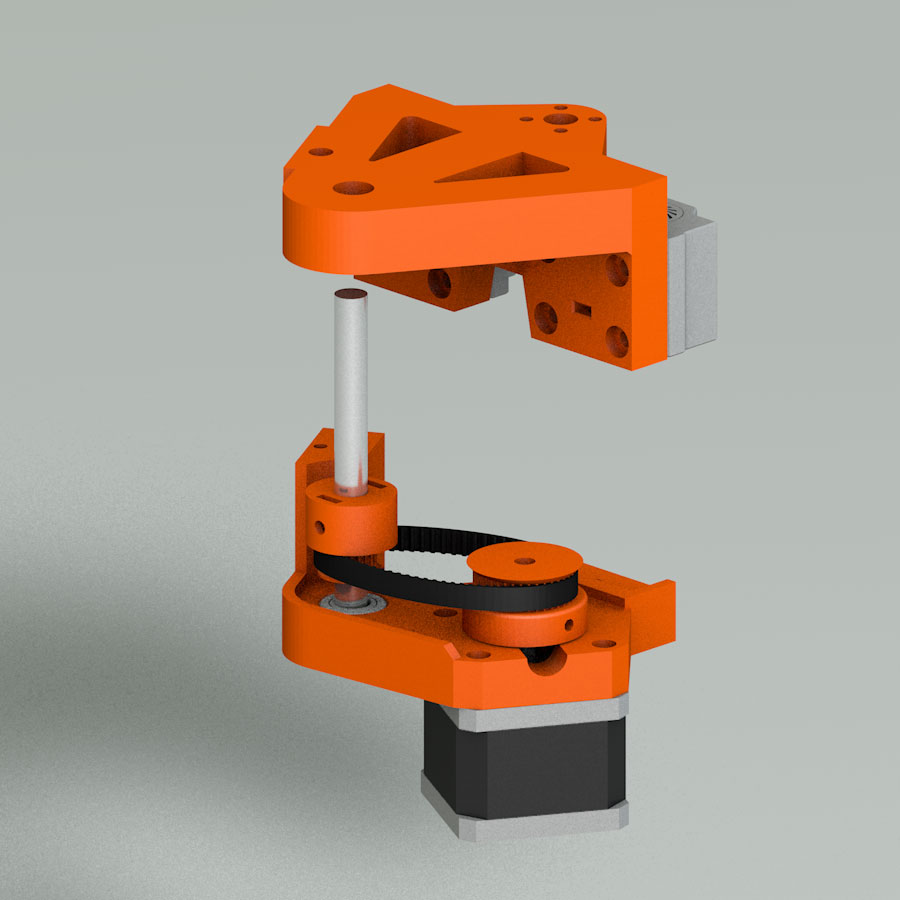
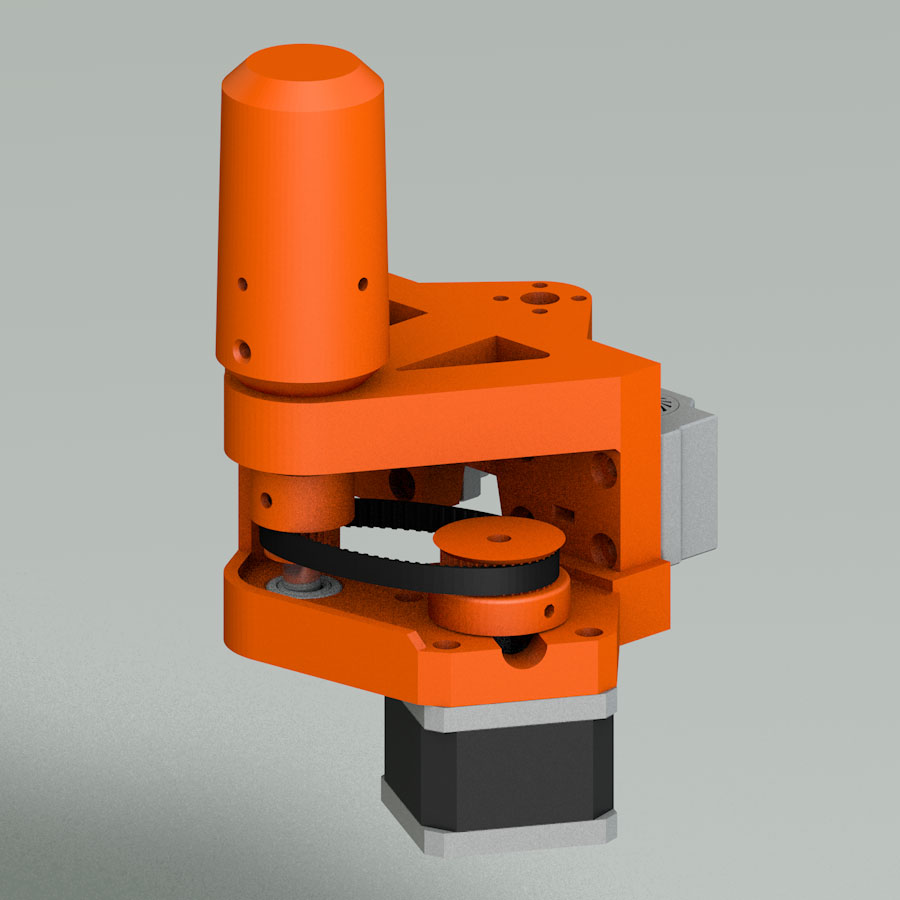
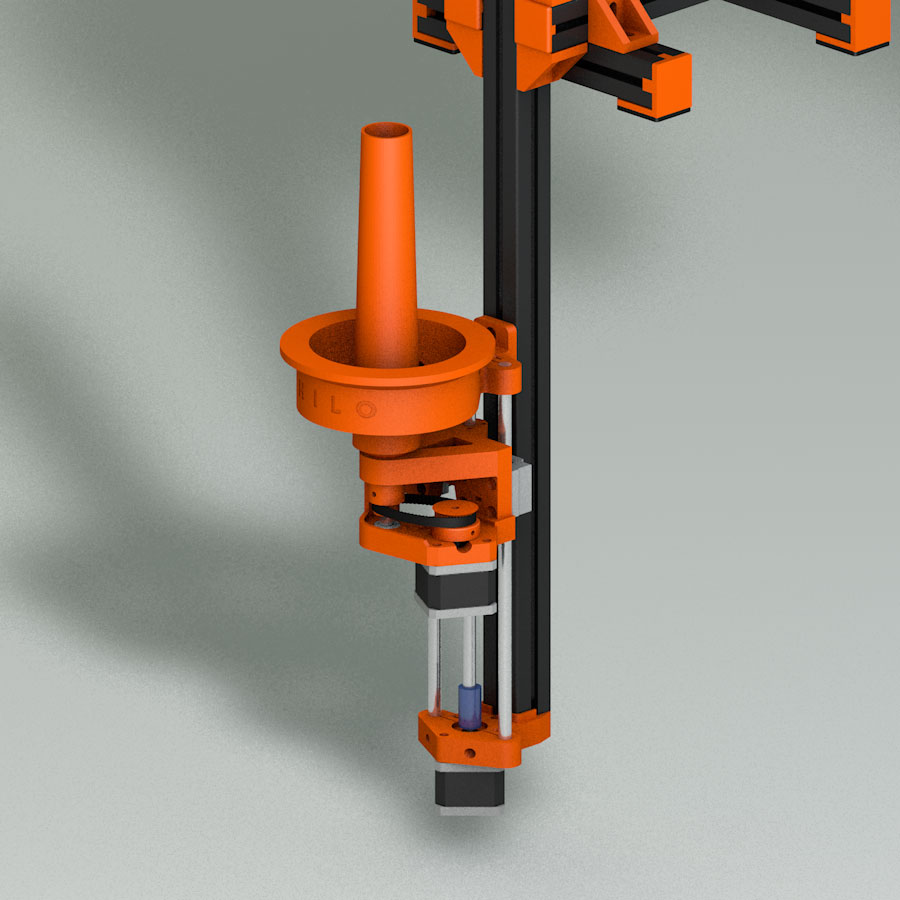
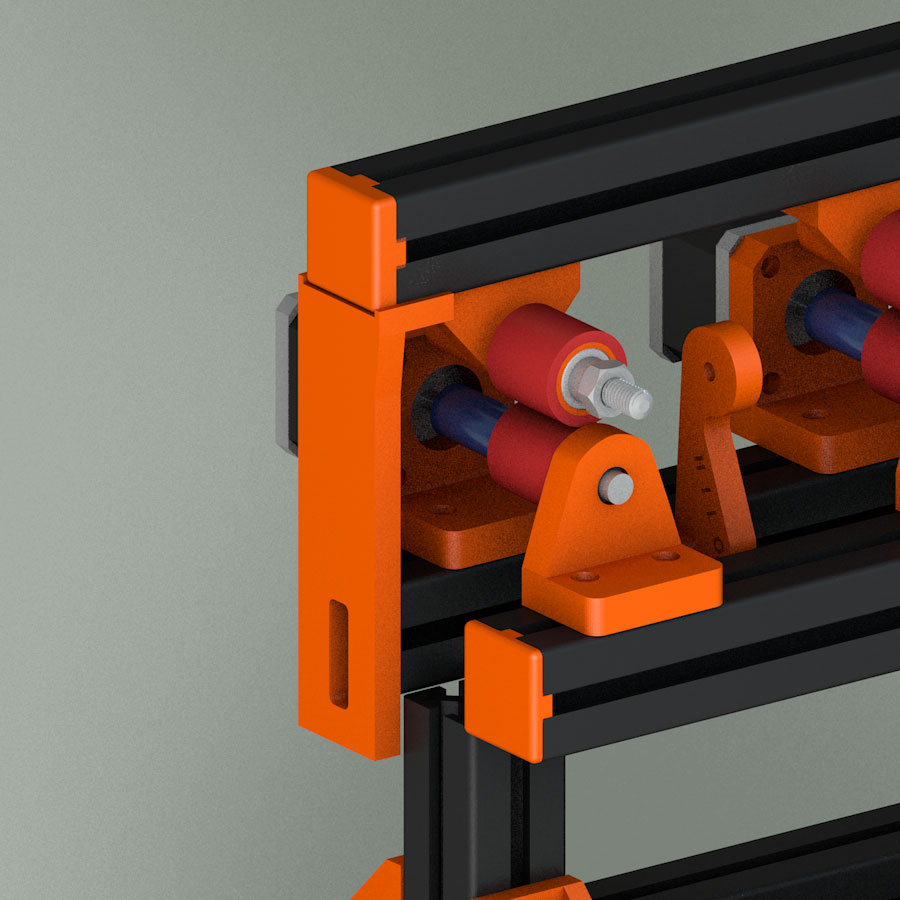
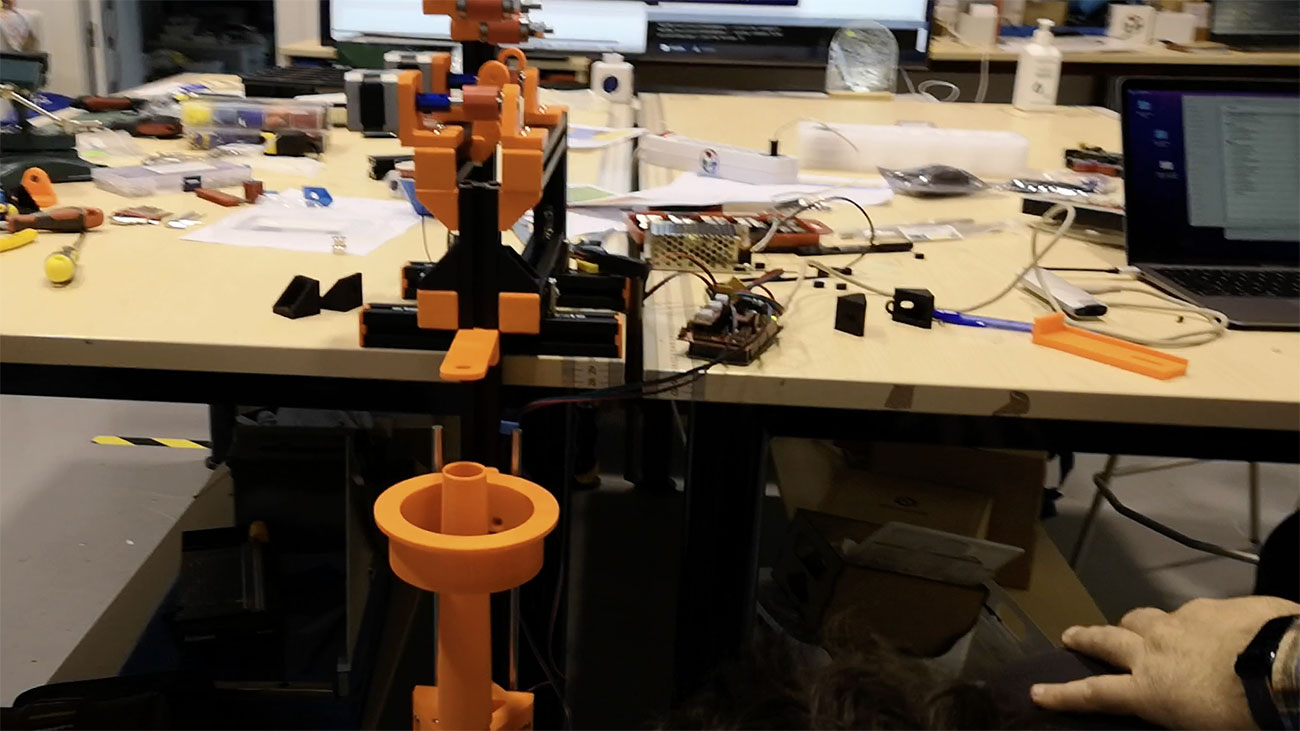
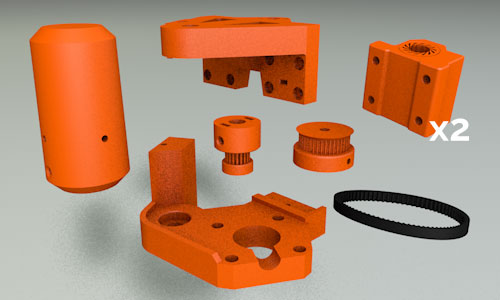
Spindel Platform assembly
The next group of components forms the part that spins the spool of thread. In this group of components we redesign several pieces to print in 3d. Some of them replace parts that have to be bought and combine several parts into one.
Description of Groups Components
| Type | Component | Amount | Description |
|---|---|---|---|
| Hardware | Cylindrical screw M3x10 | 1 | ISO 4762 M3 x 10 |
| Hardware | Cylindrical Screw M3x12 | 4 | ISO 4762 M3 x 12 |
| Hardware | Cylindrical Screw M3x30 | 16 | ISO 4762 M3 x 30 |
| Hardware | Nut M3 | 16 | ISO 4032 - M3 |
| Hardware | Spacer Sleeve | 2 | ISO 845 (3d Printed optional) |
| Hardware | Trapezoidal Screw Nut T8 | 1 | |
| Hardware | Round Metal Bar | 1 | D: 8 mm, L: 90 mm |
| Hardware | Spindle | 1 | T8; L: 200 mm |
| Hardware | Linear bearing | 2 | SC8UU for 8mm (3d Printed optional) |
| Hardware | Bearing | 2 | 8x16x5 mm |
| Hardware | GT2 Pulley 20 teeth | 1 | 20 teeth GT2 timing pulley 8mm (3d Printed optional) |
| Hardware | GT2 Pulley 40 teeth | 1 | 40 teeth GT2 timing pulley 5mm (3d Printed optional) |
| Printed Parts | Closed Belt Pulley 6 mm Nteeth: 80 | 1 | Polyjet Print |
| Printed Parts | Table lower part | 1 | PLA Filament 1,75 |
| Printed Parts | Table upper part | 1 | PLA Filament 1,75 |
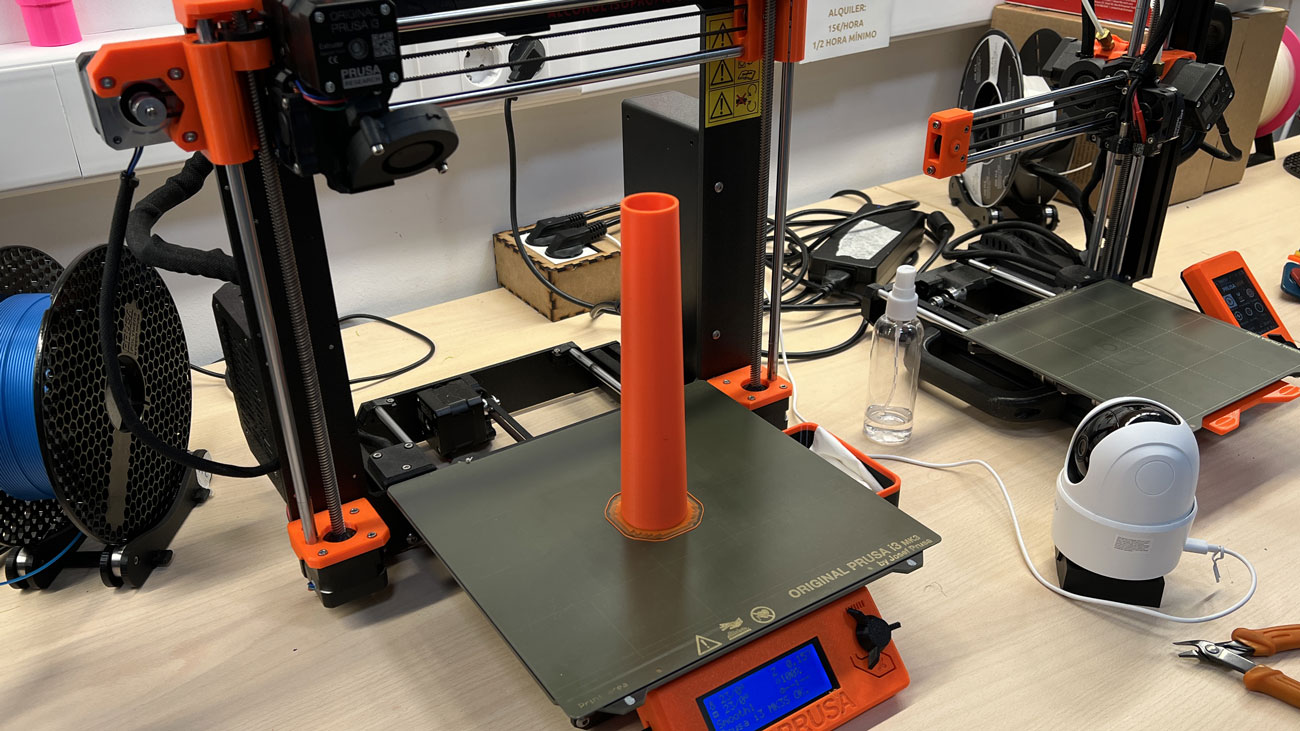
| Printed Parts | Spindle | 1 | PLA Filament 1,75 |
| Printed Parts | Spindle Carrier | 1 | PLA Filament 1,75 |
| Electronics | Nema 17 Stepper Motor | 1 | Size: 42x42x39mm 1.5 A 12 V 39 mm, 4-Wire 1.8 Deg Stepper Motor |
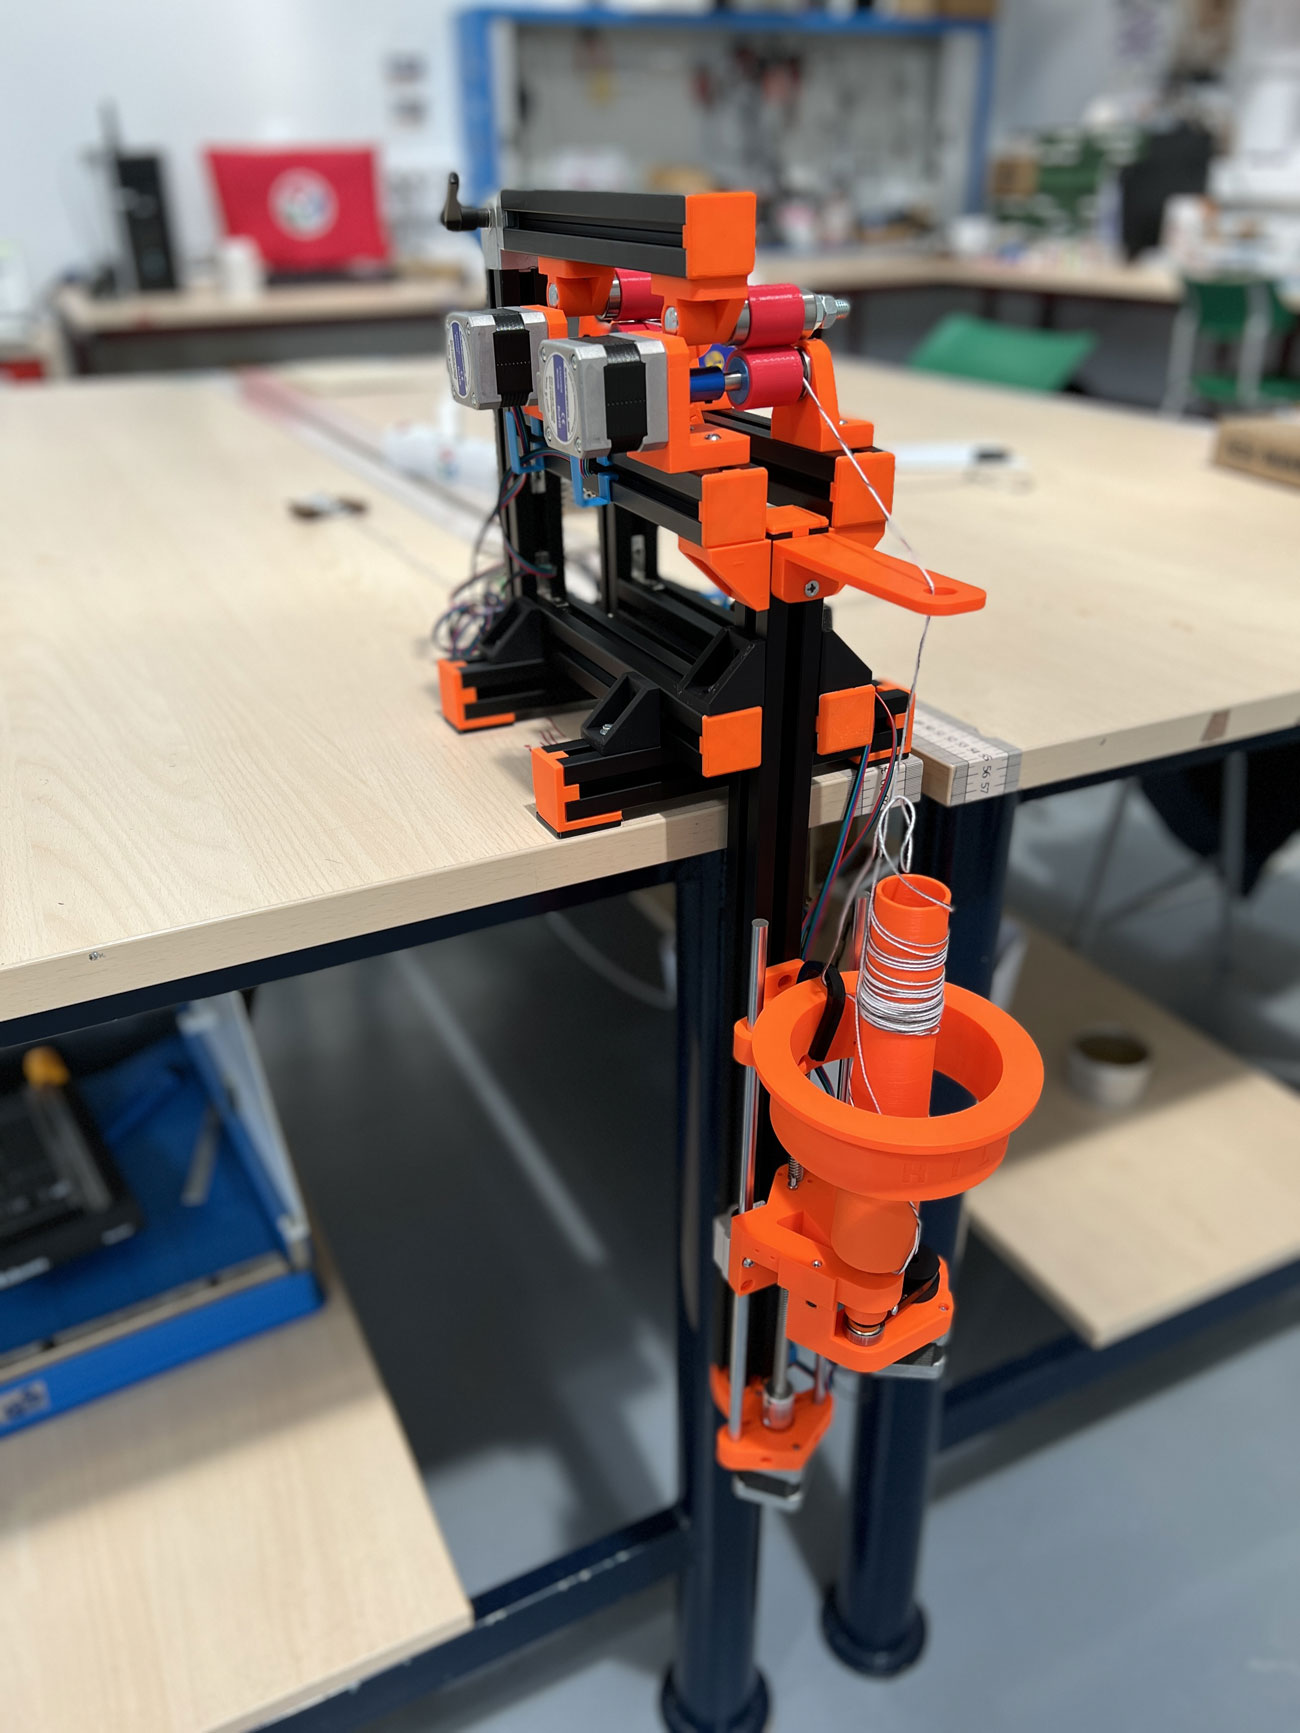
Manufacturing the spindel platform
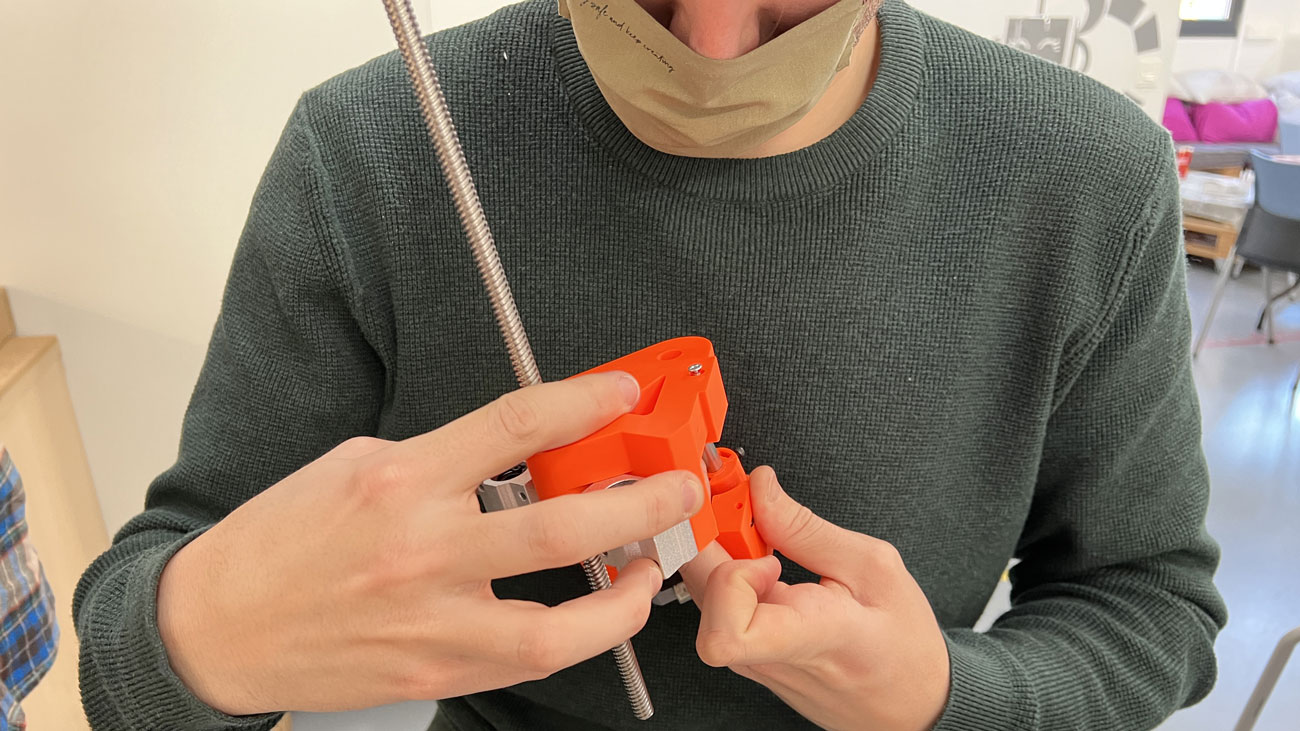
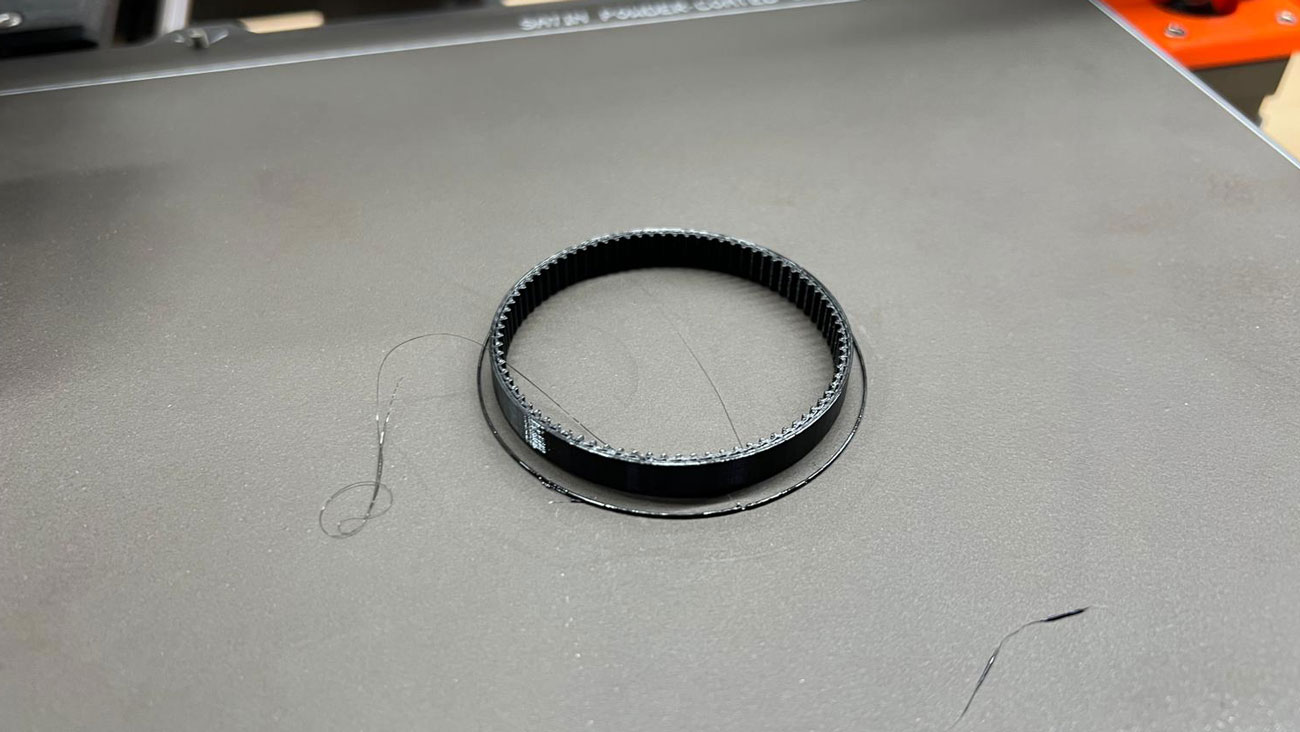
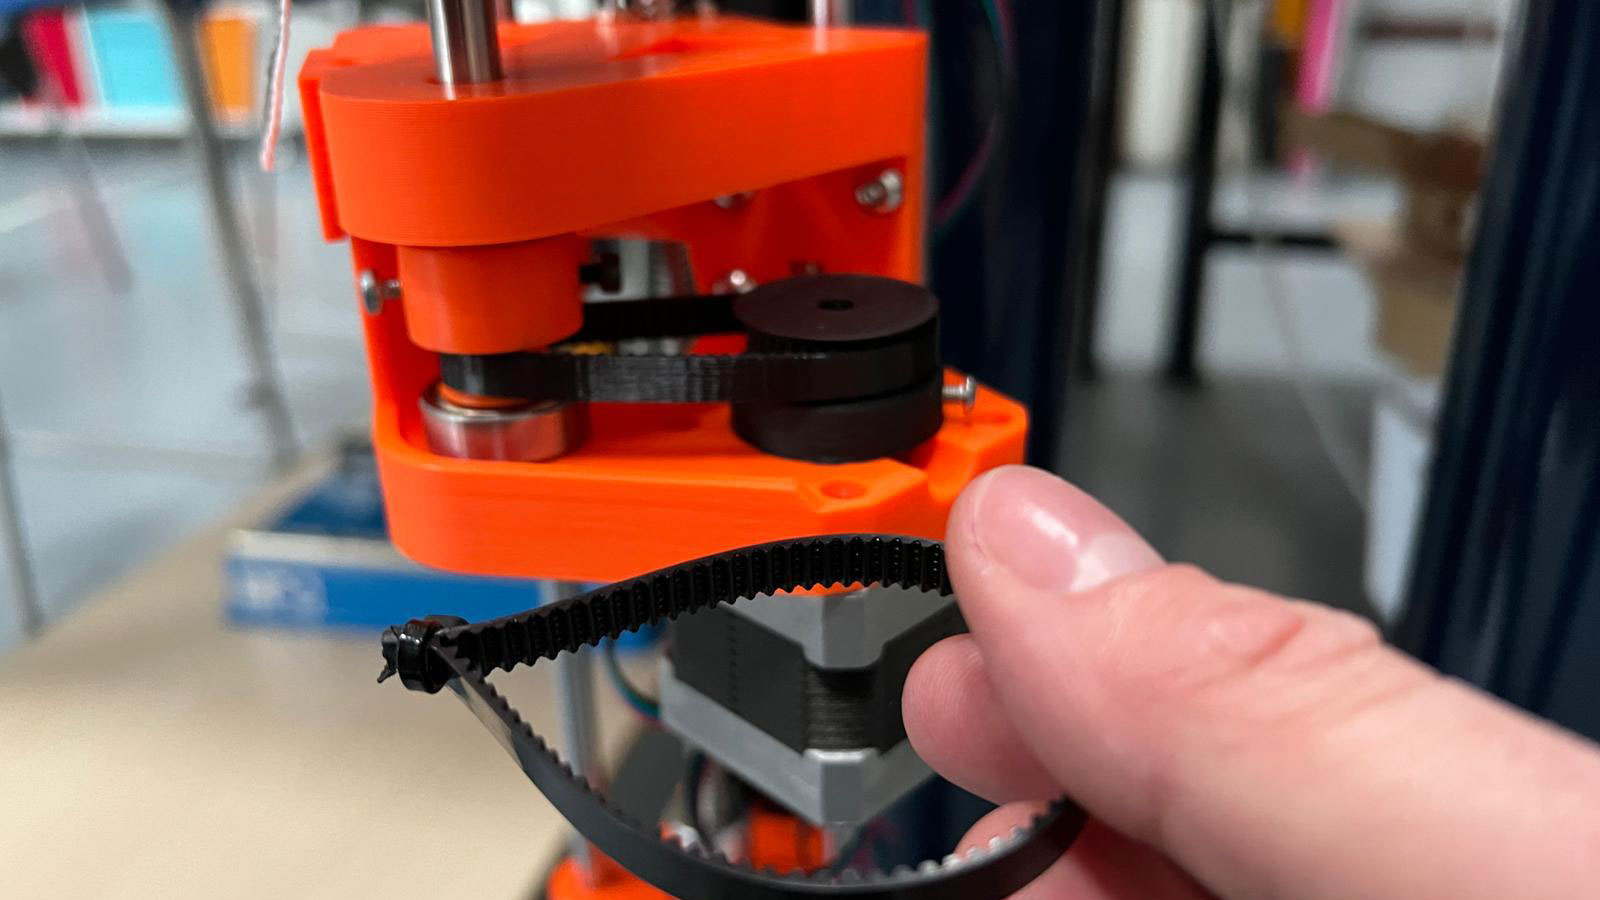
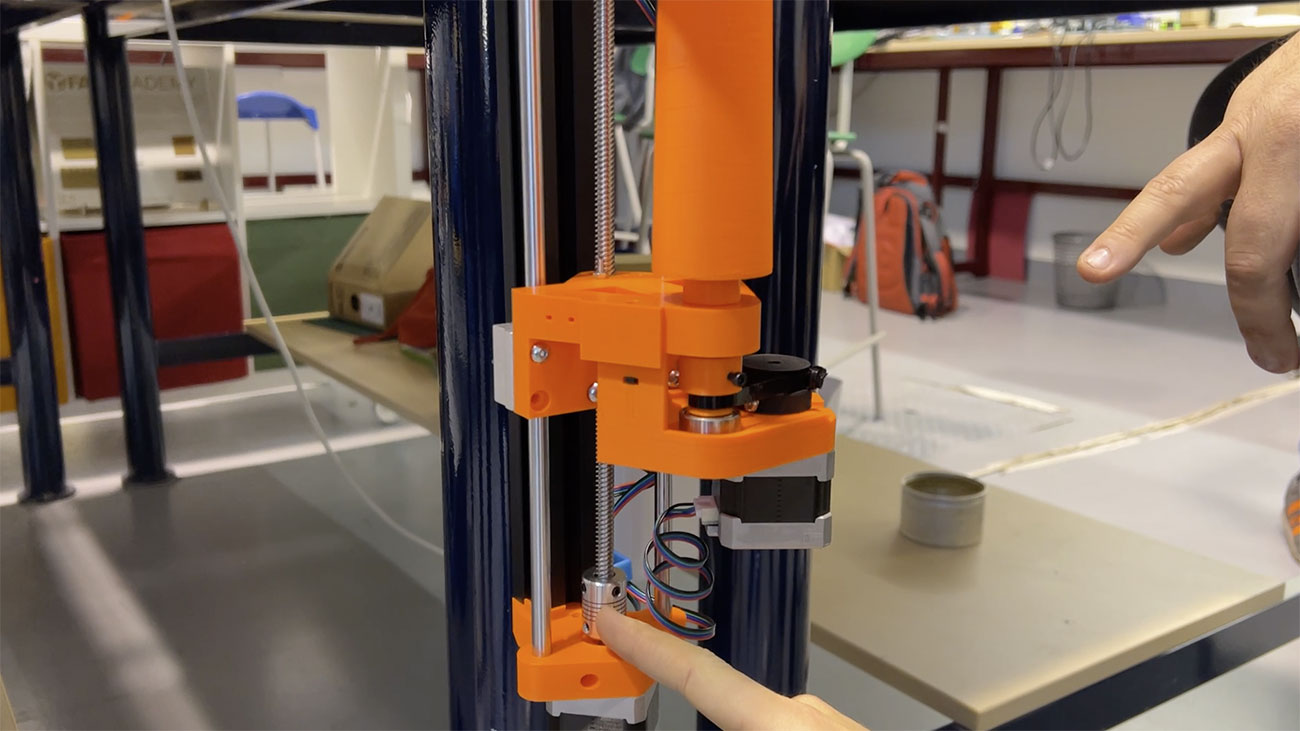
5 Group
Elevator
Group information
- Category: Assembly
- Difficulty: Medium
- Build date: 02 April, 2022
- Build time: 30 min
- Files: Download
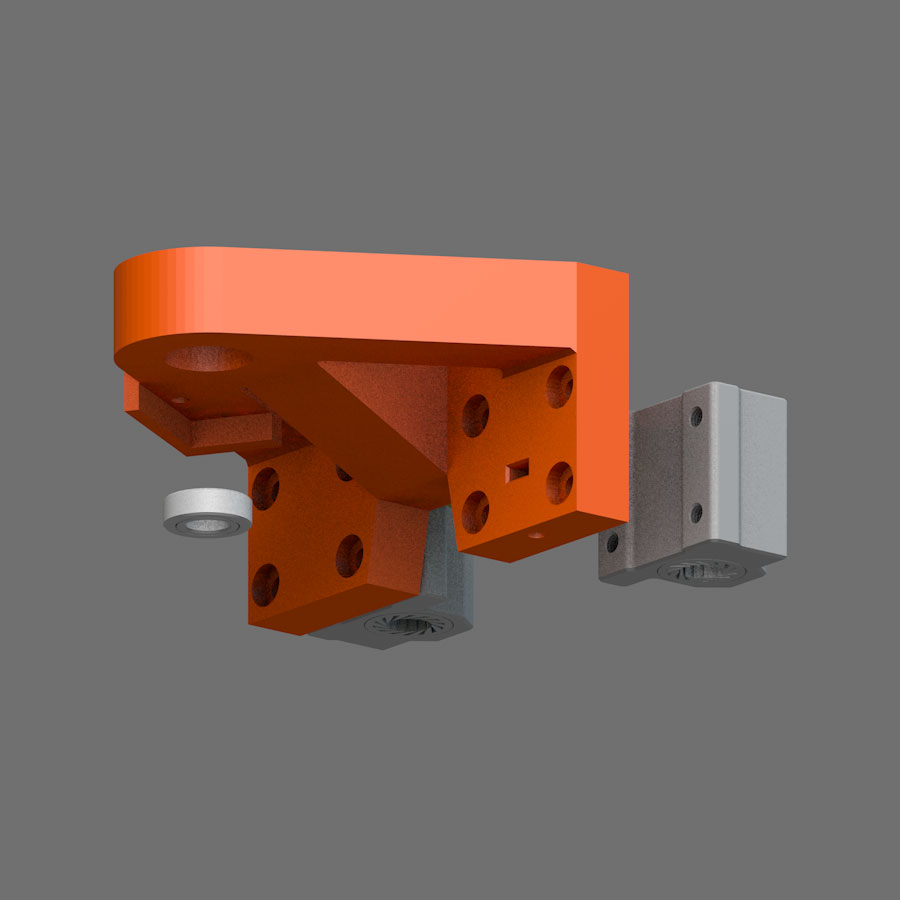
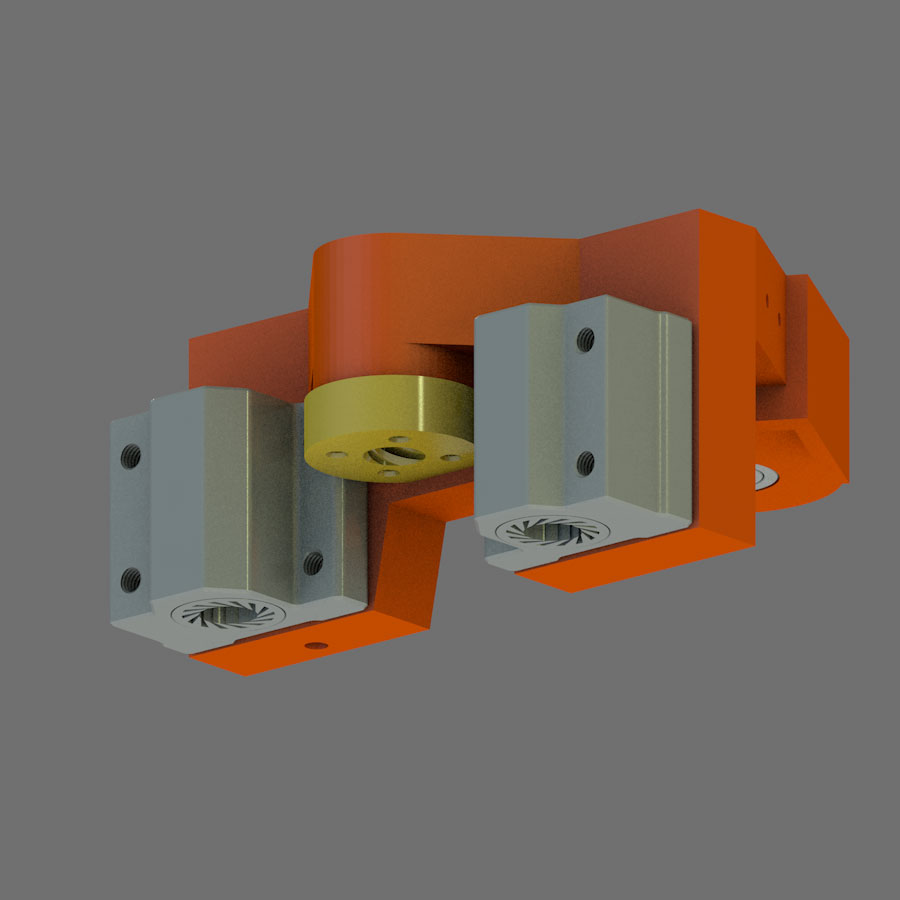
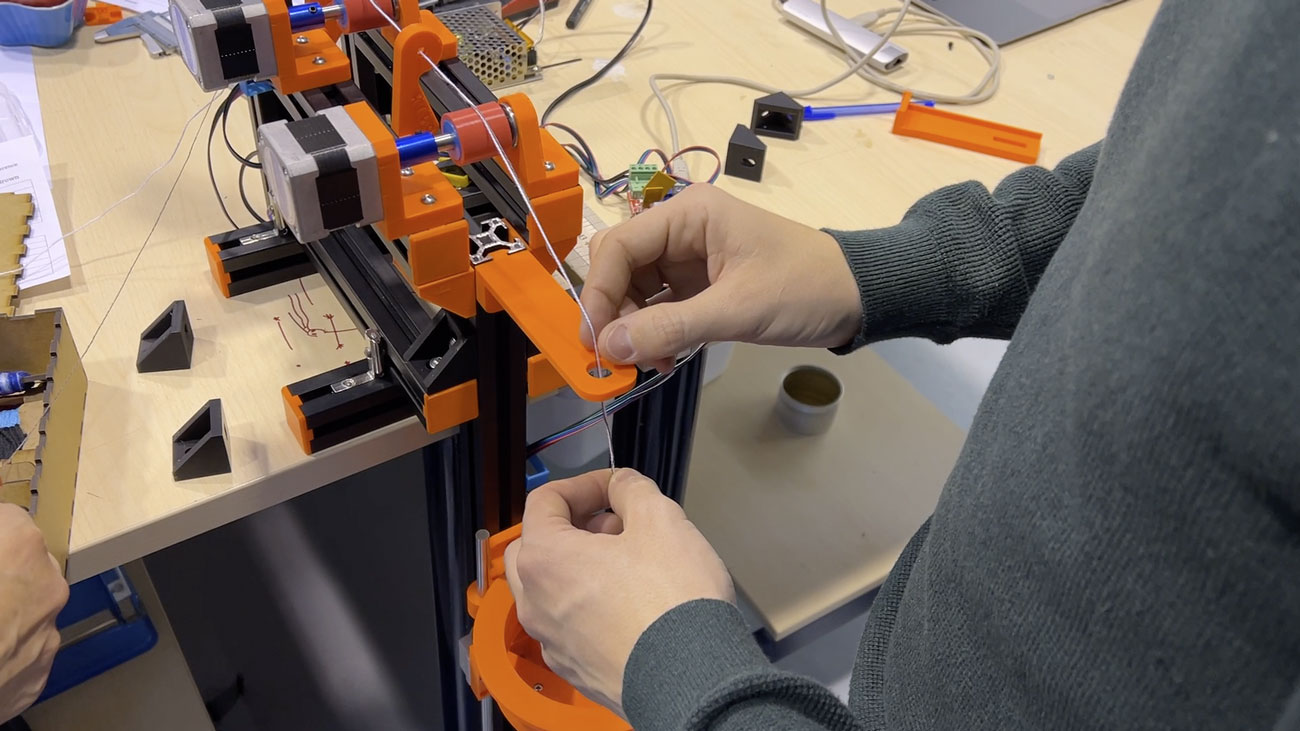
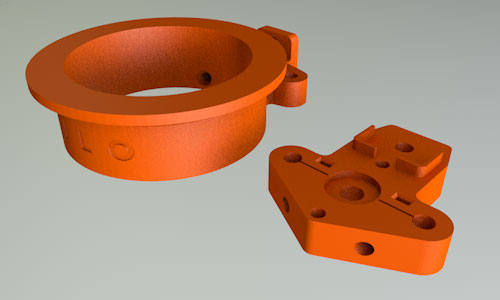
Elevator assembly
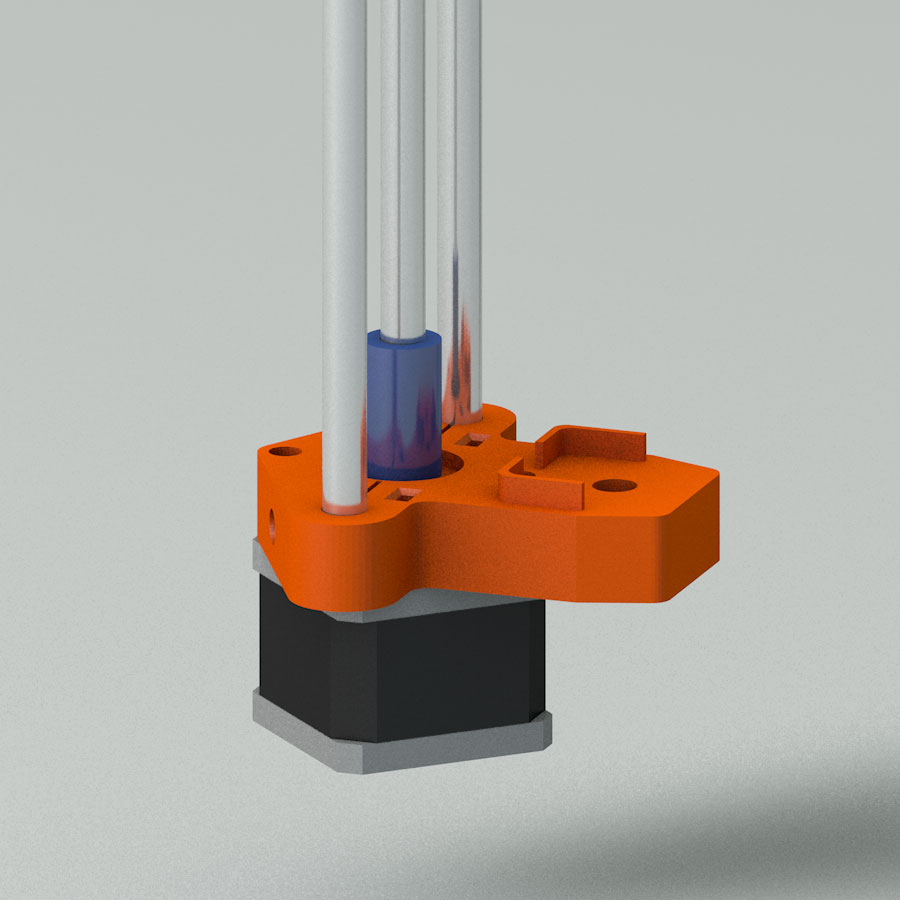
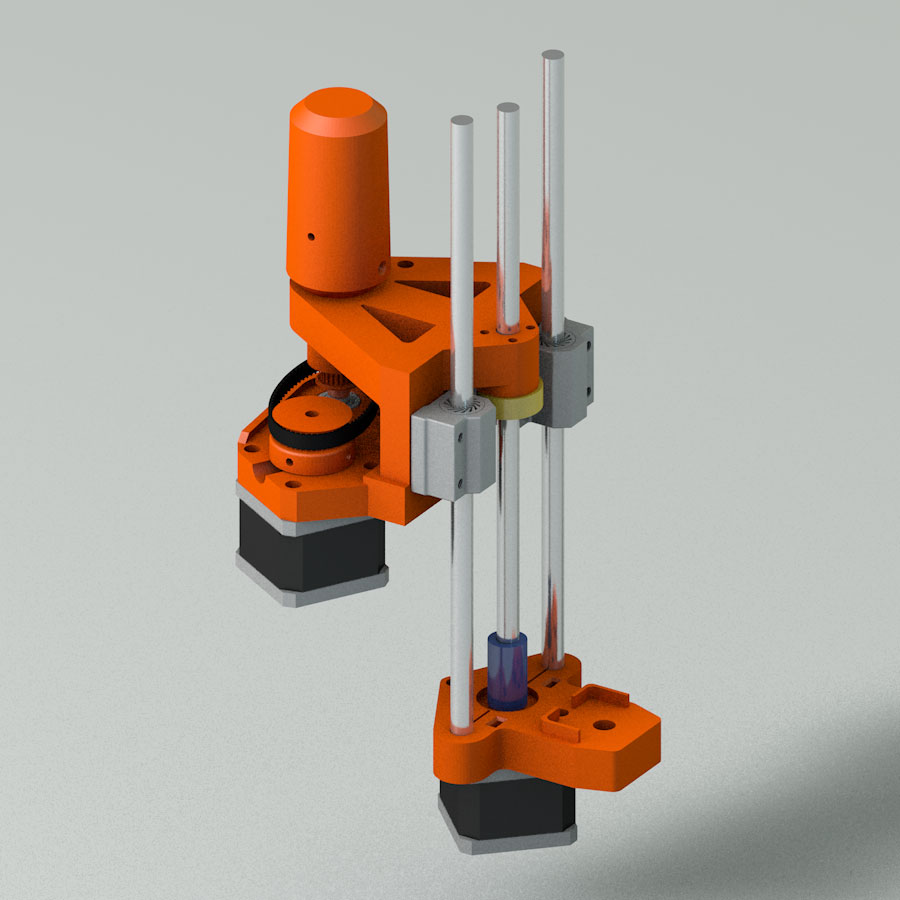
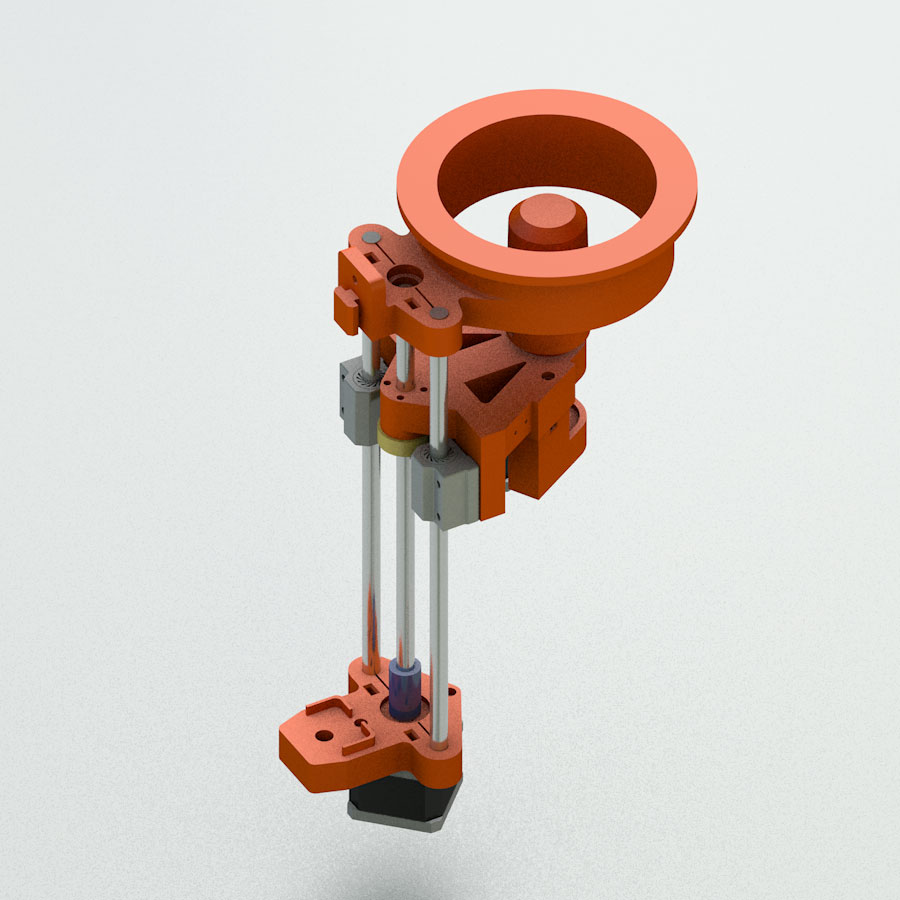
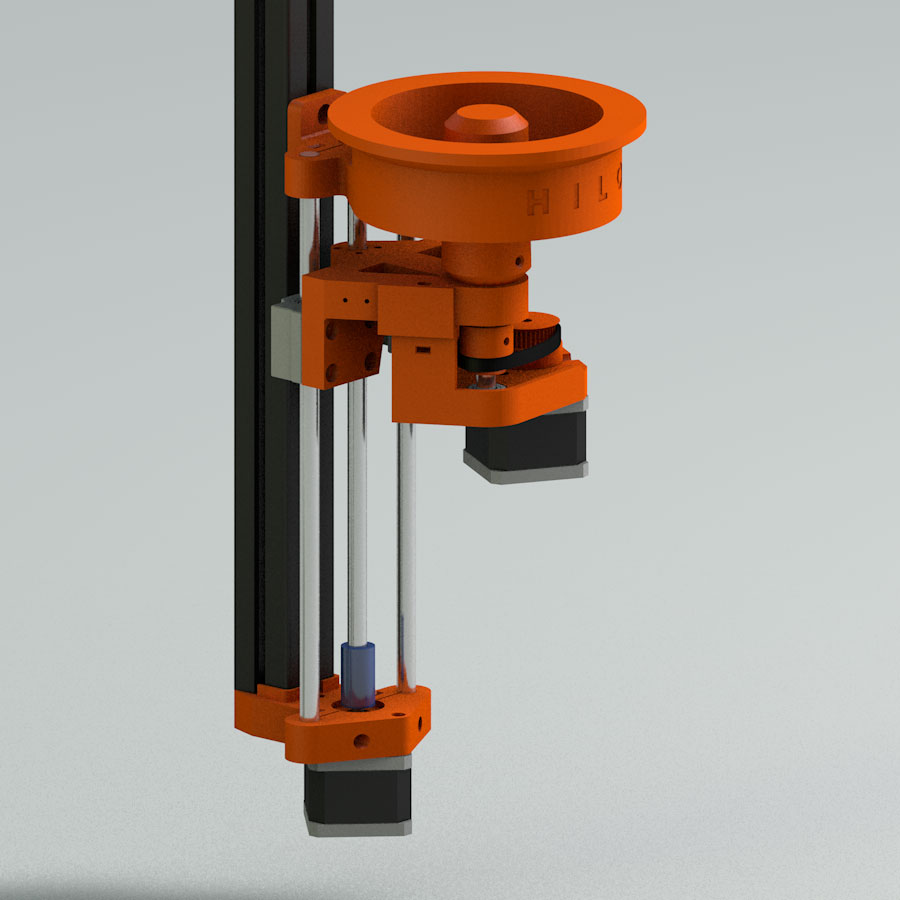
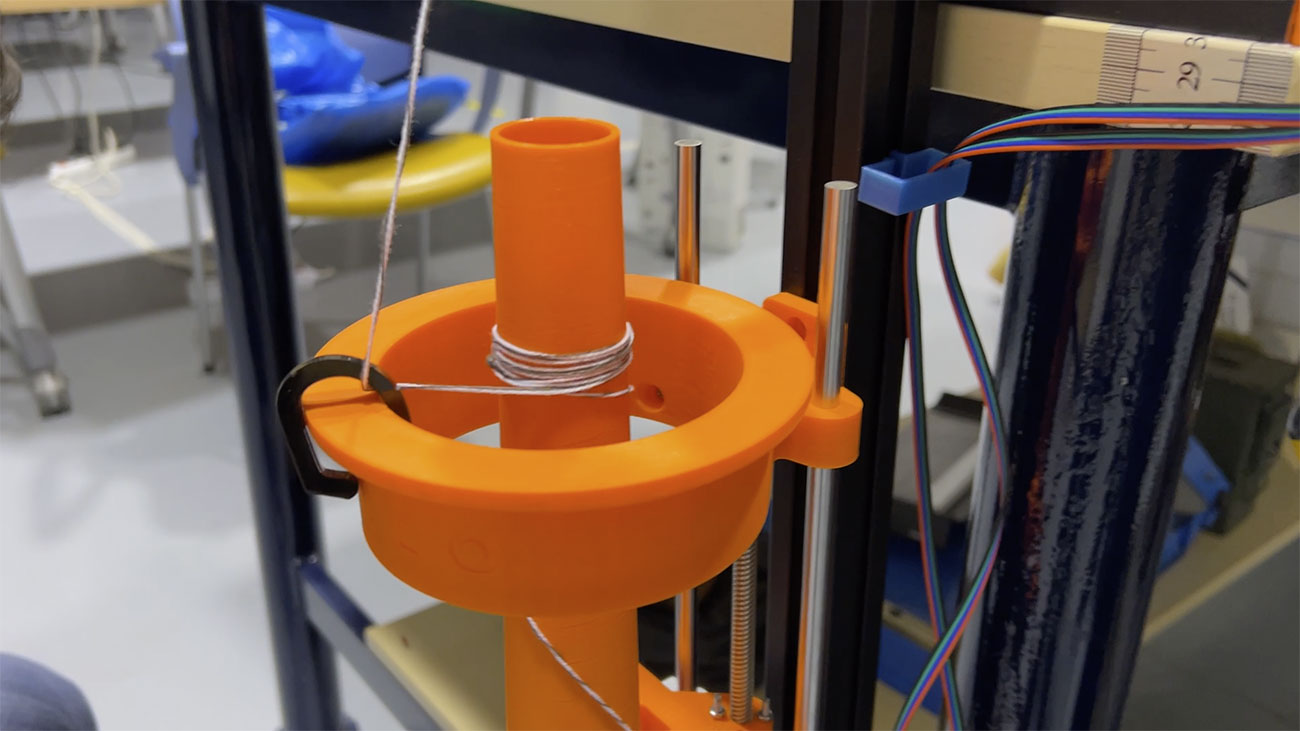
Once the previous group has been assembled, the motor must be assembled with the elevator guides, this group makes it possible for the coil to go up and down while it rotates. In this group we replace the metal guides with ones printed on the 3d printer
Description of Groups Components
| Type | Component | Amount | Description |
|---|---|---|---|
| Hardware | Cylindrical screw M3x20 | 4 | ISO 4762 M3 x 20 |
| Hardware | Cylindrical screw M8x20 | 1 | EN ISO 4762 M8 x 19 |
| Hardware | Cylindrical screw M3x30 | 4 | ISO 4762 M3 x 30 |
| Hardware | Cylindrical screw M4x14 | 1 | ISO 4762 M4 x 14 |
| Hardware | Nut M3 | 4 | ISO 4032 - M3 |
| Hardware | T-Nut M4 | 1 | GN505 M4 |
| Hardware | Round Metal Bar | 2 | D: 8 mm; L: 255 mm |
| Hardware | Elastic Motor Coupling | 1 | 5mm; 8mm |
| Hardware | Bearing | 1 | 8x16x5 mm |
| Electronics | Nema 17 Stepper Motor | 1 | Size: 42x42x39mm 1.5 A 12 V 39 mm, 4-Wire 1.8 Deg Stepper Motor with 1 M Wire |
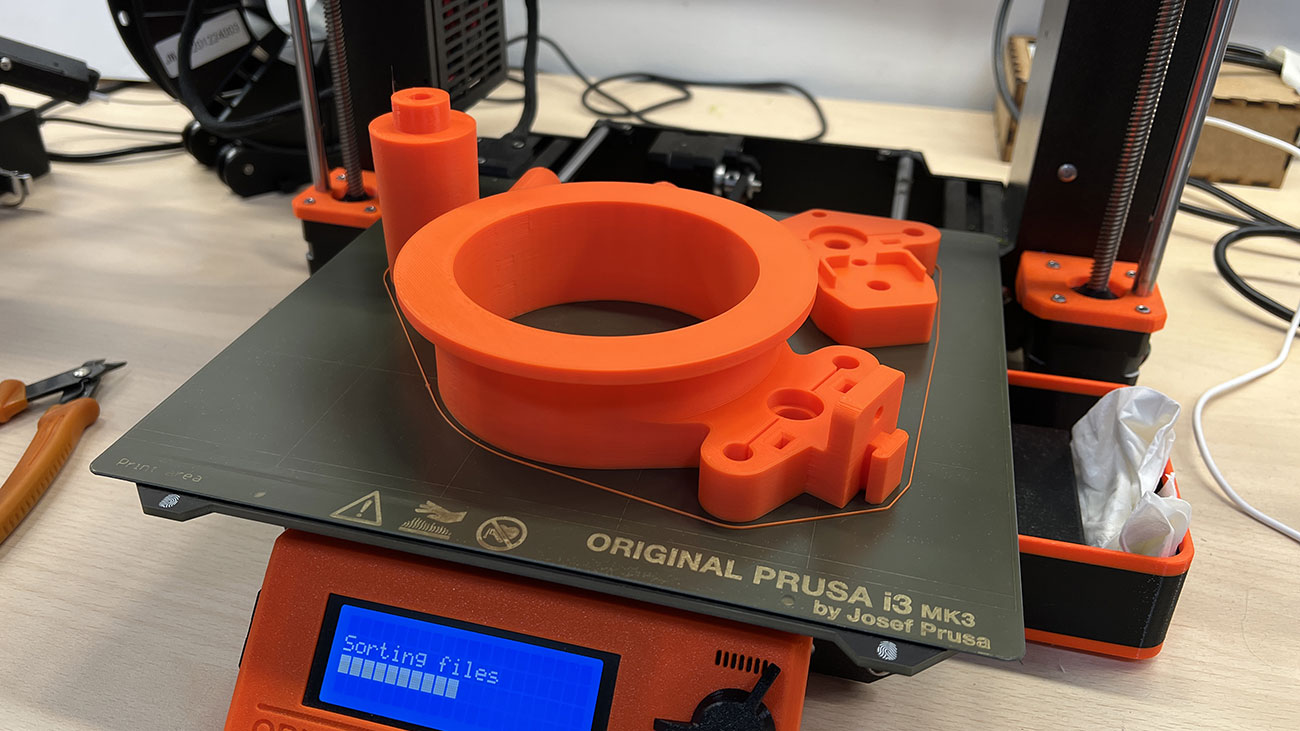
| Printed Parts | Spinning Ring | 1 | PLA Filament 1,75 |
| Printed Parts | Elevator Lower Part | 1 | PLA Filament 1,75 |
Manufacturing the elevator

6 Group
Final Assembly
Group information
- Category: Assembly
- Difficulty: Easy
- Build date: 02 April, 2022
- Build time: 30 min
- Files: Download
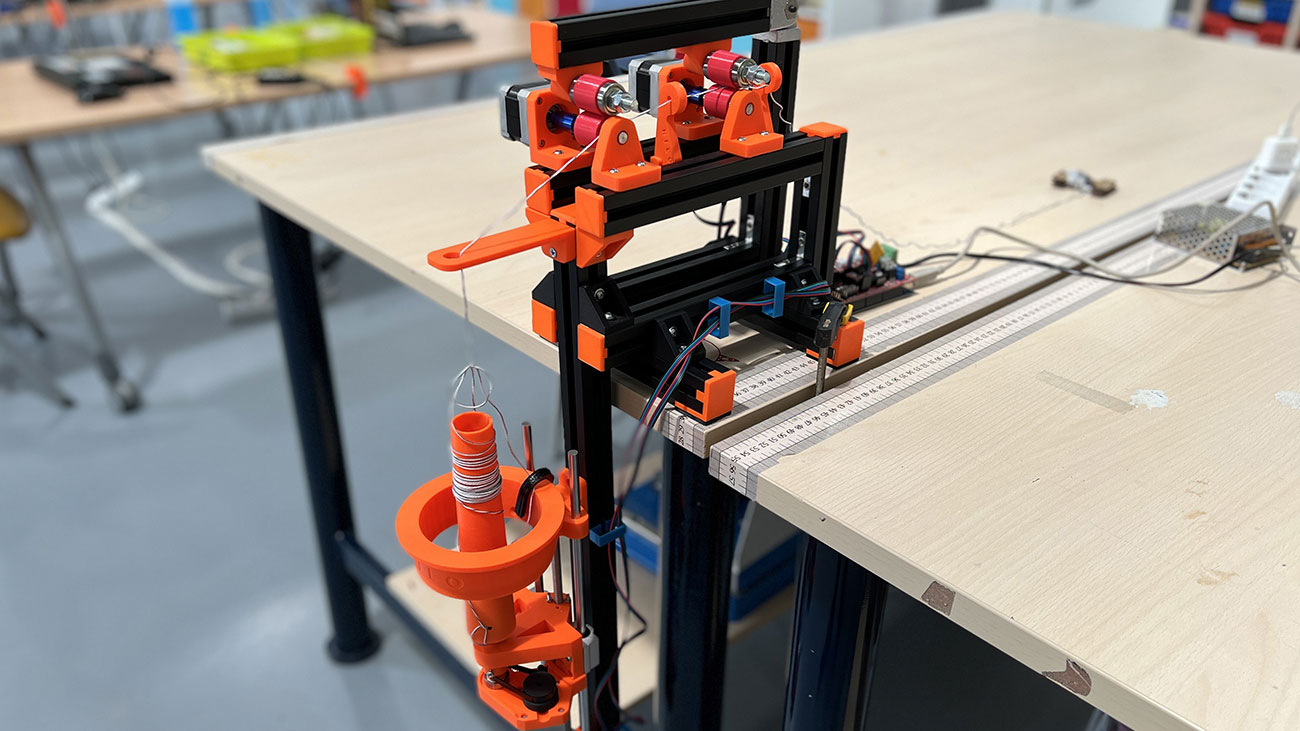
Final Assembly
Once the previous parts are assembled, we adjust all the pieces of the set, then we can assemble the arduino that will control all the motors
Description of Groups Components
| Type | Component | Amount | Description |
|---|---|---|---|
| Hardware | Cylindrical screw M8x20 | 1 | ISO 4762 M8 x 20 |
| Hardware | Cylindrical screw M4x14 | 1 | ISO 4762 M4 x 14 |
| Hardware | Cylindrical screw M4x8 | 2 | ISO 4762 M4 x 14 |
| Hardware | T-Nut M4 | 2 | GN505 M4 |
| Printed Parts | Yarn Guide Back | 1 | PLA Filament 1,75 |
| Printed Parts | Yarn Guide Front | 1 | PLA Filament 1,75 |
| Printed Parts | Hinge Stop | 2 | PLA Filament 1,75 |
| Printed Parts | Yarn Outlet | 1 | PLA Filament 1,75 |
| Textile | Velcro Fastener Loop | 1 | 70 mm x 15 mm |
| Textile | Velcro Fastener Hook | 1 | 70 mm x 15 mm |
| Textile | Poliester Band | 1 | 200 mm x 20 mm |
Final assembly
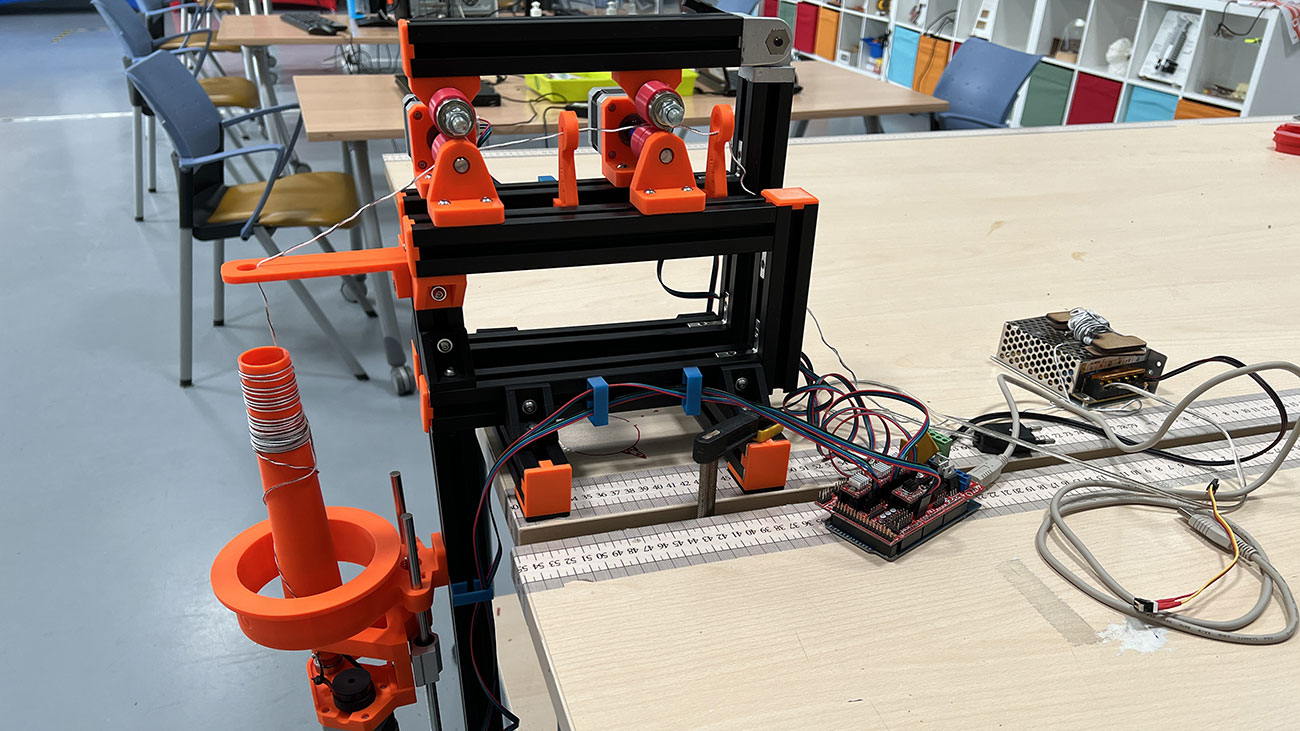
Components & Connections
Electronics
Information
- Category: Electronics
- Difficulty: Medium
- Build date: 02 April, 2022
- Build time: 50 min
Components & Connections
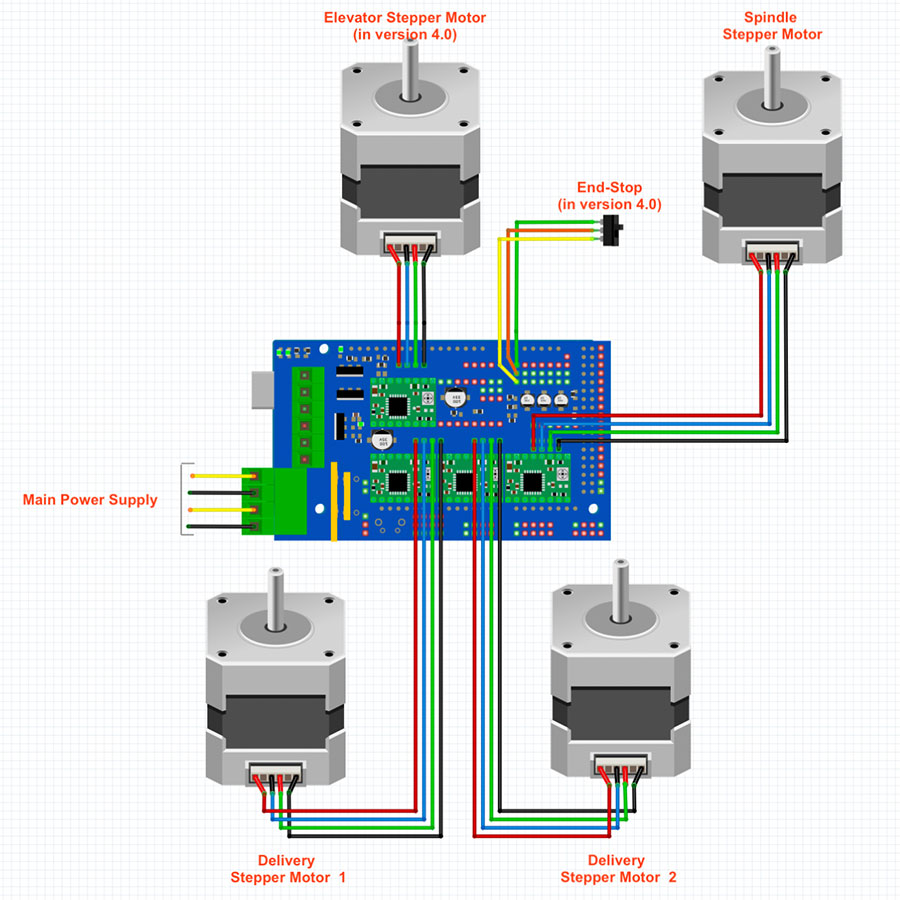
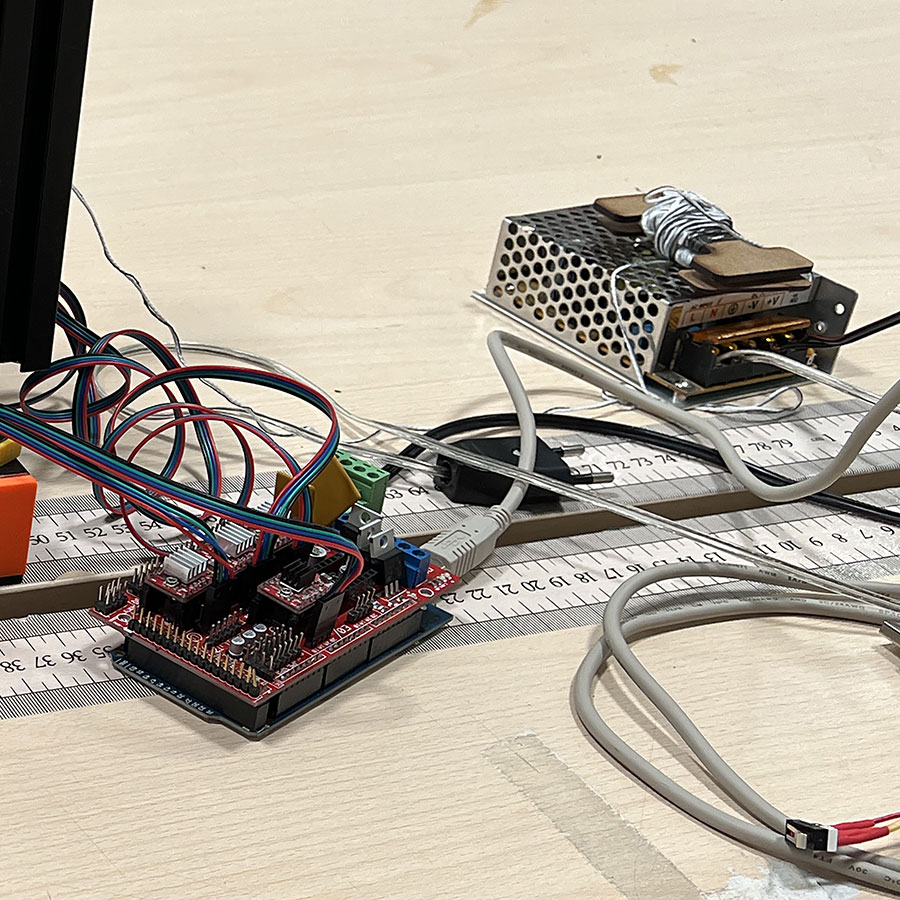
The components are an arduino mega, RAMPS board, the drivers of the stepper motors and the end stop.
The drivers have to be connected to the RAMPS in the following way, in addition to the motors HILO has a end stop for when the elevator group reaches the end of its rail.
Assembly electronic
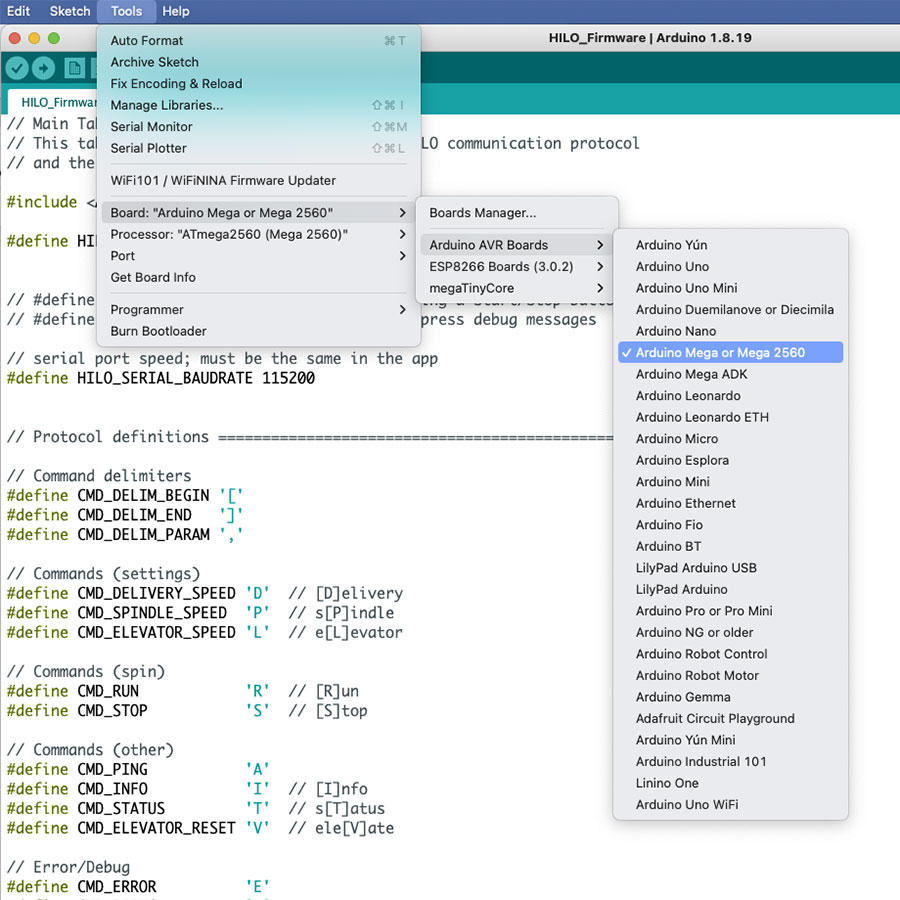
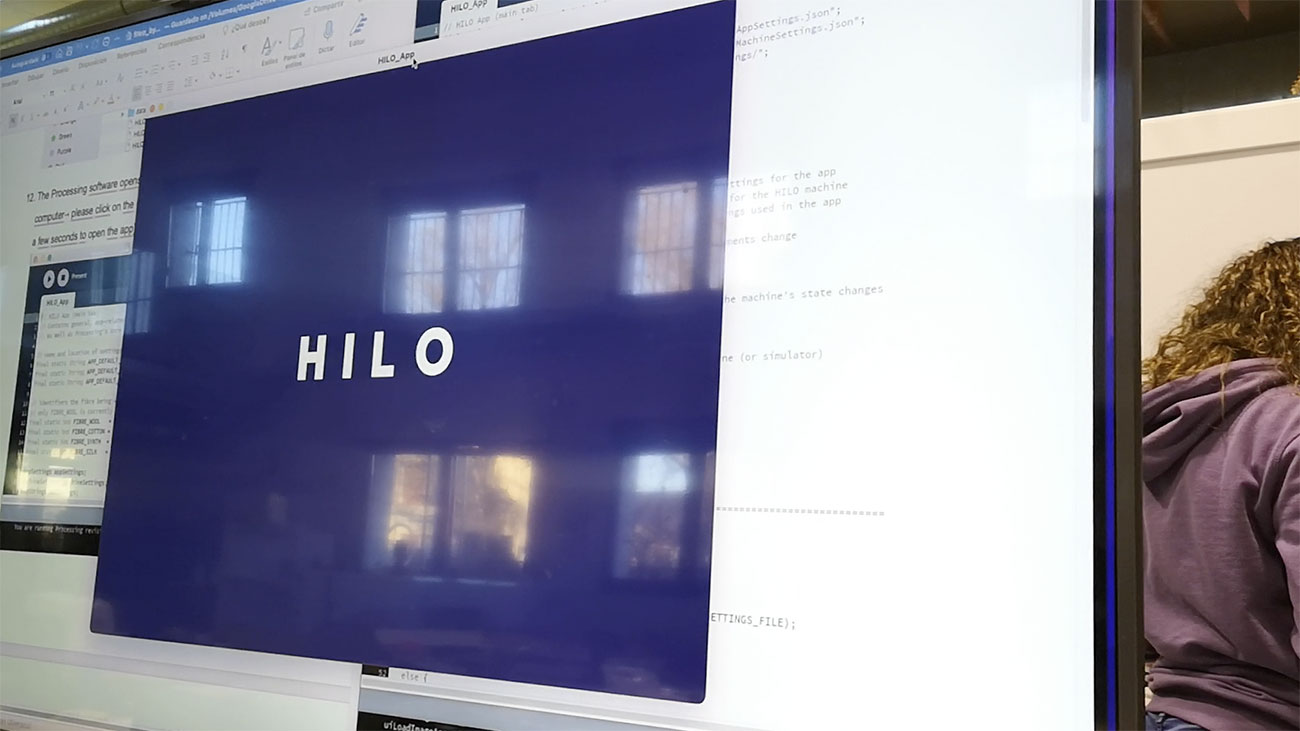
Processing & Arduino
HILO App


Information
- Category: App
- Difficulty: Medium
- Build date: 02 April, 2022
- Build time: 1 hour
- Software: Download
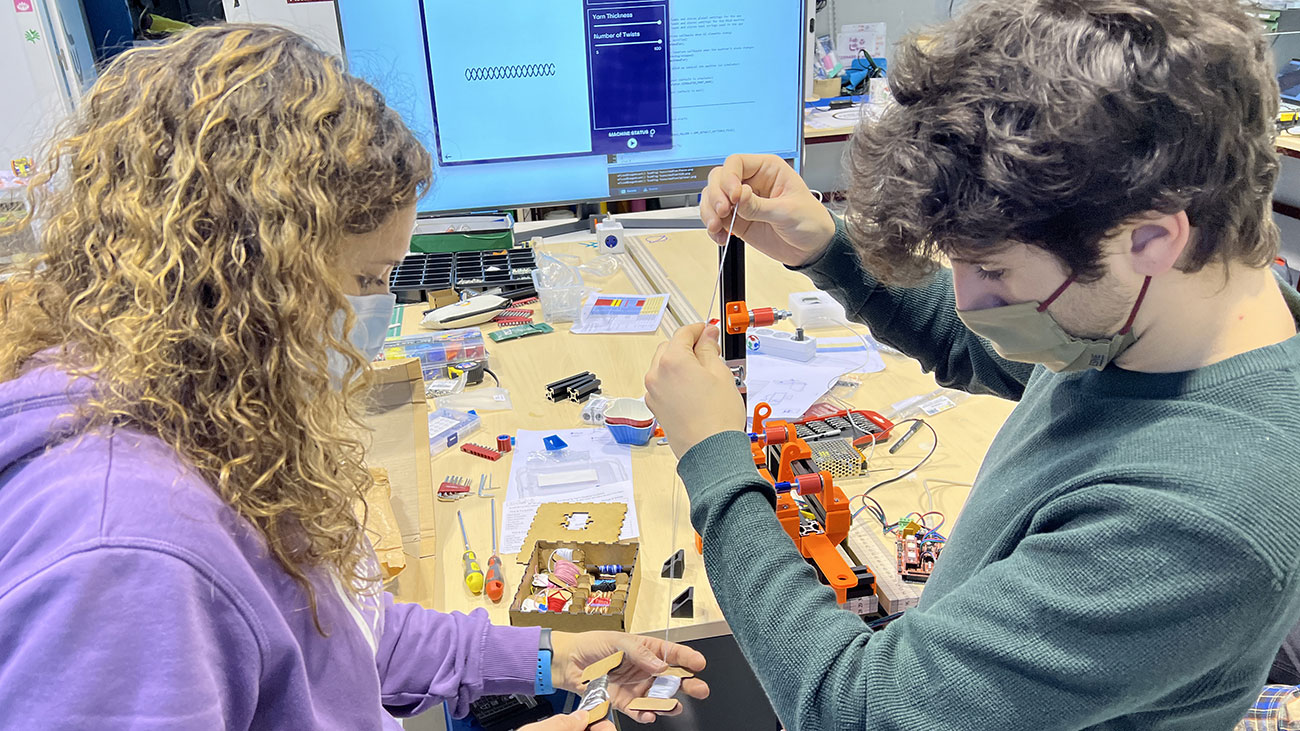
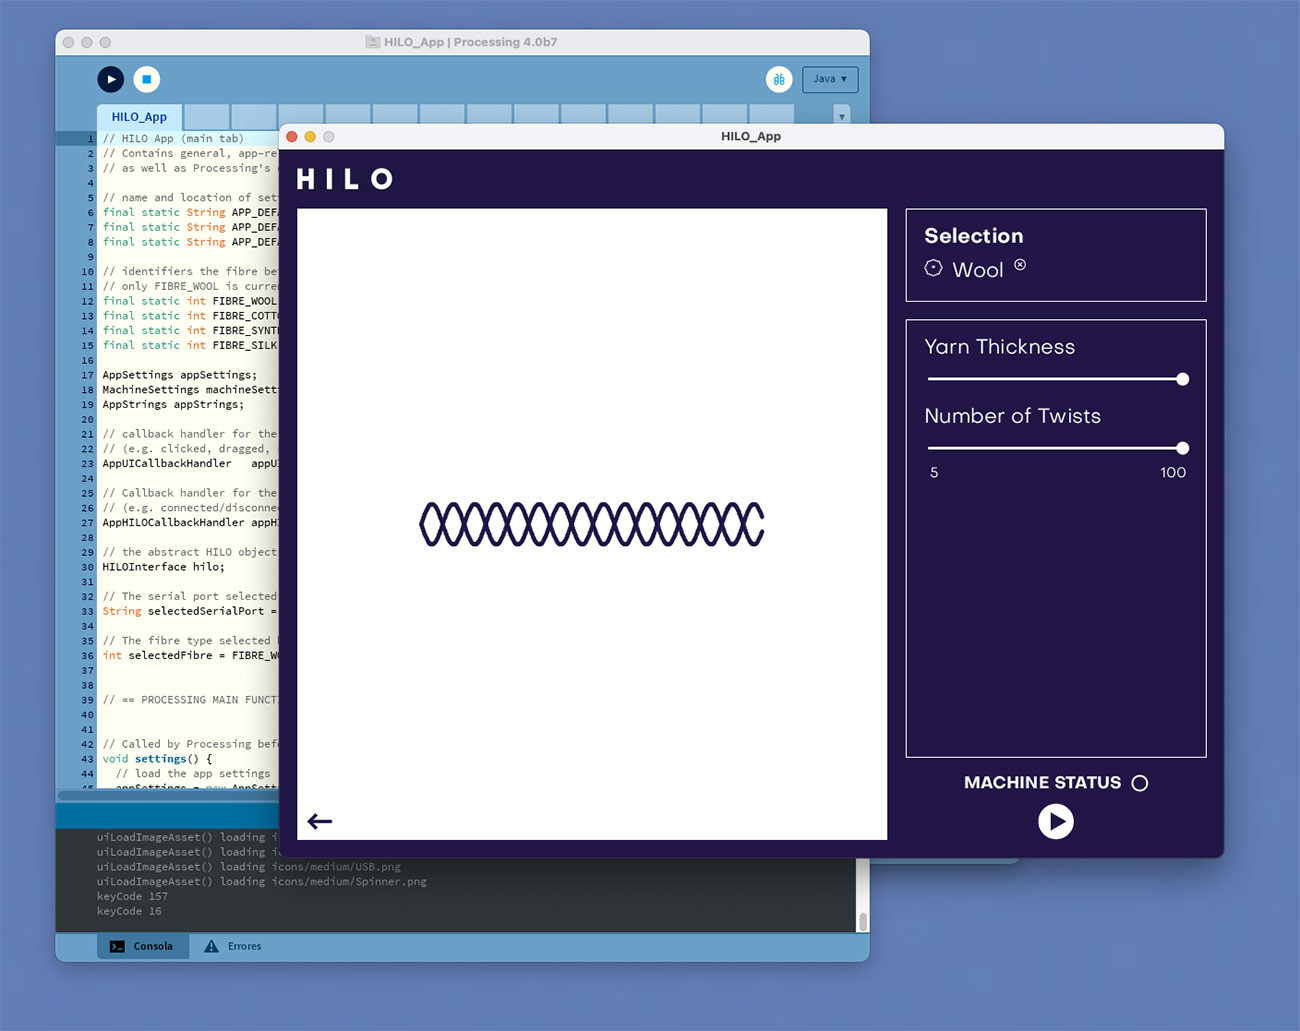
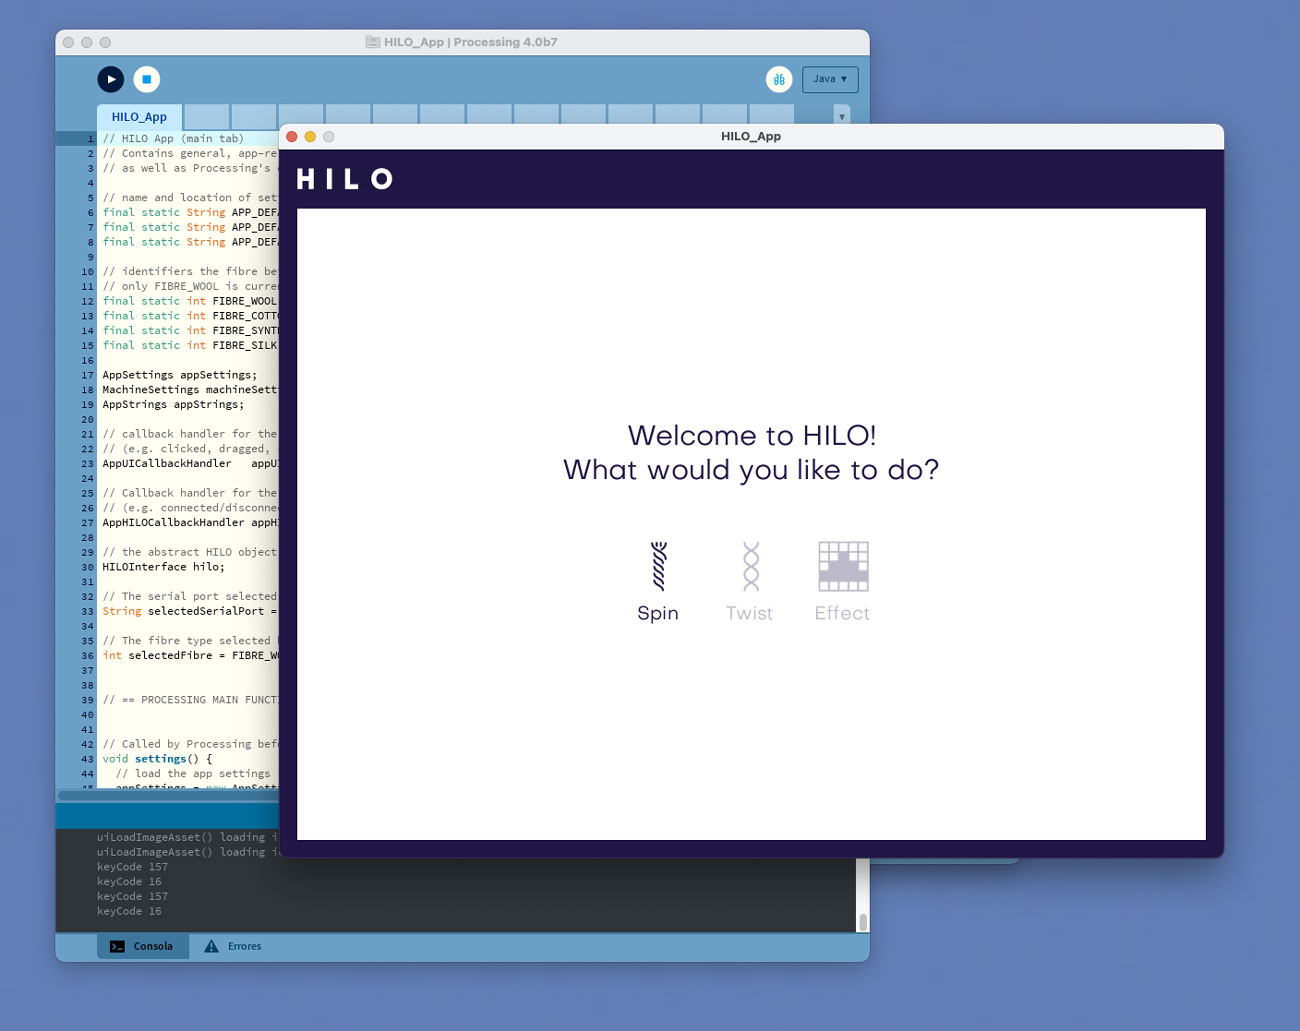
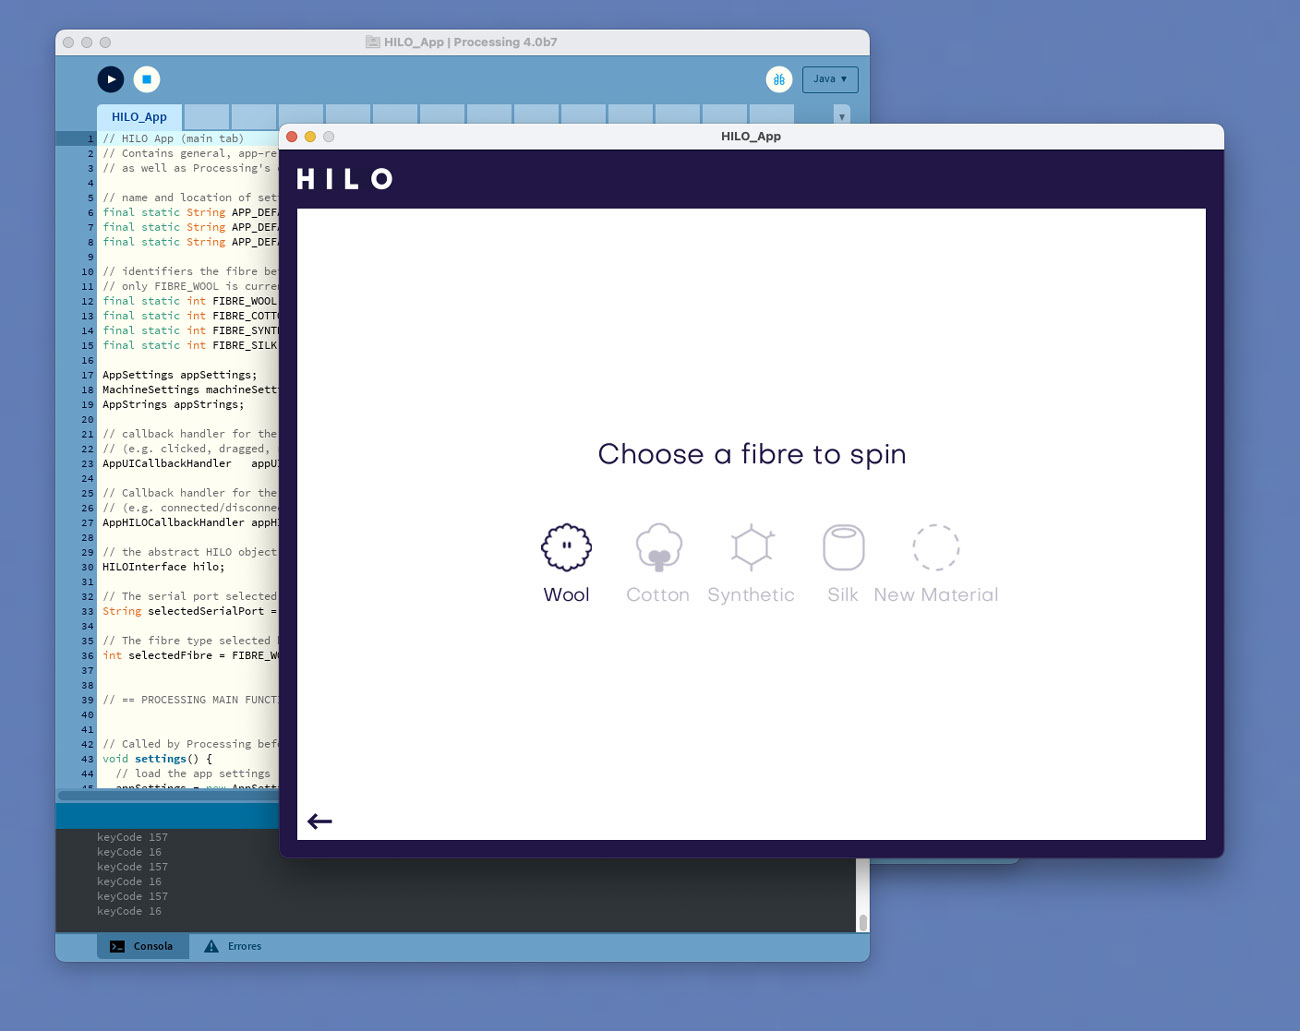
Processing & Arduino
We installed the arduino app to the arduino mega, the original HILO project has a processing interface to control it with your computer, with it you can control the different working methods that the machine has, we made little changes on the processing interface for a better use with the arduino adding some parameters to the original one.
App and Hilo
Download
STL files
Group 1 files
These are the .stl files needed to complete the structure. It is recommended to print in PLA and the flexible ones in TPU.
Group 2 files
These are the .stl files needed to complete the drive wheel. It is recommended to print in PLA and the flexible ones in TPU. You need to print 2 copies of each piece.
Group 3 files
These are the .stl files needed to complete the trailing wheel. It is recommended to print in PLA and the flexible ones in TPU. You need to print 2 copies of each piece.
Group 4 files
These are the .stl files needed to complete the spindel platform. It is recommended to print in PLA and the strap in TPU.
Group 5 files
These are the .stl files needed to complete the elevator. It is recommended to print in PLA.
Group 6 files
These are the .stl files needed to finish the HILO Spinning Machine. It is recommended to print in PLA.
Download all files
Do you want to make your Thread machine? Start by downloading all the necessary files to make the machine in your Lab.
Download STL & APP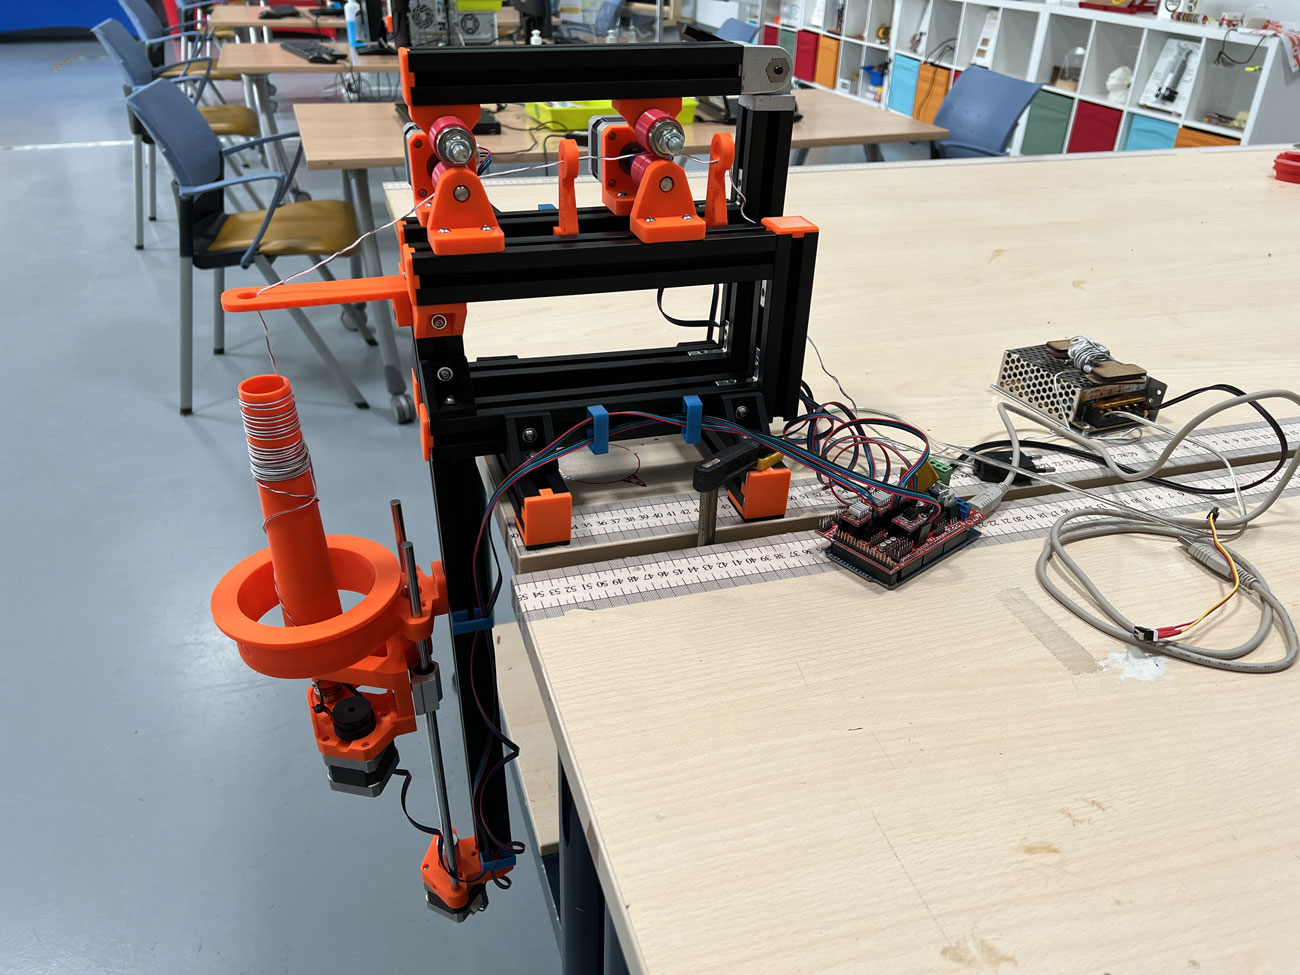
Students
Fab Academy 2022

Pablo Pastor García
Product Design • Fab Academy page >
Luis Ángel Díaz-Faes Santiago
Art & Media • Fab Academy page >Instructors
Fab Lab león

Nuria Robles Miguelez
Chief Executive Officer
Pablo Núñez González
Product Manager
Adrián Torres Omaña
CTOFab Lab León
Contact Us
Location:
Av. San Ignacio de Loyola, 177
San Andrés del Rabanedo, León
Email:
hola@fablableon.org
Web:
FabLab Leon belongs to a non-profit foundation created by a small local company dedicated to railway facilities with the idea of bringing the technology of Digital Fabrication for the local community.
We offer STEAM Educational programs for kids based on learning by doing, one of them "Poderosas" only for girls.