-
00. FA20 Hyunho
-
01. Principles and Practices, Project management
-
02. Computer-Aided design
-
03. Computer controlled cutting
-
04. Electronics production
-
05. 3D Scanning and printing
-
06. Electronics design
-
07. Computer controlled machining
-
08. Embedded programming
-
09. Input devices
-
10. Applications and implications
-
11. Output devices
-
12. Interface and application programming
-
13. Invention, intellectual property, and income
-
14. Networking and communications
-
15. Molding and casting
-
16. Wildcard week
-
17. Mechanical design, Machine design
-
18. Project development
-
19. Final Project
Week5
3D Scanning and Printing
Group Assignment Link [I'm the hero of this week's group work!]
Assignment
Learned from Group work
Advantages and Limits of 3D Printers
With the help of the instructure Craig, each of us has chosen the output, the tools we use
and the challenges we're going to have with the 3D printer
I actually don't really like plastic, so I'm going to make a little button for the final project
I will use Fusion360 to design my 3d file and my challenge is check the fit and practice modeling
Before that, I will make a 2D drawing to calculate the exact size of my final project
I'm going to make a button for my final project
Click on this link to find out about the final project
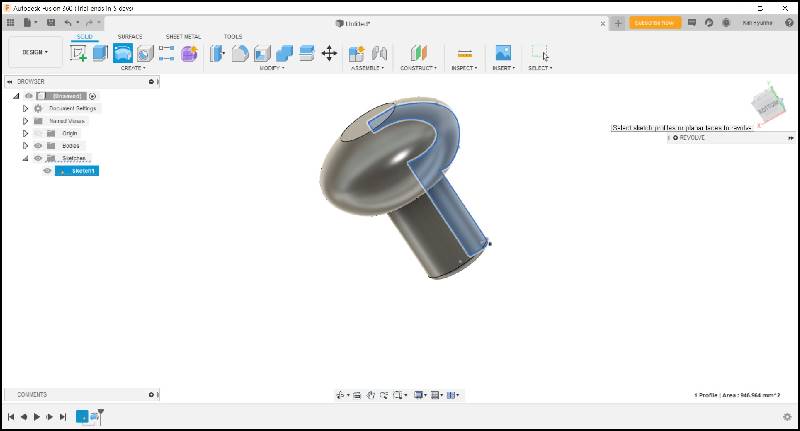
I practiced the kind Fusion360 of UI [Fusion360 YouTube Tutorial Link]
This week I spent most of my time studying 3D modeling
Draw a 2d scale, draw a baseline as a dotted line, and then Revolve my 2d sketch
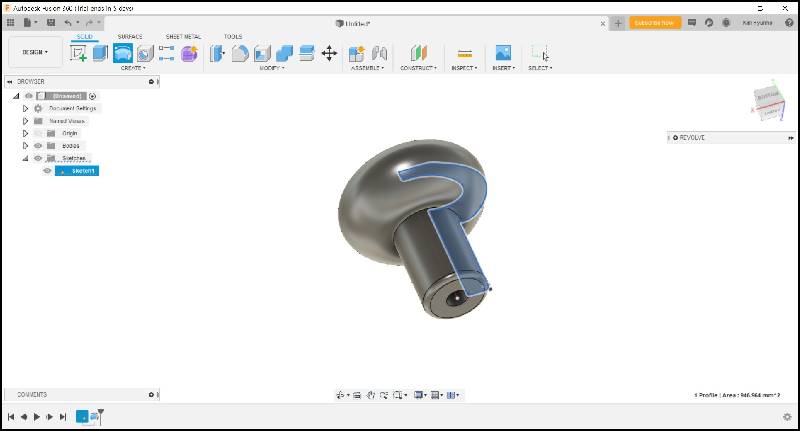
Inside is empty
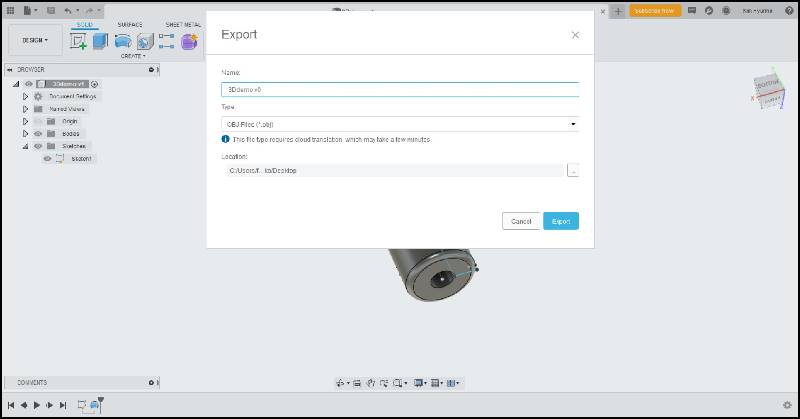
Exported it to the obj extension


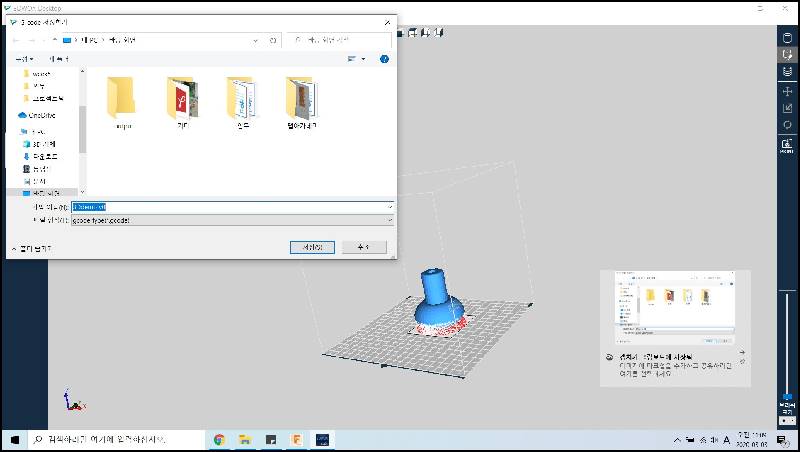
3Dworks creates support and saves as gcode
Through group work, I found that the infil is strong enough 15~25 %
And the supporter test showed that if there's space between an object and a bad,
you're going to have to put a supporter
It will take 5 hours (I forgot to set up infil)
Fortunately, there are no workers waiting behind us
In the meantime, I'm going to do a 3D scan
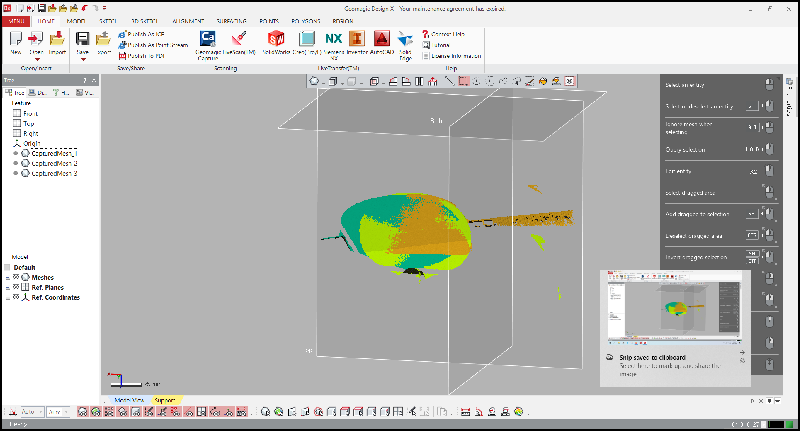
I use 3d scansoftware Geomagic Design X 64
And our 3D scanner is Capture made by 3Dsystems(Capture qualification link)
How to Use Geomagic Design X link
I scanned the table tennis racket
I put the scan object on the disc, spin it around,
and connect the points to the same spot, and you'll slowly get the details
I did a total of three scans
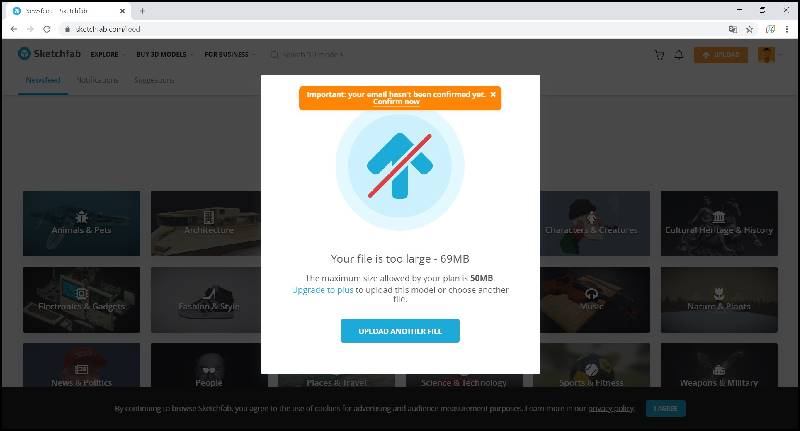
I wanted to upload my scan file,
but it was so big that I wanted to upload it to sketchfab site, but it was still big
How to Reduce Stl File using Mesh Lab Link
I have reduced the size of the stl file by referring to the link above
My first 3D printer work came out
This is a button for my final project
First, we'll boldly remove the supporter
I removed the supporter
Now it's time to sand this cute one
Everyone said it was shaped like a mushroom,
so I just used a 3D pan to make it into a mushroom
I feel like I'm going to get bigger if I take a bite


I designed a part that would hold cotton to deliver water to the final project humidifier and printed it out with a 3D printer
Through studying, I reduced the output speed and got the desired result in about 20 minutes
Result
CNC can't cut internal cavity
but if u use 3d printer u can make shapes with internal cavity
File Button obj file
Filter shield stl file