14. Networking and Communications
Group assignment requirements
The group assignment for this week is the following:
- Send a message between two projects
- Document your work to the group work page and reflect on your individual page what you learned
Group Assignment: Sending Messages using ESP32-C3
The group assignment for this week involved sending messages between two projects using the Xiao ESP32-C3 microcontroller. Below is a documentation of our work detailing the communication method, the setup of each node, and the code used for achieving message transmission.
Communication Method: Bluetooth
We opted to use Bluetooth as our communication method. Bluetooth is a wireless technology standard for exchanging data over short distances. It operates on the ISM band, typically 2.4 to 2.485 GHz. Bluetooth uses a technique called frequency-hopping spread spectrum to avoid interference and fading from other devices operating in the same frequency band.

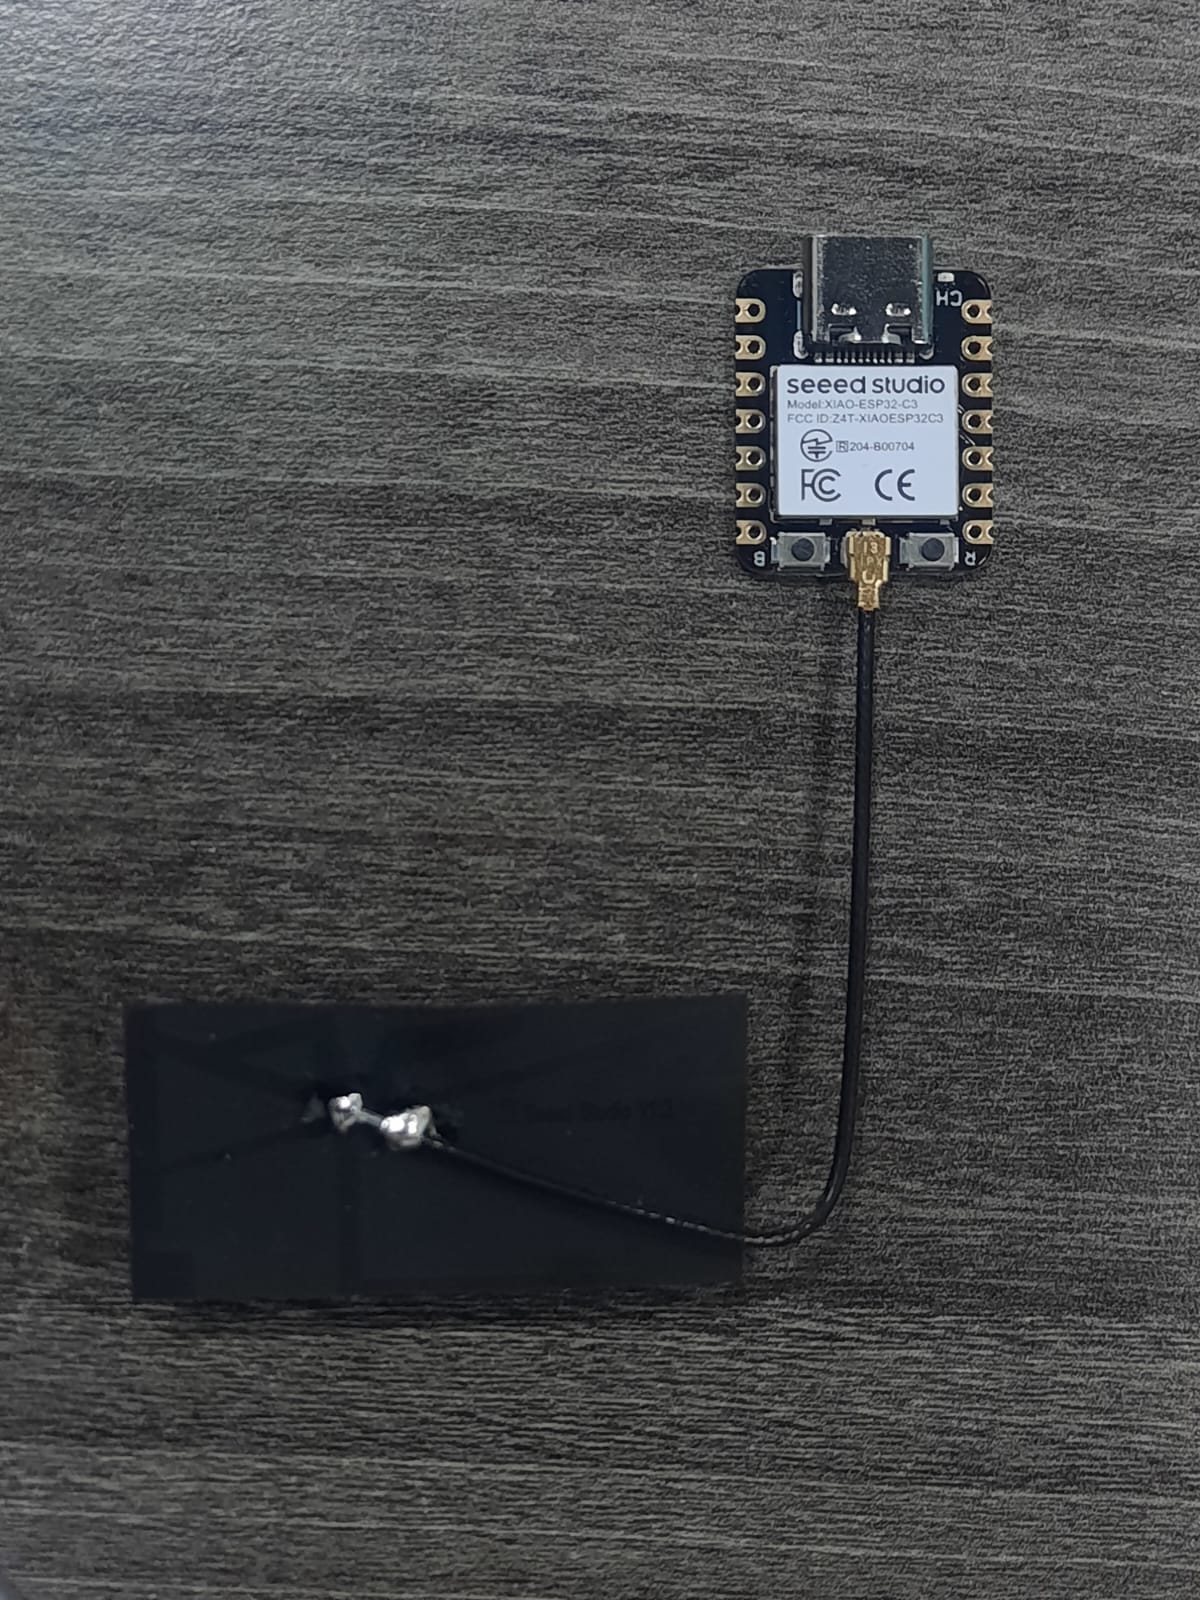
Node 1: Xiao ESP32-C3
Node 1 comprises the Xiao ESP32-C3 microcontroller, programmed to send messages received from a paired mobile device over Bluetooth.

Code
#include <BLEDevice.h>
#include <BLEUtils.h>
#include <BLEServer.h>

#define SERVICE_UUID        "4fafc201-1fb5-459e-8fcc-c5c9c331914b"
#define CHARACTERISTIC_UUID "beb5483e-36e1-4688-b7f5-ea07361b26a8"

class MyCallbacks: public BLECharacteristicCallbacks {
    void onWrite(BLECharacteristic *pCharacteristic) {
      std::string value = pCharacteristic->getValue();

      if (value.length() > 0) {
        Serial.println("*********");
        Serial.print("New value: ");
        for (int i = 0; i < value.length(); i++)
          Serial.print(value[i]);

        Serial.println();
        Serial.println("*********");
      }
    }
};

void setup() {
  Serial.begin(115200);

  BLEDevice::init("MyESP32");
  BLEServer *pServer = BLEDevice::createServer();

  BLEService *pService = pServer->createService(SERVICE_UUID);

  BLECharacteristic *pCharacteristic = pService->createCharacteristic(
                                         CHARACTERISTIC_UUID,
                                         BLECharacteristic::PROPERTY_READ |
                                         BLECharacteristic::PROPERTY_WRITE
                                       );

  pCharacteristic->setCallbacks(new MyCallbacks());

  pCharacteristic->setValue("Hello World");
  pService->start();

  BLEAdvertising *pAdvertising = pServer->getAdvertising();
  pAdvertising->start();
}

void loop() {
  // put your main code here, to run repeatedly:
  delay(2000);
}
Code Explanation
- The code utilizes the Arduino library for Bluetooth Low Energy (BLE) communication, which is compatible with the ESP32 platform.
- The
MyCallbacksclass is defined to handle callbacks when the characteristic is written to. When a message is received, it prints the message to the serial monitor. - In the
setup()function, BLE is initialized, a BLE server is created, and a service with a characteristic is added. The characteristic allows reading and writing. - A default value of “Hello World” is set for the characteristic.
- The BLE advertising is started to make the device discoverable by other BLE devices.
- In the
loop()function, the main code is set to run repeatedly with a delay of 2 seconds.
Node 2: Mobile Device
Node 2 represents a mobile device (e.g., smartphone) paired with Node 1 over Bluetooth. Messages sent from Node 2 are received by Node 1 and displayed on the serial monitor of the connected computer.
Instructions for Testing
Follow these steps to test the communication: 1. Upload the provided code to the Xiao ESP32-C3. 2. Open the Serial Monitor in the Arduino IDE. 3. Download and install the LightBlue App on your smartphone (Android or Apple). 4. Open Bluetooth on your phone, bring the phone close to the Xiao ESP32-C3, scan for devices, and connect to the “MyESP32” device. 5. Open the LightBlue app, click on the “Bonded” tab, and connect to the “MyESP32” device. 6. Click on the “CONNECT” button next to “MyESP32”. 7. Scroll down to the “Readable, Writable” section and select “UTF-8 String” under the “Data format” drop-down menu. 8. Type “Hello” under “WRITTEN VALUES” and click “WRITE”. 9. You will see the text string “Hello” output on the serial monitor of the Arduino IDE.
Result
This video demonstrates the successful transmission of messages between Node 1 (Xiao ESP32-C3) and Node 2 (Mobile Device) over Bluetooth.