Week 3
Computer-Controlled Cutting

Group assignment: Safety training, material testing, and laser cutter characterization.
This page documents our findings, testing results, and key learnings.
Group Task Distribution
| Task | Person Responsible |
|---|---|
| Designing Engraving & Cutting Test | Camila |
| Testing engraving and cutting on acrylic & plywood | Both |
| Designing the Kerf Comb Test | Alfredo |
| Writting: Laser Cutter Safety Guide | Camila |
| Writting: Laser Cutter Calibration & Material Testing | Camila |
🔧 Lab Safety Training
Before working with the laser cutter, we completed an essential safety training session to ensure proper handling of the machine and prevent accidents. Laser cutters use high-intensity beams, which can ignite materials, cause burns, and produce harmful fumes. The training covered the following areas:
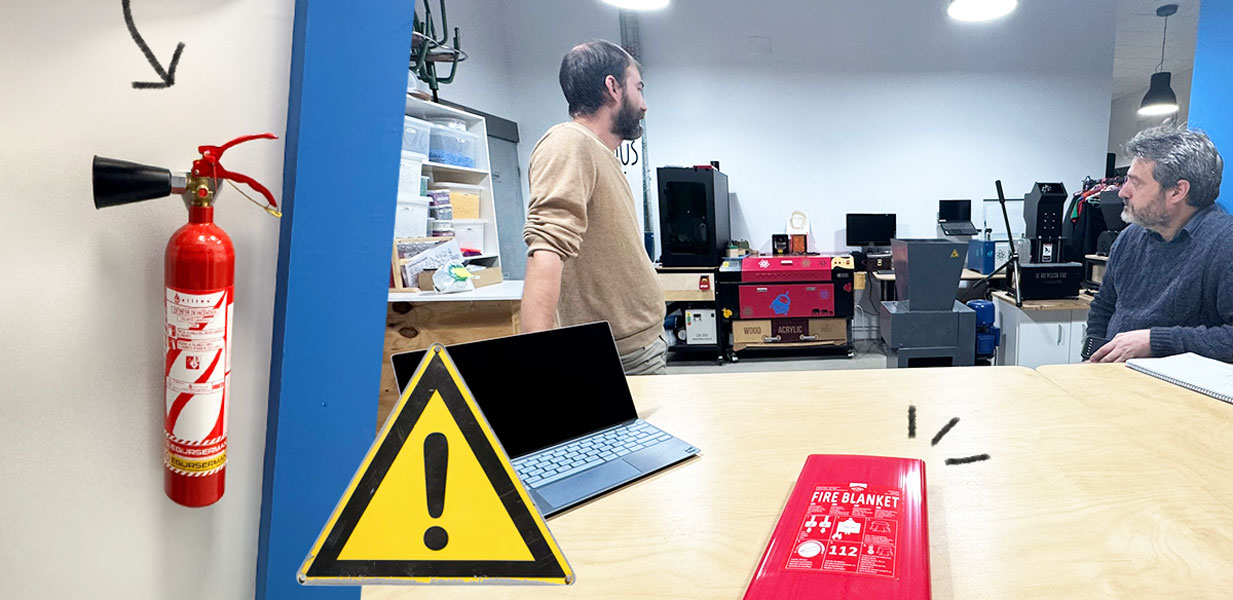
Fire Safety & Emergency Procedures
- Fire Extinguishers: We identified the fire extinguisher locations in the lab and learned how to operate them.
- Emergency Stop: Every machine has an emergency stop button to instantly cut power if something goes wrong.
- Proper Ventilation: Since some materials release toxic fumes, we reviewed how to activate the ventilation system before cutting.
Laser Cutter Safety Guide
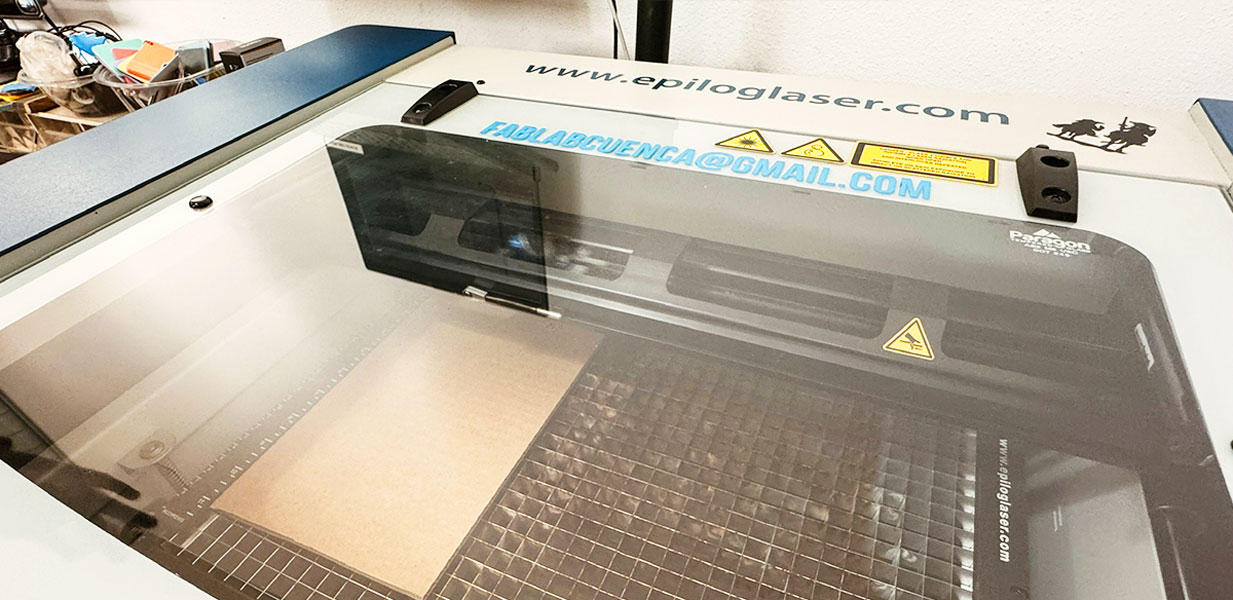
This reference guide provides essential safety precautions and best practices for operating the Epilog Laser Zing at Fab Lab Cuenca. For more information on specific machine settings and material compatibility, refer to the Epilog Laser Zing User Manual:
⚠️ General Safety Precautions
- Always close the laser cutter lid before starting a job.
- Never leave the machine unattended while it is operating.
- Do not use the machine if you detect an abnormal state (such as an unusual smell, excessive smoke, or unusual noises).
- Ensure proper ventilation is active before starting any cutting or engraving process.
- Never work with PVC or other hazardous materials, as they release toxic fumes that can damage the machine and be harmful to your health.
- If an emergency occurs, immediately turn off the power and notify the Fab Lab manager.
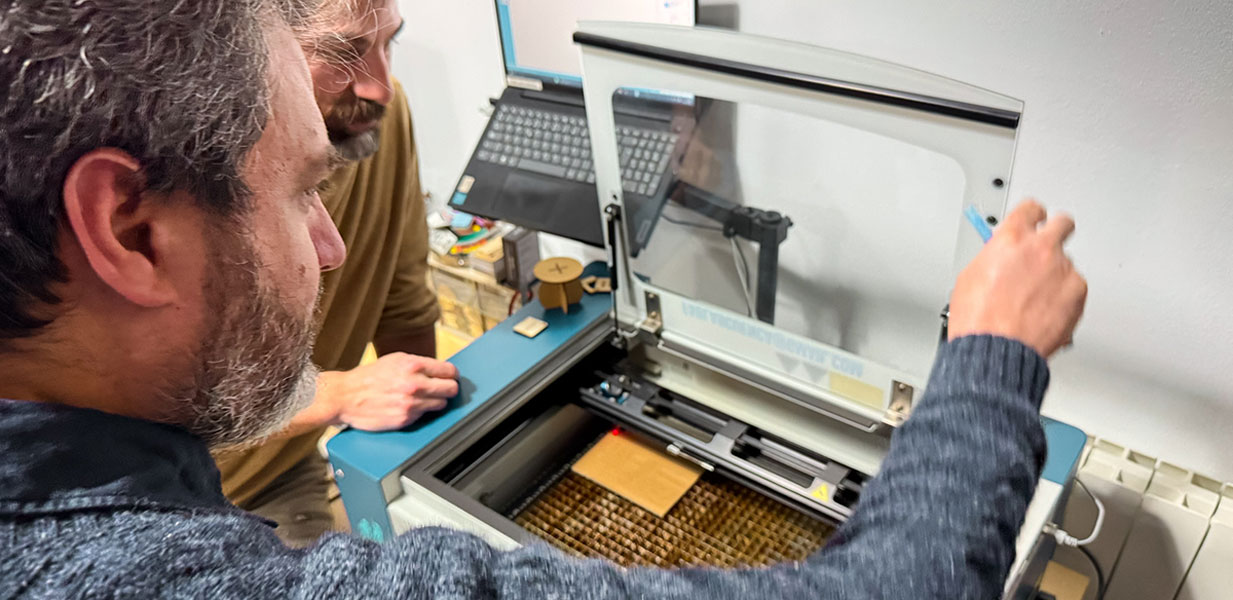
🔧 Operating the Laser Cutter
Before Starting a Job
- Check that the machine is in good condition.
- Ensure the bed is clean and free of debris.
- Verify that the laser lens is clean and undamaged.
- Check that the air compressor and ventilation system are functioning.
- Select the appropriate material (e.g., acrylic, wood, EVA foam).
- Adjust the cutting and engraving parameters according to the material thickness.
- Position the material properly and focus the laser.
- Run a test cut to ensure the settings are correct.
During Operation
- Stay close to the machine and monitor the process in case of unexpected issues.
- Be cautious of flames or excessive smoke, as these could indicate improper settings or hazardous material reactions.
- Use appropriate power and speed settings to prevent overburning or incomplete cuts.
After Completing a Job
- Wait for the machine to cool down before turning it off.
- Remove any leftover materials or debris to keep the working area clean.
- Turn off the ventilation and air compressor once finished.
🚫 Prohibited Actions
- Do not touch the laser lens.
- Do not introduce metal, combustible, or volatile materials into the machine.
- Do not unplug the power cable by pulling it directly.
- Do not disable safety features or protective covers.
Emergency Procedures‼️
Fire Occurs
Immediately use the emergency stop button and notify the Fab Lab manager.
Machine Gets Stuck or Malfunctions
Turn off the machine and manually reset it before restarting.
Long Running Time
Allow the laser to cool before shutting it down to prevent overheating.
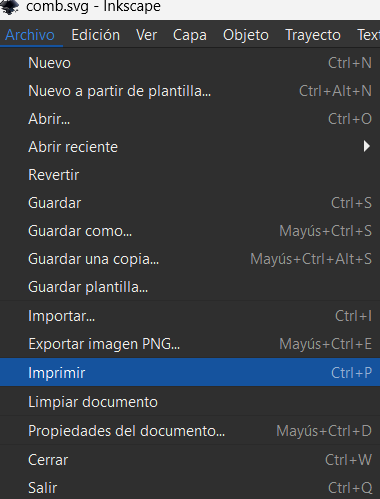
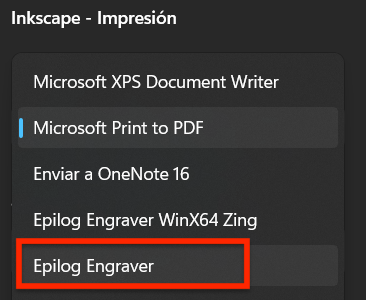
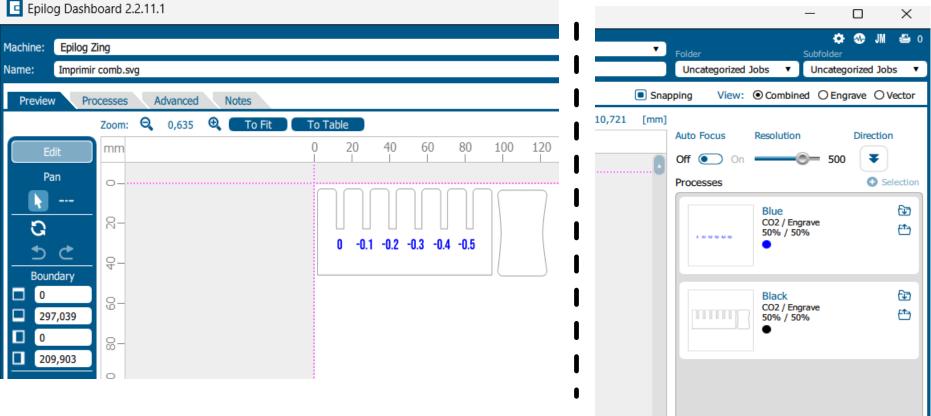
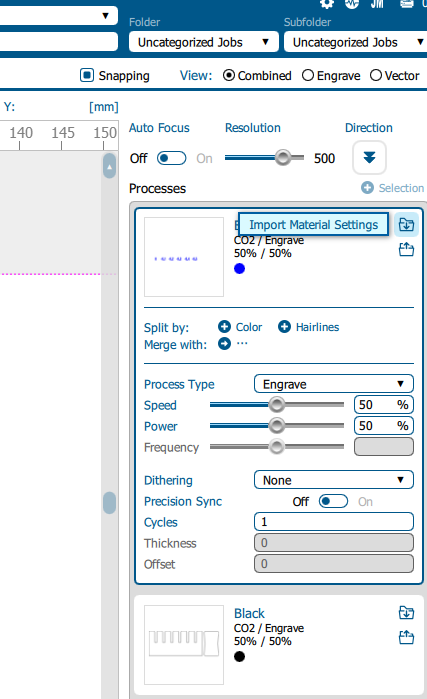
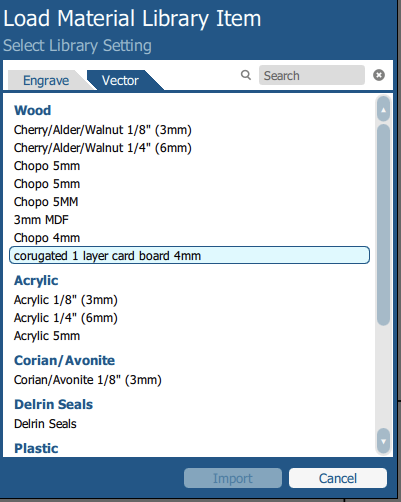
User computer interface
Below I show some screenshots of the interface for laser cutting:
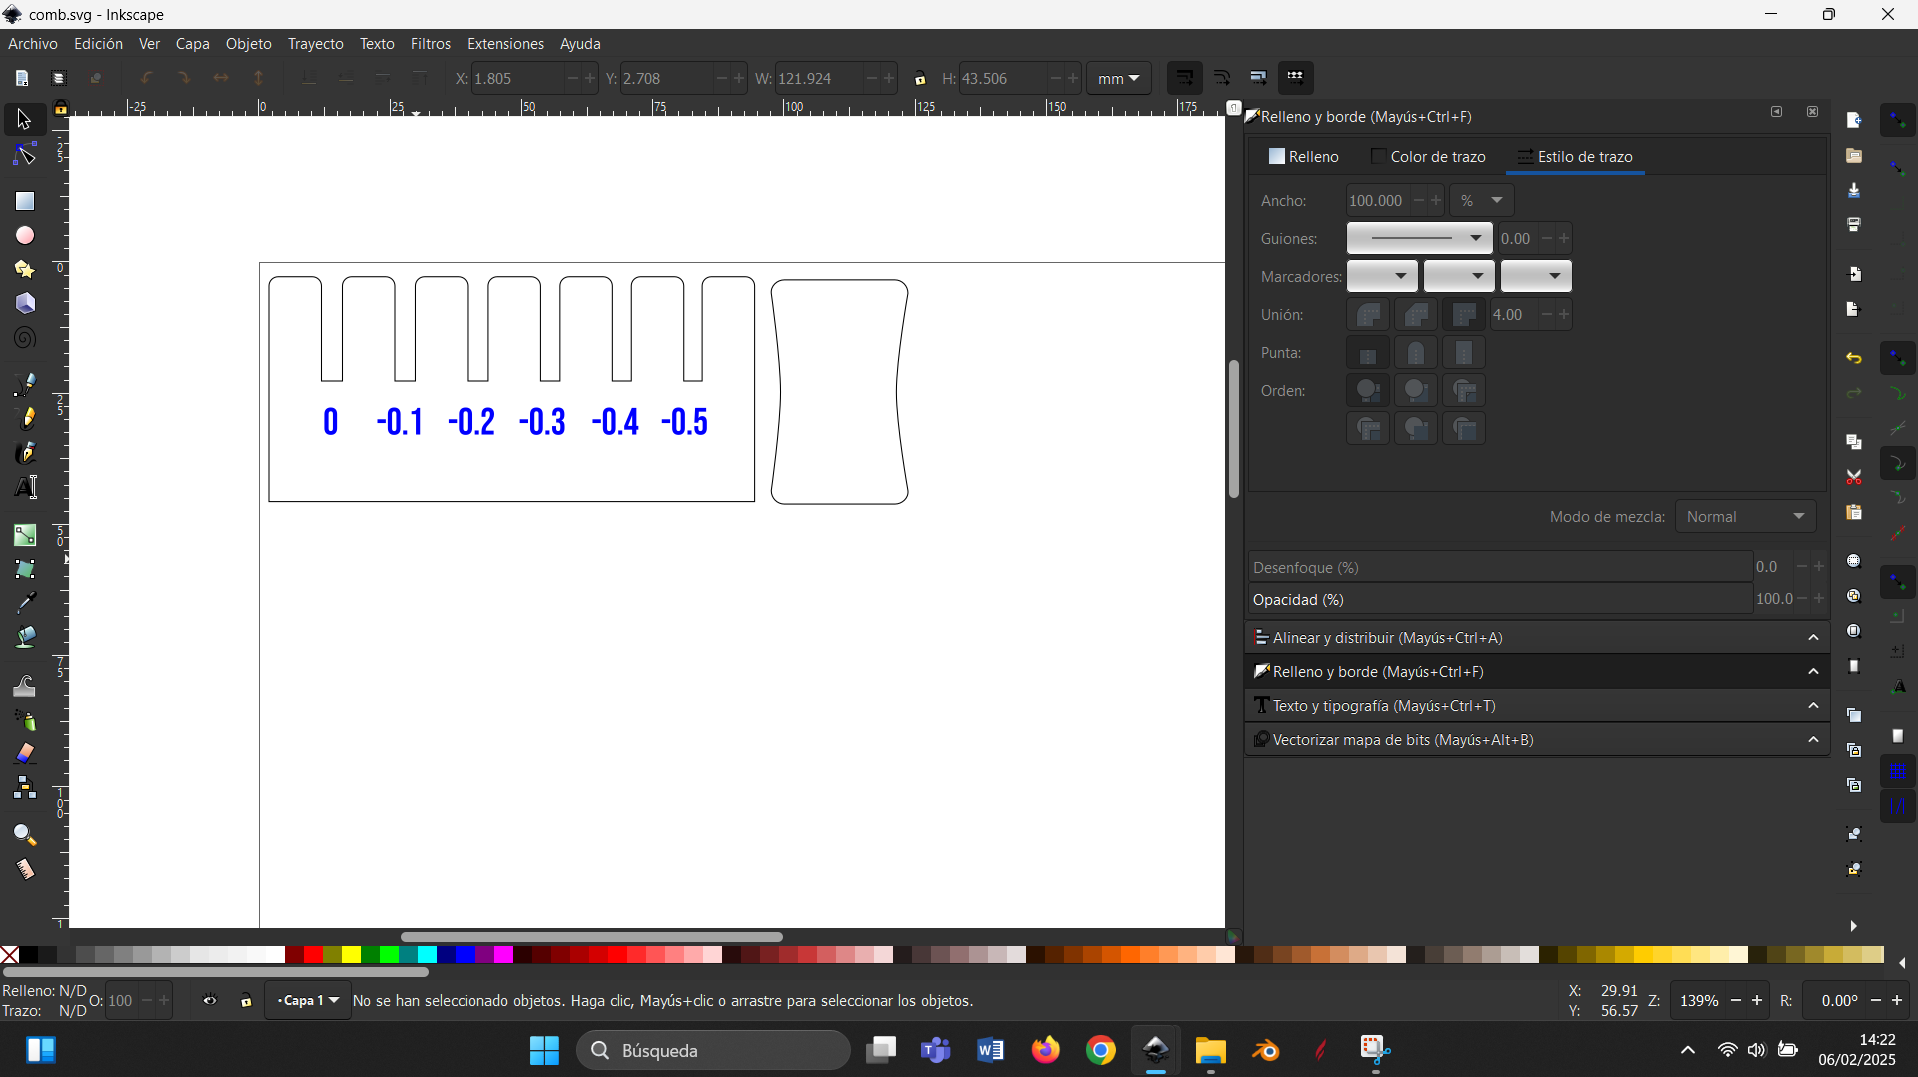
Here colors black and blue represent cutting and engraving respectively.