This week's assignment is to work through a git tutorial and build this personal website.
* I separated 2 assignments of this week in order to avoid talking about too many things in a post. Please go here to see the first part of the assignment.
* The Student Agreement has been signed here.
* The website was built using Jekyll and was managed with Git and GitLab.
* To download the source code of the website, please clone the project here.
Website development
Jekyll
I have some experiences working with static site generators, namely Gatsby and Jekyll. Our instructor Eduardo Chamorro also introduced us to MkDocs, and from what I understand it works in a similar way. Hence, I went ahead with Jekyll.
In short, Jekyll renders texts in Markdown/HTML format using Liquid template. Static sites come out ready for deployment.
- $ gem install bundler jekyll: install Jekyll
- $ jekyll new tue-fab-website: generate a new Jekyll site
- $ cd tue-fab-website
- To avoid repeating myself, the next step was to create layouts and pages/posts (
_assignments) with front matters. Layouts live in the_layoutsfolder, and the convention is to have a base template calleddefault.htmland have other layouts inherit from this, e.g.assignment.html. I used some Ruby codes to loop through assignments, get assignment.variable values (title, thumb, content, etc.), and display them in HTML based on the layout variable. - There are pieces of HTML that are used again and again, e.g. footer or menu stored in the
_includesfolder. - Finally, I had to set a
baseurlin_config.ymlfor configuration. - $ bundle exec jekyll serve: now if I browse http://localhost:4000 in my local machine, I can review my rendered site.
- To review the content of the project as a tree in Terminal, run $ find . -print | sed -e 's;[^/]*/;|____;g;s;____|; |;g'.

A step-by-step tutorial is available here.
Bootstrap, Google Fonts and Font Awesome
I used Bootstrap 4 to customize the styling of the website without writing too many custom CSS. Bootstrap is a CSS framework used to make the responsive web design process (responsive layouts with columns and consistent whitespaces) easier by using classes. To use Bootstrap together with Jekyll, I included this line gem 'bootstrap', '~> 4.0.0' in the Gemfile.
There is also a _sass/custom.css file with some custom CSS. To customize fonts and icons, I used Google Fonts and Font Awesome as CDN links in _layouts/default.html.
IntelliJ IDEA
I often use an IDE called IntelliJ IDEA from Jetbrains. They're not free, but I have a perpetual license until July 2020, since I used IntelliJ as a student before, and got a good discount for all Jetbrains products (they have WebStorm for JavaScript, PyCharm for Python, etc.) for the upcoming years. I heard that institutions can apply for a FREE educational license though.
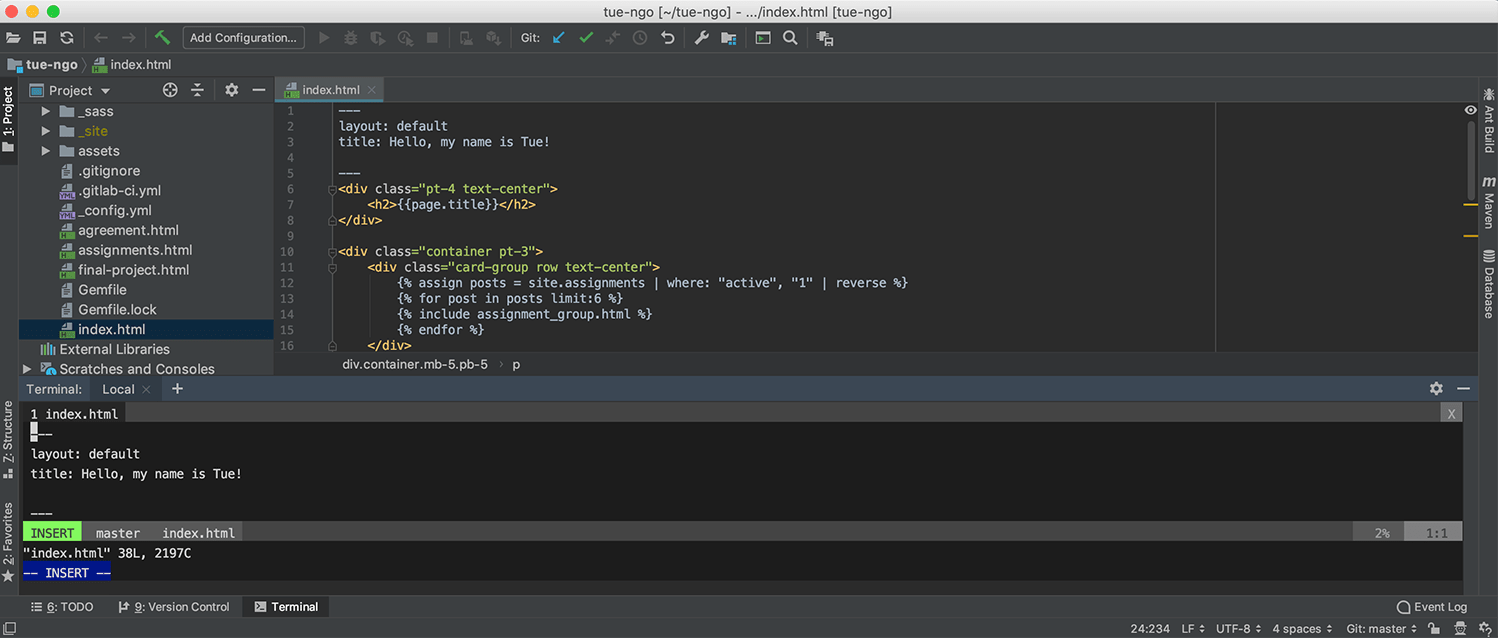
With this IDE, I can easily create files from a template, and they also integrate a Terminal emulator. As the above screenshot, I can run command lines and open vim editor right inside the IDE (which makes no sense at all, but still pretty fun, huh?). But what I love the most are all of the smart code completion, framework assistance, and safe refactoring features.
Git and GitLab
SSH key
Git is a VCS (version control system) that helps us to track versions as well as contributions in projects, and GitLab is a web-based DevOps tool that provides a Git-based repository manager, issue-tracking and CI/CD pipeline features. A good explanation of how Git works can be found here.
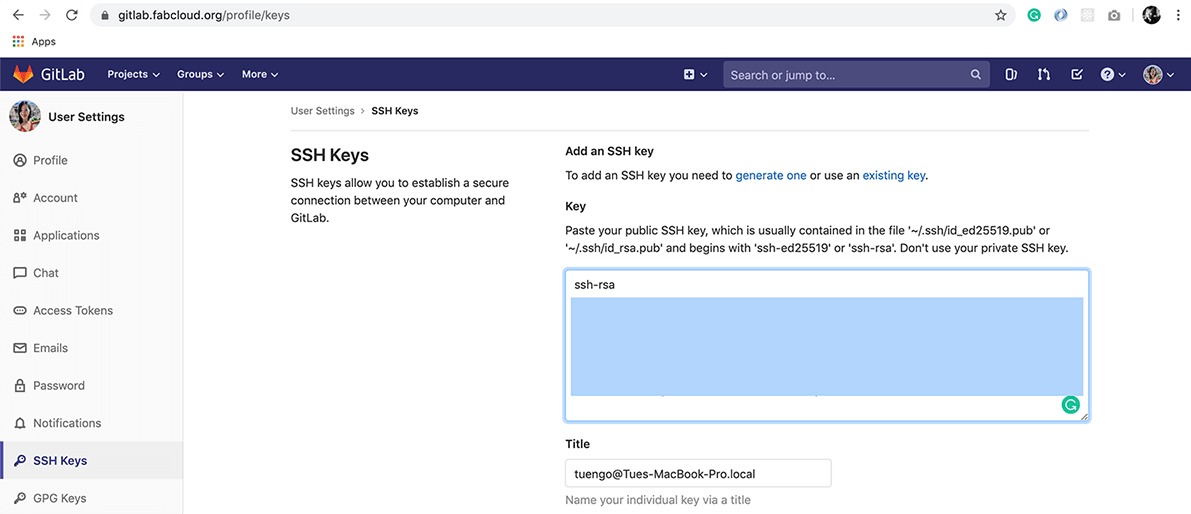
Since I had access to my GitLab repository from the very first class, and before I already generated an SSH key that links to my personal GitLab account, the process became quite simple. All I need to do was to copy the SSH key in the personal GitLab account and paste it into my gitlab.fabcloud.org account as an existing key.

Push changes to GitLab
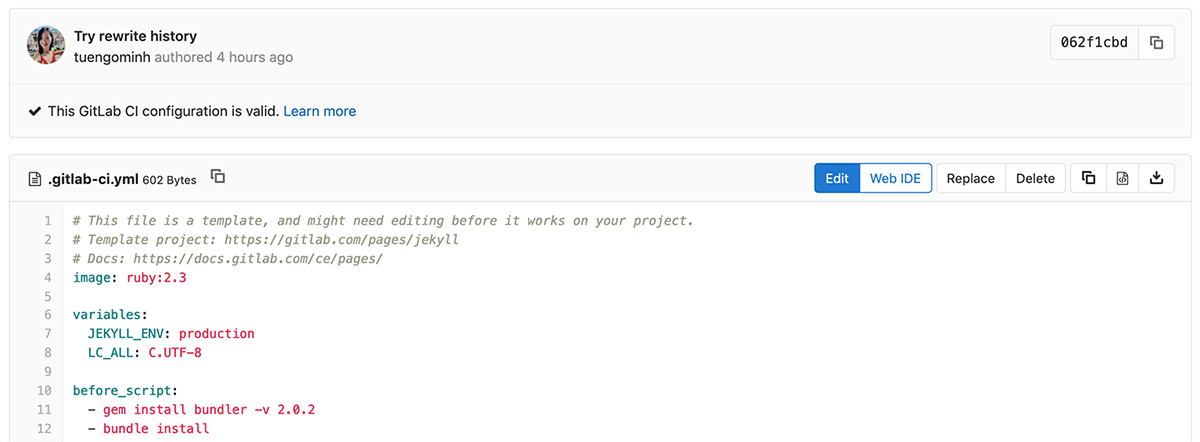
Since I developed my website BEFORE getting access to the repo, I didn't clone the project. Instead, I removed the existing files directly on GitLab, which led to a huge amount of commits. I deleted the current .gitlab-ci.yml which is a GitLab CI/CD pipelines configuration file used for MkDocs sites and created a new one for Jekyll there. The templates are available in the CI/CD Configuration section.
The following command lines are slightly different from the usual add -> commit -> push process:
- $ git init: initialize a local repo
- $ git remote add origin gitlab_URL: connect the GitLab remote branch (conventionally named origin) to my local repo
- $ git pull origin master --allow-unrelated-histories: fetch and merge all files/changes that I didn't have in the master branch of my local repo, i.e. the new
.gitlab-ci.yml - $ git status and $ git add: to see changes and stage them for commit
- $ git commit -m "Messages here": commit changes
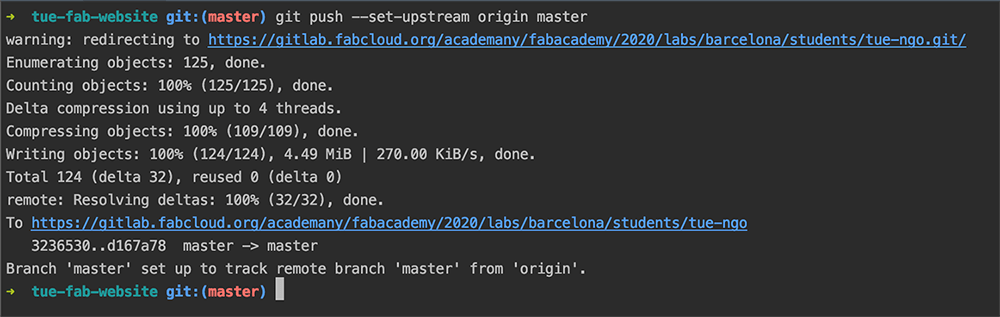
- $ git push --set-upstream origin master: push changes to the GitLab remote repo

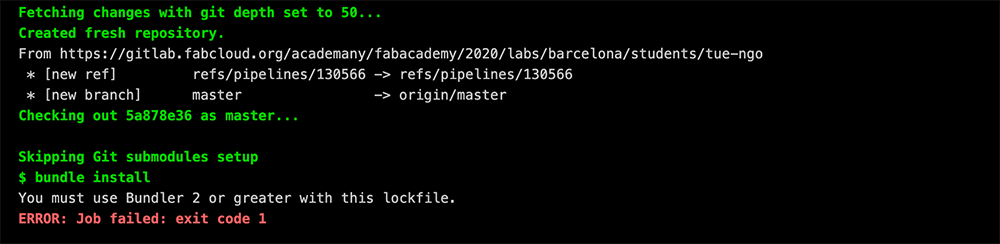
After pushing, I still couldn't deploy my website properly on Fab Academy server. It seemed like the Bundler version required (2.0.2) is greater than the version in my Gemfile.lock (2.0.1 - checked the very last lines).
With the help from our instructor Oscar Gonzalez and Viktor Smari from Fab Lab Barcelona, I solved this by adding this line - gem install bundler -v 2.0.2 right before - bundle install in the .gitlab-ci.yml. This told GitLab to install the exact 2.0.2 version of Bundler before installing the dependencies specified in the Gemfile with $ bundle install. And I had my website deployed successfully!
Managing size of the local and remote repositories
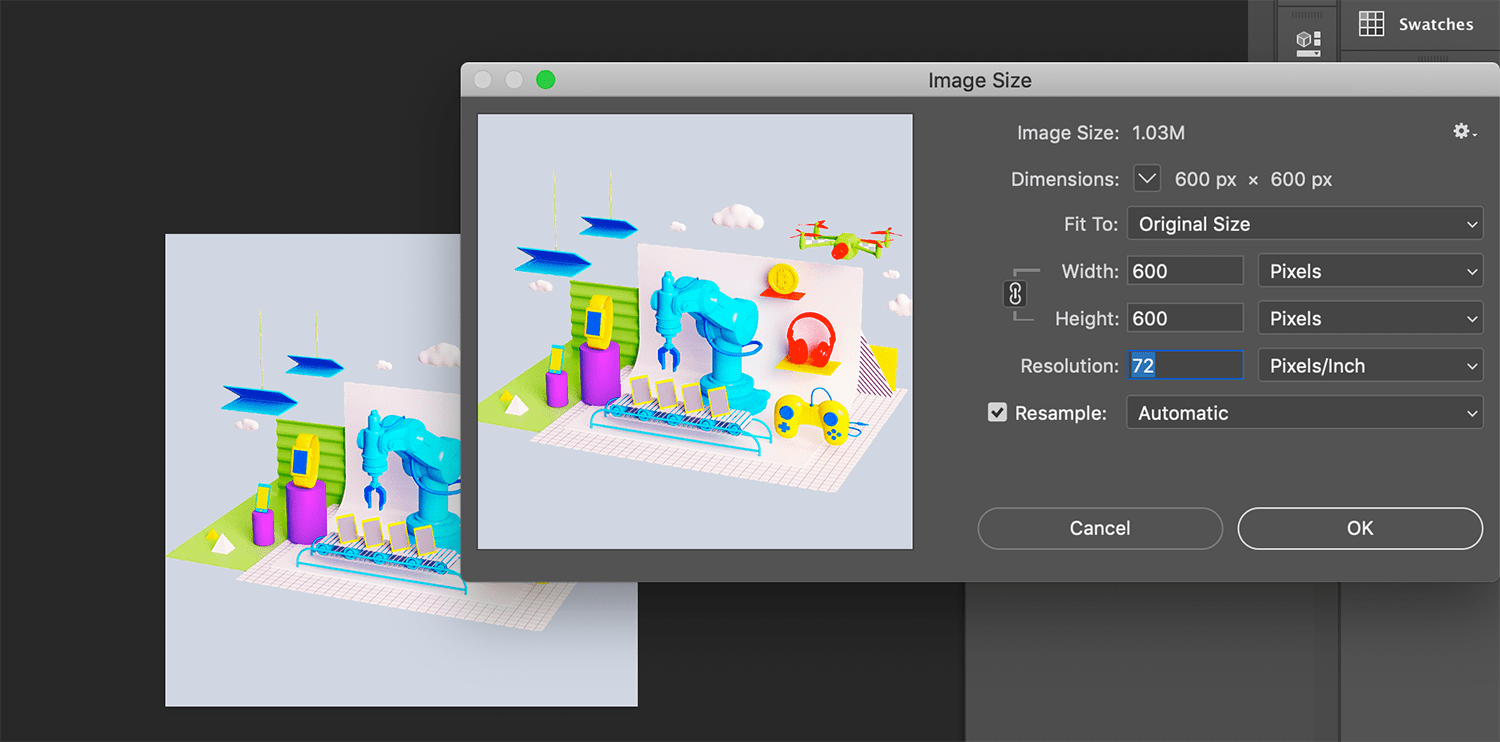
In order to check the size of the local repo, I ran $ du -sh * | sort -n in Terminal. I used Photoshop to resize the images and to make sure the dpi (Resolution) to be 96 or 72. Since I was not really happy with the way my Macbook screams and vibrates everytime I use Photoshop together with IntelliJ IDEA, I'm thinking about using ImageMagick in the future.
However, I forgot one thing that even if I drag-to-delete a giant file after pushing it, the size of the GitLab repo will remain big, since the file is still cached somehow in the history. For example, the actual size of my local repo is ~5MB, but the total size of files in my GitLab repo is ~9MB. I intended to try $ git filter-branch to rewrite the history, but later I figured out from Oscar that we cannot rebase commits and run $ git push -force. So I left it like that.
Updates
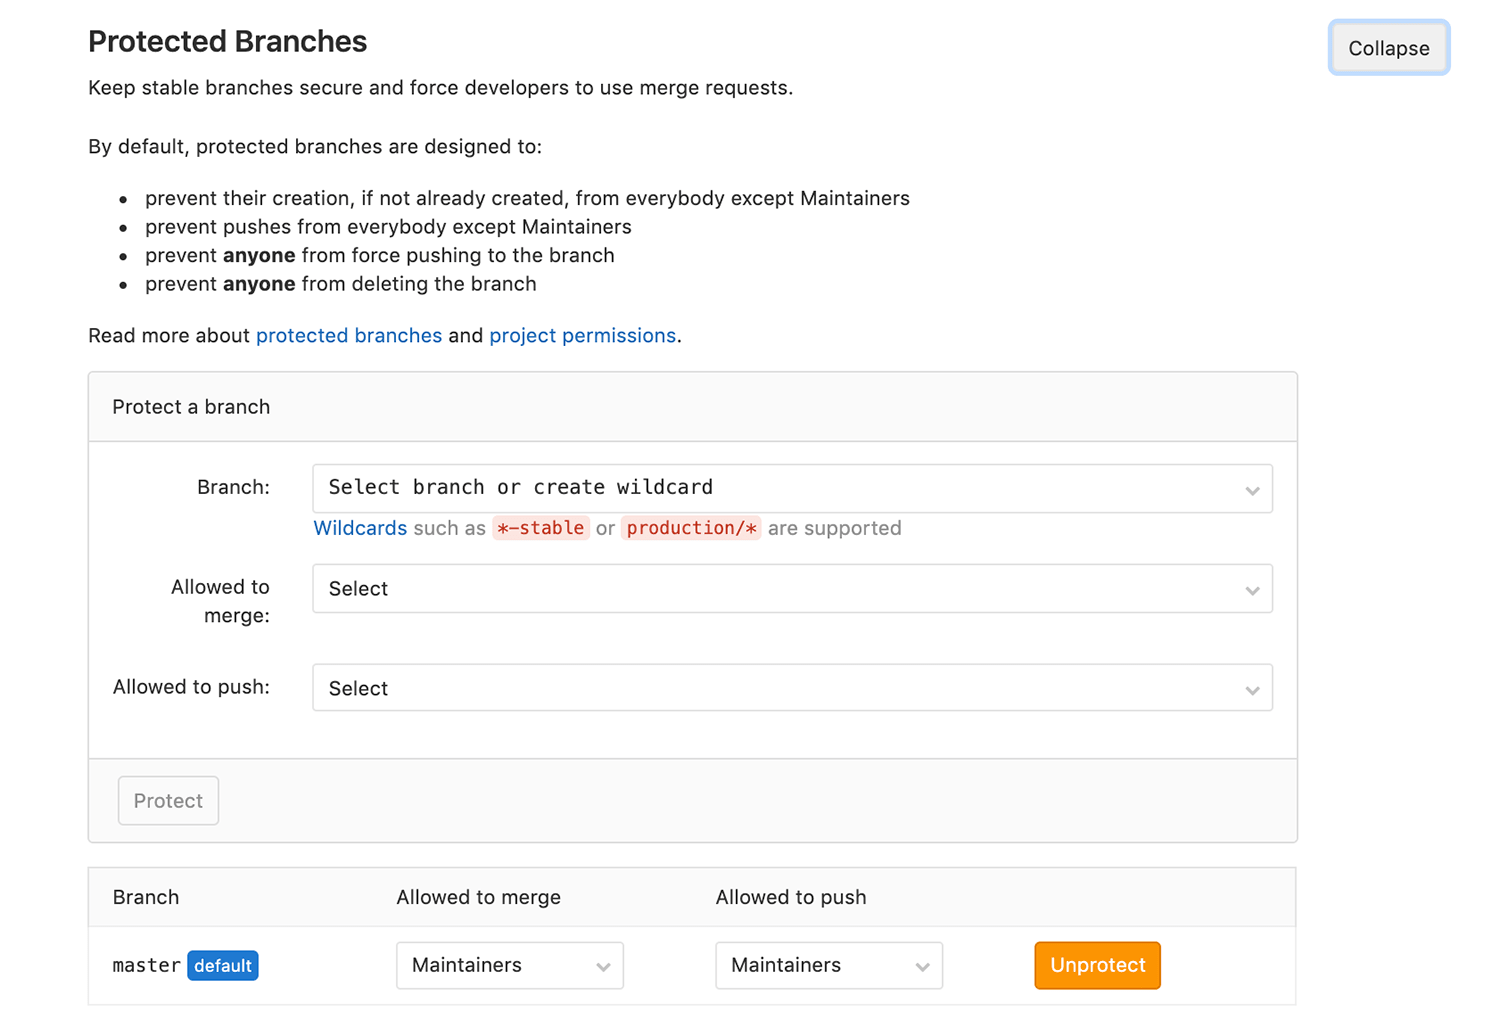
I continued to make mistakes by adding unnecessary large files in the second assignment. This time I was confused about whether I should upload the videos recording the process of modeling my design or not, and I decided to upload compressed ones (~3MB) because compressing videos was mentioned in the assignment. AFTER adding them to git, I found out that I only need to embed Youtube links. To be honest, seeing the size of my repo getting unnecessarily bigger was quite frustrated. That's why I spent a whole day trying to remove the deleted files from the history. I finally found 2 interesting sections in Settings > Repository. The first one is Protected Branches in which I can unprotect my branches in order to remove deleted files from the history, rewrite the history, and run $ git push -force. After asking for permission, I unprotected my master branch.
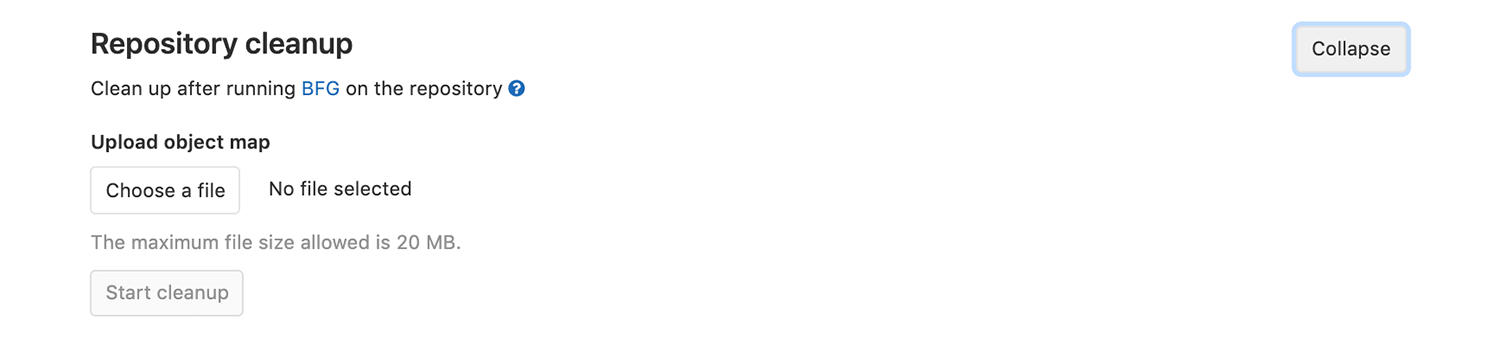
The next thing I took a look at is the Repository Cleanup. First I followed the suggestion by installing BFG and tried to use it to remove files with deleted mode.
- $ git clone --mirror gitlab_URL: clone a bare repo
tue-ngo.gitin my local machine - $ du -sh .: check the size of the bare repo (which was 18MB)
- $ git log --diff-filter=D --summary | grep "delete mode" > deleted_files.txt: create a
deleted_files.txtwhich includes all files in .git history with delete mode - $ bfg --delete-folders "{assets, doc}" tue-ngo.git: delete the folders that need to be removed from the history
- $ git reflog expire --expire=now --all && git gc --prune=now --aggressive: clean up the mess
- $ du -sh . and $ git count-objects: check the size of the bare repo again (which was 4.6MB)
- $ git push --force: force push changes to the GitLab remote repo
However, after I pushed changes to the repo, the size remained the same. I continued to search for solutions, and from what I understood from here and there, it might be a GitLab issue. Anyway, I gave up. I will keep this in mind and will add/remove files properly for the next assignments.
* Good news: In the 5th week, the size of my GitLab repo suddenly shrunk down from ~35MB to ~24MB. I've checked with Viktor Smari whether he changed anything or cleaned the repositories up, and the answer was no. I assumed that after some time, GitLab has performed some recurring clean-up tasks, and my previous efforts have paid off!(?)