Principles and practices / Project management
1. Weekly Brief Summary
This week I learned how to create documents using multiple text editors and develop the web using the git environment.
And I thought about the idea of the final project.
During the local session, I learned about project management from the instructor.
Also I built my own website using multiple text editors.
Student Agreement
2. Weekly Assignment Requirement
Principles and practices
Assignment
- Plan and sketch a potential final project
Learning outcomes
- Communicate an initial project proposal
Have you
- Read the Fab Charter
- Sketched your final project idea/s
- Described what it will do and who will use it
Project management
Assignment
- Build a personal site describing you and your final project.
- Upload it to the class archive.
- Work through a git tutorial.
Learning outcomes
- Explore and use website development tools
- Identify and utilise version control protocols
Have you
- Made a website and described how you did it Introduced yourself
- Documented steps for uploading files to archive
- Pushed to the class archive
- Signed and uploaded Student Agreement
3. Assignment Work Planning
-
Drawing Idea Sketch of Final Project
(a)Ice 3D Printer
(b)Lighting Accessories -
Building Personal Site
(a)Using the Terminal
(b)Using the Text Editor Tools
4. Description of Assignment Work
I pitched two ideas in the Final Project, but in the end I created a glowing accessory. See the links below.
Final Project Page
Final Project Idea
1. Ice 3D Printer
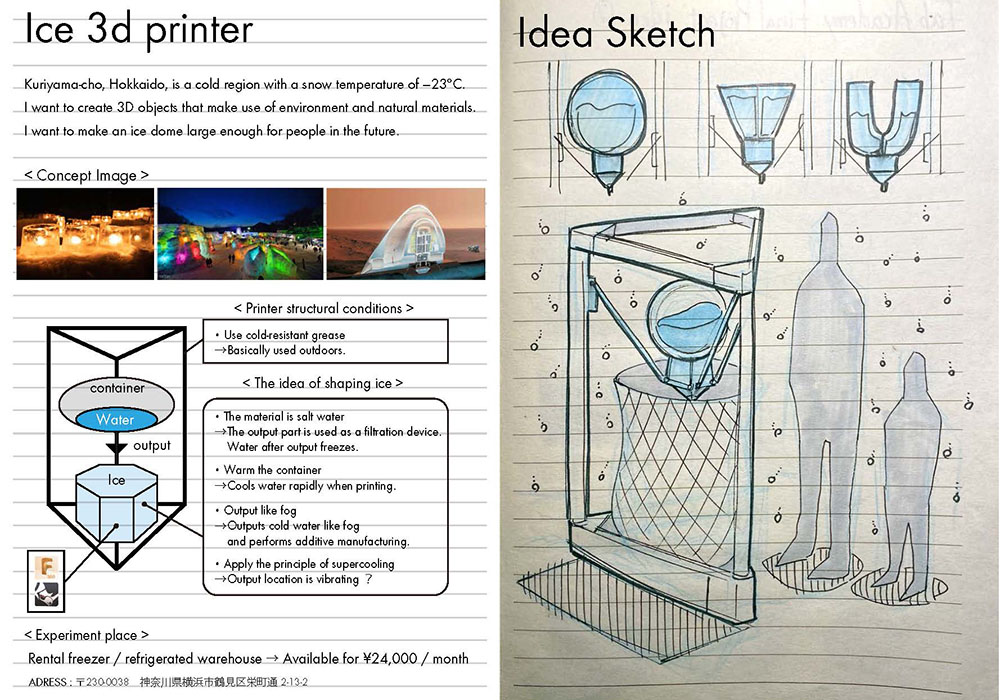
In the final project, I’d like to make a 3D printer that can be used in the winter of Hokkaido where it reaches -23°C.
I would like to use natural and eco-friendly materials such as water for the materials.
However, if the material is water, it is highly likely that it will freeze at the moment it is output.
So, I’m considering the idea of mixing something with water to make it gel-like and output it strong enough to keep its shape even if it doesn’t freeze.
2. Accessories that glow body temperature

I want to make a shiny accessory with a traditional Japanese lighting motif.
The city where FabLab is scheduled to be built will host one of the largest festivals in Hokkaido.
I hope the accessories will be worn by local people participating in the festival.
Also, I want this accessory not only to shine, but also to have functions that change the way it shines depending on the music, place and time zone that flows in the venue.
Create a Git account
Before the local session started, I studied git using an online teaching material called “progate”
※Progates are run in Japanese.
Then I built Git on a terminal and set up an account.
1. Building the Git Environment on Mac
If you want to operate Git in a Mac environment, the terminal is an essential tool.
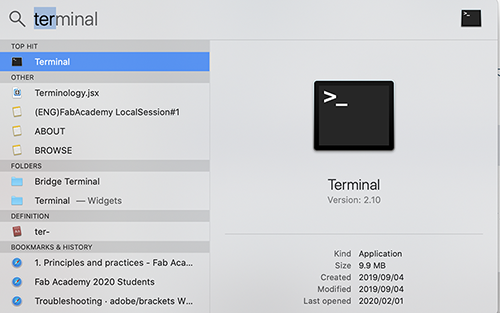
To call a terminal [command] key& [space] keys at the same time to open the window labeled [Spotlight] .

Type [terminal] in the search engine and the terminal appears.
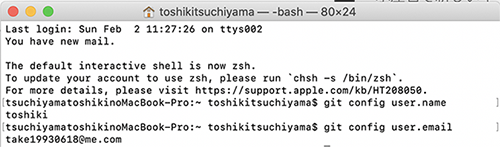
When you open the terminal, it looks like this.
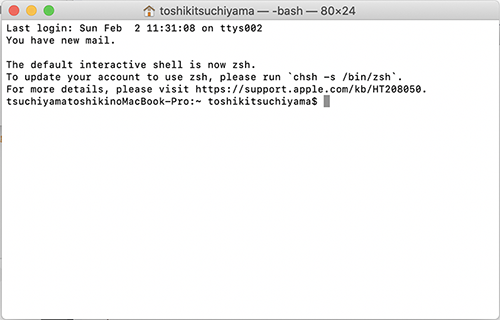
Type [$ git –version]
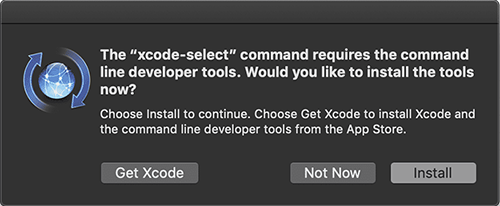
Don’t hesitate [Install] !!!
Register your username and email address! Type [$ git config –global user.name “Name you want to register”]&[$ git config –global user.email “Mail address you want to register”]
Create an SSH Key
1. Check if you have an SSH KEY already
tsuchiyamatoshikinoMacBook-Pro:~ toshikitsuchiyama$ cat ~/.ssh/id_rsa.pub
cat: /Users/toshikitsuchiyama/.ssh/id_rsa.pub: No such file or directory
2. Generate your SSH key
tsuchiyamatoshikinoMacBook-Pro:~ toshikitsuchiyama$ ssh-keygen -t rsa -C "$take19930618@me.com"
Generating public/private rsa key pair.
Enter file in which to save the key (/Users/toshikitsuchiyama/.ssh/id_rsa):
Created directory '/Users/toshikitsuchiyama/.ssh'.
Enter passphrase (empty for no passphrase):
Enter same passphrase again:
Your identification has been saved in /Users/toshikitsuchiyama/.ssh/id_rsa.
Your public key has been saved in /Users/toshikitsuchiyama/.ssh/id_rsa.pub.
The key fingerprint is:
SHA256:gJbS+E9tzi4kRQKrs8IKzoLwq00Dn3T+DxwPVI2xHpQ @me.com
The key's randomart image is:

" public key here "

tsuchiyamatoshikinoMacBook-Pro:~ toshikitsuchiyama$
3. Now let´s see your keygen & Copy your key
tsuchiyamatoshikinoMacBook-Pro:~ toshikitsuchiyama$ cat ~/.ssh/id_rsa.pub
ssh-rsa AAAAB3NzaC1yc2EAAAADAQABAAABAQDU7M13Yj5IMucUzVRUyZrgRNSpQYWfZdA+//CdjC5SmEVE4m+hLEsviEIebuBgbV0vCTZTbHze2KccEPI6bEqvqslrA/vYj3r/xoEXaS00HqfhcD136TFXjfVRqCTyFgt+nt3GZ1bfq0sZjHi77+uHozMSFMhKuiNq6+to+ThkThu1SRC+q/rTUzTZFsYW0srWSDwcTH7AupUWApedmIwMvIUIAGZ2P5Oq1435xwe5vph3ZsPyX3ybA2SfFsuIP4cdcLqgZLXZk0jRfLVseqXxfSKpMgdAIm65zmwBwGV5NwttjeBM/yj16wlXJUCeFvKjqrg8WpCmt4d/6/6fqf4R @me.com
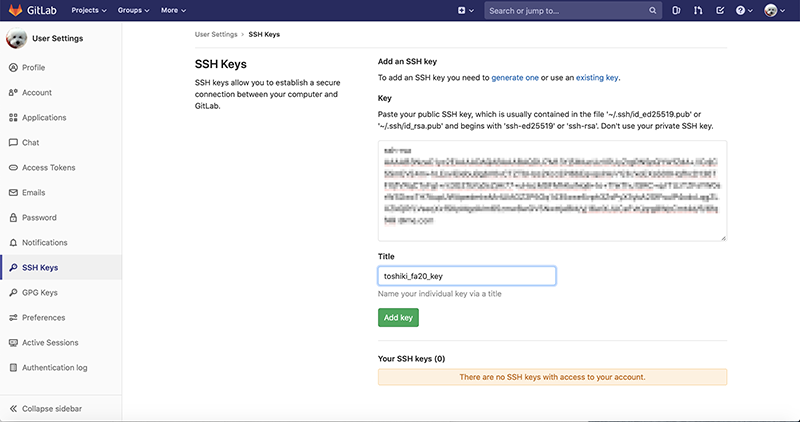
4. Setting
[setting]→[commond+C & V] paste SSH key / Title name → toshiki_fa20_key / Push[Add key] ※Don’t push [Remove]
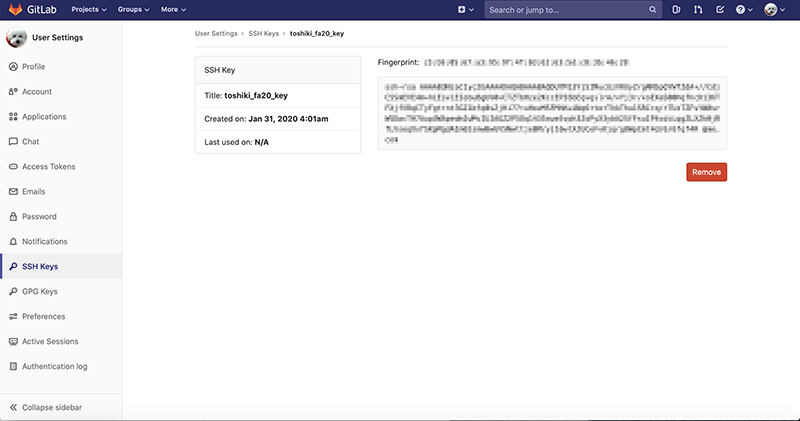
If you update the file in the future, the Fione icon will change to your icon.
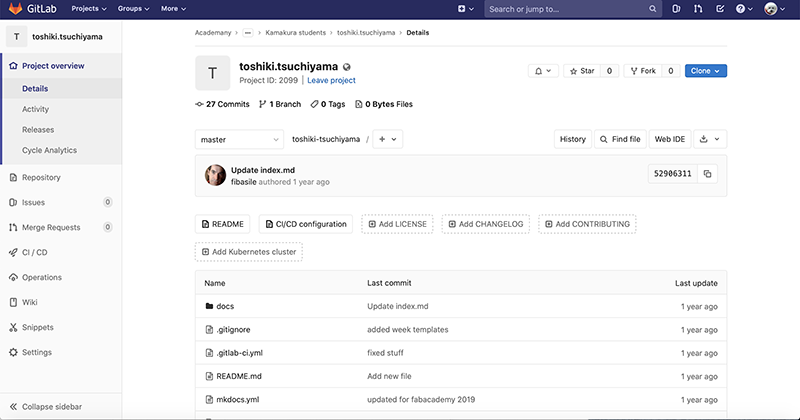
5. COPY YOUR ACADEMY PERSONAL REPO
Finder→Create “fabacademy2020” folder on home(⌘shift H)
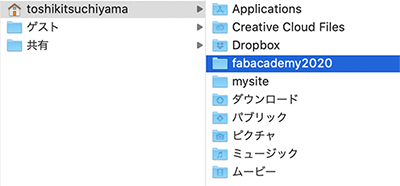
Clone in “fabacademy2020” at the terminal.(Clone your student repository.)
Copy the URL from Clone in the red frame
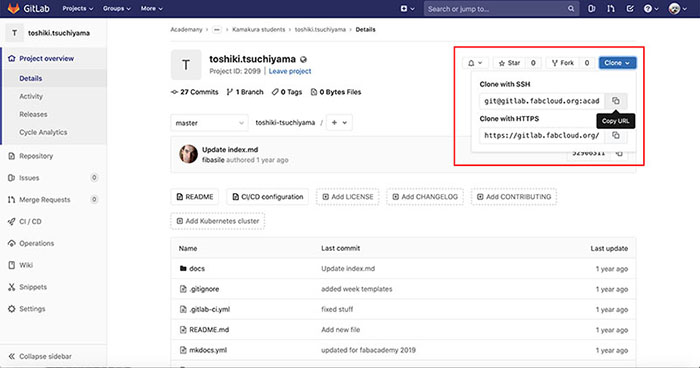
Working at a Terminal [$ git clone Paste the copied URL]
tsuchiyamatoshikinoMacBook-Pro:~ toshikitsuchiyama$ cd fabacademy2020/
tsuchiyamatoshikinoMacBook-Pro:fabacademy2020 toshikitsuchiyama$ git clone git@gitlab.fabcloud.org:academany/fabacademy/2020/labs/kamakura/students/toshiki-tsuchiyama.git
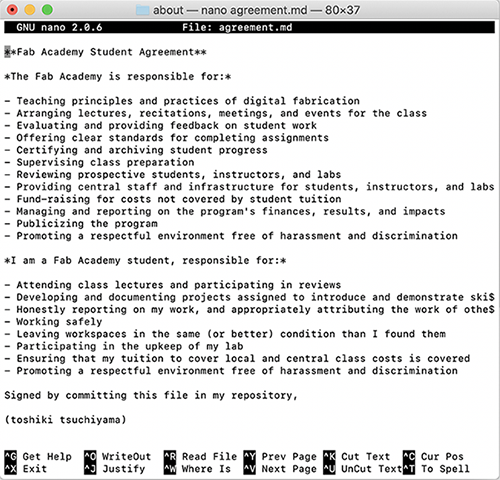
『fabacademy2020』→dock→about→agreement.md Change the contents of the text to the following contents.
**Fab Academy Student Agreement**

*The Fab Academy is responsible for:*

- Teaching principles and practices of digital fabrication
- Arranging lectures, recitations, meetings, and events for the class
- Evaluating and providing feedback on student work
- Offering clear standards for completing assignments
- Certifying and archiving student progress
- Supervising class preparation
- Reviewing prospective students, instructors, and labs
- Providing central staff and infrastructure for students, instructors, and labs
- Fund-raising for costs not covered by student tuition
- Managing and reporting on the program's finances, results, and impacts
- Publicizing the program
- Promoting a respectful environment free of harassment and discrimination

*I am a Fab Academy student, responsible for:*

- Attending class lectures and participating in reviews
- Developing and documenting projects assigned to introduce and demonstrate skills
- Honestly reporting on my work, and appropriately attributing the work of others
- Working safely
- Leaving workspaces in the same (or better) condition than I found them
- Participating in the upkeep of my lab
- Ensuring that my tuition to cover local and central class costs is covered
- Promoting a respectful environment free of harassment and discrimination

Signed by committing this file in my repository,

(your name goes here)
tsuchiyamatoshikinoMacBook-Pro:toshiki-tsuchiyama toshikitsuchiyama$ cd docs/
tsuchiyamatoshikinoMacBook-Pro:docs toshikitsuchiyama$ cd a
about/       assignments/
tsuchiyamatoshikinoMacBook-Pro:docs toshikitsuchiyama$ cd about/
tsuchiyamatoshikinoMacBook-Pro:about toshikitsuchiyama$ ls
agreement.md    index.md
tsuchiyamatoshikinoMacBook-Pro:about toshikitsuchiyama$ nano agreement.md
Push changes to the cloud
1. Push Procedures
(1) git add .
(2) git status(Check→Green=Ready/Red=Unchanged State)
(3) git commit -m “briefly specify the changes”
(4) git push
tsuchiyamatoshikinoMacBook-Pro:about toshikitsuchiyama$ git add .
tsuchiyamatoshikinoMacBook-Pro:about toshikitsuchiyama$ git status
On branch master
Your branch is up to date with 'origin/master'.

Changes to be committed:
  (use "git reset HEAD <file>..." to unstage)

    modified:   agreement.md

Untracked files:
  (use "git add <file>..." to include in what will be committed)

    ../../student_agreement.text

tsuchiyamatoshikinoMacBook-Pro:about toshikitsuchiyama$ git commit -m "add agreement"
[master ccf9b79] add agreement
 1 file changed, 31 insertions(+), 5 deletions(-)
 rewrite docs/about/agreement.md (97%)
tsuchiyamatoshikinoMacBook-Pro:about toshikitsuchiyama$ git push
Enumerating objects: 9, done.
Counting objects: 100% (9/9), done.
Delta compression using up to 4 threads
Compressing objects: 100% (5/5), done.
Writing objects: 100% (5/5), 1.03 KiB | 1.03 MiB/s, done.
Total 5 (delta 2), reused 0 (delta 0)
To gitlab.fabcloud.org:academany/fabacademy/2020/labs/kamakura/students/toshiki-tsuchiyama.git
   5290631..ccf9b79  master -> master
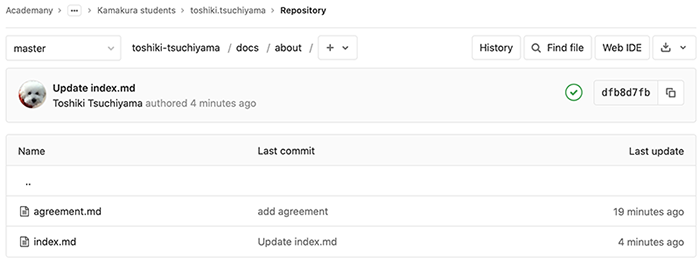
2. Pull locally what has been changed on the cloud.
change [index.md] online→Edit from “edit”
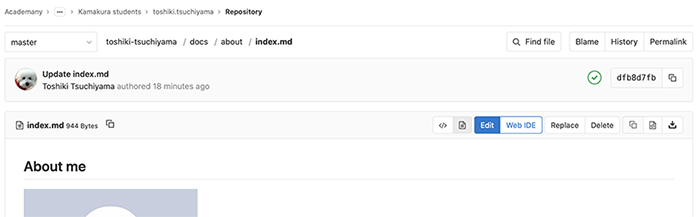
3. Try changing only the name.

4. Git pull the changed [index.md] on the cloud.
tsuchiyamatoshikinoMacBook-Pro:about toshikitsuchiyama$ git pull

Enumerating objects: 9, done.
Counting objects: 100% (9/9), done.
Compressing objects: 100% (5/5), done.
remote: Total 5 (delta 3), reused 0 (delta 0)
Unpacking objects: 100% (5/5), done.
From gitlab.fabcloud.org:academany/fabacademy/2020/labs/kamakura/students/toshiki-tsuchiyama
   ccf9b79..dfb8d7f  master     -> origin/master
Updating ccf9b79..dfb8d7f
Fast-forward
 docs/about/index.md | 2 +-
 1 file changed, 1 insertion(+), 1 deletion(-)
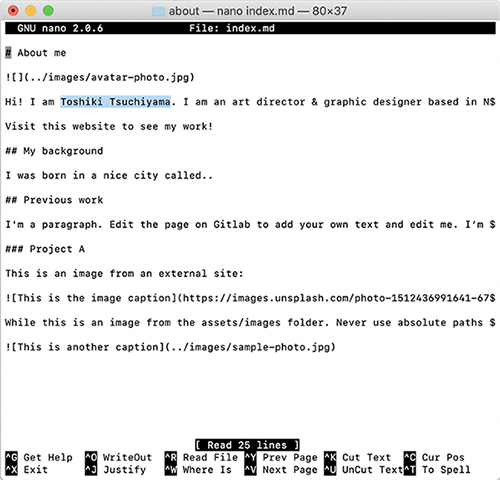
5. Check with [nano]
I was able to confirm that the index file on the cloud has been changed from nano → [index.md].
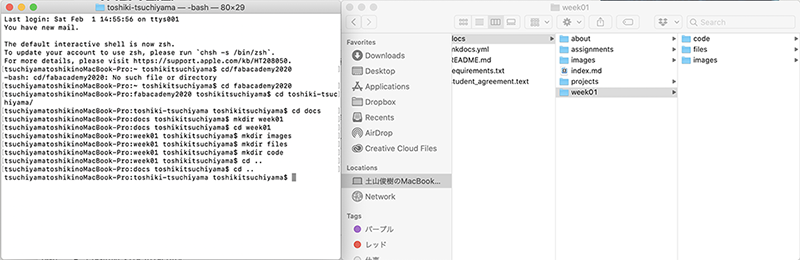
Creating Directories(Folders) Using a Terminal
1. Directories(Folder) Management Images
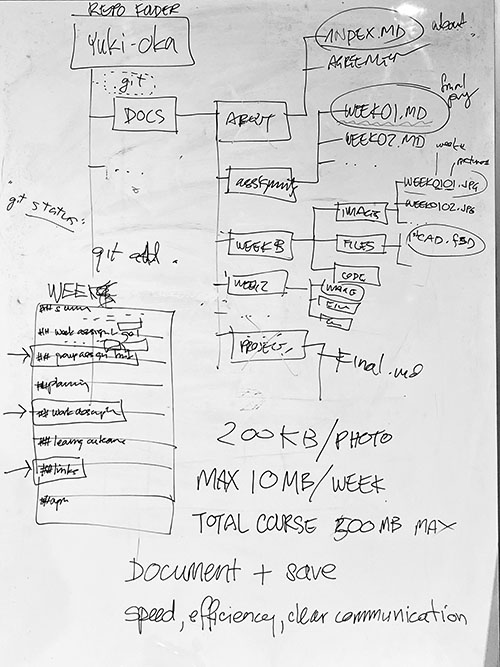
This is the recommended folder management image for the instructor. Create each directory(folder) [images] [files] [code] on a weekly basis. Enter [$ mkdir XXXX] for directory(folder) creation.
OK !
Type [$ cp -r week01 week02] when copying the directory(folder).
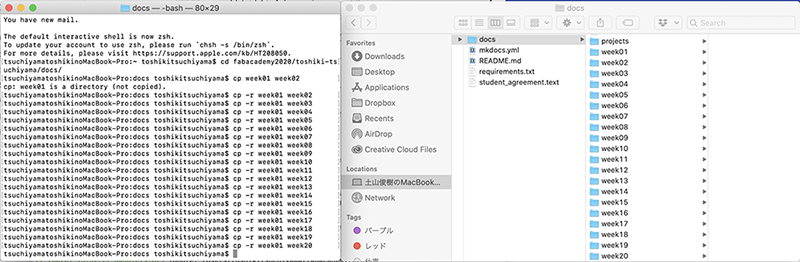
It’s working!
Let’s do About Me now!
Edit [About Me]
1. Viewing Local Pages
How do I make appear on the local page?
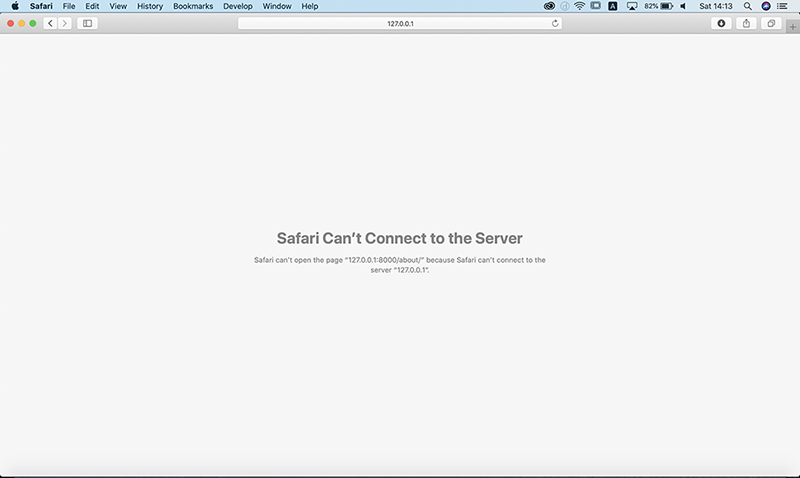
This is because if you were not able to build the MKDocs environment on the terminal.
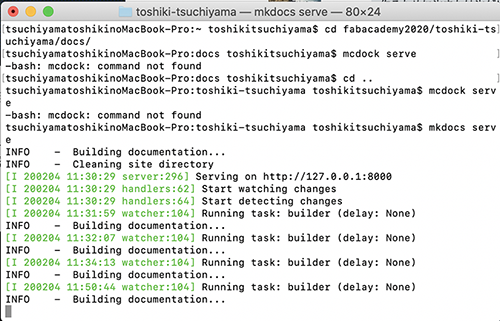
Open [fabacademy2020]→[Toshiki Tsushiyama]→Mkdocs at the terminal
tsuchiyamatoshikinoMacBook-Pro:~ toshikitsuchiyama$ mkdocs serve
INFO    -  Building documentation...

Config file '/Users/toshikitsuchiyama/mkdocs.yml' does not exist.
tsuchiyamatoshikinoMacBook-Pro:~ toshikitsuchiyama$ ls
Applications
Creative Cloud Files
Desktop
Documents
Downloads
Dropbox
Library
Movies
Music
Pictures
Public
fabacademy2020
mysite
take19930618@me.com Creative Cloud Files
tsuchiyamatoshikinoMacBook-Pro:~ toshikitsuchiyama$ cd fabacademy2020/
tsuchiyamatoshikinoMacBook-Pro:fabacademy2020 toshikitsuchiyama$ ls
toshiki-tsuchiyama
tsuchiyamatoshikinoMacBook-Pro:fabacademy2020 toshikitsuchiyama$ cd toshiki-tsuchiyama/
tsuchiyamatoshikinoMacBook-Pro:toshiki-tsuchiyama toshikitsuchiyama$ ls
README.md       mkdocs.yml      student_agreement.text
docs            requirements.txt
tsuchiyamatoshikinoMacBook-Pro:toshiki-tsuchiyama toshikitsuchiyama$ mkdocs serve
INFO    -  Building documentation...
INFO    -  Cleaning site directory
[I 200201 14:15:41 server:296] Serving on http://127.0.0.1:8000
[I 200201 14:15:41 handlers:62] Start watching changes
[I 200201 14:15:41 handlers:64] Start detecting changes
[I 200201 14:15:51 handlers:135] Browser Connected: http://127.0.0.1:8000/about/
}
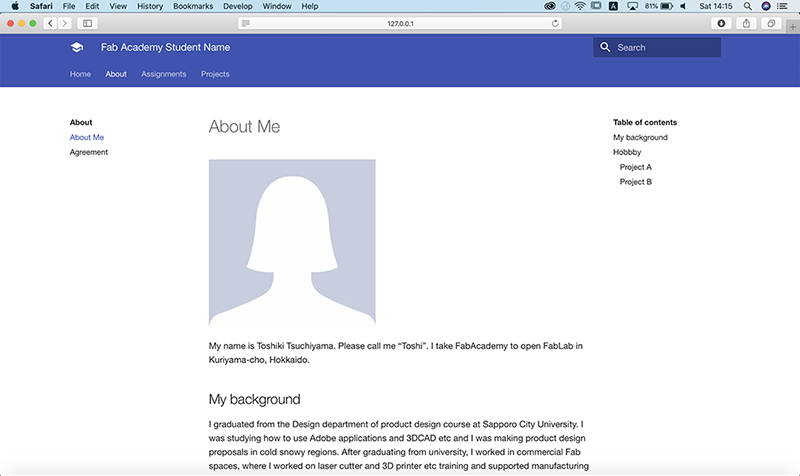
OK!
Let’s get started!
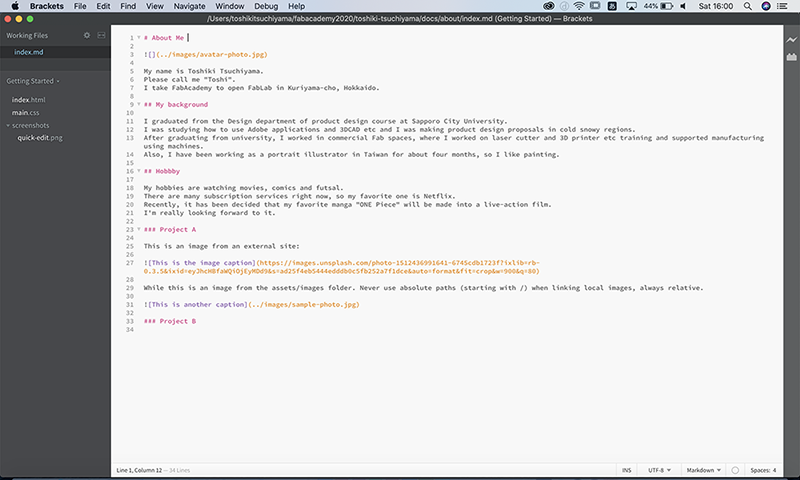
Brackets
1. Download
The first text editor I’m going to try is “Brackets”.
Since it’s a text editor that Adobe release, I decided to try it first.
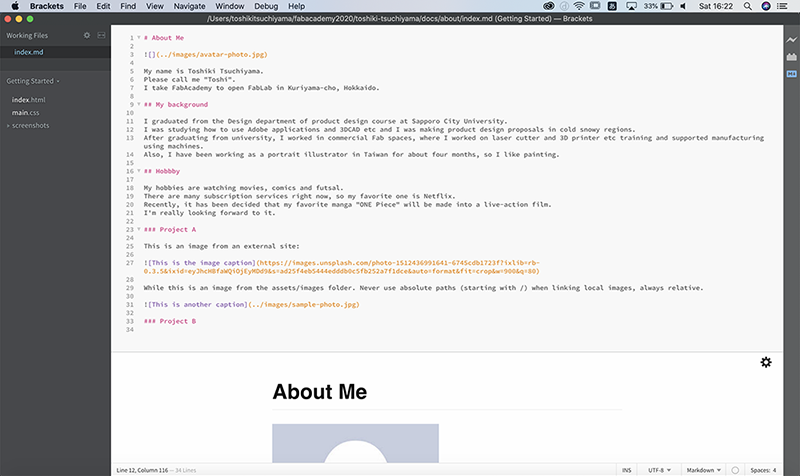
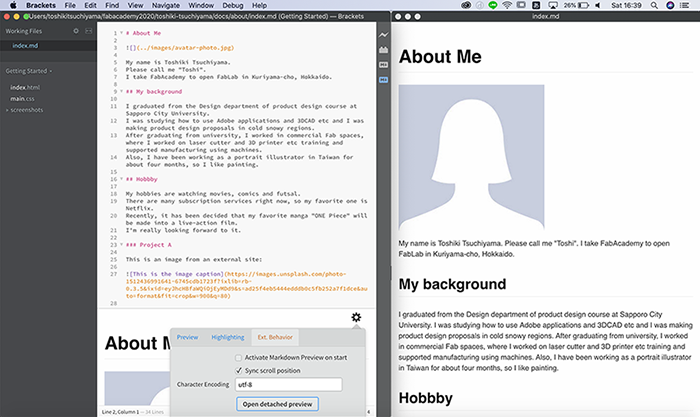
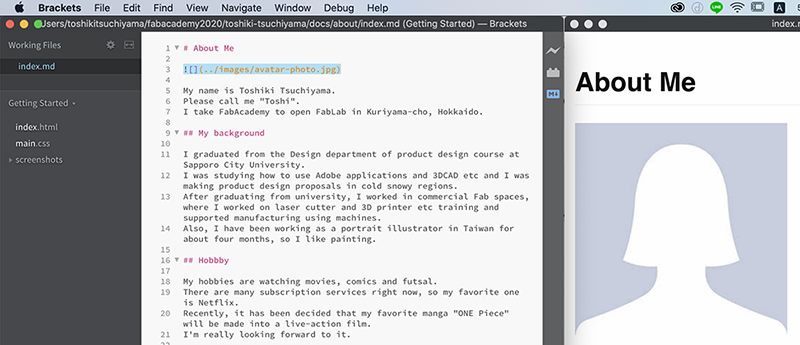
The editing screen looks like this.
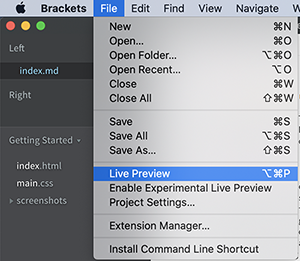
2. Viewing the Preview Screen
[File]→[Live Preview]
?????
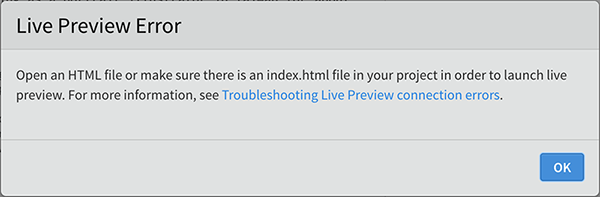
Apparently, in its initial state, you don’t see a live preview of Markdown.
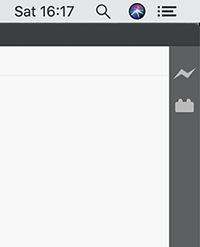
So the extended function is installed from the command on the right side of the screen.
When I search for “Markdown”, a lot of them came out!
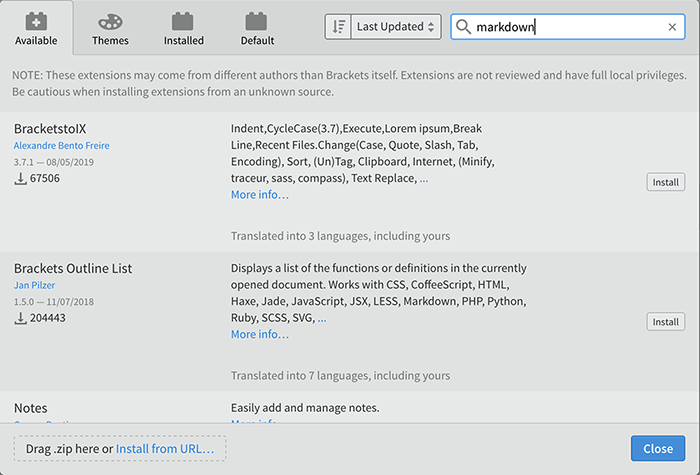
You should download the most installed package.

3. Restart Brackets & Verifying Functionality
New icon is added to the right!
When I pressed it, the preview screen was displayed!
….But it’s hard to see.
I want to split it vertically.
I tried to press the gear mark.
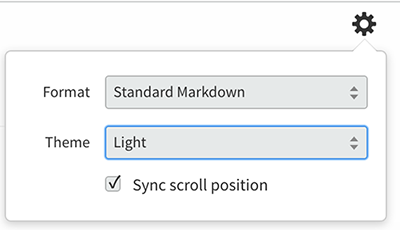
….Well
In the preview, left and right divided display settings cannot be set.
Try installing other advanced features.

I think I can set this up in many ways!
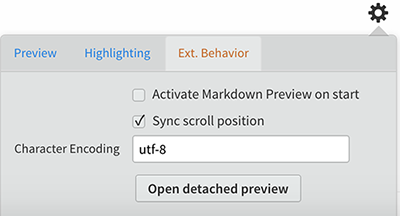
If you use [Open detected preview] in [Ext. Behavior], you can use 2 screens!
Two screens are ready!
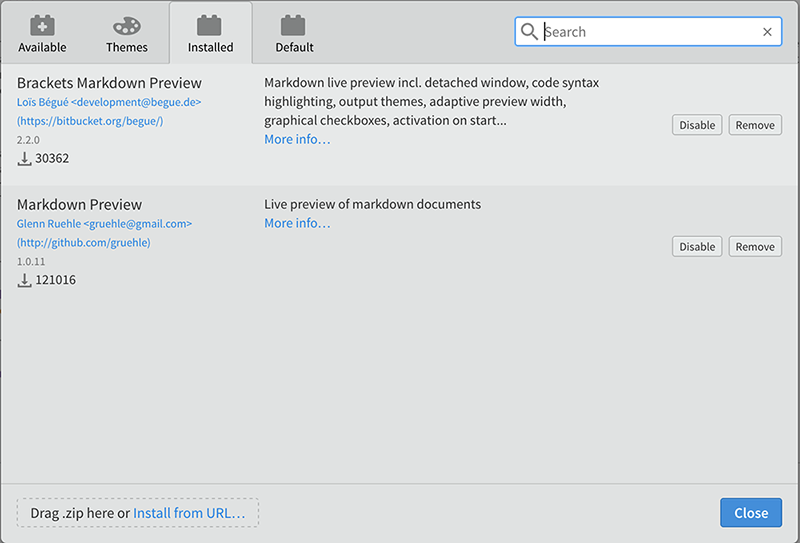
4. How to Remove Installed Extensions
The installed extensions are displayed in the [Installed] tab.
Turn off the ones you don’t want on the [Remove] tab
(as you can be certain).

OK, it’s gone! It’s clean!
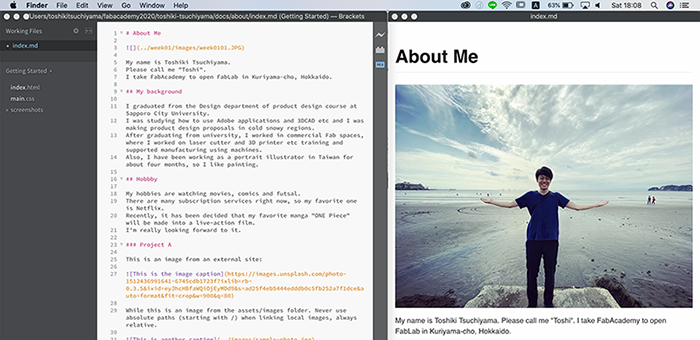
5. Edit Profile Photos
This photo was taken at Zaimokuza Beach in Kamakura.
I really like it, so I’m thinking about making a profile picture.
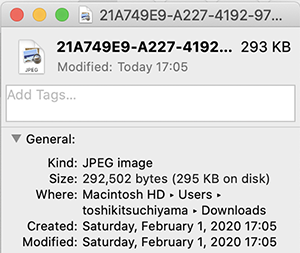
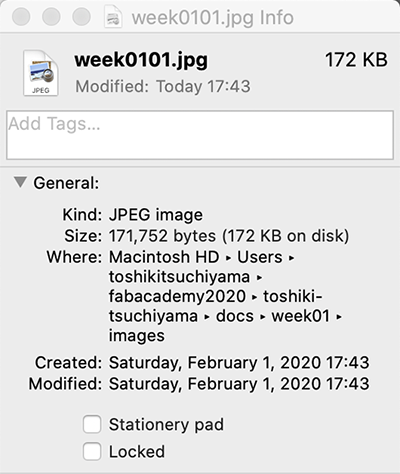
As a problem with Fab Academy, I’m thinking about setting the size of the image to be uploaded to 200KB per page.

At present, the size of the image is [295KB], so I’ll lower it by [95KB].
6. Edit the size using PhotoShop.
Open an image in Photoshop
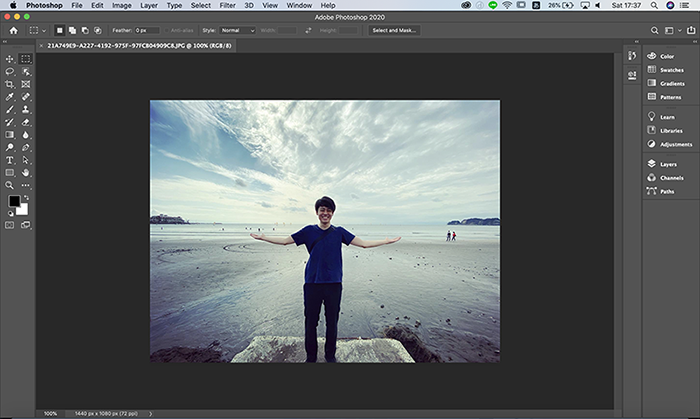
Edit the image size on [image Size].
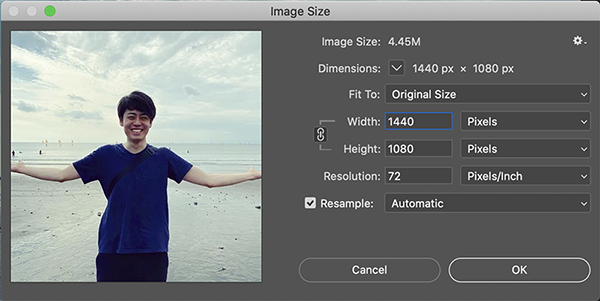
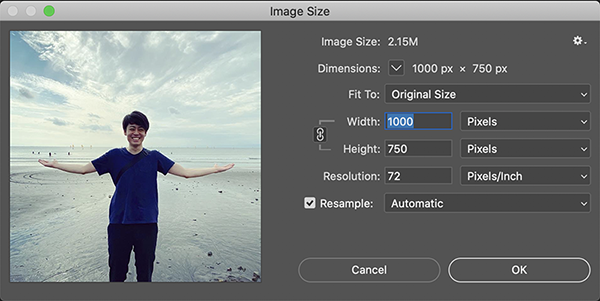
OK! Let’s check the image size.
7. Edit the size using Preview.
Preview is an image editing application installed on the mac.
Next time, try changing the file size with Preview.
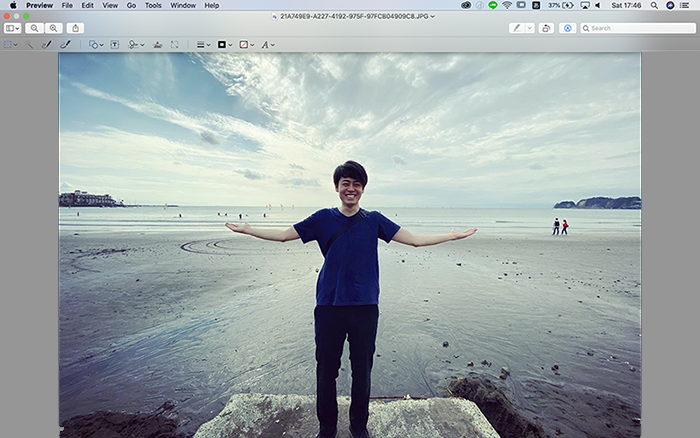
[tool]→[Adjust Size]→Change the image size.
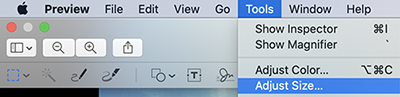
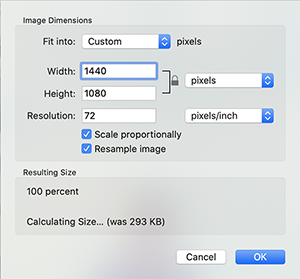
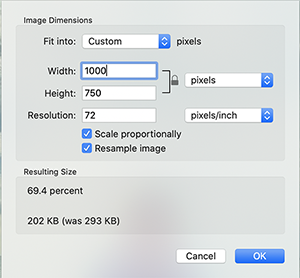
It might be convenient to see [Resulting Size] in real time!
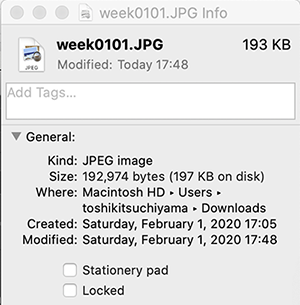
Save and check file space!
8. Image replacement
Let’s go back to [Branckets] and replace the images.
Attempted to rename the image folder.
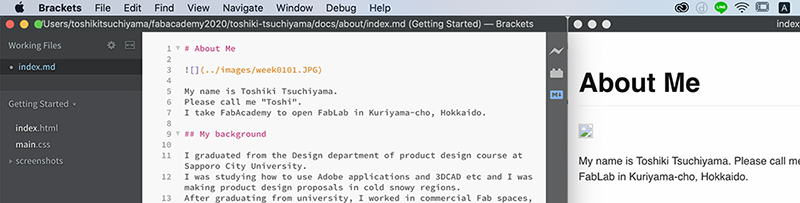
The image has disappeared.
Oops! The location of the image folder was wrong.
OK!OK!
I changed pictures like this.
Edit Documentation
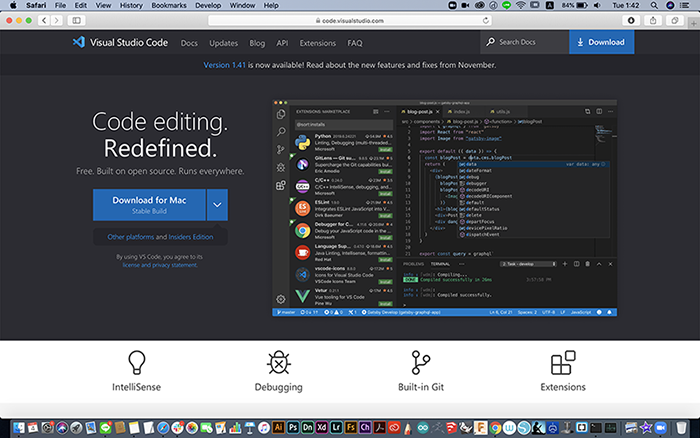
1. Download Visual Studio Code
I have corrected [Home] pointed out in the Asia Recitation Review.
Now that I’m finished editing [About Me], I’m going to move on to work on week01 documentation!
The text editor I used this time is Visual Studio Code.
But....
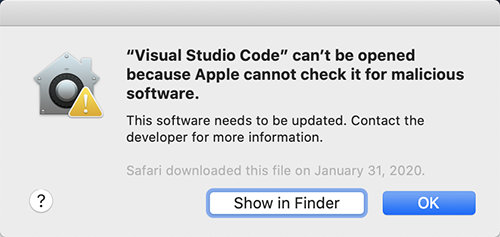
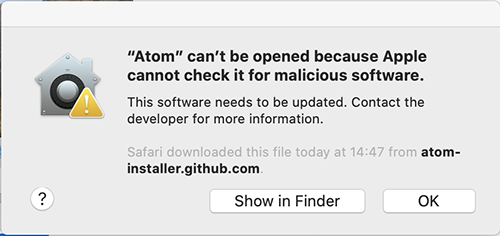
From macOS Sierra, the security feature of the Mac, GateKeper, required confirmation, and the application created by unknown developers (i.e., developers without developer IDs) was no longer open.
This is not necessarily a problem with the application, as it appears across all applications that are not distributed in the Mac App Store.
To disable the security settings for this application only and leave it open, perform the following steps.
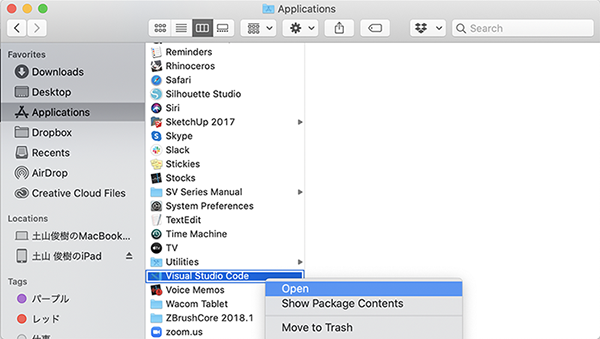
- Click show infinder.
- Drag and drop the [vscode] in the [Application]
- Press and hold the Control key, click the application icon, and select Open from the shortcut menu.
- The warning appears again, but click open.
※Please do not use Launchpad.
You cannot access shortcut menus in Launchpad
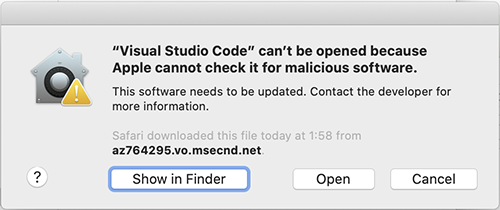
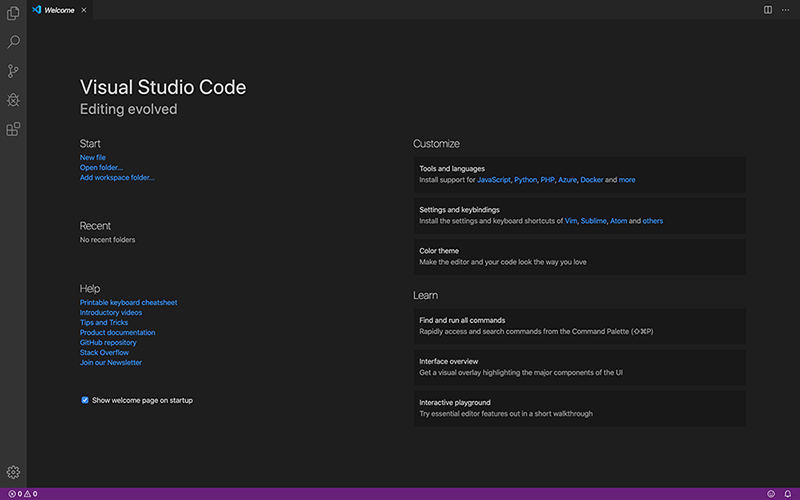
I can open!
2. Open File
[open]→[assignment]→[week01]
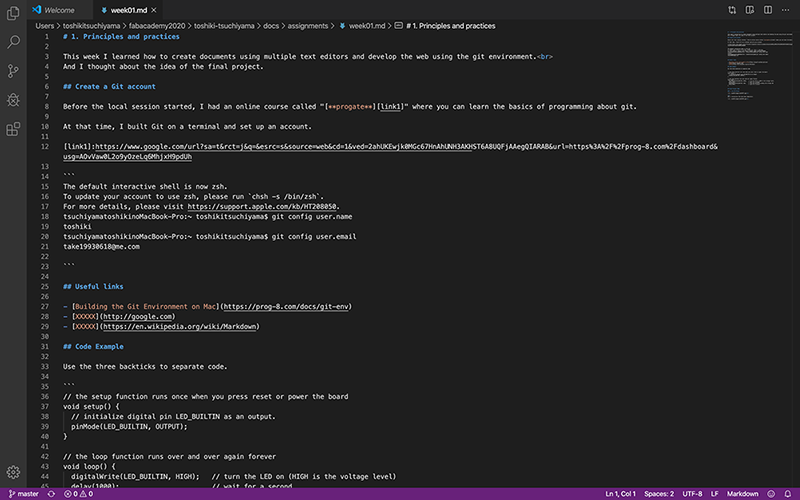
The editing screen looks like this.
3. Viewing the Preview Screen
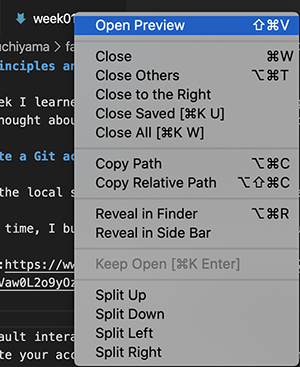
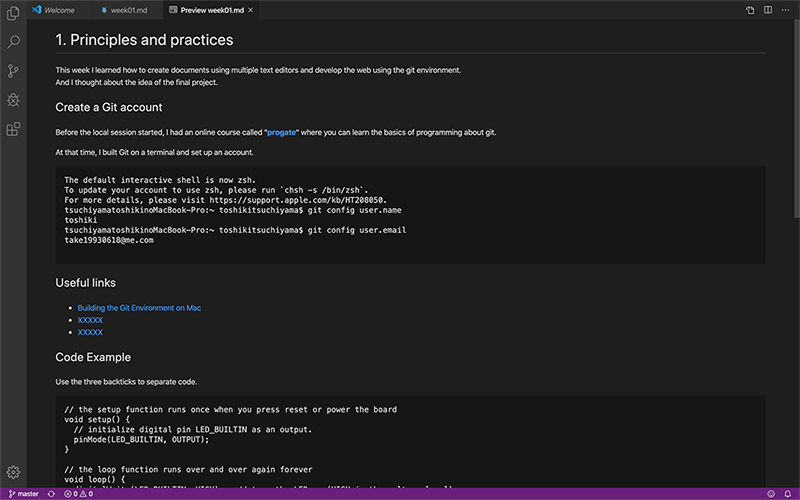
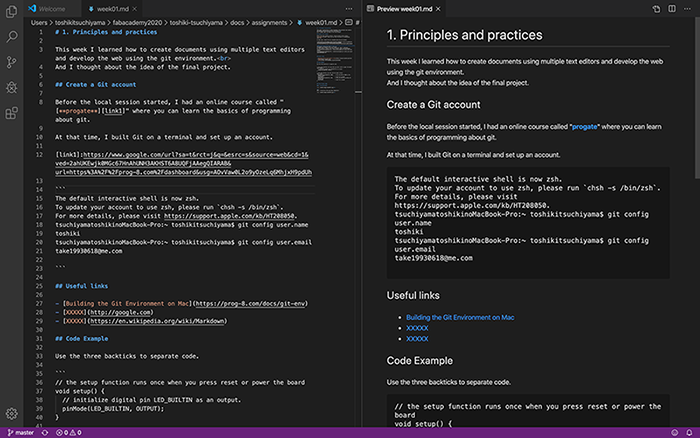
Visual Studio Code can display the preview screen more easily than Brackets, and it is quite easy to download the extension function later.
However, the preview may not be displayed depending on how the data to be edited is opened.
That’s when you open only the data you want to edit in VScode.
At this time, the image is not displayed on the preview screen.
If you want to view the image in the preview screen, you need to open the entire folder that contains the image file.
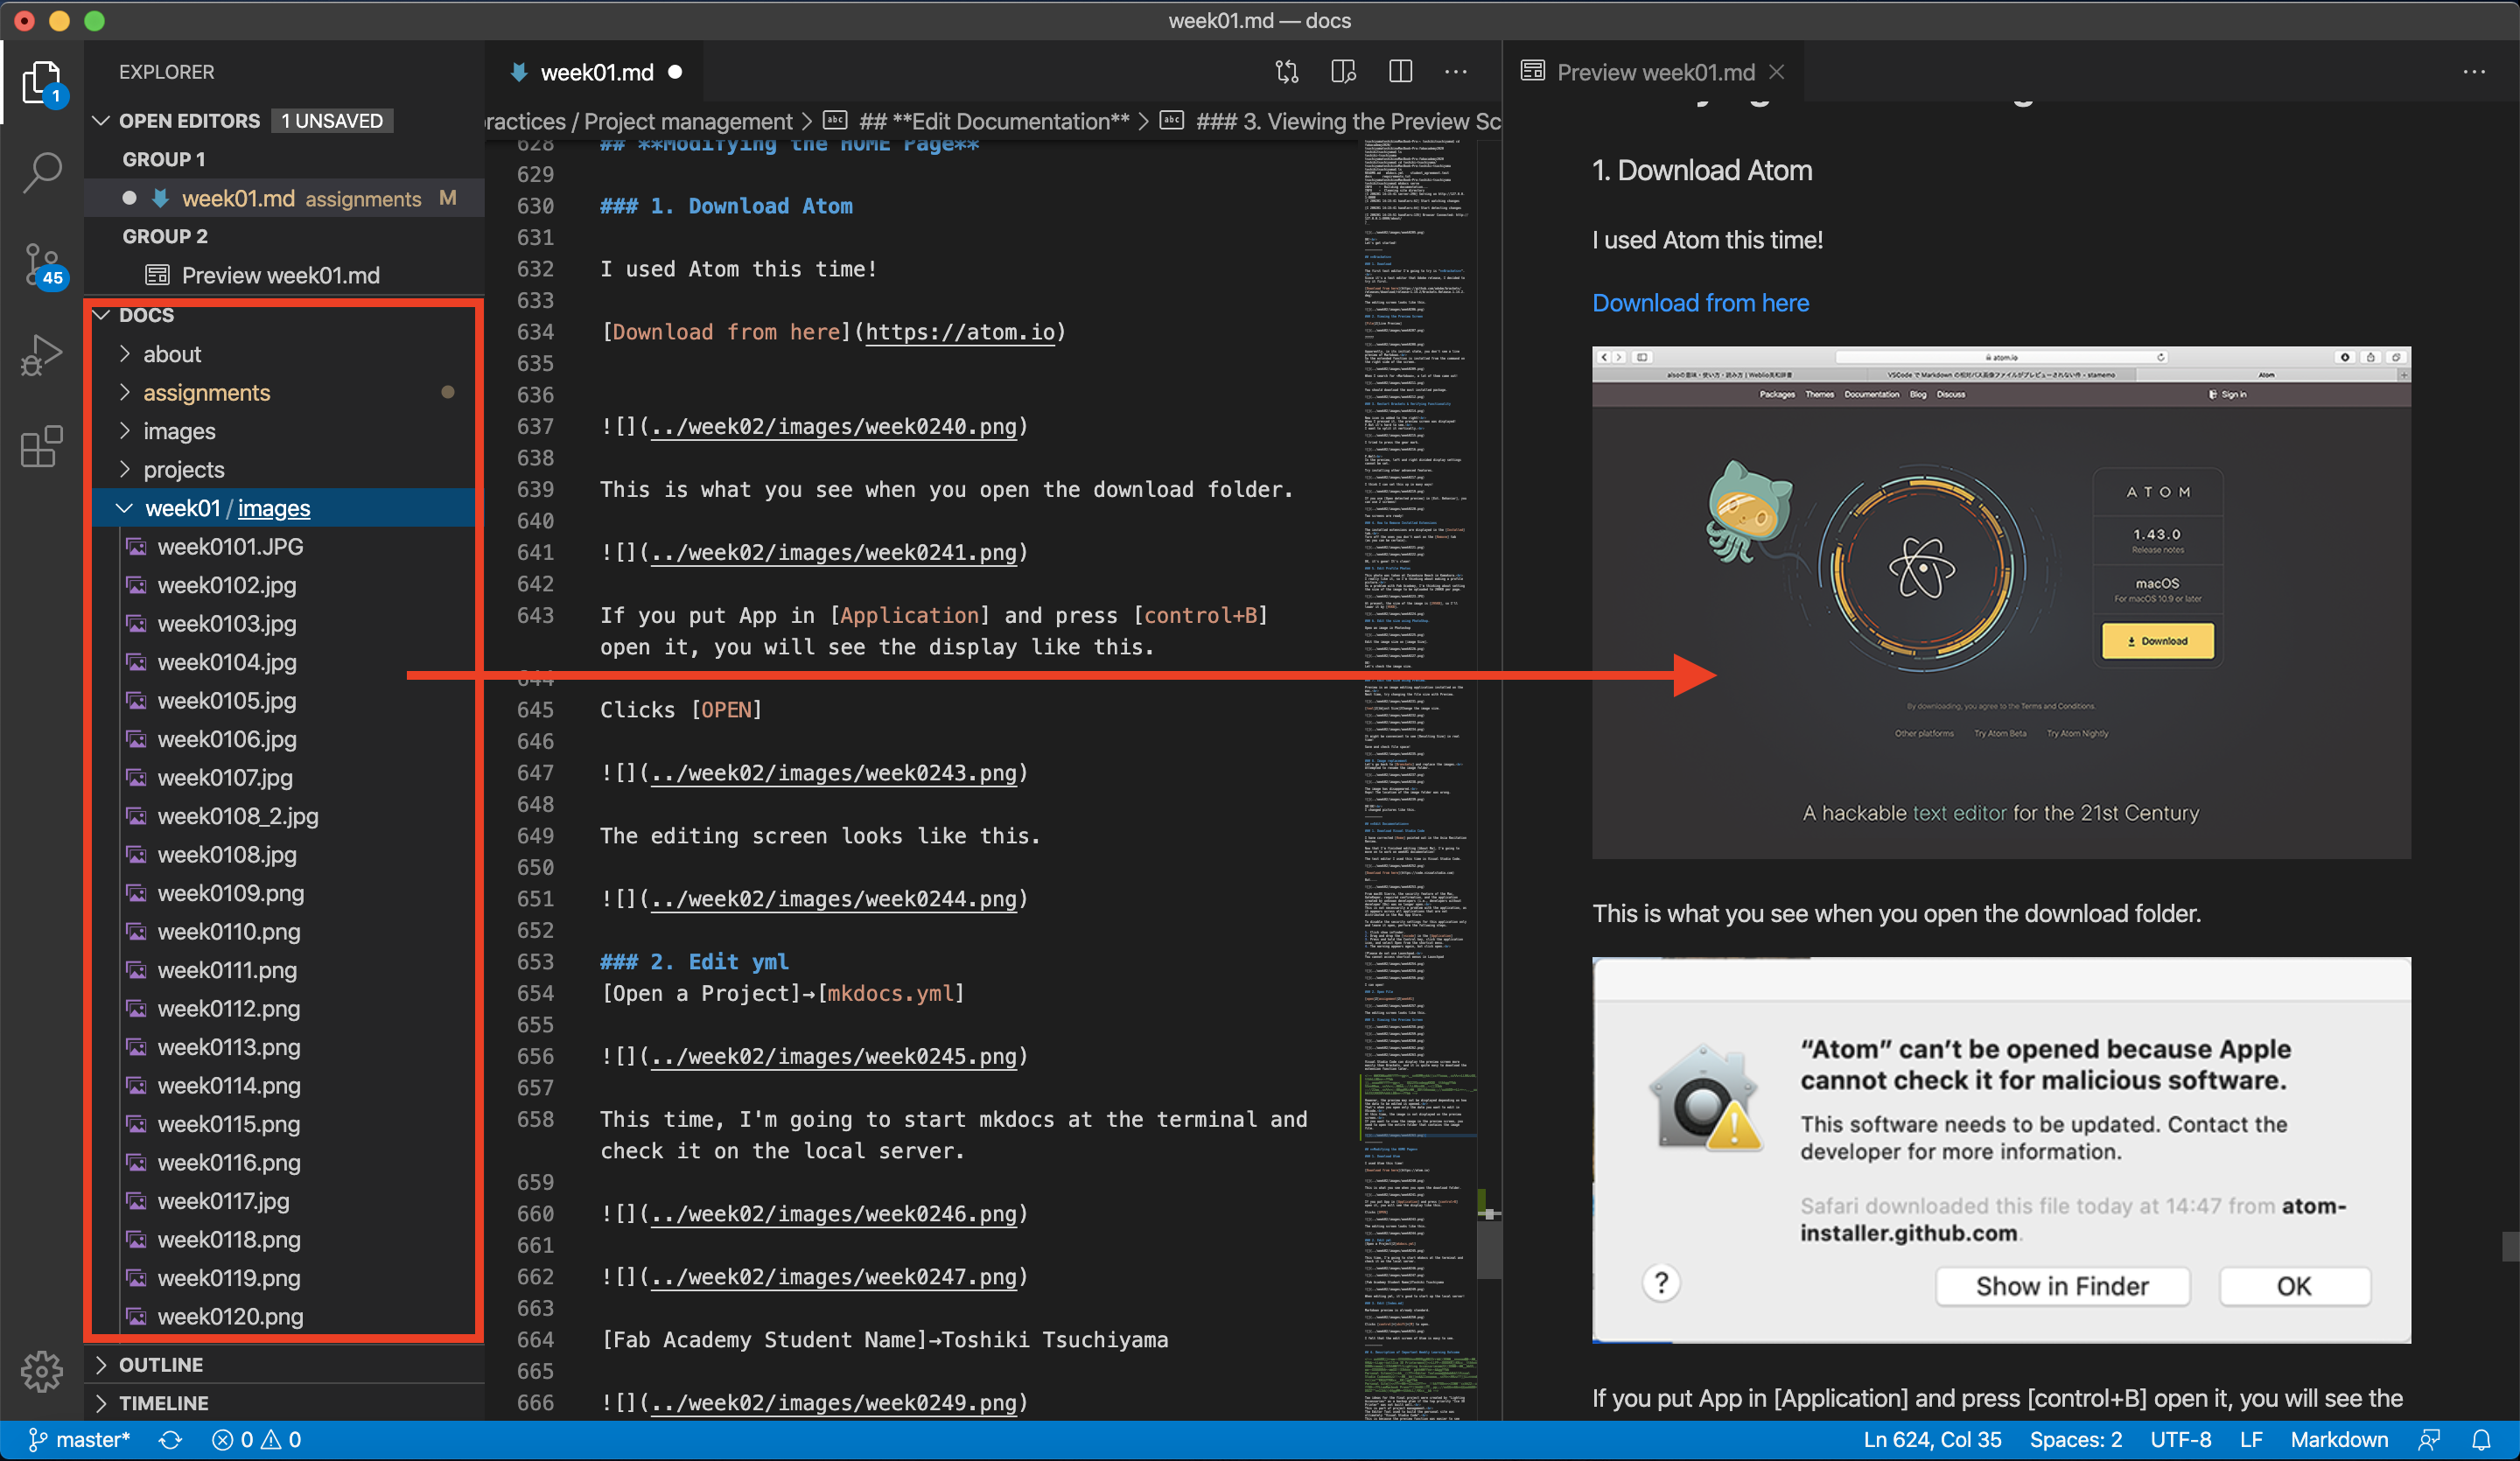
Modifying the HOME Page
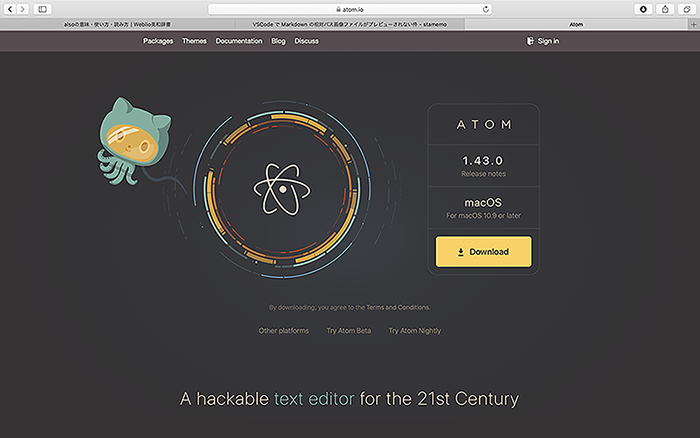
1. Download Atom
I used Atom this time!
This is what you see when you open the download folder.
If you put App in [Application] and press [control+B] open it, you will see the display like this.
Clicks [OPEN]
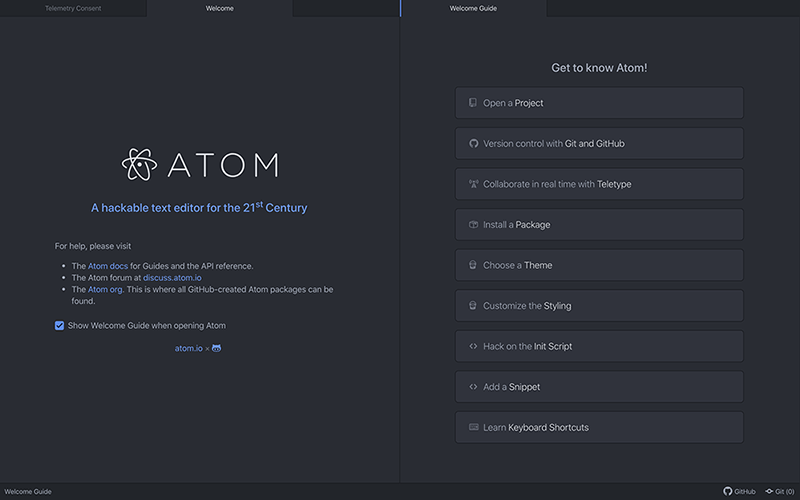
The editing screen looks like this.
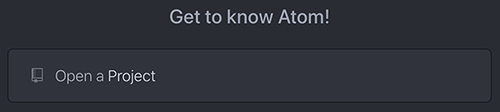
2. Edit yml
[Open a Project]→[mkdocs.yml]
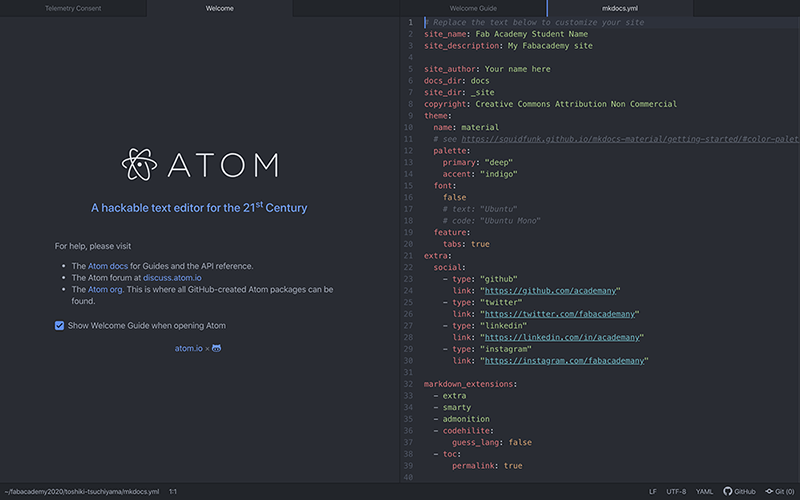
This time, I’m going to start mkdocs at the terminal and check it on the local server.
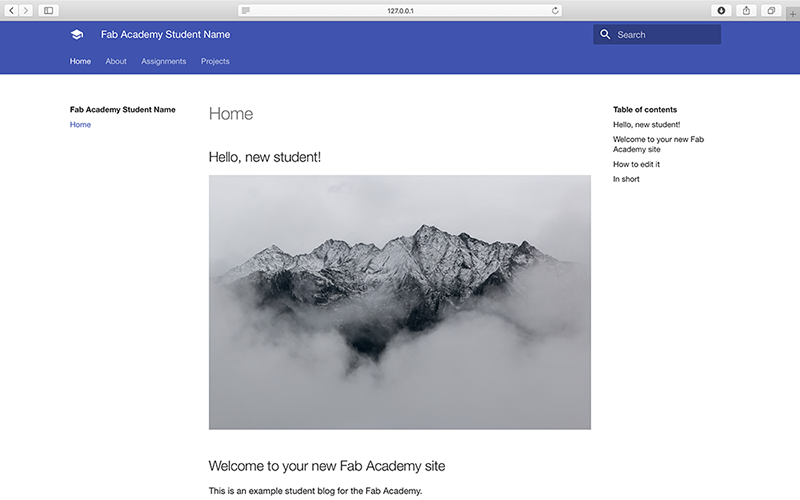
[Fab Academy Student Name]→Toshiki Tsuchiyama
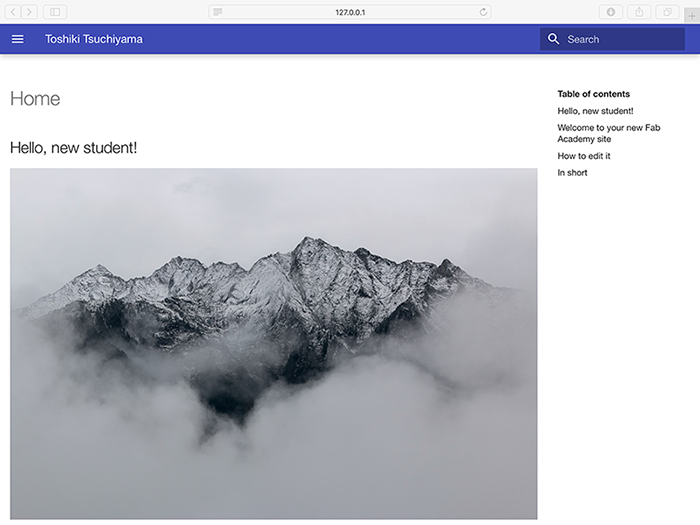
When editing yml, it’s good to start up the local server!
3. Edit [Index.md]
Markdown preview is already standard.
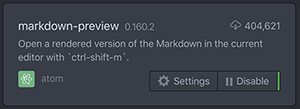
Clicks [control]+[shift]+[M] to open.
I felt that the edit screen of Atom is easy to see.
4. Description of Important Weekly Learning Outcome
Two ideas for the final project were created by “Lighting Accessories” as a backup plan if the top priority “Ice 3D Printer” was not built well.
This is part of project management.
The Editor Tool used to build the personal site was ultimately “Visual Studio Code”.
This is because the preview function was easier to see than any other tool.
There are a variety of screenshots to record the process of creating a personal site, but when used with “Preview” Macbook Pro’s features, it has become clear that you can change the size of your image and cut files freely.
This is my first time building a website using Markdown.
I feel that Markdown is superior to other site building methods in the following points.
- Be able to specify the sentence structure easily
- Easy and easy to remember
- No need for special apps for reading and writing
- Still, it is possible to read and write comfortably using a compatible application