3. Computer Aided design
This week our task was to model a possible final project and upload videos/images of our process to our website. compress your images and videos, and post it on your class page
We were encouraged to explored raster, vector, 3D models, parametric design, and animate our final project to have a better understanding of different CAD options.
Programs I used:
-
Fusion 360
-
Rhino
-
Grasshopper
-
Illustrator
-
Antimony
-
Blender
Antimony:
To start with Antimony, I followed this beginner’s tutorial, below is a video of my process:
This was my first time exploring parametric design, the workflow was more complicated to understand that Fusion or Rhino. It will take me more time to understand it intuitively, it was an easier intro than Grasshopper which is why I chose to start here. I will start the transition to Grasshopper because it has more room for complex designs.
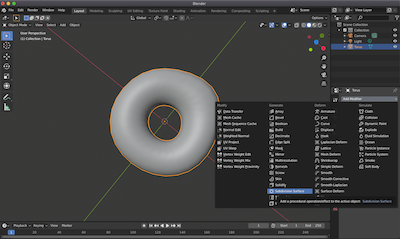
Blender:
I followed this tutorial that took me through a lot of Blender’s function while creating a simple shape; donut!
-
First I created the basic shape:
-
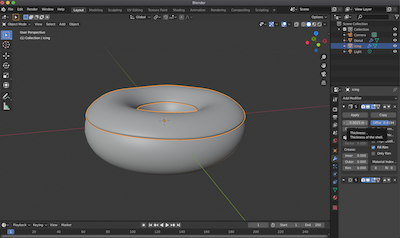
Second was to smooth the surface and create the icing by duplicating the top surface:
-
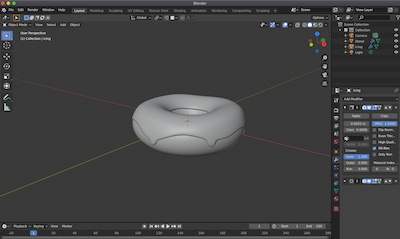
I then added more detail to the icing like making the edges “drip”:
-
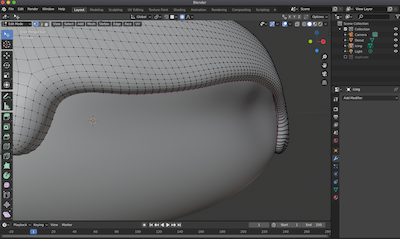
I also sculpted the shaped to have a more organic and realistic looking donut:
-
After moving the icing edges closer to the donut base, the shape is ready to add material to and render:
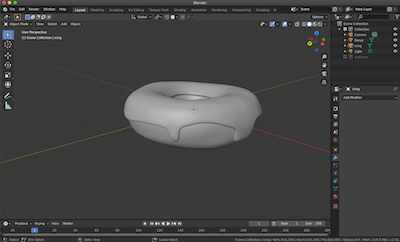
I really enjoyed using Blender because of it was different than other programs I’ve used before. You can work a lot on animation and detailing in a very simple way. I also liked the animation and simulation aspect of the program as well. I didn’t have enough time this week to continue working on this tutorial, it covered all the necessary functions in Blender which was very helpful, so I will continue working on it in the coming weeks.
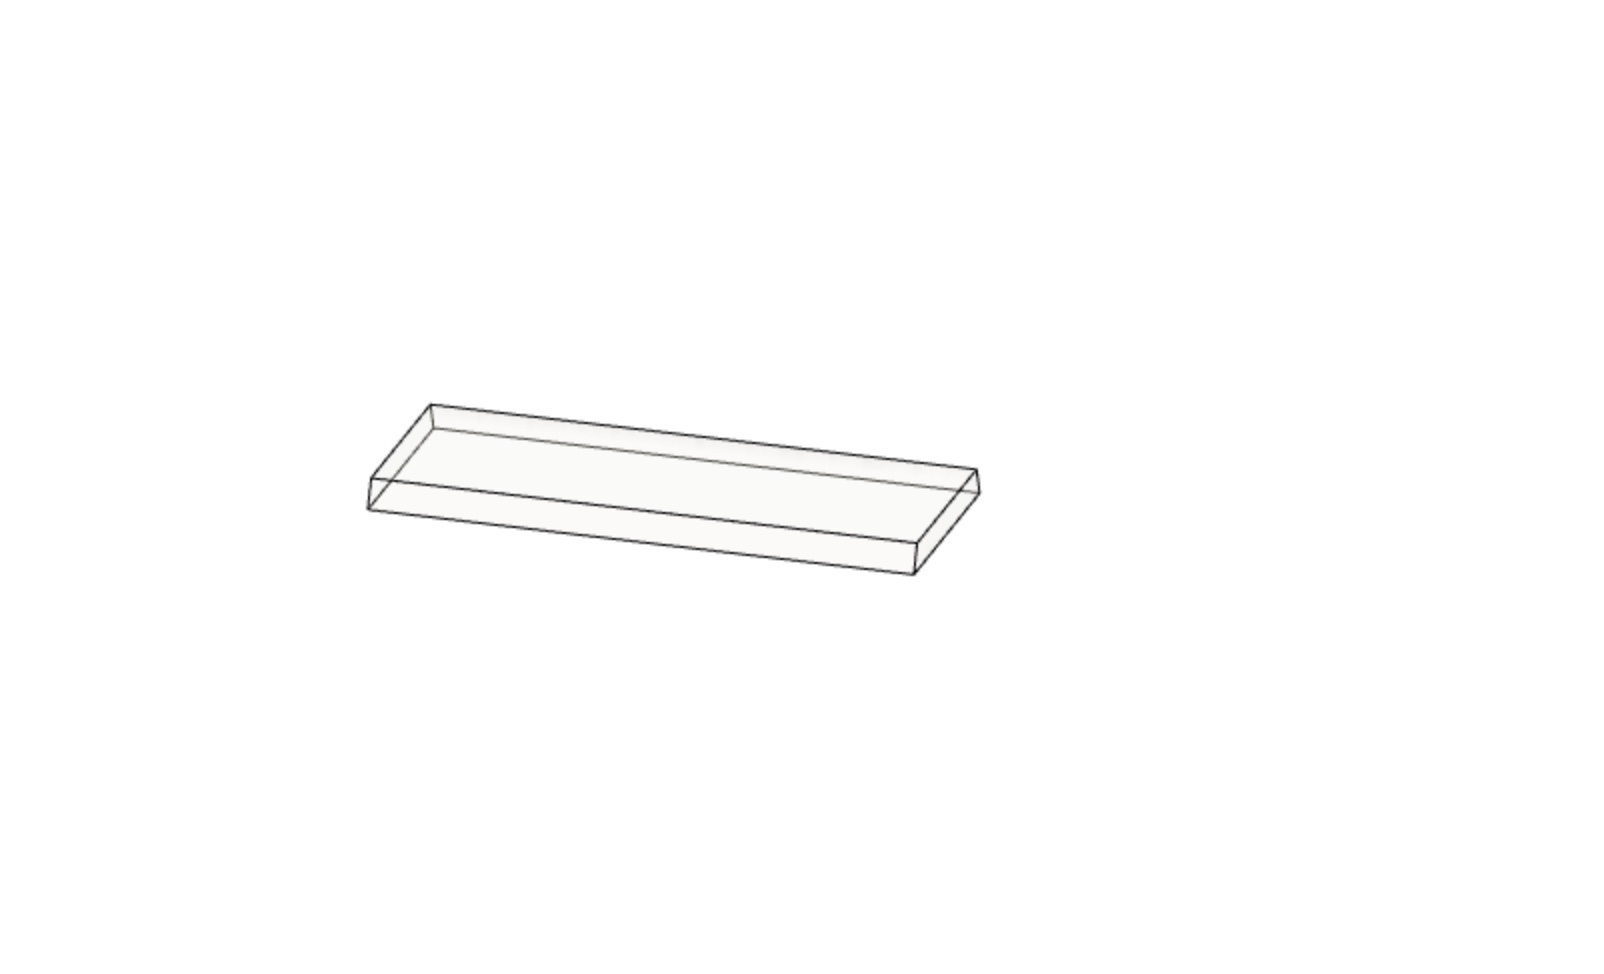
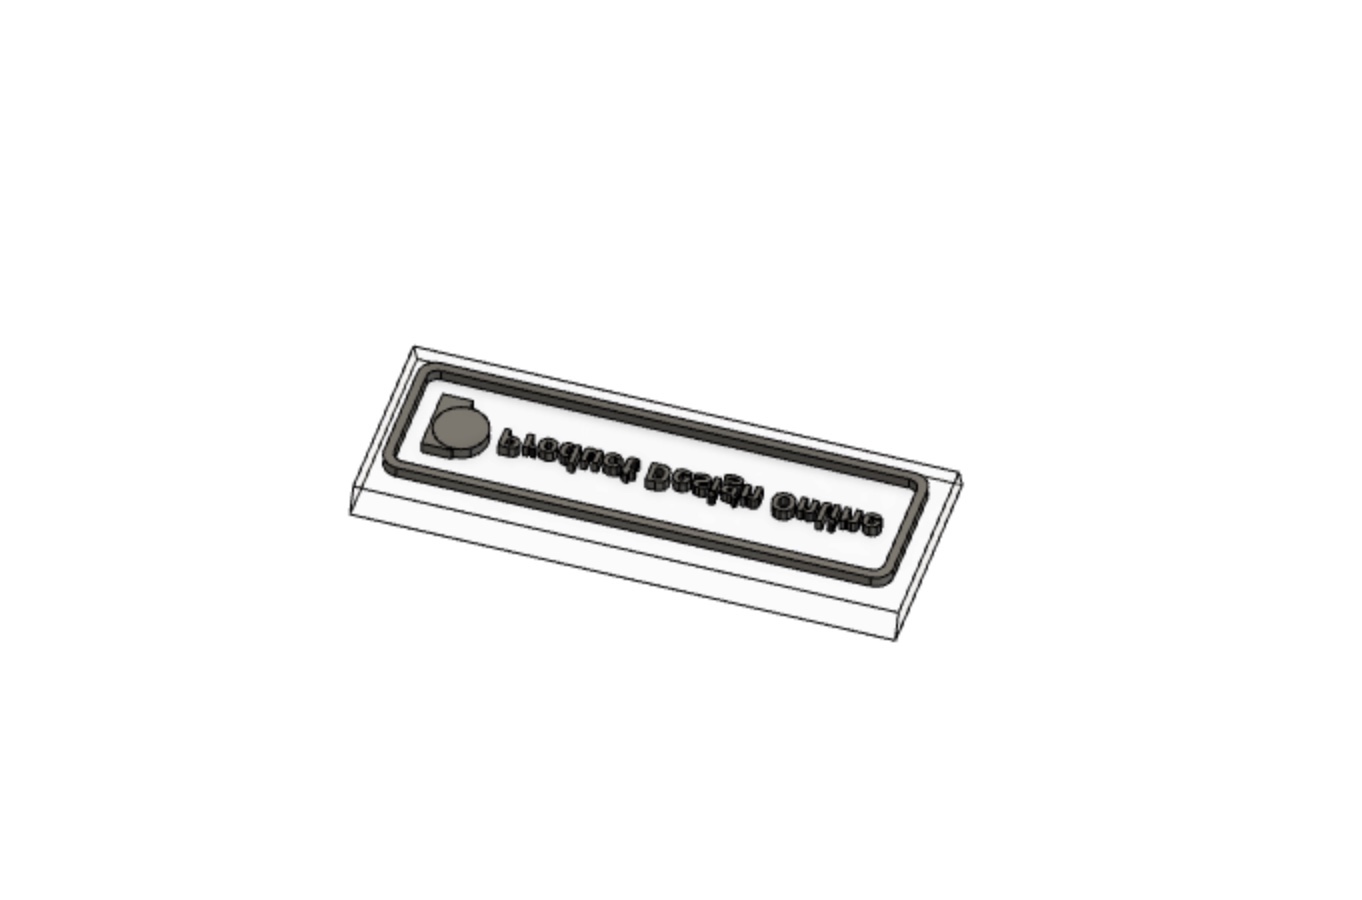
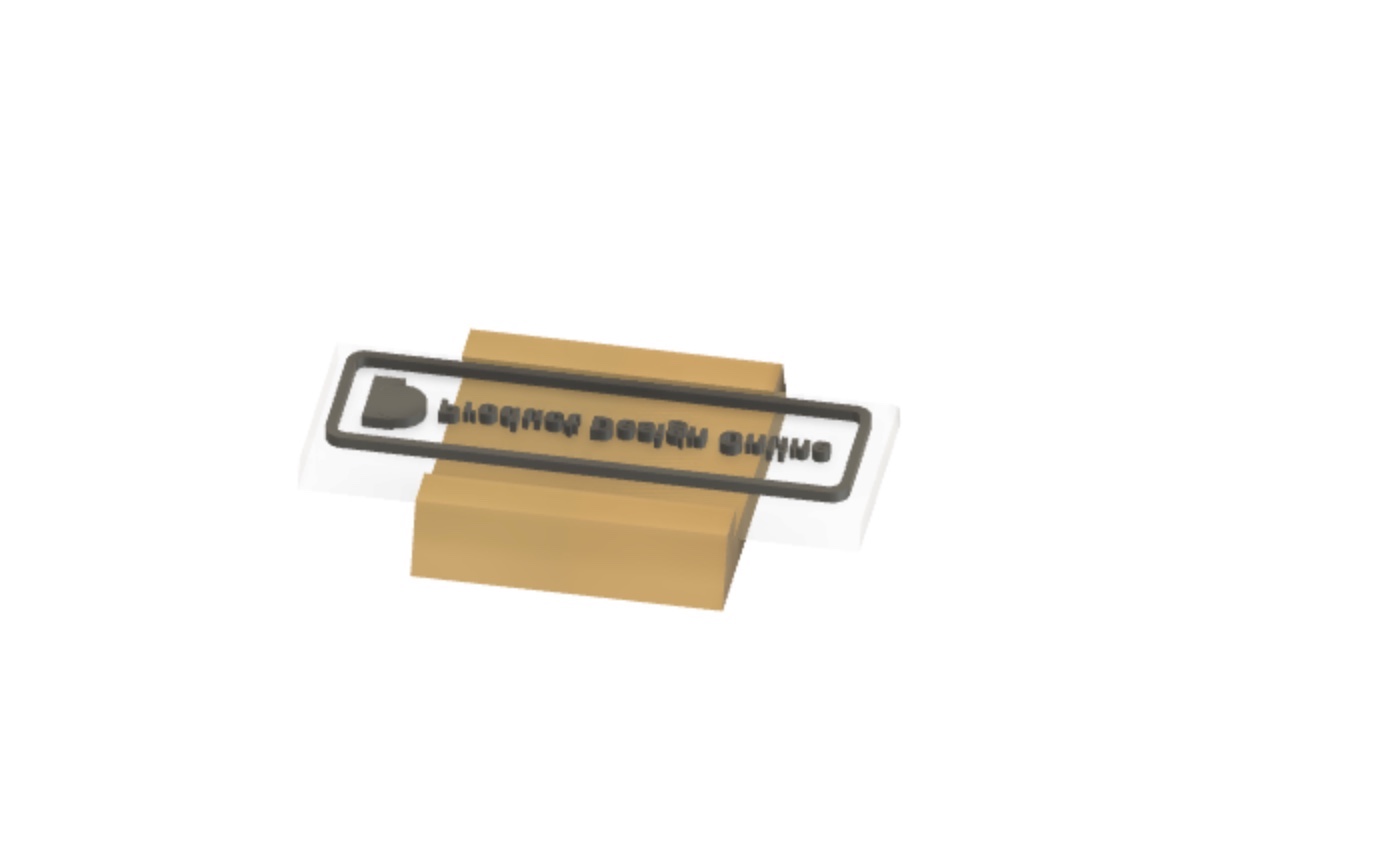
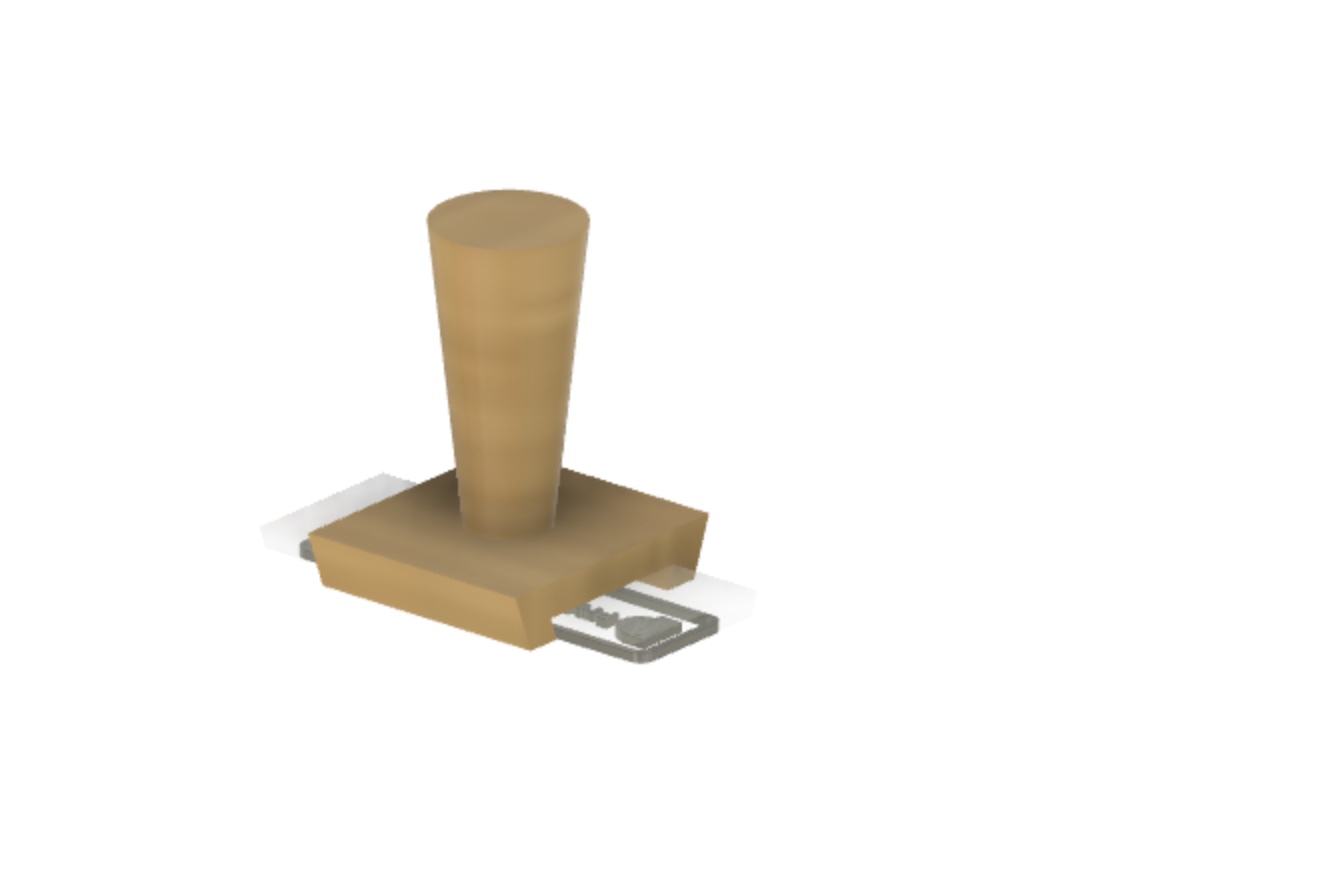
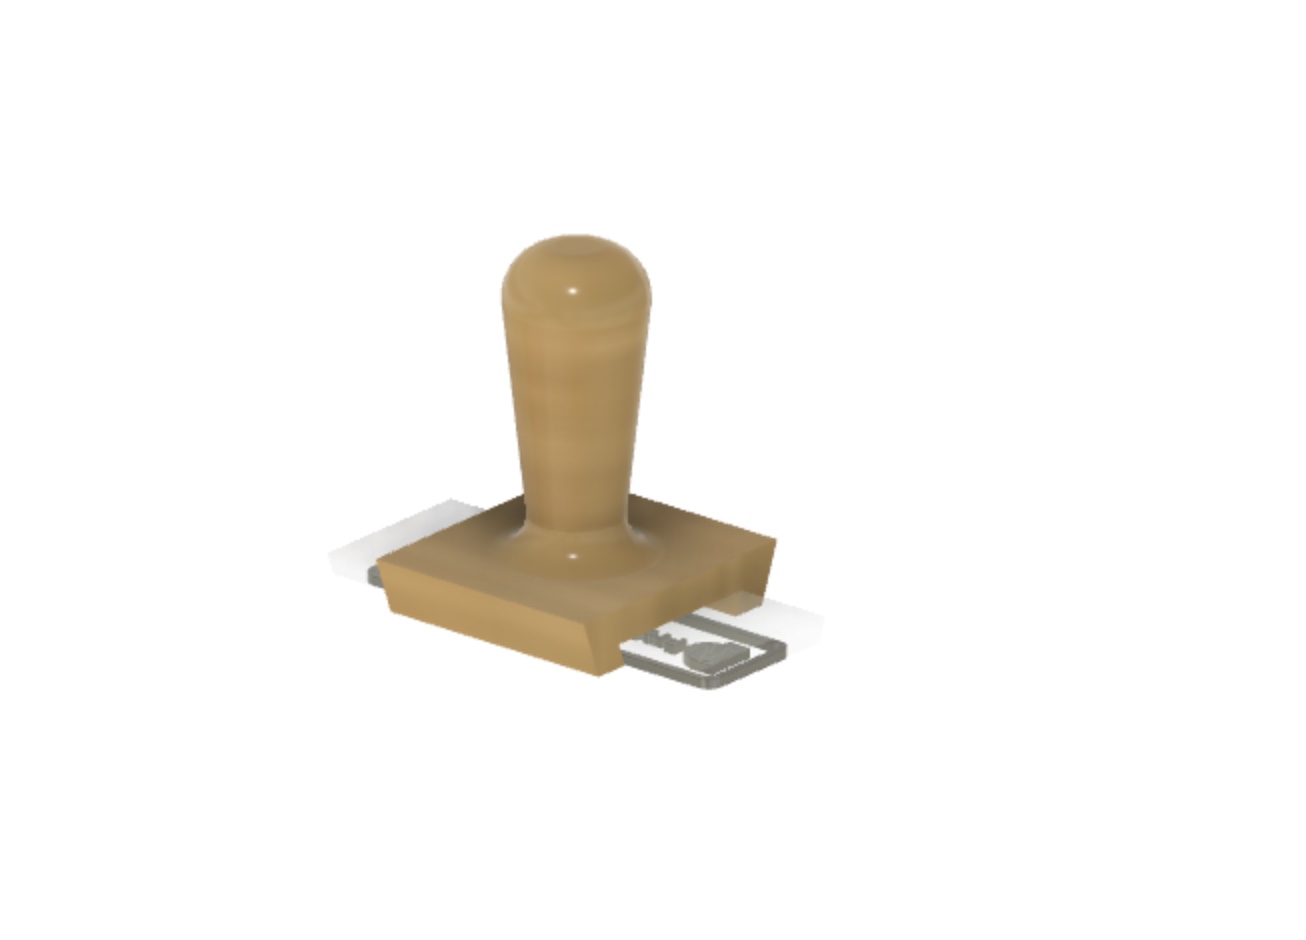
Fusion 360:
To start with Fusion 360, I followed this tutorial to get a better understanding of how the program works. The tutorial was to create a simple stamp to introduce beginners to basic functions in Fusion 360:
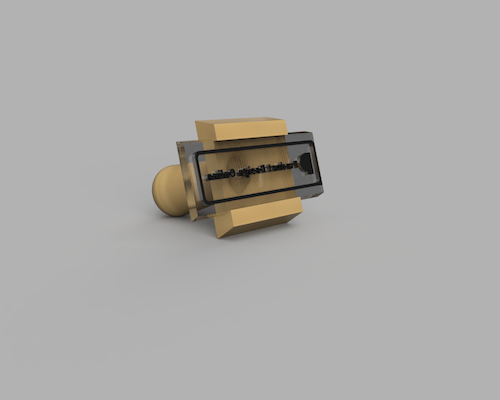
Steps:
Create the base sketch making sure all profiles are closed and extrude the stamp plate
Select the insert SVG file to import the text, select the top plane to place the SVG file on. Rotate and adjust the text to fir the selected plane. To build the stamp, select letters and boarders from the placed SVG file and extrude
To build the stamp shape, insert a plane in the middle of the stamp and extrude in both sides
To create the handle, select the top plane and draw one circle on the surface and another (bigger) circle 60mm above the first circle. To create a plane for the second circle, select offset plane > select stamp top surface > type 60mm for the dimension. To bridge the shape using the loft tool, select the first circle first then the second, and hit enter
To make the handle edges more user friendly, select the top edge and use the fillet command to adjust the edges. As an option, you can also adjust the bottom with the fillet command for a smoother shape
Rhino:
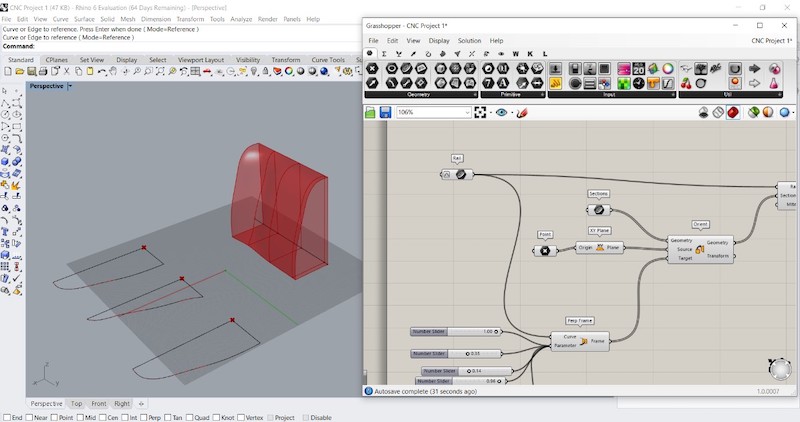
For my final project sketch, I used Rhino since it’s more suitable for 3D models in sketching phase.
I will continue to develop the shape, this was a good start to visualise the initial shape I have in mind.
Rhino is still one my favourites. I live the freedom I have in the beginning phase of the design process, it’s like a 3D sketch book. It’s hard towards the end when I’m trying to finalise a design, but worth starting there as there aren’t many restrictions. There is however a lot of troubleshooting during the process (which takes a lot of time), but with time it’s not an issue.
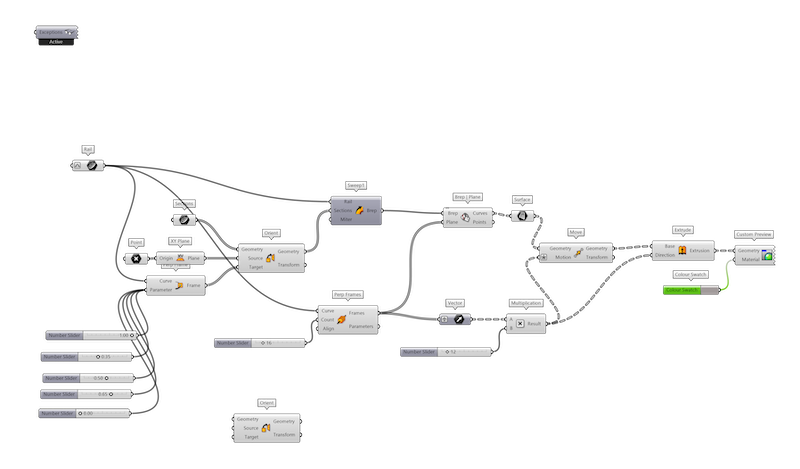
Grasshopper:
Working with Grasshopper was a different process than I’m used to but I enjoyed it, once I get more comfortable using the program it will be much easier and convenient to design using Grasshopper if I’m working with organic shapes.
I wasn’t focused on the final product as much as I was on the process. As a starting point, I worked on a back rest for floor seating arrangements (popular in the Middle East). I used this tutorial to create my design.
First I created my three sections (both ends and middle)
I then added two more sections to have better control of the overall shape:
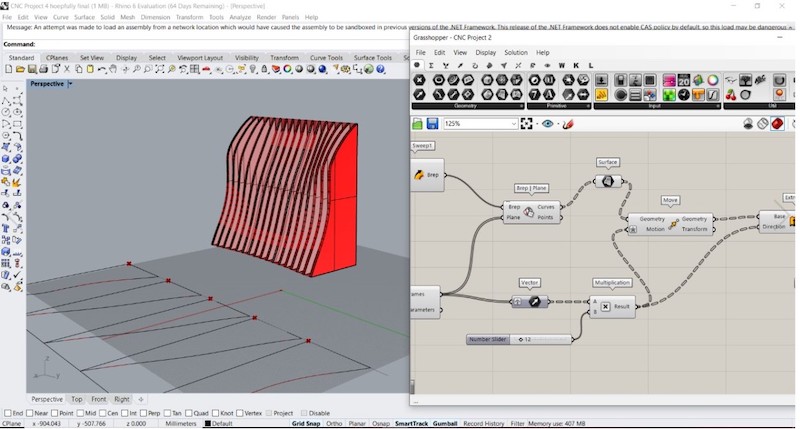
After adjusting the shape, below is the final shape:
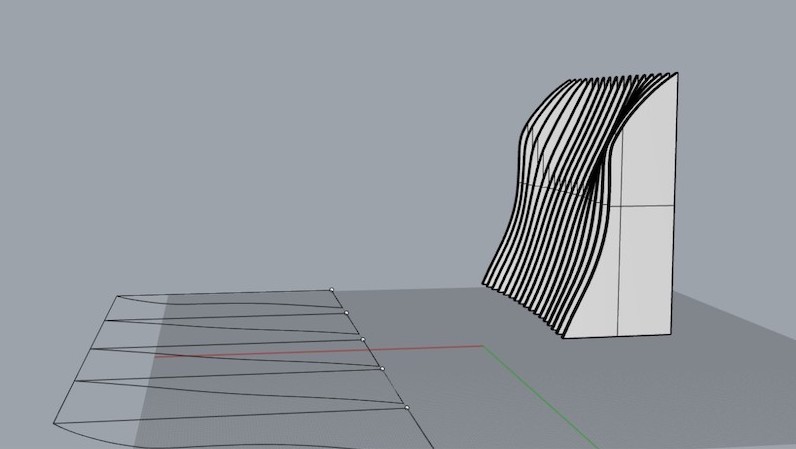
And below is my final Grasshopper file:
Illustrator:
I used Illustrator to create a simple logo and experimented with different shapes and colors:
- Colors and simple variations in details:
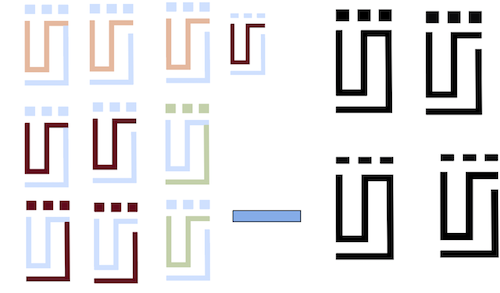
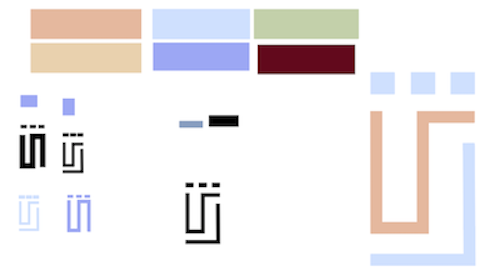
- Final shape: