Assignment 5
3D Scanning and Printing
How to:
This week is all about 3D, that includes printing designed 3D models and collect experiences with different types of 3D printers. Furthermore, 3D scanning is tested this week. You can find all design and scanning files at
the bottom of the page.
Like last week we were asked to test the local 3D printers in a group assignment. Therefore, we printed a test model on the printers available. You find our group project in the following link:
Group project
3D Printing
Subtractive and Additive Concepts
I already discussed the advantages and disadvantages of the two 3D concepts (subtractive and additive) in 3D CAD week.Print an Object
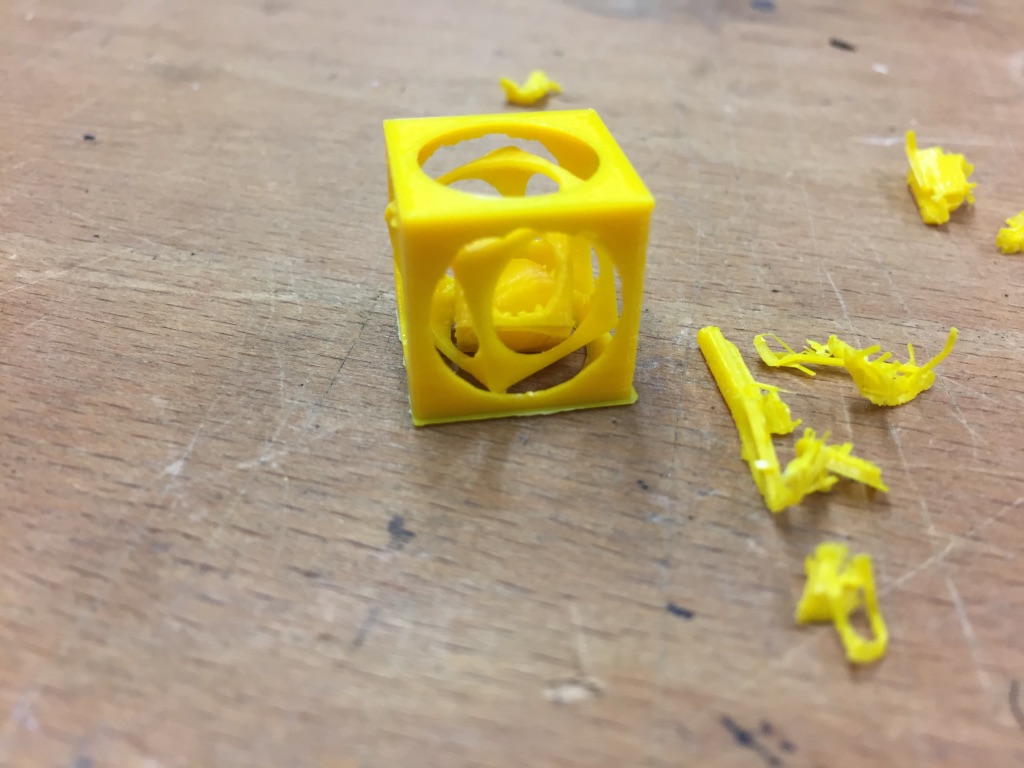
1. For my individual 3D print of this week I used a model designed in the second week of the academy. This model represents an object that can not easily be produced by subtractive manufacturing because it has nested objects.
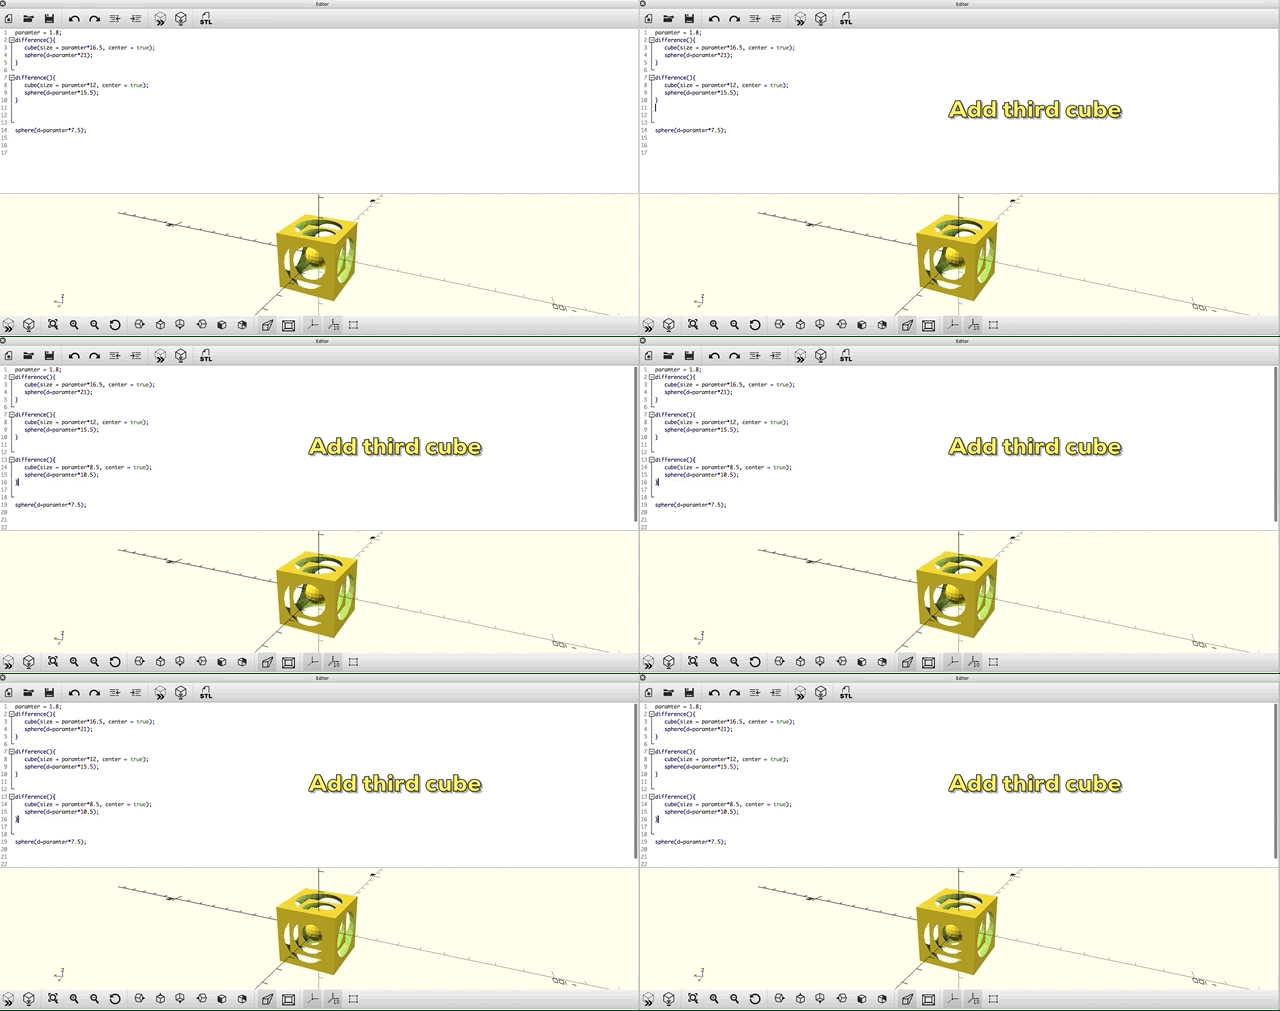
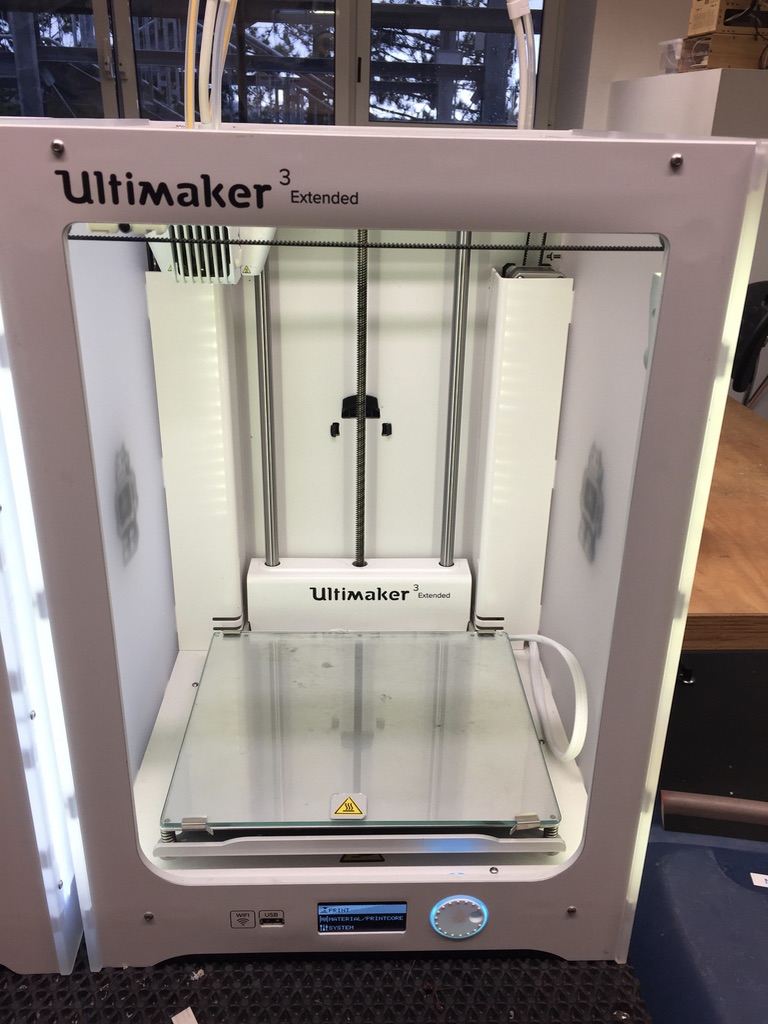
2. I decided to use the Ultimaker 3 for my print as I already had installed the software Cura on my laptop.
3. I loaded my object into the Cura software to prepare the model and slice it.
4. I decided to print with support material because otherwise the object would not be printable because e.g. the ball would not be printed separately from the cubes. It might get connected with the cubes during the print.
5. Save the gcode file on the stick that is used for the Ultimaker 3. Walk over to the printer and put the USB stick into the given slot.
6. Start the print by using the provided interface.
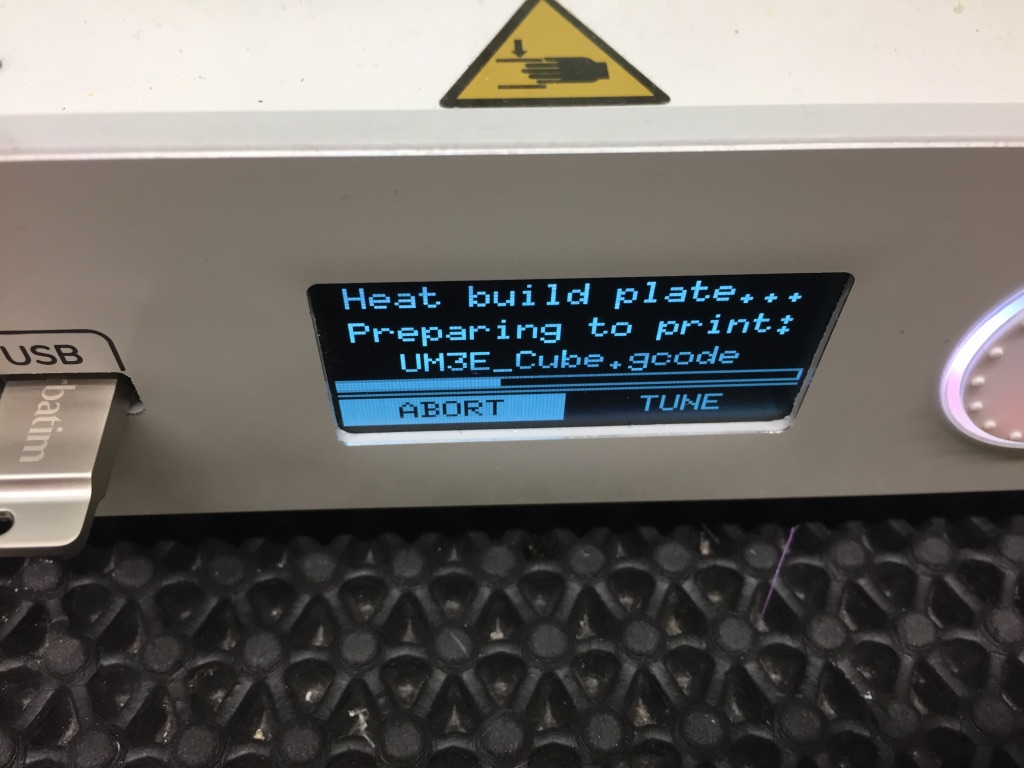
7. Wait until the print starts to see if it works properly.
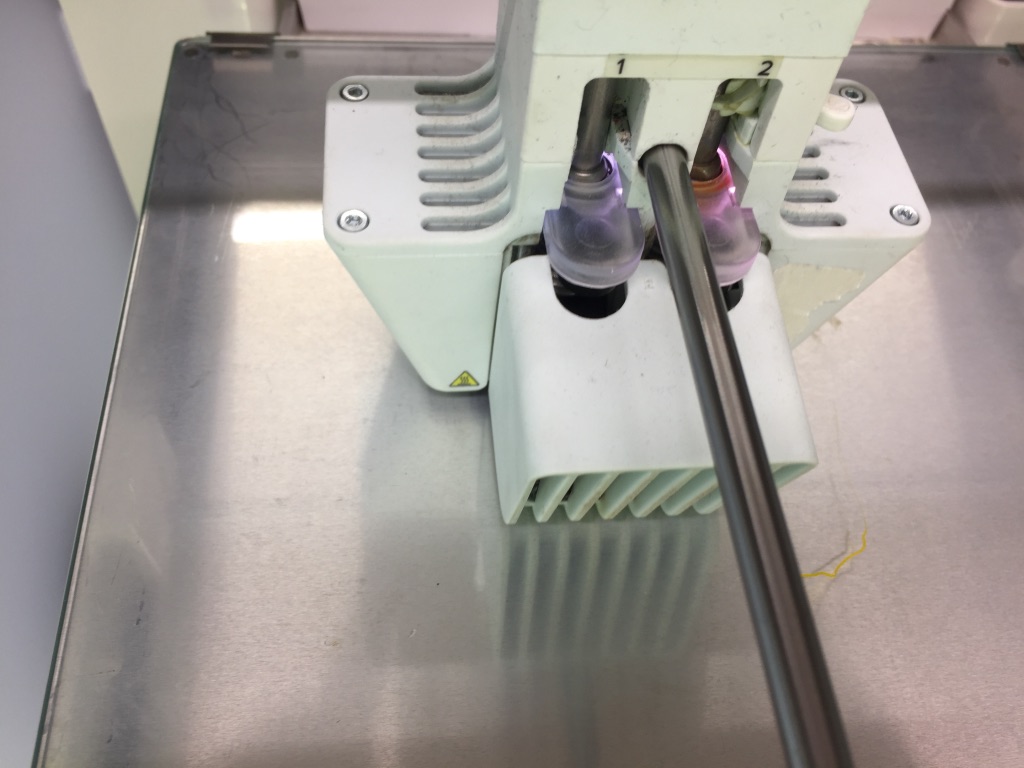


8. Recheck the print two or three times during printing to assure if the device is still printing in a correct way.
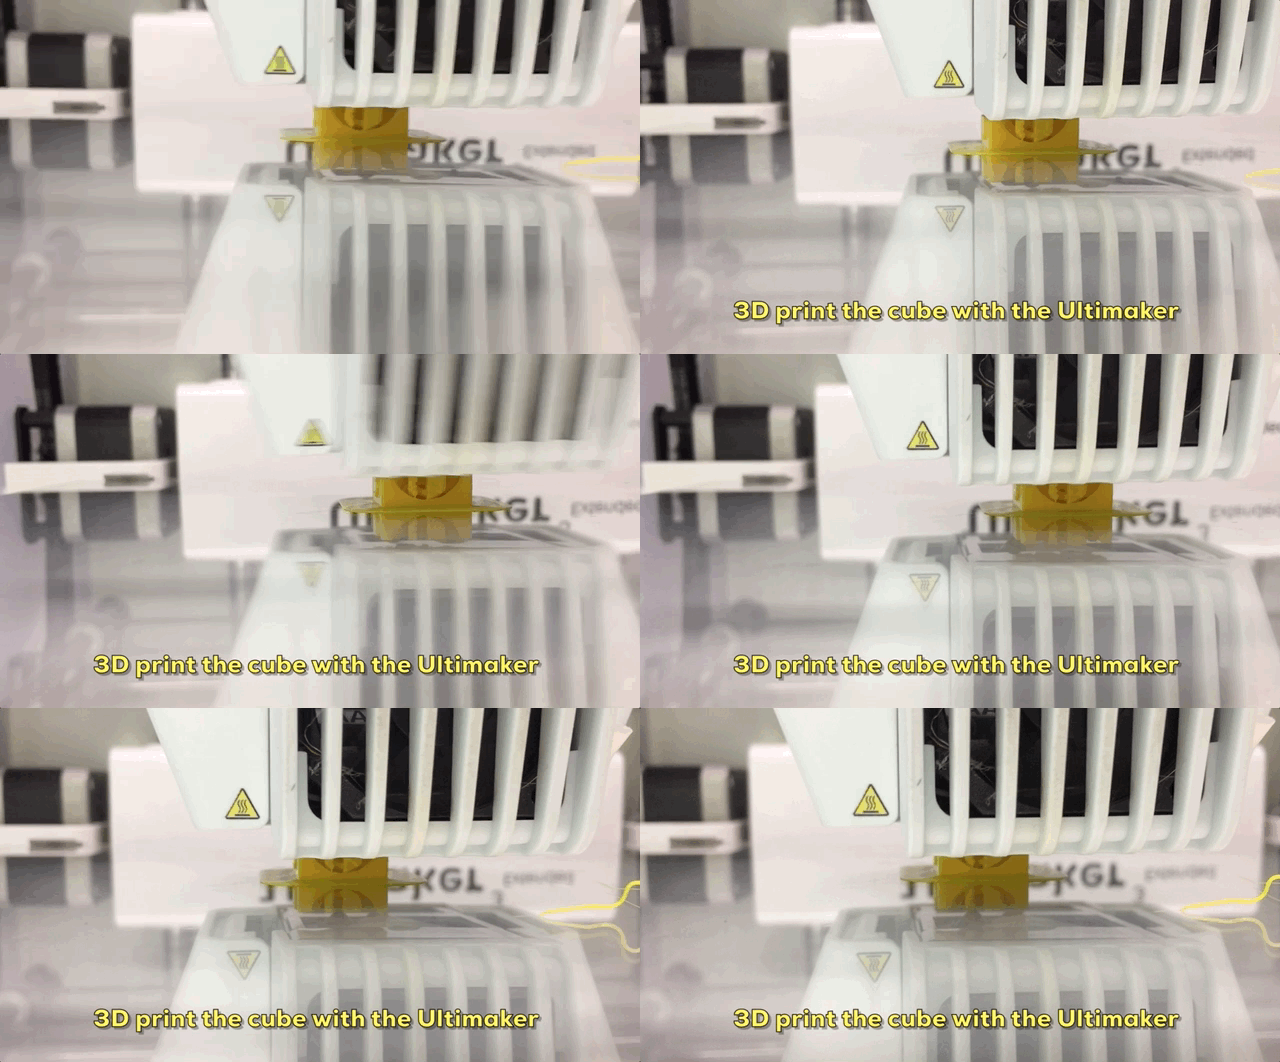
9. After 2 1/2 hours my print was finished. I removed it from the plate and started to remove the support material using tongs.
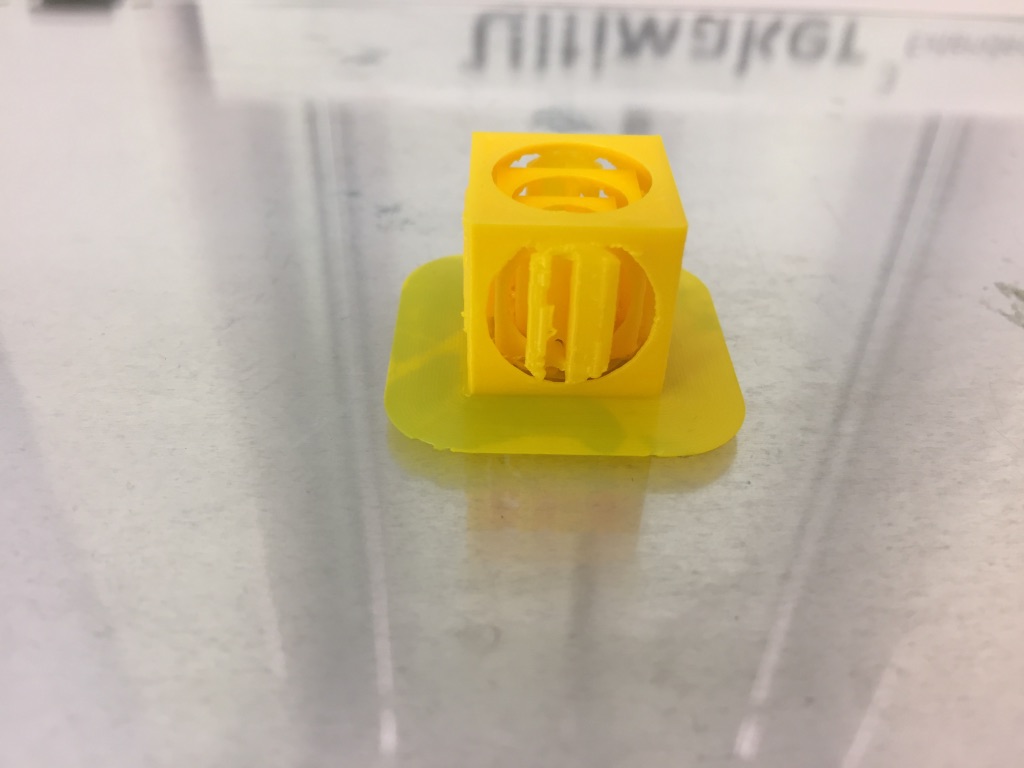
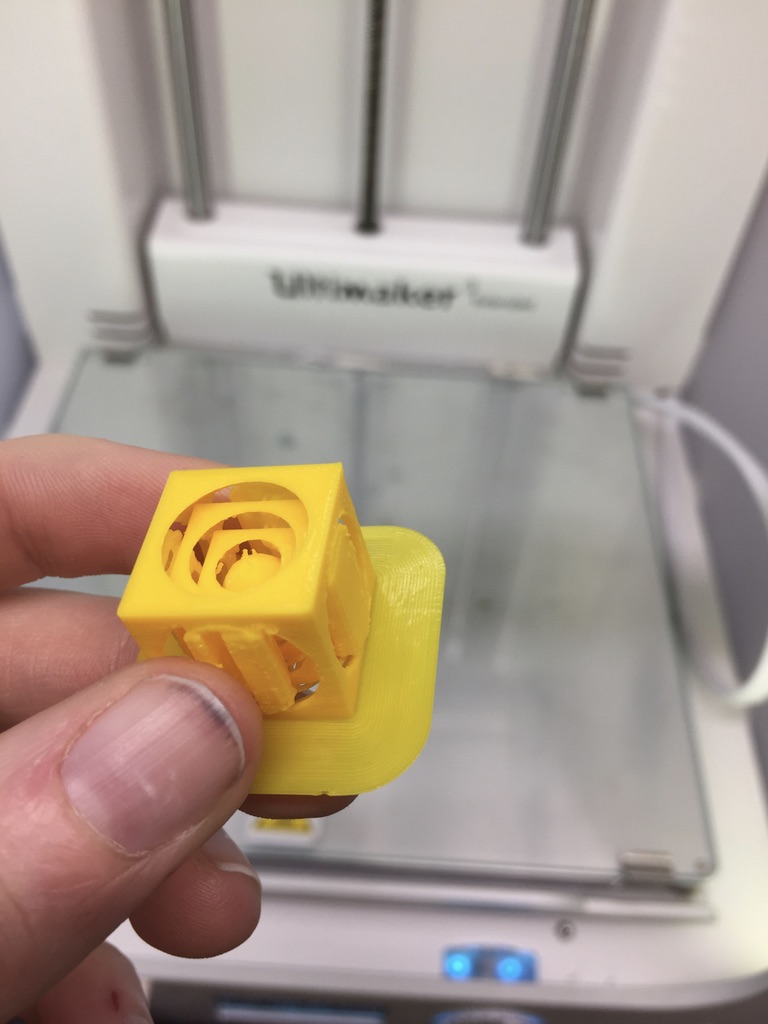
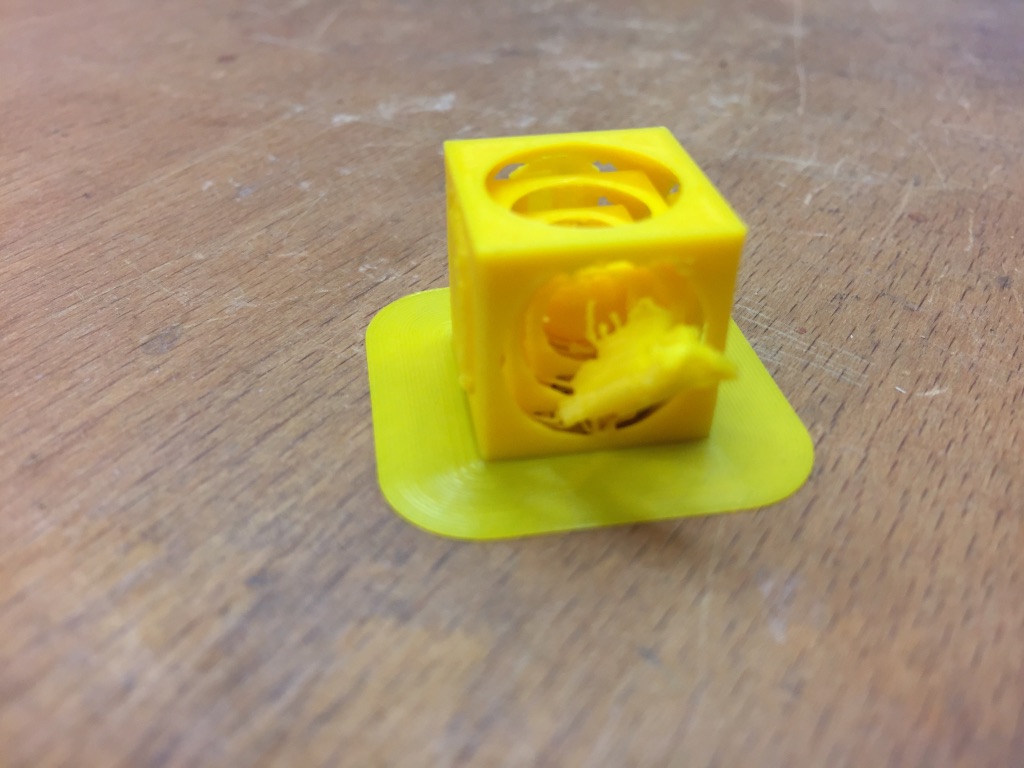
10. It was surprisingly easy to remove the support material even thought the object is quite small and fine. My printed object works as desired, the inner cubes and the ball can move around.

3D Scanning
We have a The FabScan at our FabLab but unfortunately this week the machine did not work. Therefore, I made use of the App iSense, which is used with a camera attached to an iPhone.
Using this app is quite easy and only needed like a two minute explanation. Because Matthias had used the device before he explained to me how to use it.
1. I decided to scan two objects to gather experience in how detailed the scanning works.
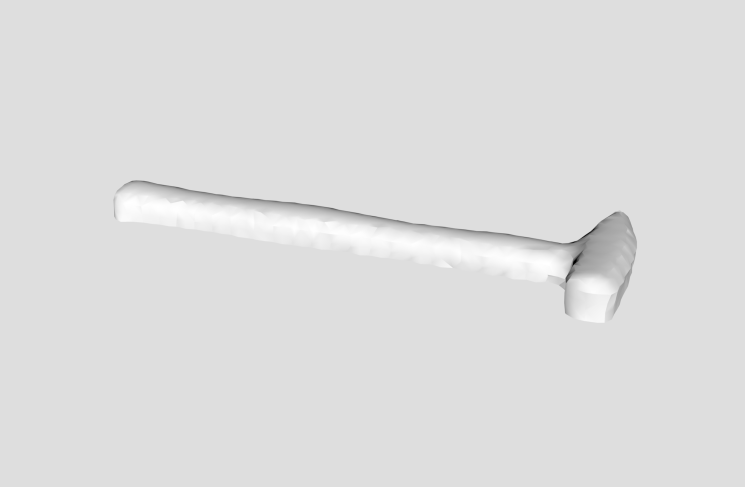
2. My first scanned object was a usual hammer. Scanning works as the following: Start the scan process and walk around the object while the app scans it. The user has to
assure that the object is in the box as seen in the video underneath. After scanning the app uses all the recorded frames to calculate the model. The user finally can save the model.
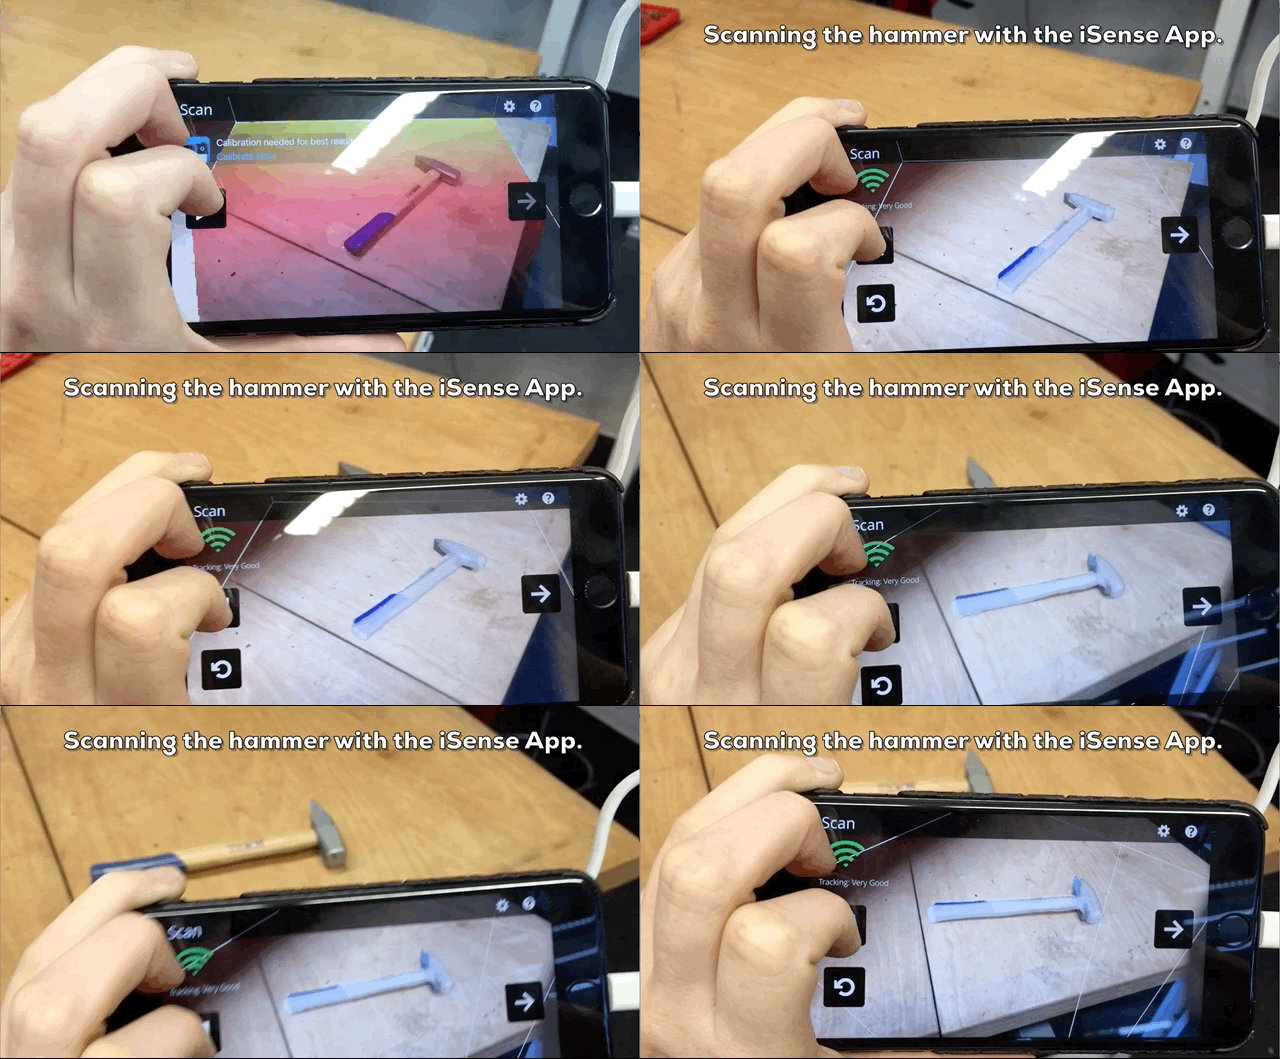
3. As the hammer does not have so many small details, the scan of it looks very complete as you can see in the attached file at the bottom of the page.


4. Secondly, I scanned the test print we produced in our group assignment on the Ultimaker 2+.
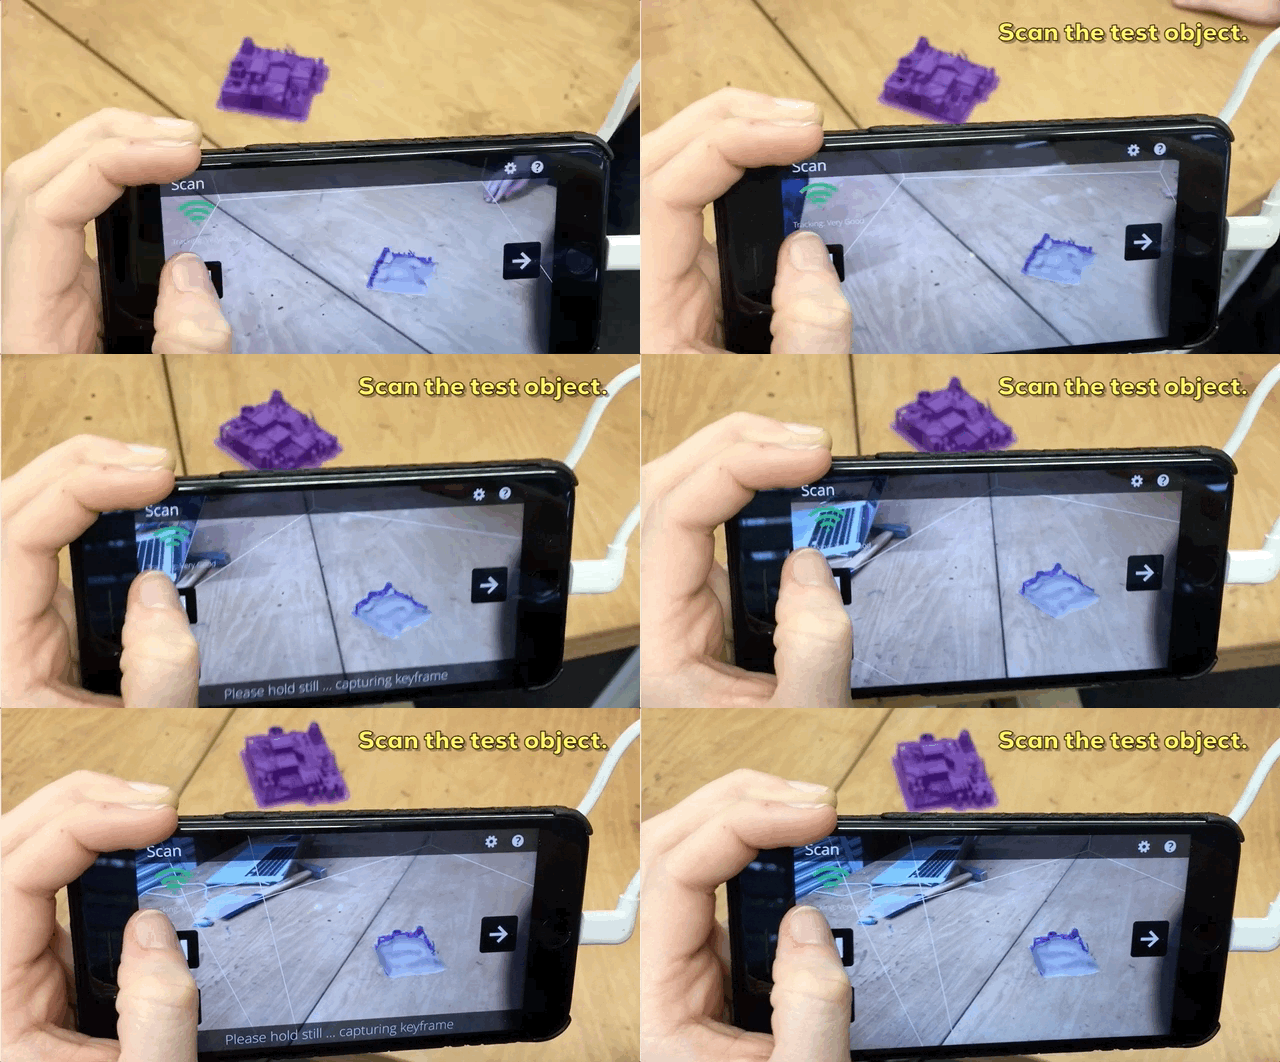
5. The object does contain several very small and detailed parts. The scan of it with the iSense App is not as detailed as the real object. I assume that the details are too much for the App to be recognised.
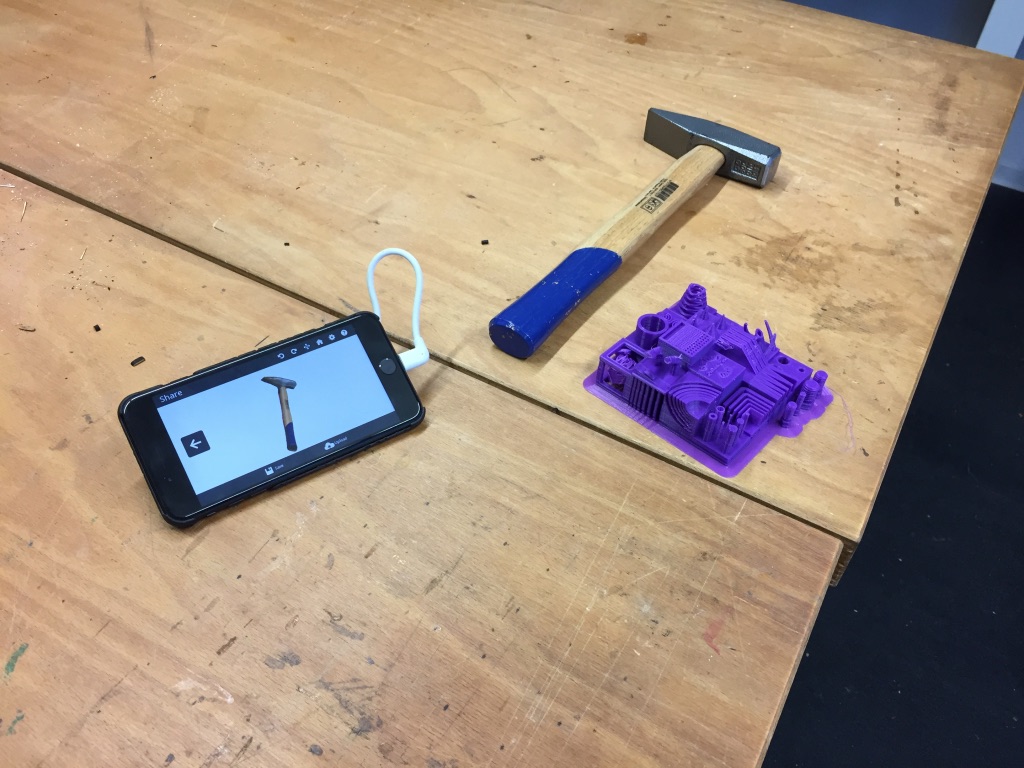
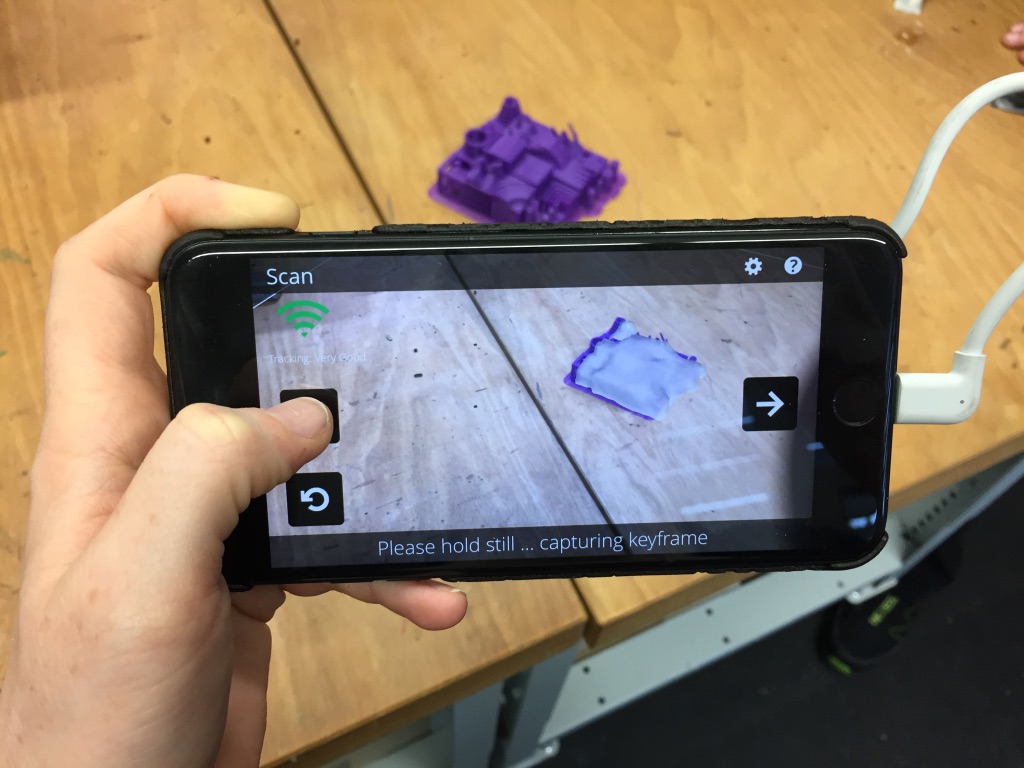
6. Getting the produced files of the model was not that obvious. Thanks to the assistant Jan who is working at the chair and who explained to me how to realise it.
7. I had to connect the iPhone to my Mac, then open iTunes, enable that apps of the iPhone can be synchronised and then save the data of the app iSense on my laptop (see iSense files).

3D Scanning: Pro and Contra
PRO:- Scanning is a great process to duplicate parts e.g. spare parts for your bike.
- It opens the possibility to reprint scanned objects or to modify the scanned objects to your own imagination.
- Parts of an object can be obscured by other parts of the object. This hinders scanning the full object.
- If an object is very detailed cheaper scan methods (e.g. iSense) might not be able to scan all details.