Third assignment
Date
30 January 2019
This week assignment is model (raster, vector, 2D, 3D, render, animate, simulate, ...) a possible final project, and post it on your class page.
There are a lot of ways and tools we can use to create a visual representation of anything we are working on.
In this case I tried with different programs for 2D and 3D representation of my project. I'm still not sure if this will be accurate as I have a lot to learn yet to make it work. But for now here are a few sketches for it.
2D DRAWING
SKETCHBOOK
This is a software by Autodesk that allows the creation of different sketches, from the most simple concept representation to the most detailed illustrations.
It is pretty easy to use, and has some very convenient tools for those who are used to draw in real paper. For example the copic library.
This program is really user friendly. You can choose from a variety of tools to make what ever you want.
I started with a pencil and a rules to make the base form of my project.
Then I started the shadowing part to give some volume to it. I used the markers for this part.
I also used a marker to do the dark acrylic piece, and I used a brush to create the light reflections.
Then I used the brush to make the light for the round front corner, and also used the airbrush to lighten up some other flat parts. I used these tools instead of marker because the software makes them work as real markers. If the marker you want to use is lighter than the one you used before it won't make any changes. This is why you should use different techniques and materials as then you are using real paper.
Finally I used the rulers once again to create the table shadow and the background. You can also work with layers, but this time I worked with it as I was using real paper and markers.
You can export to different file formats from Sketchbook such as PNG, JPG, BMP, PSD, GIF, etc. This is very convenient. The image above is the PNG file I saved.
Adobe illustrator
Illustrator is a vector graphic software that allows the creation of different pieces for print, web, video and mobile. Vectors can be exported to different file formats and be imported in different 3D modeling software, this makes it also very versatile. The disadvantage I find with Adobe Illustrator is that is not free.
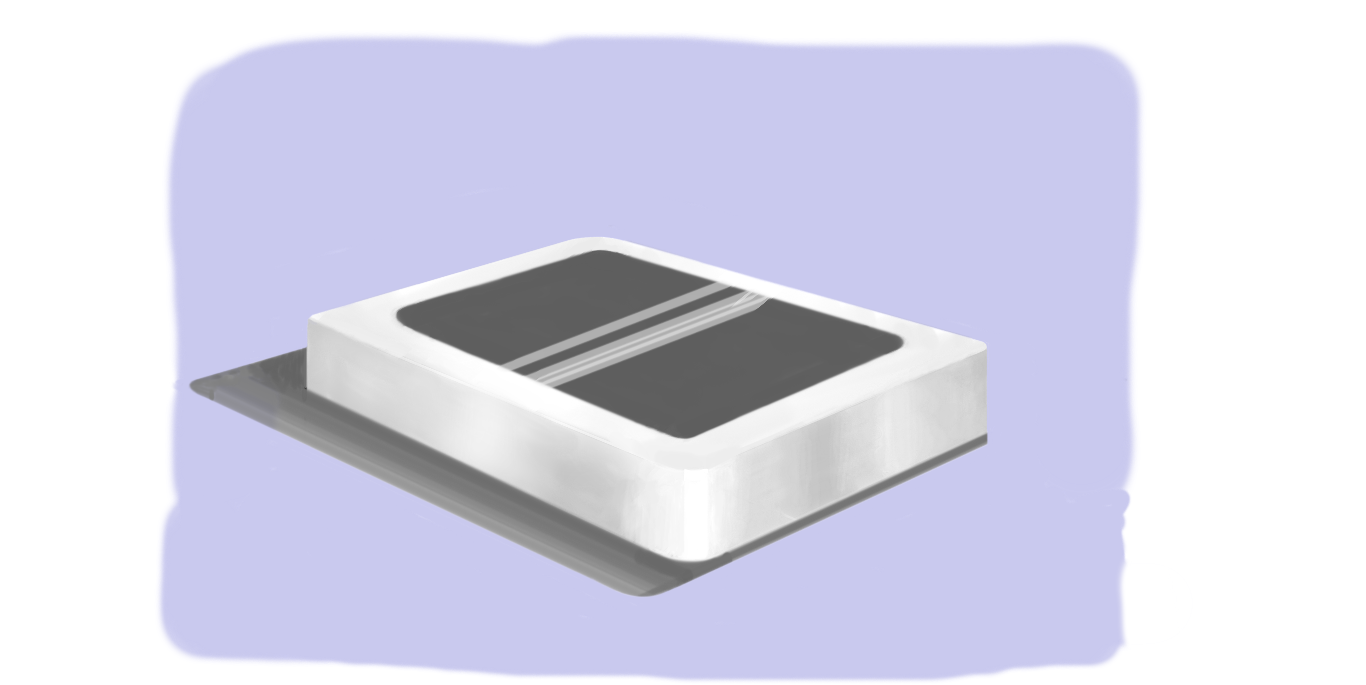
I started the same as before, but this time the creation of the form with vectors is a must.
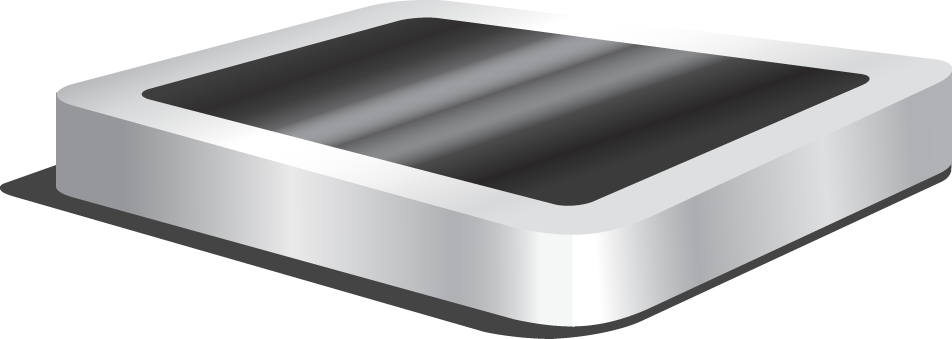
Once I had the basic form I needed, I filled it with a tool named gradient to make the illusion of the reflection of aluminum. You can adjust the orientation of it depending on what you need.
You can also decide if it is just the filling, the outline or both of them. Here I eliminated the outline.
For the top piece I repeated the same procedure.
You can make the gradient with any color and with many color changes.
This time I did work with layers, and added a new one, put it behind to create the table shadow.
I also exported this file as a PNG
3d modelling
Rhinoceros
This is a software used by designers and architects.
Once you understand how this works it is pretty easy, it is base on NURBS which is the mathematical representation of curves and surfaces in computer graphics.
Process
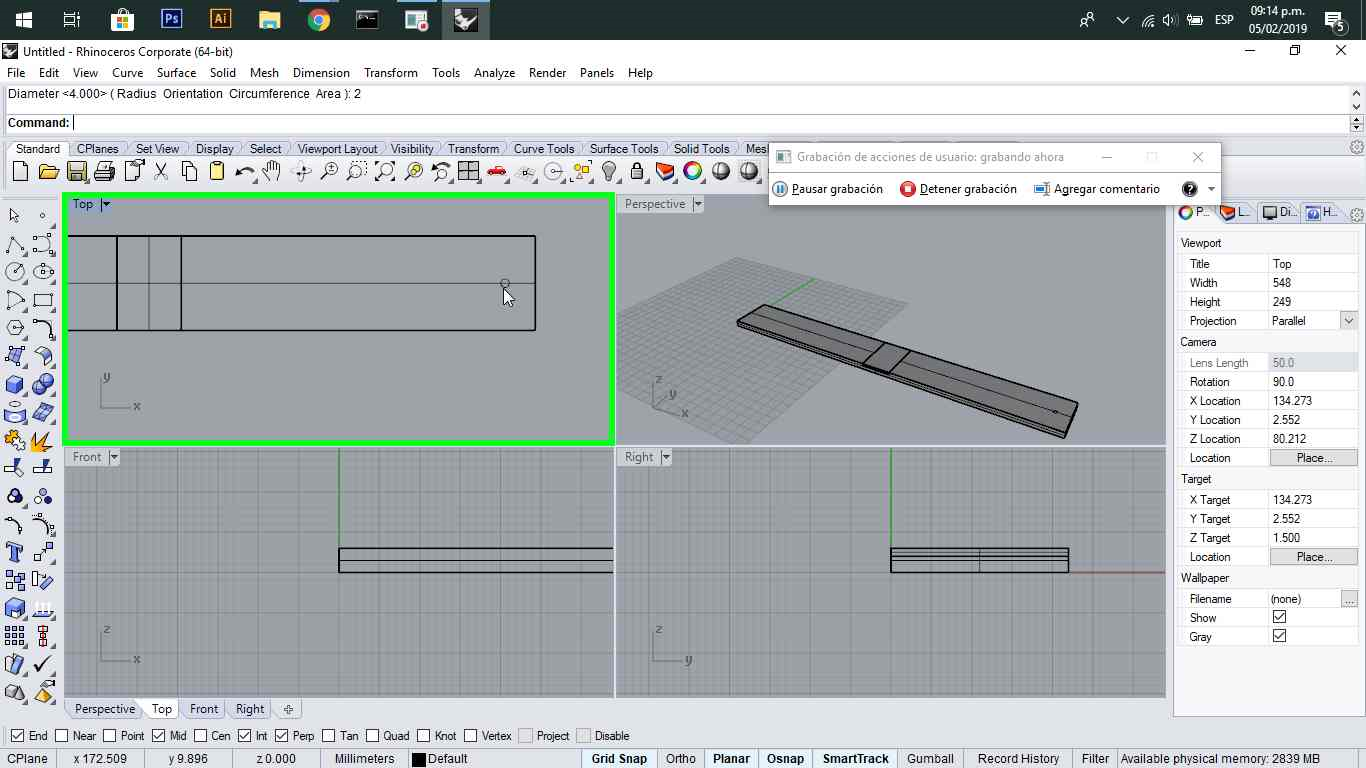
I started with a rectangle (a curve).
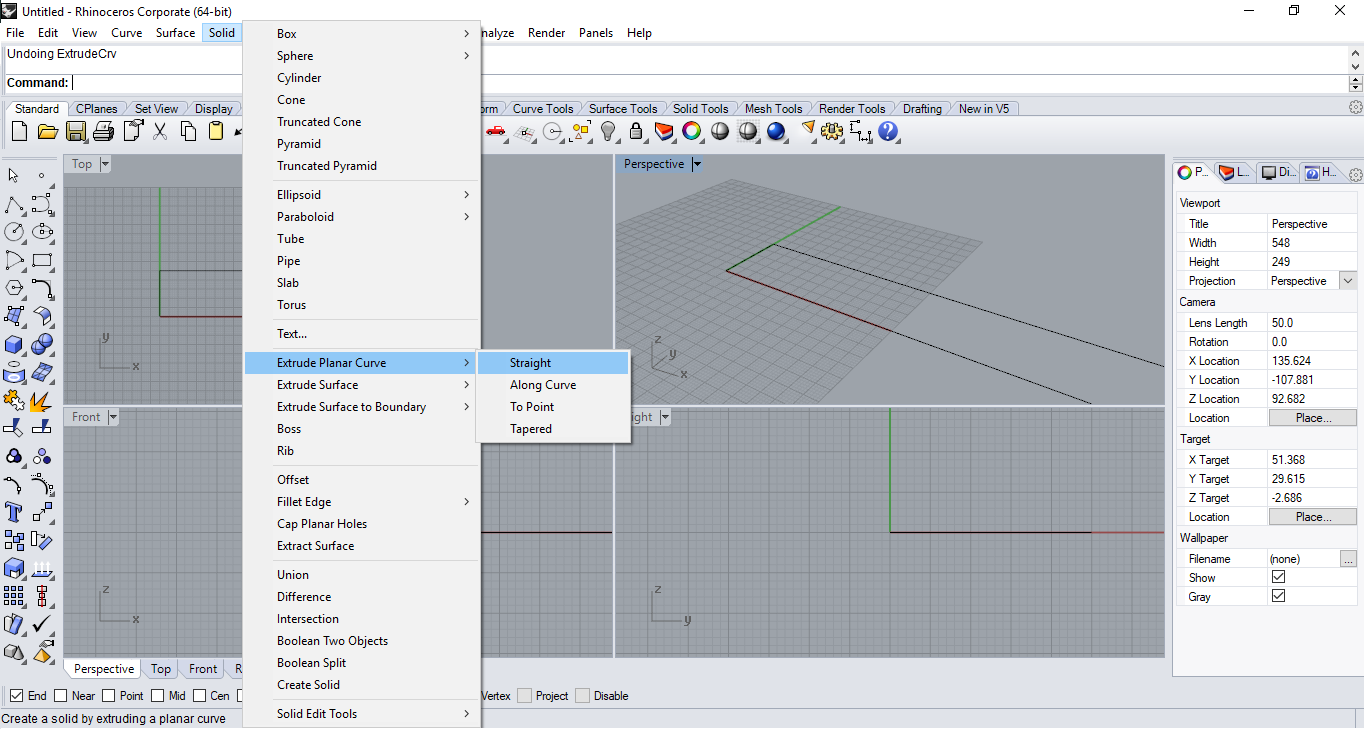
Then made a extrusion for it to make a solid object.
Then I stared playing with the spline to make more organic forms.
When I had a defined form I made an offset.
After this, I connected the lines to make a silhouette. The curves should be well connected and form a closed curve to be able to make an extrusion.
I did the same with two circles.
To create a space and a new solid I tried with subtraction. Then I made some extrusions to create the new solids that I wanted.
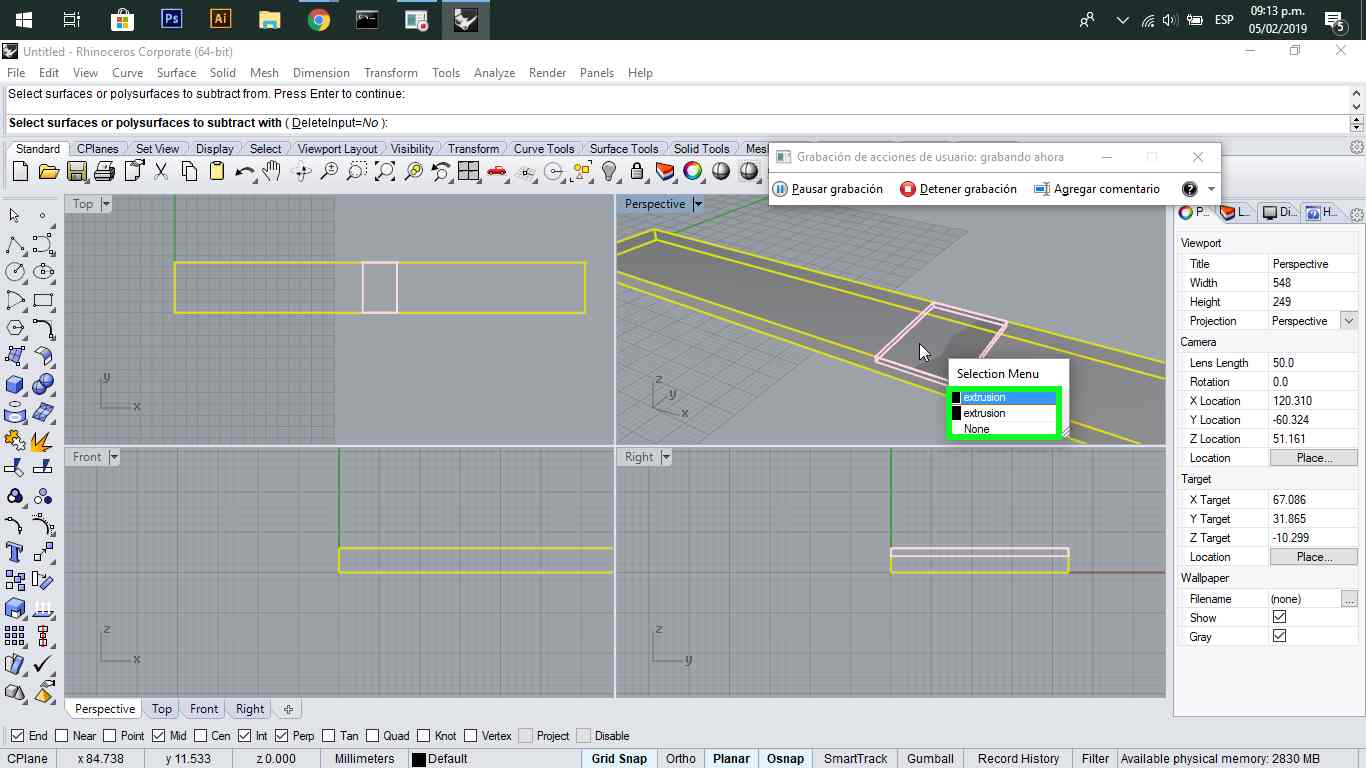
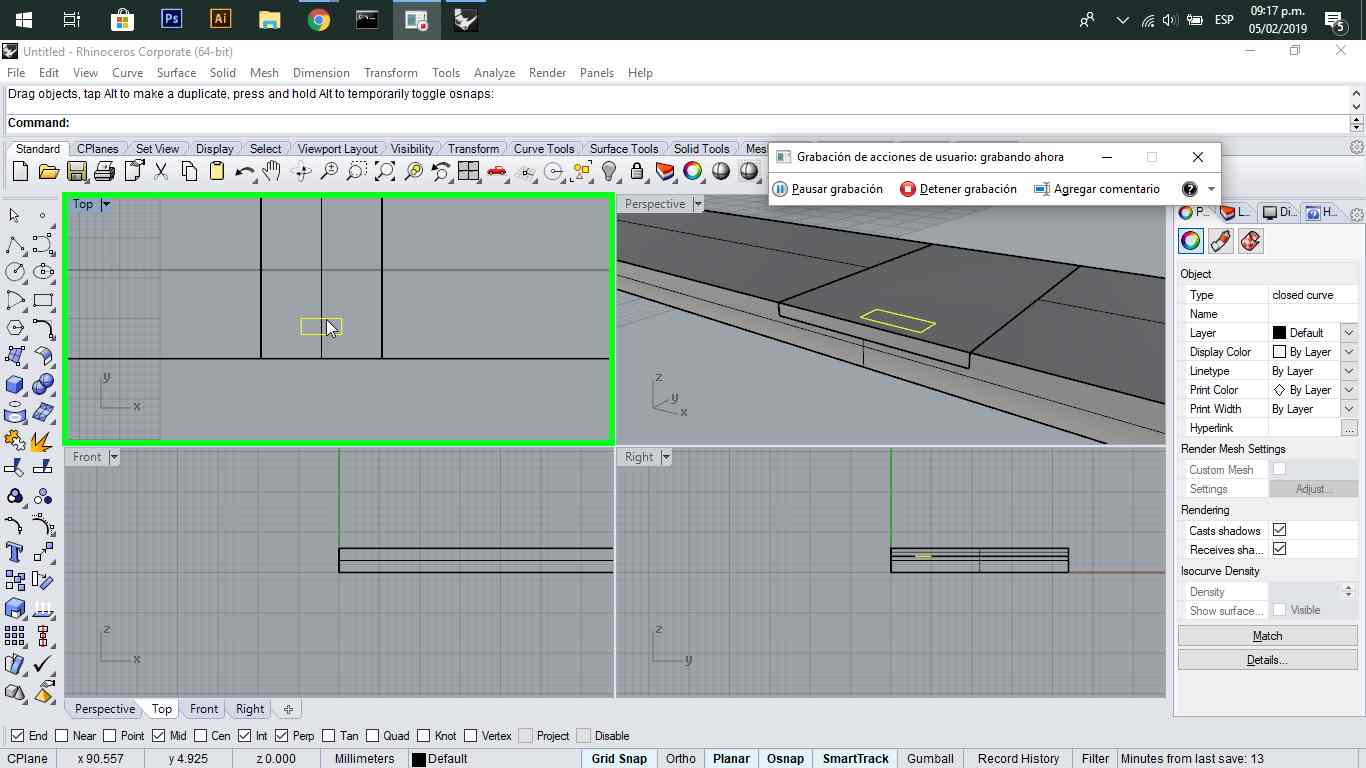
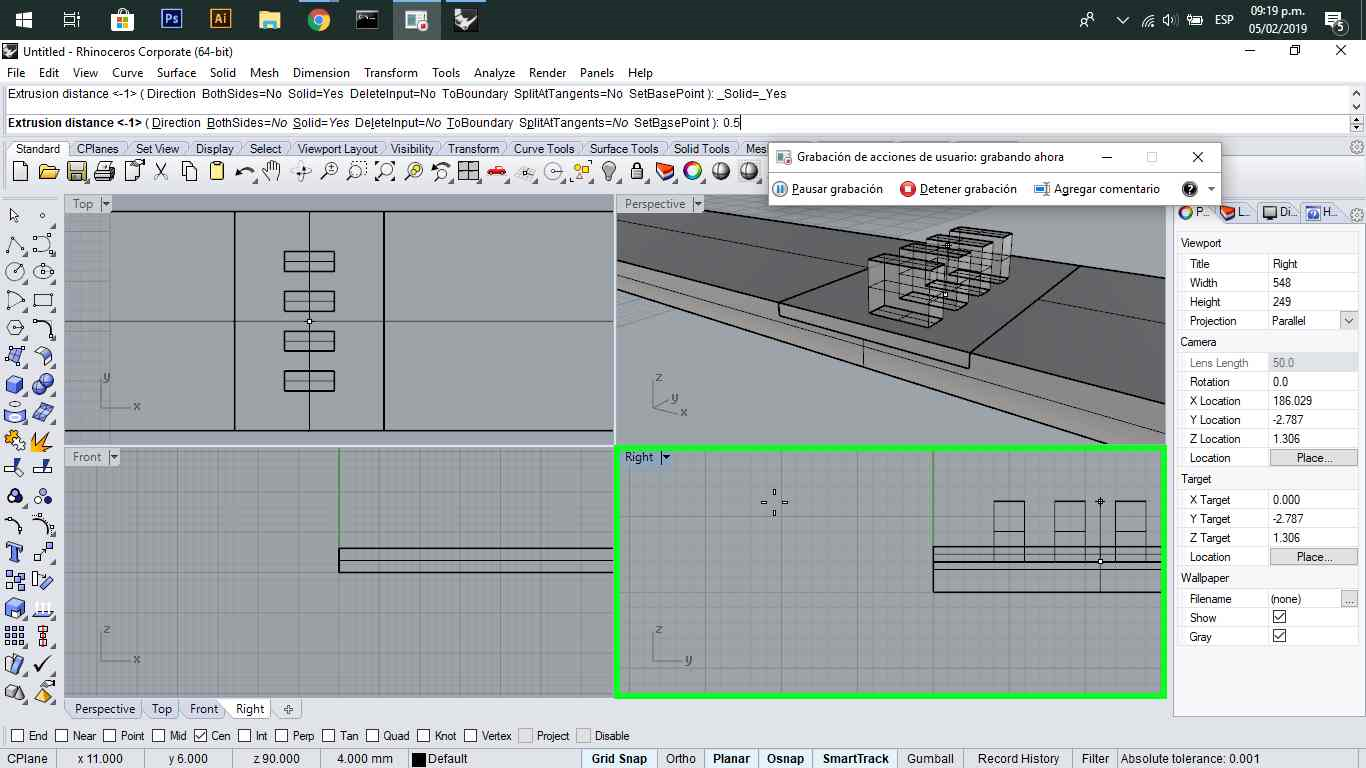
Also made some subtractions for the holes in the bracelet
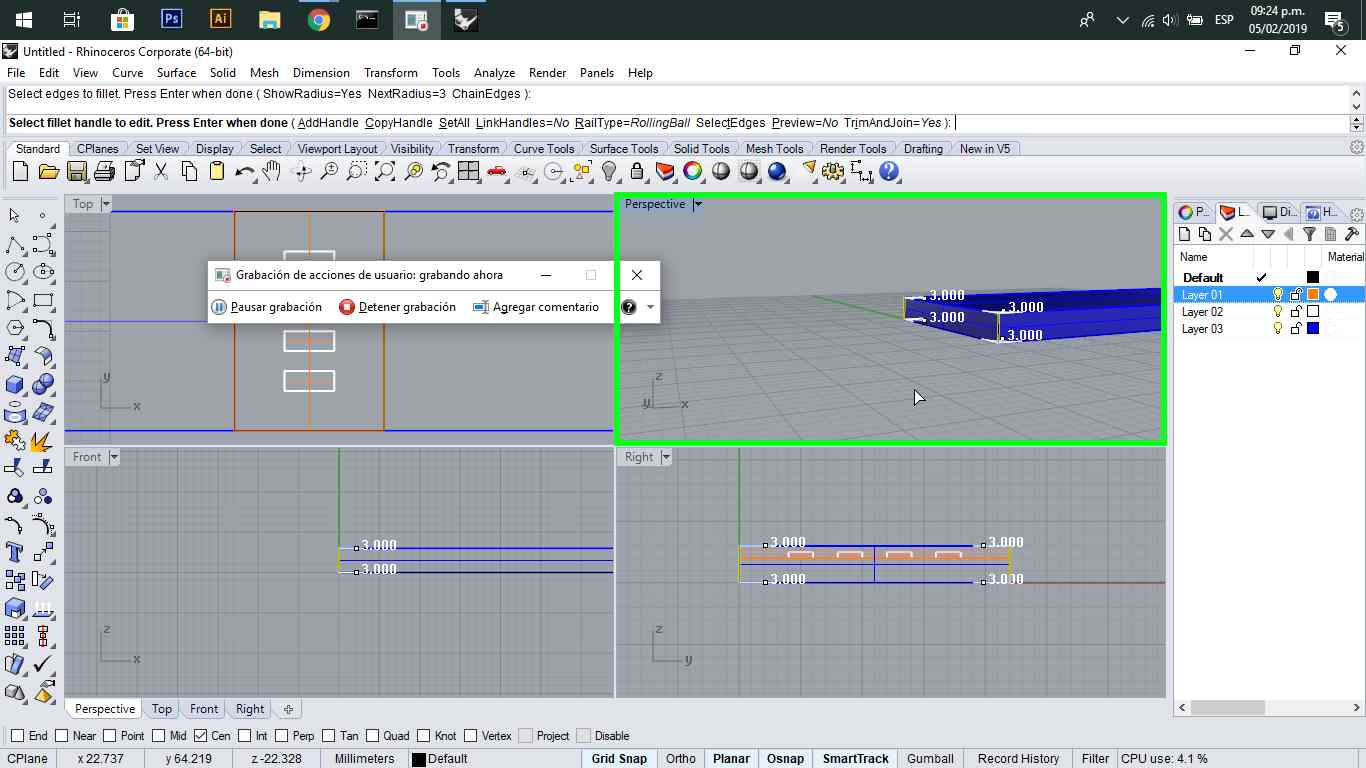
I also used the fillet function to make some round edges.
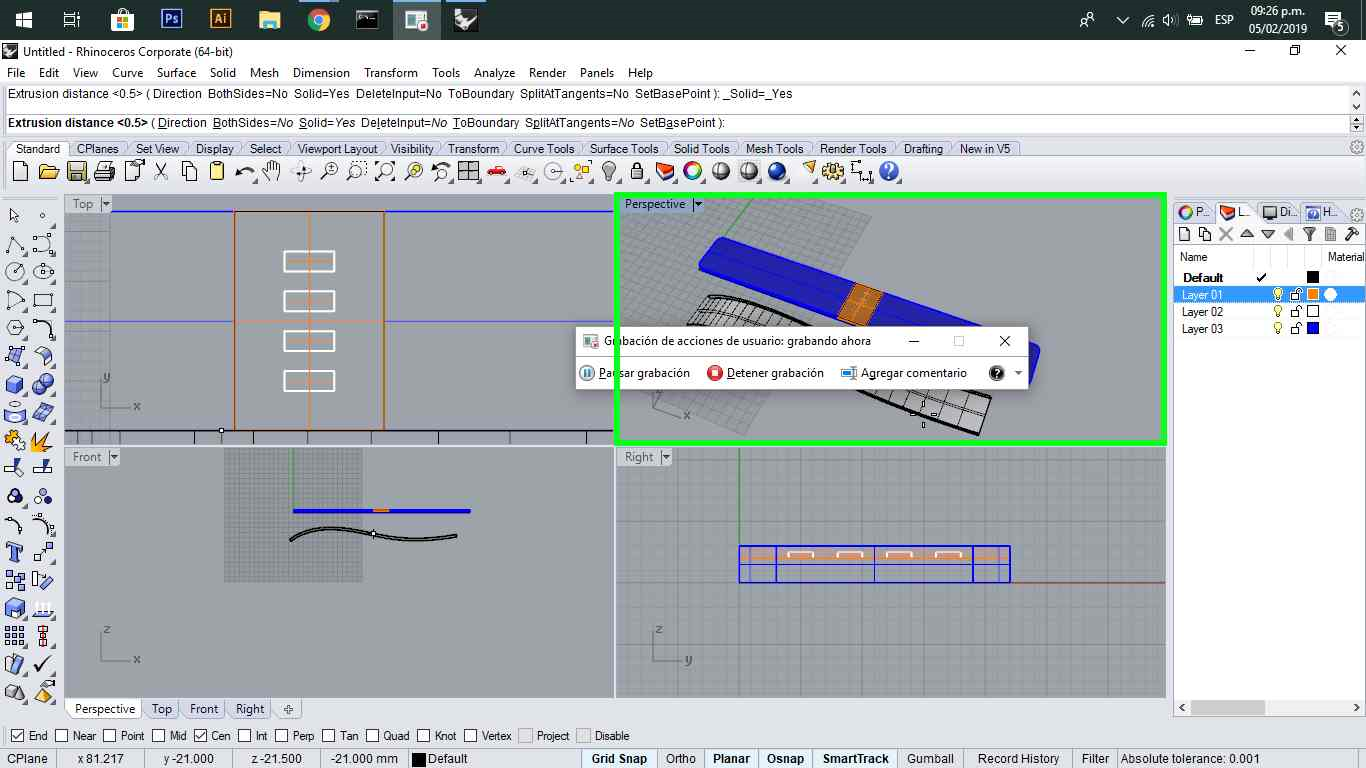
You can use different layers for the objects you create to work more neatly.
Autodesk Inventor
This is a parametric modeling software for product and mechanical design. It allows assembly features and quickly create drawings and blueprints.
Here you also start with a 2D drawing in a plane you choose.
And then proceed to convert it to 3D with an extrusion.
The thing with this software is that we understand the logic in the use of different planes to create the form that we want.
Here I created a tangent plane to make a sketch in it.
The I used the emboss feature to make a non through hole perforation.
You can adjust the depth of it
I made a fillet to all the side edges.
Then I created a new tangent plane.
In this part I created an array patron, to repeat the same feature that will show as the leds.
I made an emboss extrusion so all of them will be attached to the round surface.
Finally I made the last sketch but in the same plane as the first emboss sketch.
As my piece is curved I used the emboss feature a lot instead of a simple extrusion. I did the same to create the acrylic piece.
RENDERING
Keyshot
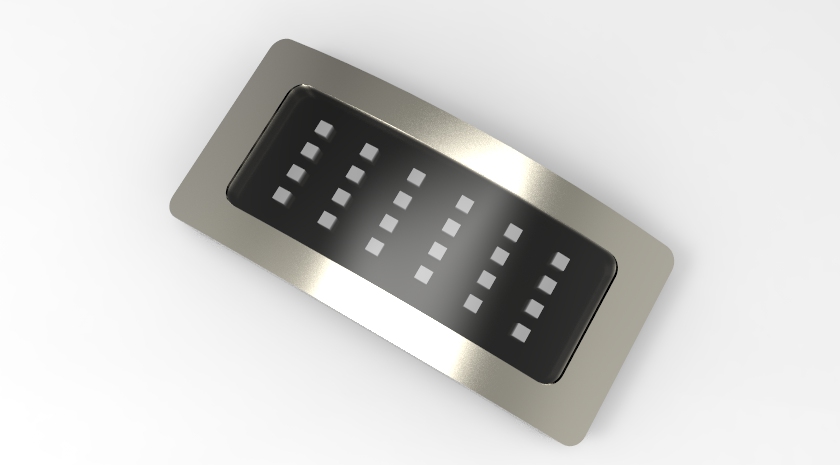
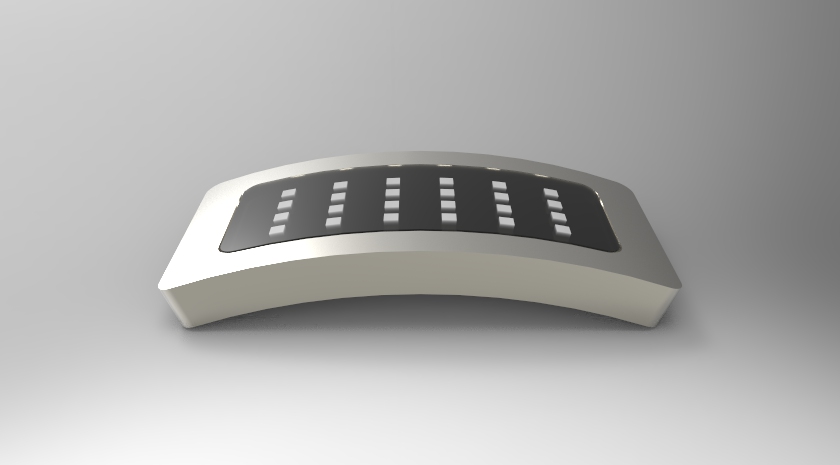
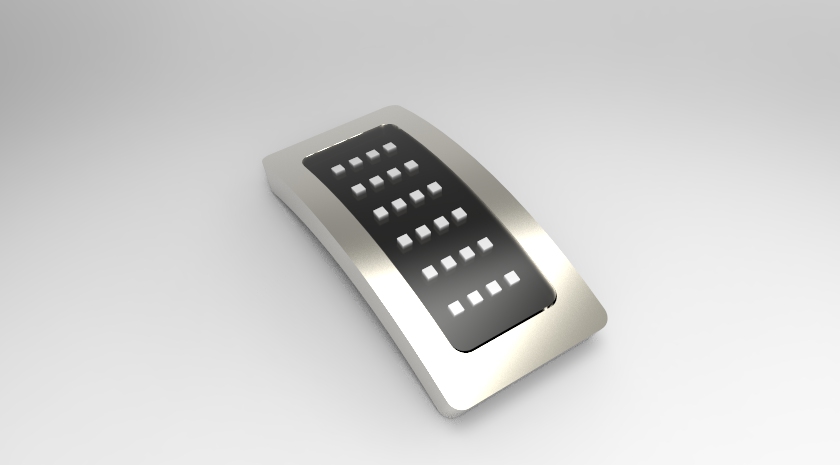
I chose the model I made in Inventor to create a render.
I used Keyshot, which is a very friendly and easy to use software.
