Second assignment
For someone that has never worked html before or code programming (besides for that one time with adobe animate a few years ago) this assignment is a big challenge.
All of this seemed really hard and confusing to me, but after doing everything, documenting it and then reviewing all the steps, it all starts to make sense.
The process is not hard to understand but it has a considerable amount of steps, so in order to have the information organized and not having and endless page I decided to divide it in four parts.
First things first
Fab academy created an account for us on gitlab and set a template for our page
Gitlab is an open source code web-based Git repository and collaborative development platform
You can actually use the gitlab web platform to modify your page and the information in it.
But in order to create a local repo, working locally and efficiently, and also check the changes made before uploading all the new (or the modified) archives to the server we need to install some stuff in our computer
getting started
Version control
Version control is a system that keeps track of every change made to a file in the process of making a project, and saves all the versions of it for each change you make.
Why is this important?
You will be able to restore any change as every version updated is stored. You can easily find what was changed and who made the change, so it is very helpful for collaborative projects.
Working with git

My first step was installing and setting up git
Git is an open source, free distributed and very popular version control system
I installed git for windows on my computer.
Once I had it installed I started the setting up.
Establish user name
Establish user email
Check information
git config --global user.name testuser
I replaced "testuser" with my name.
git config --global user.email testuser@example.com
I replaced "testuser@example.com" with my email.
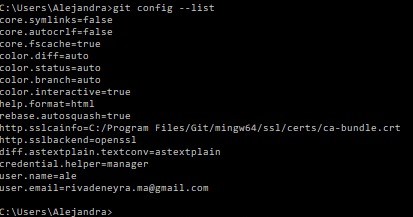
git config --list
It should look like the image below
My second step was creating the local repo
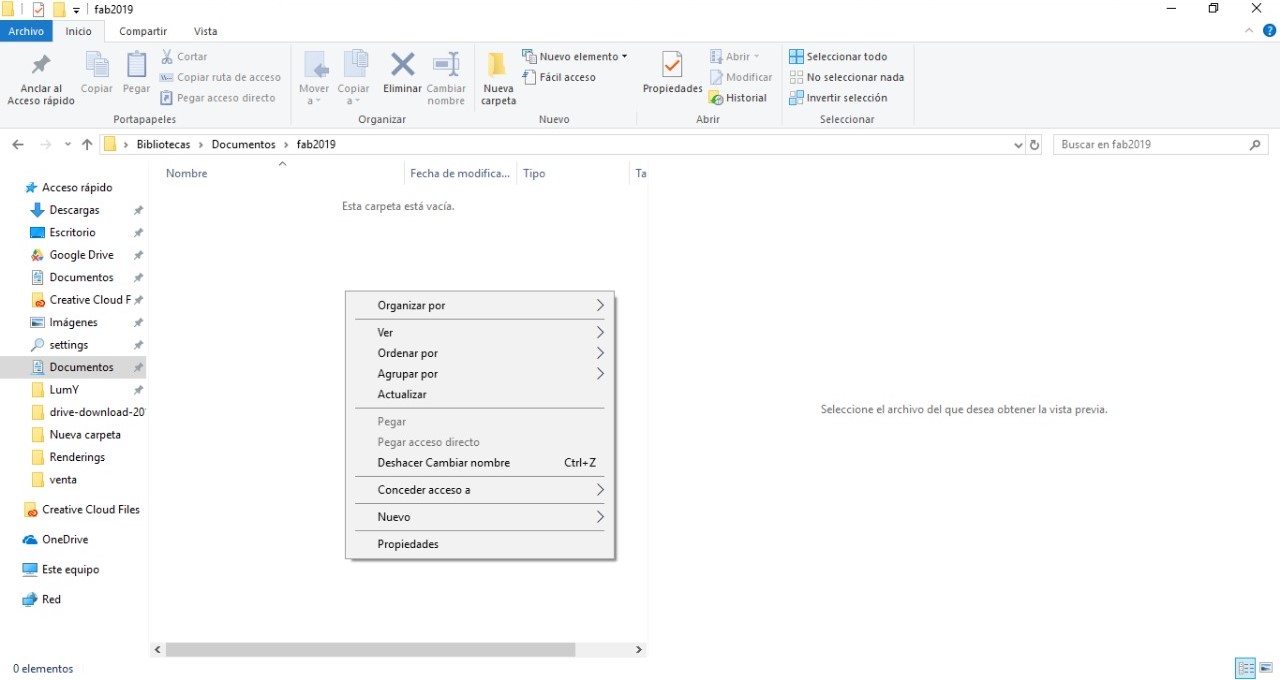
Create a new file in my computer
Copy the path
Set the repo location
cd path
I replaced the word "path" with the location of my file (ex: documents/fab2019/mary

My third step was copying from gitlab to my computer
Copy gitlab's url
Clone the archives
git clone path
I replaced the word "path" with this URL git@gitlab.fabcloud.org:academany/fabacademy/2019/labs/tecsup/students/mary-vicente.git
Finally, the test
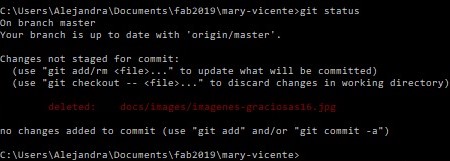
Make a modification in the local repo, adding or deleting a file for example
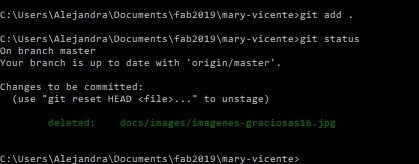
Check status
Stage the changes
Commit the file that you've staged in local repository
Send changes to the remote repository
git status
git add .
git commit -m message
I replaced "message" with a label for the change made (ex:deletedimg5)

git push origin master
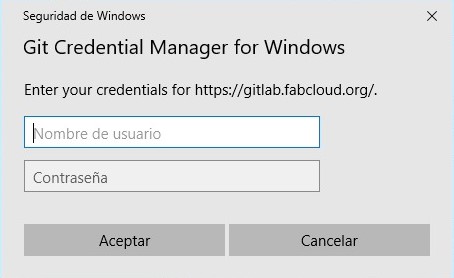
Git credential appears the first time you push. Enter user name and password for gitlab
