Week 13: Molding and Casting
The main outcome for the week
This week I designed and produced a small popsicle mold. I CNC-milled a negative mold from wax and on that I made a food-safe silicon mold for the popsicle.
Starting point
Now as the summer is here, I want to make a food safe mold for casting healthy popsicles for my child.s I want the popsicle to be somehow funny with interesting textures. In addition to a mold, there could also be stick for the popsicle out of the food-safe silicone, which should endure some small teeth chewing on it.
The mold should be one sided for now which sets significant limitations on the shape as it needs to be removed from the mold easily without breaking the popsicle.
Modeling on Blender
I’ll use Blender for creating the 3D model because it’s easier to make organic shapes with it than with
FreeCAD. I watched these two tutorials on sculpting with Blender by Ryan King Art:
- Sculpting for Complete Beginners! (Blender Tutorial)
- Sculpting a Cute Character in Blender for Complete Beginners
Based on those creatures made in the tutorials, I came to think of a funny/cute looking creature with hands and legs, and perhaps horns/tentacles, tails and other blobs to make it more interesting.
For the shape, I was also looking for inspiration from natural shapes.
But now in the beginning, my plan is to just begin sculpting and experimenting and see what comes out of it.
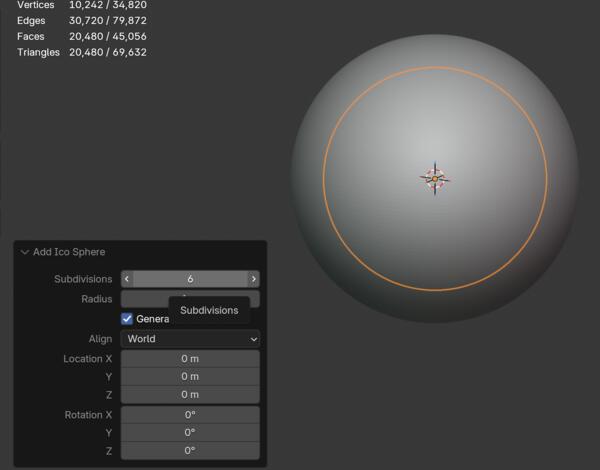
In object mode, I pressed Shift + A and selected Add > Ico sphere. I added more subdivisions to make it more refined. Then I moved it up and scaled down (S). Then I created three more Ico Spheres and did the same. I selected all of them, and pressed Cmd + J to join them. This is the base for the popsicle.
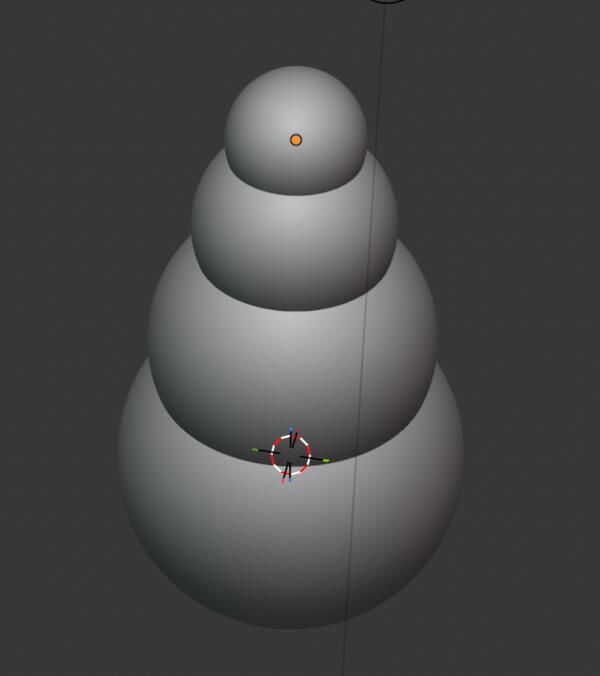
I added some blobs the sides with Blob tool and in between them I placed holes by pressing Cmd with left mouse click.
I used elastic snake hook to sculpt the blobs a little bit.
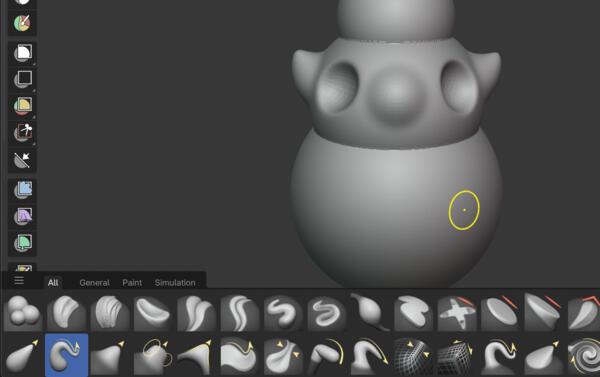
I refined the model by pressing R and moving to a fine Cmd + R
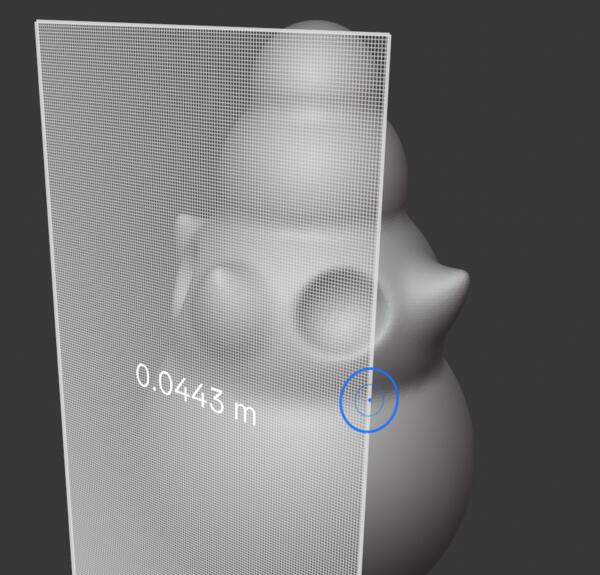
I kept playing around until the model looked like this. Here I'm keeping Shift pressed to smoothen the blobs.
This one wouldn't work with the overhangs. Overall, I wasn't very happy with this one.
I began with another type of object. I added an ICO sphere and added blobs around it. I used negative draw to increase the depth between blobs, and then used Grab tool to stretch the whole thing.
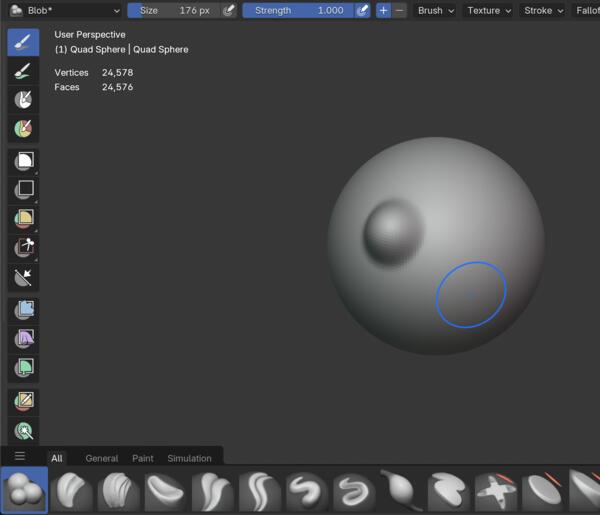
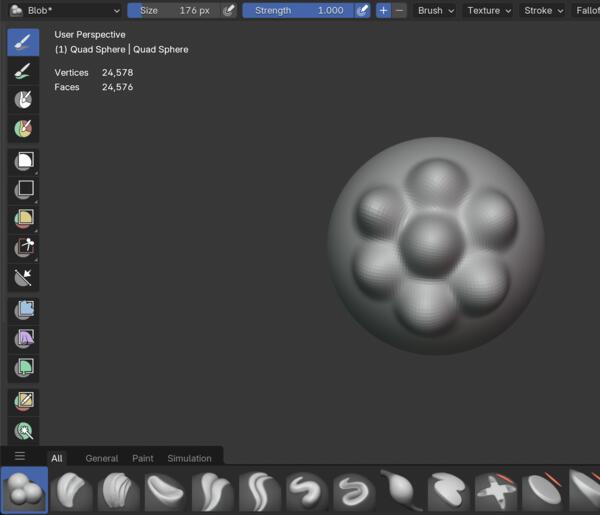
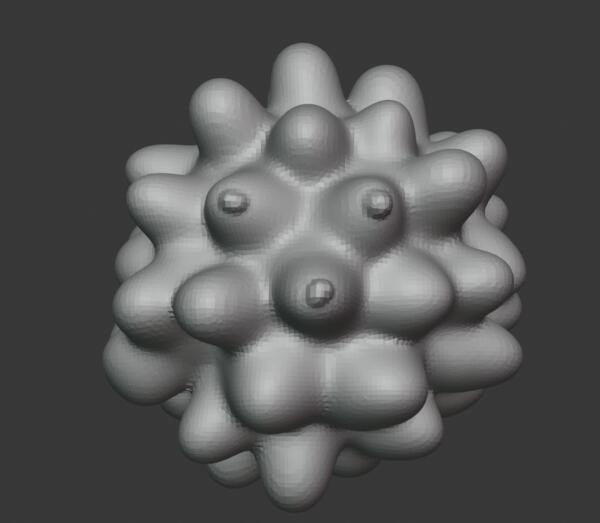
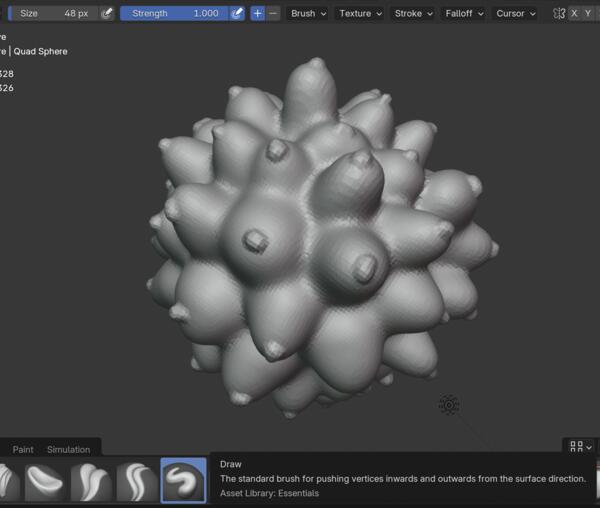
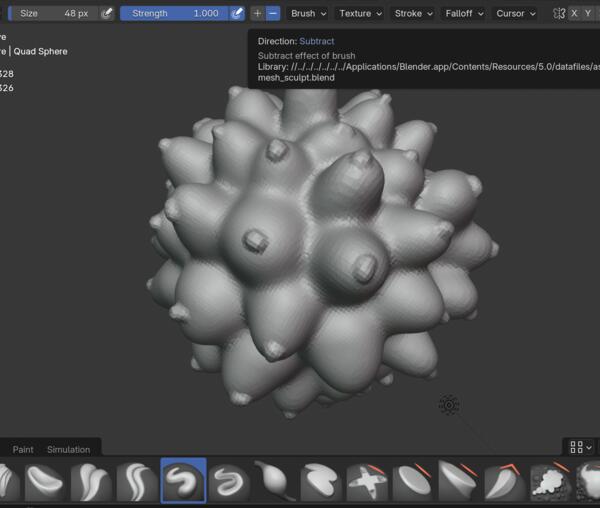
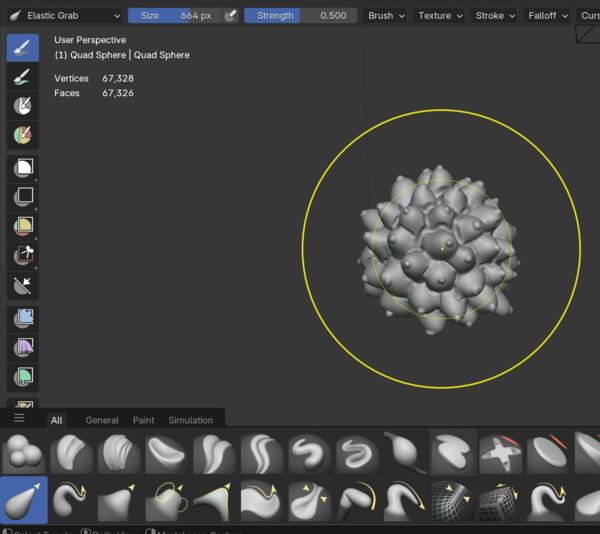
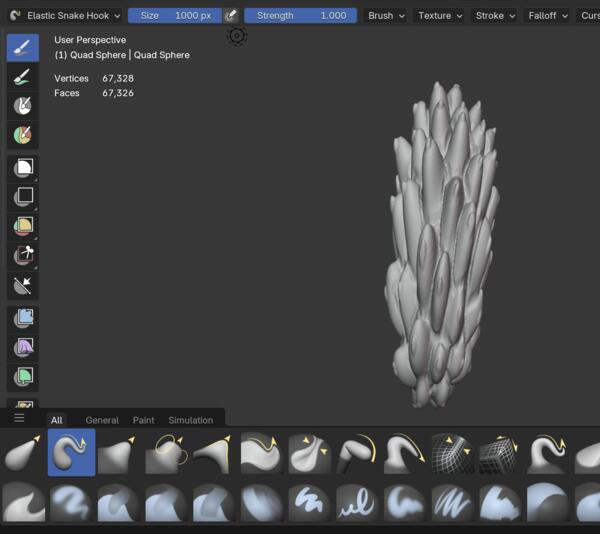
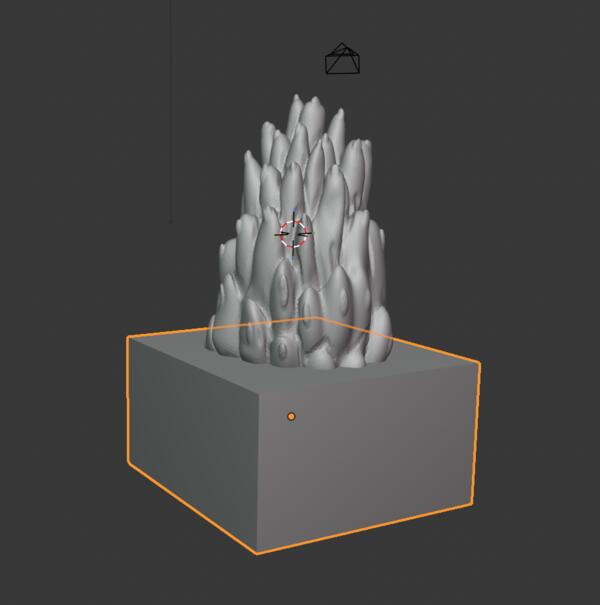
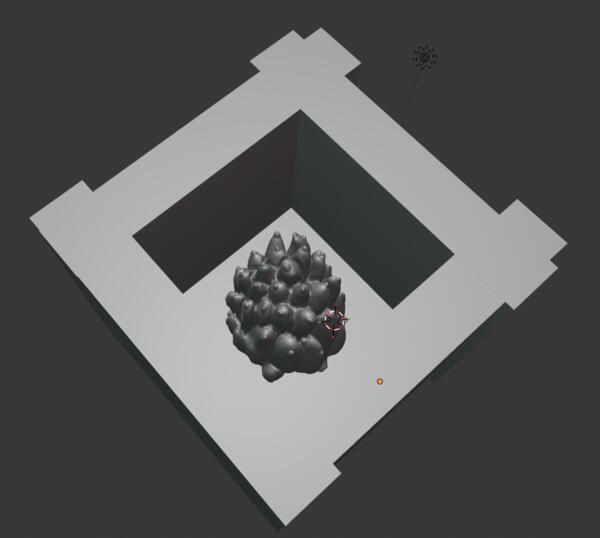
This one would have been quite a weird popsicle but I was noted that the tool we are going to mill this is 3mm wide so it won't be able to mill that refined shapes.
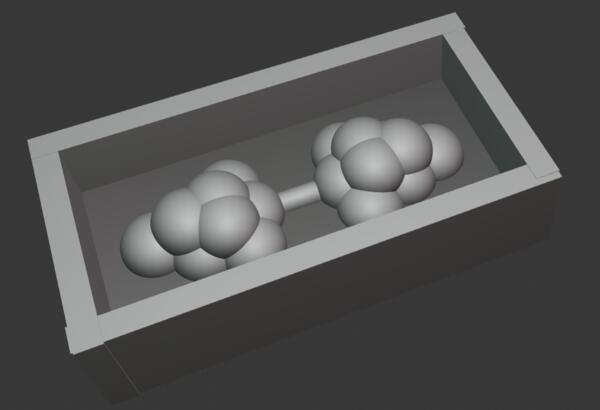
Then in the morning I just quickly made this one, that works as two-sided mold. I joined some ICO spheres to create this shape and the duplicated and rotated it. It was only later when I noticed that the rotated one shoud have been mirrored as well to match the original one in shape. I hope the two sides form a fine enough shape between them.
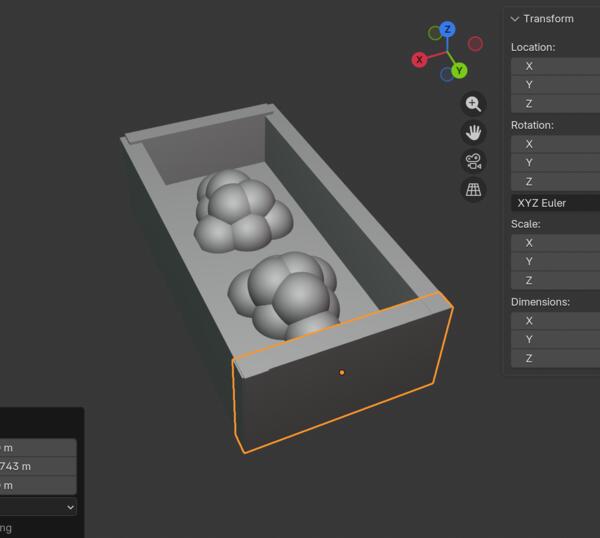
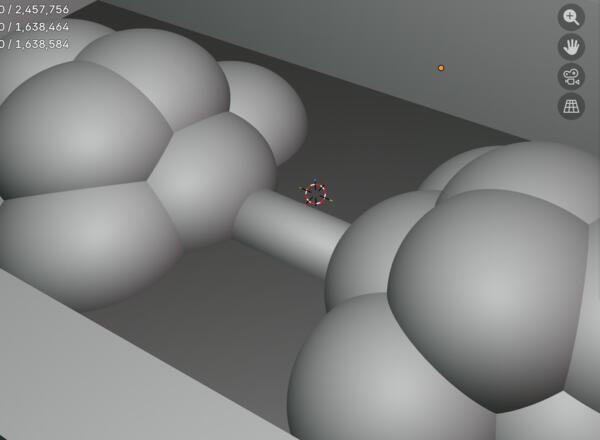
Scaling down became an issue as the piece became so small that it got lost whenever I was moving around it. Unit scale had to be set correctly at Scene tab. However, in this way the piece appeared really small in VCarve later.
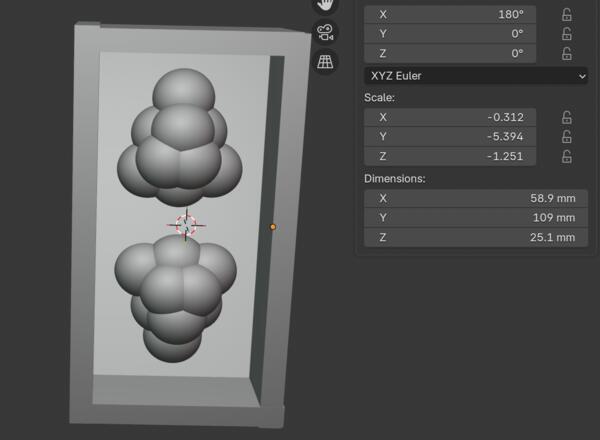
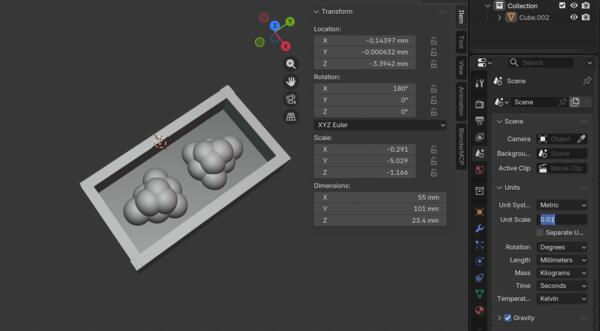
I exported this one as an STL-file to be imported in VCarve.
CNC milling
We used Roland Modela MDX-40 for milling and its own VPanel software for driving the machine.
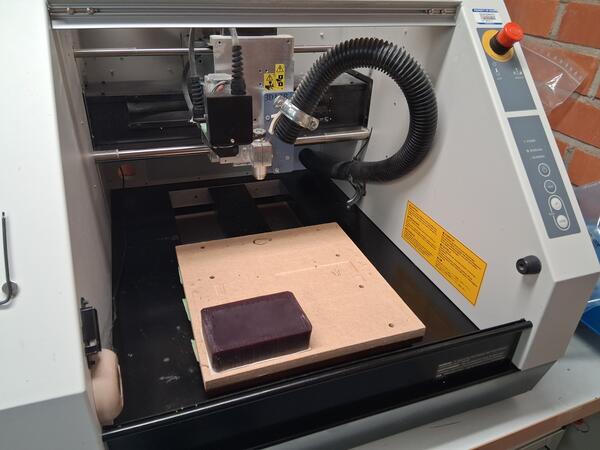
We used double-sided tape to place the piece on the platform. The piece is a bit wonky so it needs to be milled on the other side to make it more flat.
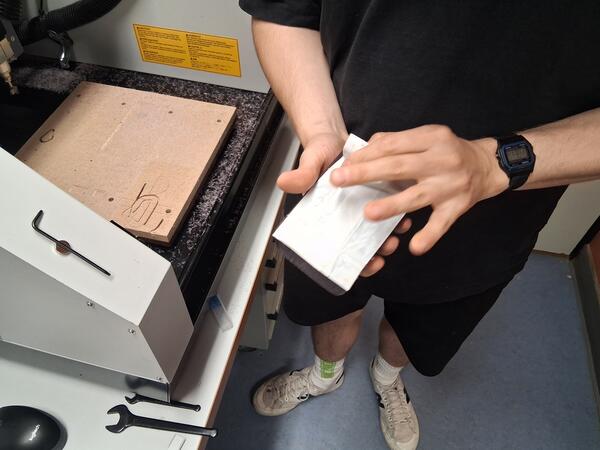
In the beginning we moved the tool on the machine's software and set the XY-origin by selecting it on the drop down menu and clicking Apply.
Then we set Z-origin with piece on the inner side of the machine and applying it below where we clicked XY origin.
On Vpanel we had the file for engraving 1mm away from the top of the milling piece. We opened that file on VPanel by pressing Out Cutting, deleting all the previous files and adding the engraving file. Then press Output and the machine began milling. When it was done, we repeated the same to the other side as well.
Then we changed the tool to 3mm flat end mill tool as well as the spindle holding the tool.
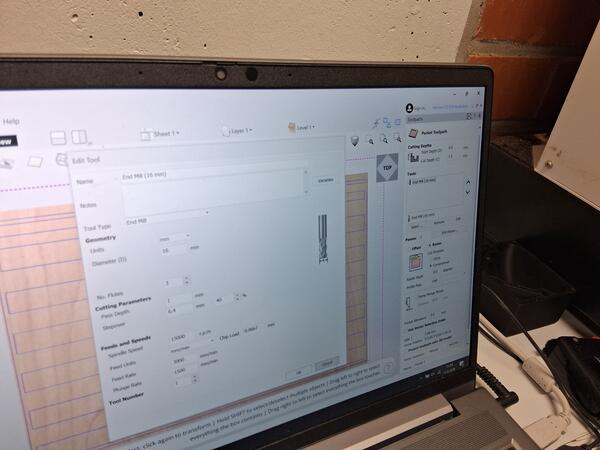
Then we set the Z origin again.X and Y were the same as in the previous round.
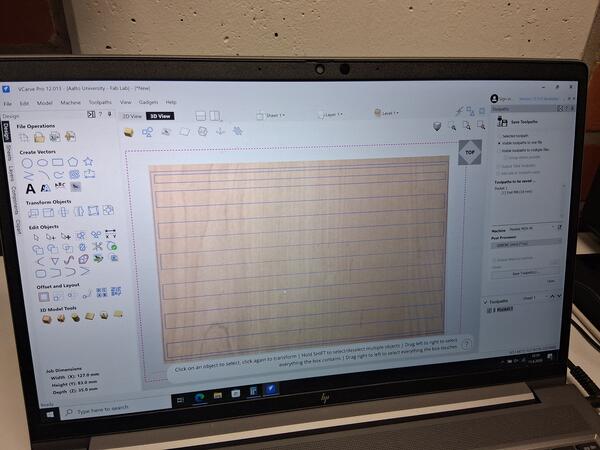
Then we opened on VCarve my design file and then we had the dimensions of the wax piece measured and set there.
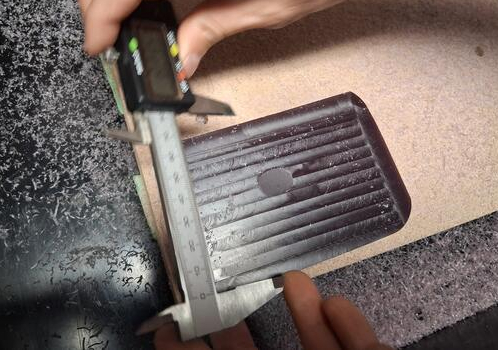
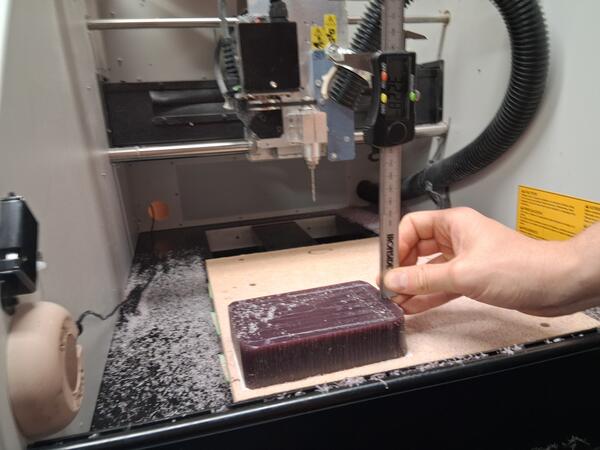
The operation for preparing the file were as following (which is also gone through in the video below):
- As the file was imported very tiny, we scaled it up to fit the dimensions of the wax piece. Then click Position & Import.
- Next on the side view, we position the model sligthly below the surface of the wax piece. Click Import.
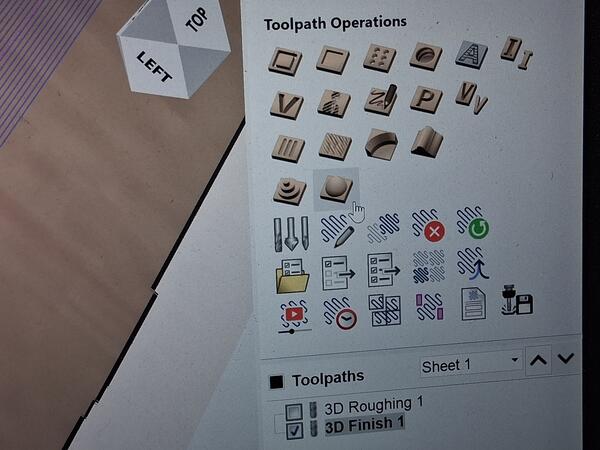
- Then we have the model visible on the screen as it is going to be printed. We go to 2D view and define the cutting area by clicking the rectangle tool (in this case) and place it around the model and click close. On the right side of the screen we click Toolpaths > Roughen (1st column, 4th row) and check the parameters are fine. Click OK. In Machining Limit Boundary the option Selected Vector defines the drawn rectangle to be the cutting boundary.
- Under Tool, click Select and select the tool that is used (3mm flat end mill) and in the machine datasheet check the correct feed rates and speeds for the tool and material. There's a formula for calculating feed rates etc. but here the machine also updates the values automatically. We placed feed rate to match the checked chip load. We set 40% stepover. Click Apply.
- Click Calculate and check the 3D view of the result on Preview Visible Toolpaths. Click Close.
- Click Save Toolpaths icon, check that everything is correct and click Save Toolpath(s) button. Save the .nc-file.
- Go to VPanel and click Cut. Delete previous files and add the saved .nc-file. Click Output to start milling.
When the roughing was done we began the finish.
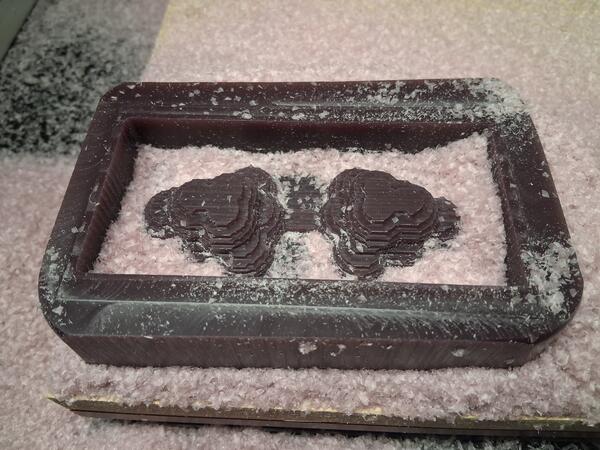
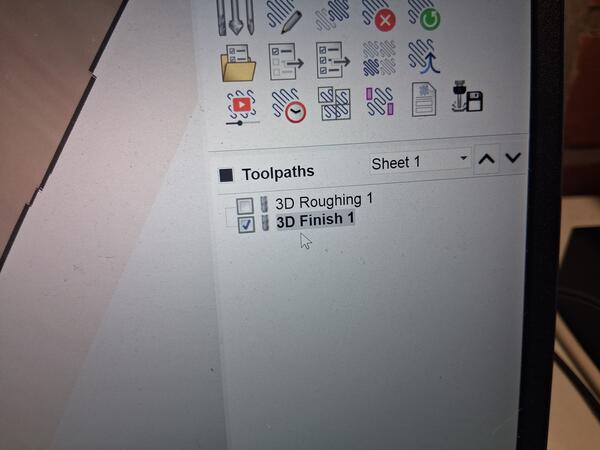
Click Finish Icon on Toolpaths (2st column, 4th row).
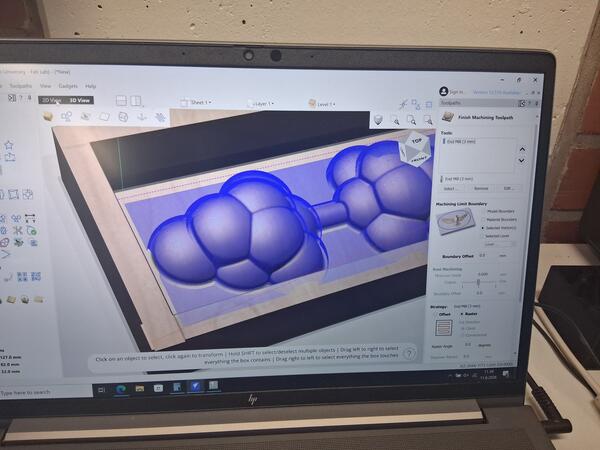
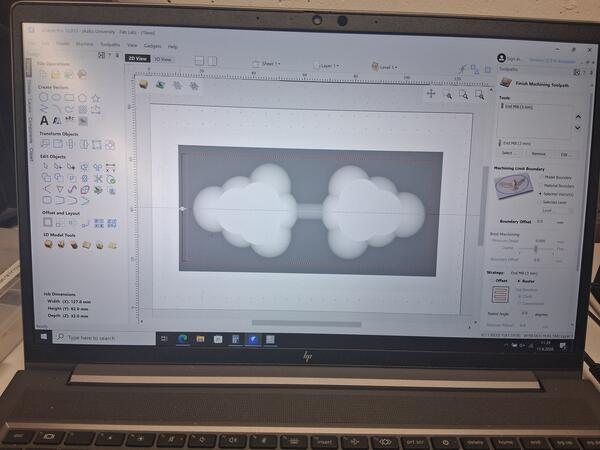
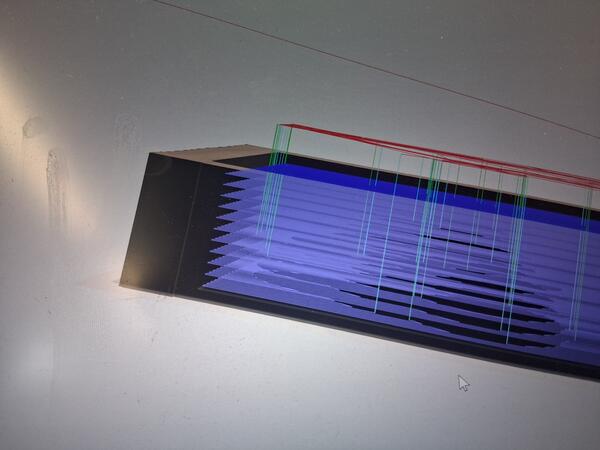
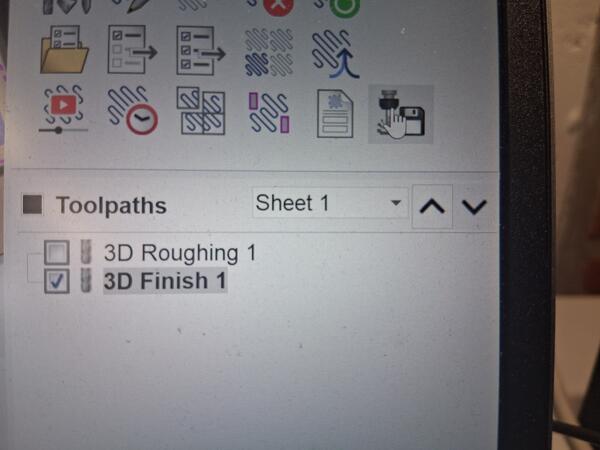
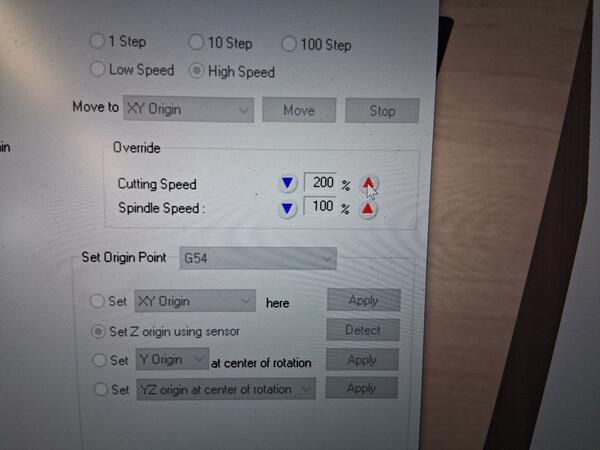
We doubled the cutting speed because we were in hurry.
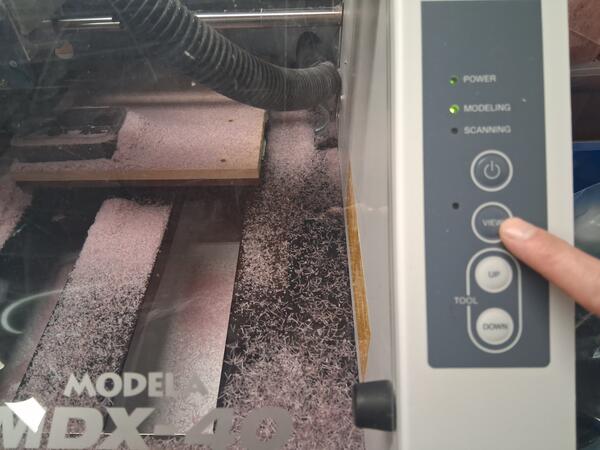
When the milling was done, clicking View button on the machine moved the result to the front.
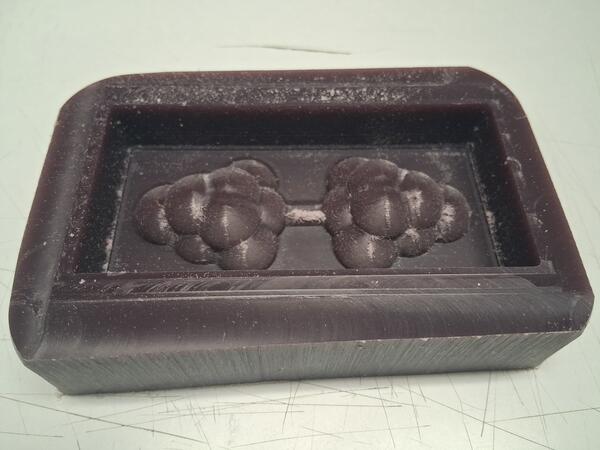
Success.
Casting
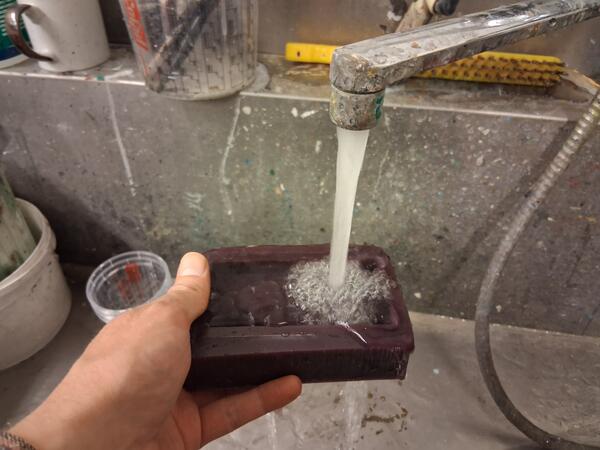
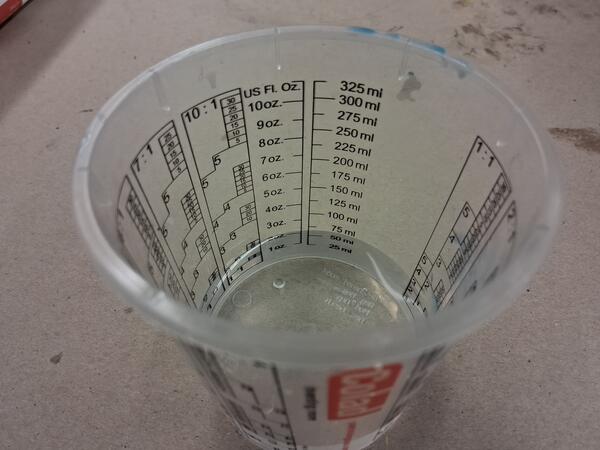
Casting was a straight-forward process. I checked the amount of molding silicone needed by measuring the negative mold with water: ~70ml. The assistant instructed to round it up to 100ml to have some extra for easier detachment of the cured mold.
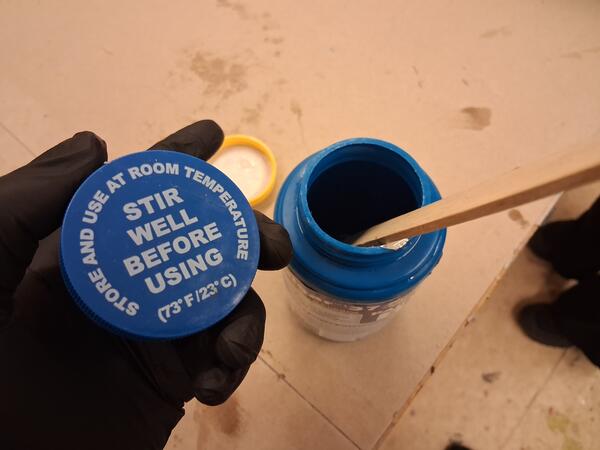
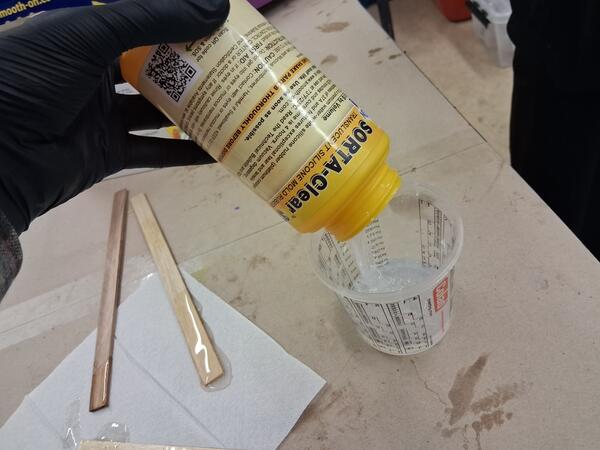
I used Smooth-On SORTA-Clear 37 food-safe silicone which has 25 minutes pot life. The safety instructions recommend using vinyl gloves (latex inhibits curing) and wearing long sleeves to minimize contamiation. Also exposion to tin-cure silicone, sulfur clays, certain wood surfaces, newly cast polyester, epoxy or urethane rubber can ihibit curing of the silicone. Small initial tests are recommended.
There are two components, both used the same amount (1:1). They need to be stirred really well together while avoiding creating too much bubbles in the mix.
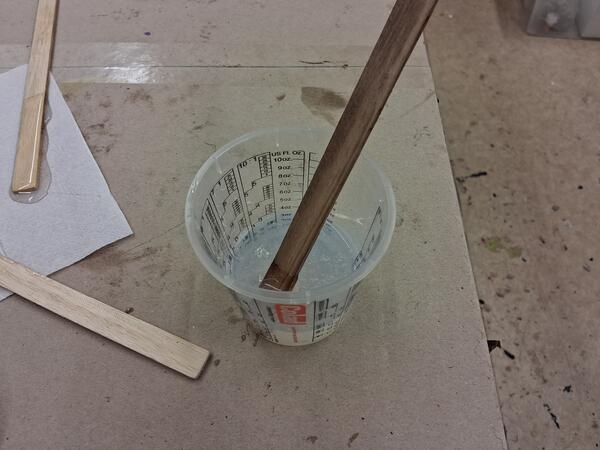
To ensure not having bubbles ruining the mold, we used decompression tank to suck the bubbles out of the mix. As the mix looked like it's going to overflow, we again increased the pressure, which released many bubbles on the surface (see video at 1:45). I did the depressuring a few times.
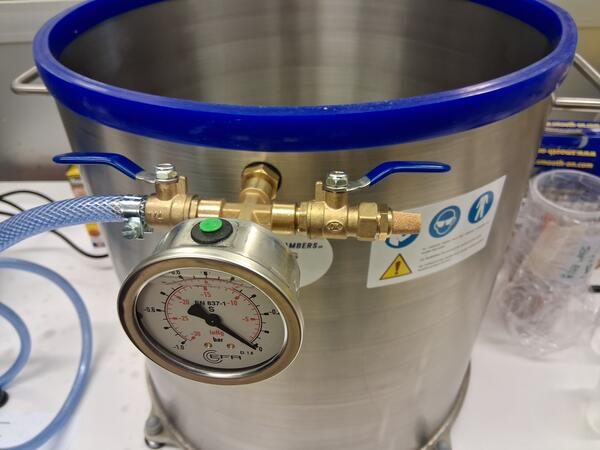
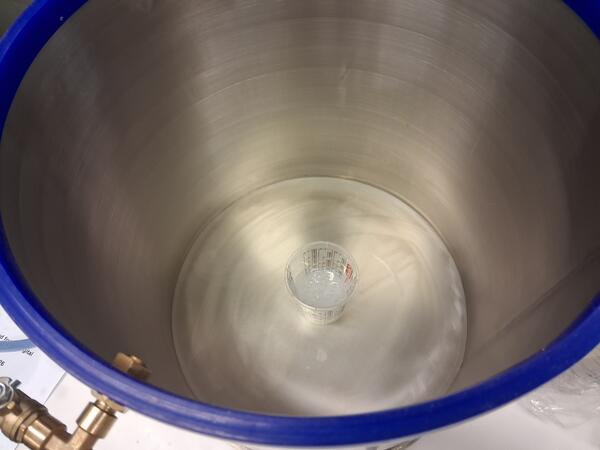
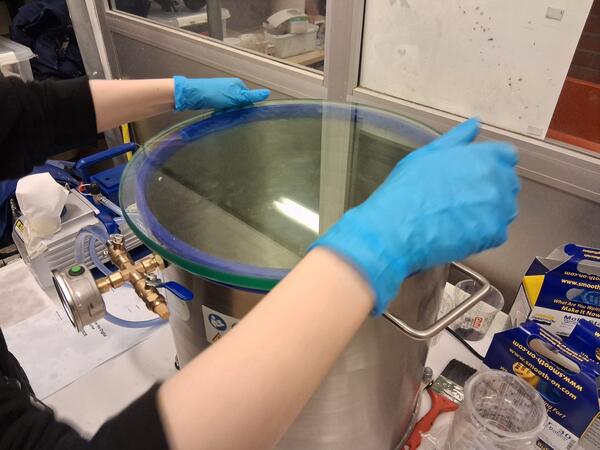
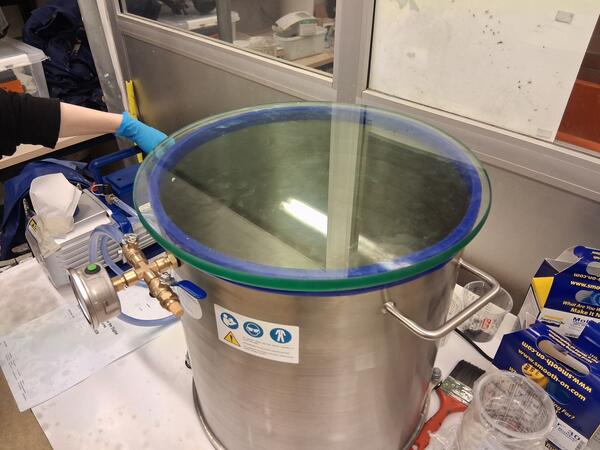
It took quite long to get all the bubbles out as the mix was quite viscous. The mix was already beginning to reach the end of its pot life as I was pouring it to the negative mold. I was instructed to first pour it boldly and then make it thinner, not to let any bubbles in there.
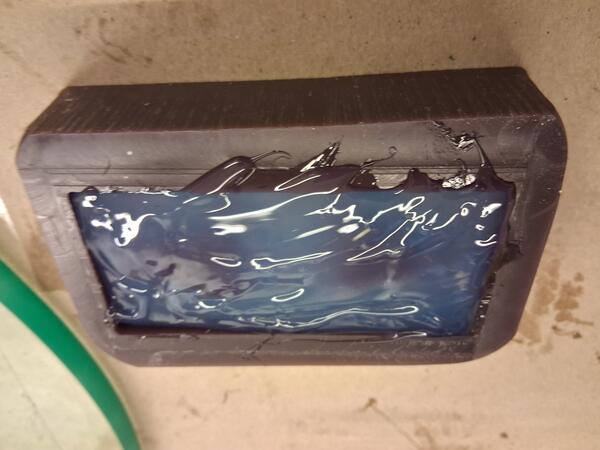
The result was anyway stilled quite flat as it had been left curing for the night. I used air blower to get some air under the mold so it would detach more easily.
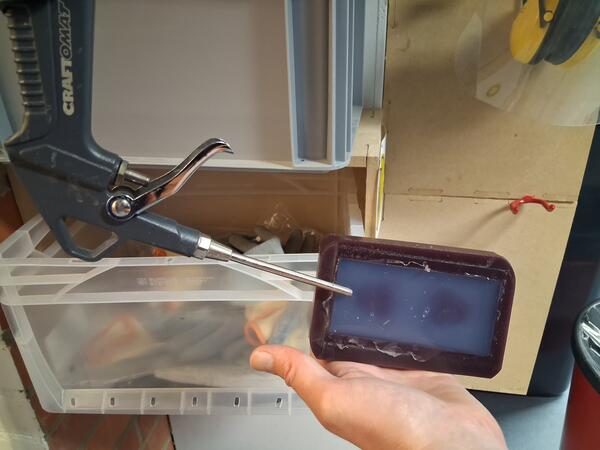
The whole curing was supposed to take 4-6 hours (the warmer the faster) but the mold was still really sticky where it had been in contact with the wax. I should have used gloves as it was really difficult to get the stickiness out of my hands.
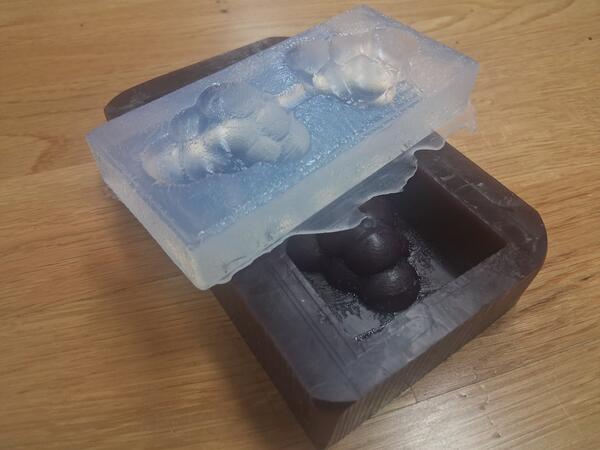
While I was waiting the mold to finish curing, I 3D printed a small box where the two pieces can be placed when making the popsicle.
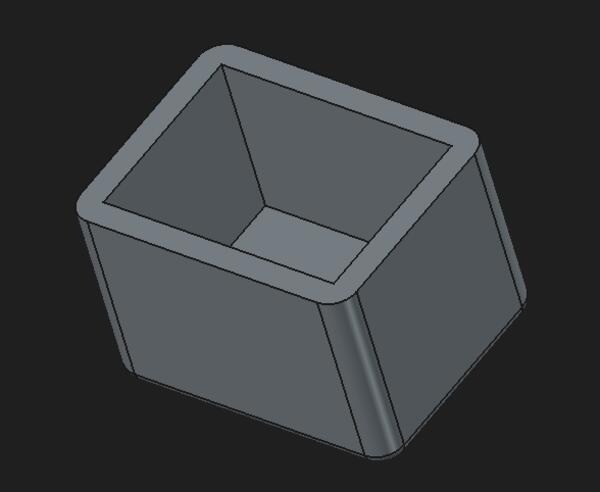
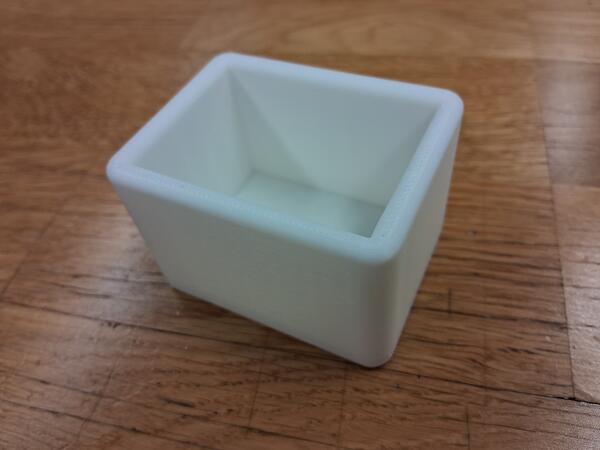
The mold never cured but stayed sticky. I tried washing it up with dishwashing liquid, which helped only slightly. The reason for the result was probably uneven proportions of the two components and the reason for that was likely that I was looking at the measurememnt cup from the inside and the assistant from the outside, and then we had communication failure in that regard. I am quite sure that I dried to wax before pouring the silicone in it, but to make sure next time, I can use the air blower for that purpose as well.
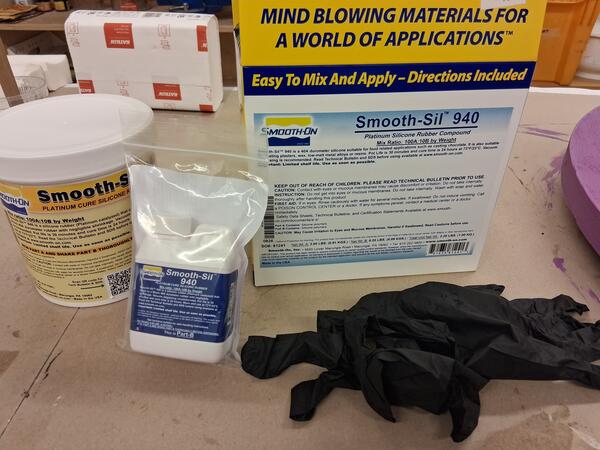
I continued with another food-safe silicone, Smooth-On Smooth-Sil 940, which is added 10:1 by weight and has a pot life of 30 minutes. The safety considerations, give on the website are same as with the previous silicone mix. I poured the first one a bit too much so I had to have a bit more of the next one as well. This one was less viscous thus easier to debubble.
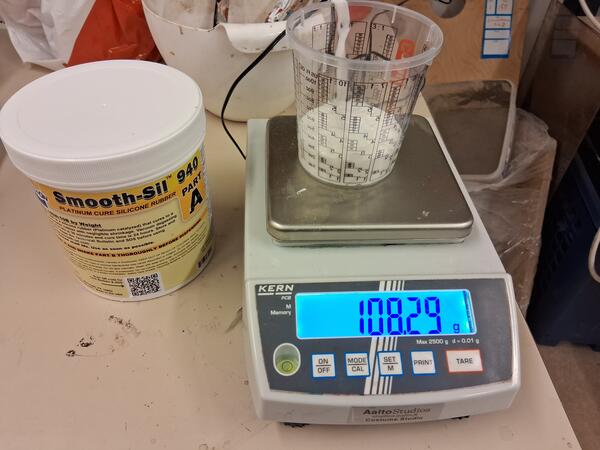
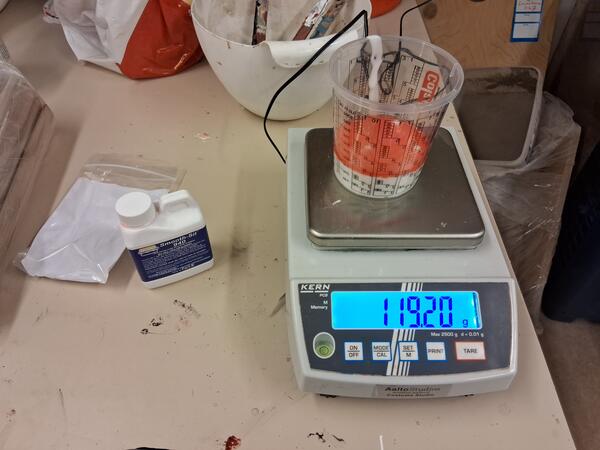
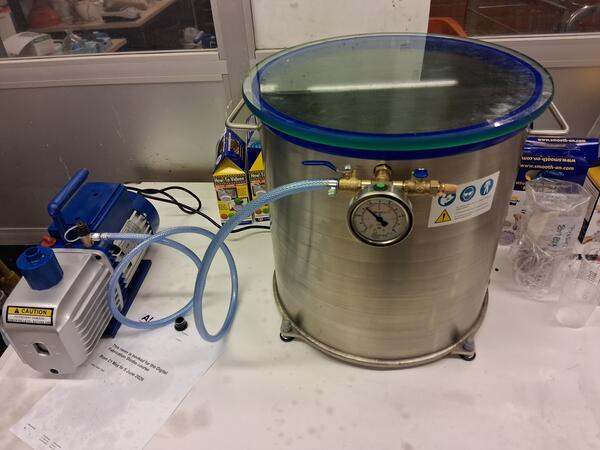
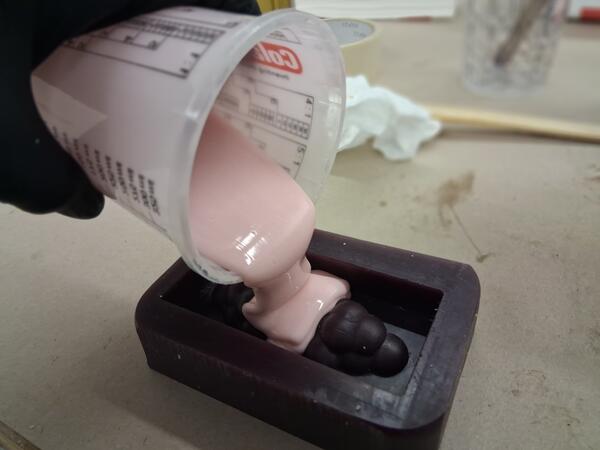
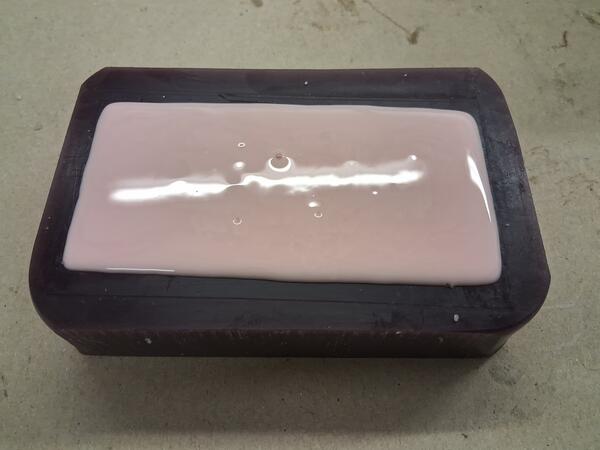
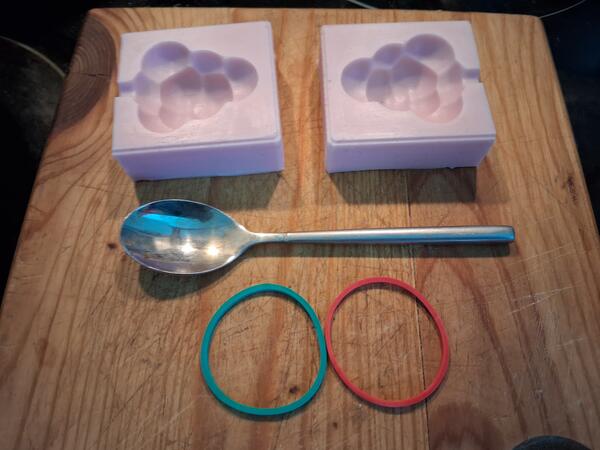
As the curing was complete, the result turned out nicely solid and not sticky at all.
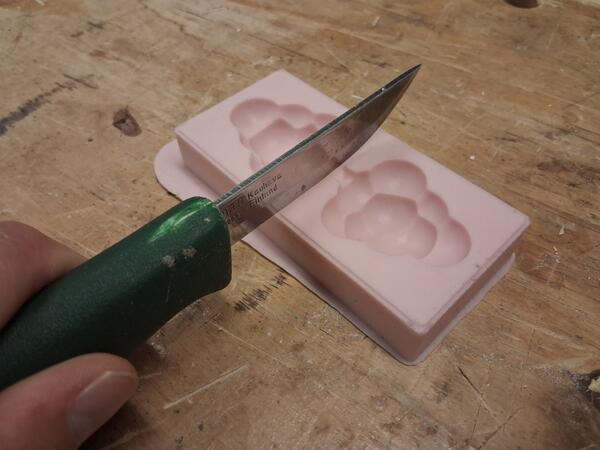
I cut the mold in half and found out that it doesn't fit into the 3D printed container as the silicon had overflown a little making the the mold thicker than the negative wax mold was deep. The previous mold, that is now less sticky after a few days, fit better but not too well either.
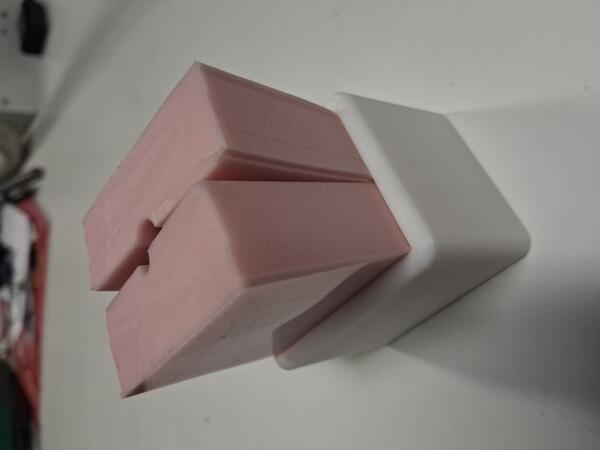
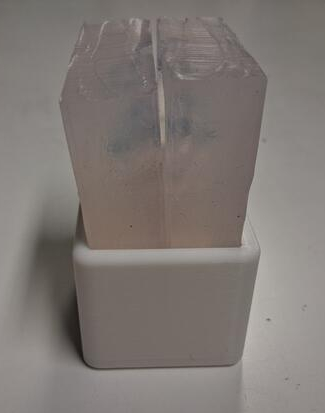
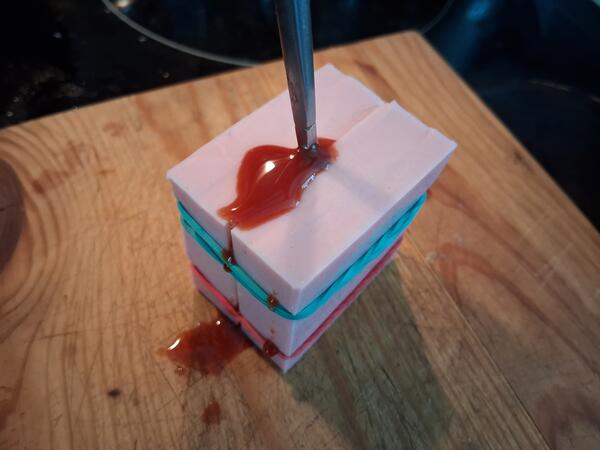
I washed the pieces and after drying them up I used small rubber bands to attach the molds and a spoon as a handle for the pospicle.
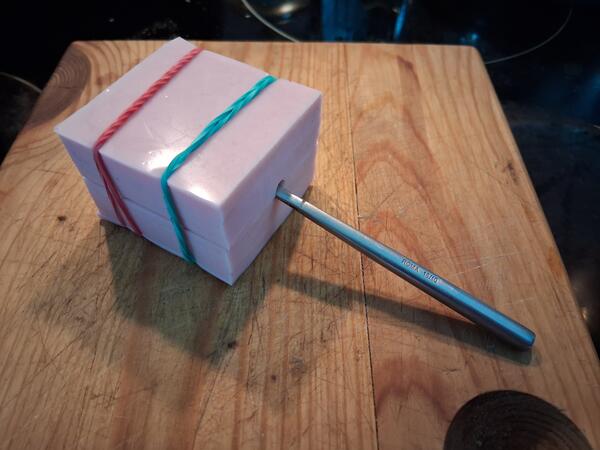
I added some juice in the mold. It had to be shaken carefully to get the air out of there. The result was a fine popsicle and was enjoyed by my daughter immediately.