Molding and Casting
Safety and Introduction
Introduction
We reviewed different molding and casting materials and compared possible fabrication processes for creating molds. The goal was not only to test the materials practically, but also to understand their safety requirements, processing behavior, and suitability for small-scale fabrication in a FabLab environment.
We focused on materials that are easy to use in a workshop context and can be processed without complex industrial equipment. For the casting tests, we looked at Stewalin plaster, wax, and water as a reference material. We also compared possible mold-making processes, especially SLA printing and model-making milling.
Safety
Stewalin
Stewalin white is a synthetic, plastic-modified casting compound used for figure making and decorative casting. It is described as having high detail reproduction, fast and even hardening, a very hard non-chalking surface, and a high degree of whiteness. The recommended mixing ratio is 1 part water to 4 parts casting powder, and the material should be processed within about 10 minutes. After approximately 30 minutes, the cast part can usually be removed from the mold.
From a safety perspective, the most important point is avoiding unnecessary dust exposure. The powder should not be inhaled or swallowed. Therefore, we handled the material carefully while mixing and tried to avoid producing dust. If larger amounts are mixed, basic protective equipment such as gloves, safety glasses, and good ventilation are useful. Tools and containers should be cleaned before the material fully hardens, because hardened plaster is much harder to remove.
For our application, Stewalin was interesting because it combines easy processing with a hard final surface. This makes it suitable for testing mold quality, detail reproduction, and demolding behavior.
Wax
Wax is often used in molding and casting workflows because it can be melted, poured, shaped, and reused. In its solid state, paraffin wax is generally not classified as highly hazardous. However, the main risks occur when the wax is heated and processed in molten form. Safety data sheets for paraffin wax highlight that molten wax can cause thermal burns, and overheating can create a fire risk.
Because of this, wax should be heated carefully and never overheated. It should be kept away from open flames or ignition sources, and the melting process should be monitored. When handling molten wax, gloves and eye protection are useful to reduce the risk of burns from splashes.
For our molding and casting comparison, wax is useful because it is easy to shape and can be reused. However, it requires attention to temperature control and safe handling during melting.
Water
Water was also included as a simple reference material. It is not hazardous under normal workshop conditions and is not classified as harmful according to typical safety data sheet information.
Even though water itself is safe, it is still relevant in molding and casting workflows. It is used for mixing plaster-based materials and strongly influences viscosity, flow behavior, setting time, and final material strength. Too little water can make the mixture difficult to pour, while too much water can reduce strength or increase drying time.
For our tests, water was therefore not only a harmless material, but also an important process parameter.
To test a view materials we made some testcasts. Since it was only intended for testing, the mold we made was relatively simple: we used a 3D-printed positive and created a plastic sheet negative from it. More details regarding the vacuum forming machine and the process behind is available here: https://fabacademy.org/2026/labs/bottrop/students/william-reger/projects/molding-and-casting/index.html.
Comparisons
Fabrication Process Comparison – SLA Printing vs. Model-Making Milling
For producing molds, we compared two possible fabrication methods: SLA printing and model-making milling.
SLA printing is well suited for detailed mold geometries because it can produce smooth surfaces and fine details directly from a digital model. This is especially useful when the final cast should not show visible toolpaths or rough manufacturing marks. SLA printing also allows more complex shapes than many subtractive processes, because the geometry is built layer by layer.
Model-making milling would also be a good option for mold production, especially for materials such as wax, foam, or tooling board. A milled mold can be very accurate and mechanically stable. However, the milling process is limited by tool accessibility and tool diameter. Inner corners, deep cavities, and complex undercuts can be difficult or impossible to produce directly.
In our lab, we did not have a suitable model-making milling machine available for this assignment. Therefore, SLA printing was the more realistic and practical choice for producing a smooth mold surface. It allowed us to create a detailed mold without needing additional machining equipment.
Overall, SLA printing was the better option for our current workflow, while model-making milling would still be an interesting alternative for future mold-making projects.
Fabrication Process Comparison – Vacuum Forming with PLA Prints
Another possible mold-making approach is the combination of a PLA 3D print and a vacuum forming machine. In this process, the desired shape is first 3D printed as a positive model. A heated plastic sheet is then pulled over the printed object by vacuum pressure, creating a thin negative form.
This method can be very useful for simple shapes, because it is fast, relatively low-cost, and does not require much material. The PLA print acts as the master geometry, while the vacuum-formed sheet becomes the actual mold. It is especially suitable for shallow geometries, smooth surfaces, packaging-like shapes, and simple casting molds.
However, there are also some limitations. PLA has a relatively low heat resistance, so the printed part can deform if the plastic sheet is too hot or if the process takes too long. Fine details may also be lost, because the heated sheet cannot perfectly follow very small structures or sharp edges. In addition, strong undercuts are problematic, because the formed plastic must still be removable from the master model.
For our application, this method would be interesting as a fast alternative for simple mold geometries. However, for detailed masks with fine surface structures, SLA printing is more suitable because it can reproduce details more accurately and creates a smoother mold surface directly.
Making the mold
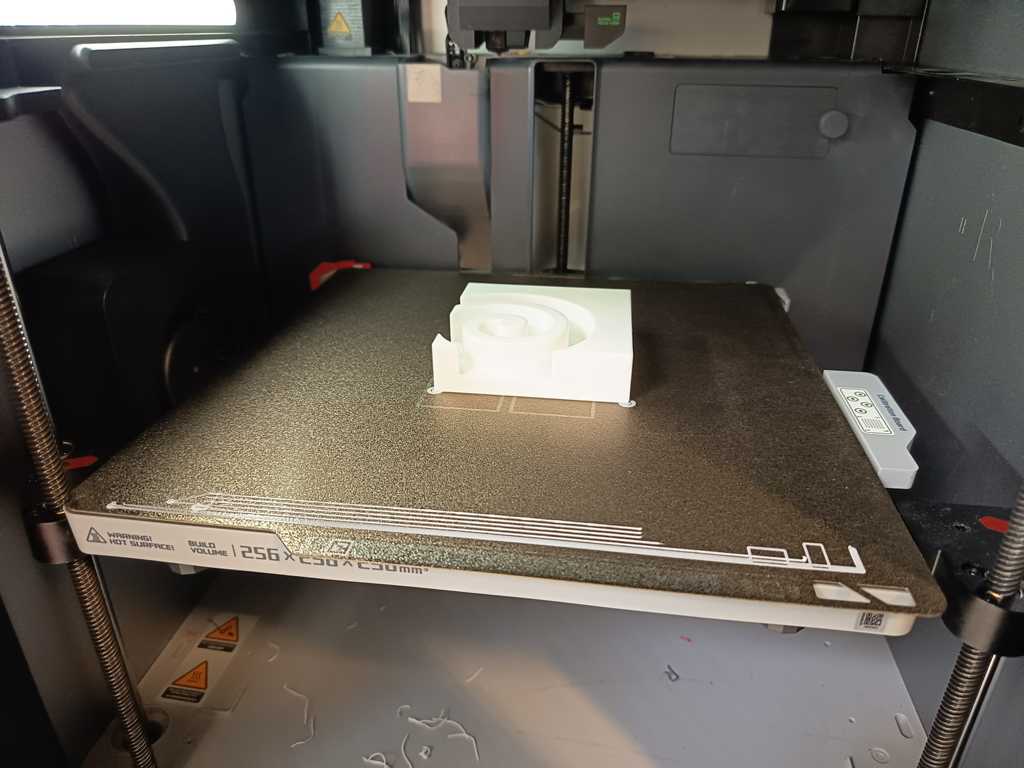
We printed the Houdini logo from PLA and used it as a positive model for vacuum forming.
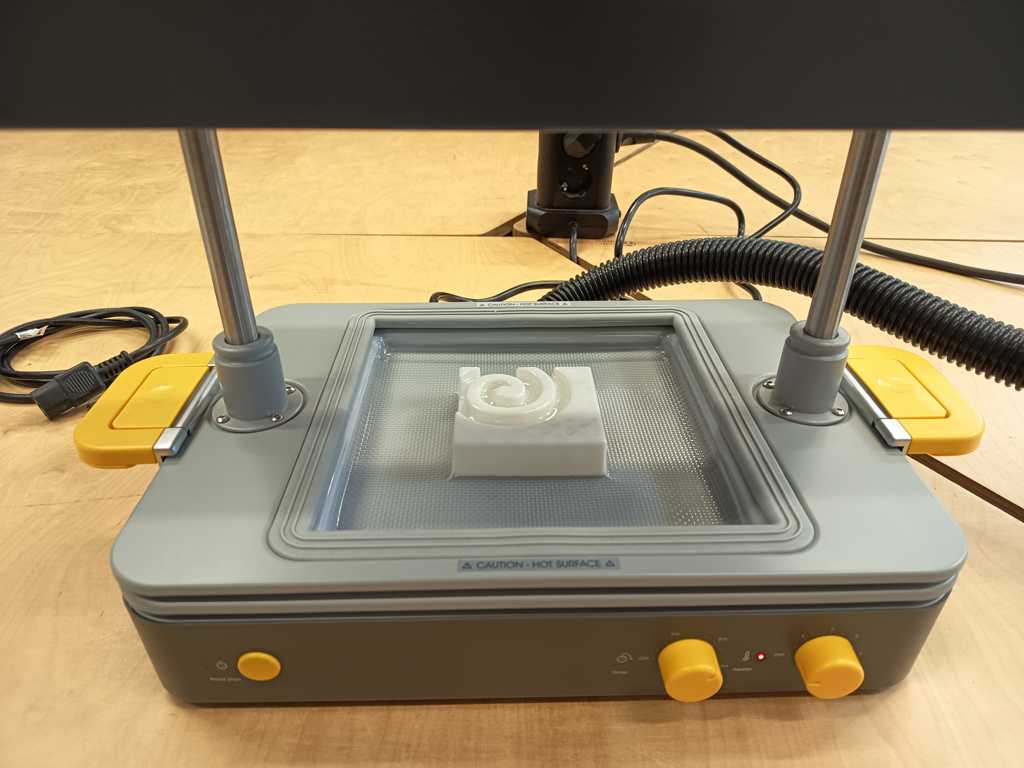
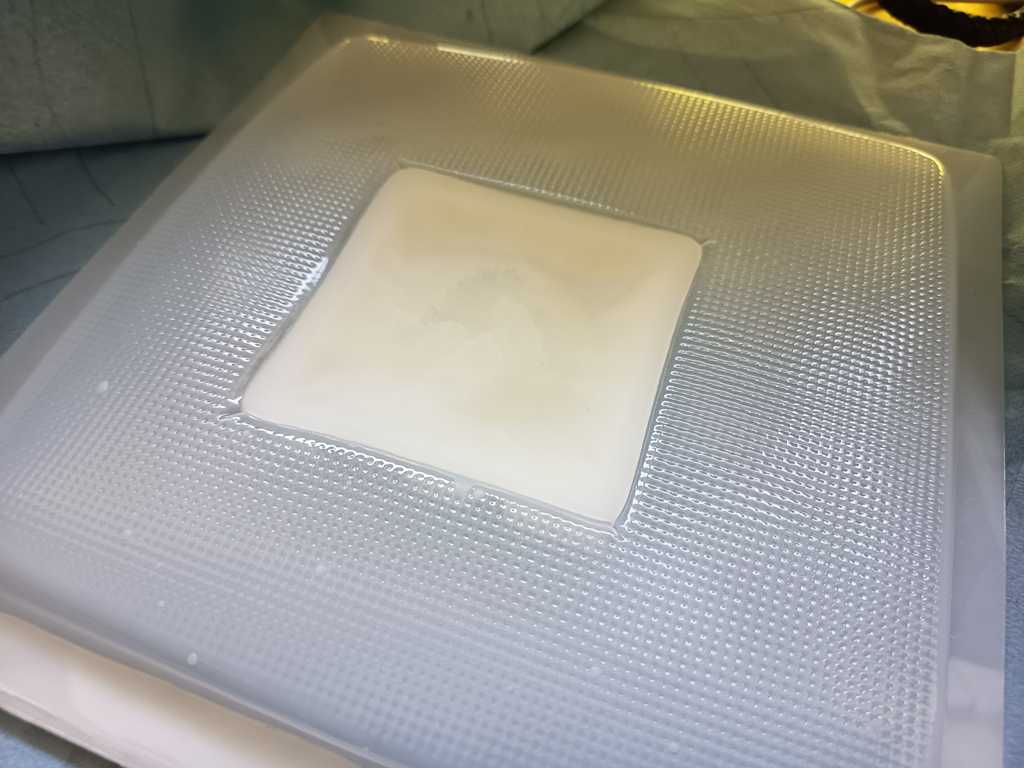
After that, we placed a plastic sheet into the vacuum forming machine and heated it until it became soft and flexible. Then we used a vacuum cleaner to create the vacuum and pull the heated plastic sheet over the PLA model.
This was the result of the vacuum forming process.
After forming the plastic sheet, we filled the resulting molds with Stewalin and wax and let the materials cure and solidify. This allowed us to compare how both materials behave in the same mold geometry.
Casting
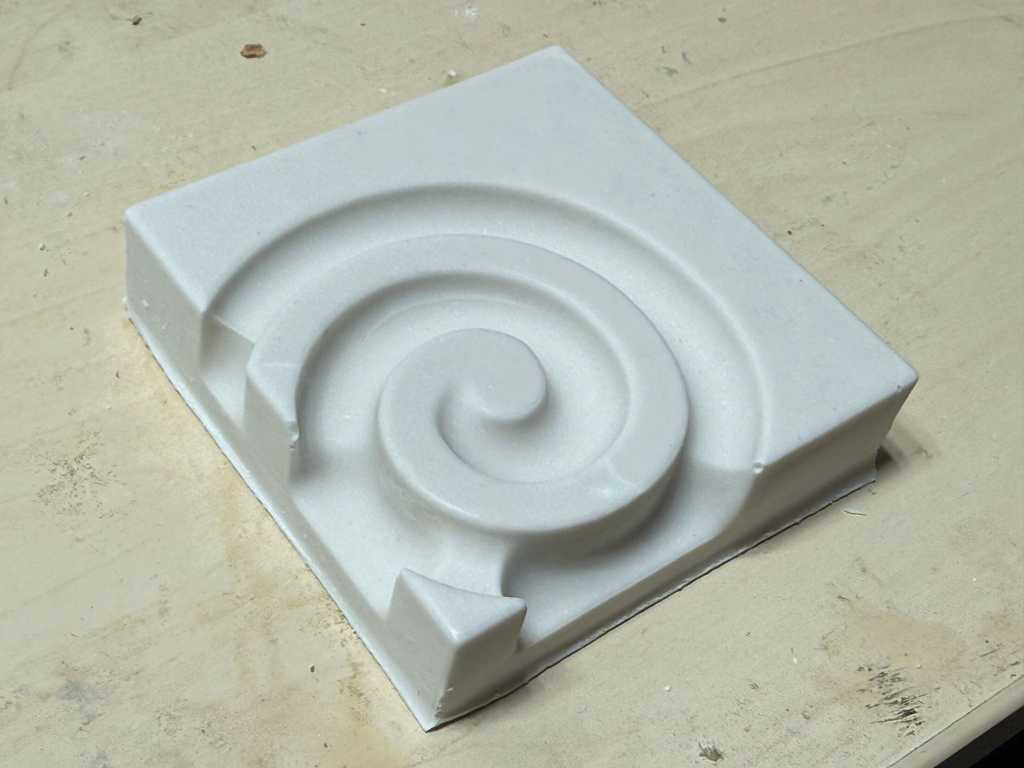
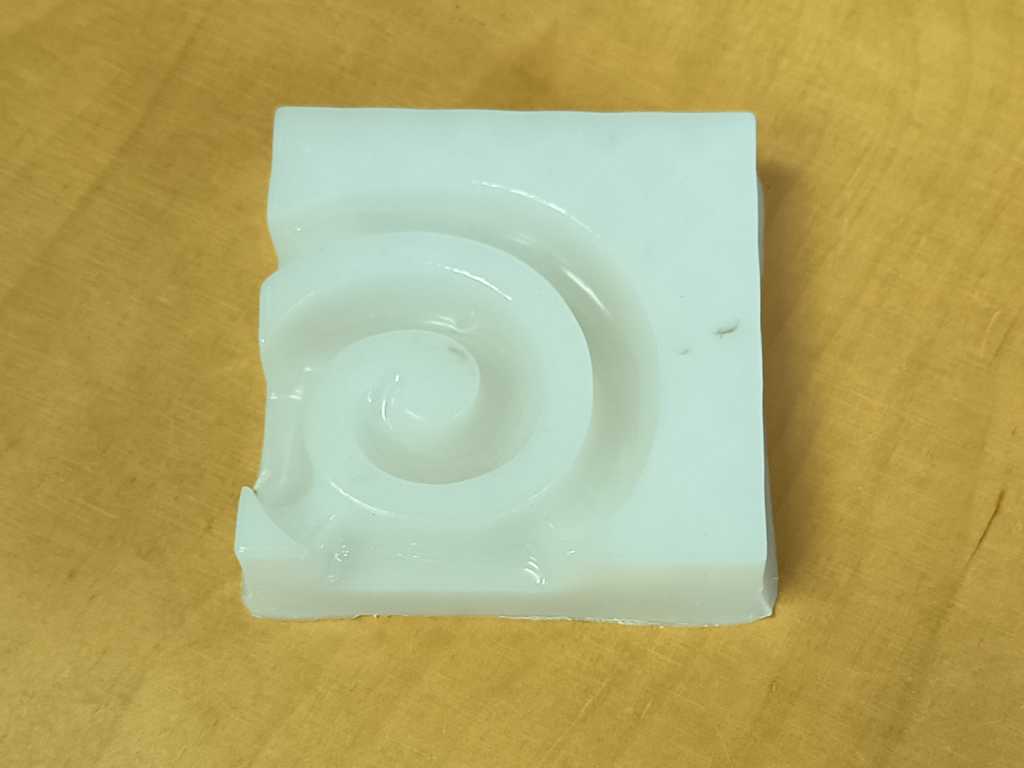
Stewalin
With Stewalin plaster, we clearly achieved the best results. The material filled the mold well and reproduced the logo details much more accurately than the other tested materials.
Wax
For the wax casting, we first had to heat the wax until it became liquid and then carefully pour it into the mold. This worked in general, but the final result was less precise than the Stewalin cast.

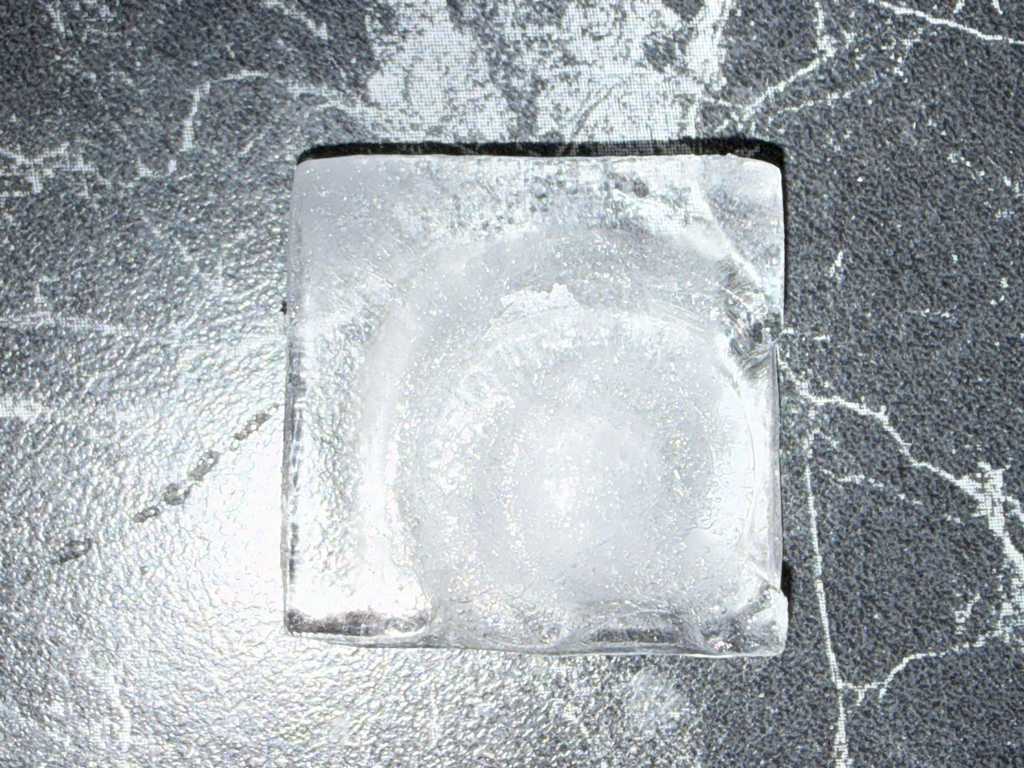
Water
As an additional test, we also used water as a simple reference material and made a small ice cube from the mold. However, the logo details were not clearly visible in the frozen result.