16. Molding and Casting
The objective of this week is to first, with a group Review the safety data sheets for each of your molding and casting materials and Make and compare test casts with each of them, second to Individually, to design a 3D mould around the stock and tooling that you’ll be using, mill it, and use it to cast parts.
Group Assignment
You can find our group assignment in this link
Molding and Casting
Design by Fusion360
By using fuison 360 I design a snow shape to Accomplish the week objective
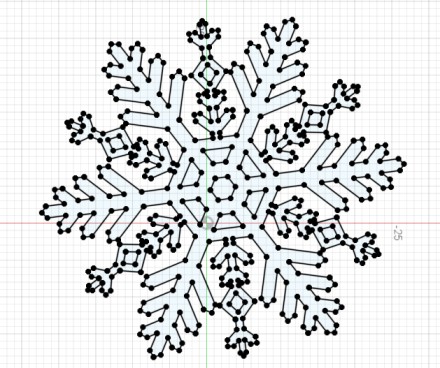

This dsign cannot be accepeted becase the lazer cutter can mill it so I needed to design another one.
Design by Tinkercad
I started my design by following the stepes below:
- open Tinkercad
- sign in with your google account or sing up if you don not have one.
- select 3D Design >> creat new desgin.
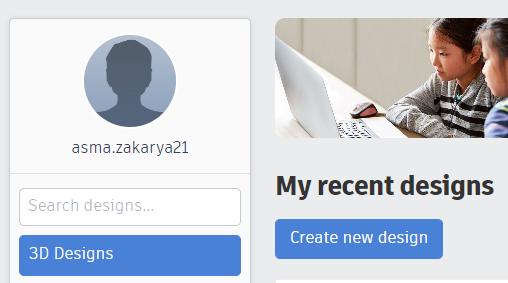
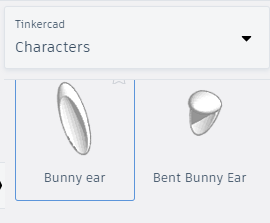
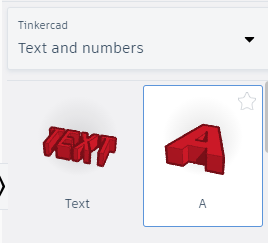
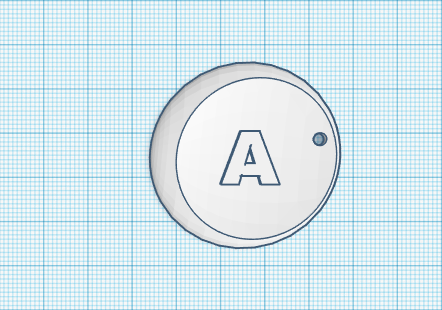
- I drag two fixed blocks from thinkercad library: from charecters>>Bunny ear and from Text and number >> the letter A
The final design as shown in the pictuer below.
Milling
To mill the design I follow these steps:
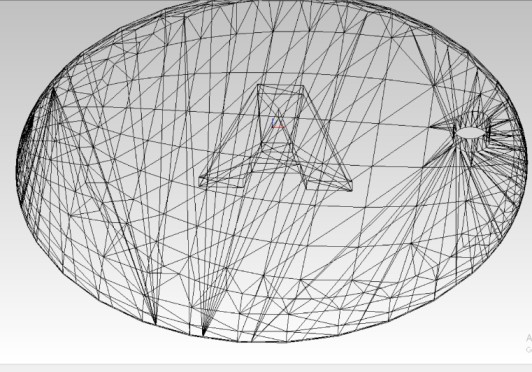
- Save the 3D design as stl file.
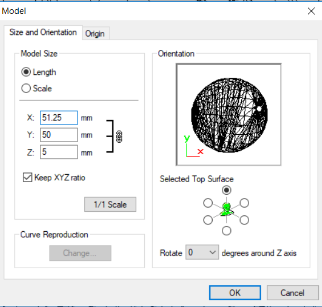
- Open the stl file in SRP Player to prepare the design for milling.
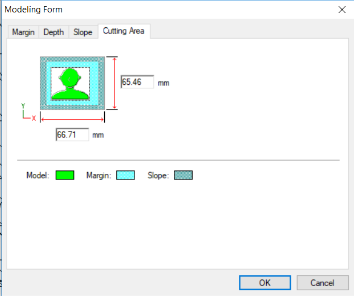
- Adjust the size of the design depending in the available material size.
-
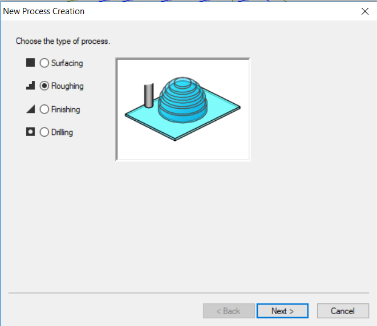
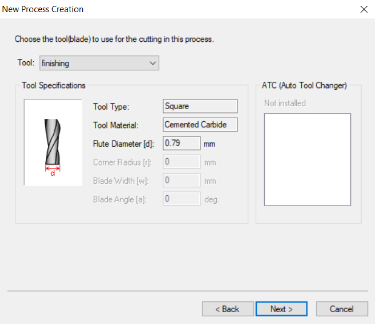
select the type of the process to be roughing.
-
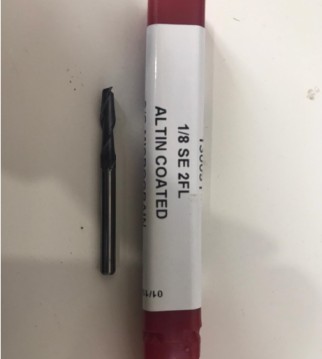
select the milling bit that I will use to rout the design which is 3.15mm.

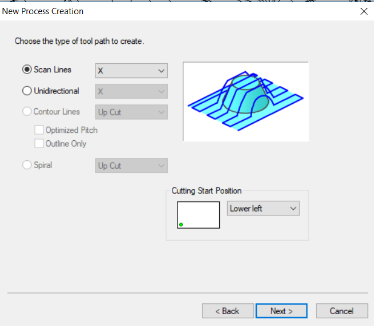
- chose the type of tool path to be scan lines.
- save the file and then uploaded to the milling machine software to mill it.
- Finishing of my design I just change the type of the process to be finishing and change the milling bit to be 0.79mm. and again save the file and upload it to the milling machine to mill it.


To know how to adjust the milling machine axis please cheek week13 (setup the milling machien)
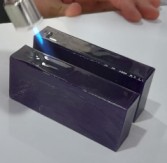
- I stick two was blocks together to enlarge the area of milling by heating one side of one block and stick the other to it.
- By double sided tape I stick the block to ensure that it will not move inside the milling machine.
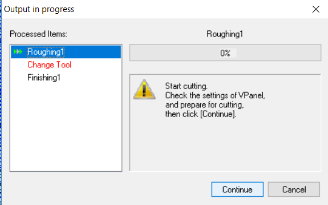
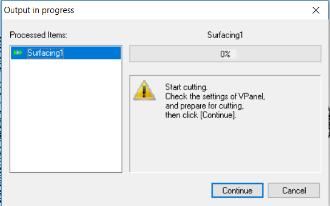
- click in output in the milling machien to start the roughing and then change the milling bit and start the fininshing.

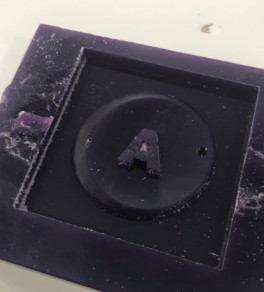
The final result is shown in the pictuer below
Molding
Molding is the process of manufacturing by shaping liquid or pliable raw material using a rigid frame called a mold or matrix.[1] This itself may have been made using a pattern or model of the final object.
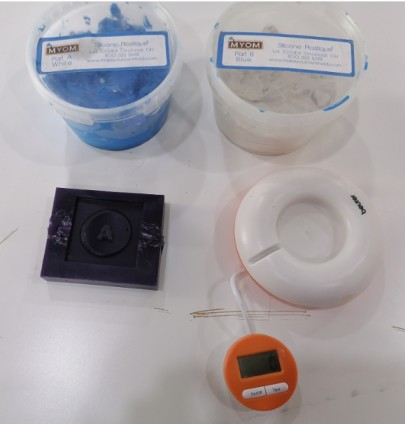
To do the molding I select a silicone plastique which is an amazing mold putty that has the consistency of cookie dough and is very easy to mix and apply. Created by a chef in order to bring the art of mold making into both commercial and home kitchens, Silicone Plastique has become a valuable tool in the creation of custom food molds around the world. Mold making has always been considered a complicated task, yet with this silicone mold putty a new world of easy mold making has been made possible.
After selecting the molding material I follow the following stpes:
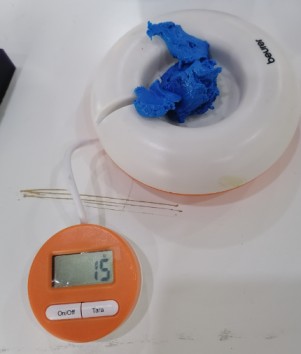
- weight 15g from both the blue and wihte silicone. I used 15g from both because I think that will be enough to cover the design that I have made. As the ratio between Part A with the blue color (catalyst) and Part B with the white color (base) is 1:1, which combined will create Silicone Plastique. It is food safe as it is made by a chef in order to bring the art of mold making into both commercial and home kitchens.

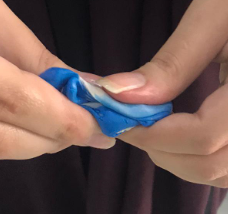
- Mix them by hand to get until you get a homogeneous color.
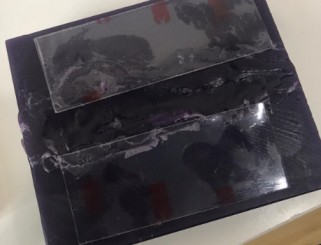
- Take a small amount of the silicone mixture and try to cover the small detiles and then put then cover the design with the rest of the mixed silicone.
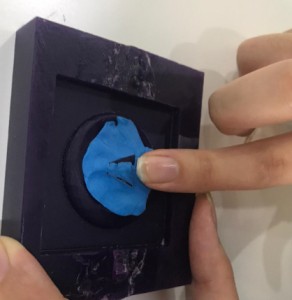
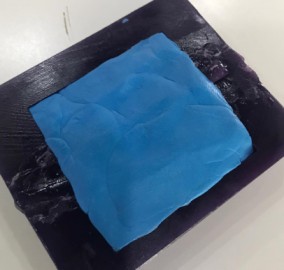
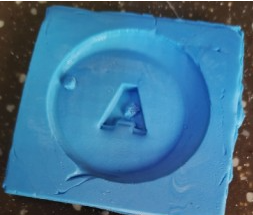
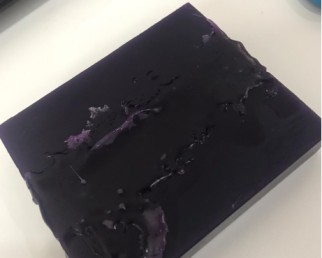
In my opinion, it is acceptable but we can make it better by pushing the silicone plastique into the small area to fill it to cover all the missing details. It is less flexible than typical silicone but it is good enough to easly remove the cast out
Casting
For the casting I use water to make an ice with the result of the modling and the final result is shown below
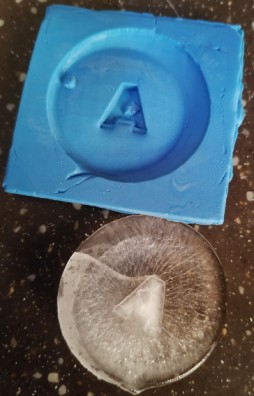
Problem
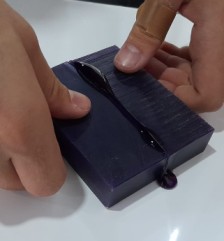
There are twov problem that I have faced - In milling the design was readjusting the axis of the milling machine, The reuslt of this mistake is shown below

- Loose resolution in the final piece from the design, the small details are not shown in the molding result like the hole of the A to avoid this we can use other liquid silicone material to fill the small details or we can just simply push the silicone plastique into the small area to fill it.