This week's assignment is to design a mold, mill it, and use it to cast something (individual); to compare different molding and casting materials (in-group).
* All STL, RML, and original editable files can be downloaded here.
* This week's group assignment is to read safety data sheet, test, and compare different molding and casting materials.
* I need to individually design a mold, mill it, and use it to cast something.
Understanding safety data sheets
Ferris Blue File-A-Wax
As Neil said, it's better for us to skim through the data sheets of our chosen materials before designing the mold. It is common practice to mill the machinable wax introduced in the Fab Barcelona documentation guide for making the positive mold. We can 3D print either the positive mold or the object itself with PLA and make the negative mold out of it, but it's not what the assignment is about. We were required to perform both casting and 3-axis milling this week.
Machinable wax is harder and has a higher melting temperature than most other waxes, so it can be machined, cut, or shaped using standard CNC machines. High-quality surface detail and dimensional accuracy are possible. Below is the information in the technical bulletin and safety data sheet:
- Dimensions: 146 x 88 x 36mm
- Hardness: 52D
- Melting point: 115°C
- Flash point (the lower the flash point, the easier it is to ignite the material): 240°C
- Respiratory, hand, and eye protection: none required under normal product handling conditions
EASYL 940-FDA food-safe silicone
I wanted to make a vintage Kashigata mold for making Japanese sweets, hence, I specifically looked for food-safe molding materials and found this EASYL 940-FDA food-safe silicone at Fab Lab Barcelona. EASYL 940-FDA is a platinum silicone that has very good resistance to heat (220°C) and negligible shrinkage. The difference between tin-cure (condensation cure) and platinum-cure (addition cure) silicones lies mainly in the shrinkage of the cured rubber over the short and long term: tin-cure silicone molds generally exhibit higher shrinkage over time. EASYL 940-FDA has a very low viscosity which makes it flow very well while casting and that there are practically no bubbles. Below is the information in the technical bulletin and safety data sheet:
- Hardness: 25A (the Shore A scale is used for softer rubbers while the Shore D scale is used for harder plastics)
- Viscosity: 6,000mPas
- Working time (time period for mixing and pouring the liquid before it starts being cured): 30 mins
- Cure time: 3-5hrs
- Tensile strength: 8mPas
- High temperature resistance: 200°C
- Exceptional fluidity, easy to mix and remove from the mold. Releasing agent is not required.
- Excellent air bubble release, vacuum degassing is not required.
- Wear safety glasses, long sleeves and gloves
- Gram scale not required for mixing parts (1A:1B by volume)
- The liquid rubber should level off at least 1.3cm over the highest point of the model surface
EASYPLAT 00-40 platinum silicone
I intended to use the mold for casting gelatin or other edible materials, but in order to make an extra rigid object, I considered casting resin with another mold made from another type of silicone. At Fab Lab Barcelona, we only had EASYPLAT 00-40 platinum silicone available. Below is the information in the technical bulletin and safety data sheet:
- Hardness: 15A
- Viscosity: 3,000mPas
- Working time: 30-60 mins
- Cure time: 3-6hrs
- Tensile strength: 4.5mPas
- Releasing agent is required
- Wear safety glasses, long sleeves and gloves
- Gram scale not required for mixing parts (1A:1B by volume)
- The liquid rubber should level off at least 1.3cm over the highest point of the model surface
Smooth-Cast 327 urethane resin
As for the extra object, I fancy a clear resin since I intended to put a flower inside the model like the below image (rendered in Blender, flower added in Photoshop). We had epoxy resin at the lab but we didn't have 1000 things to cast within 3 months after opening the cans, so I moved forward with buying Smooth-Cast 327 urethane resin. I also didn't want to deal with pouring sections thinner than 0.95cm or apply exothermic reaction controlling techniques while dealing with epoxy resin, so it could be a good choice.

Most of Smooth-On's clear resins are quite toxic and may cause skin and eye irritation, and can be harmful if inhaled. Below is the information in the technical bulletin and safety data sheet:
- Hardness: 72D
- Viscosity: 100cPs
- Working time: 10-20 mins
- Cure time: 2-4hrs
- Tensile strength: 3,170psi
- Flexural strength: 3,100psi
- Compressive strength: 3,080psi
- Gram scale not required for mixing parts (1A:1B by volume)
- Releasing agent is required
- Wear safety glasses, mask, long sleeves and rubber gloves
- Wash skin thoroughly after handling
- Avoid breathing dust/fume/gas/mist/vapors/spray
- Do not eat, drink or smoke when using
- Do not use foam or glass mixing containers since the resin generates heat
Acrystal Prima acrylic resin
Our instructor Eduardo suggested me to try the acrylic resin from Feroca called Acrystal Prima. Acrystal Prima is an easy-to-use, solvent-free acrylic resin composed of an acrylic emulsion (part B) and a crystal-based powder (part A). It is non-toxic, odorless, and has minimal exotherm. Below is the information in the technical bulletin and safety data sheet:
- Hardness: 83D
- Mixed density: 1,730 kg/m3
- Dry density: 1,730 kg/m3
- Working time: 8-10 mins
- Cure time: 1.5hrs
- Retardant is recommended to increase the working time
- Wear safety glasses, long sleeves and gloves
- Gram scale required for mixing parts (2.5A:1B by weight)
FOAM-iT! 4 expanding foam
Eduardo also suggested me to cast with the Smooth-On's FOAM-iT! 4 expanding foam. Aa per its name, it is expanding water-blown polyurethane foam which is easy-to-use and cures rigid and strong. FOAM‑iT! 4 means the foam will expand approximately 14 times its original volume. Below is the information in the technical bulletin and safety data sheet:
- Mixed viscosity: 300cPs
- Expansion: 14 times
- Working time: 1.5 mins
- Cure time: 2hrs
- Releasing agent is strongly required
- Wear safety glasses, long sleeves and gloves
- Gram scale not required for mixing parts (1A:1B by volume)
Molding
Individual assignment - Design and mill the positive mold
Designing with OpenSCAD
Molding and casting involve covering the object we want to copy in a material which will then become firm enough to be detached from it and keep its shape (the negative mold) so that a hollow space or negative of it can then be filled with a casting material to make an exact replica of the shape. As mentioned above, I want to make a Kashigata mold for making Wagashi sweets. Since I made a personal challenge to myself that I should design most of my assignments with OpenSCAD, I searched online whether someone did molding design with OpenSCAD and found this guy. The guy also uploaded a .scad file for generating 2-part negative mold here, but since I had to modify many details if I was going to use it, I rewrote a simpler script. The molding and casting general workflow is to create a positive mold in machinable wax, then create a negative mold in silicone from it, then use another kind of silicone or resin to create a positive object at the end. Hence, I designed in a reversed process: to design the object (a flower-shaped cake) first, then the negative mold, then the positive mold.
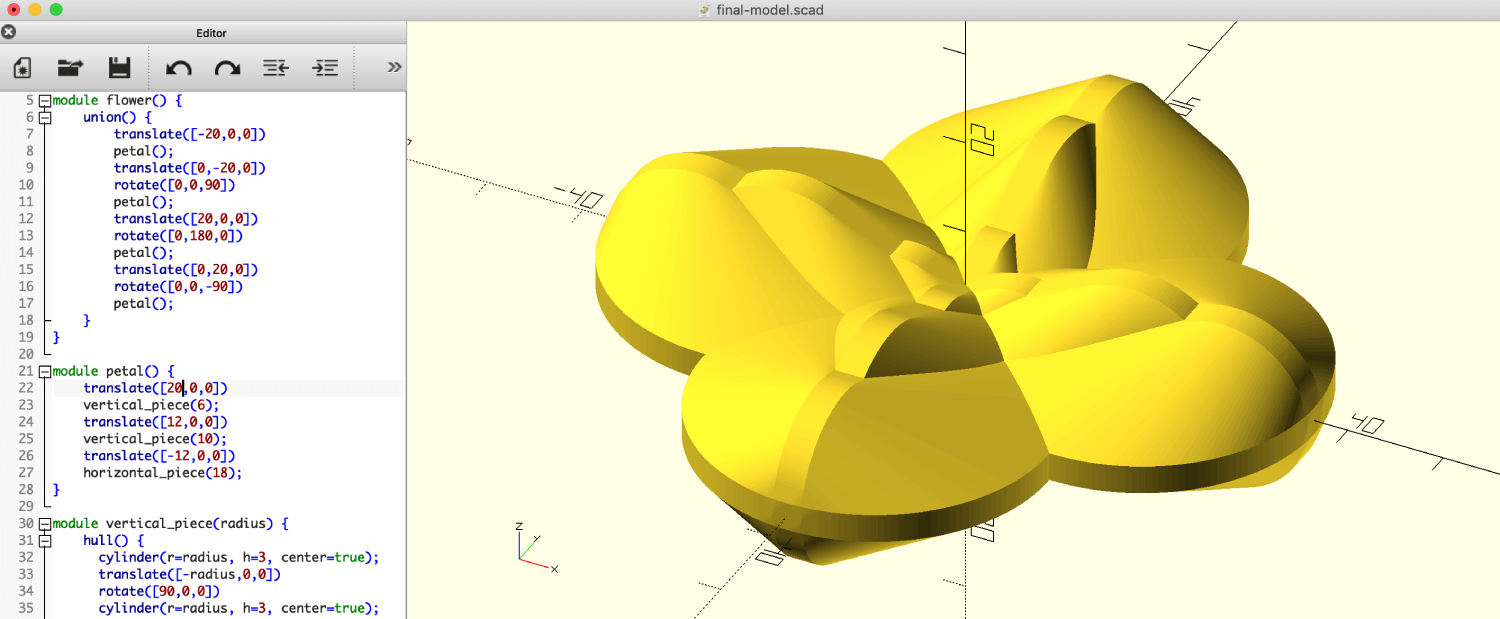
The cake was designed by performing the hull() function multiple times. The hull() function displays the convex hull of a vertical cylinder and a horizontal cylinder. Below is the 3D model of the cake on Sketchfab:
I created the negative mold by performing the difference() function to subtract the object from the mold. As per the data sheet, I added an extra 1.3cm from the highest point of the model. Here I also have keys for centering 2 parts of the negative mold and a pouring hole where I could pour resin and put the flower into it later:
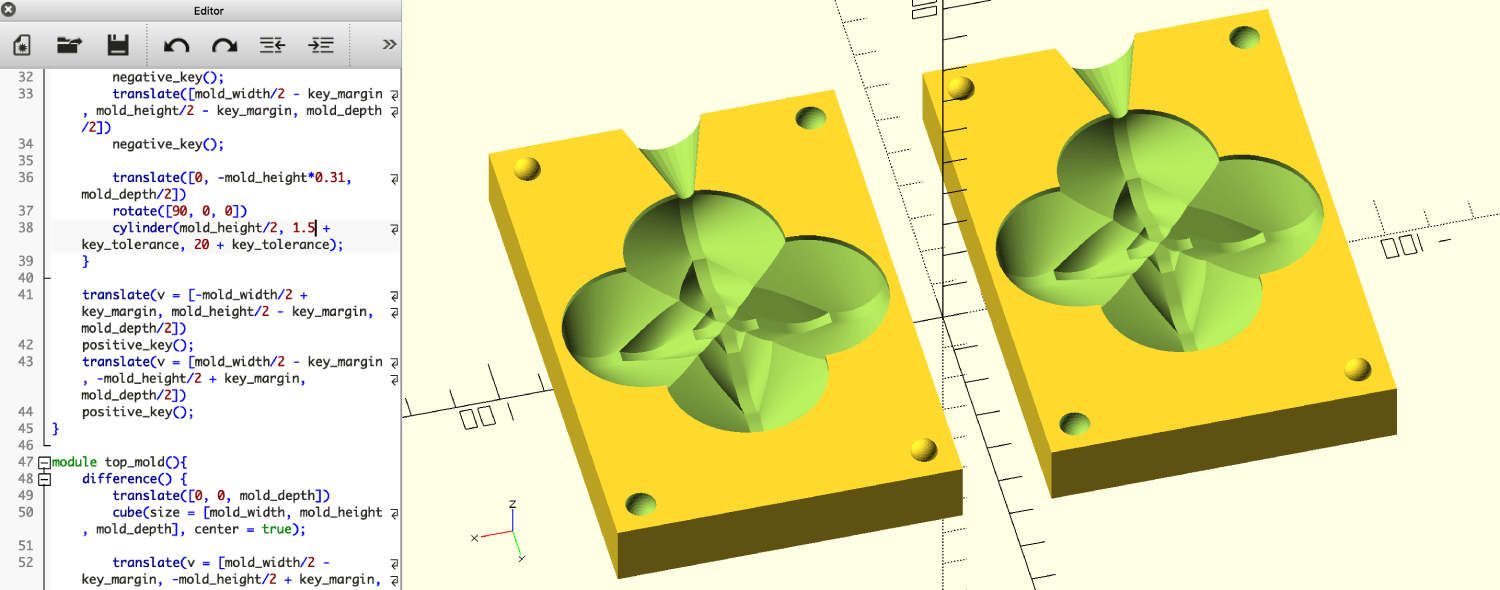
After generating the CAM files, I realized I made a mistake: I didn't model air vents for letting the air coming out while pouring resin. At this point, I certainly didn't want to go through the process once again. Silicone molds are cuttable, so I decided to cut them later with a knife (if necessary).
Below is the 3D model of the negative mold on Sketchfab:
Lastly, I generated a positive mold from the negative mold with the same difference() function. A small step surrounding the entire mold was added in order to make the extraction of the negative mold easier without using a knife and damaging the mold.
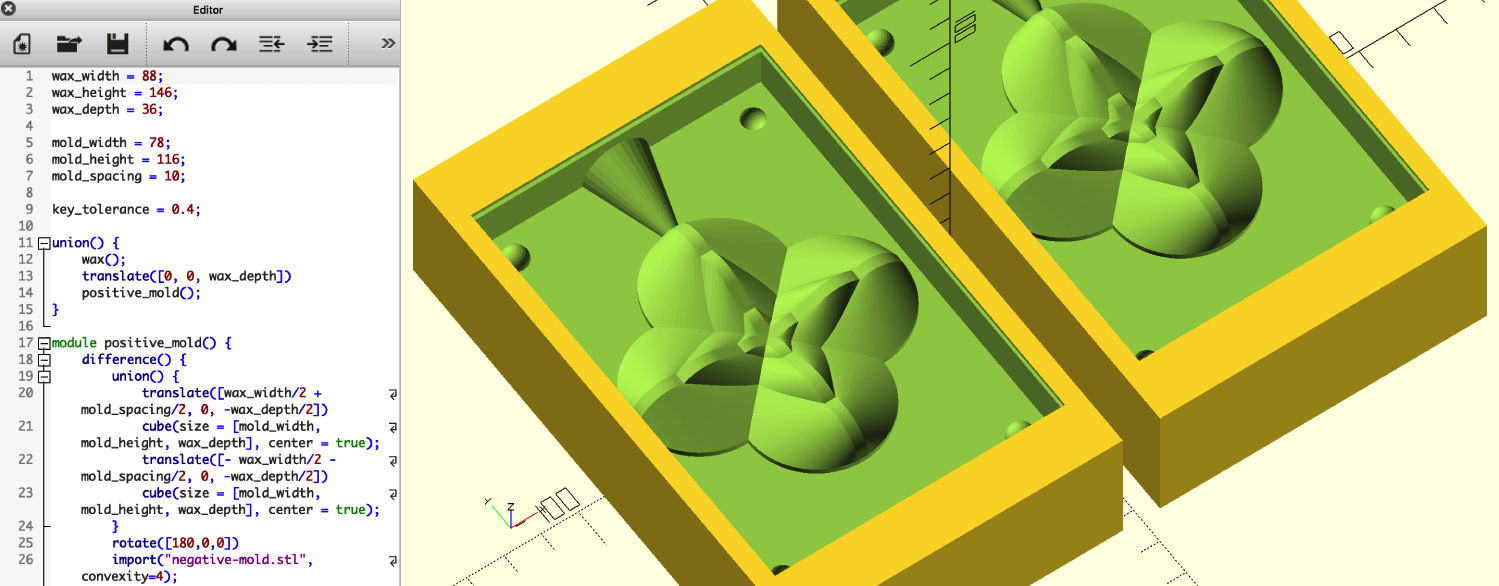
Below is the 3D model of the positive mold on Sketchfab which was exported to .stl and imported to Fab Modules:
Generating toolpath with Fab Modules
I prepared the .rml files using Fab Modules. The workflow was similar to the 2-axis milling process:
- Select
.stlinput format and load the.stlmesh - Modify the units/in to 25.4 and dpi to 500, then calculate the height map
- Select
.rmloutput format - Select the proper process: wax rough cut (1/8) or wax finish cut (1/8)
- Select SRM-20 in the output machine. Modify settings to origin 0,0,0 (x,y,z), zjog=12mm and home 0,0,12 (x,y,z).
- Choose the right end mill type, tool diameter, offset overlap, and tool overlap settings for each process (details will be mentioned below)
- Click the calculate button to calculate the toolpath and click the save button to save the
.rmlfile.
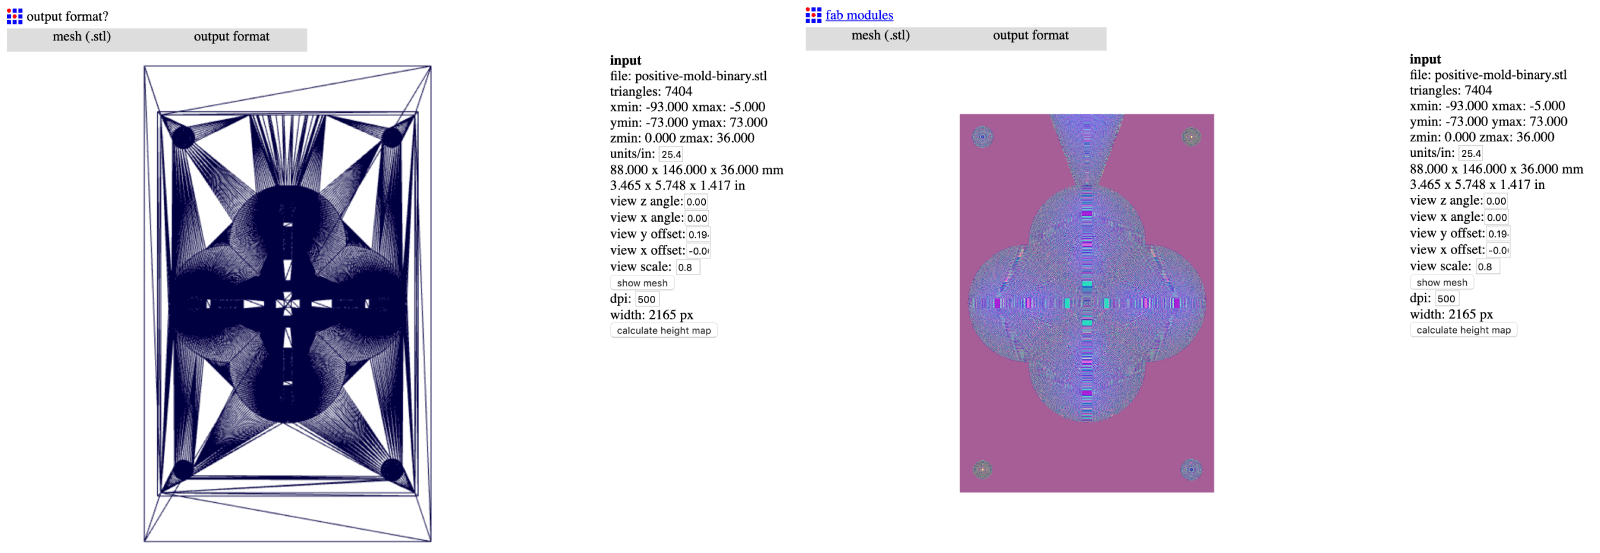
When I tried to import the .stl file into Fab Modules, it complained that the file must be a binary STL file (the file exported from OpenSCAD was an ASCII STL file). Hence, I needed to import the ASCII STL file into Blender, and then exported a binary STL file. What a weird process, but it was helpful at the moment.

Remember to modify the size of the mesh and resolution to make sure that the dimensions of the machinable wax are correct:
The next step was generating toolpaths for the rough milling process. Rough cutting is the process of removing large parts of material. I kept the default settings by using the 3.175mm flat-end mill and 50% offset overlap. This was such a slow process, I could watch a full episode of Money Heist while waiting for the process to end.
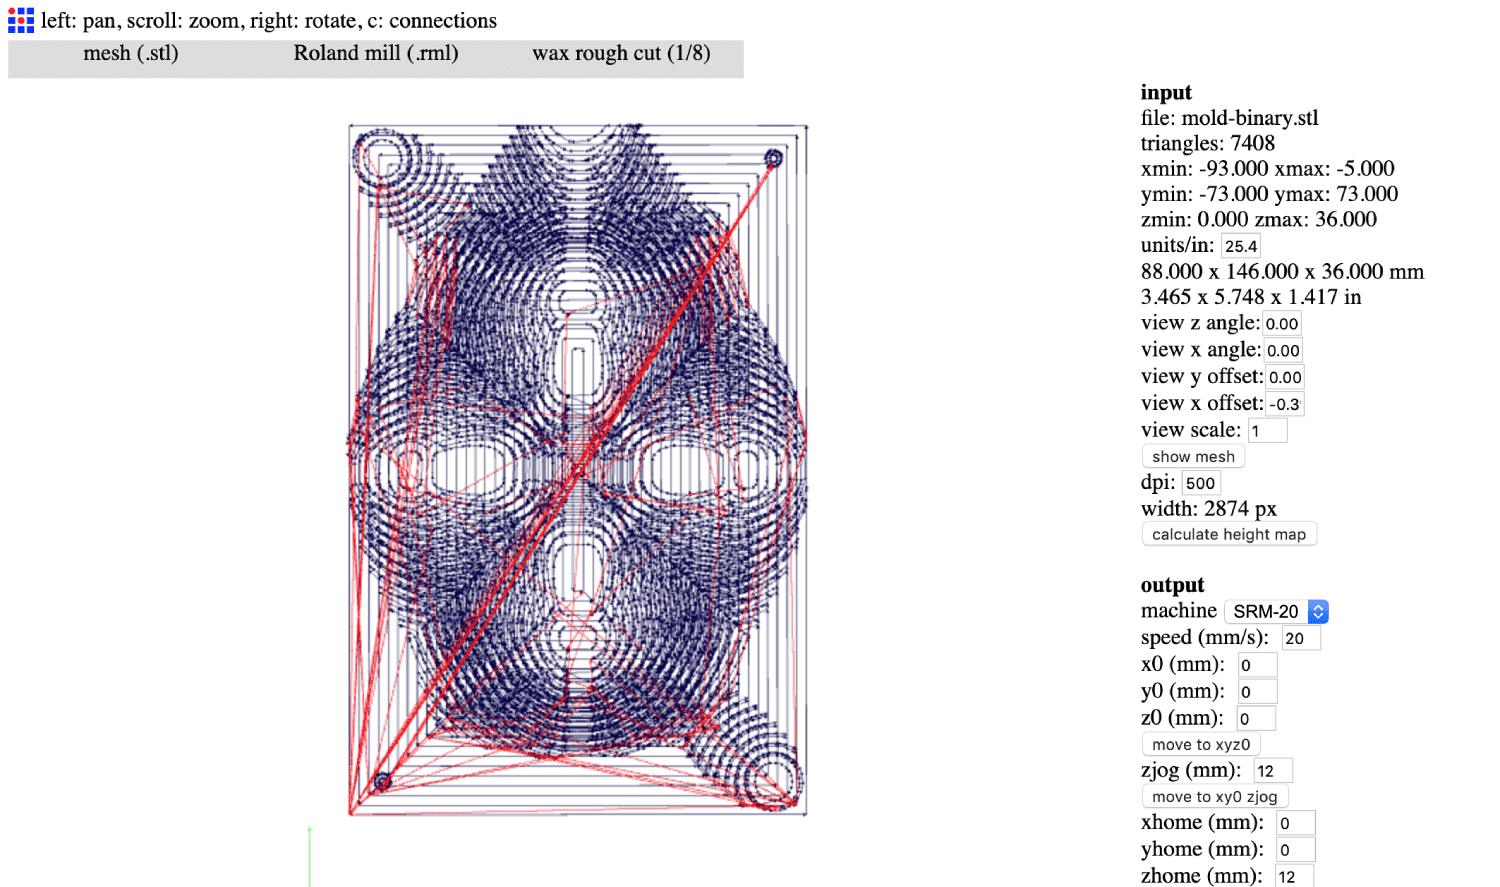
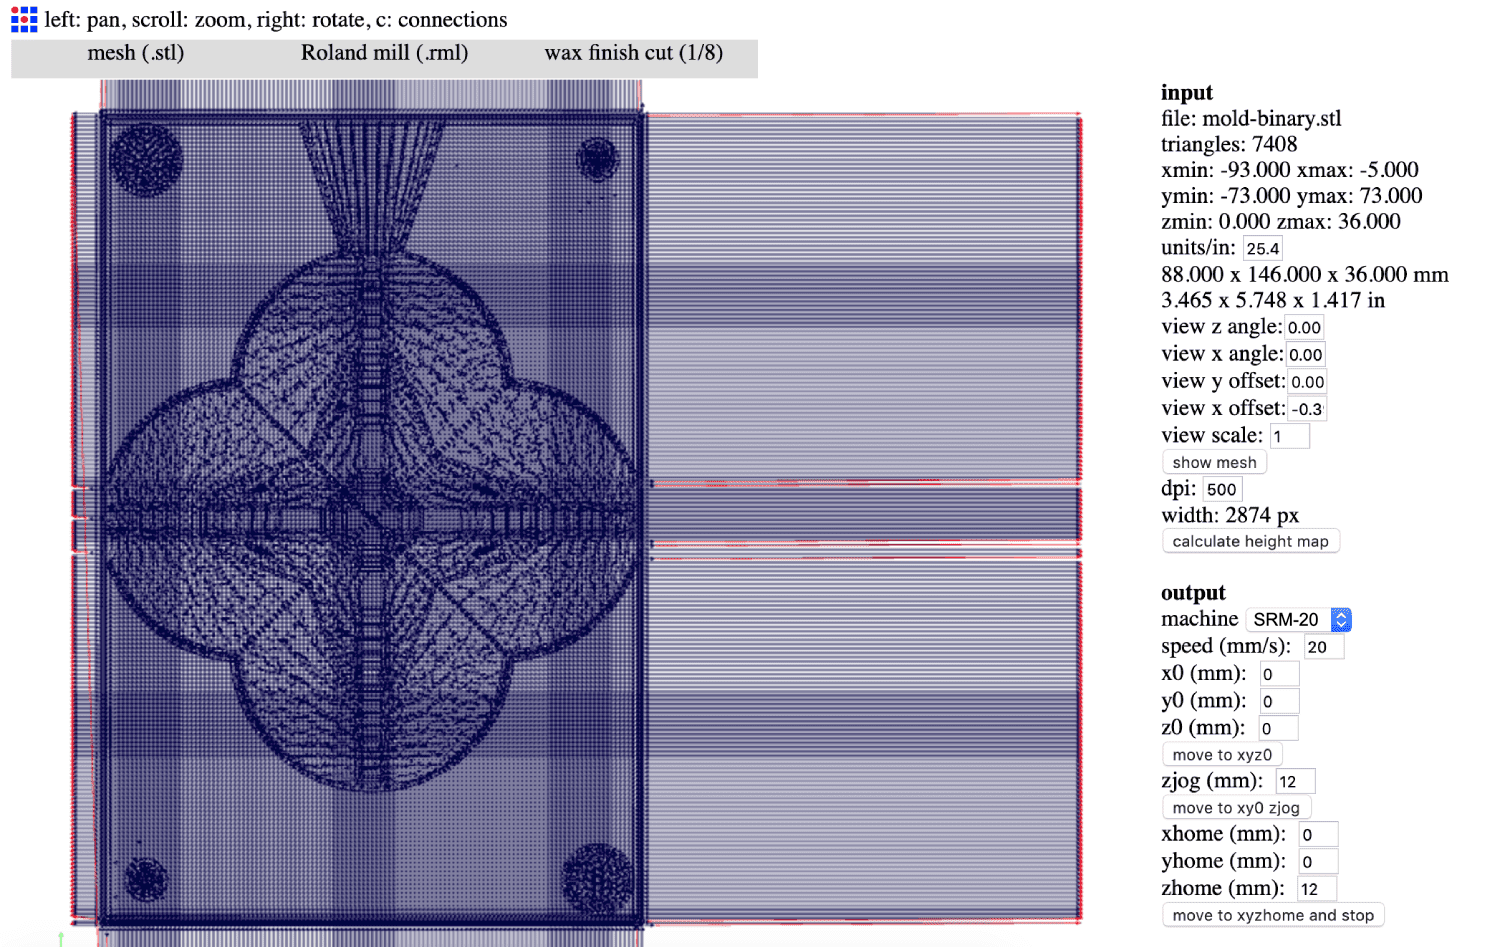
Once the rough milling CAM process finished, I continued with generating toolpaths for the finish milling process. I chose 3.175mm ball-end mill and 90% tool overlap this time for a smoother finish.
Milling the positive mold
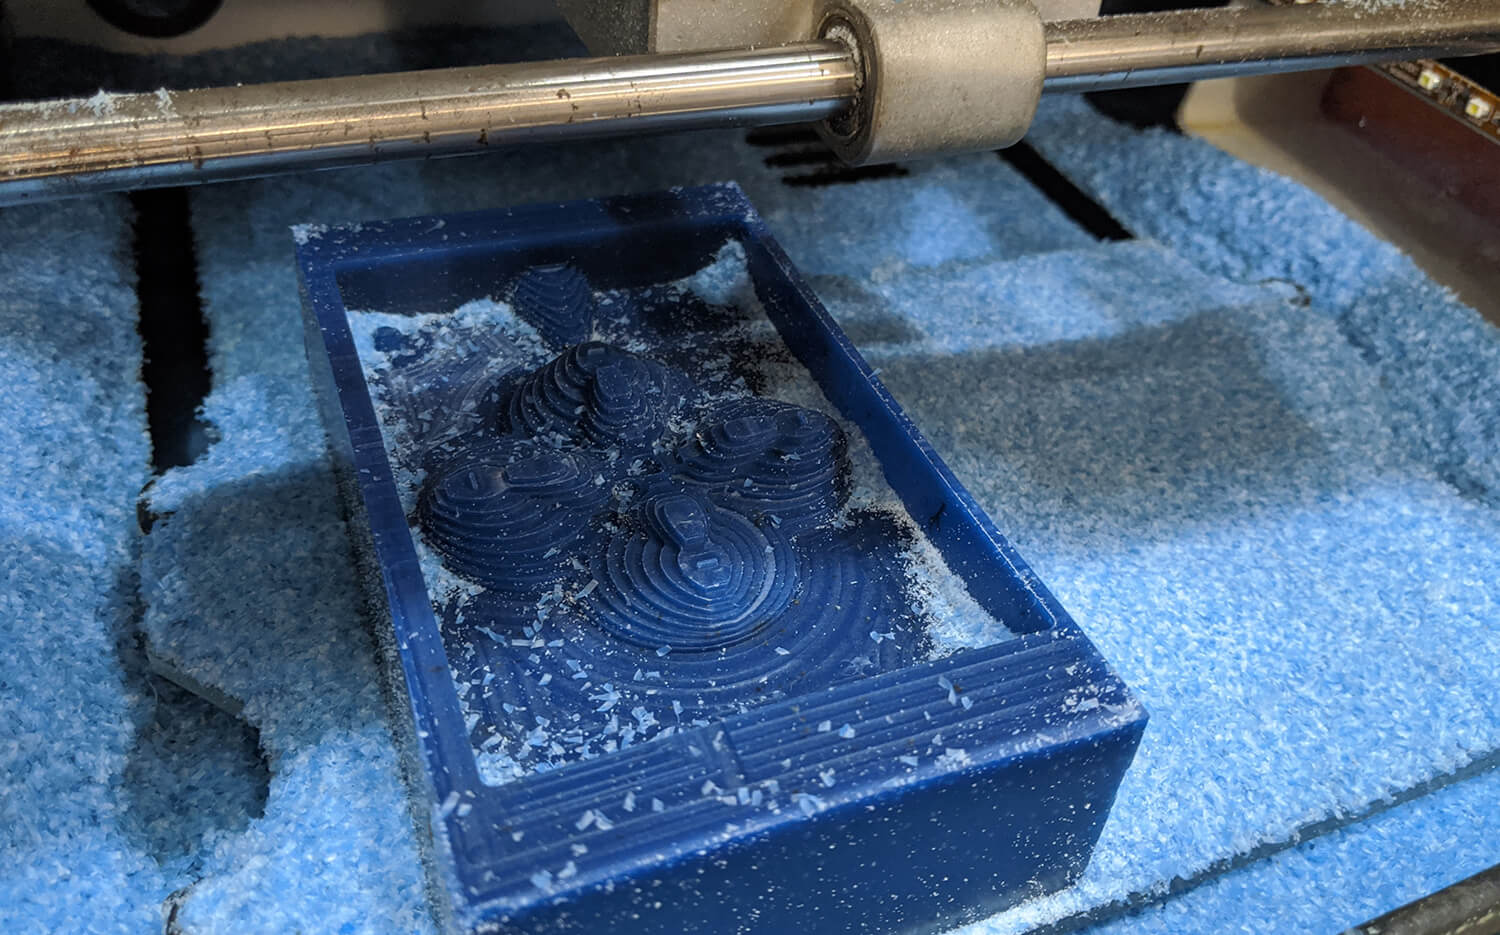
I used my PCB-milling buddy Roland MonoFab SRM-20 to mill the positive mold. The process of setting up the machine was similar to what I did during the 4th week. I chose the correct milling bit for each milling process: the 3.175mm flat-end mill for the roughing process and the 3.175mm ball-end mill for the finishing process. Below are the videos recording the 2 processes:
Rough cut is basically a process of removing large parts of material. The "roughed" mold came out neat:
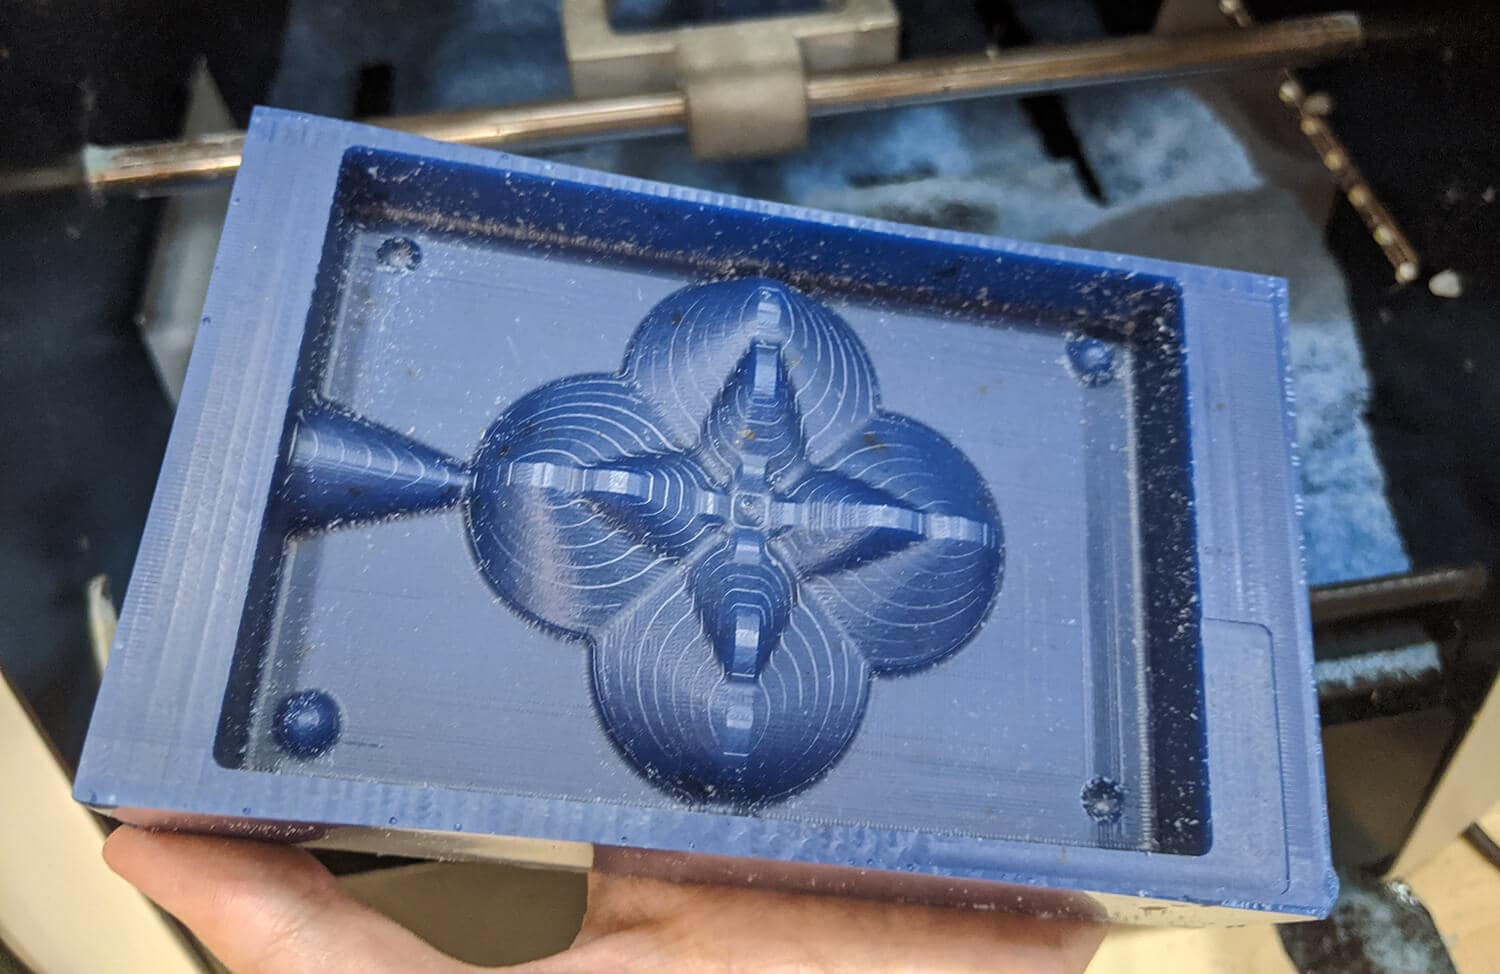
Finish cut is the process of making the surface better with the delicate ball-end mill. There were some parts where the 3.175mm tool could not get through, especially the edges of the model and the corners, which means the rubber mold would have thin walls and there would be possibilities of leaking. If I could do it again, I would use a smaller ball-end mill for better details of the corners and edges. But in this case, I didn't have to do that to have a castable negative mold.
Casting
Individual assignment - Cast the negative molds
Materials for molding and casting are supplied in two liquid parts which when combined in the right proportion will start to harden. The most effective and most used flexible molding material today is silicone/rubber. When liquid fills a shape it will push the lighter air upwards and out. Air can become trapped in parts of a complicated shape, meaning that the casting material will not be able to fill those parts. The simplest and often the most effective solution is to give air extra means of escape by creating little channels in the mold (which I didn't include in my design). In order to make up for these missing air vents, I added a cylinder-shaped piece of a cotton swab. Then I sprayed the releasing agent all over the wax mold at a 20cm distance. This could help to make it easier to remove the negative mold from the wax mold.
![]()
In order to measure the necessary amount of liquid needed, I poured water into the wax mold and added up the number a bit to know the needed mass of silicone. In my case, I needed ~120ml of water to fill the wax mold, so I mixed 150ml silicone (1A:1B) in total. I started with the normal EASYPLAT 00-40 platinum silicone, and the mixture was so liquid that I could mix it super thoroughly. After 3 minutes, I proceeded with casting the negative mold, as I didn't see any air bubbles. The following video shows how I did it with Josep's voice over:
Time to let my mold cure. I left it in the oven at 80°C since I was told it would fasten the curing process.
![]()
After 45 minutes, my mold had completely hardened. I repeated the whole above process to make the other half, then I continued with the food-safe silicone. A much higher viscosity, an insignificant amount of bubbles, and more fatigue in the hands. Ready to cast objects!
![]()
Individual assignment - Cast an object with the designed mold
Casting gelatin
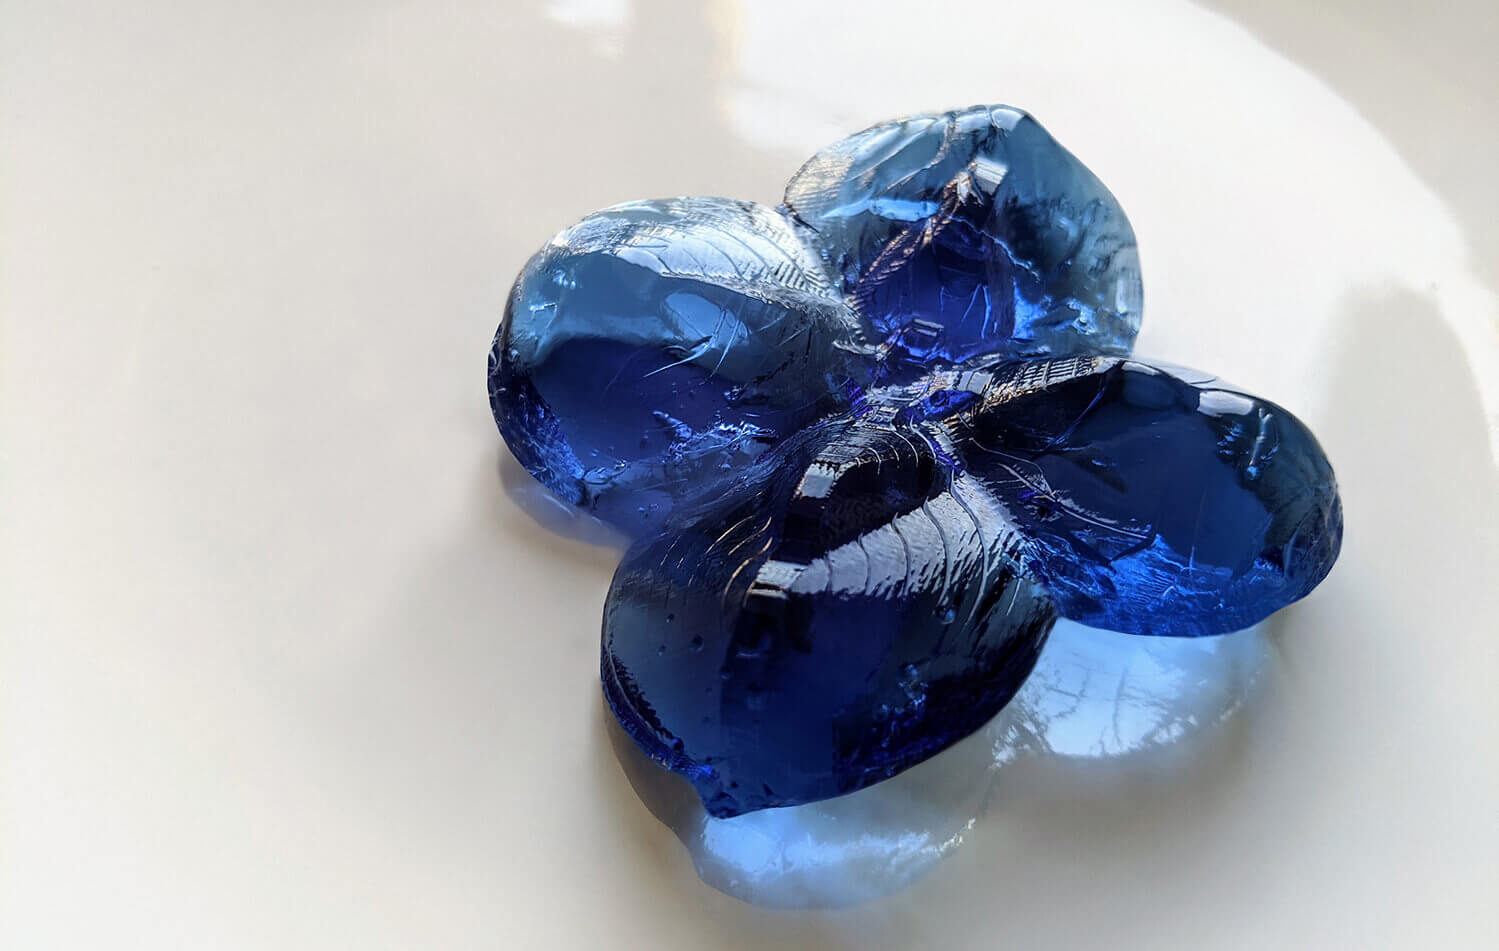
Personally, I prefer the food-safe mold than the other one, because it is harder and sturdier. Hence, I cast gelatin with it first, then I could work with other materials. I had to wrap the mold very well with duck tape and used a hot glue gun to make sure the very liquid gelatin solution wouldn't leak out. I poured mucho mas gelatin all the way up to the top of the pouring hole. In the end, the result was just perfect. Lucky me!
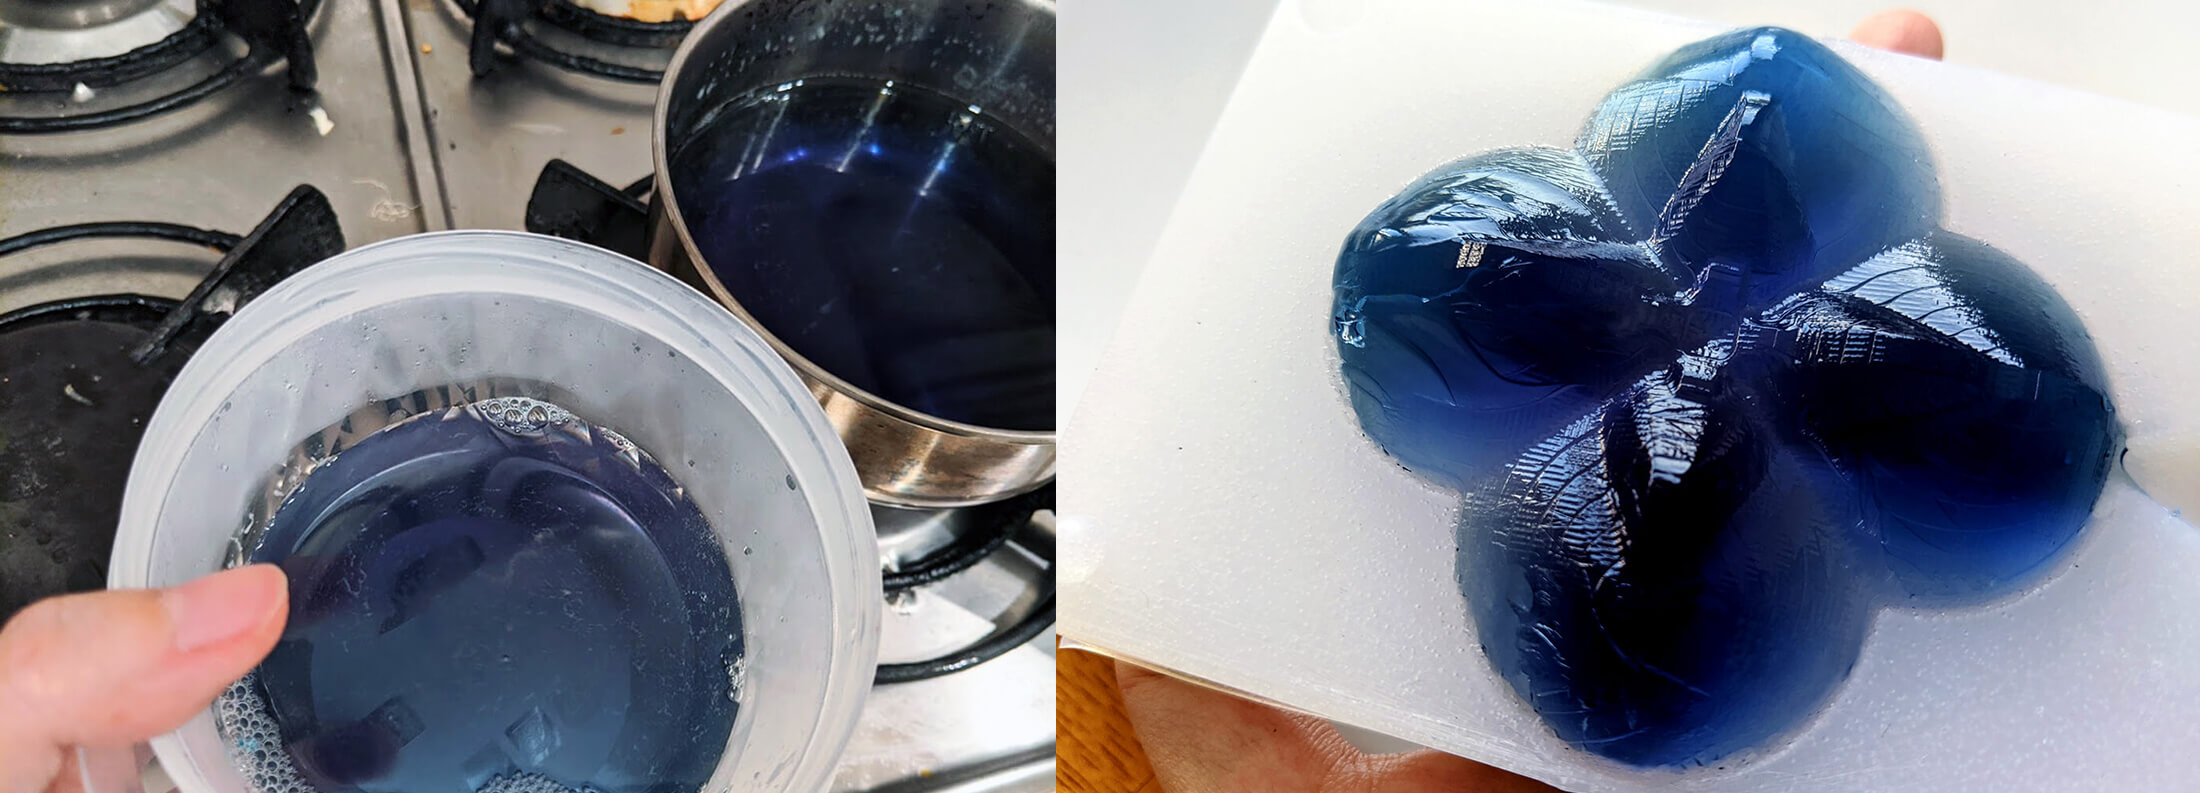
I used blueberry gelatin and the blue color was super lovely! In order to make the result harder, I put too little water in the gelatin mixture. I guess that's why my "wagashi" was broken inside.
Casting Acrystal Prima acrylic resin
For the next try, I used the EASYPLAT 00-40 mold to cast the Acrystal resin. This mold is a lot thinner than the food-safe one, therefore I had to use 2 plywood pieces to straighten it up. These plywood pieces also helped a lot in reducing the leak out. I used these 2 pieces of plywood in the next castings.
I ran into a lot of problems when casting the Acrystal resin, namely:
- Mixing a ratio of 2.5 powder: 1 liquid was very tricky. The amount of liquid was too small for mixing the powder throughoutly. During the first mixing, the mixture had already cured when I was able to mix the powder and the liquid well.
- I increased the amount of liquid, but this also caused the mixture to harden very quickly, even before I could pour it into the mold.
- For the third mixing, I used the recommended ratio 2.5A:1B and mixed them a bit carelessly. The mixture was too thick to pour smoothly through the pouring hole. It even filled up the air vent.

I reviewed the technical bulletin of Acrystal resin to see what I did wrong compared to the instructions. I noticed they used the retardant to increase working time and slow down the hardening process. They also used tools to mix, which could be another reason why they could make it. In the end, I decided to use only 1 half of the negative mold to cast a half "wagashi". The finished object looked really nice, the consistency of the mixture minimized the bubbles. The details were also sharp. Still, I needed to cast the double-sided object!
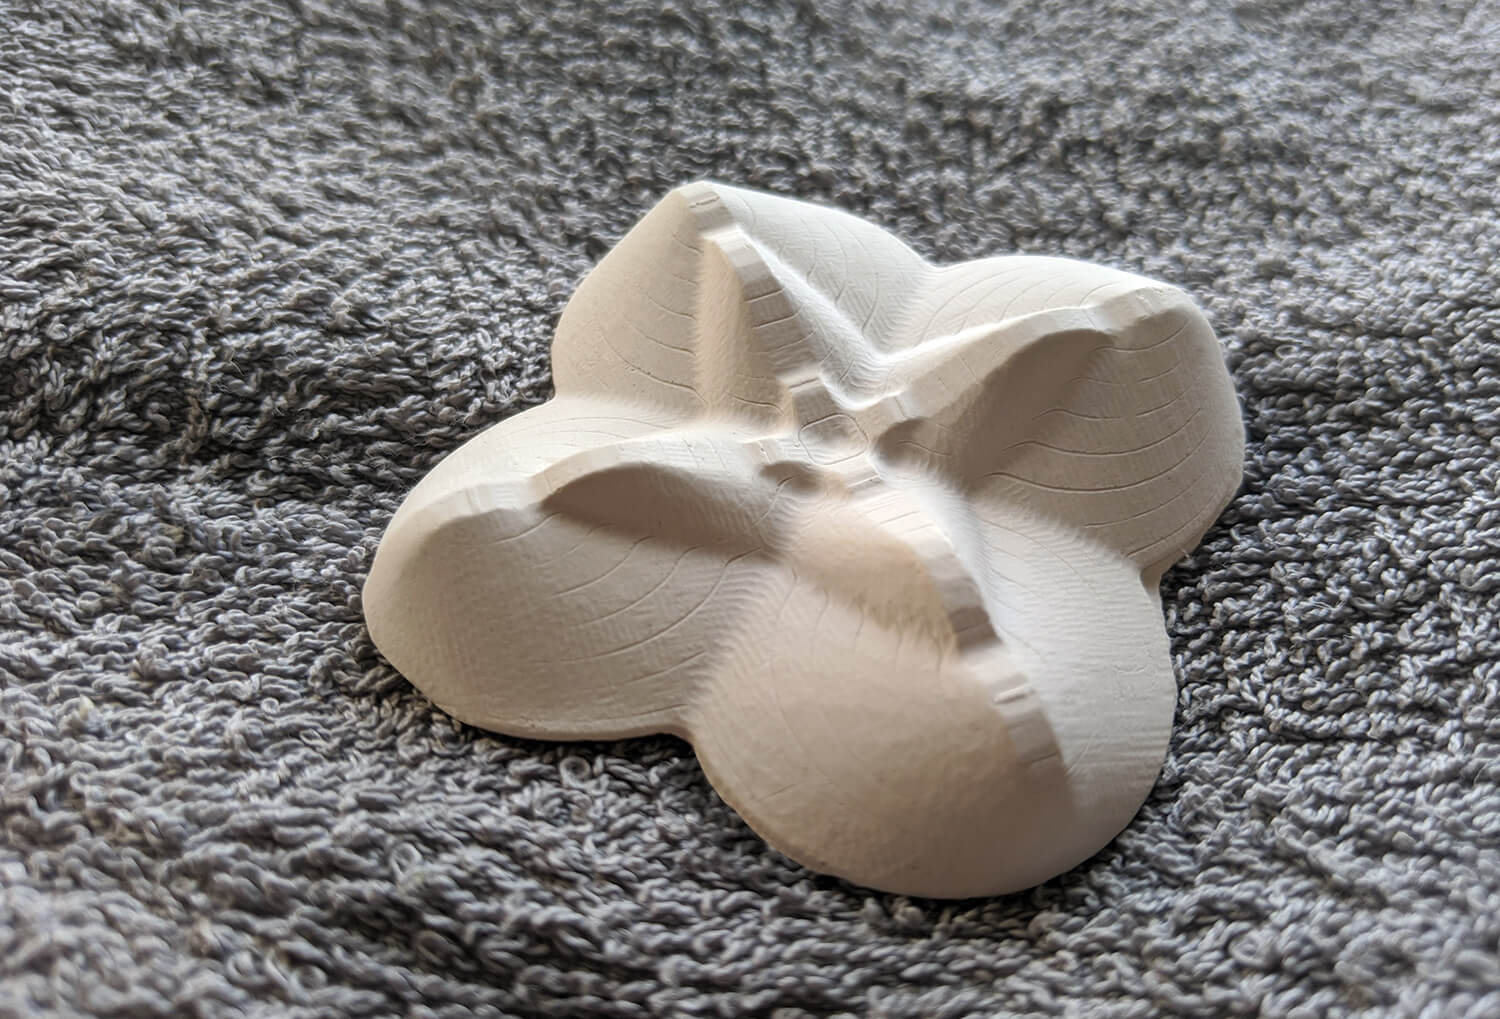
Casting FOAM-iT! 4 expanding foam
I continued to cast the expanding foam with the food-safe mold. Since the mixture would expand up to 14 times its original volume, I only used a little amount (~5ml) for both parts A and B. Yet I also have much leftover.

Nothing much to say about casting foam, the result looked very good as well. The foam expanded over the gap between the 2 halves of the mold, but this excess could be removed easily with scissors. I really liked the feeling when I knocked on the object, and the sound was very funny.
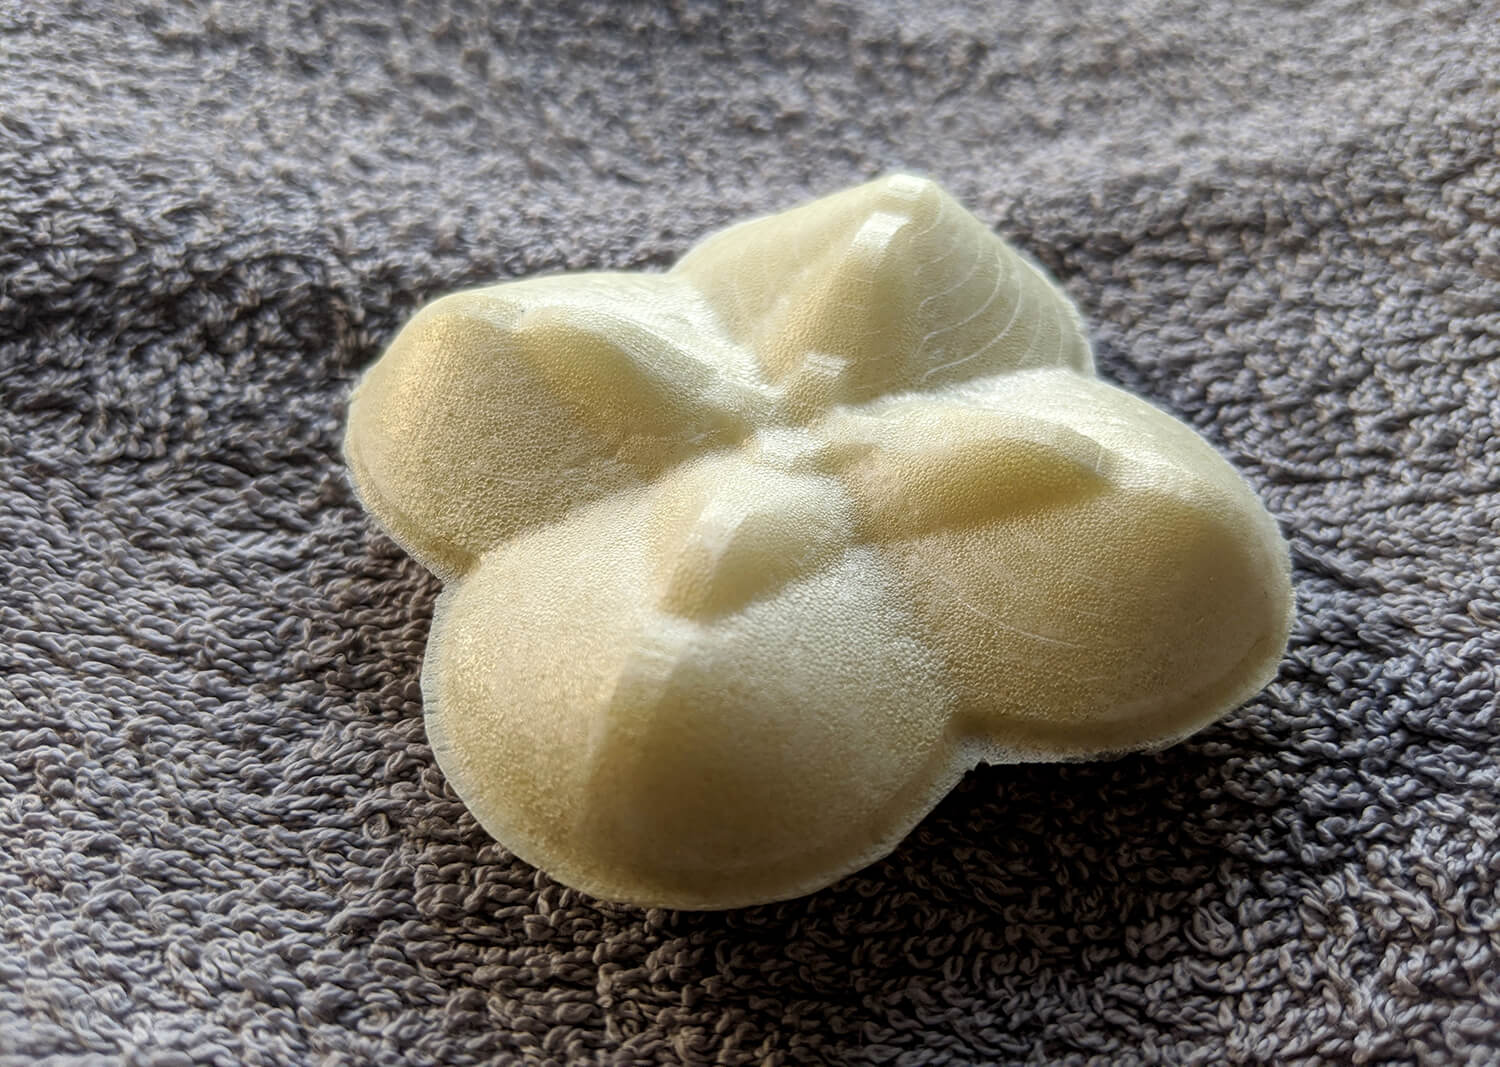
Casting Smooth-Cast 327 urethane resin
Even the thinnest polyurethane resins are somewhat thicker, so they may bring air bubbles with them. I had never had to use any vacuum degassing technique until now. To cast the Smooth-Cast 327 urethane resin, I could finally use the vacuum chamber to minimize bubbles in the liquid silicone. Josep and David helped me a lot in setting up the chamber.
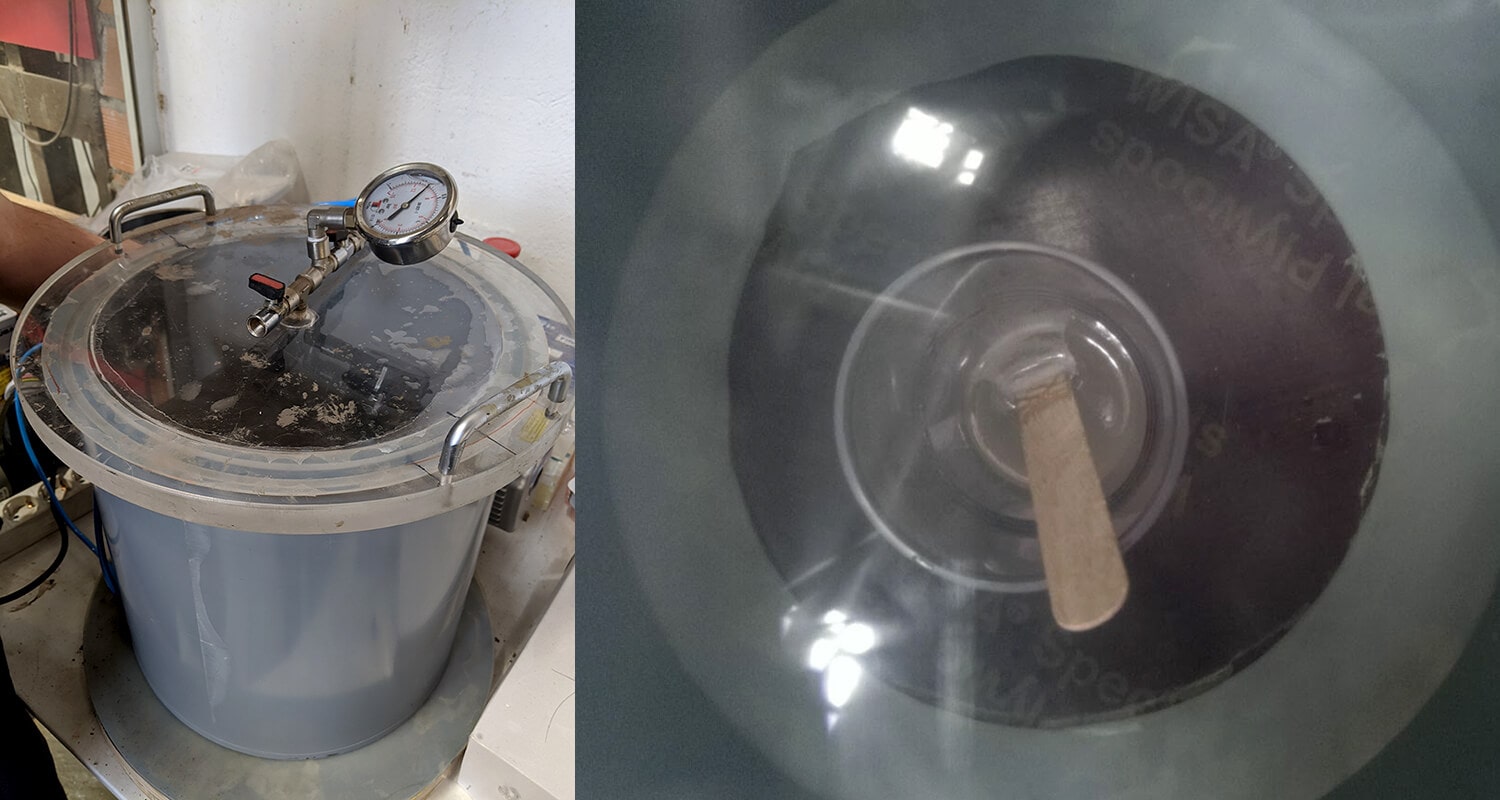
After around 3 times of repeating the degassing process, I poured the mixture into the mold. It looked pretty clear and had few air bubbles. Josep also told me to bang on the surface for better degassing.
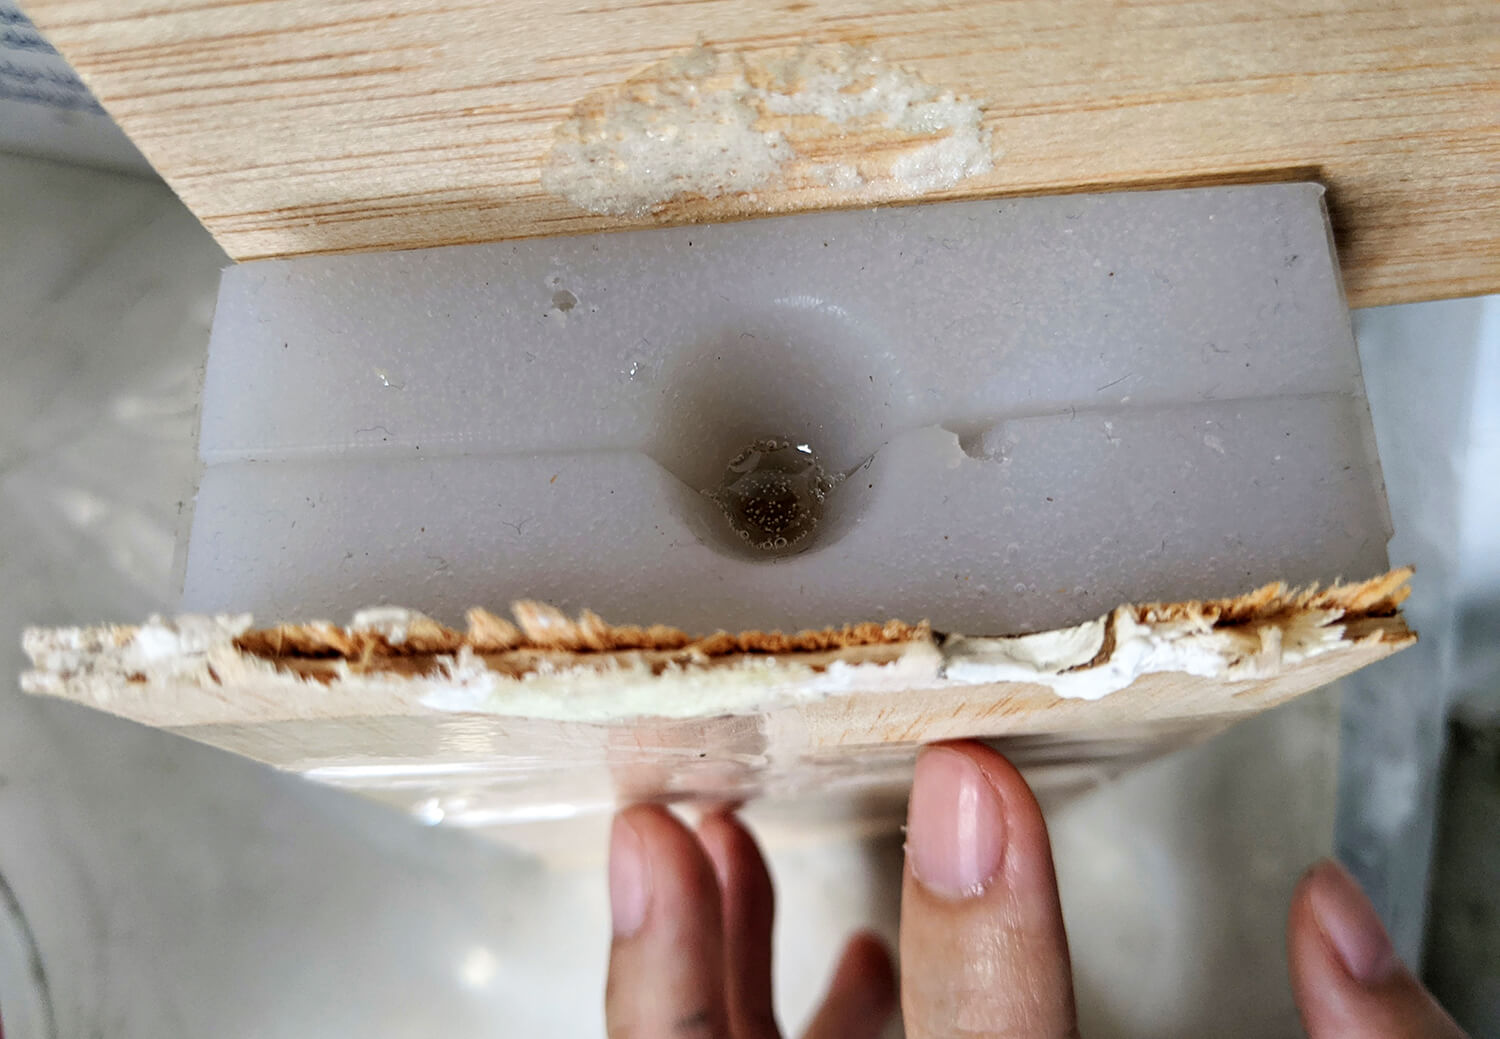
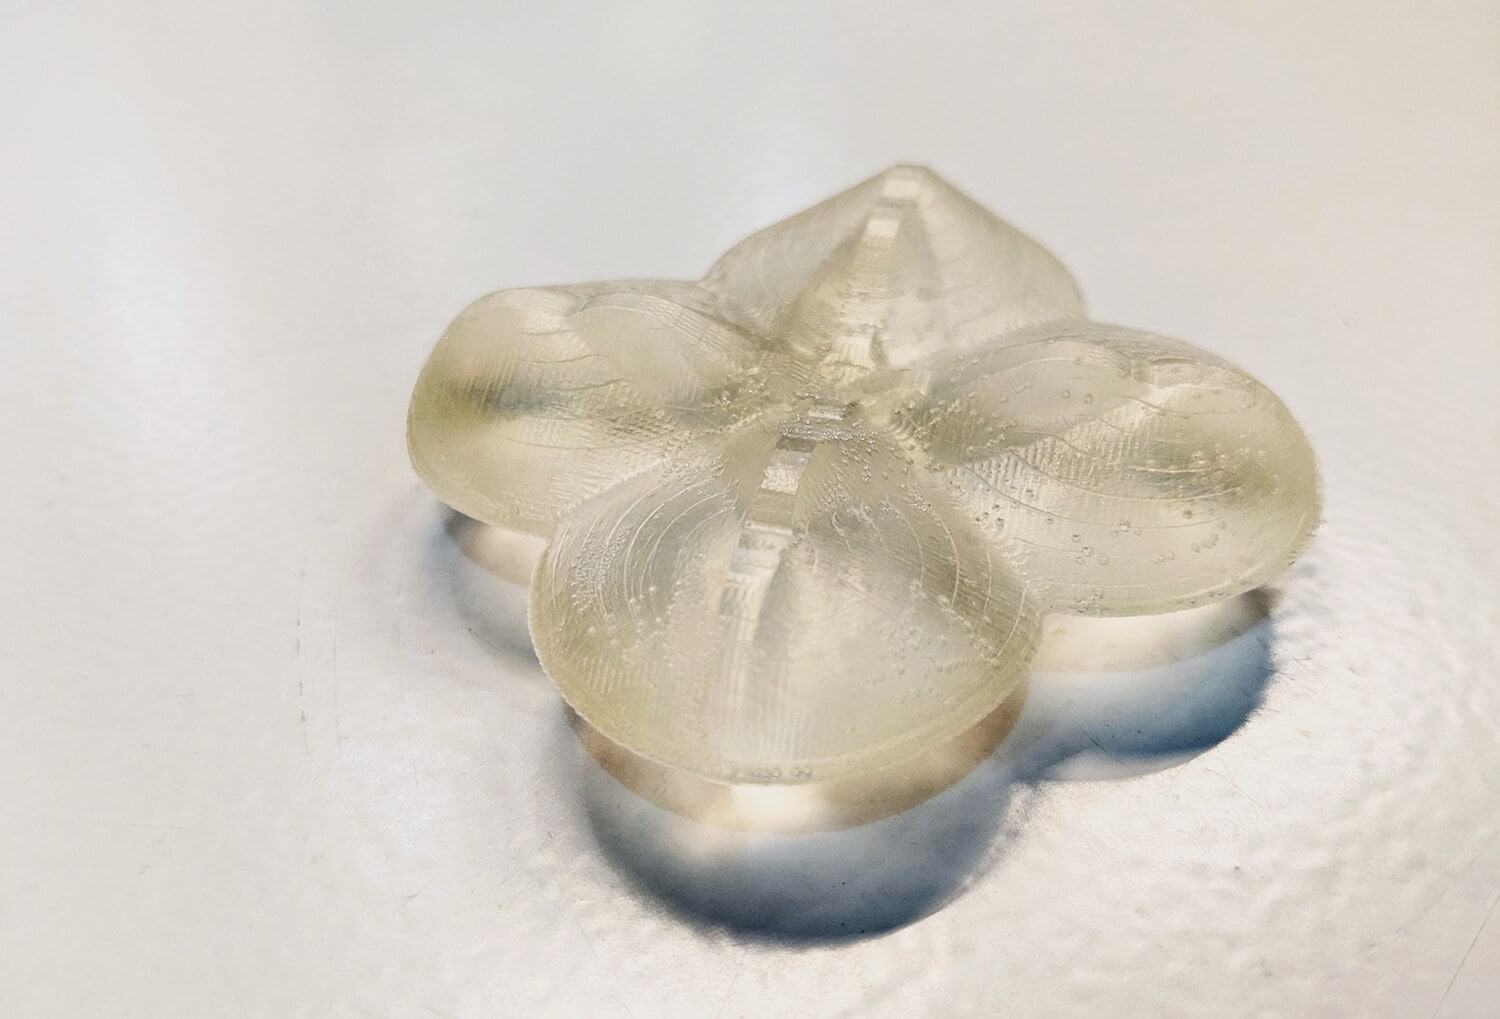
After 1 night, I removed the object from the mold. The result was looking great with sharp details. There were still a lot of air bubbles but I was already satisfied.
Group assignment - Compare molds and casts
It was not an easy task to gather people during the pandemic, even after the lockdown. After talking with our instructors, I decided to work on this group assignment by myself. I had cast with different materials anyway, so I guess I achieved the requirements of this group assignment.
Comparing silicones
I was really impressed with the food-safe mold. It was stiff and stable with minimized gaps between 2 halves of the mold. Details of the food-safe mold also looked a lot sharper, while the normal mold had poorer quality. However, the EASYPLAT 00-40 silicone has a lower viscosity and excellent air bubble release that made the mixing process faster and easier.
![]()
Comparing resins and foams
The 3 finished objects were all lovely. Under good lighting conditions, the air bubbles of the urethane resin object were easier to be seen, but the clear amber color was nice. It best represented my original intention. I also really liked the surface of the acrylic resin object, it would be great if I can cast the full double-sided object with this material. I was looking forward to a more rigid result, so foam casting probably wasn't my goal this week.

I think polyurethane resins are the best options for casting small, delicate or highly detailed forms. Acrylic resin is a better option for casting bulkier forms or faster hardening time. Acrylic resin is also considered extremely weatherproof and this makes it ideal for outdoor applications. Acrylic resin didn't yellow when exposed to sunlight, while the surface of the foam was destroyed and the polyurethane resin yellowed quickly.
What I personally learned:
- The thicker the walls of the negative mold, the better: leave more spaces from the highest point as well as the edges of the model
- Make the thinnest thread possible while pouring material, and design the pouring holes and the air vents as big as possible
- In order to minimize bubbles, pour silicone-upon-silicone, layer-by-layer instead of pouring the mixture all over the surface of the wax mold
- For casting double-sided objects, harder silicones and casting materials with lower consistency are recommended
Conclusion
I was looking for ways how to make some parts of my Final Project compatible with this assignment, for example, the tongue of the dragon. In the end, I realized the process was a bit complicated and I should move forward with another option. But this week was still really interesting! It’s true that molding and casting can require quite a time-investment as well as patience, planning, and a methodical approach.