W05 - scanning and printing
1. Weekly Assignments ( -> what I did this week )
- Group assignment
Test the design rules for your printer(s)
Document your work and explain what are the limits of your printer(s) (in a group or individually)
( -> I tried several printing parameters of Afinia H400 in fablab Kamakura with the group members. )
- Individual assignment
Design and 3D print an object (small, few cm3, limited by printer time) that could not be easily made subtractively
( -> I printed my originally designed model car which has rotating wheel & shaft structure. )
3D scan an object, try to prepare it for printing (and optionally print it)
( -> I scanned my original hand-made object, by “Capture ( iPhone APP )”. )
Have you?
Questions from “Fab Academy 2020 Assignments and Assessment 
( -> my answers )
-
Linked to the group assignment page ( -> yes )
-
Explained what you learned from testing the 3D printers ( -> yes )
-
Documented how you designed and made your object and explained why it could not be easily made subtractively ( -> yes )
-
Documented how you scanned and prepared an object (for 3D printing) ( -> yes )
-
Included your original design files for 3D printing (both CAD and common format for 3D printing)
( -> yes )
-
Included your hero shots ( -> yes )
2. Group Assignment Link
I tried “test A”, “test E” and “test F” in the table below.
| test A | test B | test C | test D | test E | test F | |
|---|---|---|---|---|---|---|
| High Quality | Yes | |||||
| Middle Quality | Yes | Yes | Yes | Yes | ||
| Low Quality | Yes | |||||
| setting : LayerThickness | 0.35mm | 0.25mm | 0.15mm | 0.25mm | 0.25mm | 0.25mm |
| setting : Infill | 0% | 65% | 99% | 65% | 65% | 65% |
| setting : Quality | Fast | Normal | Fine | Normal | Normal | Normal |
| setting : Support | None | None | None | None | None | Yes |
| setting : Raft | Yes | Yes | Yes | Yes | Yes | Yes |
| setting : Unsolid Model | Yes | Yes | Yes | Yes | Yes | Yes |
| Material : ABS | Yes | Yes | Yes | Yes | Yes | |
| Material : PLA | Yes | |||||
| Model : All In One 3D Printer test | Yes | Yes | Yes | Yes | ||
| Model : clearance test | Yes | Yes |
| All In One 3D Printer test *1) | clearance test *2) |
|---|---|
 |
 |
*1) thingiverse site
*2) fab academy ( design rules, supports, clearance, stl )
3. Works, steps and some details
1) model-car on fusion360
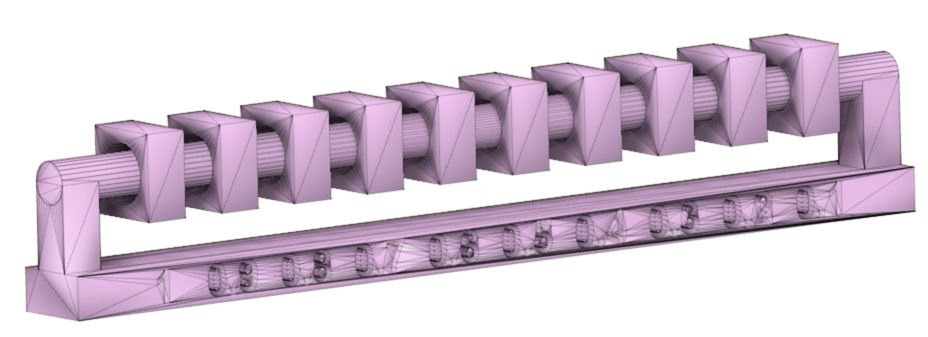
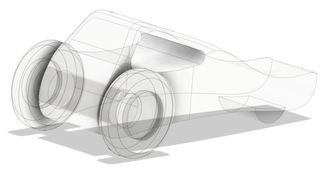
I prepared the fusion360 file of ” model car ” which will be used as the part of my Final Project. This is a simple small car with two rear wheels with a shaft. The wheels and the shaft are connected and there is an appropriate clearance between the shaft and the body, so that the wheels can rotate.
 |
 |
 |
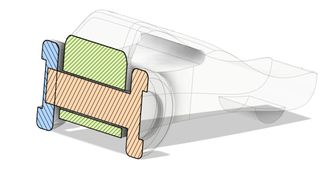 |
Considering the result of the group assignment, the clearance was set to be 0.2 mm.
( In the above right photo, the pink and blue colored “wheel + shaft” are printed as one piece. )
“Open in Fusion360” button might not work on some browsers. To download the 3D model, please use the links in “5. Links to Files and Code” on the bottom of this page.
2) 3D-printer parameter setting
The printing parameters of Afinia H400 were set similar to the “test F” in our group assignment, which made a successful result for the “clearance.stl” file.
LayerThickness : 0.25mm
Infill : 65%
Quality : Normal
Support : Yes
Raft : Yes
Unsolid Model : Yes
Material : ABS
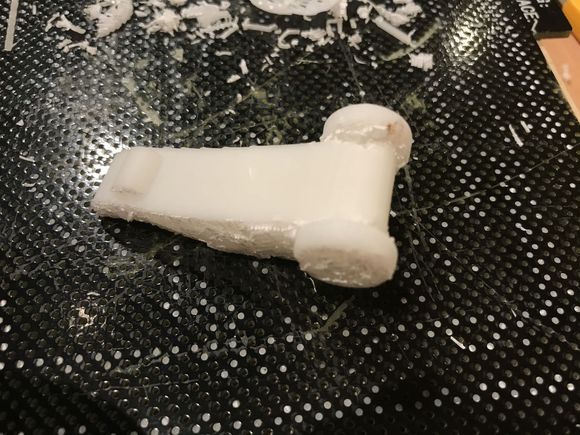
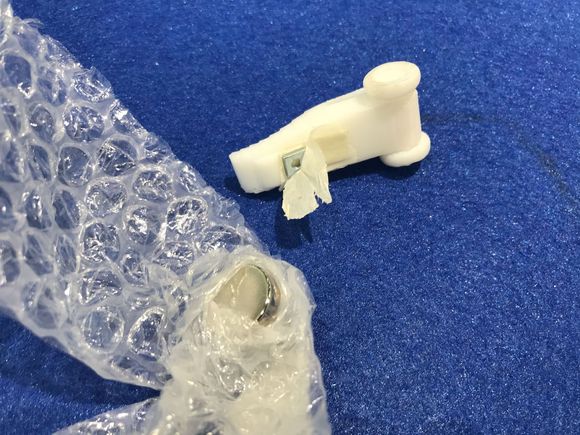
3) printing and finishing
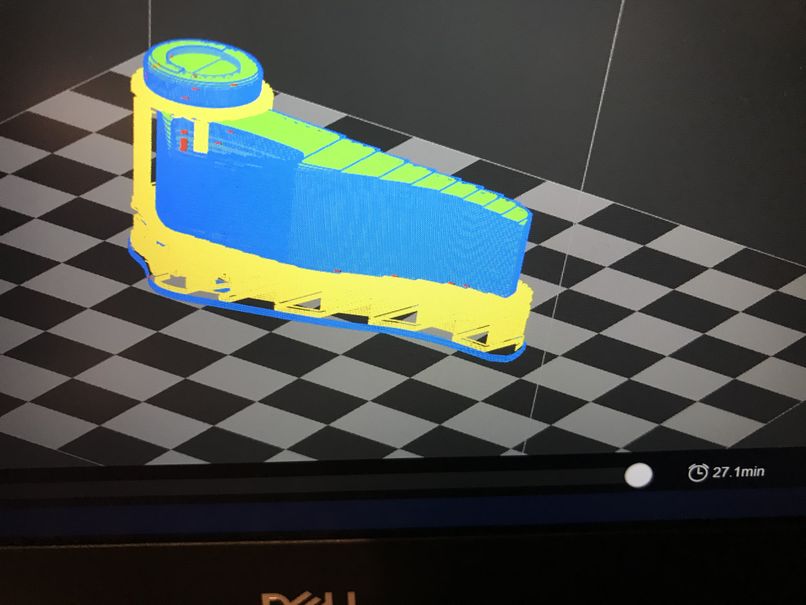
In the preview window, the support material is shown as yellow, which is distributed in between wheel and body.
| print preview, estimated time = 27 minutes | printed object |
|---|---|
 |
 |
To remove the support material, I used “nail-color remover” which contains acetone.
| “nail-color remover” with acetone | put the wheel portion in acetone |
|---|---|
 |
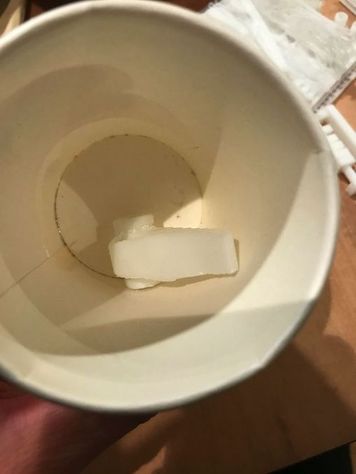 |
It was almost successful, but the wheel rotation was very sticky.
After about 10 hours, the material was dried, carefully rotate the wheels, then the rotation became smoothly.
4) test for the Final Project
My Final Project is “Leg-powered Electric Generator + Drive Simulator”. So, taking this opportunity, I made the car for the simulator which will move on the table of the simulator.
I put one small washer under the body, and drag the car by using a magnet in the backside of the table. While the car is moving, the wheels were turning by the friction with the felt on the table.
| small washer under the body | drag the car by using a magnet |
|---|---|
 |
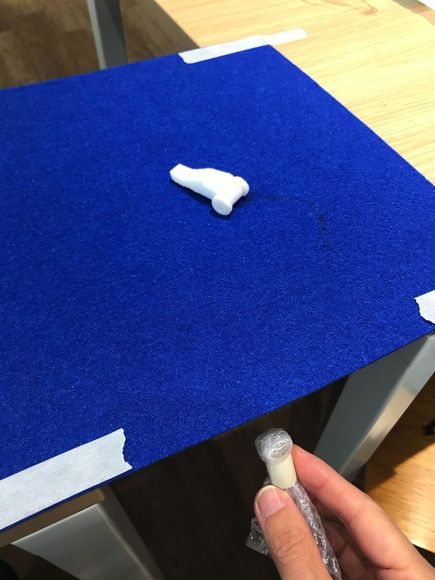 |
As the first trial, the result was successful.
5) Scanning
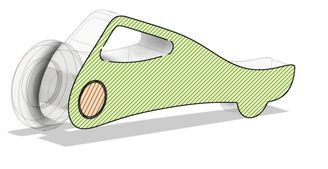
I tried scanning of “mini-taiyaki”, a small fish-shaped pancake by “Sense 3D scanner”.
Scanning was successful, bur I forgot to save the scanned data.
| mini-taiyaki | Sense 3D scanner |
|---|---|
 |
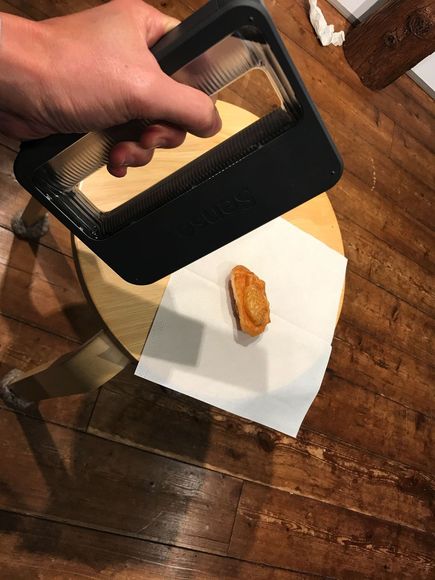 |
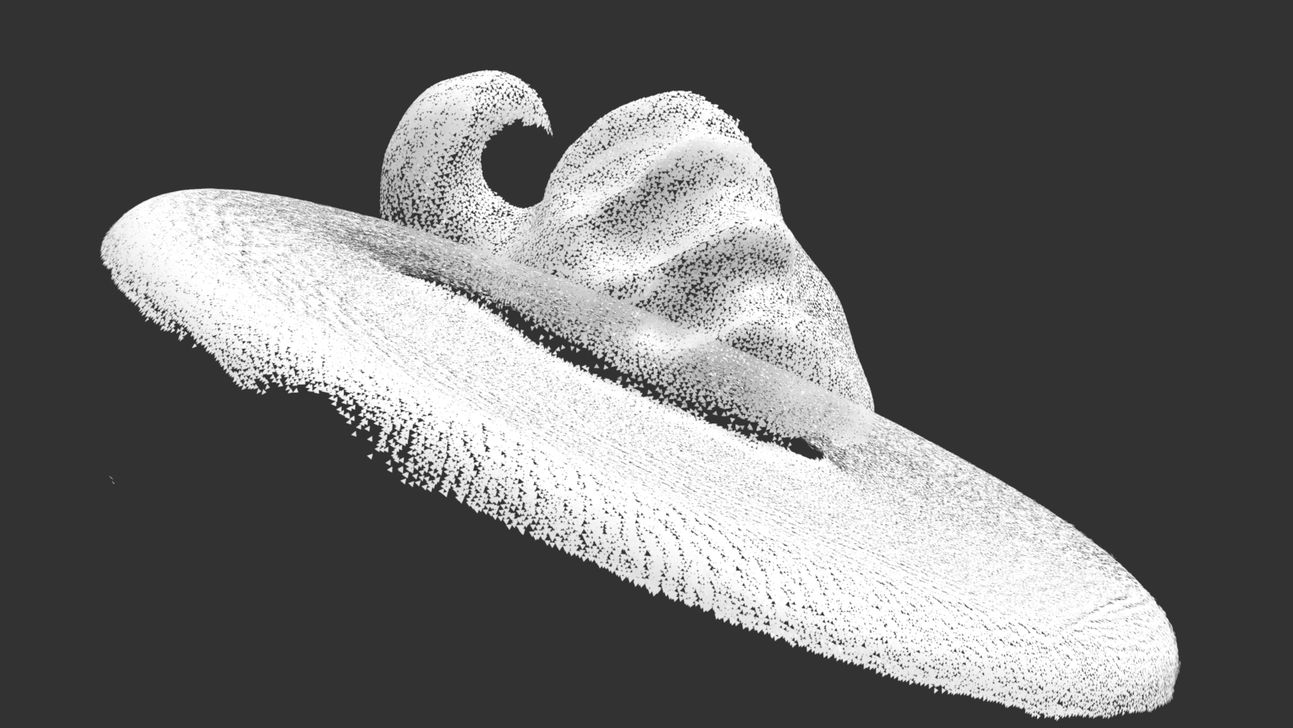
Then, I scanned my hand-made object (on 2020/07/05).
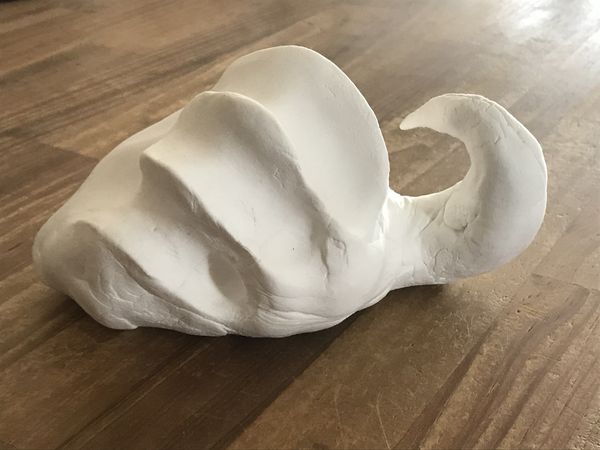 |
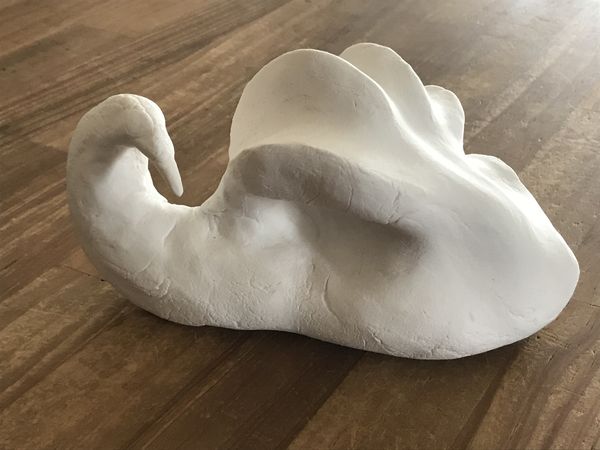 |
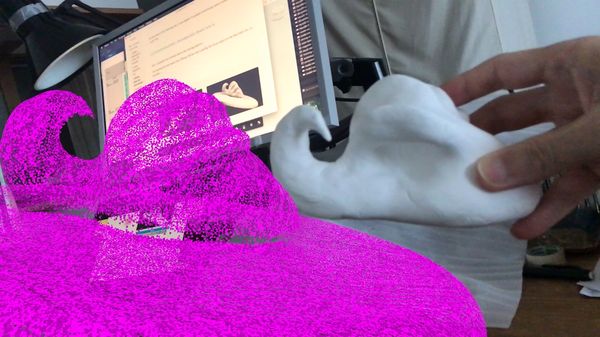
This time, I tried the iPhone APP below.
“Capture: 3D Scan Anything (iPhone APP)”
As described in the following site, it uses Apple’s TrueDepth front-facing camera system, and generate “.usdz” file.
“5. 3D Scanning and printing”, Fab Academy 2020 - Menghe “Yume” Xu
And, I uploaded the scanned data to the sharing platform.
( by opening the link below from iPhone, AR-like view ( placing the Virtual object on the Real table, etc. ) is possible. )
( The scanned model is flipped, maybe because “Capture” uses front-facing camera. )
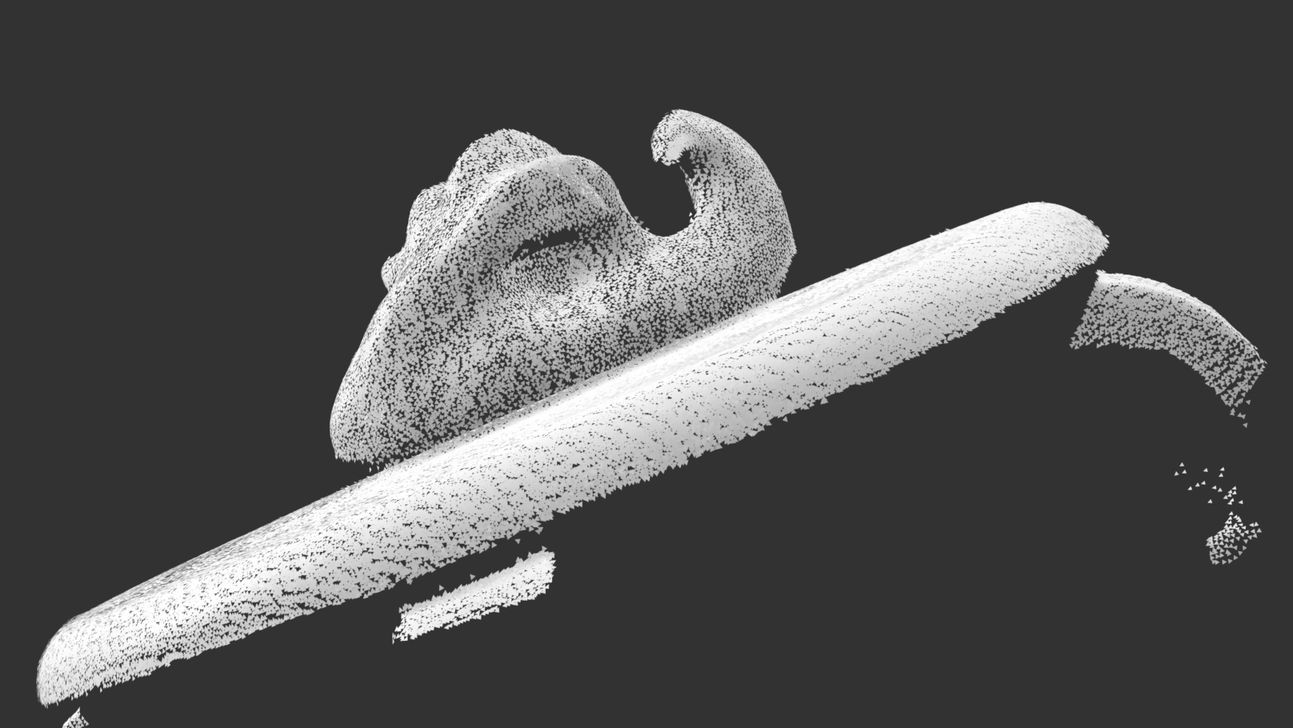 |
 |
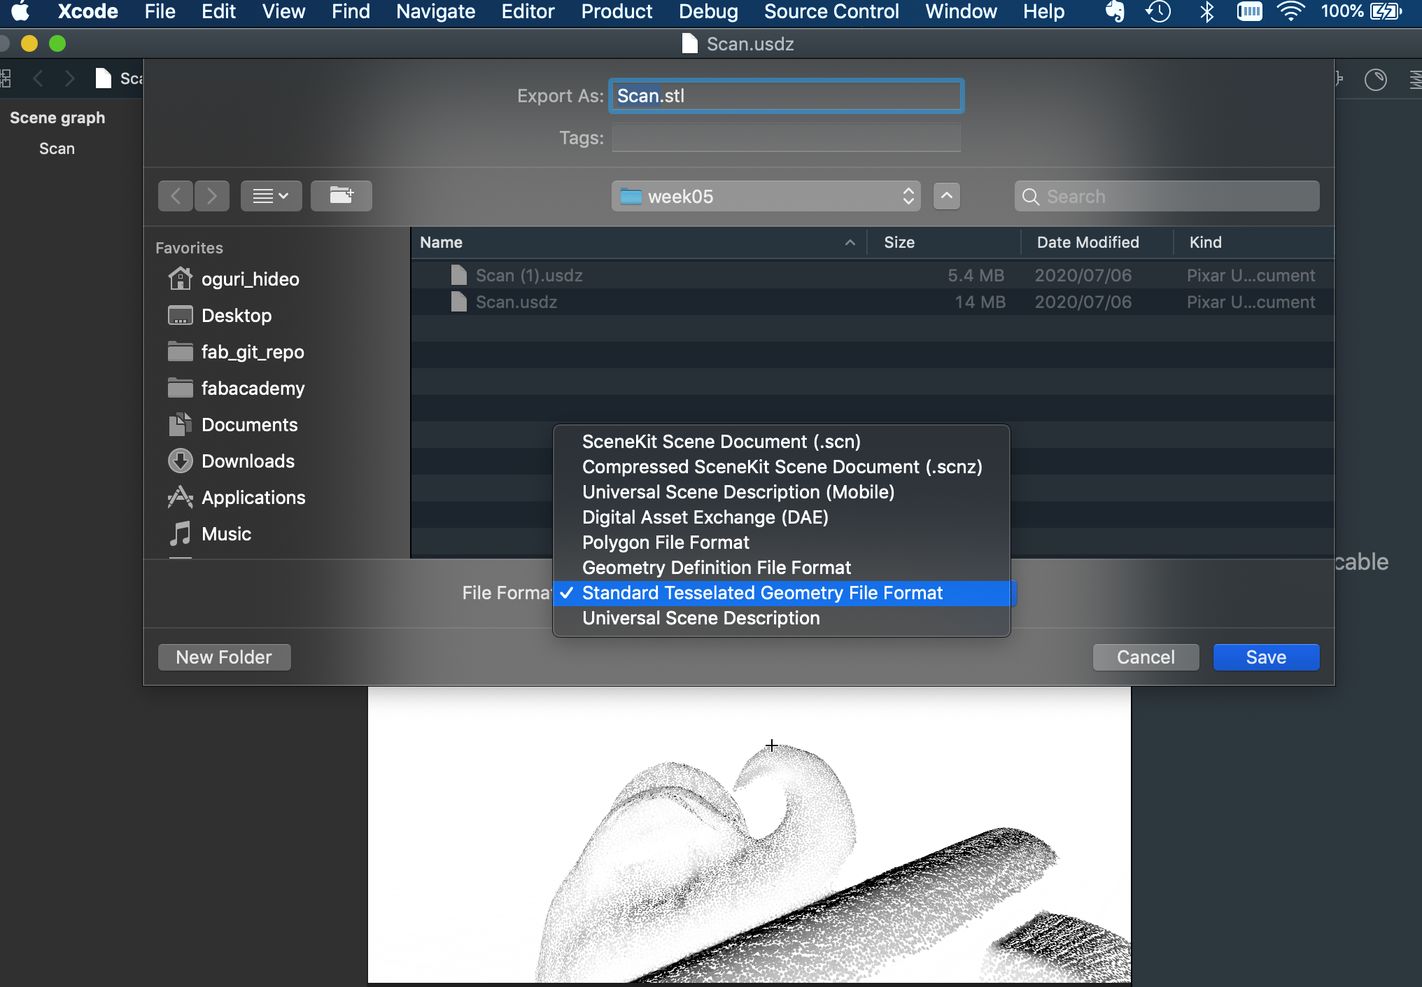
.usdz can be converted to .stl, by using Xcode.
( “file” -> “Export…” -> select “Standard Tesselated Geometry File Format” and Save )
“Open in Fusion360” button might not work on some browsers. To download the 3D model, please use the links in “5. Links to Files and Code” on the bottom of this page.
4. Important Learning Outcome
1) Quantitative evaluation of the design rules of 3D printing
Although I had already known that there was some limitations of 3D printing such as the clearance value and the allowable overhang value, I did not have the clear number or the actual examples.
This time, I could make some results and examples which should be useful information for the further 3D modeling work.
2) finishing the 3D printed object
Removing the support material is a time-consuming work. Although using acetone is a good idea, melted material is sticky like glue. So, further optimization of support is needed, depending upon the shape and structure.
3) 3D Scanning
This is an interesting and useful technology, which might be applied to some artworks and 3D modelings.
I’ll try this to make some assistive equipments by scanning arms or legs, etc.
5. Links to Files and Code
( to download the files, click here )
“model car” fusion360 file : model_car_wo_canvas v2.f3d
“model car” stl file : model car v9.stl
“scan.usdz” ; download
6. Appendix
“Capture: 3D Scan Anything (iPhone APP)”