W16 - Wildcard Week
1. Weekly Assignments ( -> what I did this week )
-
Individual assignment
-
Design and produce something with a digital fabrication process (incorporating computer-aided design and manufacturing) not covered in another assignment, documenting the requirements that your assignment meets, and including everything necessary to reproduce it. Possibilities include but are not limited to wildcard week examples.
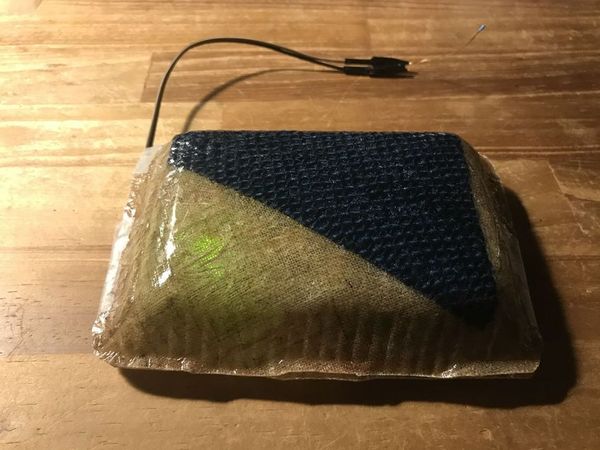
( -> I made small box which has a hinge structure, utilizing hemp fabric, epoxy and the composite technic. )
Have you?
Questions from “Fab Academy 2020 Assignments and Assessment 
( -> my answers )
-
Documented how you made your creation ( -> yes )
-
Described problems and how you fixed them ( -> yes )
-
Included your design files and ‘hero shot’ of the result ( -> yes )
2. Works, steps and some details
1) Planning
“Composite” ( the combination of soft materials such as fabrics and solid materials such as resin ) has a lot of possibilities. Not only to reinforce resin by using fiber ( so called FRP ), some kind of robotics structure with joints could be made in one piece.
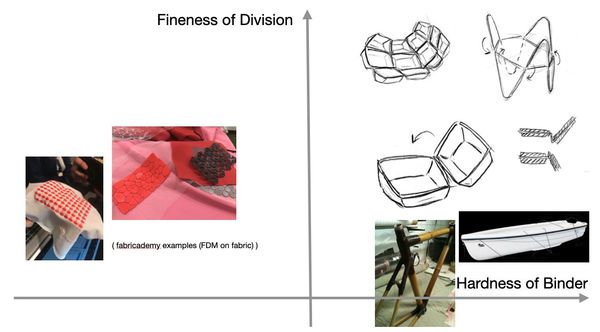
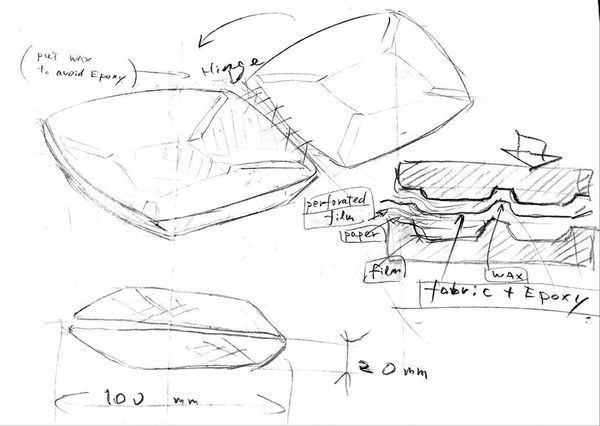
I decided to make small box with one joint ( hinge ) this time.
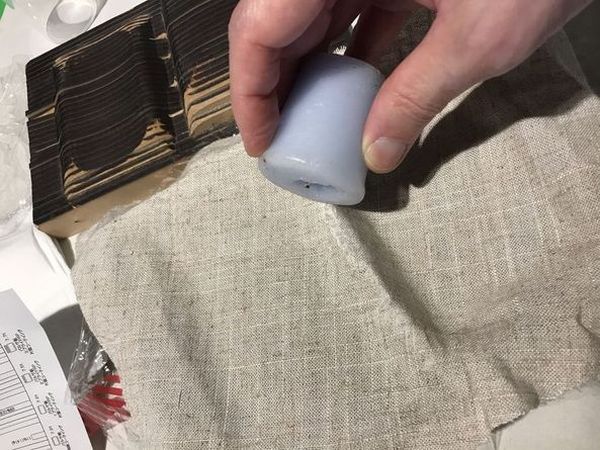
In order to keep the hinge part soft, I plan to put some wax ( paraffin ) on the fabric ( hemp ), so that epoxy resin does not get into the portion. This is similar technic to “Resist dyeing” in textile.
Textiles Tutorials: Creating and Dying Patterns Resist Dying
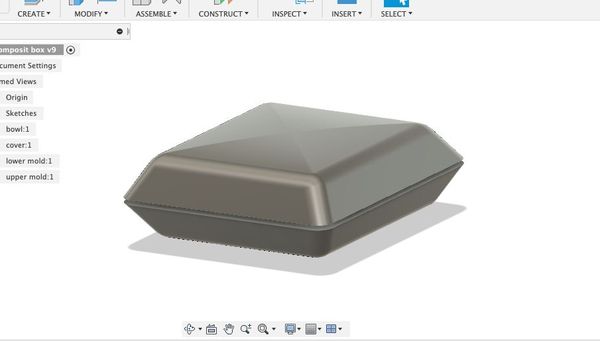
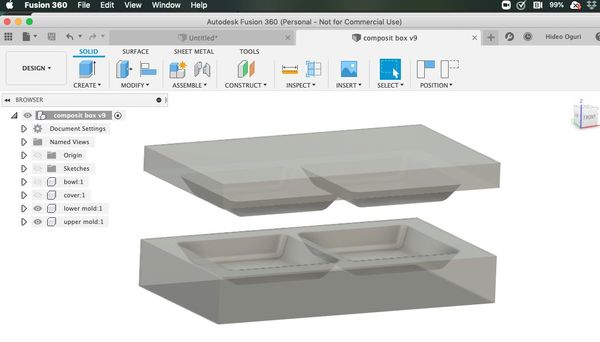
2) modeling by fusion360
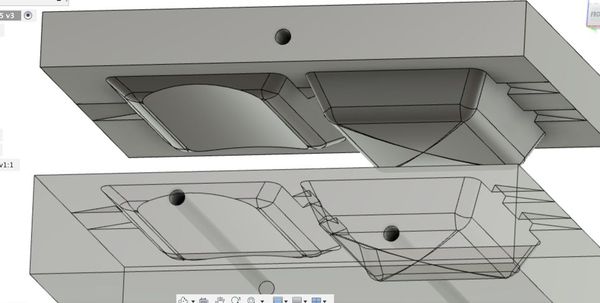
To make the mold, this time I laser cut the wooden plates (MDF), and stacked them. This is the way to make large thing that CNC (Roland SRM-20) cannot handle. The plate thickness was 4mm, so the shape of the stacked mold was not smooth, but it is not a problem for this box.
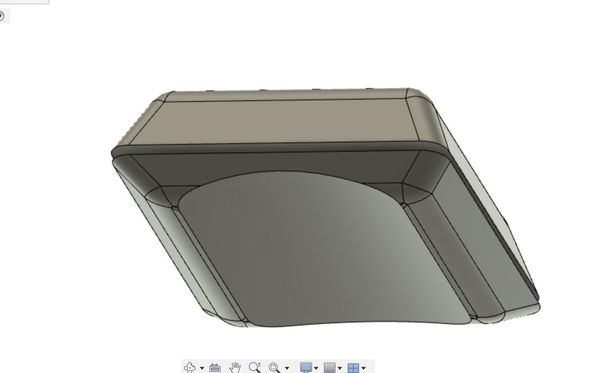
| “box” model | upper & lower molds |
|---|---|
 |
 |
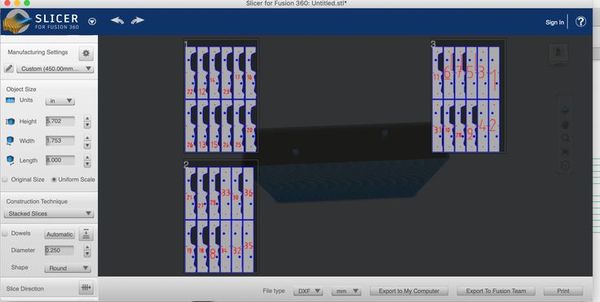
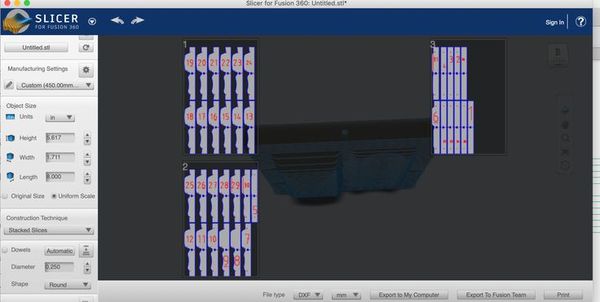
3) molding data preparation ( laser cutting data )
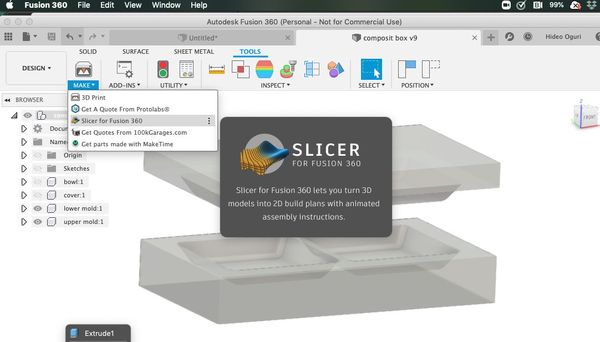
To make the laser cutting data from the fusion360 model, I used “Slicer” plug-in.
 |
| sliced lower mold | sliced upper mold |
|---|---|
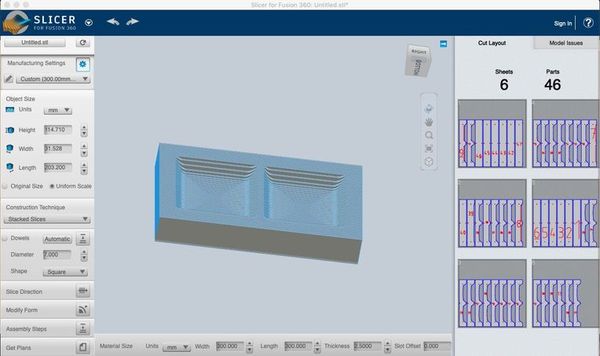 |
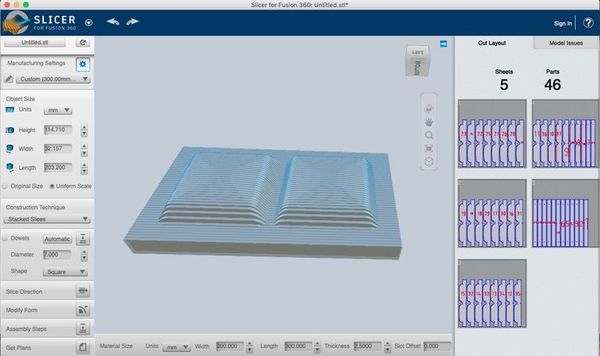 |
In week16 (2020/05/23), I made the above model.
Then on 2020/07/19, I modified it like below.
(a) made concave surface on the bottom, so that the box fits on the arm.
(b) put the unevenness edges which functions as the notch, so that the cover can be closed precisely.
| concave surface on the bottom | notch on the molds |
|---|---|
 |
 |
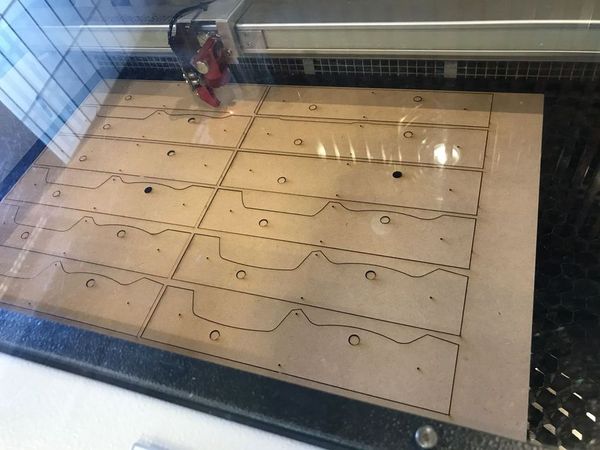
| 3 MDF (300mm x 450mm x t 4mm) plates for lower mold | 3 MDF (300mm x 450mm x t 4mm) plates for upper mold |
|---|---|
 |
 |
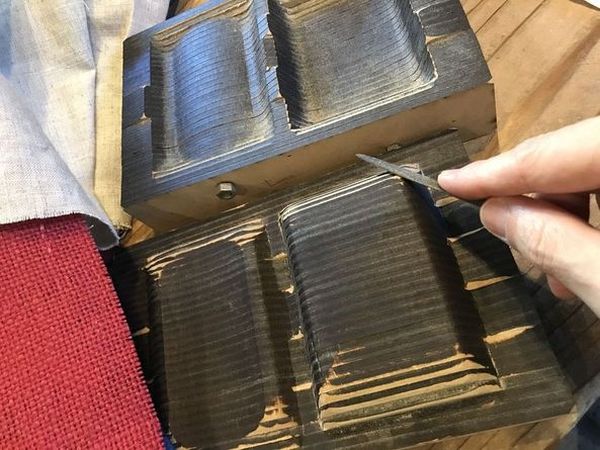
4) fabrication
| laser cutting | stacking and filing the edges |
|---|---|
 |
 |
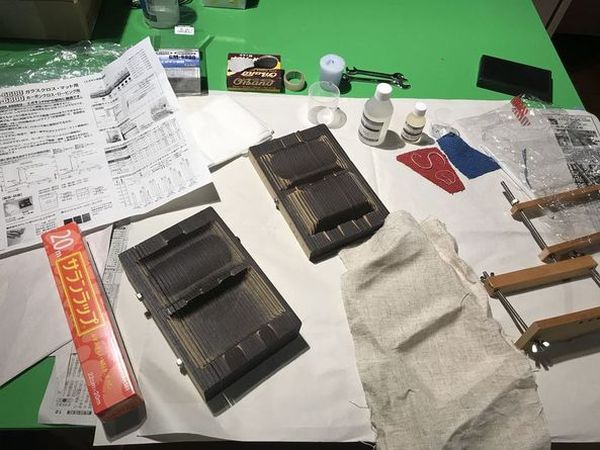
Composite Materials
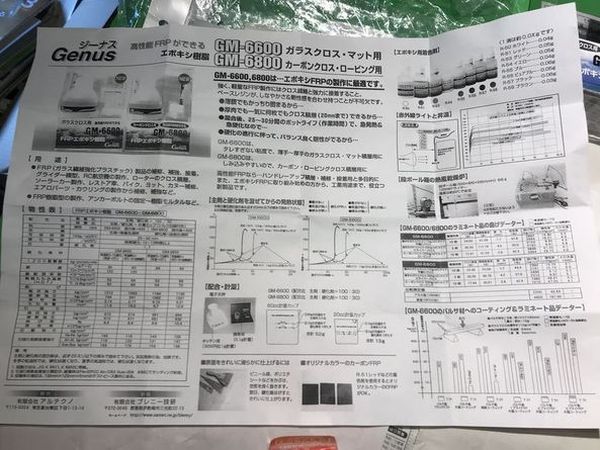
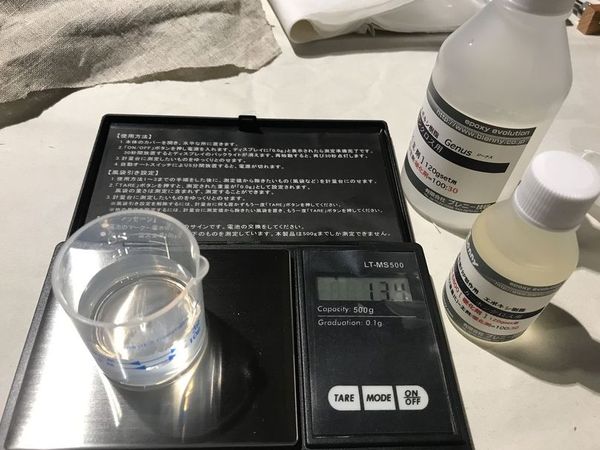
Epoxy ----- GM-6800 ( Epoxy resin for FRP )
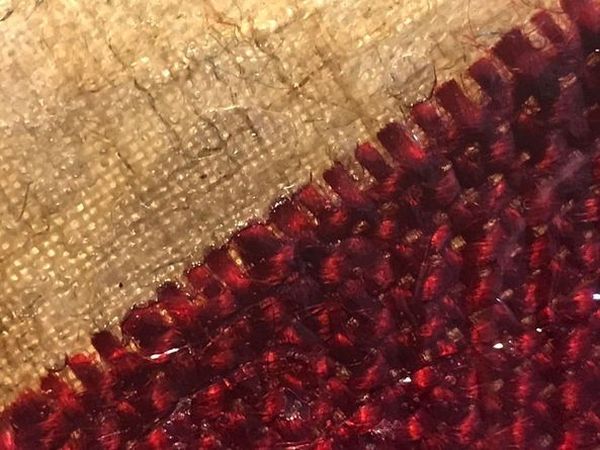
fabrics ----- Hemp ( thin & natural colored ), Hemp ( thick & blue colored ), Hemp ( thick & red colored )
food wrap (cling film)
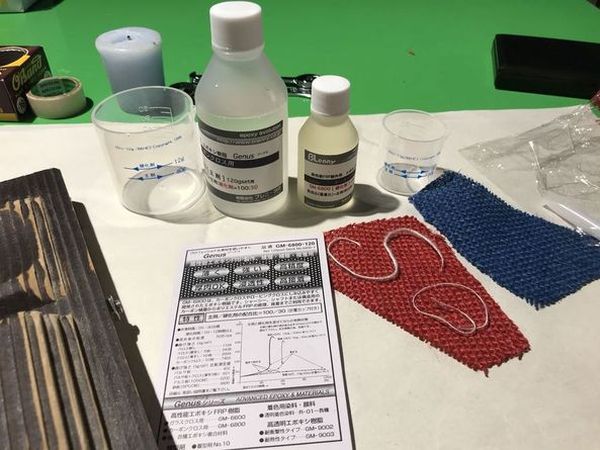
 |
| GM-6800 ( Epoxy resin for FRP ) | |
|---|---|
 |
 |
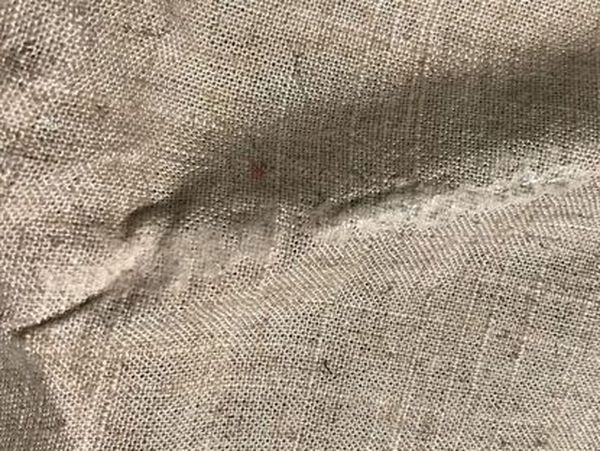
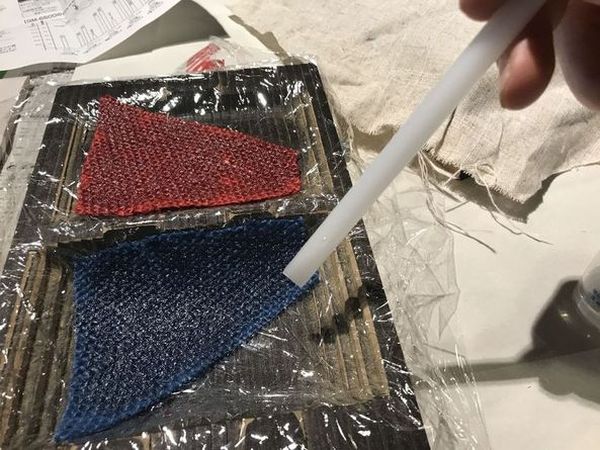
| put wax on the hinge portion | |
|---|---|
 |
 |
| weigh the Resin and Curing agent weight ratio is 10 : 3 |
set the food wrap on the mold then, put the thick fabric mix the Resin and Curing agent ( “pot life” is about 20 minutes ) |
|---|---|
 |
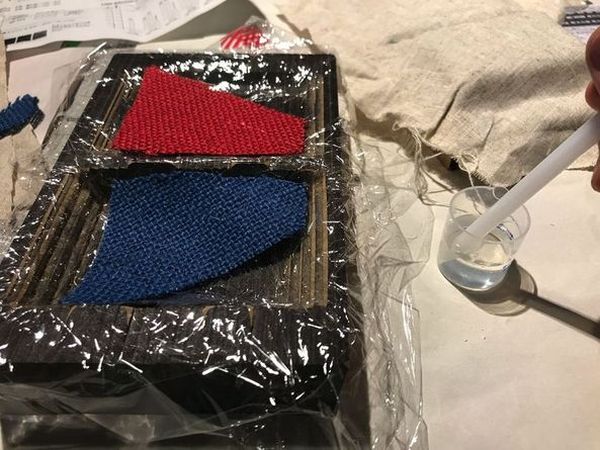 |
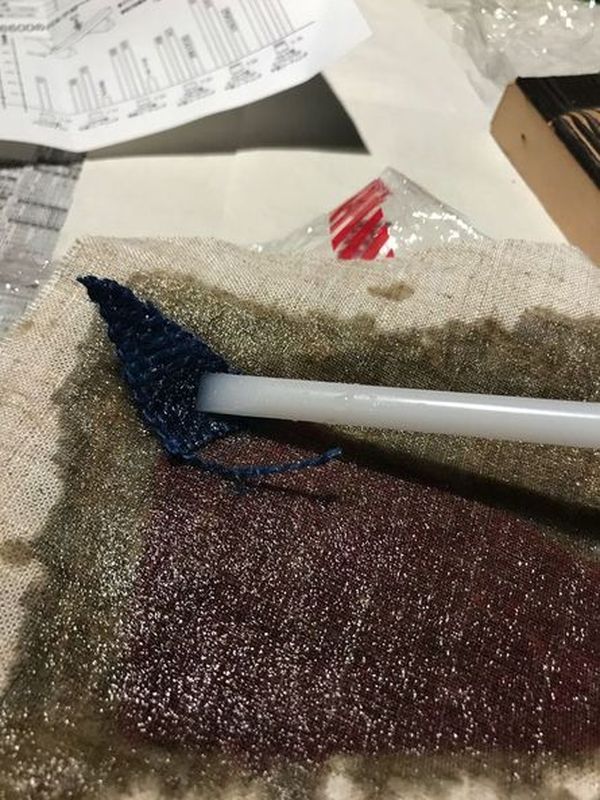
| put the mixed resin on the fabric | set the thin fabric, and put the mixed resin again soap up the extra resin on the corner, by using the thick fabric |
|---|---|
 |
 |
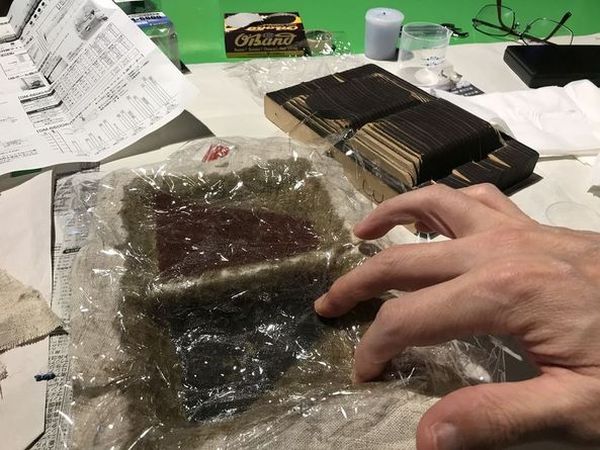
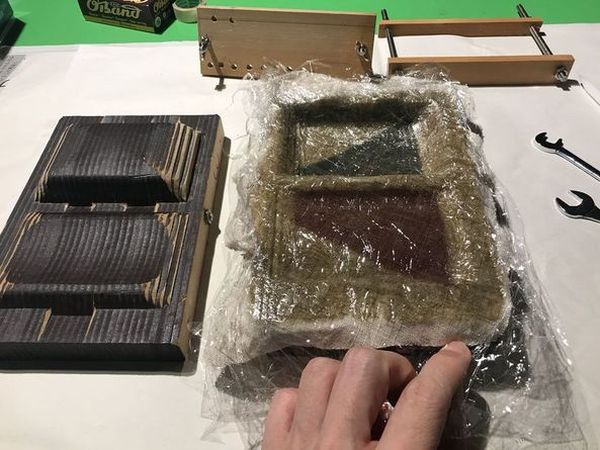
| set the food wrap again | set the upper mold, and tighten it with the bolts |
|---|---|
 |
 |
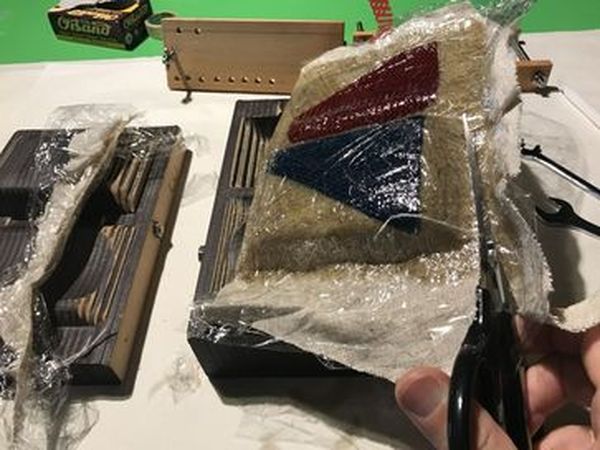
19 hours later ( next day ), I checked the situation.
It was almost hardened but still soft enough to cut the peripheral portion by scissors. ( ambient temperature was about 20 to 25 degC )
 |
 |
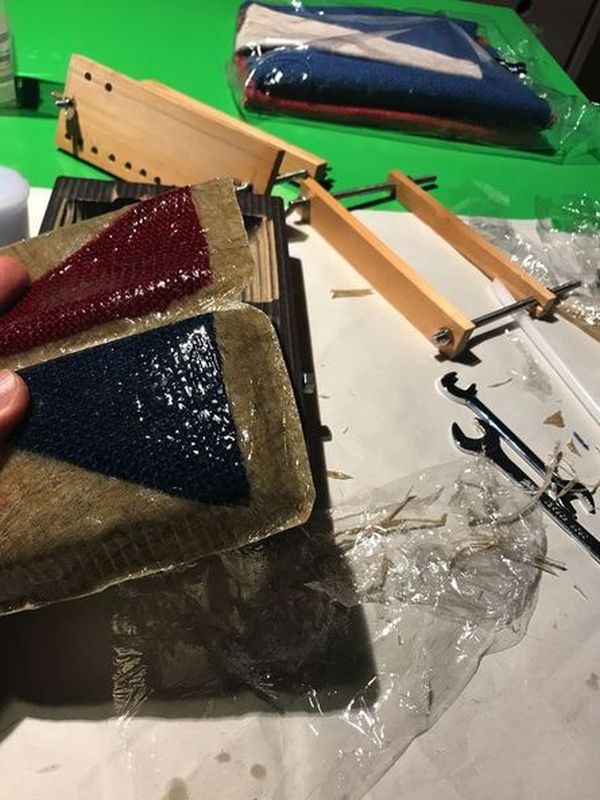
| checking the hinge function, and closing condition | |
|---|---|
 |
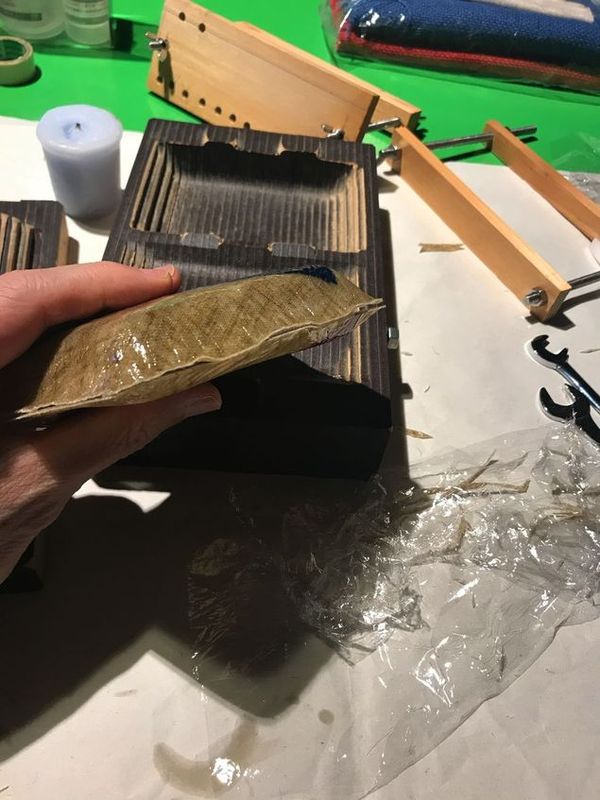 |
Then, I set it in the molds again.
 |
 |
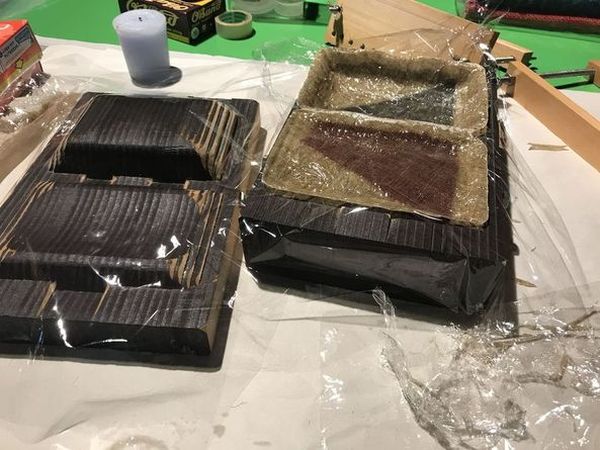
After total 24 hours of curing time, I took it out from the mold.
Although some portion of the surface were not smooth due to the crease of food wrap, the box was mostly nice.
 |
 |
 |
 |
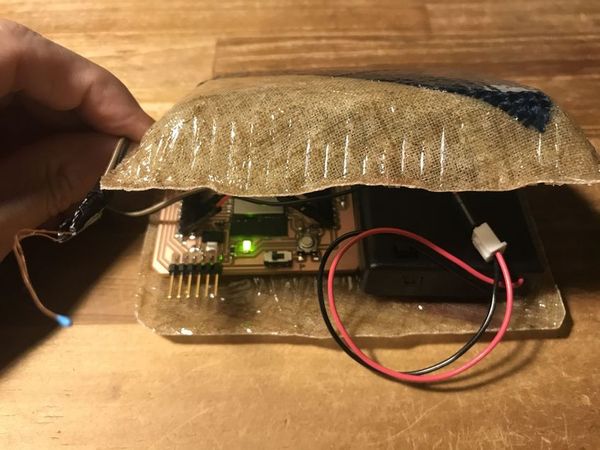
I put the “modified Barduino ( ESP32 board ) + temperature sensor” and “battery case”.
 |
 |
4. Important Learning Outcome
1) Composite is a nice technic to make something thin, strong and light.
2) Putting some wax on the hinge portion is a good method to keep flexibility.
3) Combine the different kind of fabrics makes interesting appearance ( also, good to control the strength ( and/or hardness).
4) As I did, it’s better to cut the peripheral (unnecessary) portion, before it perfectly hardened.
4) One of the issues is the creasing food wrap which makes the surface ugly.
5) Another issue is the remaining air bubbles in between epoxy and food wrap.
6) Next time, I’ll try to solve the above issues.
5. Links to Files and Code
fusion360 model “composit box v15 v3.f3d” download
dxf by slicer
“upper_mold.zip” download
“lower_mold.zip” download
6. Appendix
“Slicer” plug-in for fusion360
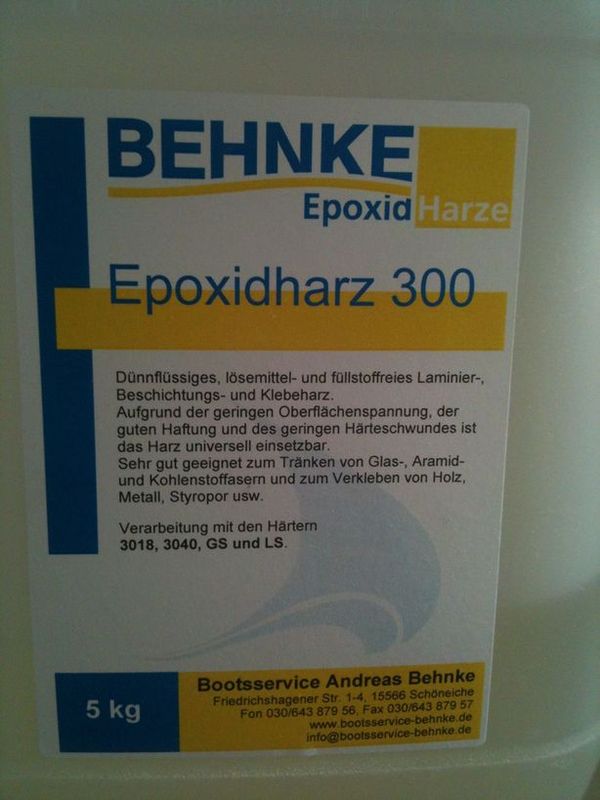
Epoxy ----- GM-6800 ( Epoxy resin for FRP )
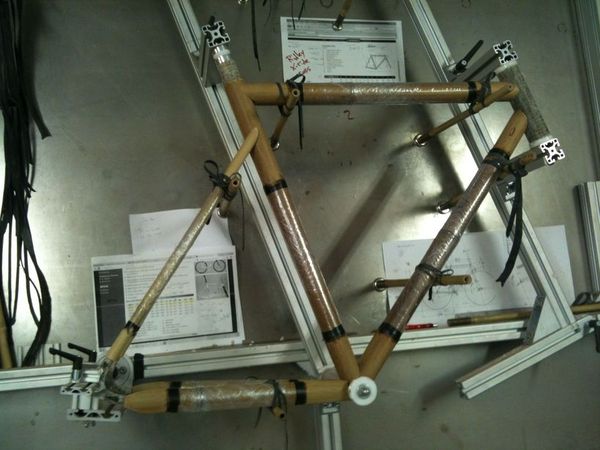
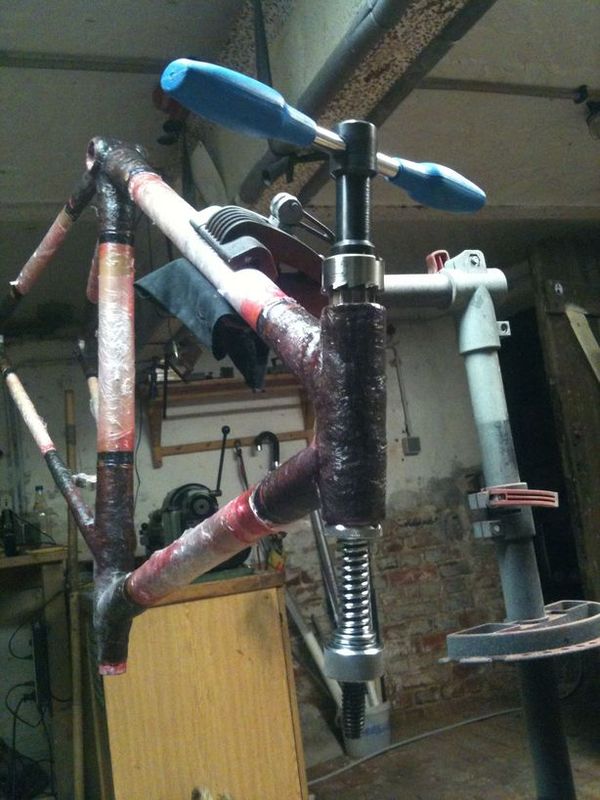
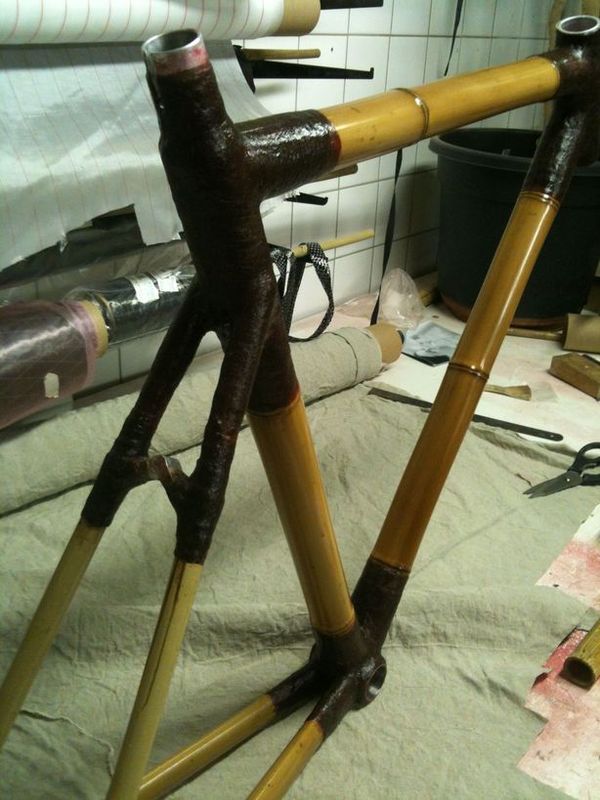
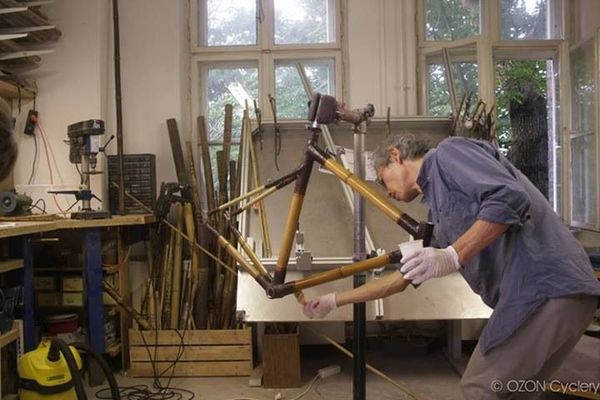
7. Bamboo Bike Frame (as an example of composite utilizing natural material)
2013/08 Berline, Ozon Cyclery
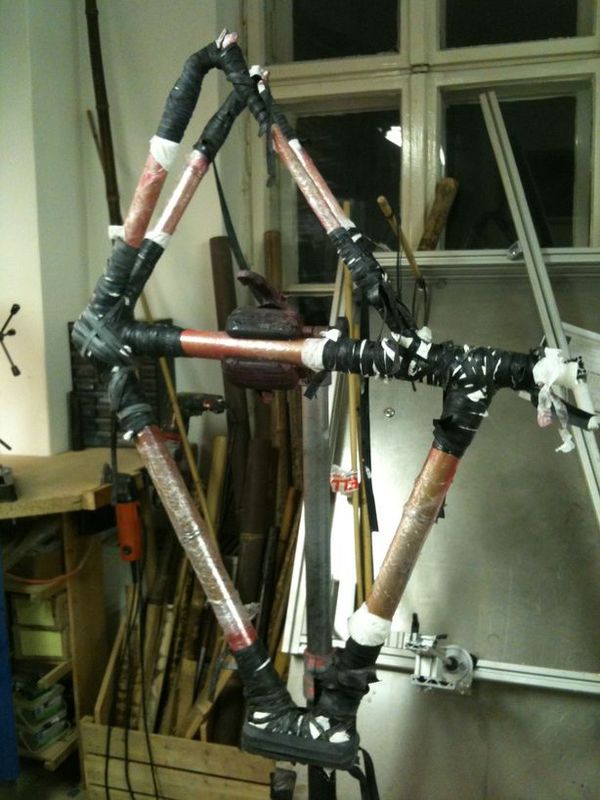
I participated the workshop to make bamboo bike frame, in order to learn how make some structural items utilizing natural materials. And, it was a basic composite process. So, I summaries the workflow as follows.
| cut and assemble the bamboo materials | Fill the gap with putty |
|---|---|
 |
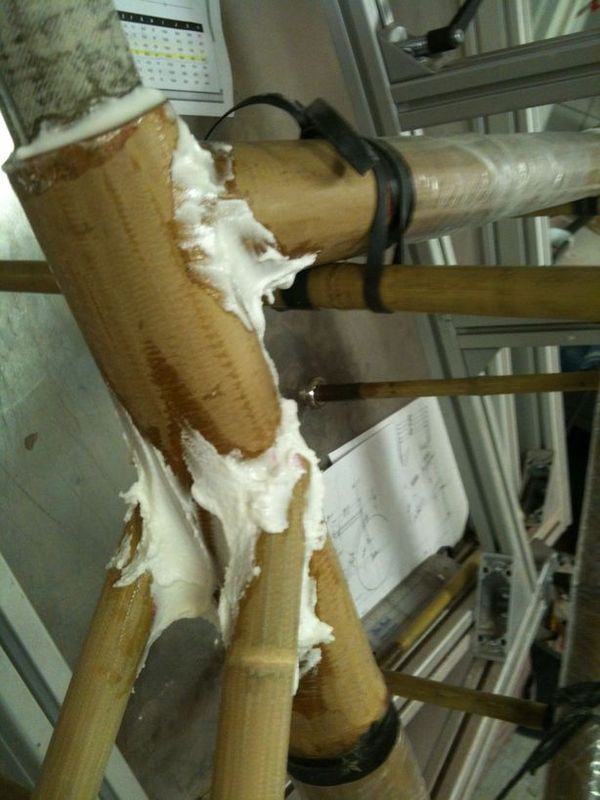 |
| File the surface of the putty | Paste the flax cloth |
|---|---|
 |
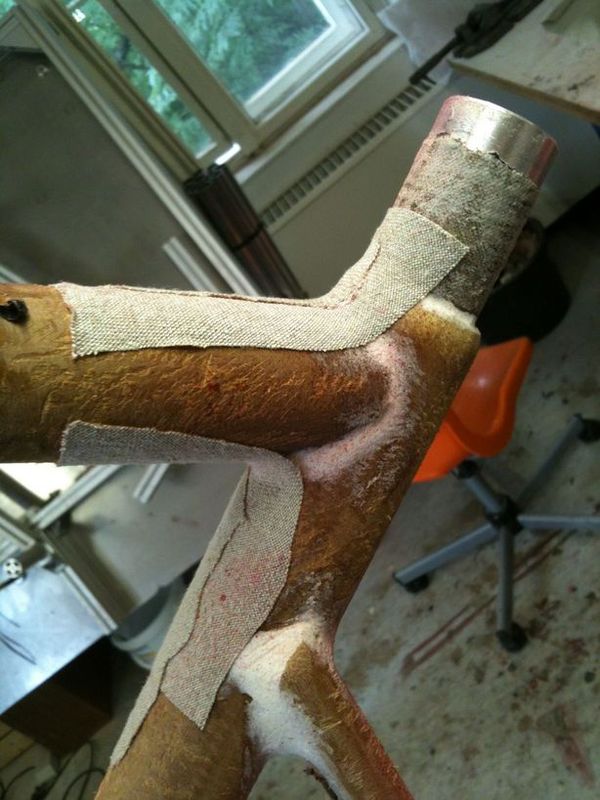 |
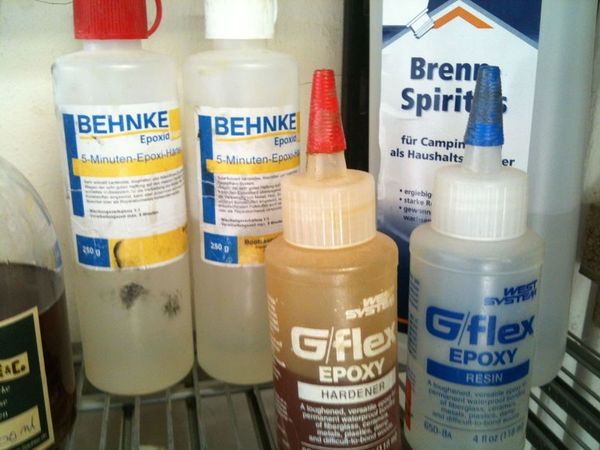
| Cover the bamboo parts with vinyl sheet, to avoid the epoxy sticking to them | Epoxy |
|---|---|
 |
 |
| After applying epoxy, wrap a vinyl sheet and make a hole | |
|---|---|
 |
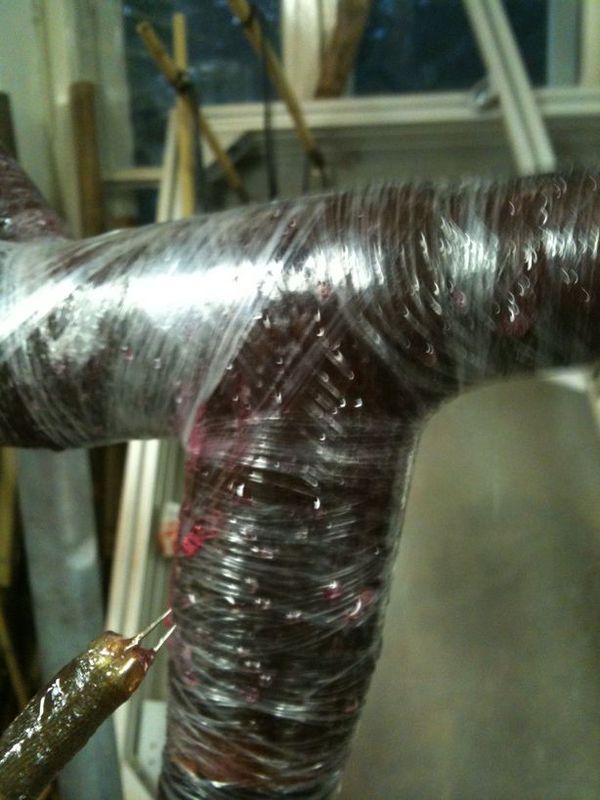 |
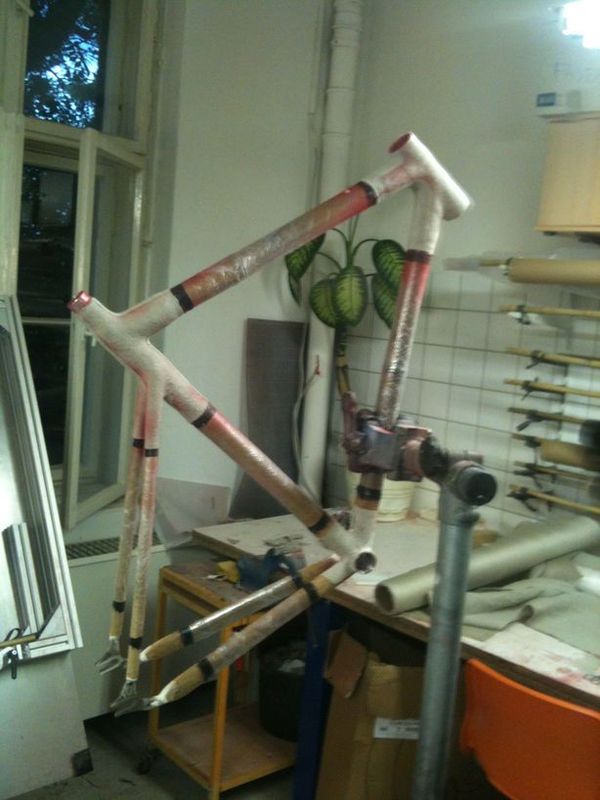
| Wrap kitchen paper and tighten with a rubber band | curing ( about 24 hours ) |
|---|---|
 |
 |
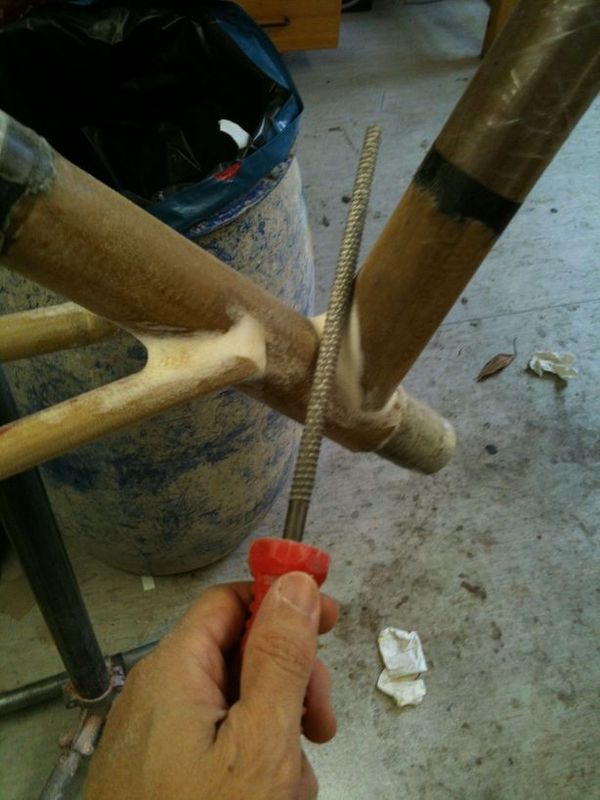
| Make tap hole ( screw ), and install head parts, etc. | remove the wrapping sheets |
|---|---|
 |
 |
| coating varnish | finished! |
|---|---|
 |
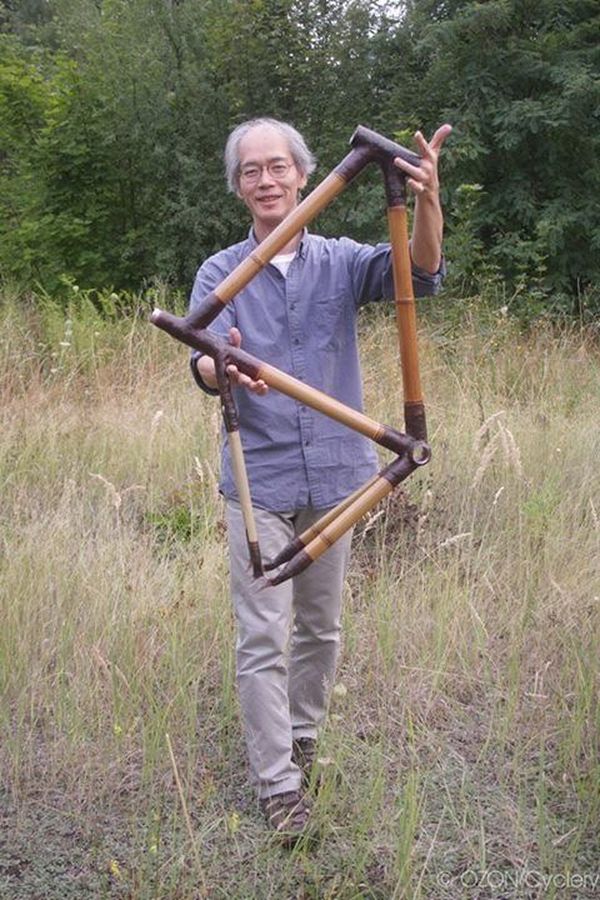 |