5. 3D Scanning and printing
This week assigment
assignment
group assignment:
- test the design rules for your 3D printer(s)
Group assignment page
individual assignment:
- design and 3D print an object (small, few cm3, limited by printer time)
that could not be made subtractively
- 3D scan an object (and optionally print it)
3D Printing
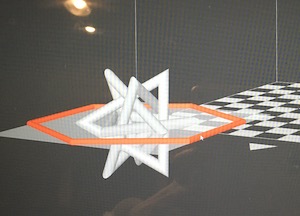
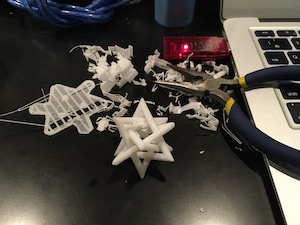
The condition of the shape that is output by the 3D printer this time is a shape that can only be done by a 3D printer.
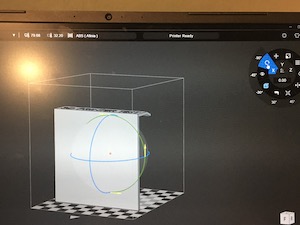
Therefore, I connected the vertices of the vector equilibrium with an equilateral triangle.

Drawing (SketchUp)
A vector equilibrium is created by connecting the midpoints of the sides of the square.
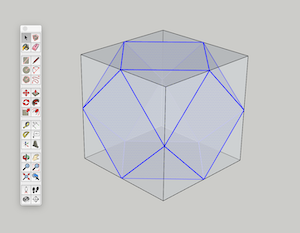
Bring the equilateral triangle face up.
Draw a horizontal equilateral triangle that crosses the center.
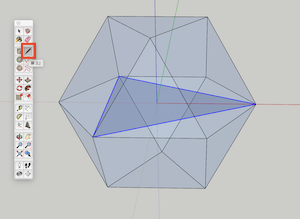
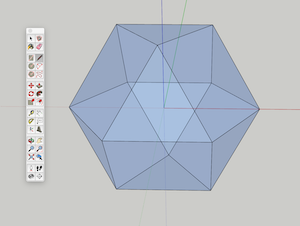
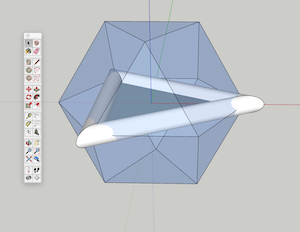
Draw a vertical circle on the side of the triangle and draw a pipe using Follow Me.

Draw a plane (blue triangle) to be the reference for rotation.
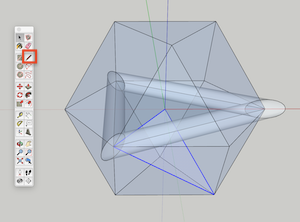
Rotate parallel to the triangle about the origin.

Next, make a 120 ° copy rotation about the Z axis (twice)

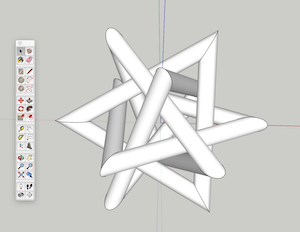
Yes, it is done.
Sketch UP file : Vector equilibrium.skp
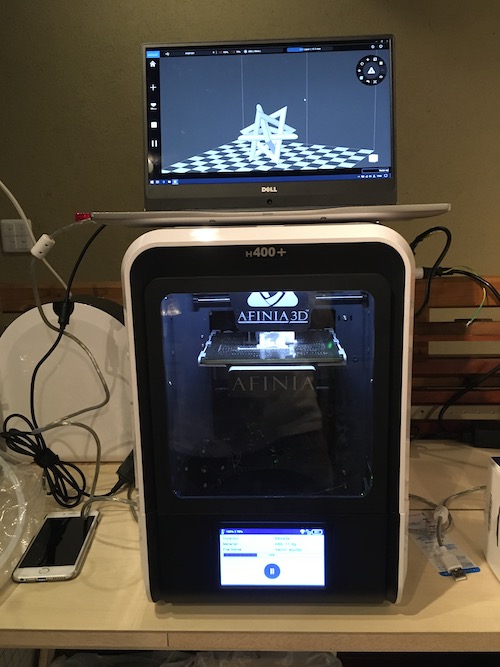
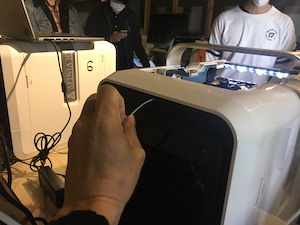
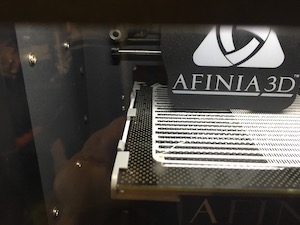
The printer used this time is Afinia H400.
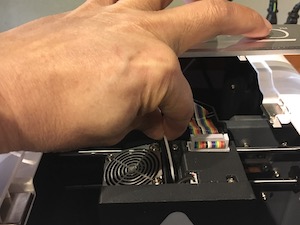
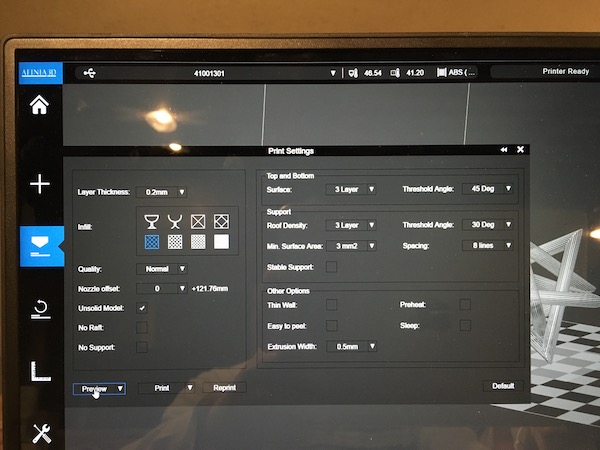
3D printer settings
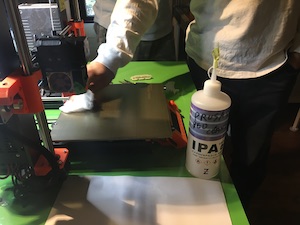
Clean the table with isopropyl alcohol before using.
The material ABS resin is inserted and set from behind.
Draw a vertical circle on the side of the triangle and draw a pipe using Follow Me.

Click Extrude
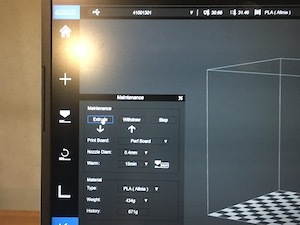
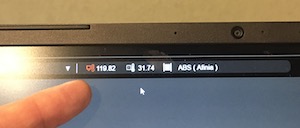
Select ABS resin
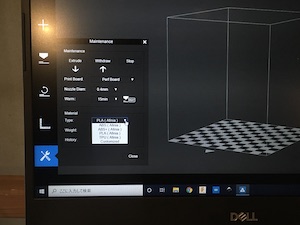
Wait until the temperature of the nozzle that extrudes the resin rises.
I’ll lightly escort
Melted resin came out of the nozzle!
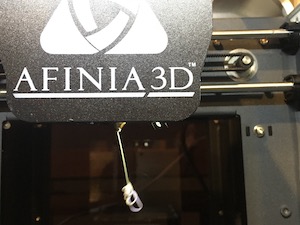
This completes the machine settings.
Next is the data setting.
3D printer test

Read a file
Rotate 90 ° because Z-axis setting was different.
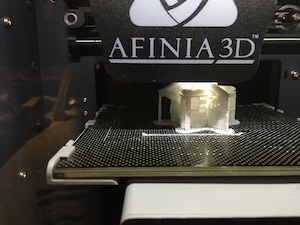
When I pressed the print button, started creating from Raft.
It seemed to be fine, but stop because the end part was warped
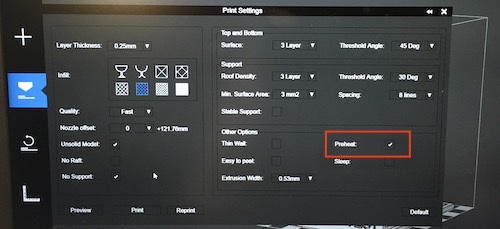
Maybe the print stand isn’t warm enough, so check the preheat in the advanced settings and try again.
This time I felt good, so I went for a meal, but when I came back, it was in a great condition.
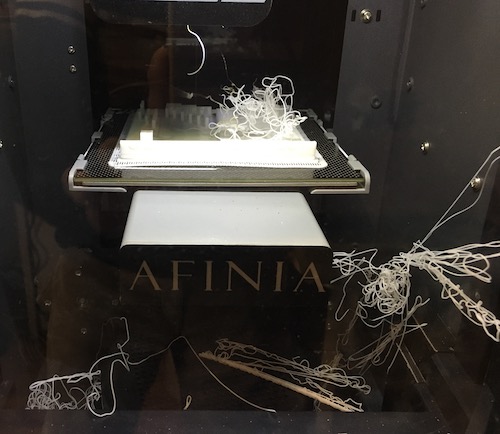
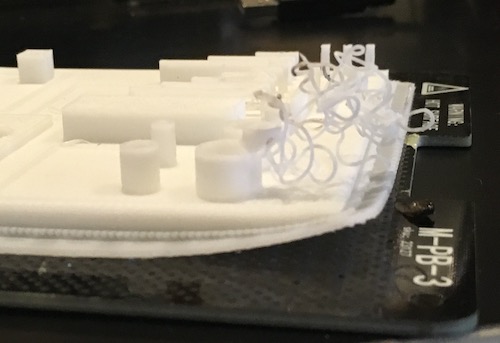
I don’t know the cause, but it seems that it was broken from this part.
There was also a part that burned a little and became a ball.
Despite the preheating this time, the edge has warped.
The causes and adjustments in this area are also issues for the future.
It was easy for this to happen if the pedestal was wide, but I wasn’t quite convinced.
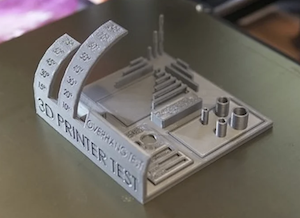
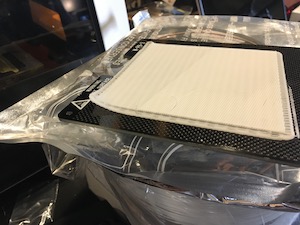
However, because of the need to complete the task in a limited amount of time, we switched to a smaller test model (clearance.stl).
And it did well.
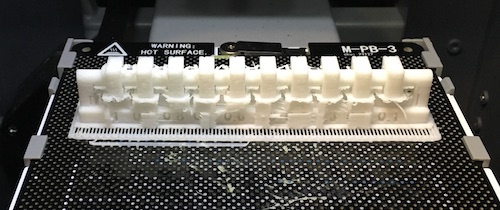
For details, see the Group assignment page
3D print execution
I loaded the stl data that I drew with SketchUp, but I also imported unnecessary layers, so I started again.
Next, It read in the hidden data by Sketch Up, so I started again.
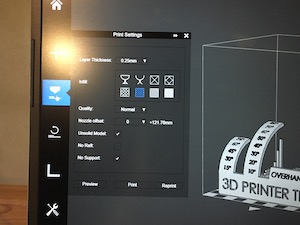
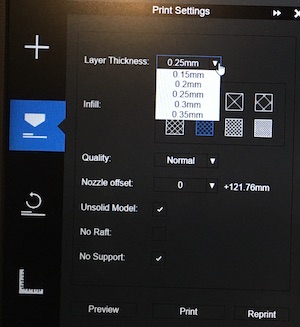
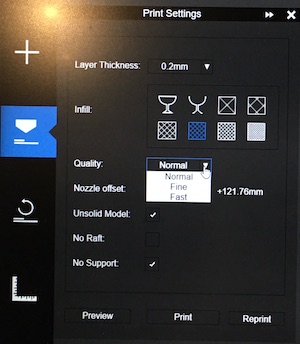
We finally started printing with the following settings.
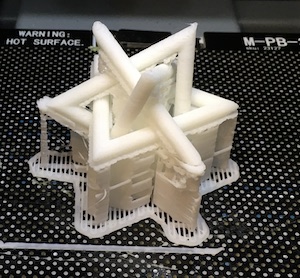
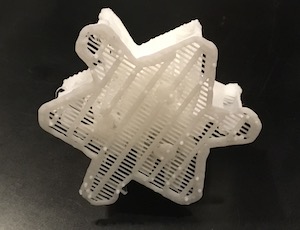
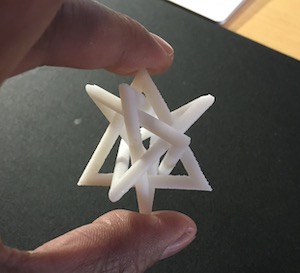
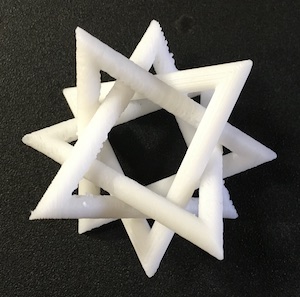
This time I was good at it.
stl file : Vector equilibrium.stl
Convert and export to stl file from Sketch Up
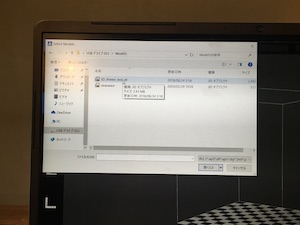
Tried to read the stl file with A360 and upload it.
Looks like it worked.
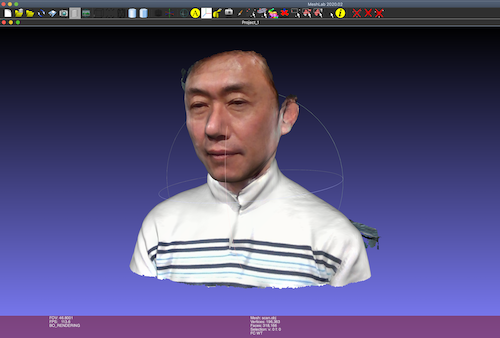
Scanning
SENSE
Meshlab
- Screen operation (Mac)
Rotate model → drag
Move Model → Command + Drag
Model scaling → shift + drag or mouse wheel
Perth strength → shift + mouse wheel
Move light source → Shift + Command + Drag
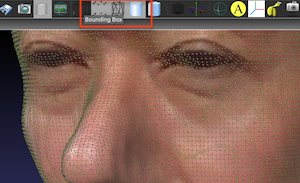
Point + Wireframe + Smooth
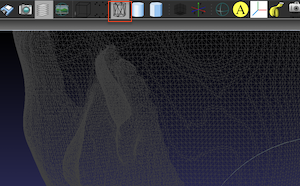
Wireframe
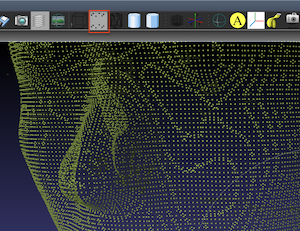
Points
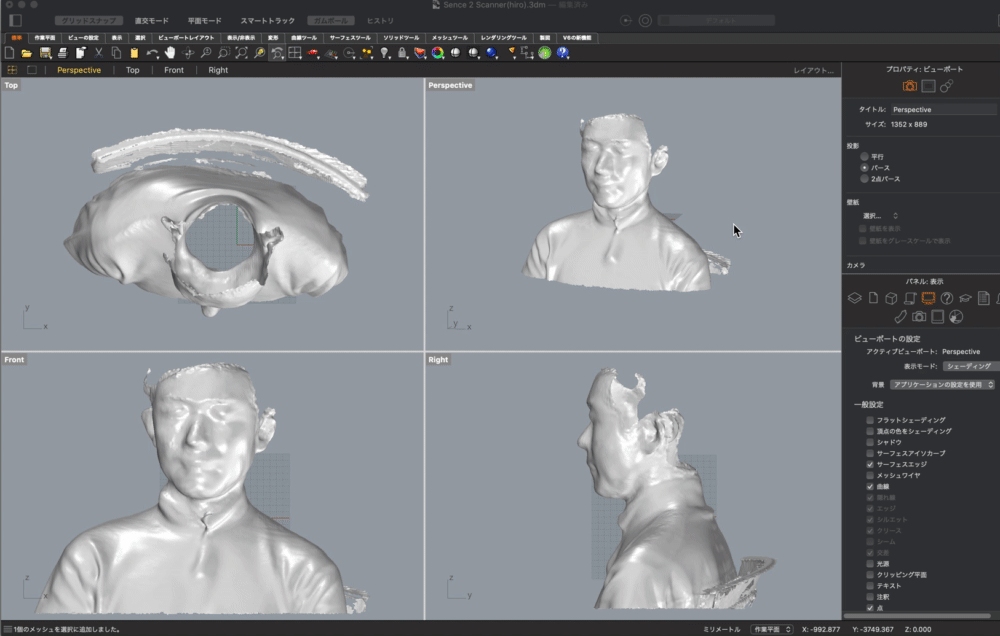
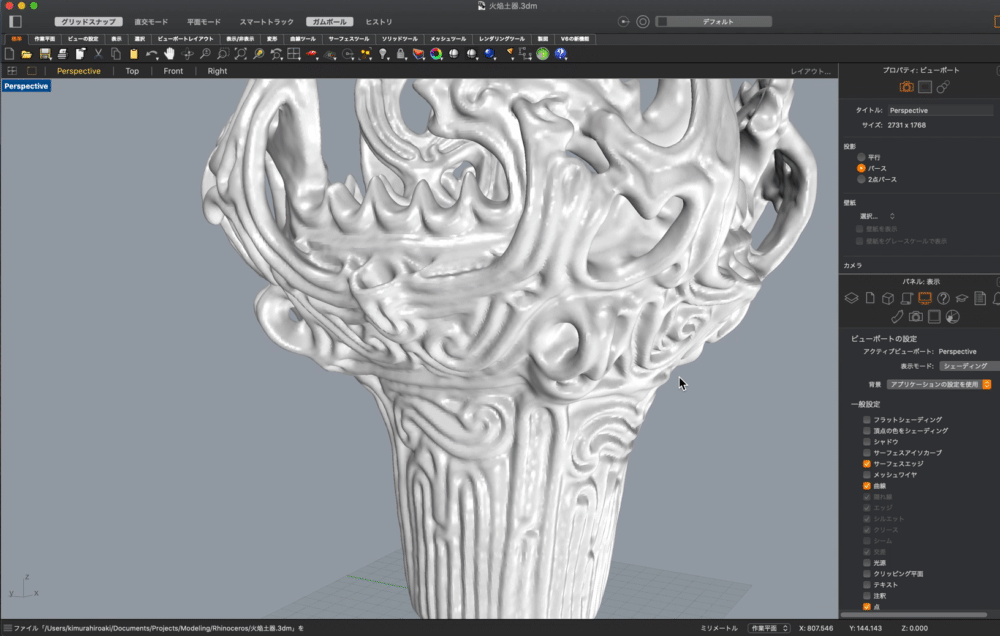
I read the scanned obj file with Rhinoceros.
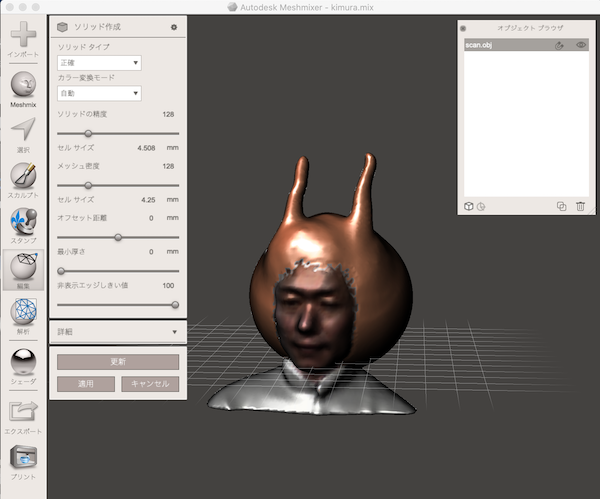
Meshmixer
I edited the scanned data in Meshmixer and printed it out.
I made a solid figure by covering the hair with a sphere instead of a hair.
It looks like an alien!
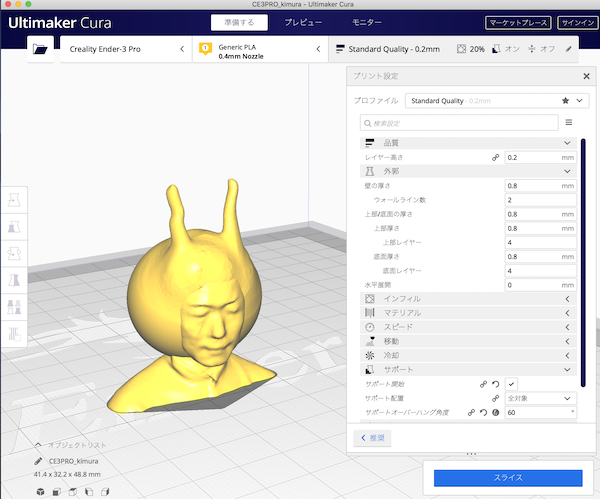
I exported this file as a stl file and configured it to be loaded in Ultimaker Cura.
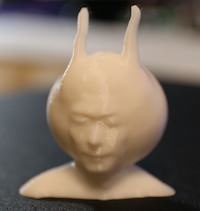
Print done, I laughed!
jomon project
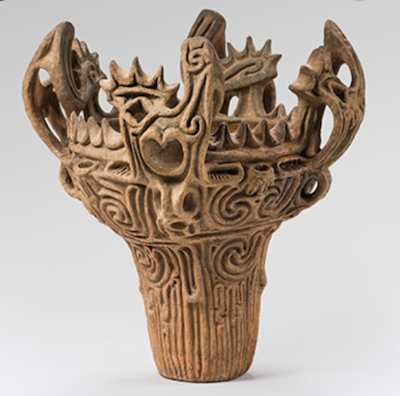
Now, an open source project of STL data of Jomon pottery of Japan heritage has started.
How about imagining the craftsmanship(Makers) back then 5,000 years ago?
Data download page

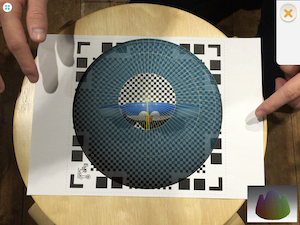
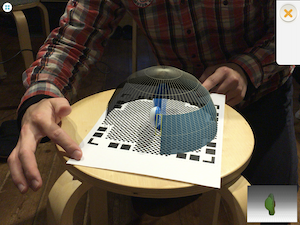
Qlone
What I learned this week
-
I learned how to use the 3Dprinter.
-
3D scanning with SENSE.
- Meshlab Basic Operation
- Basic operation of Meshmixer
- 3D scanning with Qlone
Data download
stl file : Vector equilibrium.stl
Sketch UP file : Vector equilibrium.skp