9. input devices
This week assigment
group assignment:
- Probe an input device(s)’s analog and digital signals
- Document your work (in a group or individually)
Group project page
individual assignment:
- Measure something: add a sensor to a microcontroller board that you have designed and read it.
Introduction
This week, the lab at Fab Lab Kamakura, where we are studying, was closed due to coronavirus. So I will do what I can do now.
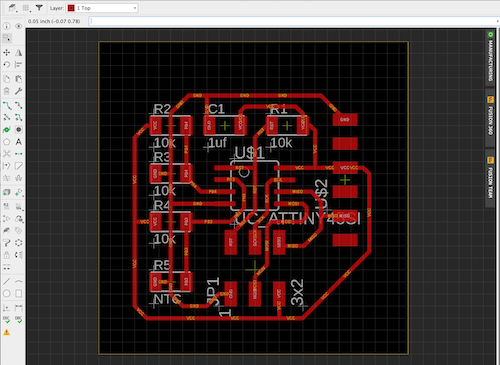
Eagle board design
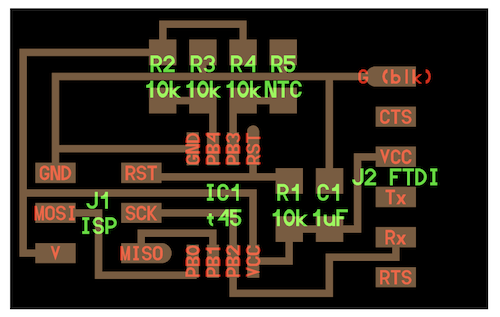
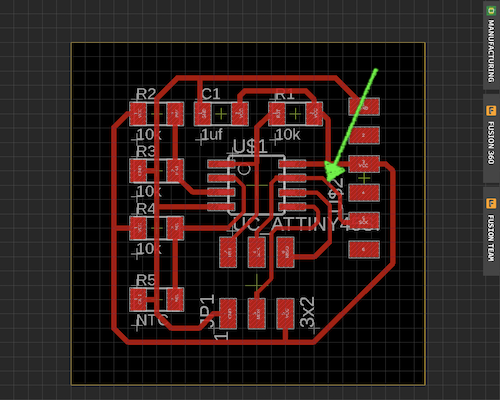
I designed a temperature sensor to be used in the final project.
The temperature sensor is “NTC Thermistor 10k 1206”.
Dataheet download –> datasheet
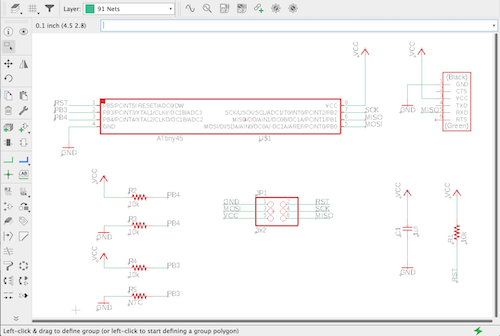
Advice from Mr. Yamamoto (below)
I think that it is good to make several boards and use the board that mounts the NTC with no connector, and the board that mounts the external connector does not mount the NTC and R4.
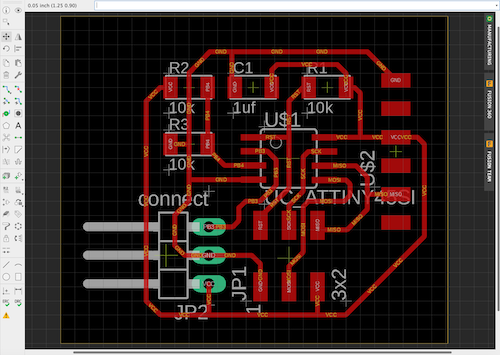
That’s why I designed a connector board without a sensor.
download_data : tenperature_senser.brd
download_data : tenperature_senser.sch
Input devices using Arduino
I couldn’t cut the board, so I proceeded with the task using a class kit sensor and arduino supplied by Kamakura.
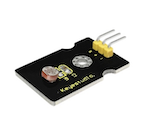
Temperature sensor
This sensor is also used in the final project.
→ Link to the final project page
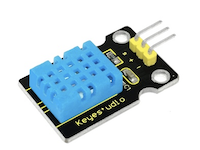
- First of all, I copied the sketch example and compiled it, but I got an error.
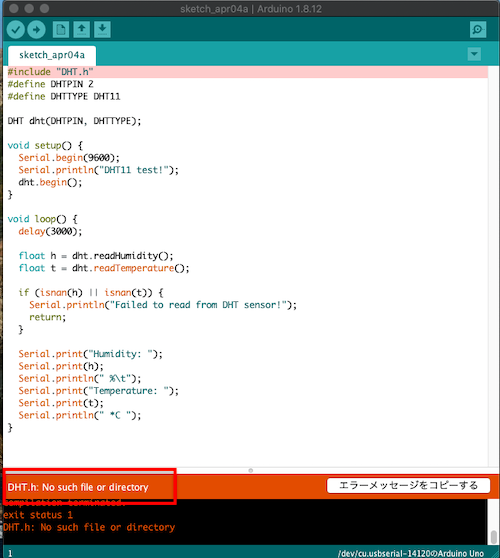
- The error message “DHT.h; NO such file or directory” appeared.
- So I decided to install a new library.
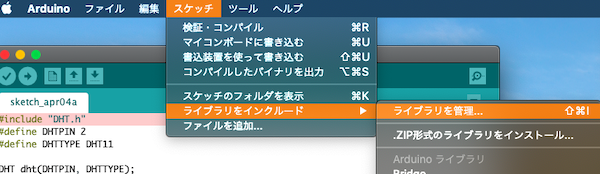
- I entered “dht” in the search field and searched.

- A list is displayed, so install the library described as “DHT11 Temp & Humidity Sensors”

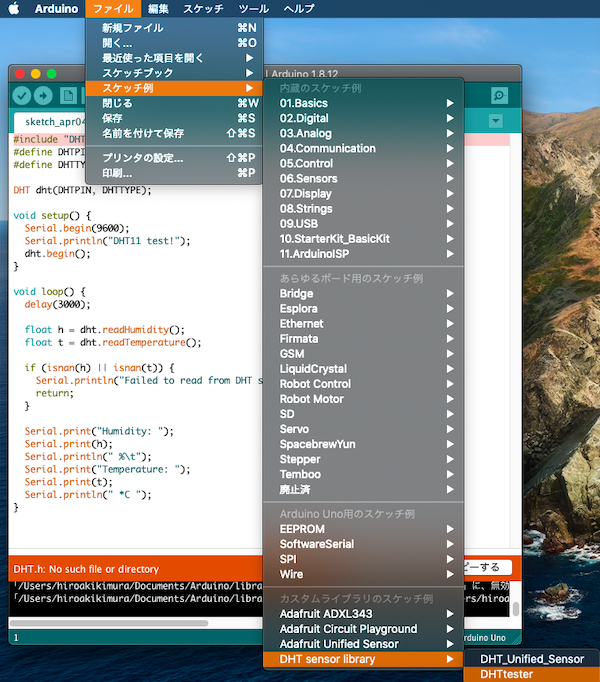
- Once again, select “File” → “Sketch example”, and “DHT senser library” was added, so “DHTtester” was selected.
- This time it was compiled successfully.
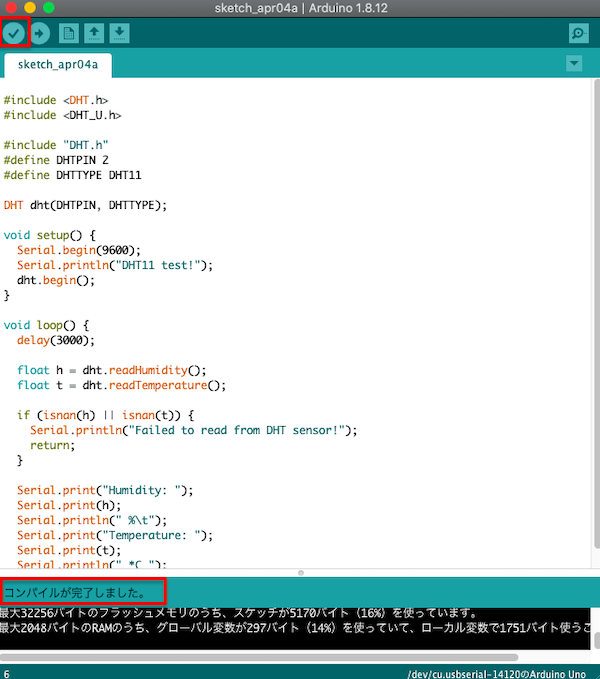
- When I wrote it to the microcomputer board and checked it on the serial monitor, the humidity and temperature were displayed as follows.
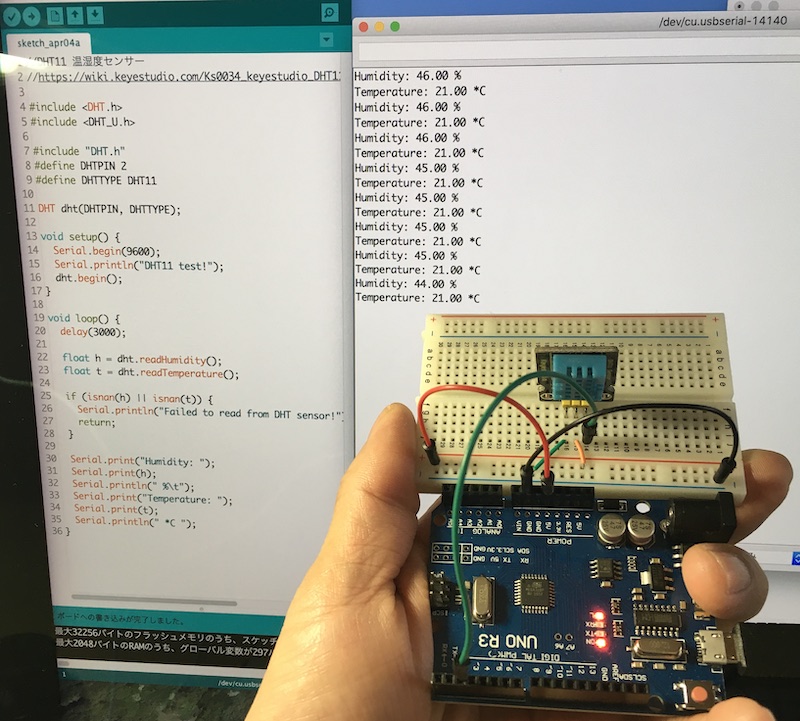
//DHT11 温湿度センサー
//https://wiki.keyestudio.com/Ks0034_keyestudio_DHT11_Temperature_and_Humidity_Sensor


#include <DHT.h>
#include <DHT_U.h>

#include "DHT.h"
#define DHTPIN 2
#define DHTTYPE DHT11

DHT dht(DHTPIN, DHTTYPE);

void setup() {
  Serial.begin(9600);
  Serial.println("DHT11 test!");
  dht.begin();
}

void loop() {
  delay(3000);

  float h = dht.readHumidity();
  float t = dht.readTemperature();

  if (isnan(h) || isnan(t)) {
    Serial.println("Failed to read from DHT sensor!");
    return;
  }

  Serial.print("Humidity: ");
  Serial.print(h);
  Serial.println(" %\t");
  Serial.print("Temperature: ");
  Serial.print(t);
  Serial.println(" *C ");
}
This sensor is also used in the final project.
→ Link to the final project page
Light sensor
//光センサー
//https://wiki.keyestudio.com/Ks0028_keyestudio_Photocell_Sensor

/*
  AnalogReadSerial

  Reads an analog input on pin 0, prints the result to the Serial Monitor.
  Graphical representation is available using Serial Plotter (Tools > Serial Plotter menu).
  Attach the center pin of a potentiometer to pin A0, and the outside pins to +5V and ground.

  This example code is in the public domain.

  http://www.arduino.cc/en/Tutorial/AnalogReadSerial
*/

// the setup routine runs once when you press reset:
void setup() {
  // initialize serial communication at 9600 bits per second:
  Serial.begin(9600);
}

// the loop routine runs over and over again forever:
void loop() {
  // read the input on analog pin 0:
  int sensorValue = analogRead(A0);
  // print out the value you read:
  Serial.println(sensorValue);
  delay(1);        // delay in between reads for stability
}
Ultrasonic distance senser
HC-SRO4
//HC-SR04超音波距離センサー
//http://akizukidenshi.com/download/ds/sainsmar/hc-sr04_ultrasonic_module_user_guidejohn_b.pdf
//参考HP http://www.umek.topaz.ne.jp/mameduino/sonar_howto/


#define ECHOPIN 4// Pin to receive echo pulse (A4pin)
#define TRIGPIN 2// Pin to send trigger pulse (A5pin)

void setup()
{
Serial.begin(9600);
pinMode(ECHOPIN, INPUT);
pinMode(TRIGPIN, OUTPUT);
}

void loop()
{
digitalWrite(TRIGPIN, LOW);// Set the trigger pin to low for 2uS
delayMicroseconds(2);
digitalWrite(TRIGPIN, HIGH); // Send a 10uS high to trigger ranging
delayMicroseconds(10);
digitalWrite(TRIGPIN, LOW);// Send pin low again
int distance = pulseIn(ECHOPIN, HIGH);// Read in times pulse
distance= distance/58;// Calculate distance from time of pulse
Serial.print("Distance:");
Serial.print(distance);
Serial.println(" cm");
delay(600); // Wait 600mS before next ranging
}
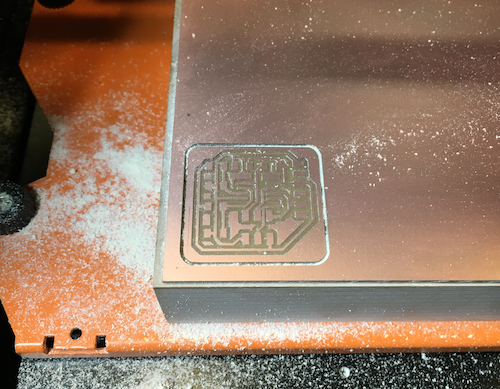
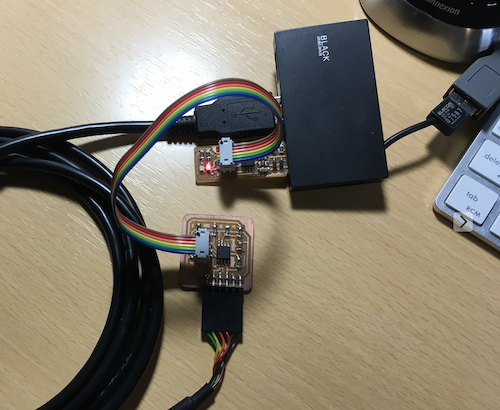
Creating my own PCB
Creating a PCB
In order to clear this week’s task, it is necessary to create a self-made PCB.
So I decided to make another temperature sensor that I designed halfway.
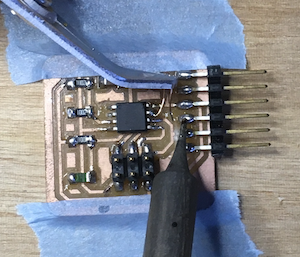
I started cutting PCBs on August 23, when the Kamakura lab became accessible.
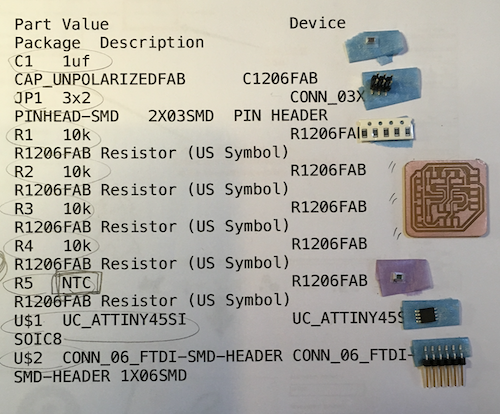
Sorting of parts
Soldering

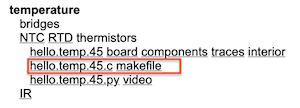
Programming
make -f
First of all, I downloaded the following two temperature sensor data to my desktop from the [Academy page] (http://academy.cba.mit.edu/classes/input_devices/index.html).

next
$ make -f hello.temp.45.make
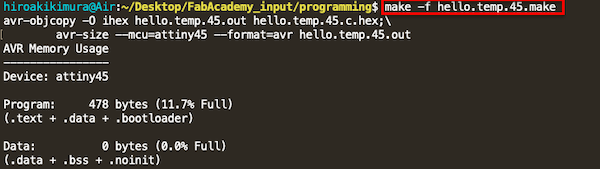
Two new files have been created.

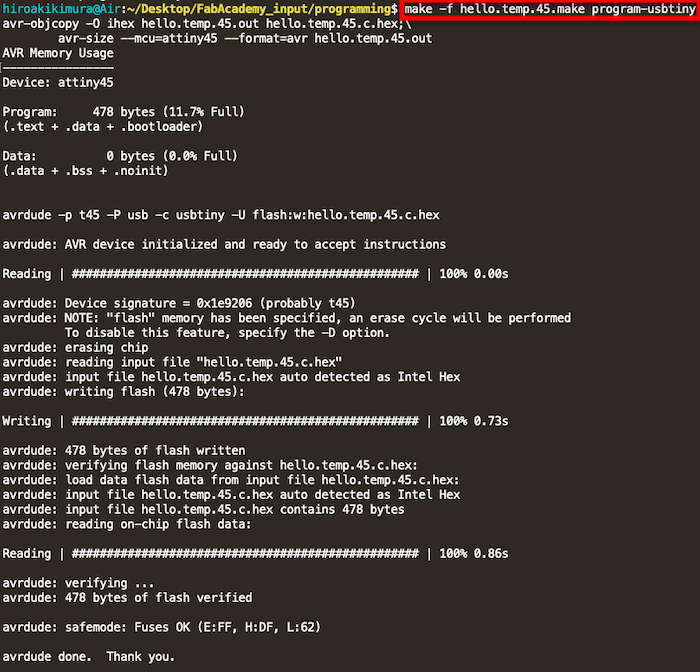
next
$ make -f hello.temp.45.make program-usbtiny
⭐️ Changed python version to 2.7.14
Python version change
- Check the Python version
$ python --version
Python 3.8.5
- List that can be installed with pyenv
$ pyenv install --list
Available versions:
  2.1.3
  以下省略
- Install the version you want to use
$ pyenv install 2.7.17
- Version that can be switched with pyenv *
$ pyenv versions
  system
  2.7.17
* 3.8.5 (set by /Users/hiro/.pyenv/version)
- Specify global version
$ pyenv global 2.7.17
- You have successfully switched to the desired version.
$ python --version
Python 2.7.17
⭐️ Install pyserial
$ pip install puserial
⭐️ Execute python code → error
$ python hello.temp.45.py

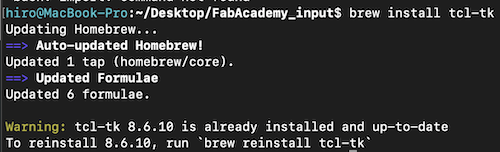
Download tkinter
$ brew install tcl-tk
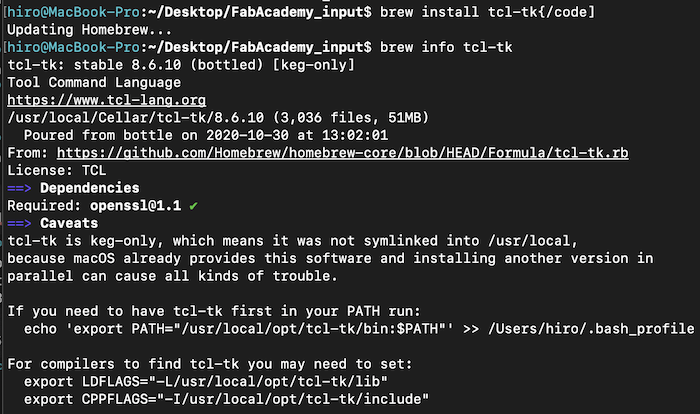
⭐️ Add the proposed export to the path → [Reference URL] (http://fab.academany.org/2019/labs/waag/students/heidi-hansen/assignments/week11-input-devices/)
$ brew info tcl-tk


⭐️$ python3 hello.temp.45.py → error

⭐️ tkinter doesn’t work in macOS pyenv environment, so install it again
⭐️ Once python3.8.5 is uninstalled

⭐️ Reinstall while passing through the path with the following command.
$ env \
PATH="$(brew --prefix tcl-tk)/bin:$PATH" \
LDFLAGS="-L$(brew --prefix tcl-tk)/lib" \
CPPFLAGS="-I$(brew --prefix tcl-tk)/include" \
PKG_CONFIG_PATH="$(brew --prefix tcl-tk)/lib/pkgconfig" \
CFLAGS="-I$(brew --prefix tcl-tk)/include" \
PYTHON_CONFIGURE_OPTS="--with-tcltk-includes='-I$(brew --prefix tcl-tk)/include' --with-tcltk-libs='-L$(brew --prefix tcl-tk)/lib -ltcl8.6 -ltk8.6'" \
pyenv install 3.8.5
⭐️ Check after resetting Python used throughout to version 3.8.5

⭐️ Check if tkinter starts.
$ python -m tkinter
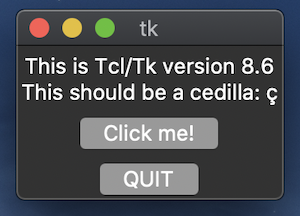
success!!
⭐️Execute $ python3 hello.temp.45.py → error
Install numpy
pip3 install numpy

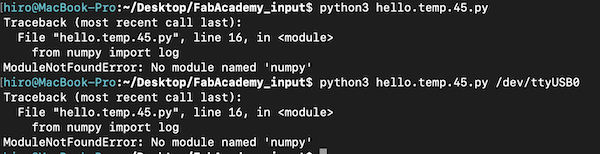
⭐️Execute $ python3 hello.temp.45.py → error

It looks like it needs a serial port as an argument.
⭐️ Check the serial port
$ ls -l /dev/tty.*

⭐️python hello.temp.45.py /dev/tty.usbserial-AB0JNXBZ → error????
From the instructor, Mr. Tuchya Isn’t FTDI’s RX connected to PB1 instead of PB2? Is pointed out. → Certainly ,,,,,,😅
⭐️Fix
PCBrepair
- Operation completed.
- Execute make -f hello.temp45.make program-usbtiny again. ⭐️ $ python hello.temp.45.py Run /dev/tty.usbserial-AB0JNXBZ. → Is it an error again? ?? ??
→ The temperature could be displayed! However, the temperature is not sensed in real time only by the initial temperature. I tried various things, but it doesn’t work

PC change, python2
So I tried using python2 on another PC (MacBook Air)
$ python hello.temp.45.py /dev/tty.usbserial-AB0JNXBZ
→
Traceback (most recent call last):
  File "hello.temp.45.py", line 17, in <module>
    import serial
    ImportError: No module named serial
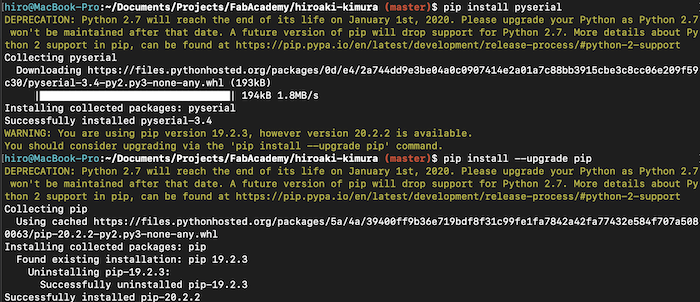
$ pip install serial
-bash: pip: command not found
Make pip available on your Mac. → [Reference] (https://qiita.com/sf213471118/items/3ee4ebd5d39856345682)
$ sudo easy_install pip
$ pip install pyserial
→
DEPRECATION: Python 2.7 reached the end of its life on January 1st, 2020. Please upgrade your Python as Python 2.7 is no longer maintained. pip 21.0 will drop support for Python 2.7 in January 2021. More details about Python 2 support in pip can be found at https://pip.pypa.io/en/latest/development/release-process/#python-2-support pip 21.0 will remove support for this functionality.
Defaulting to user installation because normal site-packages is not writeable
Collecting pyserial
  Using cached pyserial-3.4-py2.py3-none-any.whl (193 kB)
Installing collected packages: pyserial
Successfully installed pyserial-3.4
$ python hello.temp.45.py /dev/tty.usbserial-AB0JNXBZ
This time it seems to have worked.