WEEK05 - 3D scanning and printing
This week was dedicated to 3D printing and scanning. The aim was to understand the functionality of the 3D printing process, where it has it’s advantages and disadvantages. First we characterized the printer at the Kamakura Lab.
WEEK FIVE ASSIGNMENT
| Assignments | Completed |
|---|---|
| GROUP | |
| - test the design rules for your 3D printer(s) | tested the Anycubic i3 and Ultimaker S5 |
Understanding the 3D printer
The 3D printer I have for the duration of this course is the AnyCubic i3 mega S. For the characterization of the FabLab Kamakura’s 3D printers, I printed the All-in-One Object from Kickstarter-Autodesk-3d.
This test geometry is testing the following, all with one object:
Dimensional accuracy (backlash optional) Negative feature resolution Positive feature resolution/fine flow control Basic overhang capabilities Basic bridging capabilities XY ringing Z-axis alignment you can find the test object as well as the instructions on how to use it to characterize the printer here: https://github.com/kickstarter/kickstarter-autodesk-3d/blob/master/FDM-protocol/ksr_fdmtest_v4.stl
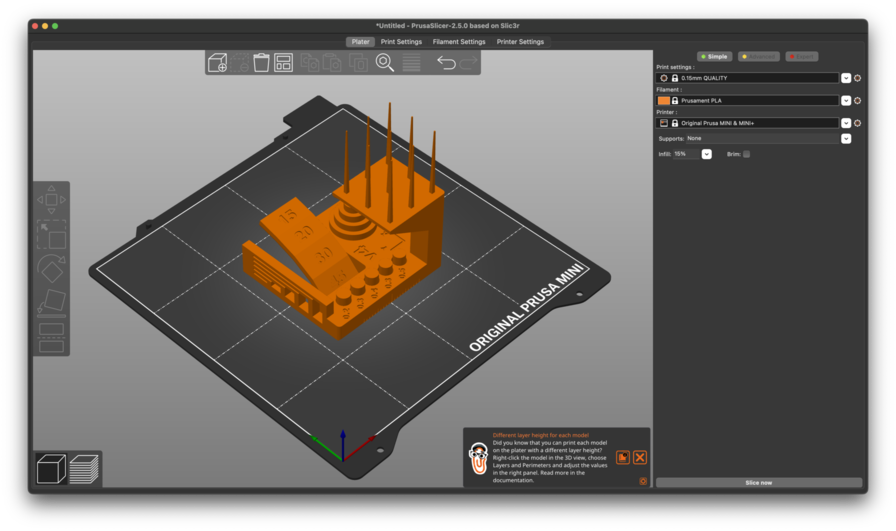
I also downloaded Prusa-Slicer to deal with the slicing:
Before starting I also cleaned the printer a little, and as a little reminder to myself: Youka-san reminded me to not use alcohol to clean the printer-bed as it has a film on it to help with the removal of the printed objects: It’s better to clean it with just a mildly damp cloth.
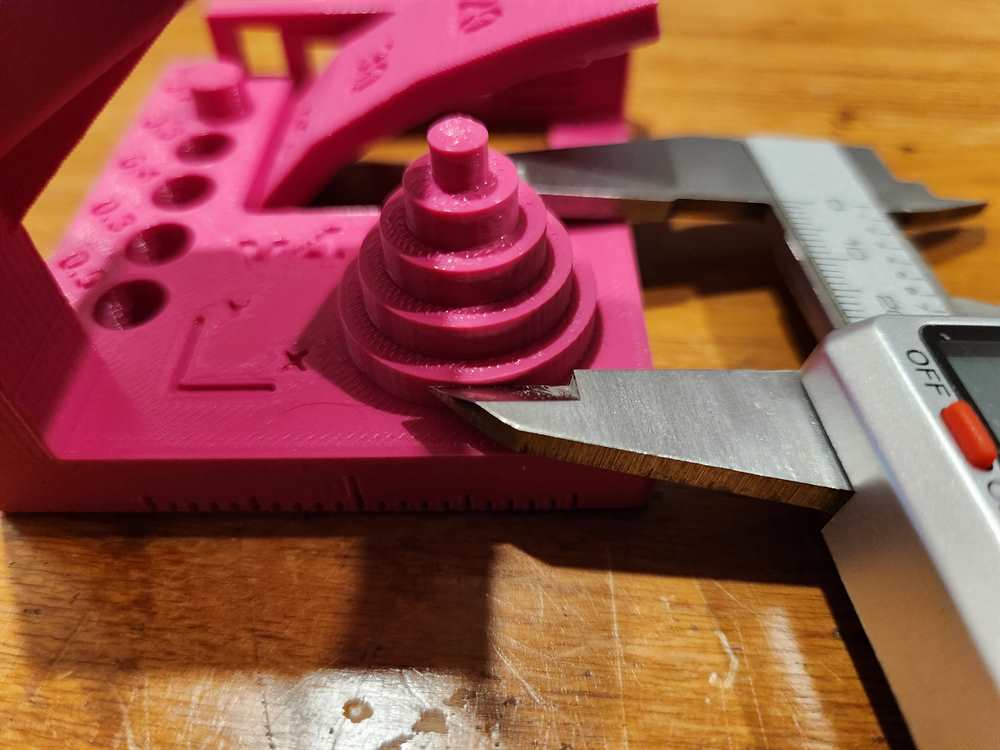
Let’s goooo: Dimensional Accuracy: To assess dimensional accuracy, measure each tier of the dimensional accuracy stack and record the absolute different between the target and the measured dimensions in a table like so:
| Target | measured x | measured y | x error | y error |
|---|---|---|---|---|
| `25 | 24.99 | 24,90 | 0,01 | 0,10 |
20 |
19.85 | 20,80 | 0,15 | 0,20 |
15 |
14,89 | 14, 85 | 0,11 | 0,11 |
10 |
9,75 | 9,80 | 0,25 | 0,20 |
5 |
4,85 | 4,90 | 0,15 | 0,10 |
Avg err: |
0,134 | 0,142 | ||
Average of avg. X and avg. Y error |
0,138 | |||
Difference between avg. X and avg. Y error |
0,008 |
Rating: 5
Fine FLow Control: Measure the shortest spire. This print would score 2.5. - If the spires are less than 30mm long, assign a 0. - If the spires are greater than 30mm, but there is stringing between them, assign a 2.5. - If the spires are greater than 30mm long and there is no stringing between them, assign a 5.
The spires are 3.7cm but there is string. Also .. I accidentally broke one.
Rating: 2.5
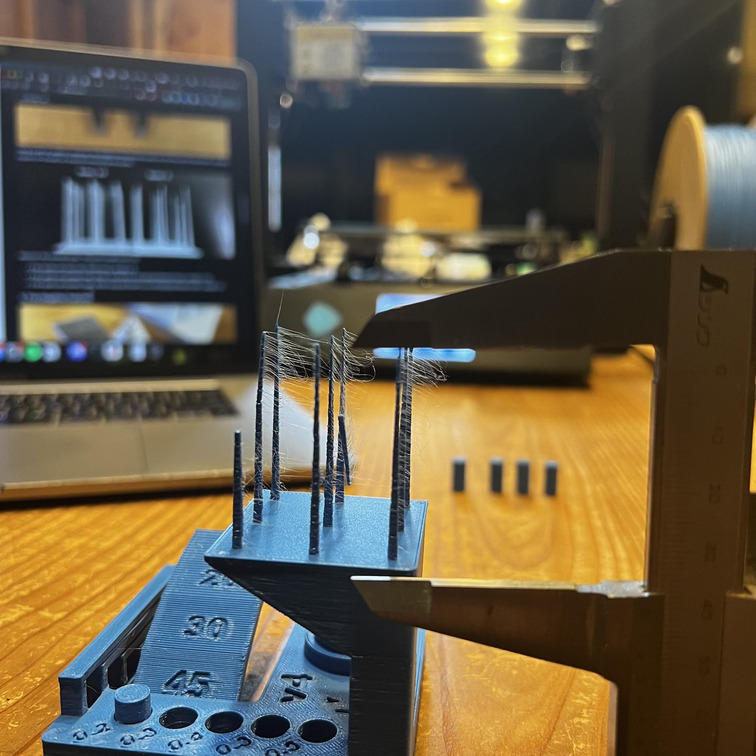
Fine Negative Features *Attempt to remove all the pins from their holes using fingers (no tools). The example above would score 2.
Record a “0” if no pins can be removed. Record a “1” if 1 pin can be removed. Record a “2” if 2 pins can be removed. Record a “3” if 3 pins can be removed. Record a “4” if 4 pins can be removed. Record a “5” if all pins can be removed.*
4 Pins removed easily. The fifth pin required some pressure, but I still removed it using only my fingers –> so I gave it a 4.5.
Rating: 4.5
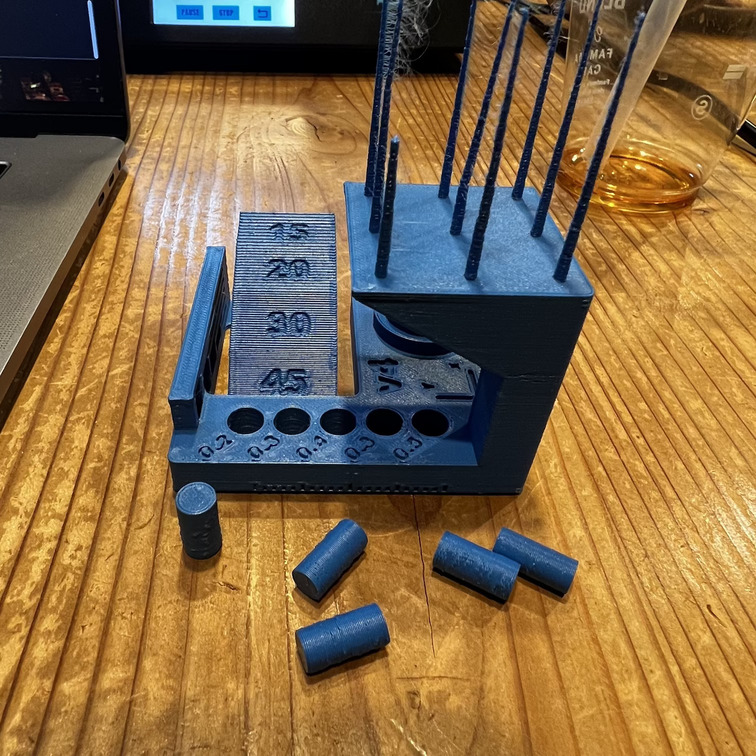
Overhangs: Record a “1” if the printer compiled the geometry but dropped loops and infill on the 15, 20, and 30 degree overhangs. Record a “3” if only the 15 and 20 degree surfaces differ from the 45 degree overhang. Record a “4” if only the 15 degree overhang differs from the 45 degree overhang. Record a “5” if there the surface finish between all four overhang surfaces is equivalent.
Rating : 3
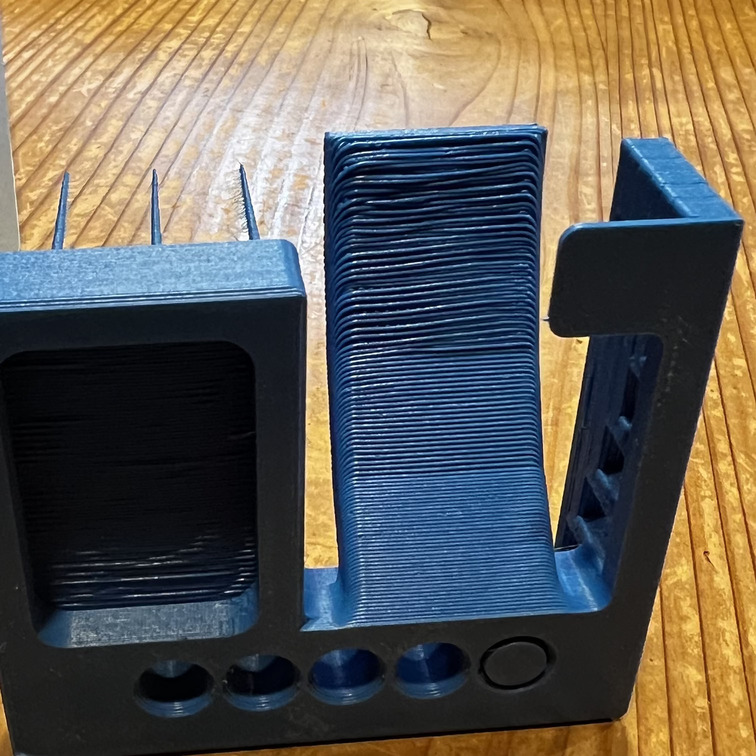
Bridging: *Inspect for contact between bridges and the surface beneath each. Record a “1” if more than 3 are in contact with the surfaces beneath them. Record a “2” if 3 bridges contact the surfaces beneath them. Record a “3” if 2 bridges contact the surfaces beneath them. Record a “4” if 1 bridge contacts the surface beneath it. Record a “5” if no bridges contact the surfaces beneath them. * Rating 5
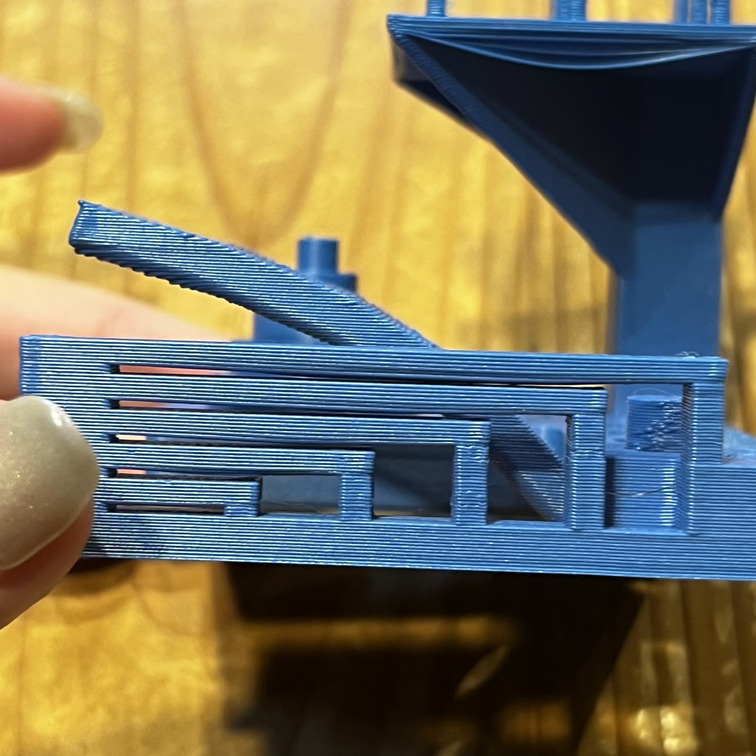
XY Resonance *Visually inspect the X and Y ringing features, illuminating the test print from the side to highlight any ringing captured in the print. This example would score 0.
If rippling in the X or Y axis can be observed at or past three hash marks, record a “0”, otherwise, record a “2.5”.*
rating: 2.5
Z-axis alignment If a layer registration effect with a period equal to that of the leadscrew is visible on the pillar supporting the fine positive features test, record “0,” otherwise, record “2.5.”
rating: 2.5
TOAL SCORE: 25
My conclusion: This printer is an overall workhorse. It manages overhangs really well and you can push it quite far before it requires supports, but it does tend towards stringing. This phenomenon fascinated me. So I decided to really delve into this for my individual assignment.
ULTIMAKER S5 TESTING (AUSTRALIA)
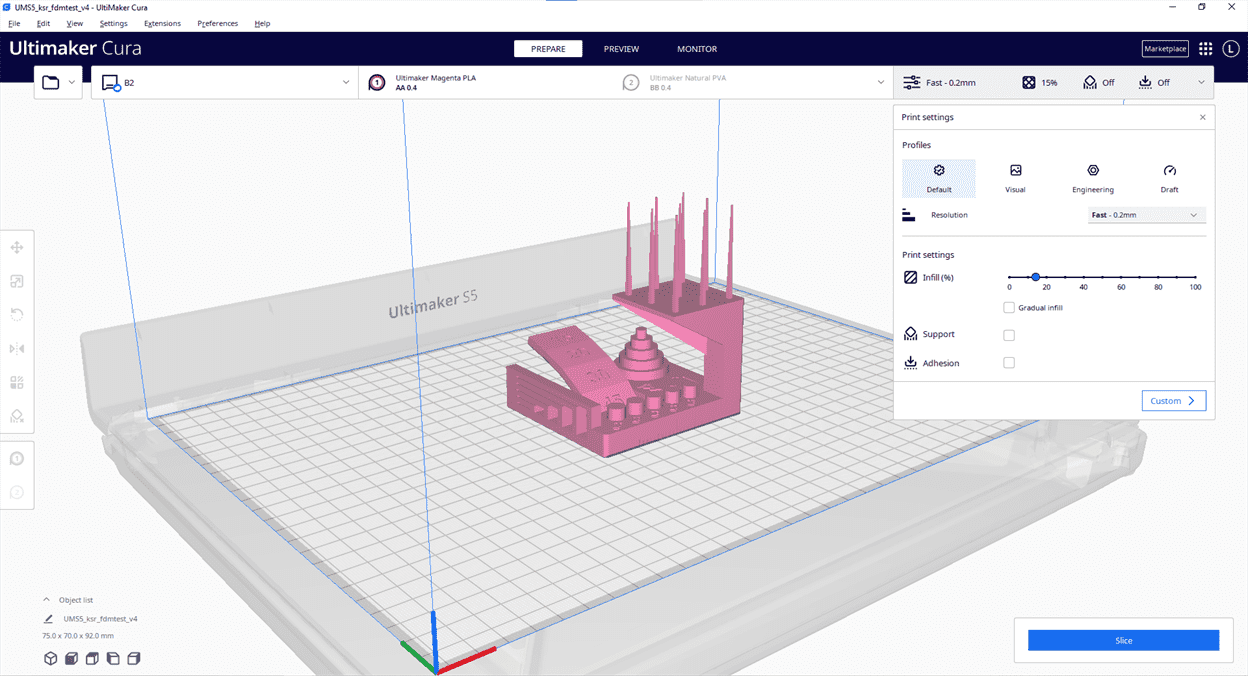
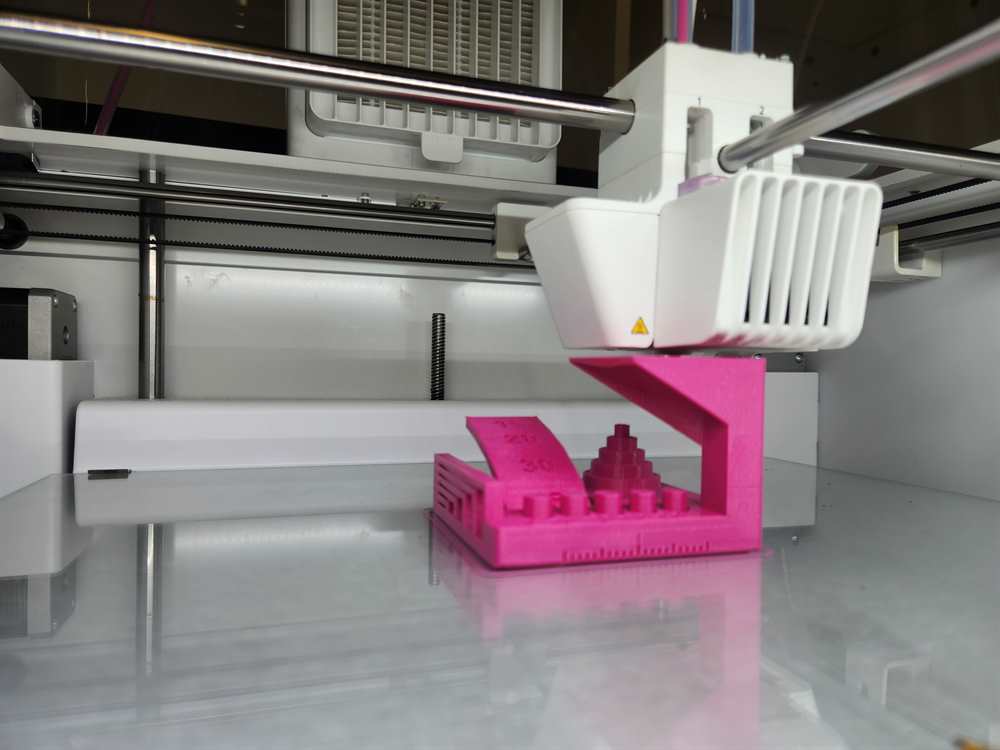
The Ultimaker S5 was also tested using Ultimaker PLA.
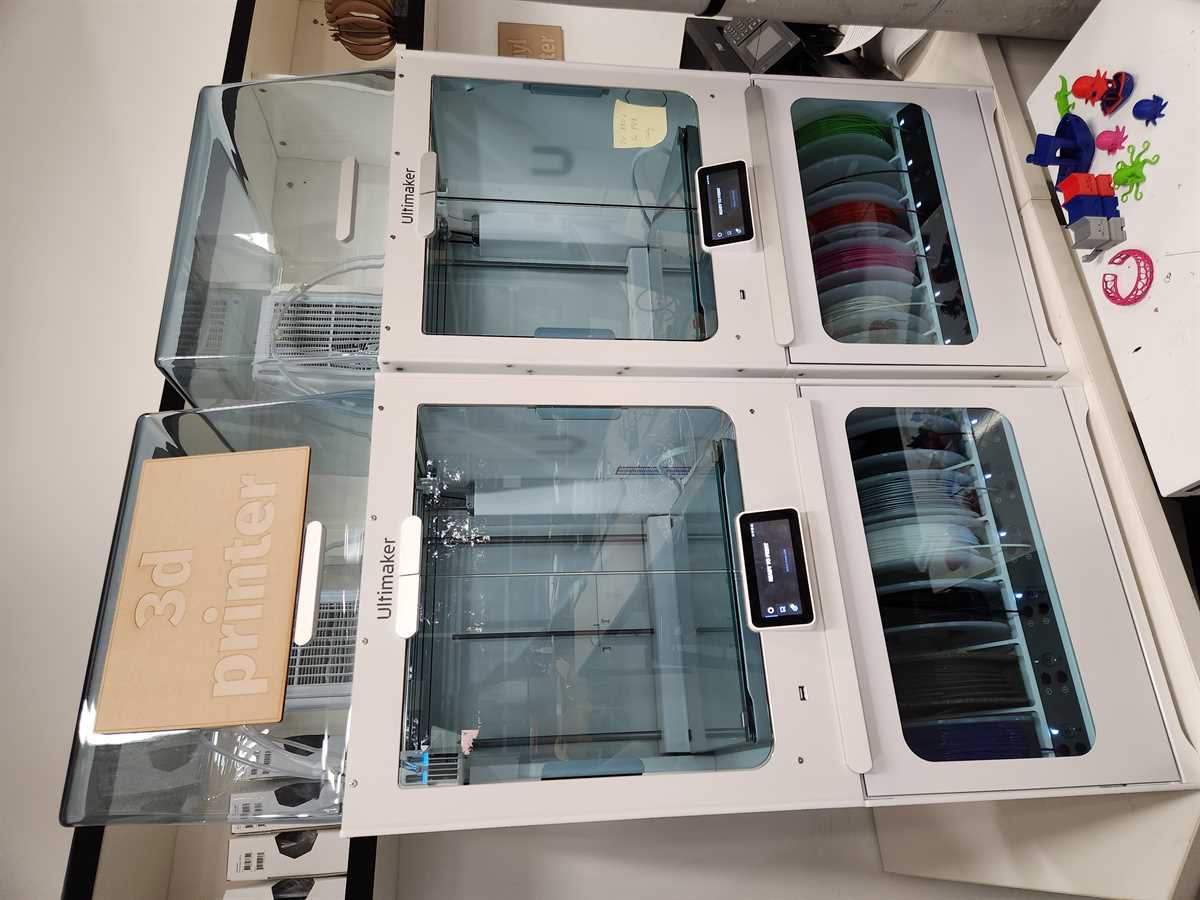
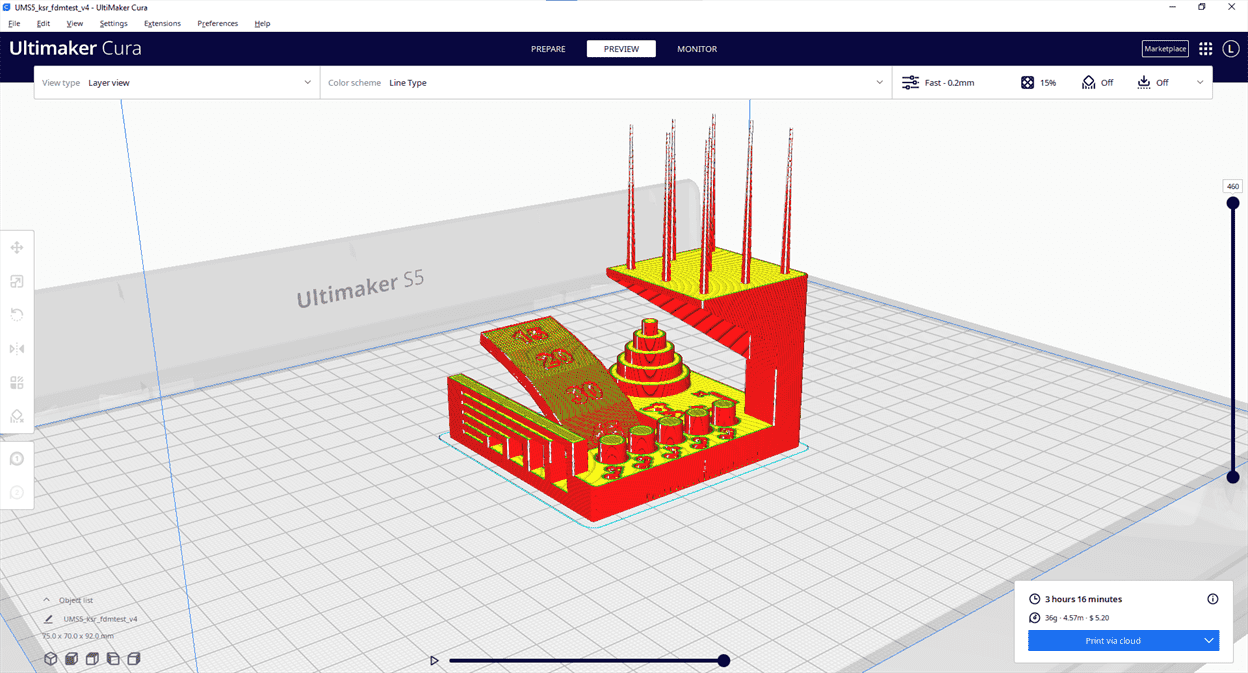
Ultimaker Cura, was used to setup the test print for printing. Default, Fast 0.2mm and 15% fill setting was used (this is a commonly used setting at the Lake Mac Libraries Fab Lab for fast printing)
Dimensional Accuracy: To assess dimensional accuracy, measure each tier of the dimensional accuracy stack and record the absolute different between the target and the measured dimensions in a table like so:
| Target | measured x | measured y | x error | y error |
|---|---|---|---|---|
| 25 | 24.78 | 25.02 | 0.22 | 0.02 |
20 |
19.73 | 19.96 | 0.27 | 0.04 |
15 |
14.72 | 14.92 | 0.28 | 0.08 |
10 |
9.79 | 9.95 | 0.21 | 0.05 |
5 |
4.80 | 4.97 | 0.20 | 0.03 |
Avg err: |
0.236 | 0.044 | ||
Average of avg. X and avg. Y error |
0.14 | |||
Difference between avg. X and avg. Y error |
0.192 |
Rating: 4
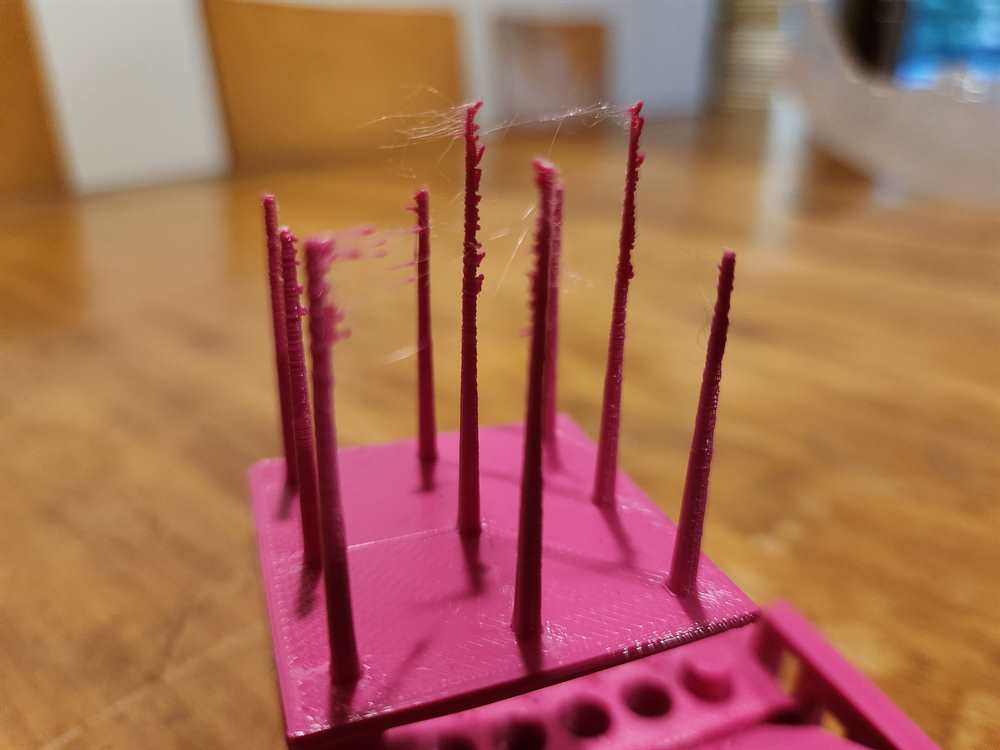
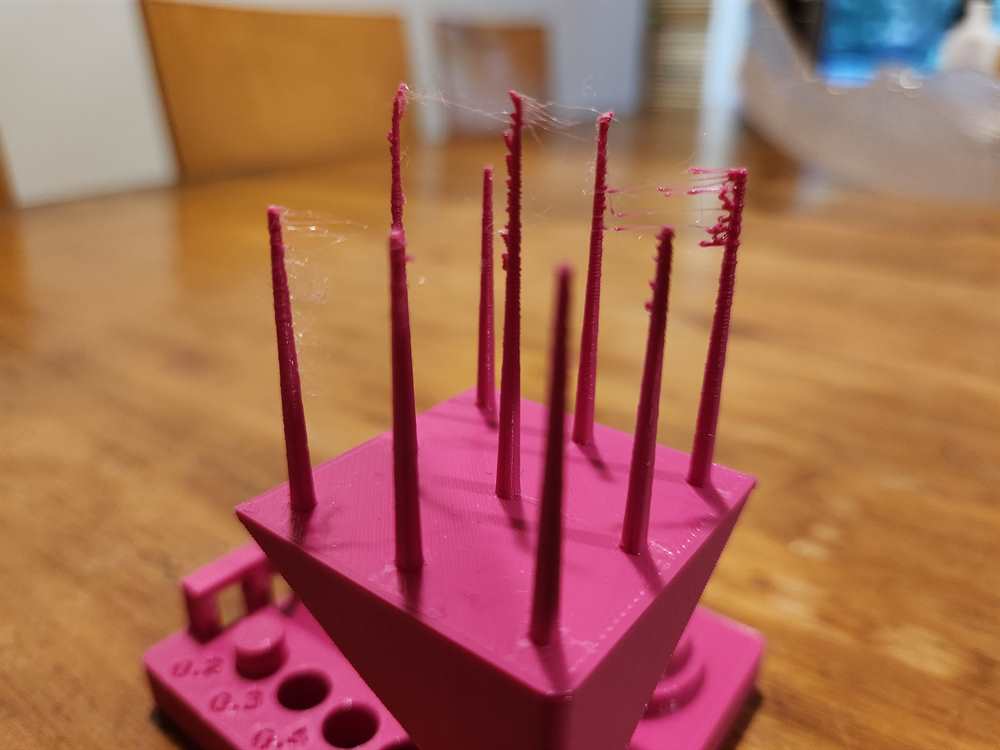
Fine FLow Control: Measure the shortest spire. This print would score 2.5. - If the spires are less than 30mm long, assign a 0. - If the spires are greater than 30mm, but there is stringing between them, assign a 2.5. - If the spires are greater than 30mm long and there is no stringing between them, assign a 5.
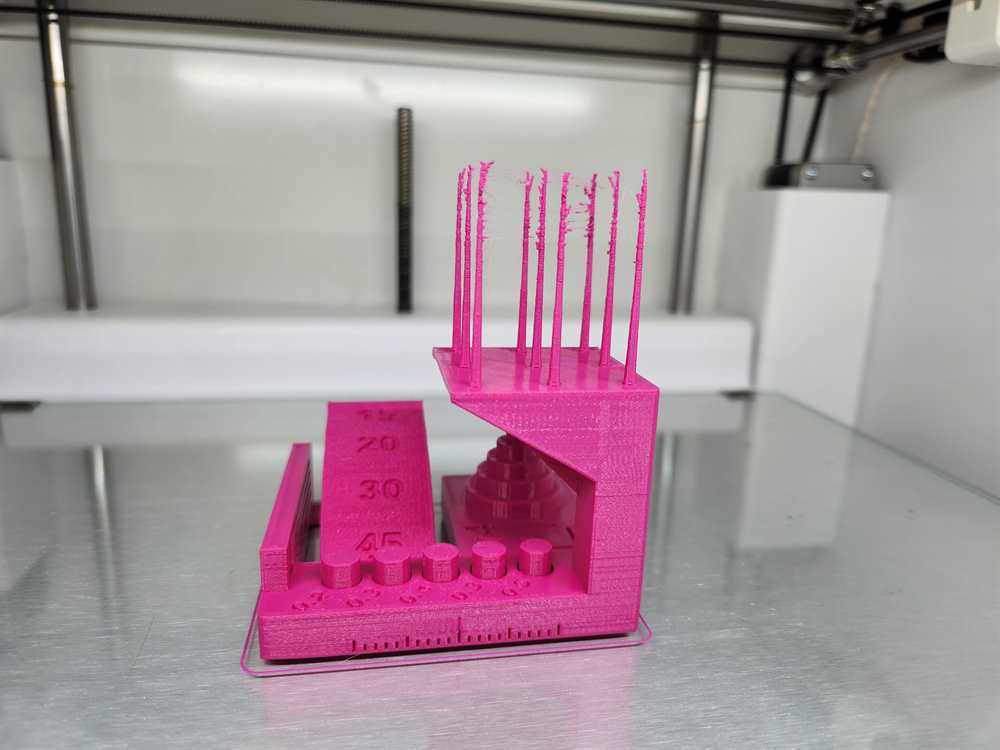
Some of the spires broke in transit, but still the shortest is over 30mm at 32mm with the longest being 40mm. There is stringing.
Rating: 2.5
Fine Negative Features *Attempt to remove all the pins from their holes using fingers (no tools). The example above would score 2.
Record a “0” if no pins can be removed. Record a “1” if 1 pin can be removed. Record a “2” if 2 pins can be removed. Record a “3” if 3 pins can be removed. Record a “4” if 4 pins can be removed. Record a “5” if all pins can be removed.*
4 Pins removed easily. The 0.2 pin could not be removed.
Rating: 4
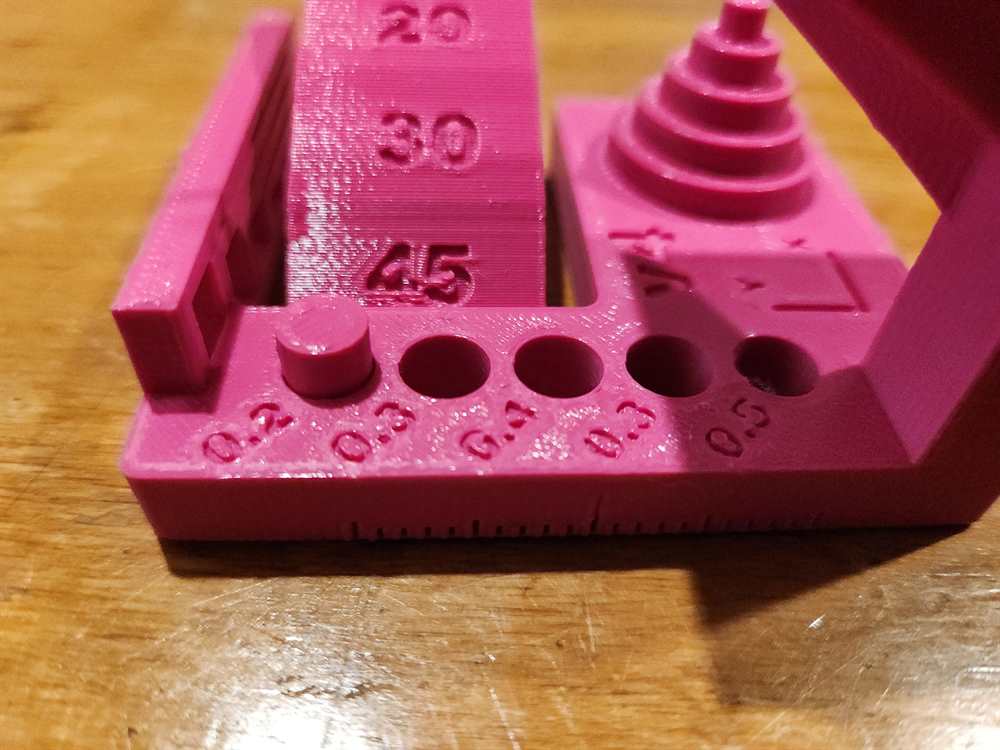
Overhangs: Record a “1” if the printer compiled the geometry but dropped loops and infill on the 15, 20, and 30 degree overhangs. Record a “3” if only the 15 and 20 degree surfaces differ from the 45 degree overhang. Record a “4” if only the 15 degree overhang differs from the 45 degree overhang. Record a “5” if there the surface finish between all four overhang surfaces is equivalent.
Rating : 1

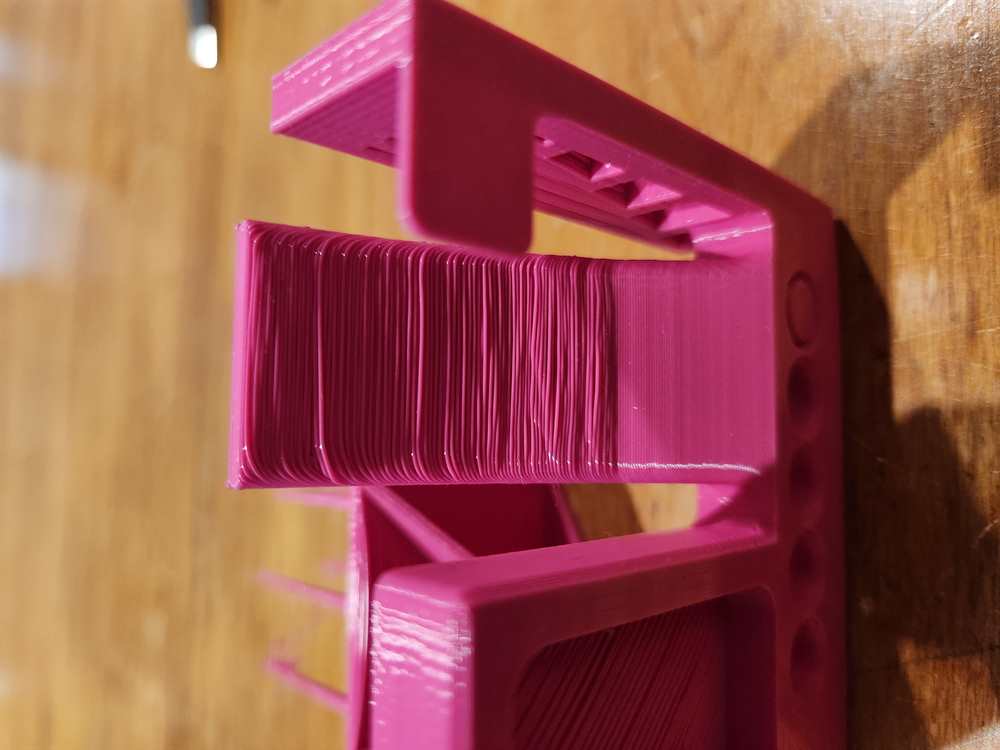
Bridging: *Inspect for contact between bridges and the surface beneath each. Record a “1” if more than 3 are in contact with the surfaces beneath them. Record a “2” if 3 bridges contact the surfaces beneath them. Record a “3” if 2 bridges contact the surfaces beneath them. Record a “4” if 1 bridge contacts the surface beneath it. Record a “5” if no bridges contact the surfaces beneath them. * Rating 3
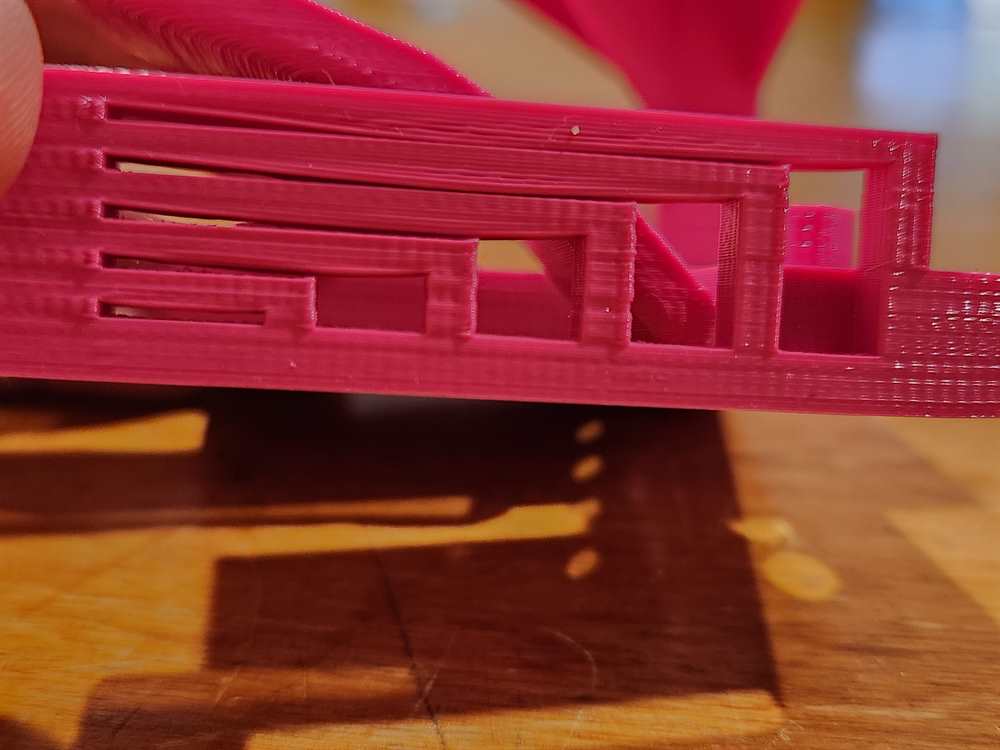
XY Resonance *Visually inspect the X and Y ringing features, illuminating the test print from the side to highlight any ringing captured in the print. This example would score 0.
If rippling in the X or Y axis can be observed at or past three hash marks, record a “0”, otherwise, record a “2.5”.*
rating: 2.5
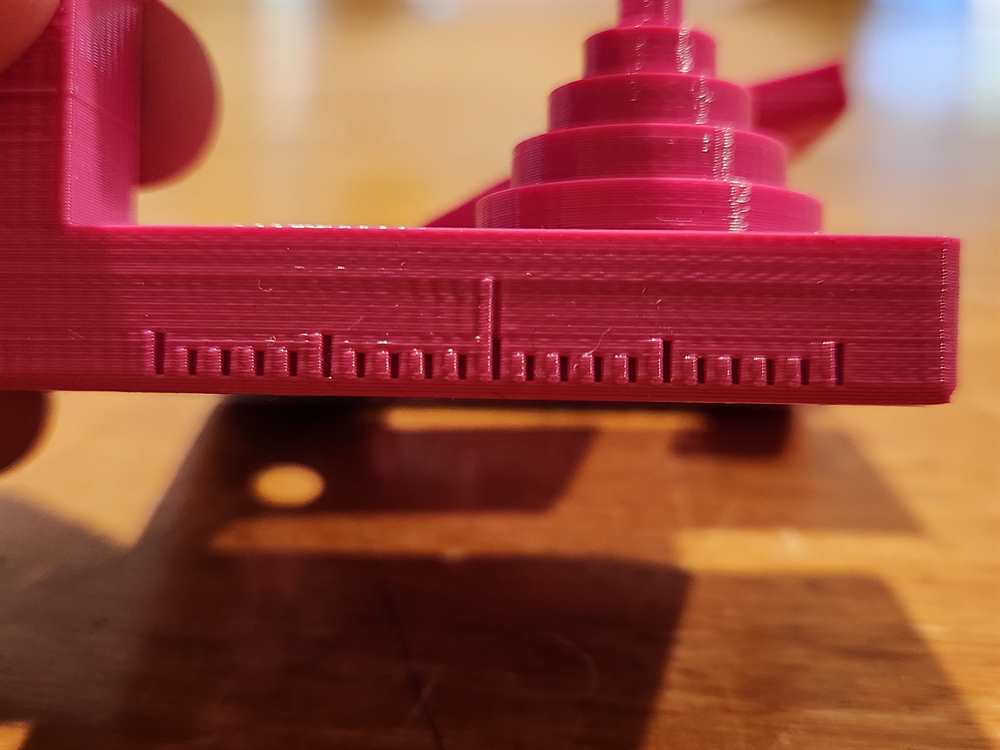
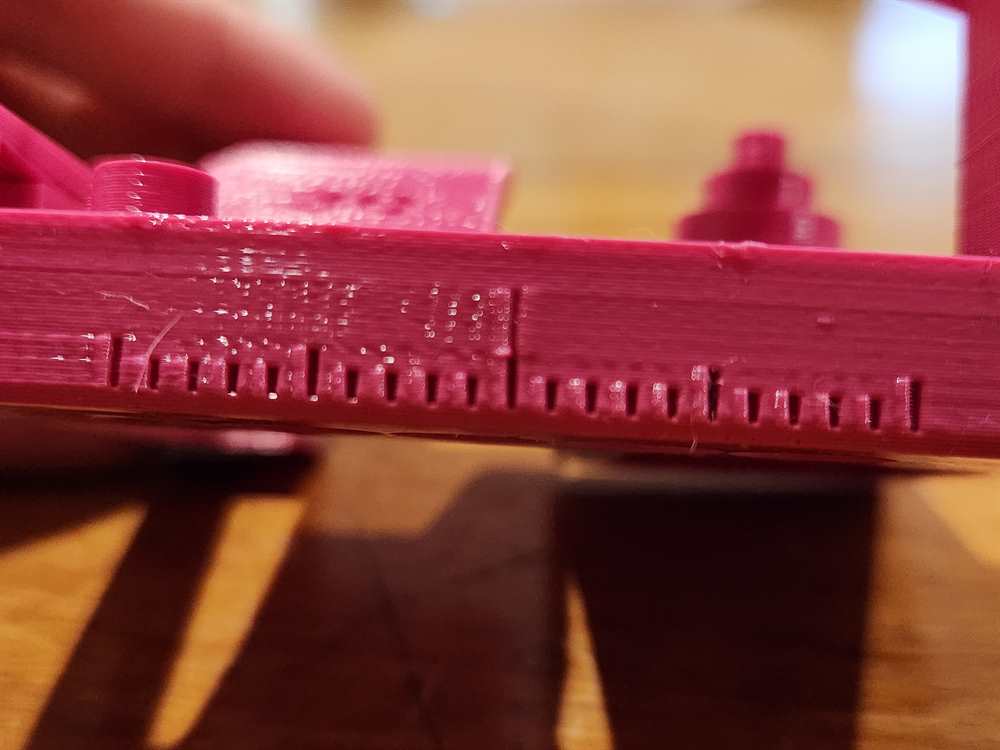
Z-axis alignment If a layer registration effect with a period equal to that of the leadscrew is visible on the pillar supporting the fine positive features test, record “0,” otherwise, record “2.5.”
rating: 2.5
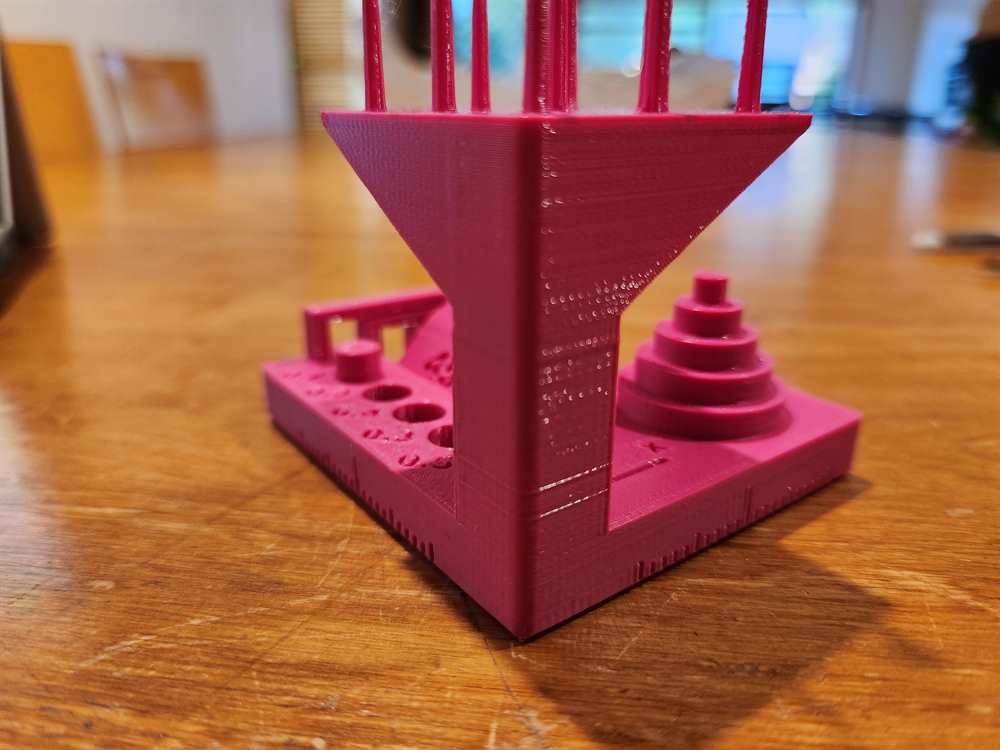
TOAL SCORE: 19.5
Overall the print results are pretty good for fast printing settings. Things to watch out for in particular are overhangs and bridging.