WEEK06 - Electronics Design
This week was dedicated to electronics design. The aim was to design a circuit board individually and to get a better understanding microcontroller circuit boards by observing their operation using a multimeter and oscilloscope.
WEEK SIX ASSIGNMENT
- Use the test equipment in your lab to observe the operation of a microcontroller circuit board (as a minimum, you should demonstrate the use of a multimeter and oscilloscope)
- Document your work on the group work page and reflect what you learned on your individual page
Oscilloscope Observation
We first tested the signal we can read from an Ardunio Uno microcontroller using an oscilloscope.
On the oscilloscope you can test more than one channel, we had an issue with one of our probes and so could only test one channel.
To calibrate the channel you can connect the probe and its ground to the 5V@1KHZ connection point on the oscilloscope. Once connected click the ‘Auto set’ button. We could then see a reapeating stepped signal on the screen.
We can also measure the output on the screen. We observed that this was 1KHZ which is what is should be for ‘Auto set’.
We then connected the Arduino Uno to the oscilloscope, connecting the alligator clip to the ground and the probe to the TX pin.
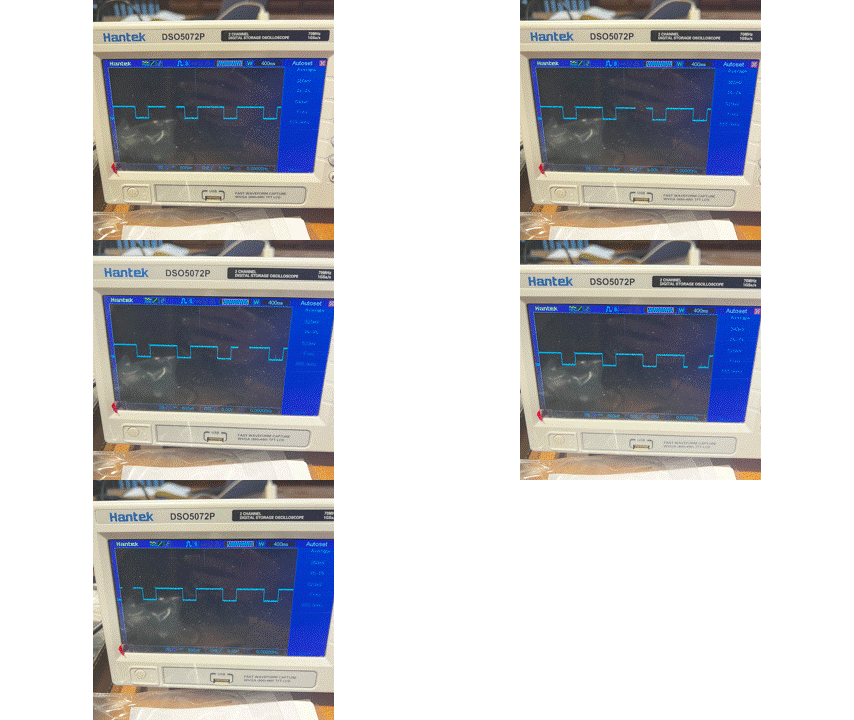
We then ran a program that looped a high and low signal with a delay and observed the results.

We then ran a program that loops printing ‘A’ and observed the serial signal output on the screen of the oscilloscope.
We then looked at the signal for ‘AB’
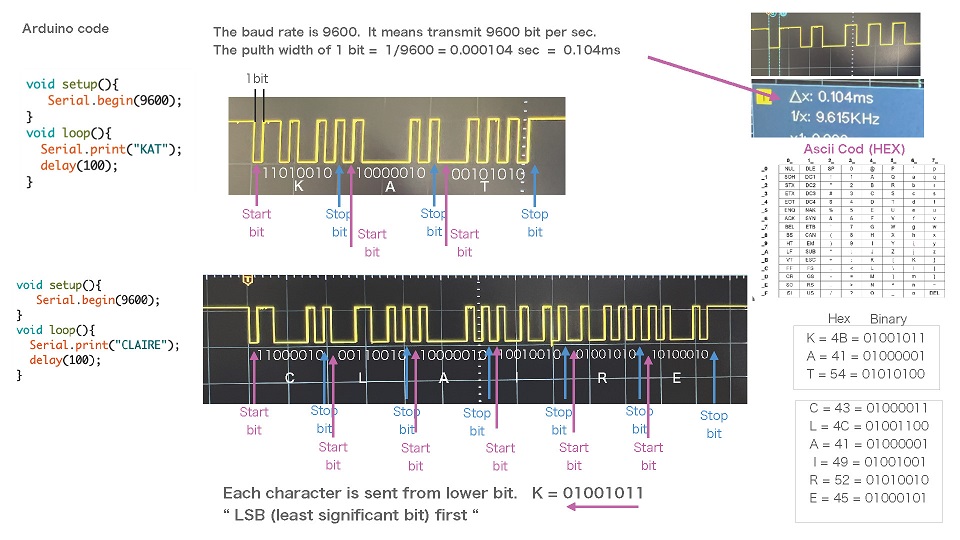
We then observed the signal for our names.
We found it interesting to observe the conversion of characters to a binary signal that can be visualised. With 1 showing as up and 0 and down.

*Above image provided by Kamakura instructor Kae Nagano
Multimeter Observation
We used the multimeter to measure voltage being output via the Ardino Uno microcontroller by connecting it to the ground and 5V and ground and 3.3V.
The slight discrepancy from whole numbers that is observed is due to the probes of the multimeter not making perfect contact.
We then used the multimeter to test the resistance of different resistors (useful when you forget what value of resistor you have).