Project Management
This week I worked with Git,Gitlab,Markdown files(.md),HTML. You can follow this as a tool for learning how to get started with GIT,at the end you will know how to make something useful.
For fab Academy, documentation is the most important thing.For showing our documentation progress we have gitlab account and we have to push our documentation through GIT.The main task for this week was to go through git tutorial, setup and working of GIT and making a website describing me and final project detail.
What I did this week
- 1. Understand the concept of GIT
- 2. Setup GITLAB account and password
- 3. Learnt basics of HTML, Markdown
- 4. Work on various HTML editor tool
- 5. Created my website
What is Git
Git is a distributed version control system for tracking changes in source code during software development. It is designed for coordinating work among programmers but it can be used to track changes in any set of files. It was created by Linus Torvalds.
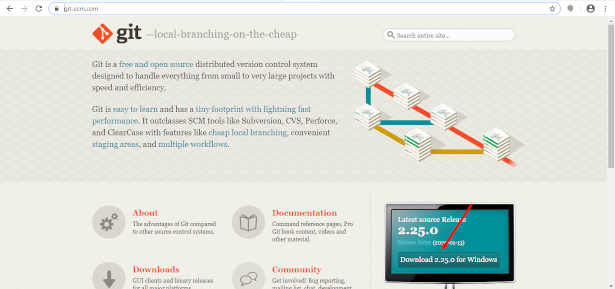
Installation of GIT
Initially I was using Windows 7 Professional for working on repository but after encoutering some Windows update error on my desktop after trying installation of some softwares,I didnt take the screenshots. I switch to window 10 on my laptop and I also clone my repository on my laptop.First I followed following tutorial that help me through the process of getting started with GIT.
Then I downloaded GIT version (2.25.0) .After installation I click the .exe . Then I basically press next in all the Process.As i am installing the first software i didnt take screenshot of the process.But its very easy.
I also included GIT Bash in my context menu so that I can easily open Git Bash on my screen after pressing right click of mouse on screen,and making all the process done which have to be followed to making changes in the Gitlab repository
After intallation of GIT.As this is the first step I did.
The first thing you should do when you install Git is to set your user name and email address.
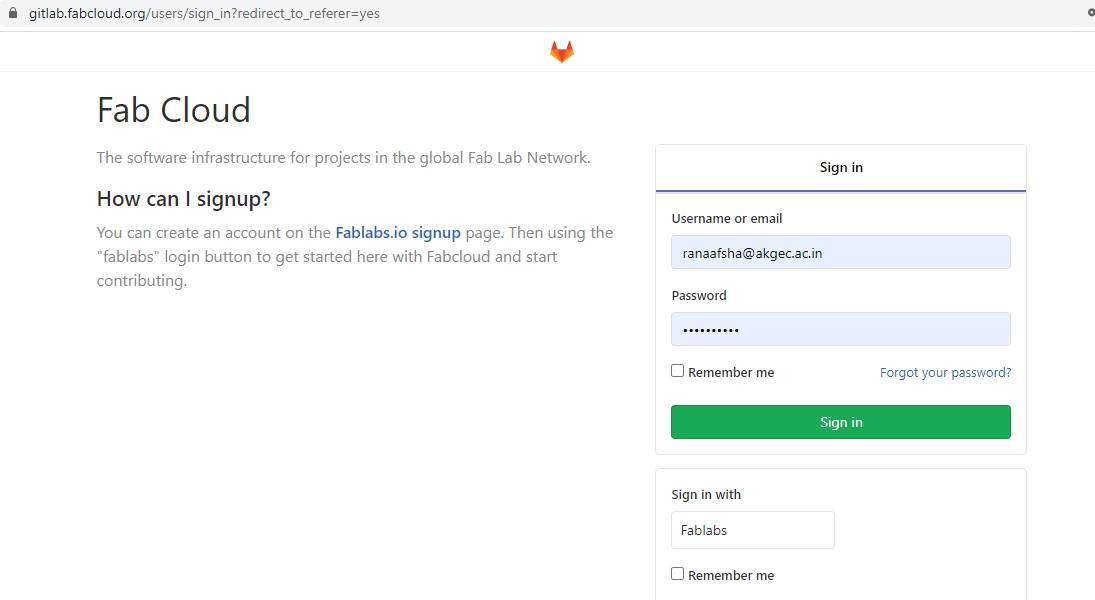
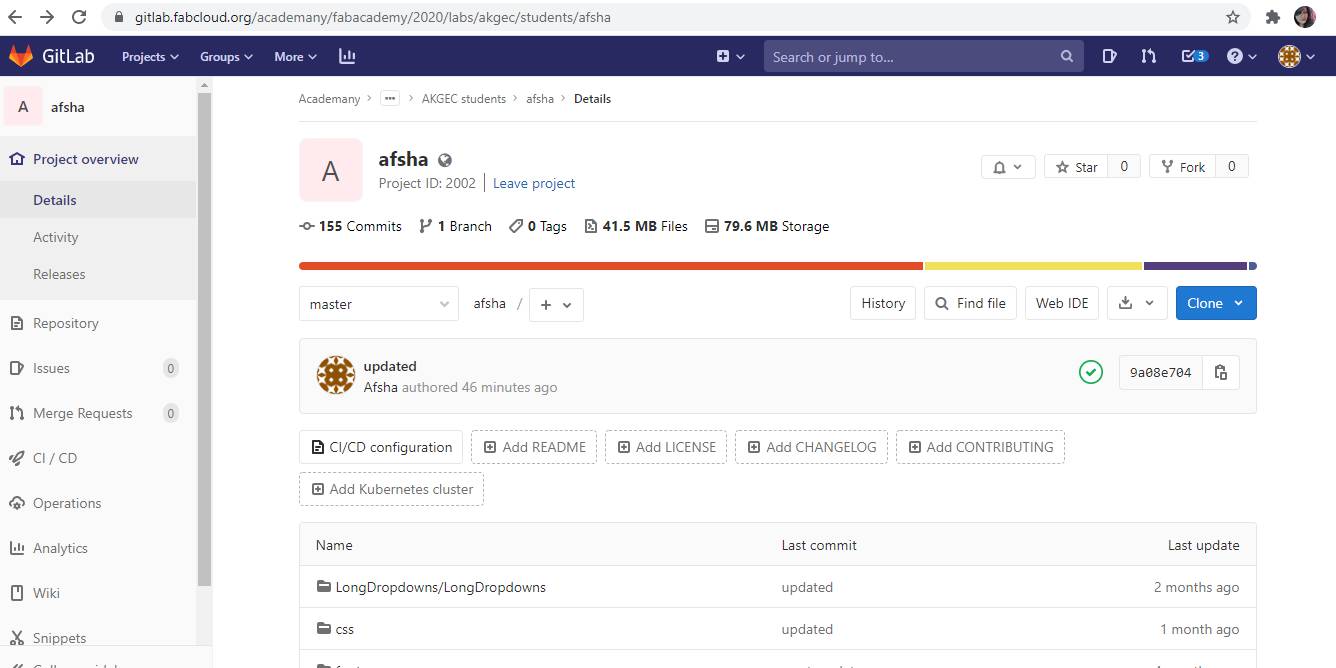
GET aware wih HTML language
As I have studied in NEIL lecture that for making website and for documentation of all the work which which we will have to do in FabAcademy we have to learn one of the language so that we can update our website regularly.The first question came to my mind was like I have to learn some basics of HTML so that I can go through the basic of Website Development
I started with watching HTML for begineers.Here is Youtube Link
After watching the tutorial I made my .index HTML file and in this file I I do the basics of HTML as I got to know about the starting and ending tags which we use to make any webpage using HTML and I just made a paragraph about me and got to know about the heading tags paragraph tags and body tags which we use in HTML on Notepad.

HTML EDITOR :
I Tried to go with as many editors as i could explore.Below are the one's which I explored.
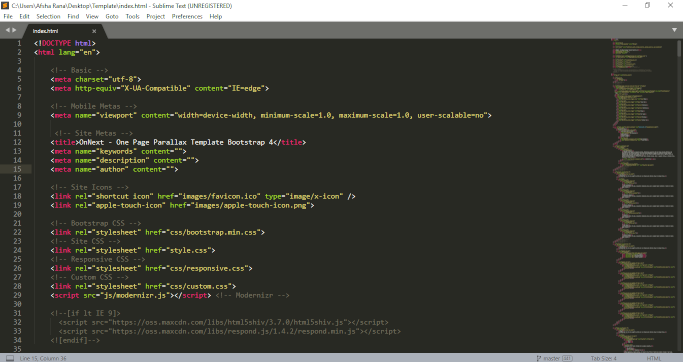
1. SUBLIME TEXT
Sublime Text is a shareware cross-platform source code editor with a Python application programming interface (API). It natively supports many programming languages and markup languages, and functions can be added by users with plugins, typically community-built and maintained under free-software licenses.
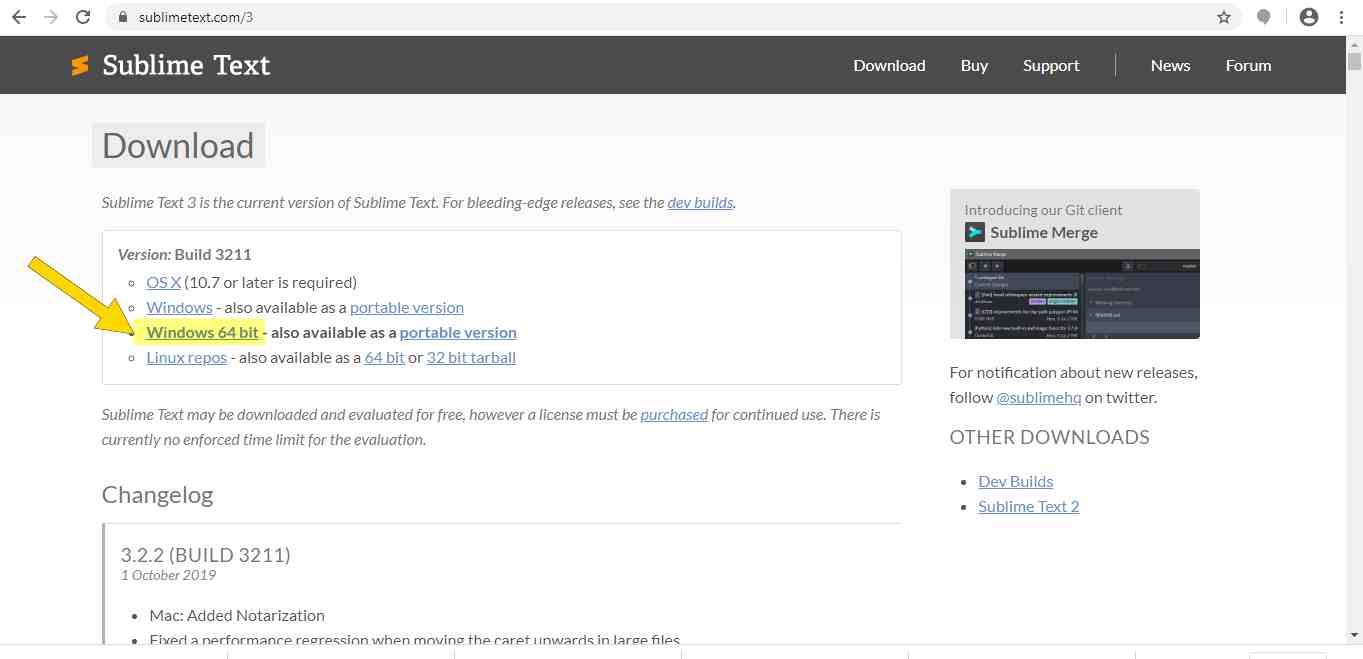
I downloaded Sublime Text 3 editor for for editing HTML code and and I also got to know that I can also inspect others web page source from after right click on the page and and click on view source and I also change that according to me if I want to make a web page like that.
2. ATOM
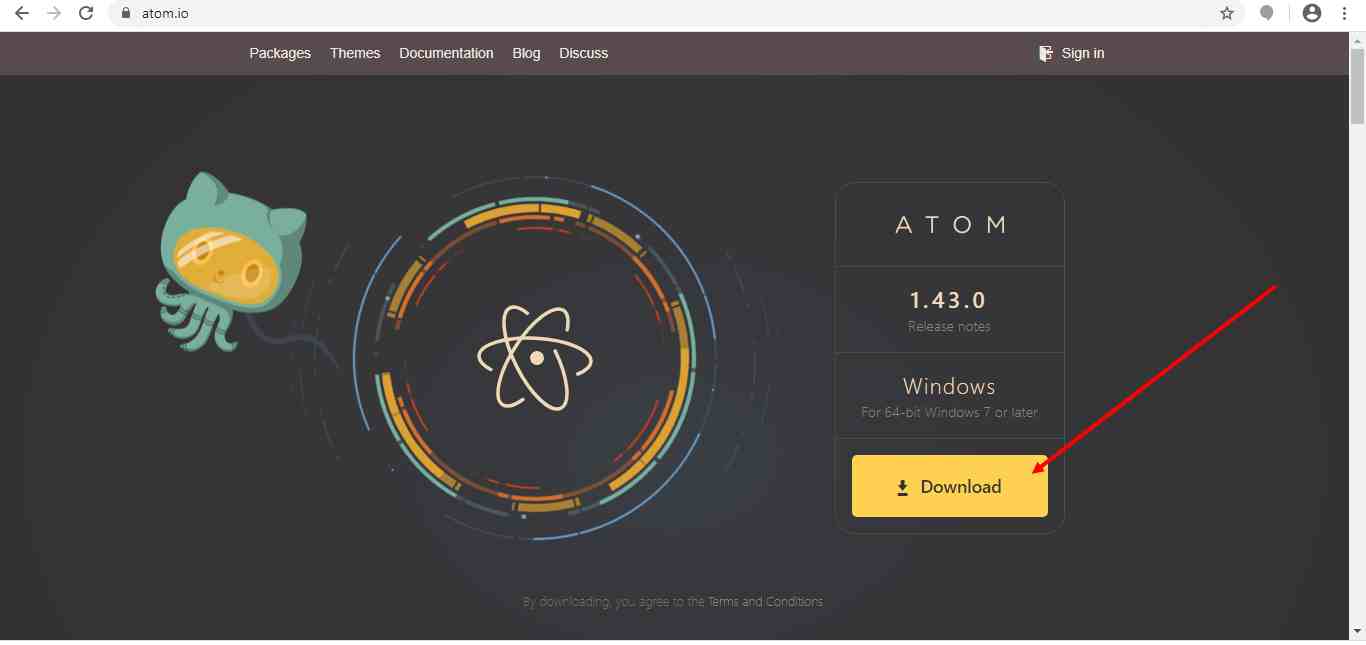
ATOM is also an editor for for source code of webpadge.
It is a free open source code editor,it was developed by GitHub Team.
I tried it download but i got stuck with two error on my Window 7 Professional desktop.
The procedure entry point Set default Dll Directories could not be located in the dynamic link library KERNEL32.dll
I found this video and fix it Fixing Windows 7 Update Error 0x80070422 .Again encountered with error "Error 0xc8000222.I tried to solve one error after this i got another.Thats why i stopped there.
3. VISUAL CODE STUDIO
This is the finest Editor i found suitale as i got to know about MkDOCS which is a fast, simple and downright gorgeous static site generator that's geared towards building project documentation. Documentation source files are written in Markdown, and configured with a single YAML configuration file.
It is highly customizable, allowing users to change the theme, keyboard shortcuts, preferences, and install extensions that add additional functionality.
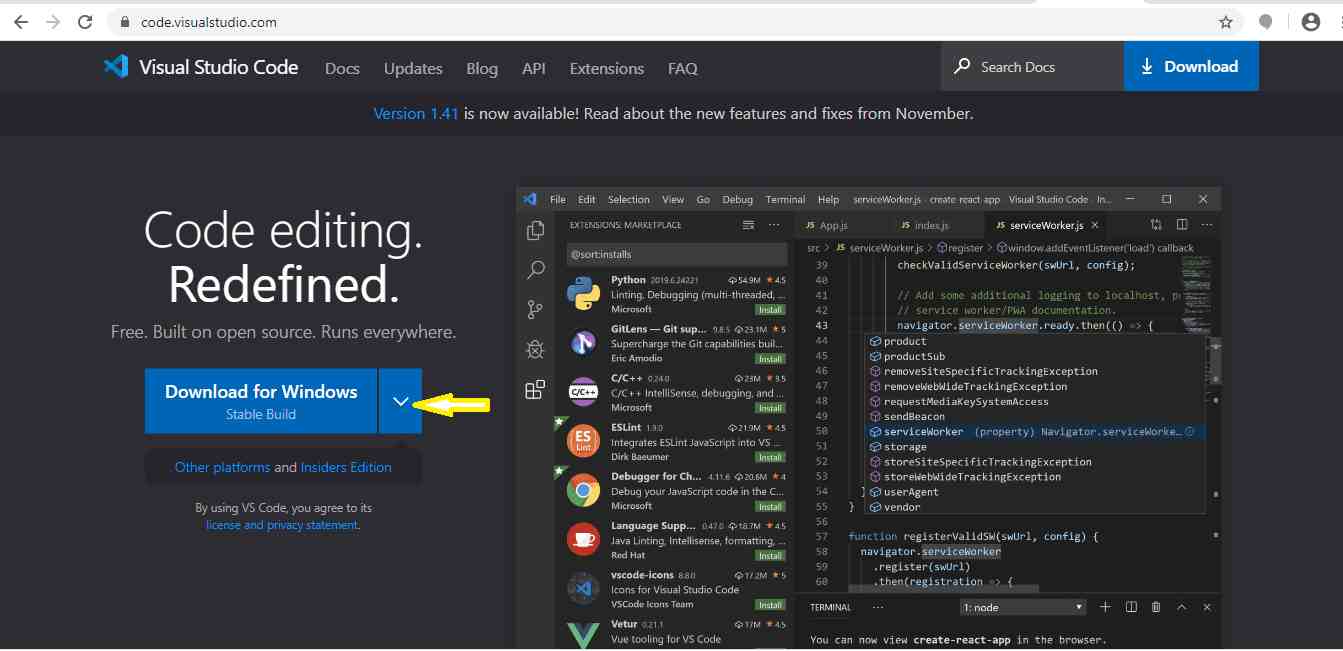
First i downloaded it from HERE. As FabAcademy given MkDocs ready-made Template so I tried it on Visual Code Sudio to edit it according to me.
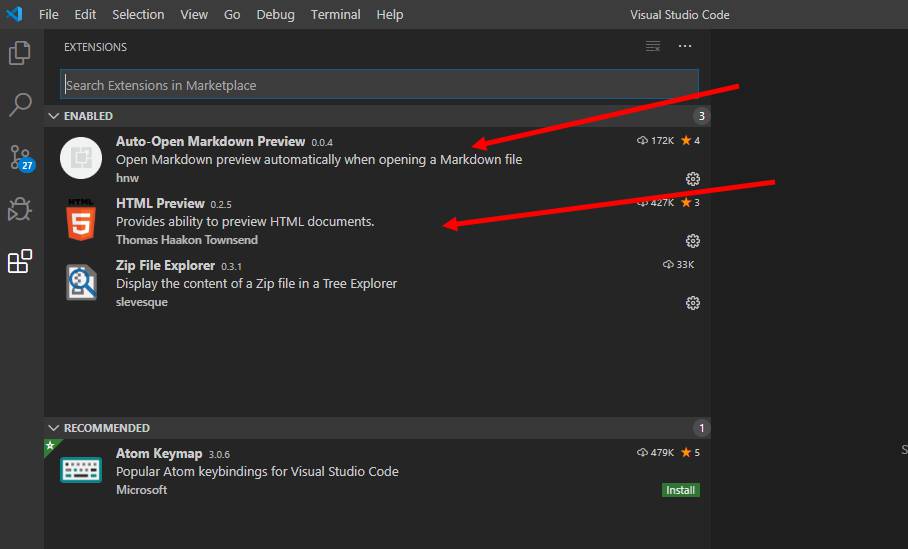
As i want to change the text in mkdocs.I installed the preview extension for that which is available in option at the left border.So after that i was able too edit it according to me.Later i also installed HTML Preview extension.
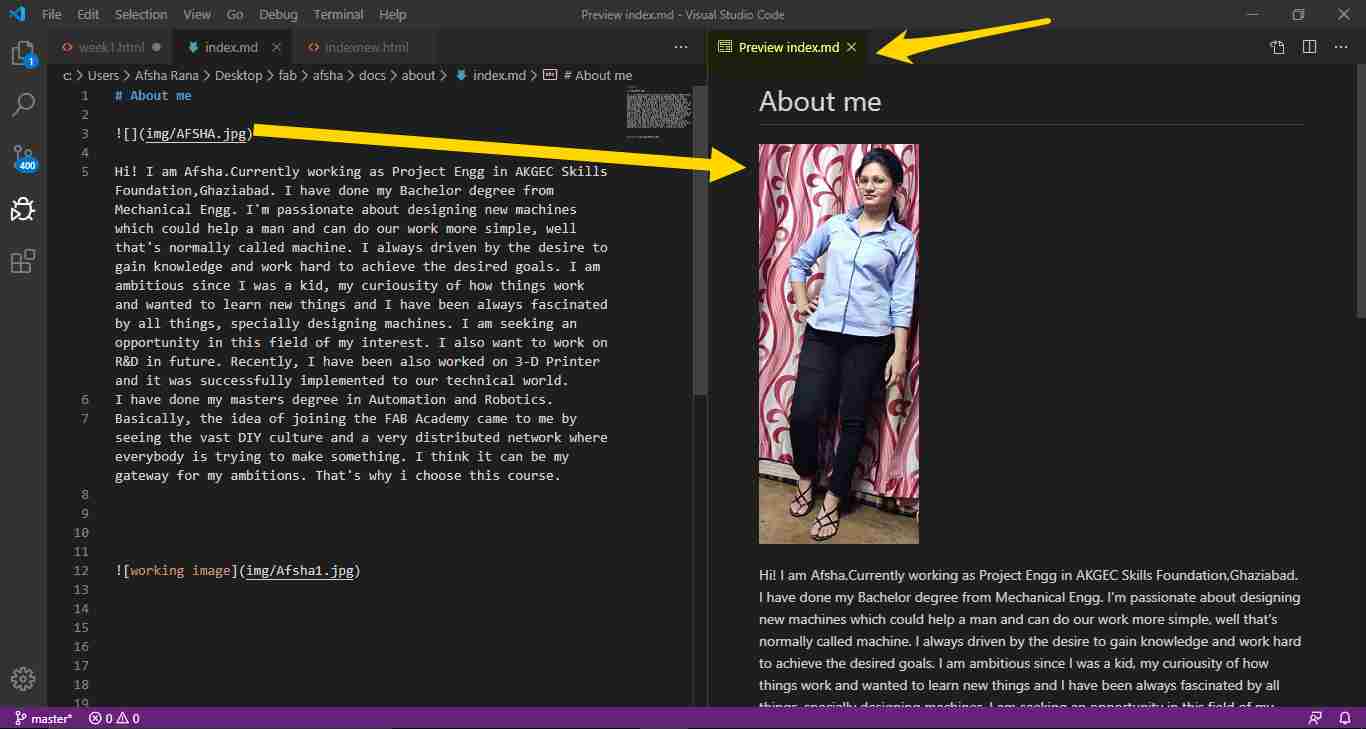
First i worked on Mkdocs template and edited the introduction as shown in thee above image having index file opened with (.md) extension.
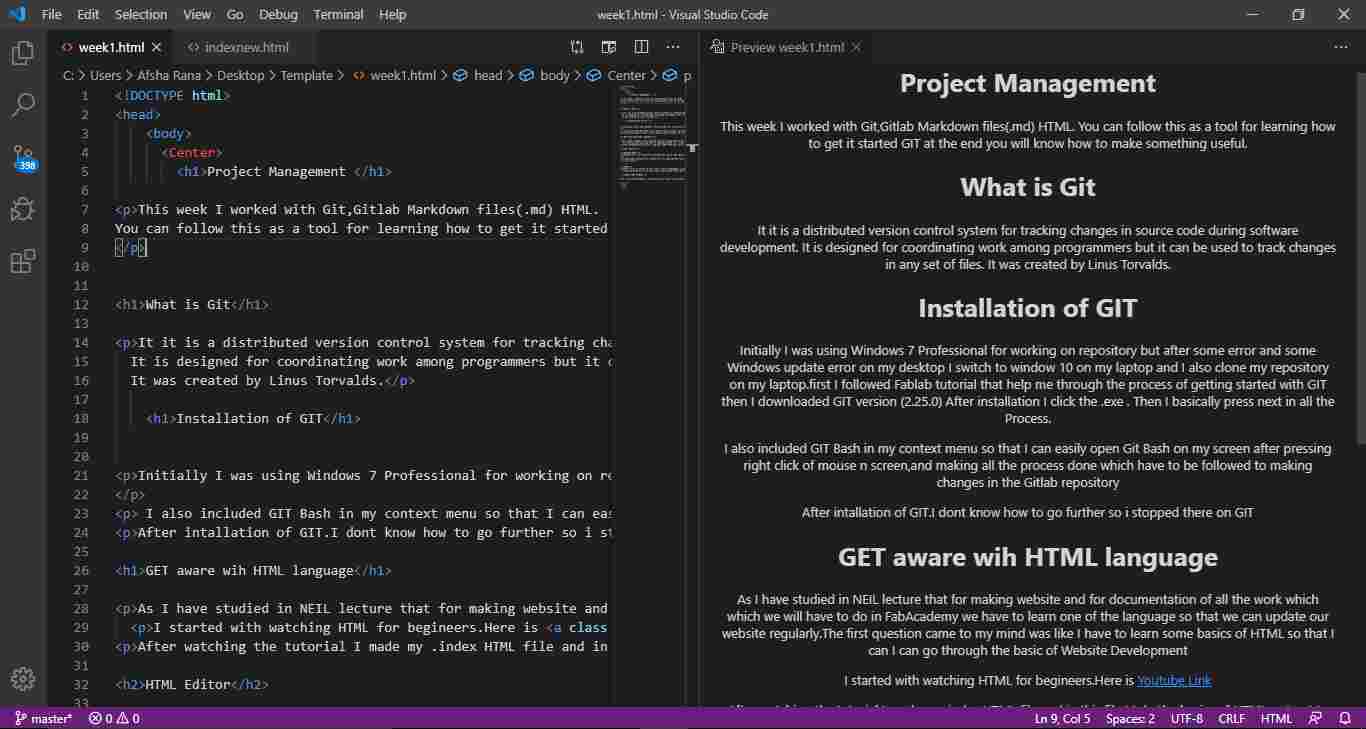
This is the image showing week 1 documentation, which i uploaded later after i used to with HTML.So these files had extension as (.html).
Cloning gitlab repository using "git clone command"
First thing I have done is to Configure Git on my system with some configuration. The first command I used to start the git is as:
git init
Once the git is initialised,I type follwing command:
git clone git@gitlab.fabcloud.org:academany/fabacademy/2020/labs/akgec/students/afsha.git
After clonning to my desktop :
git config --global user.name "Afsha"
git config --global user.email "ranaafsha@akgec.ac.in"

When the right-click button of mouse is pressed you’ll see two options of git: "Git GUI Here" and "Git Bash Here". When I clicked on the GUI one, an Interface window opens. When I clicked on the Bash one, a prompt window opens. This is the window to directly work on the repository. Here are some basic Git commands I learned. I used the status command to see any changes on the repo:
Terminal Basics
As I have already install git, but everytime to update data on my repo to fabcloud ,I used following basic terminal command:-
ls–It display the list of files and folder in particular directory . cd folder_name–Through this command we can jump to a particual foldergit status-It shows the status of our folder whether we modified something or add something in it so that we can push it forward. I created a new Notepad file called "html.txt" and added some text in it. After saving it and running the git status command, some text appeared in red, that means that there’s an untracked file. The file is now ready to add for commit:

git add
-Git Add is to add files to your repository.
git commit -m "first commit"
-It saves all the changes with brief description about the change in our repository.
git push origin master
When I ran the "git status" again, It showed that now my branch is 1 commit ahead of 'origin/master', that means that the repo on my local computer has files or changes that my GitLab don't. To public my local commits I used the "pull" command:
For further details you can follow this
This was my first commit push on GITLAB and I further used it many times.

As my directory is AFSHA and i type afsha..It is showing error.so basically it is case sensitive. Next time i cloned my folder directly on desktop and push the data directly by selecting that folder itself.

Due to internet problems.Most of the time I have to connect with my phone network to push the data on git.It shows fatal error like this.
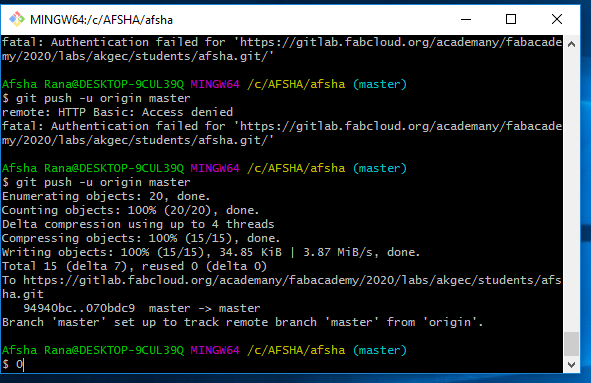
At the end of first week i have done all these task but this is very hectic as i am doing it for the first time.
Creating my Website
Now i started working on my new template which I downloaded from FREE CSS
I downloaded this template.

This is the live demo of website which i downloaded.

I Updated this as my webpage with the help of Visual Studio Code in which i opened the index.html file.


I changed the logo aspect ratio after my instructor pointed it out with the help of GIMP software and resize it to some pixels.About which you can learn im my second week.

Uploading it to fabcloud
First i added SSH Key to my laptop To generate an SHH key which is an authentication credential that establishes sessions with a single sign-on.
Steps:
- 1. Type the associated command ssh-keygen -t rsa -b 4096 -C "ranaafsha@akgec.ac.in" in the Gitbash command prompt and follow thoroughly to save it on the selected folder.
- 2. Open the file using wordpad or any other associated tool.
- 3. copy the SSH key to gitlab setting page>> ssh keys >> add key.
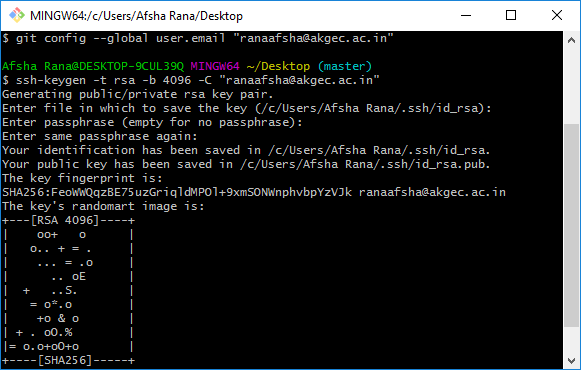


Then the folder was pushed to the fablab cloud data through git repository commnads.
Most important thing was to add yaml file in gitlab for my template.
Here I referred to the tutorial to select the Gitlab CI configuration for my website which was (OPTION A: GitLab CI for plain HTML websites). I copied and pasted the commands to the CI/CD panel in my Gitlab page and checked that the configuration was validated.

Next is checking for the website link under access pages in
settings >> pages>The commence of the webpage took some time, as the first time I tried locate the website, it showed me an error message, yet, after some time I was able to access the site and browse it easily.
GROUP ACIVITY TO IMPROVE DOCUMENTATION
This activity has been conducted by Rahul our fab lab instructor. To get the idea of teamwork in upcoming weeks of Fabacademy or to enhance our skills how to document everything.
The group activity is followed up by some questionnaires and writing a one-word answer to the question asked by our instructor.
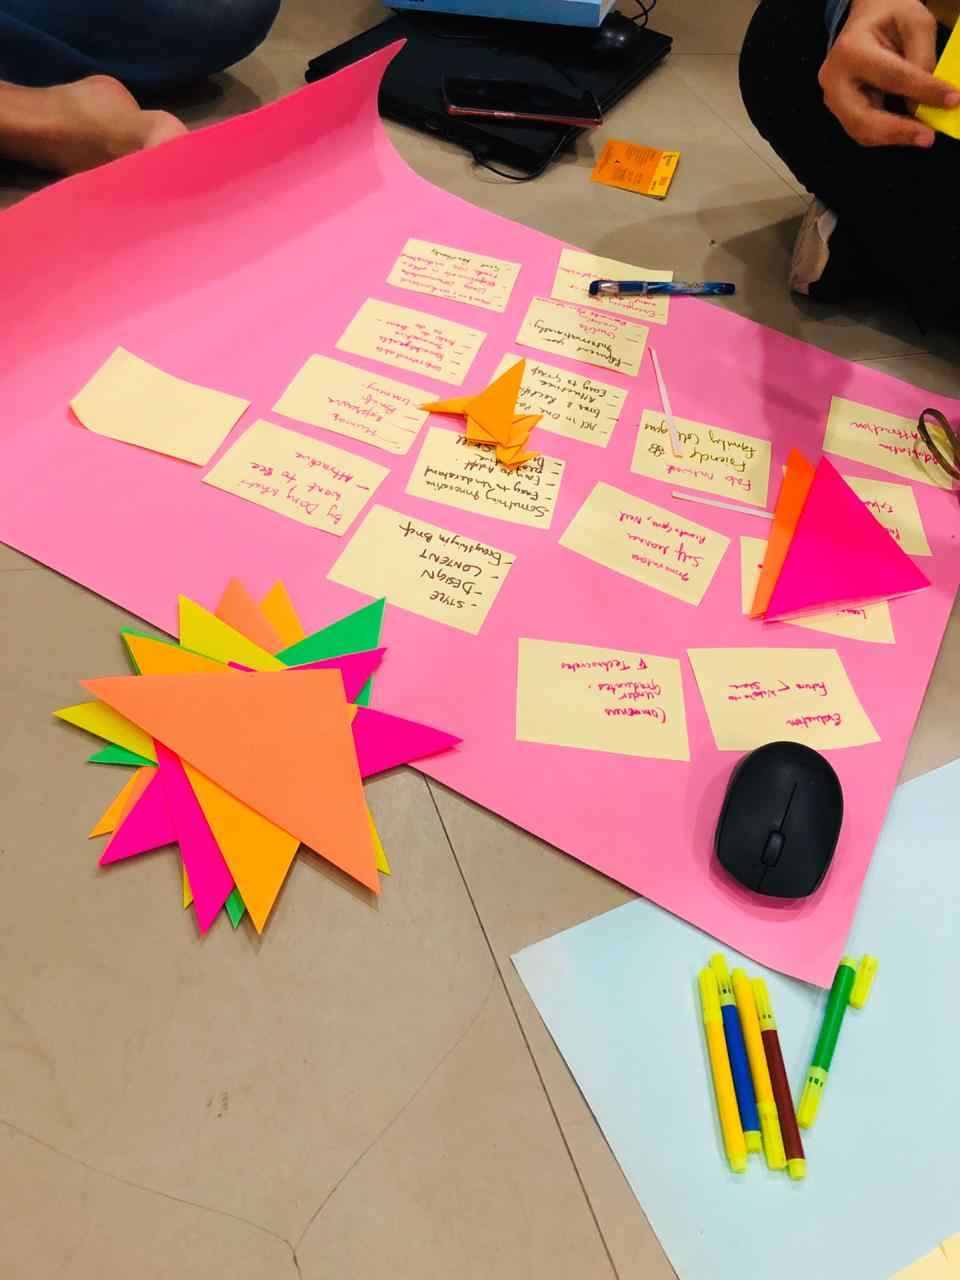
Our Instructor asked to do a group activity in which he said please everyone state their skill set and write their name on chart paper and relate with sketch pen if you find someone skill set useful for them. Then we used chart paper and sticky notes to write a one-word answer or two asked by our instructor. The motive behind this is to improve our documentation skills and cover all the aspects required. Below are the picture showing our group activity:
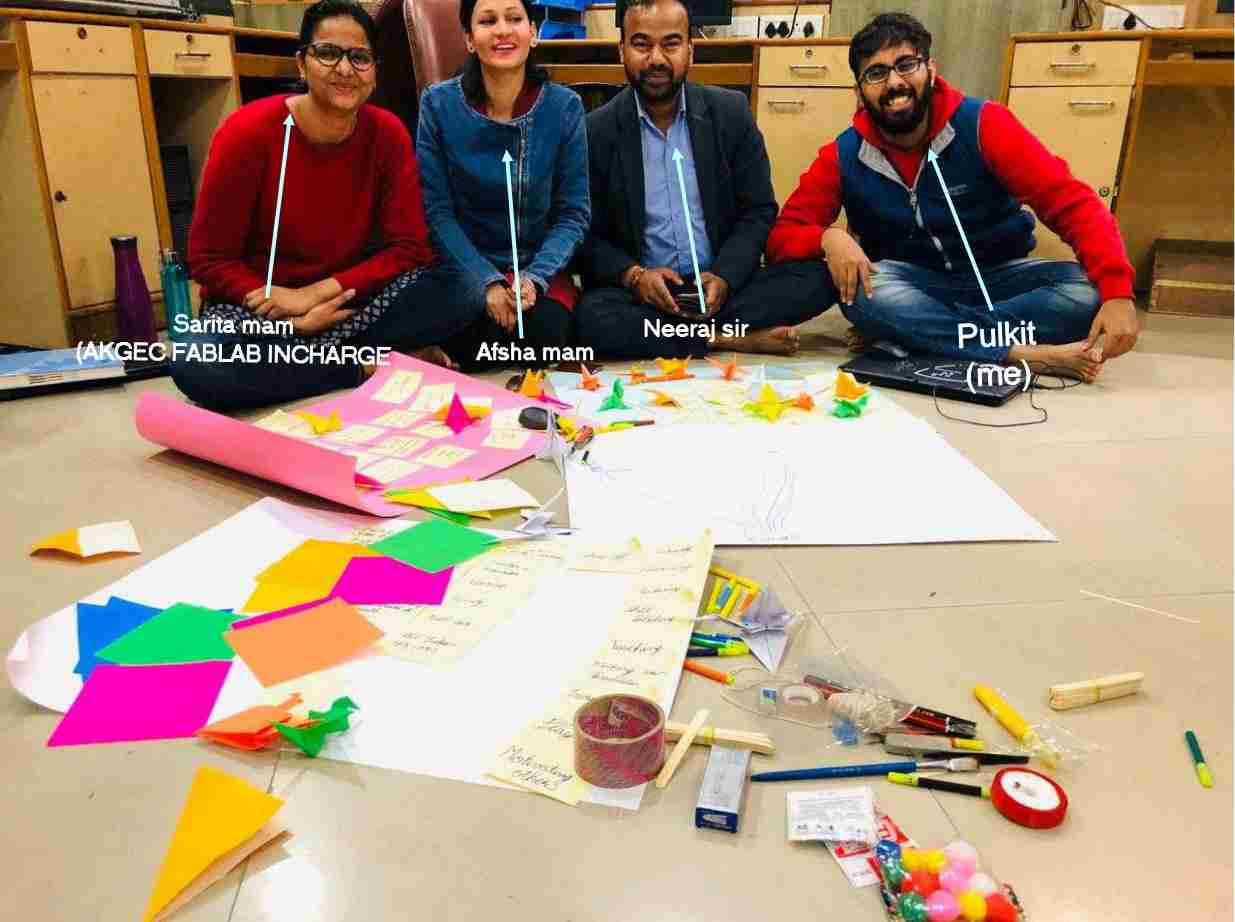

MY FAB TEAM
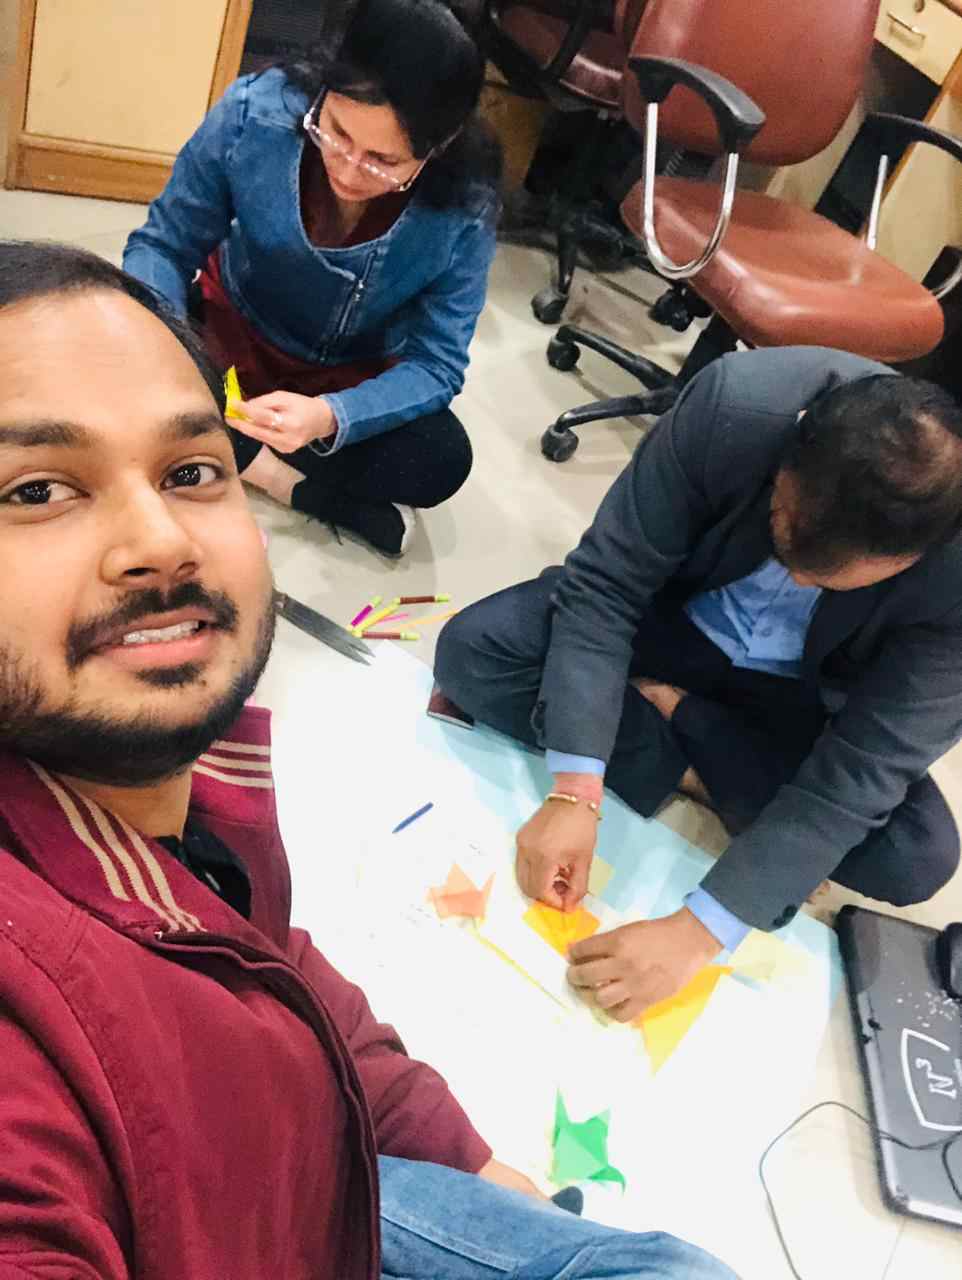
Our Intructor Rahul Gautam
First Activity
1. For you what documentation is?Ans.
- a. Evaluation
- b. Learning
- c. Procedure
- d. Express yourself
- e. Attraction
- f. Adapation
- e. Sharing knowledge
- f. Future sharing
2. Who will see your page?Ans.
- a. Commoners
- b. Under graduates
- c. Technocrats
- d. Innovaters
- e. Self learner
- f. Remote Guru,Neil
- g. Fab Network
- h. Friends
- i. Family
- j. Collagues
3. What needed in webpage?Ans.
- a. Style
- b. Design
- c. Content
- d. Everything in brief
- e. Something Innovative
- f. Easy to understand
- g. Easy to adapt
- h. Develop skill
- i. Error and rectification
- j. Attractive
- k. Represent you internationally
- l. Credits
- m. Licensing
- n. Promote open source
- o. Learn and exploration
4. What you should do in your webpage?Ans.
- a. Humor
- b. Expression
- c. Brief
- d. Learning
- e. Understandable
- f. Newbee can understand
- g. Good Feedback
Documentation for crane:
- 1. Hold the paper half bothways.
- 2. I have made two folds as shown in picture.


5. Turn the sheet, so the diagonal creases are mountain fold.


8. Take one of the flaps to the centre line , the edge align to the center crease.


14. As well as the neck of the crane.
15. Now by folding it to some angle.


Experience
It was a great experience, got to know how to document properly and according to our Remote instructor Puneeth Raj: "A good way to approach documentation is write in a way that even your grandmother will understand"
