6. Scanning and printing
1. Assignment && week workflow planning
1.1 Assignment requirements:
- individual
design and 3D print an object (small, few cm3, limited by printer time) that could not be made subtractively
3D scan an object (and optionally print it)
- Group
test the design rules for your 3D printer(s)
2. How i did it
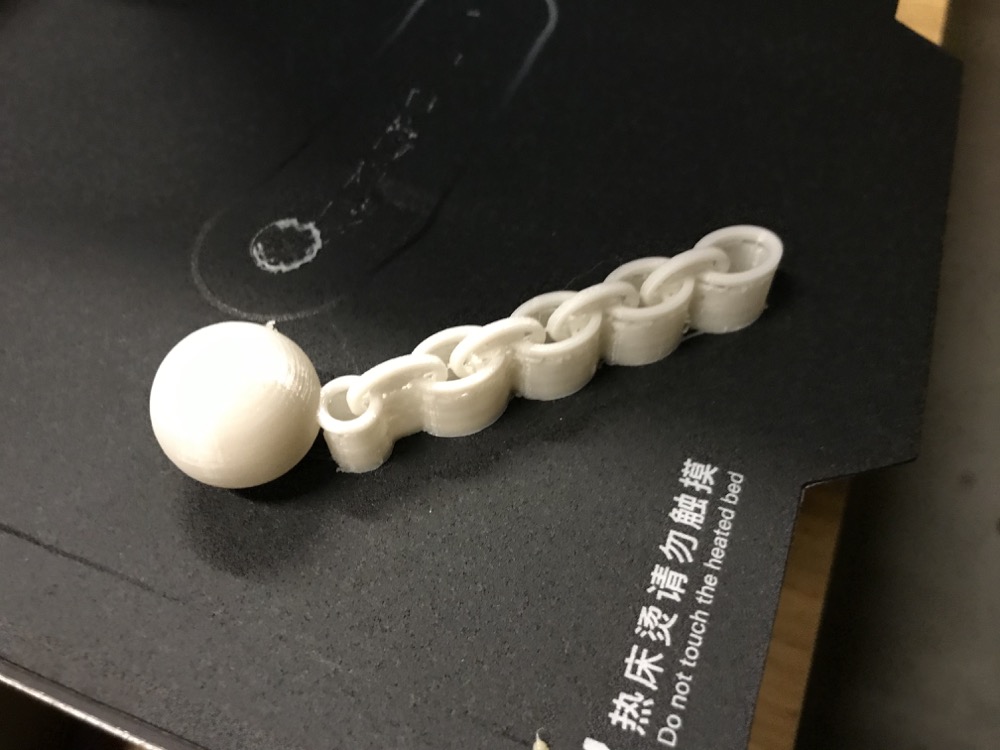
2.0 HeroShot of the week
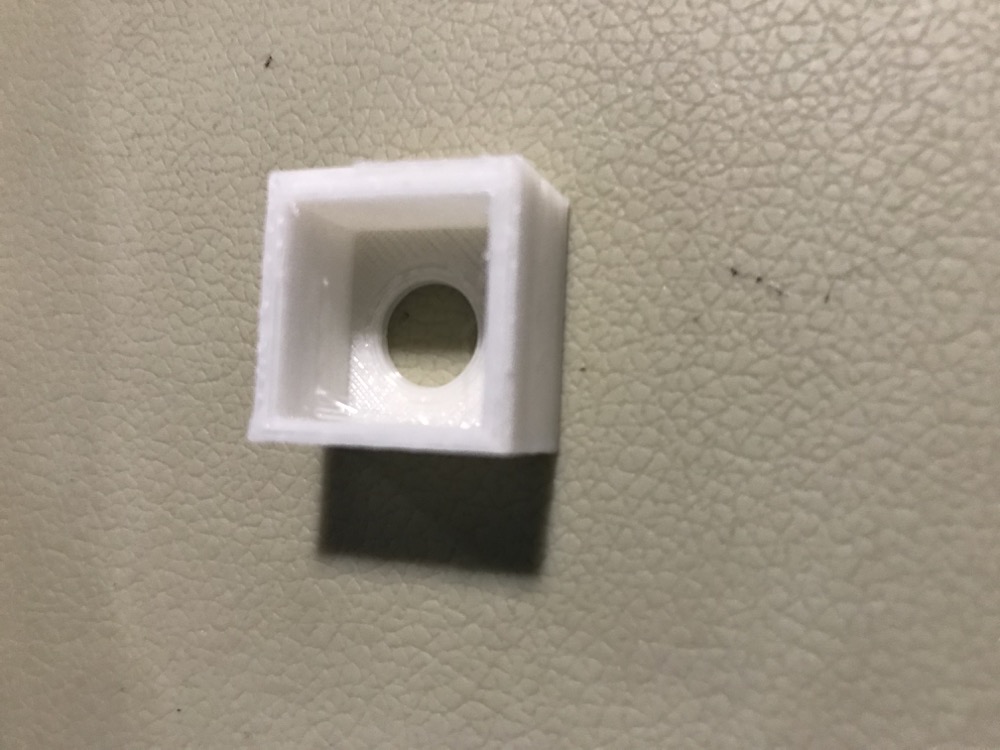
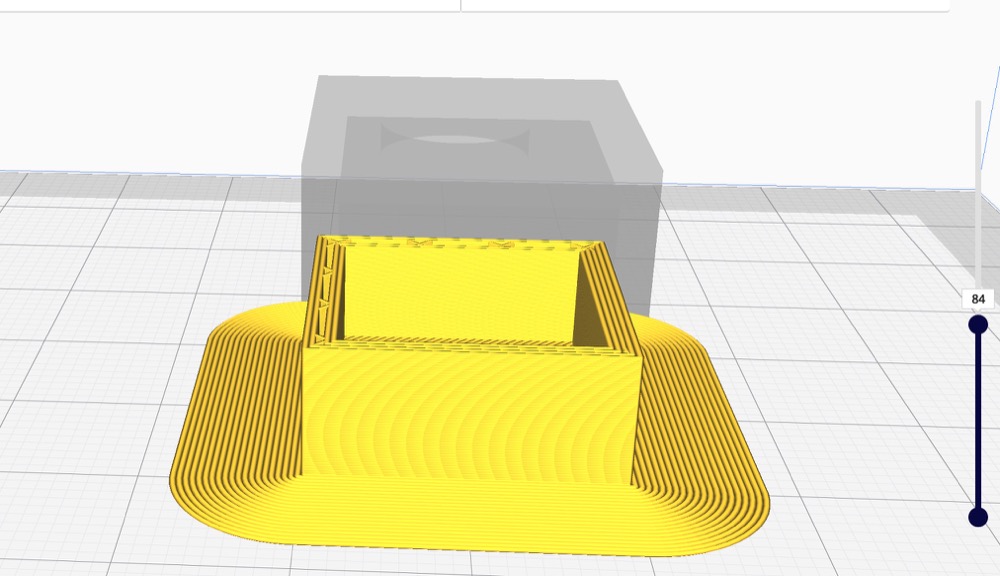
- This is my final container demo from 3D printing.
- Also another shot with previous failure as i didn’t put support, the printing not able to print the upper slid.
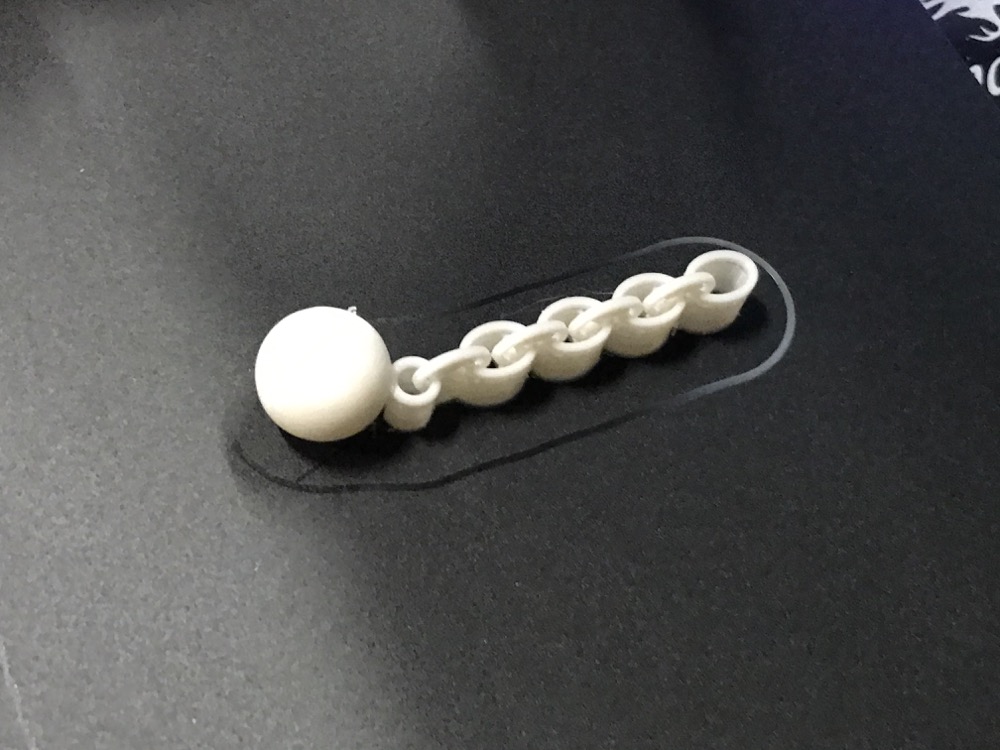
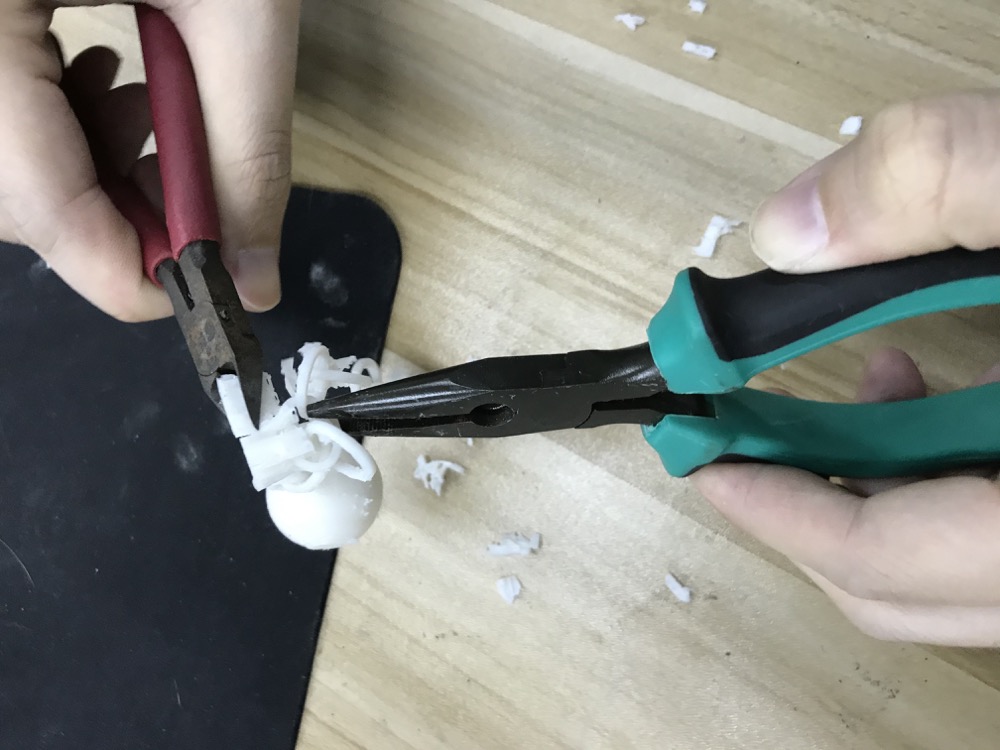
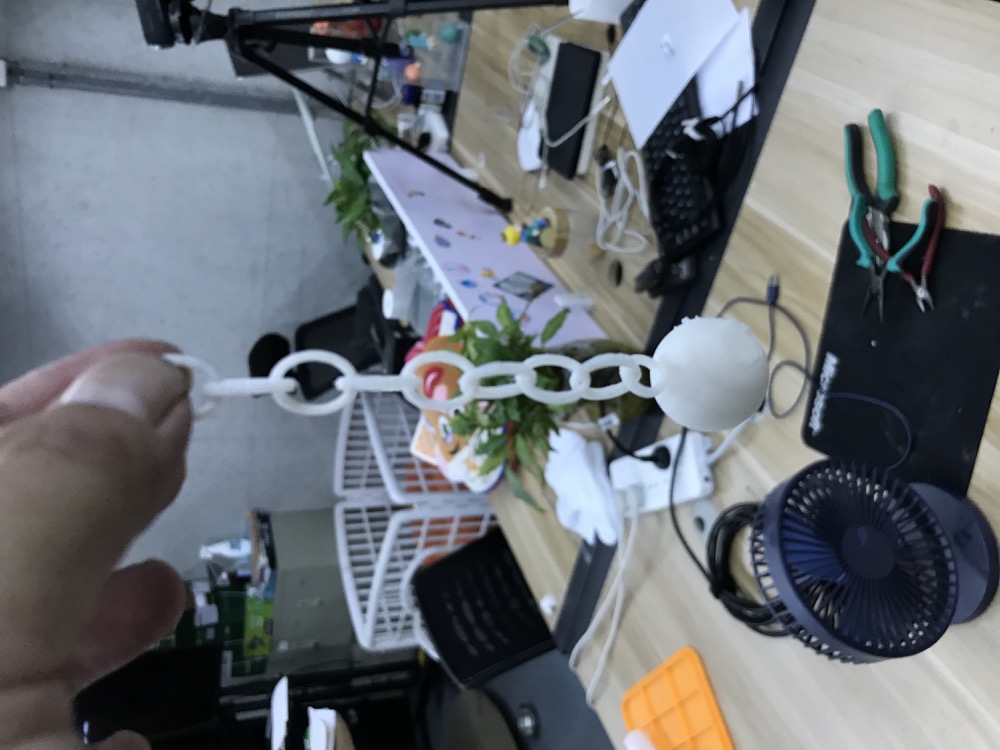
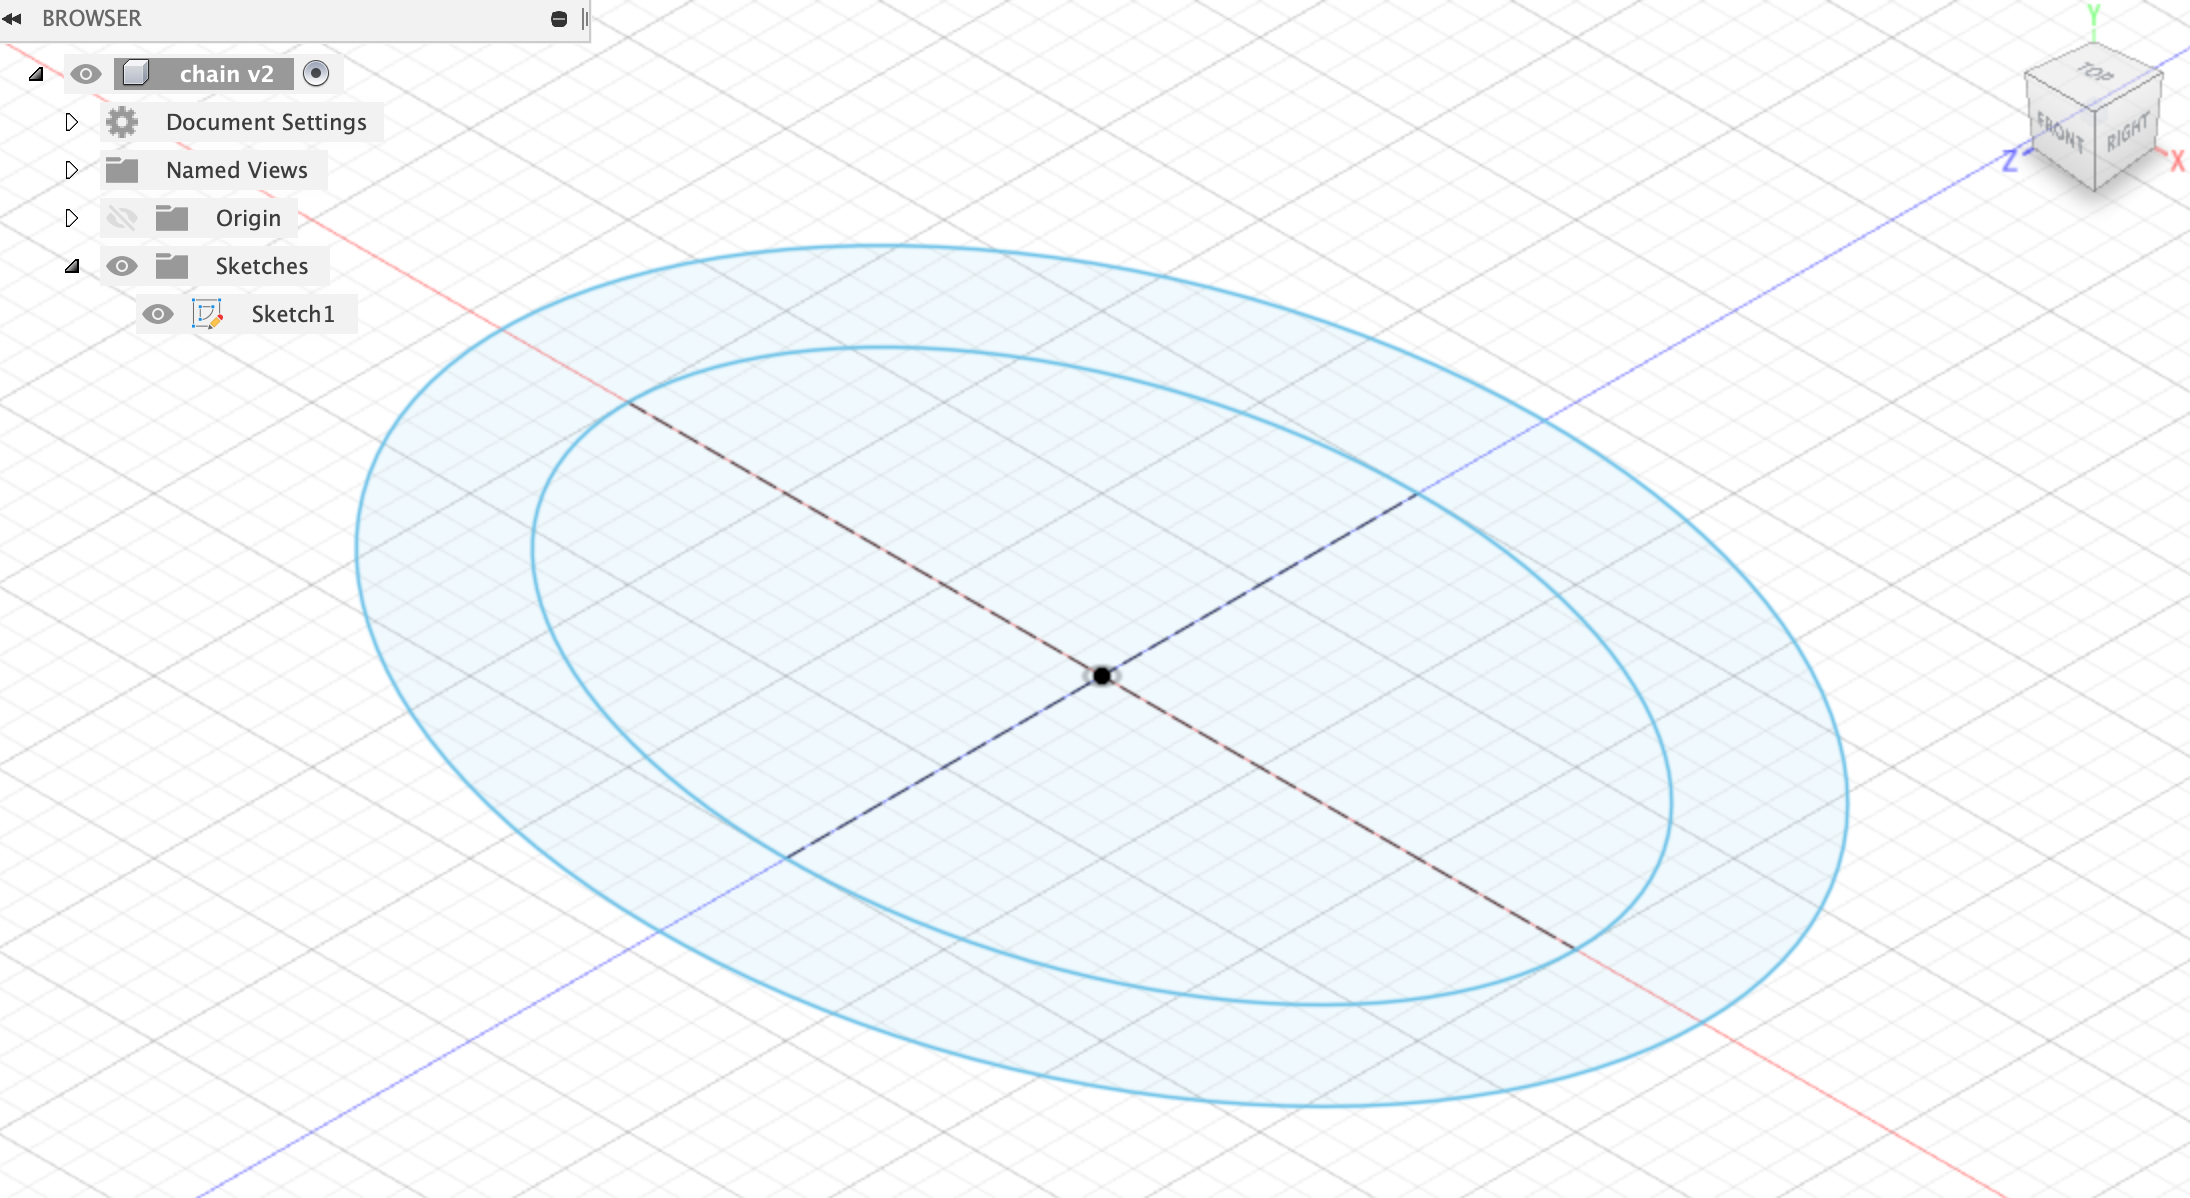
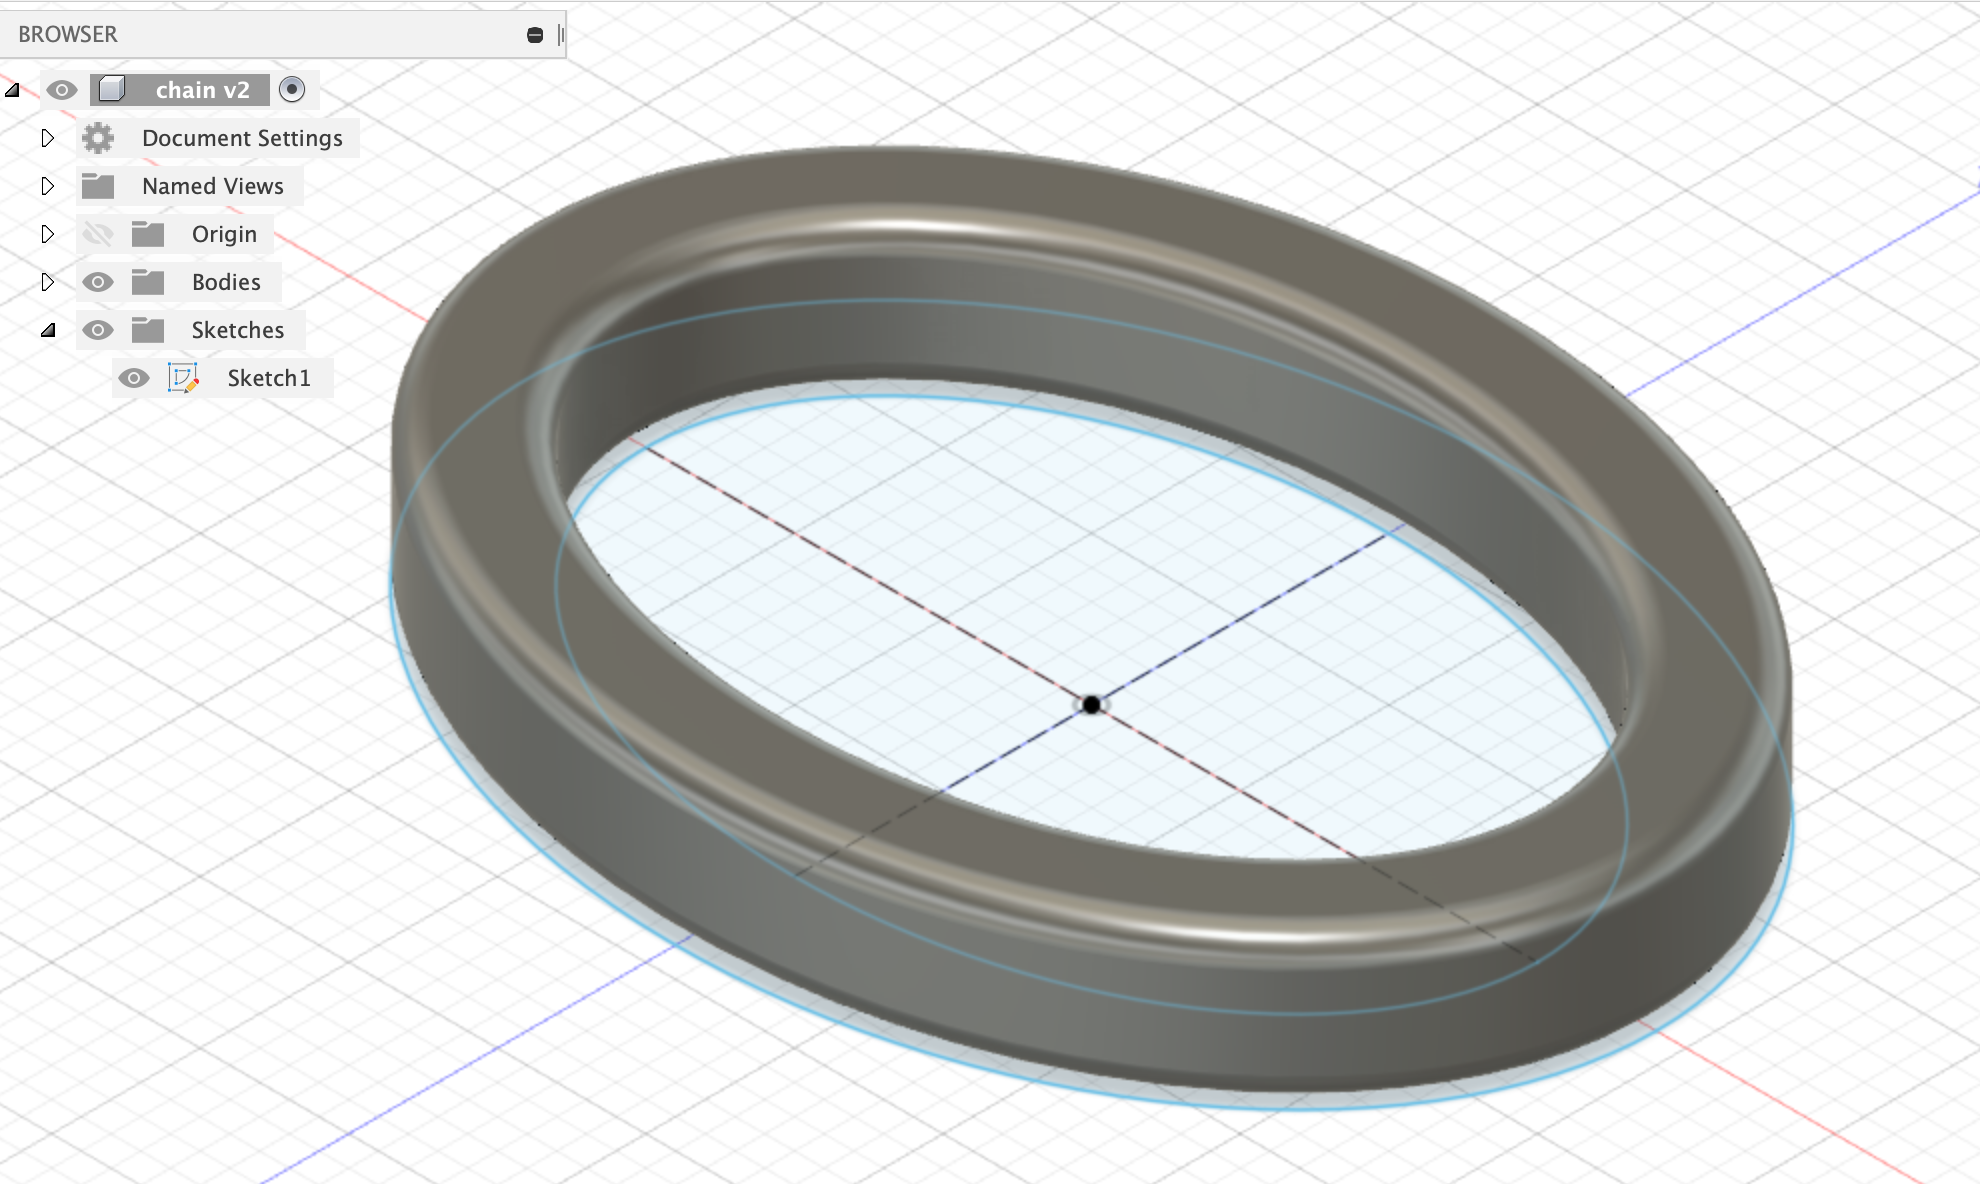
- A chain
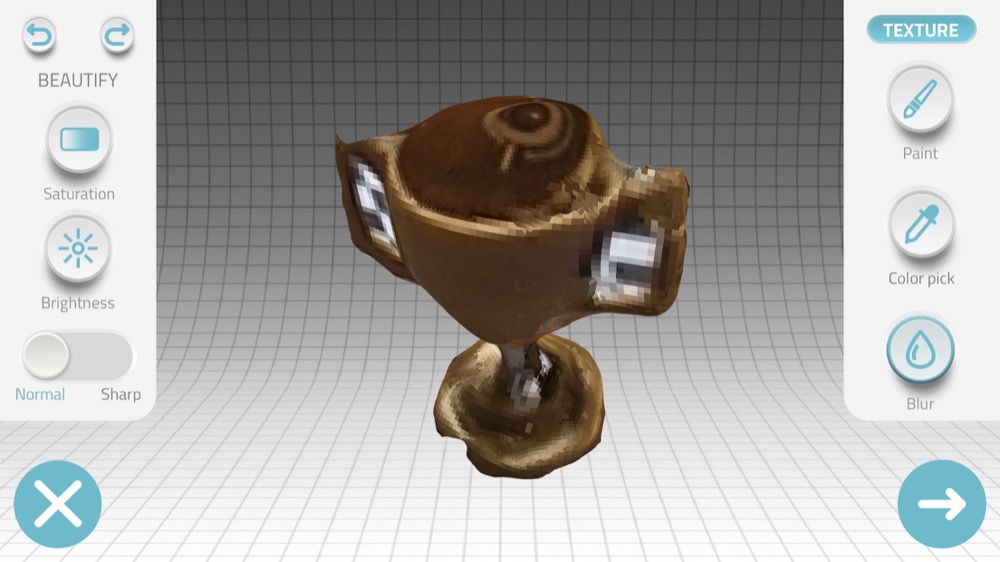
- 3D scan of a cup
2.1 Group Assignment
- Basic info of the equipments
Machine i was using was
Brand: CREALITY
Model: Ender-3S
Max printing dimension: 250mmx250mmx250mm
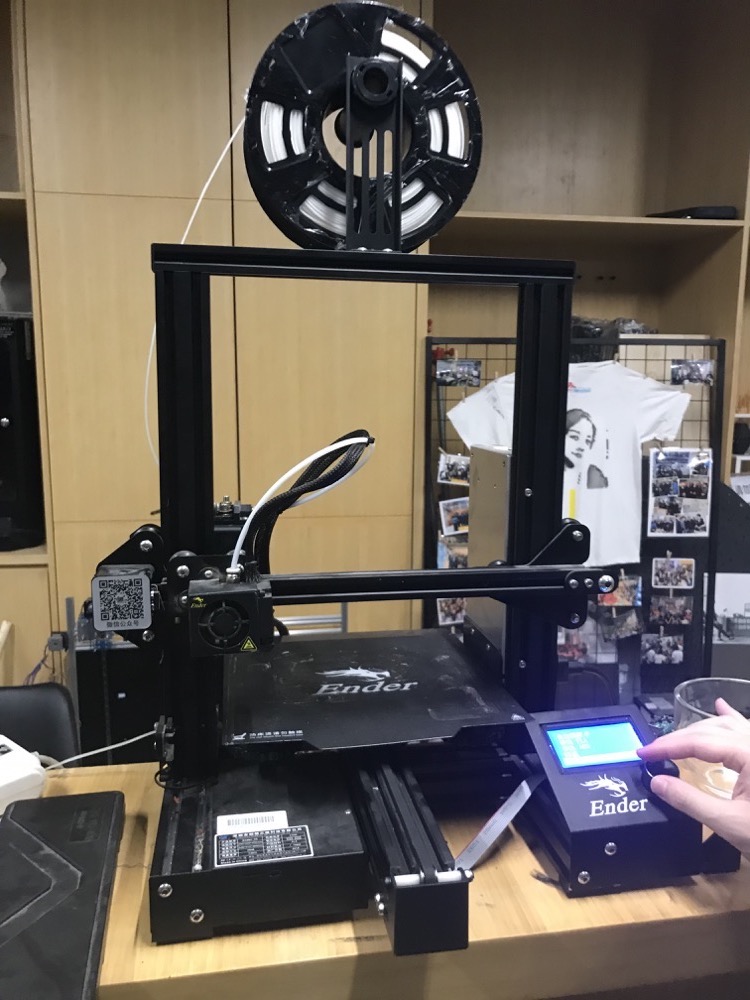
The material in the lab we have PLA
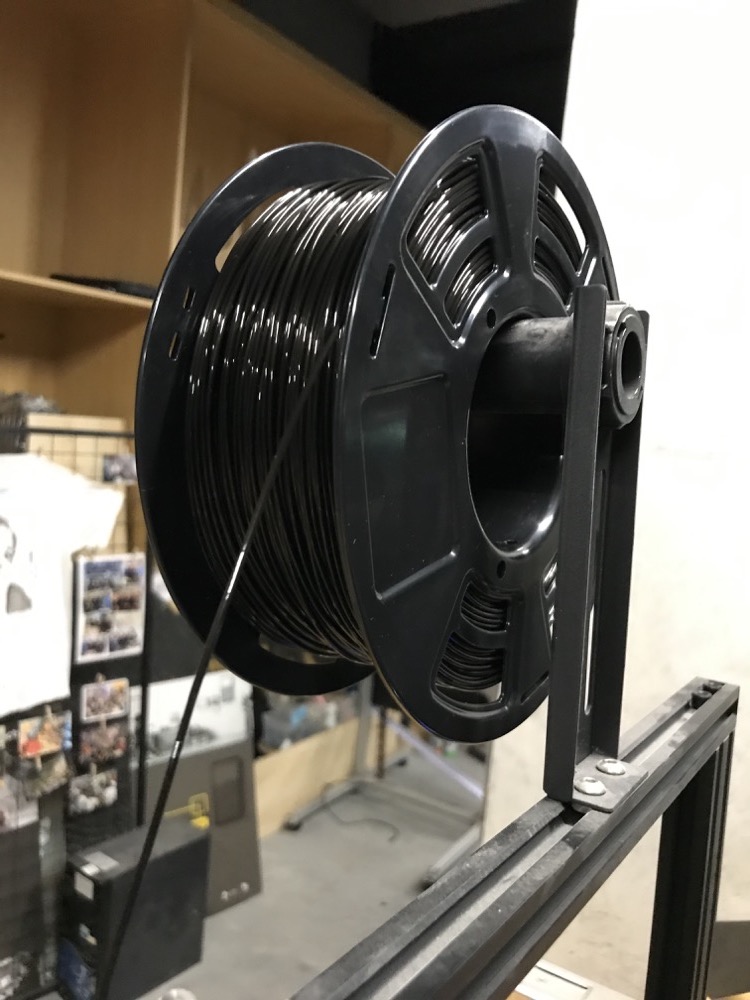
Wait until the drill is 200 degree and heated bed 50 degree and start printing.
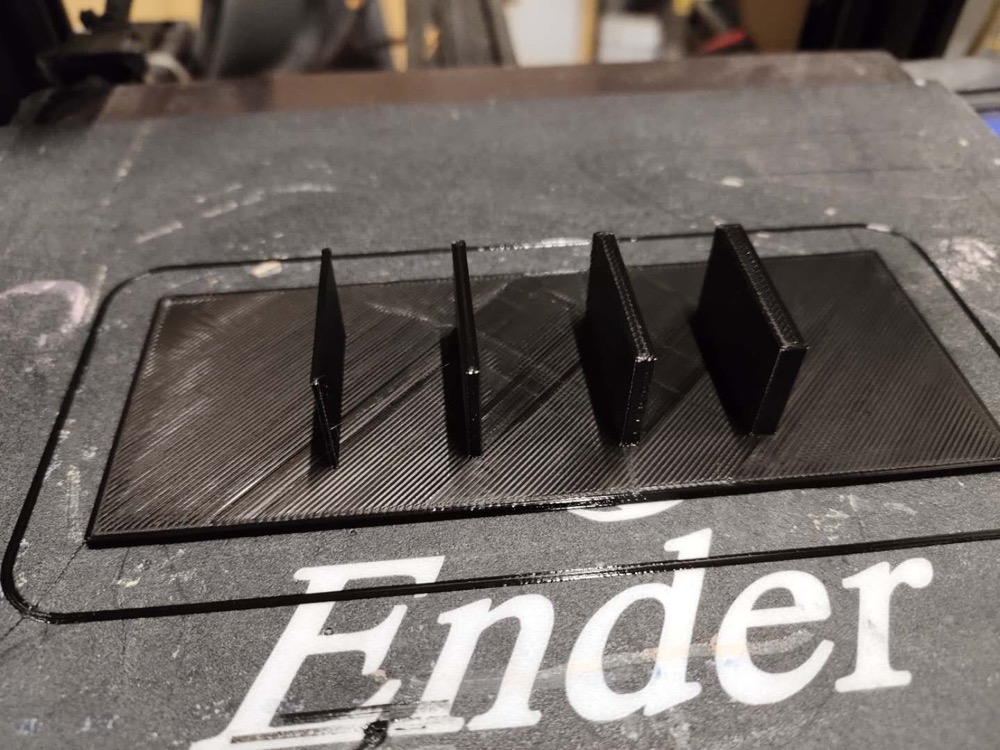
- Design Rules of the printer
Wall thickness|Clearances|angles|overhangs|bridging|support
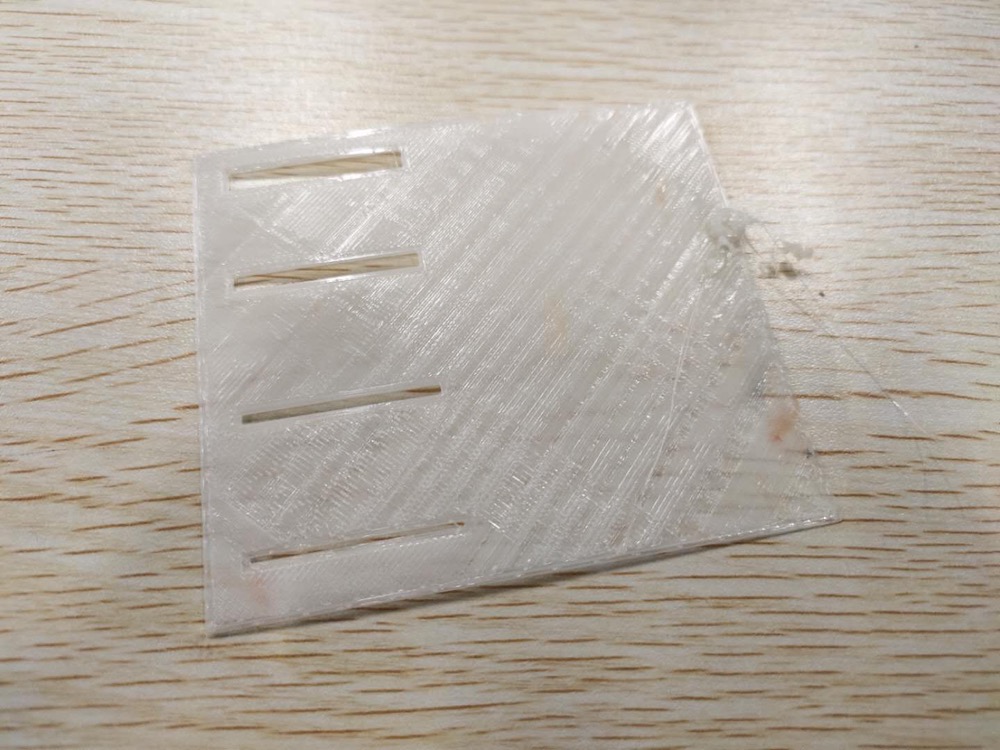
I used Fusion360 to make a board to test how thin a wall can be and how narrow a rip can be. Set the thicknesses and widths shown as below sketch.
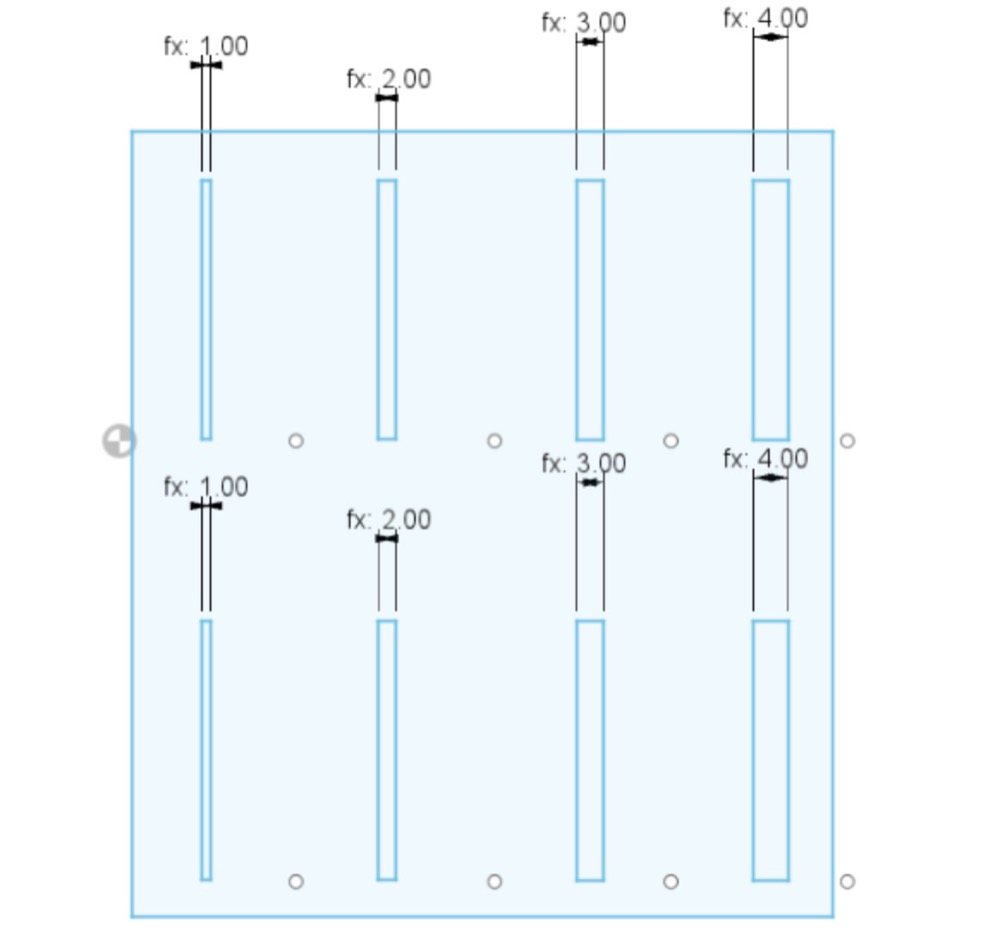
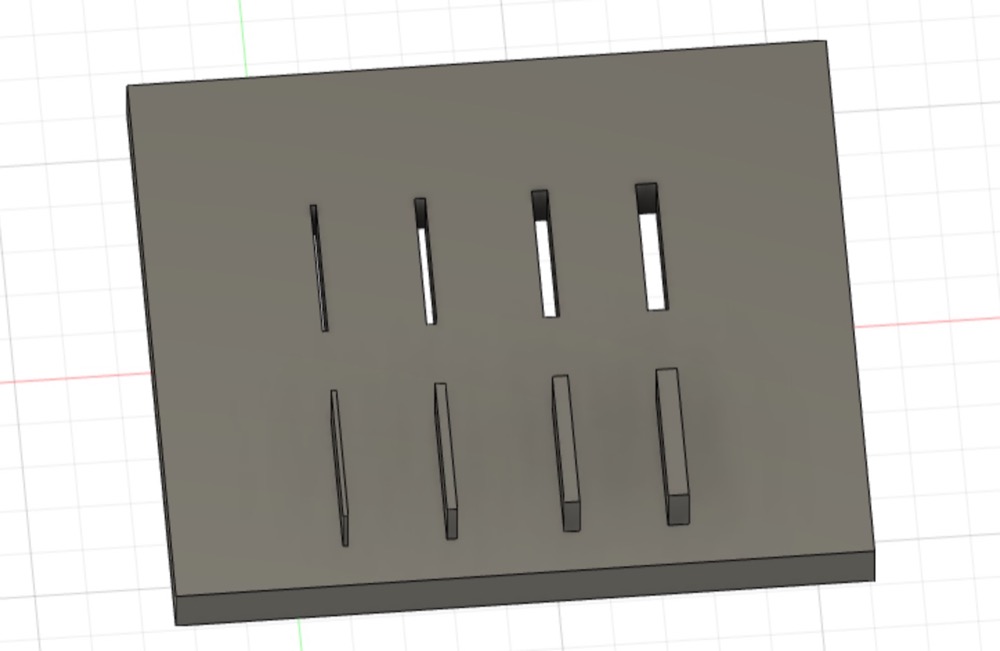
Turns out the machine that i’m going to use will be able to print at least 1mm.
2.2 Individual Assignment
- Printing
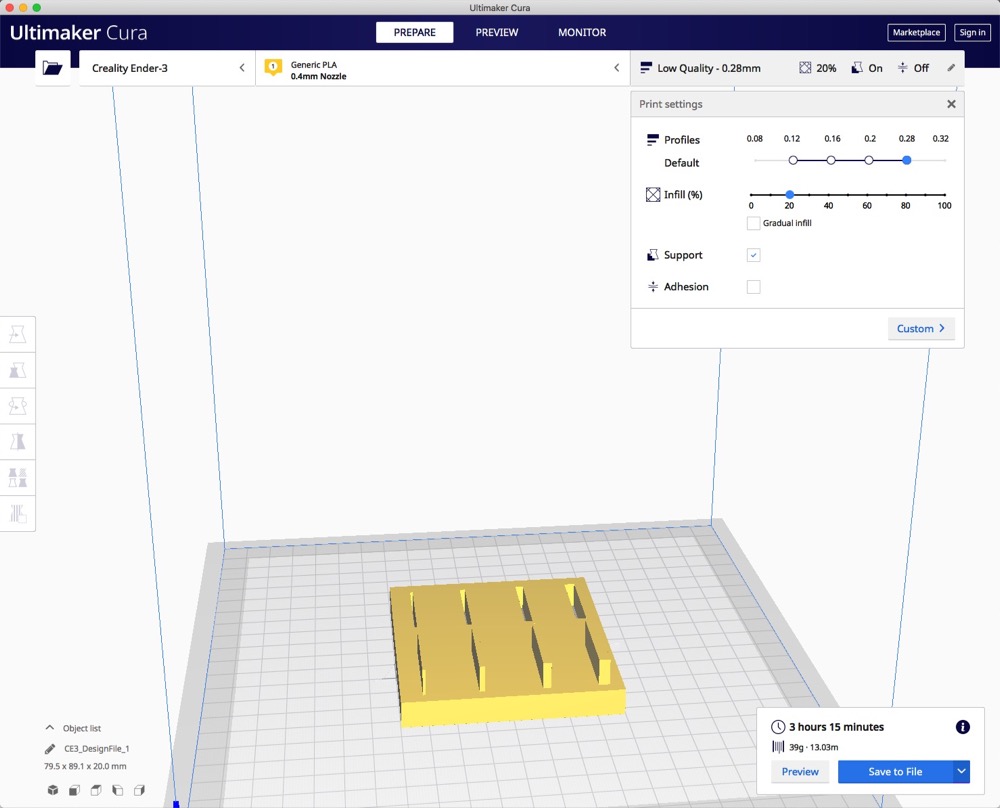
The printing software i’m going to use is Cura.
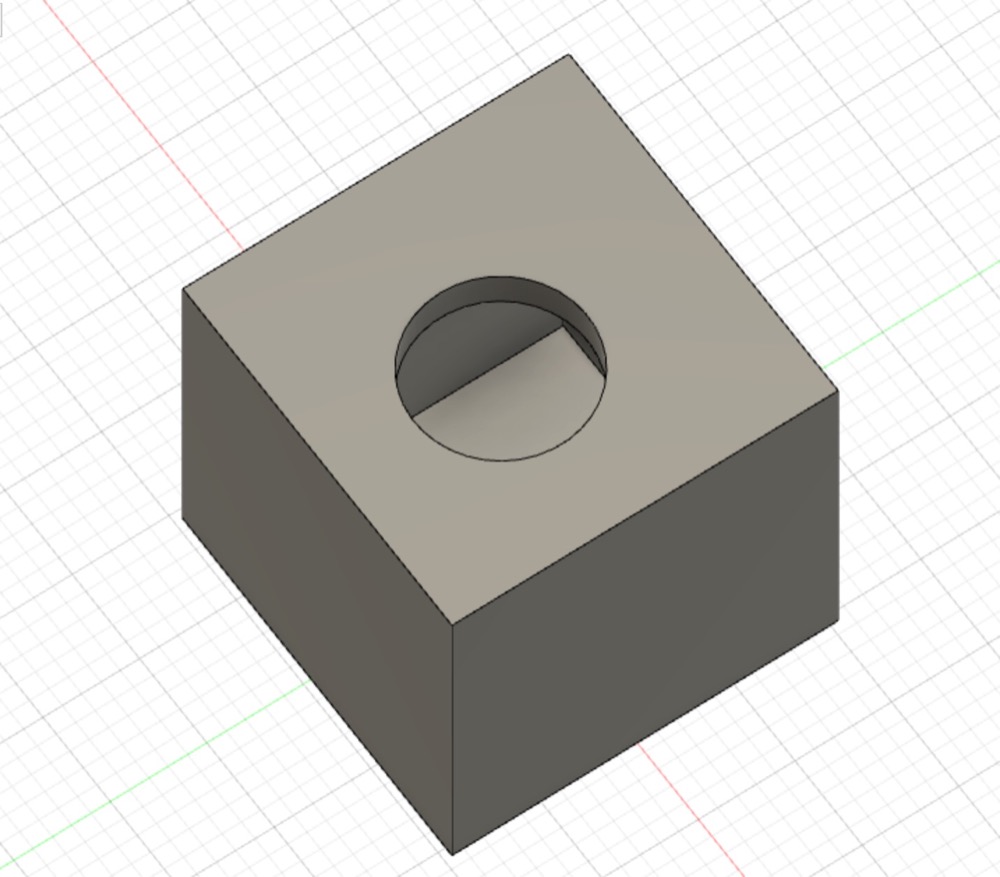
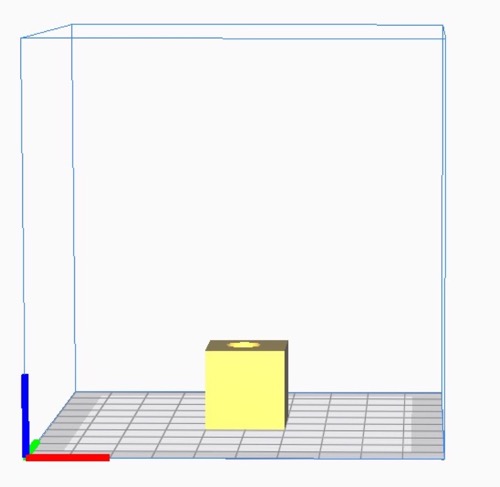
I use Fusion360 to make the 3D design - it is the demo box for my future dog feeding project container. The reason it can’t be made subtractively because the inner_box is an empty area with covers outside (Which you can’t subtract materials from outside)
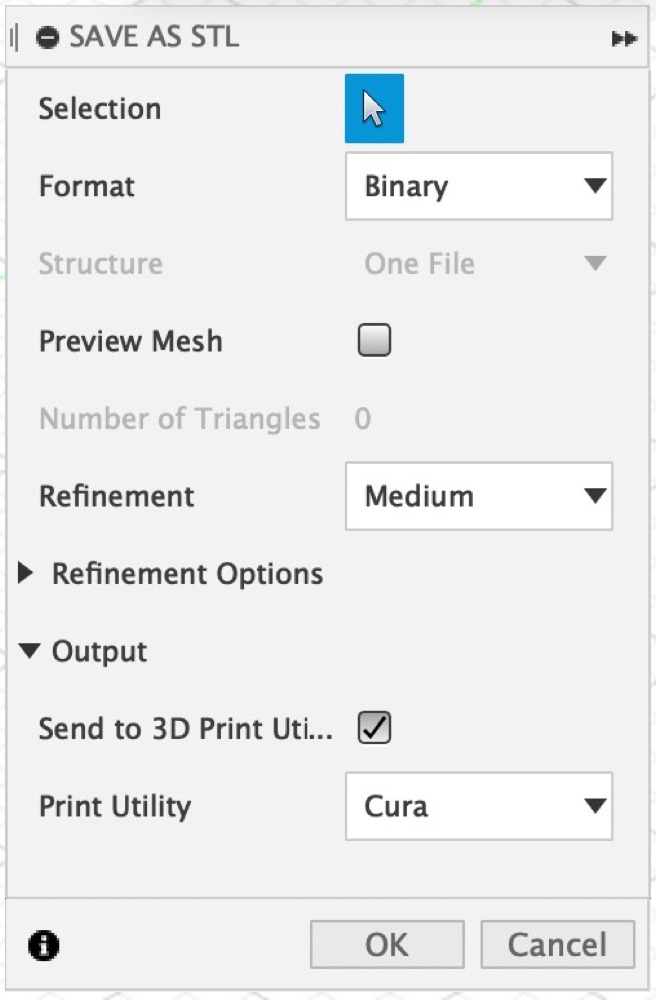
Right click the project and select “save as STL” and there came the pop up window shown as below. Checked the output to 3D printing utility and select “Cura”, which i will be using.
And it went to Cura like this
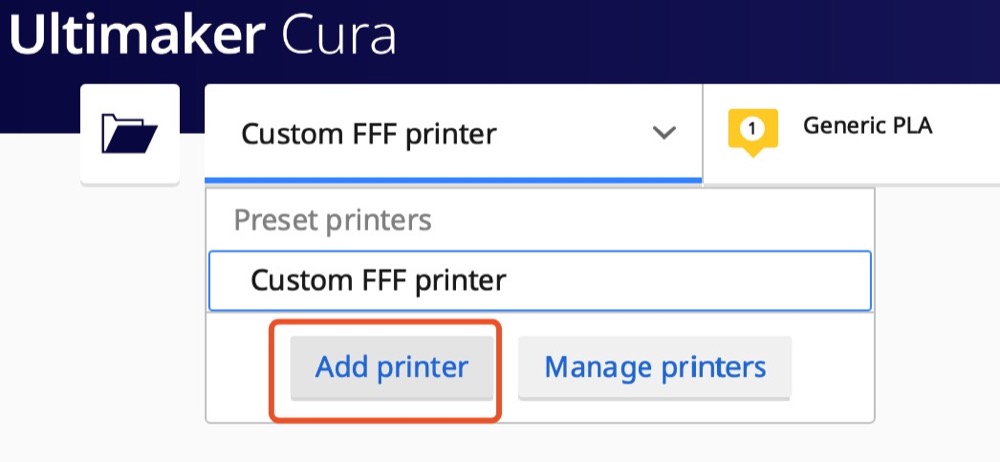
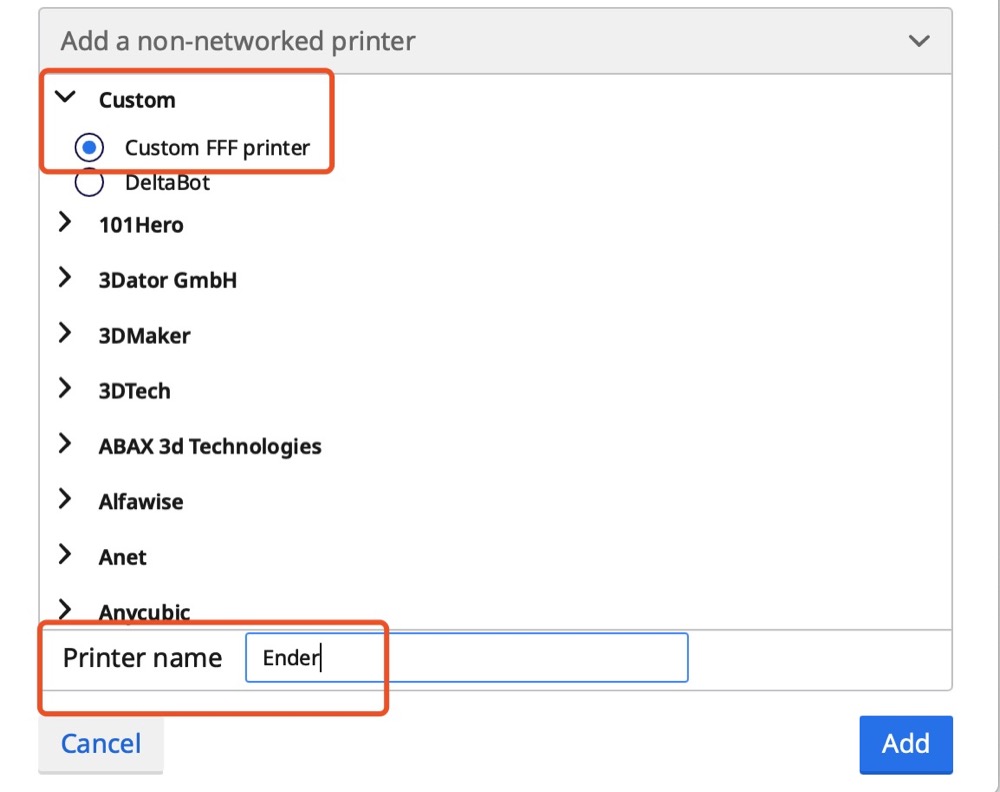
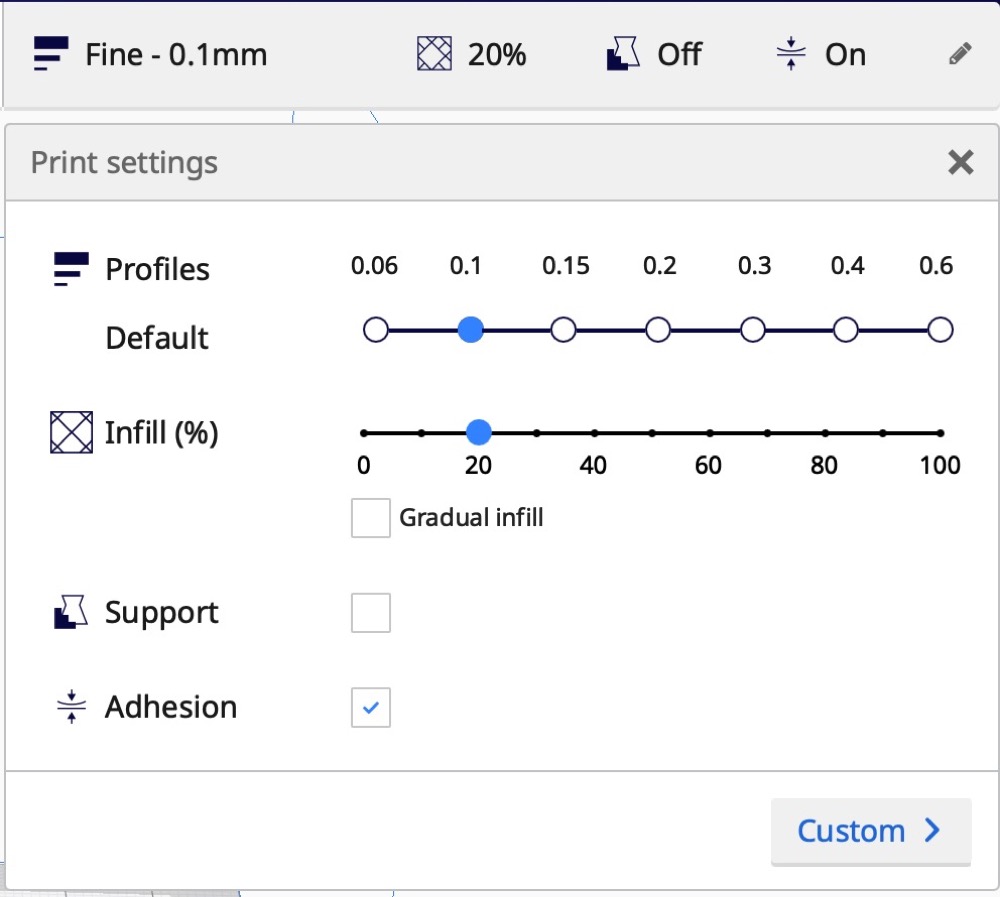
Next thing i do is to add my printer and set up the sizes of it. There’s a great beginner tutorial i found on Youtube that taught me basic setting on using Cura.
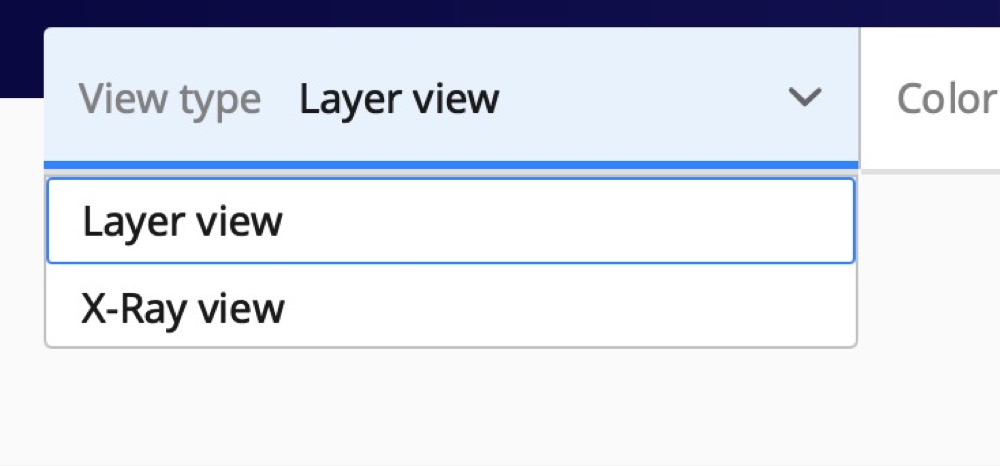
Then i saved the file to Gcode and carried it to the printer.

- Scanning
The software i use for scanning is an mobile app on my iphone, called “Qlone”
- Download Qlone from appstore
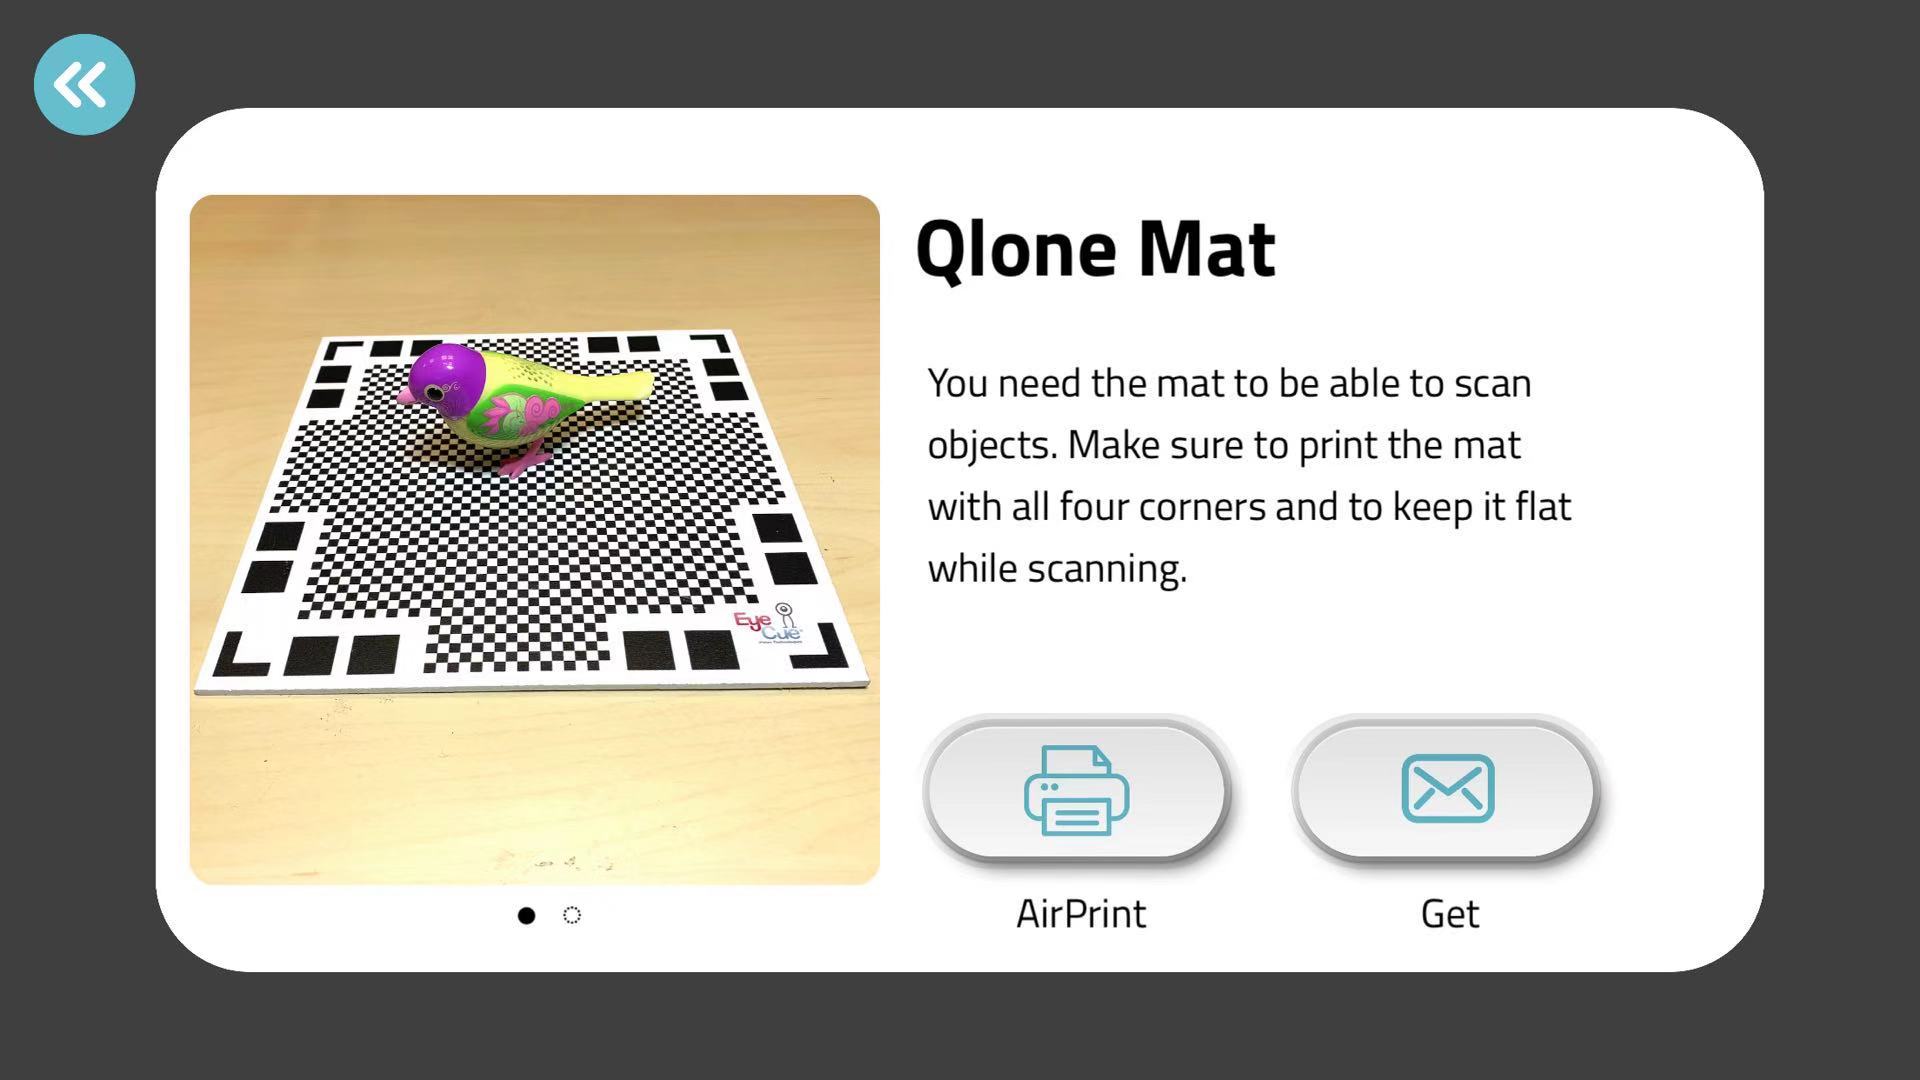
- Print the mat provided by Qlone, the mat is required to be put under the object which will be scanned.
- I’m going to scan this little cup
I need to scan around 360 degree circles around the mat, go up and down to cover all the angles from the half ball.
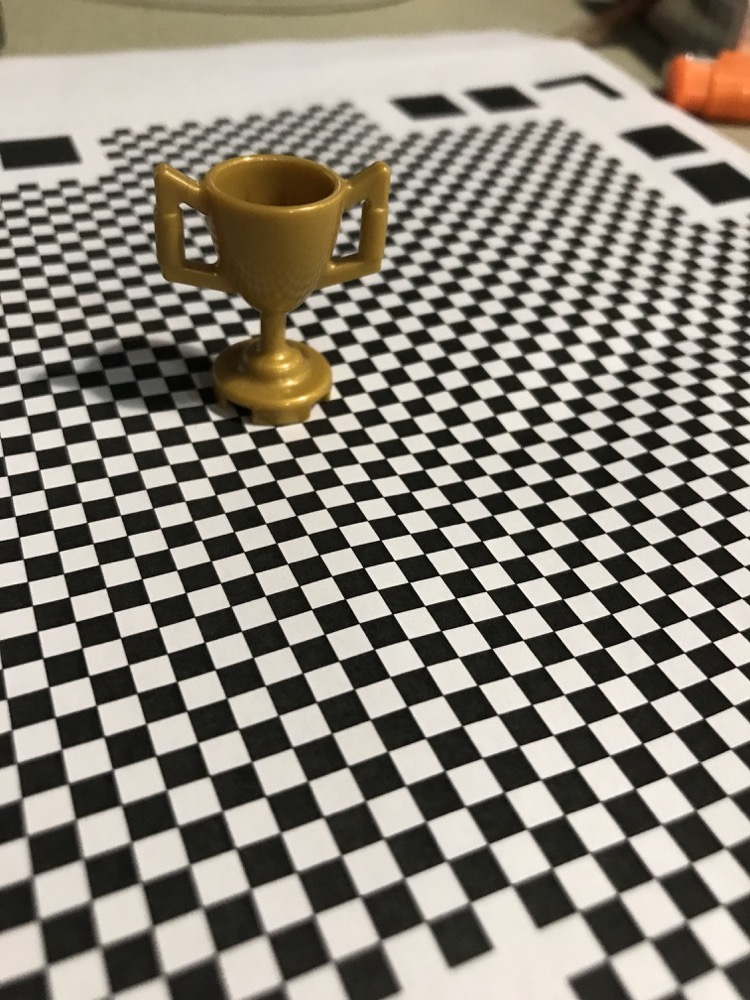
The final image looks like this.
2.3 [UPDATE: 1130] - 3D printing
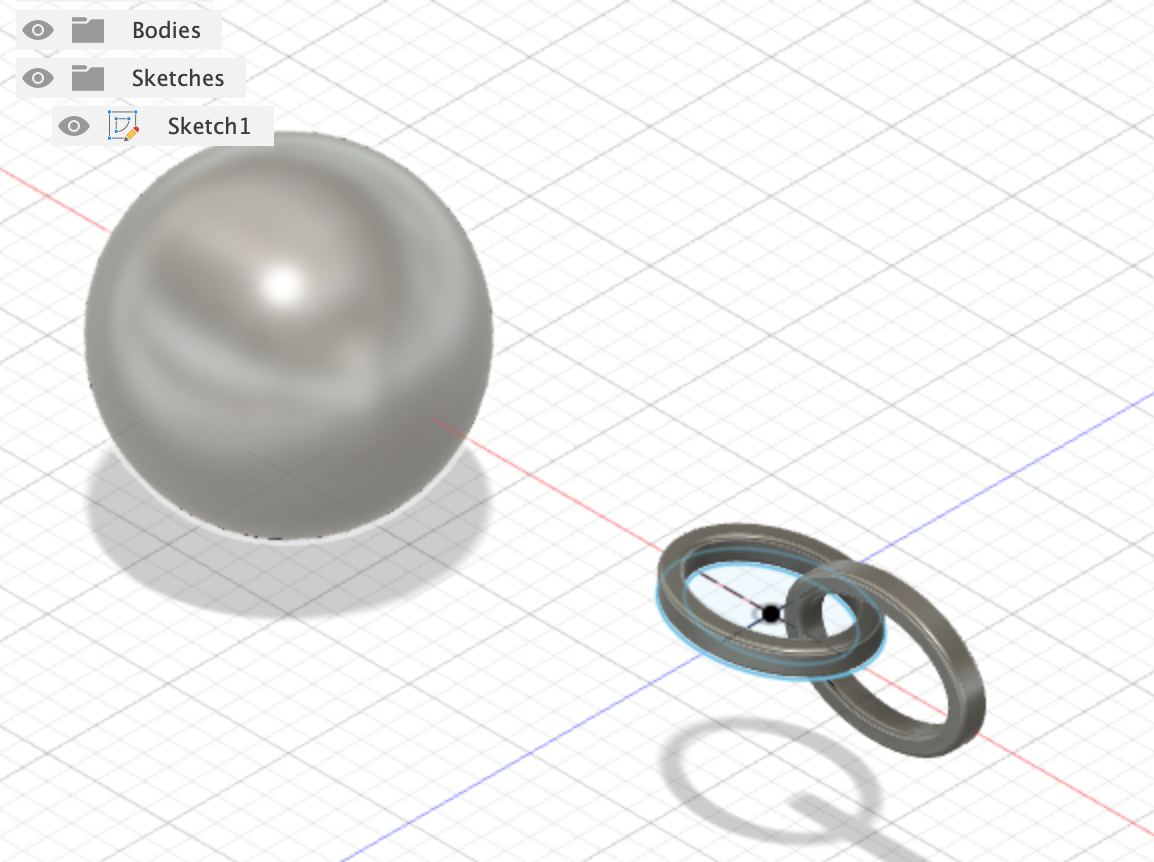
- Redesigned a chain to test more function of 3D printing.
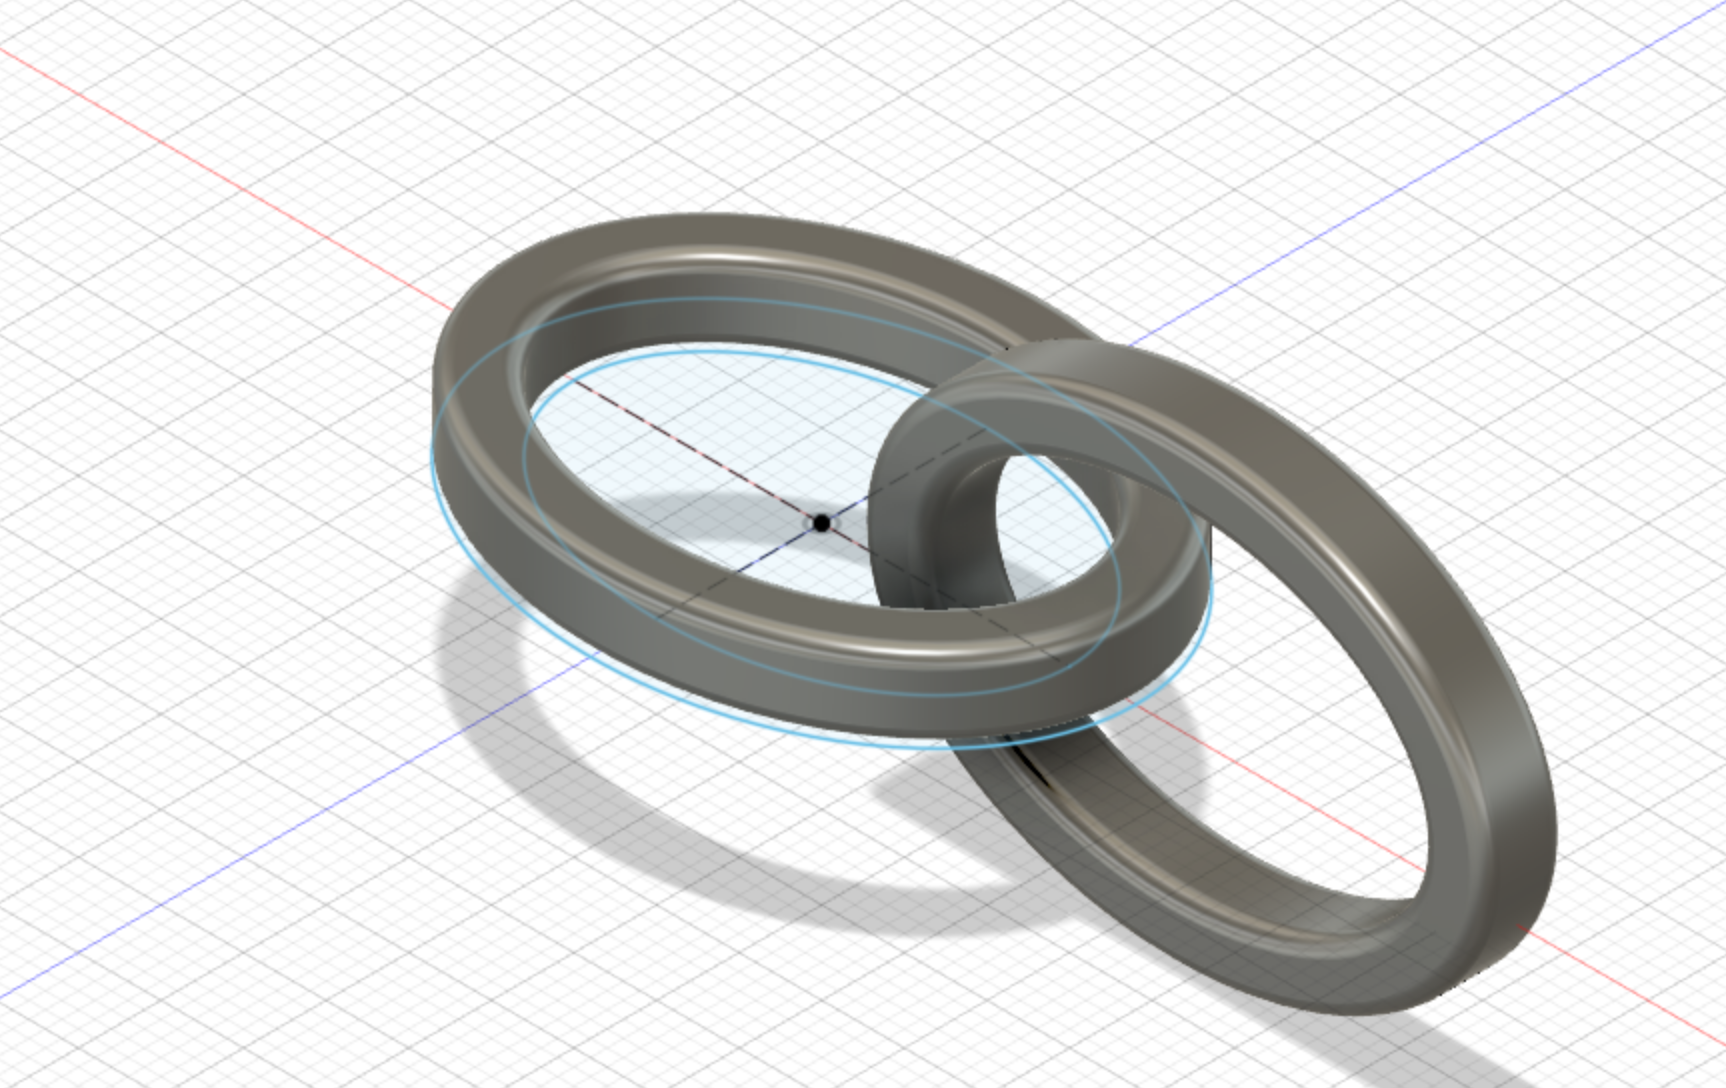
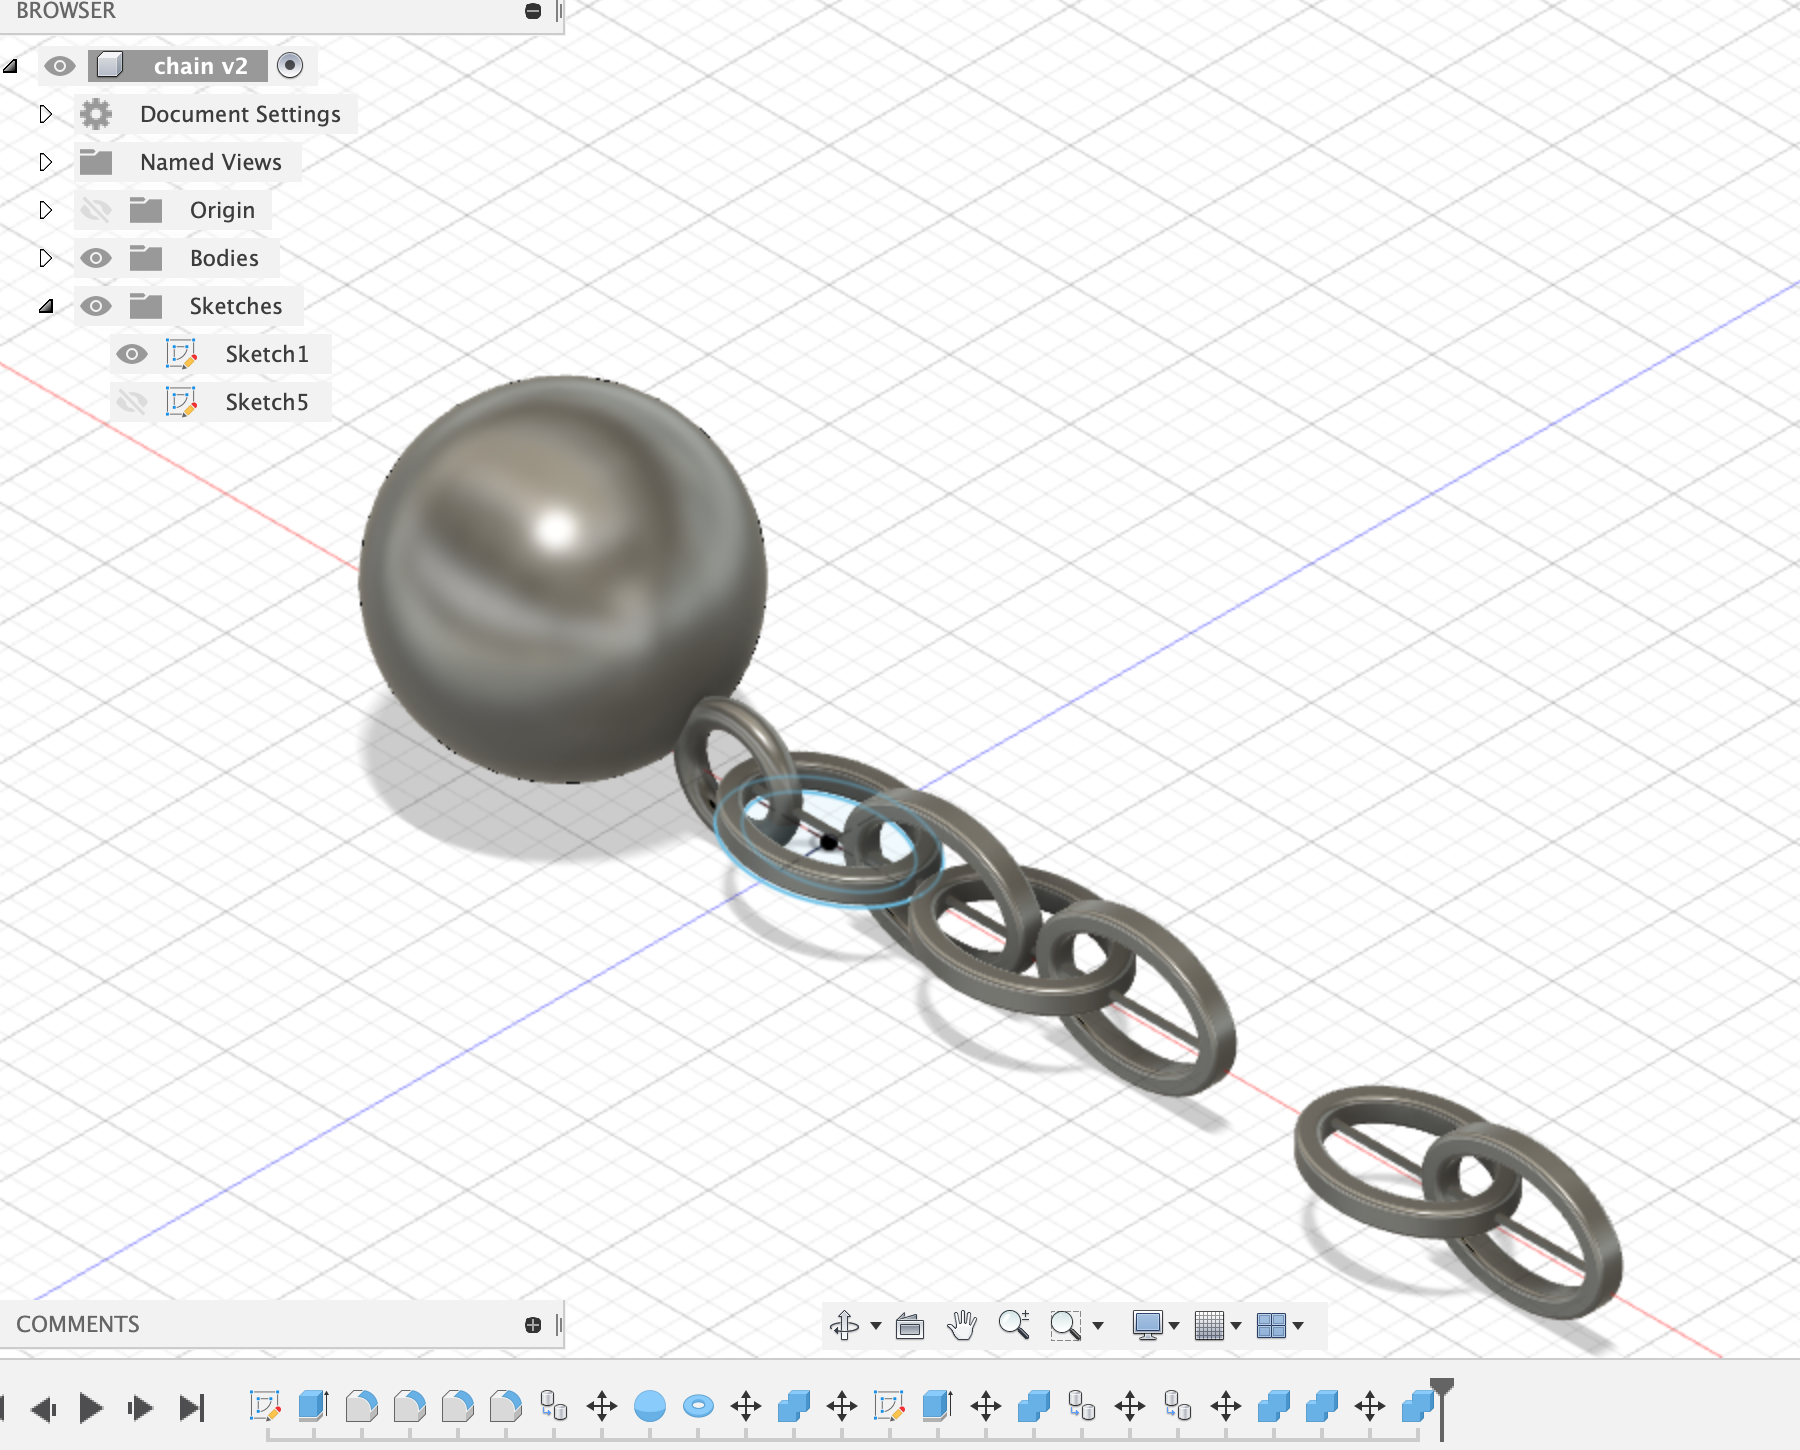
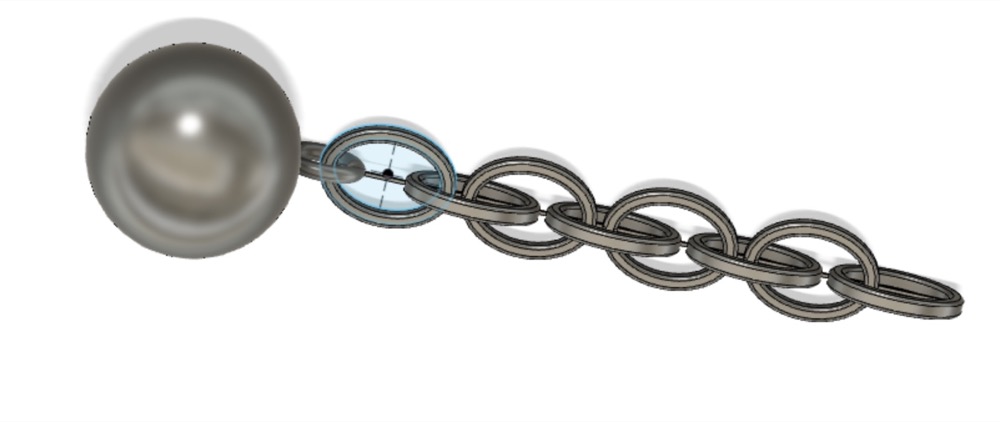
Follow the same procedure above and you can see my heroshot on below.