5. 3D Scanning and Printing
I tried printing the additive models by 3D printer: AFINIA H400+, PRUSA. And then I scanned some things by some scanning tools: Qlone, SENSE.
https://gitlab.fabcloud.org/pub/projects/blob/master/files/fab.lbr
Assignments
group assignment:
- Test the design rules for your 3D printer(s)
- Document your work and explain what are the limits of your printer(s) (in a group or individually)
individual assignment:
- Design and 3D print an object (small, few cm3, limited by printer time) that could not be made subtractively.
- 3D scan an object (and optionally print it).
X. Group Assignment
Link to group session page.
X. Individual Assignment
1. 3D printing 
Materials
- Filament: ABS, PLA
- 3D model
Tools
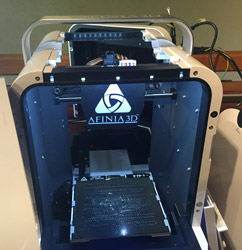
- 3D printer: AFINIA H400+, Prusa i3 mk3
- 3D modeling tool: Fusion 360
Workflow
Design a model
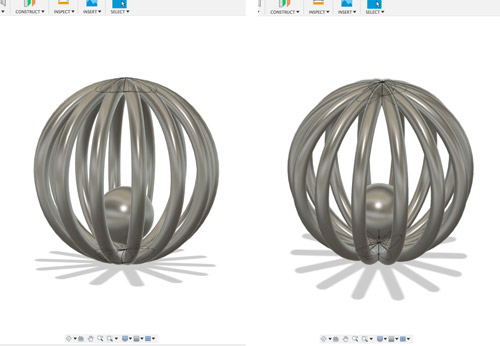
I designed Ring object including ball using Fusion 360.
It can be create by an additive manufacturing process.
No support is needed. The inside ball was supported by making the pillar between a ball and outside poles.
(Refer to tip in below)
Failure
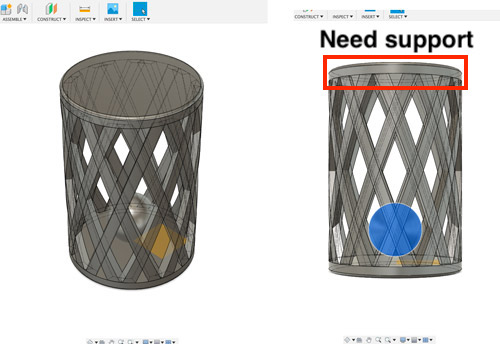
Need support or not?
You need to consider removing the support on your object. Actually I first tried making the object like below image. But support is needed for this design because there are vertical parts with bottom surface.
I have to remove the support from the inside of the object. But the object was too small and the object was broken during removing the support…
So I changed the model’s shape. It doesn’t need support.
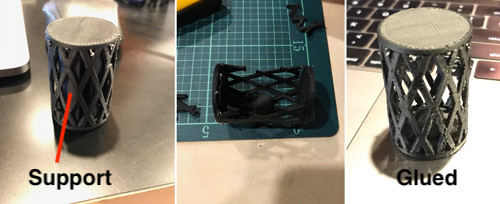
Tip
How to make a ball without support
You can avoid adding the support to the all parts of your object by designing the support at the only part where you need the support by myself.
Kae Nagano who is our instructor advised me to design the support at your design by yourself and print without support, and I did it and could make it!!(Thank you!)
Read .STL file to 3D printer
Send .STL file of your model to 3D printer.
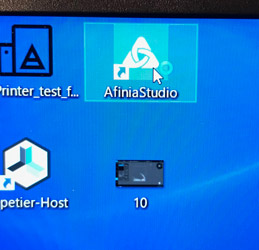
Open AFINIA Studio.
Click BUILD and then add to read your model in the 3D printer.

① BUILD
② Print Settings
③ Initialize
④ Calibration
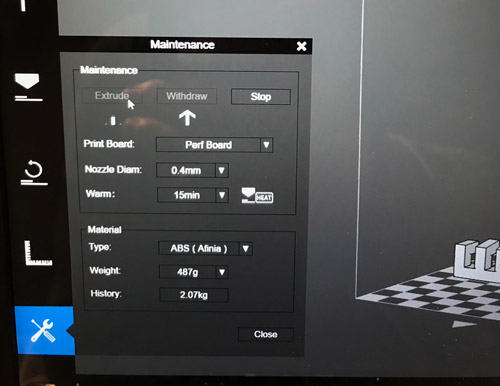
⑤ Maintenance
Tip
I really recommend that you do pre-heating of the platform by clicking Maintenance -> Icon next to Warm. It takes about 30 - 40 minutes to do Pre-heating.
Adjust your model
You can adjust your model at the top of the right icon.

① Rotation
To decide from which direction the model was printed.
② Move
To decide where your model was printed on the bed (platform).
③ Size
⑤ Auto place
To set the model to the base platform (auto-adjust z position).
Initialize
Initialization is required for every time the
machine is switched on by by clicking Initialize.
Adjust extruding the filament
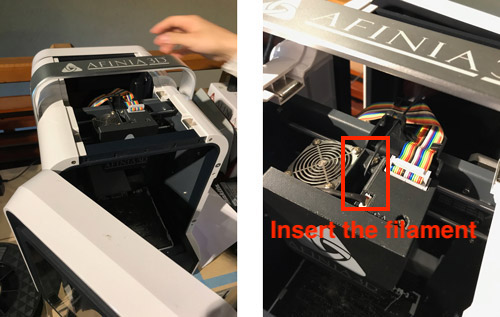
Set the filament to 3D printer.
To check extruding the filament properly, pre-extrude is done by clicking Maintenance -> Extrude button. The temperature of a nozzle increases and at about 270 ℃, the fused filament was extruded from the nozzle.
If you’d like to take away the filament from the 3D printer, click Maintenance -> Withdraw.
Pre-Heading
Pre-heating is performed to adhere the printing materials to the platform well.
The best temperature of the platform is 90℃, but I printed at 60℃ to save the time.
Failure
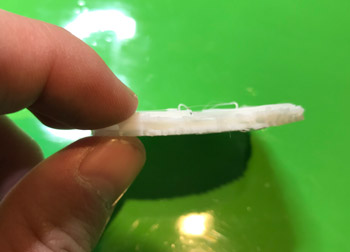
Warping of the object
I started printing at 50℃ first, but the printing material was peeled off from the platform during printing the object. It may be too low temperature of the platform because the bottom surface of the object were warped a little bit.
And It may be due to also the feature of ABS material. Rico (Phanuwit Rico Kanthatham) who is the instructor in Kamakura told me the heat shrink feature of ABS. “ABS is easy to warp during printing because the fused ABS is shrunk very much as it gets cold.”. (Thank you!)
Here is the tips page1 page2 to address the warping.
Calibration
Calibration is adjusting the distance between the nozzle and the platform. You can check that distance by insert the check sheet between the nozzle and the platform.
The values were already set up so I didn’t adjust anything on Calibration.
Print Settings
You can set up the factors that affect to the property of your object by clicking Print Settings.
- Layer Thickness: The thickness of one layer. The bending part is smoother with the smaller thickness. But the bigger thickness takes a lot of time to finish printing.
- Infill: It decides the density of the object. The higher density takes time but the object becomes more strength.
- No Raft: It decides whether the raft is needed on printing. Raft is like a substrate that are printed between the object and platform for the stable adhesion.
- No Support: It decides whether the support is needed on printing. When your model has the sharp angle surface from the platform, you might need support.
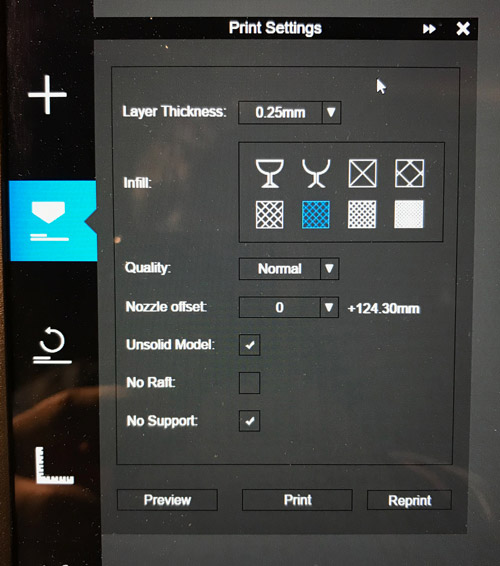
In the case of me, Layer thickness is 0.25 mm, Infill is 60 %, Raft, Support.
Failure
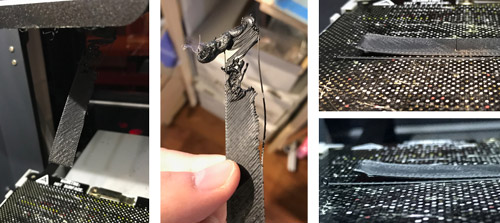
No Raft
First, I tried printing on 3D printer with no raft. But the surface of my object is warped at the first moment.
With Kai Naito who is the instructor, I adjusted the calibration value of the left-middle point because the only left side were peeled off every time. But nothing changes.
Next I made a raft before printing my object directly. So the object didn’t be peeled off and could finish printing completely. Inserting a raft, the object may be easily adhered to the platform.
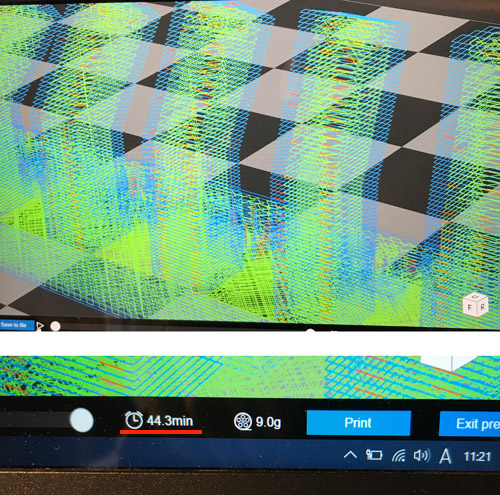
After setting up the all factor, I really recommend to perform Preview because you can check the printing time of your object and how order your object print.
I finally print my object!!
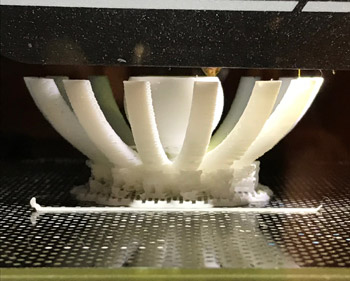
Beautiful shape even during printing~
And…Finished!!
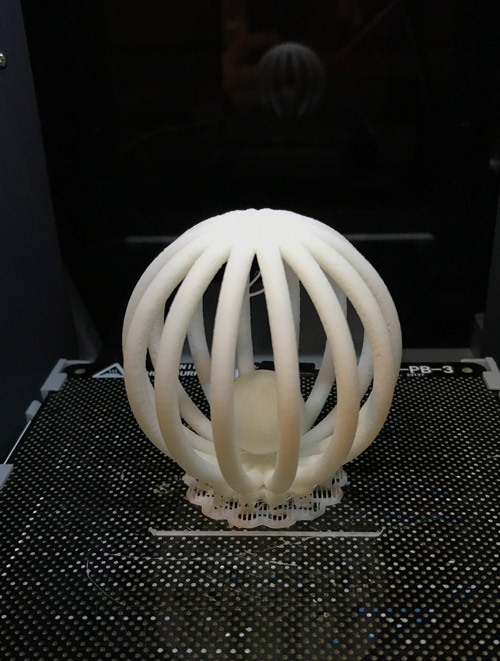
Take off the inside ball.
2. 3D scanning 
Qlone
Qlone is the smartphone application that can scan the object and show it in 3D. You can scan the object only using smartphone and Qlone Mat which can be downloaded.
Materials
- Qlone Mat (Download from here and print it as a paper)
- Object you’d like to scan
Tools
- App.: Qlone
- Smartphone (I used iPhone 7)
Practice
Very simple to use this app.!
I scanned the key holder which has the character’s shape.
①Put your object on Qlone Mat.
②Clicking scan button on the right top so you’ll see the blue meshed dorm surrounding to your object in your screen.
③Scan the meshed positions in order until they disappear.

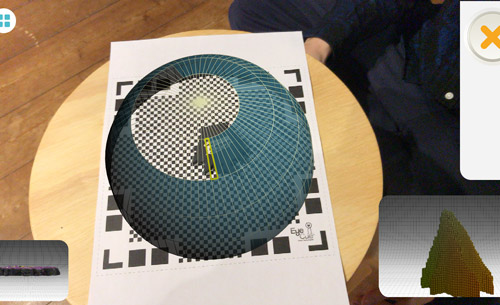
*If you’d like to scan the backside of your object, you can start scanning continuously by click the button.
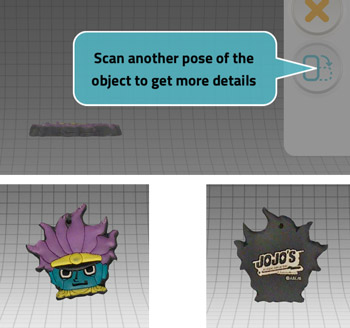
Finish!!
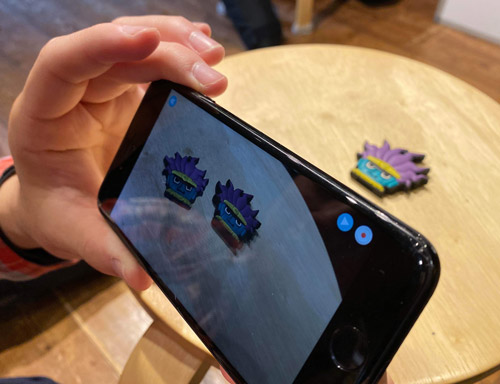
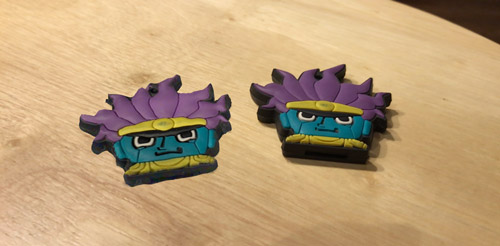
Which is the real object?
Good!! Very easy and fast scanning!!
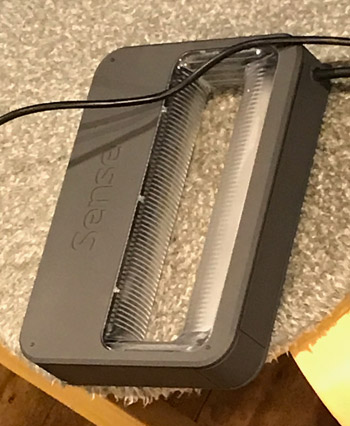
SENCE
SENCE is the 3D scanning hardware developed by 3D System.
Materials
- Object
Tools
- SENCE
- Application that comes with SENCE hardware
- PC
Practice
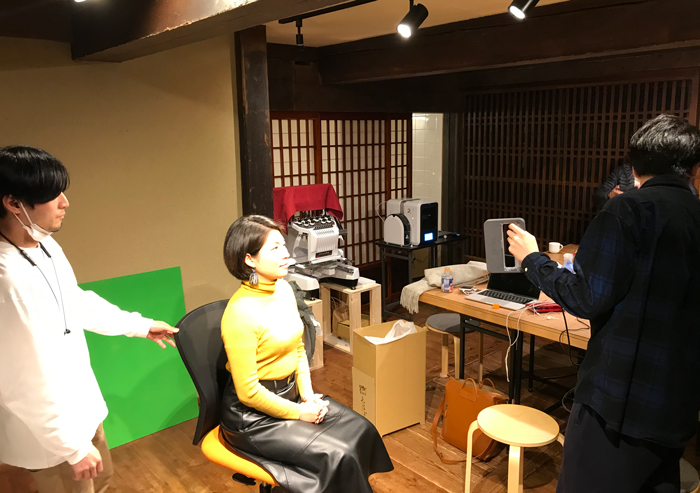
We tried scanning a human. You can select the face scan or body scan, so I chose teh face scan.
Connect SENCE hardware to the PC and open the SENCE app.
And scan a human’s face for 360°.
In the movie, the position of the SENCE hardware were fixed and the scanned person sit the chair that can rotate and the other person rotate the scanned human with the chair during scanning.
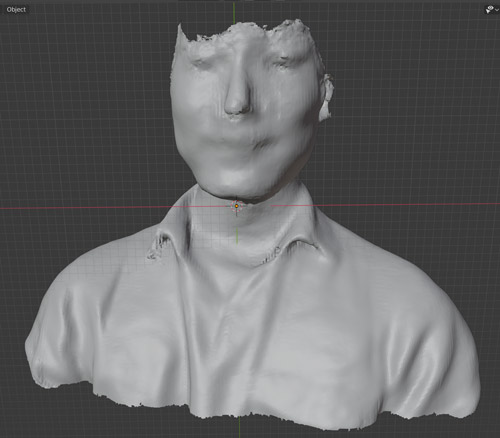
My face shape can be scanned and shown in Blender.
That’s fanny~
Failure
Cannot scan black hair
The hair wasn’t scanned very much. Jun Kawahara who is the instructor in Kamakura told me the reason why the hair cannot scanned is that SENCE recognizes the object’s shapes by scanning the reflected light from the objects and the black object like hair cannot reflect light. So SENCE cannot recognize your hair (Thank you for your good explanation!!)
My thoughts
I feel the great possibility for 3D scanning technology which expands the real world. So excited!! The scanned model was not good well but this problem would be better as the technology evolves.
3. Conclusions
Submission
3D Printing
3D Scanning
- 3D data of me scanned by SENCE: obj
*3D data scanned by Qlone cannot be exported for free.
Self-reviews
1. This week’s work
I had a lot of experiences this week. 3D printing was my first time, 3D scanning was my first time!! Very fascinated with those technology. We can show the scanned data in the real world through your display like smartphone (AR). We can create more complex things in shape by 3D printer. It’s like a dream!!
Feature of 3D printing
Advantage
-
You can make more complex shape than molding.
-
You can make the same object anywhere that has 3D printer by only sending 3D data.
Limitation
-
Strength anisotropy of 3D printed objects.
-
Too long time to make (print) objects.
2. Project Management
Score (Max: 100)
-
Hierarchy: 90
I tried printing the object that meets the requirement this week and then print the parts for my final project. -
Triage: 100
I wanted to print the parts both for making CoreXY and for making pump. But the time is limited. I found the parts for CoreXY in previous documentation pages and its design and printing condition were written there. So this week I decided to print the parts for pump first. -
Spiral Development: ?
-
Supply-side Time Management: 80
It was relatively easy to manage my time because the 3D printer shows the printing time. -
Parallel Development: 100
I printed the parts for my final project this week because I have a enough time to do that. And I found that their size needs some changes in this printing. -
Document as you work: 90
Took photos and movies as I work.
X. MEMO
What I wanted to learn more
- Visual SFM
- Meshlab