8. Computer controlled machining
Assignment
- group assignment
- test runout, alignment, speeds, feeds, and toolpaths for your machine
- individual assignment
- make (design+mill+assemble) something big
This week we finnally had access to use the big CNC machine ShopBot. We were so excited acturally almost been crazy when we saw the huge guy.
Safety
Our first job is to be familiar with how to use the machine safely.
- Don’t touch the linear guide when the machine is moving.
- Don’t try to change the endmill when the spindle is still rotating.
- Stop the spindle everytime the work is done.
Material preparation
The next is starting prepare for the material. The size of plywood that we used is 1220×2440×17.7mm. We put it onto the workspace. Then we use screw to tighten it firmly.(After XY zero position is desided.)

Machine setting
Then we started the machine setting stuff:
-
Turn on power

-
Double click the RESET button on the control box

-
Changing the endmill

-
Setting XY zero(put the material to the corner of work space then tighten the srews)

-
Setting Z zero(use the tool for Z-zero setting, place the pannel and clamp to the endmill then operate on the computer to start automatic Z zero setting. Waite for the process is done and the zero will be stored.)

-
Turn on the switch beside the power switch and press LO/RE then RUN to start the spindle(and press STOP when all the work is done.)

Design
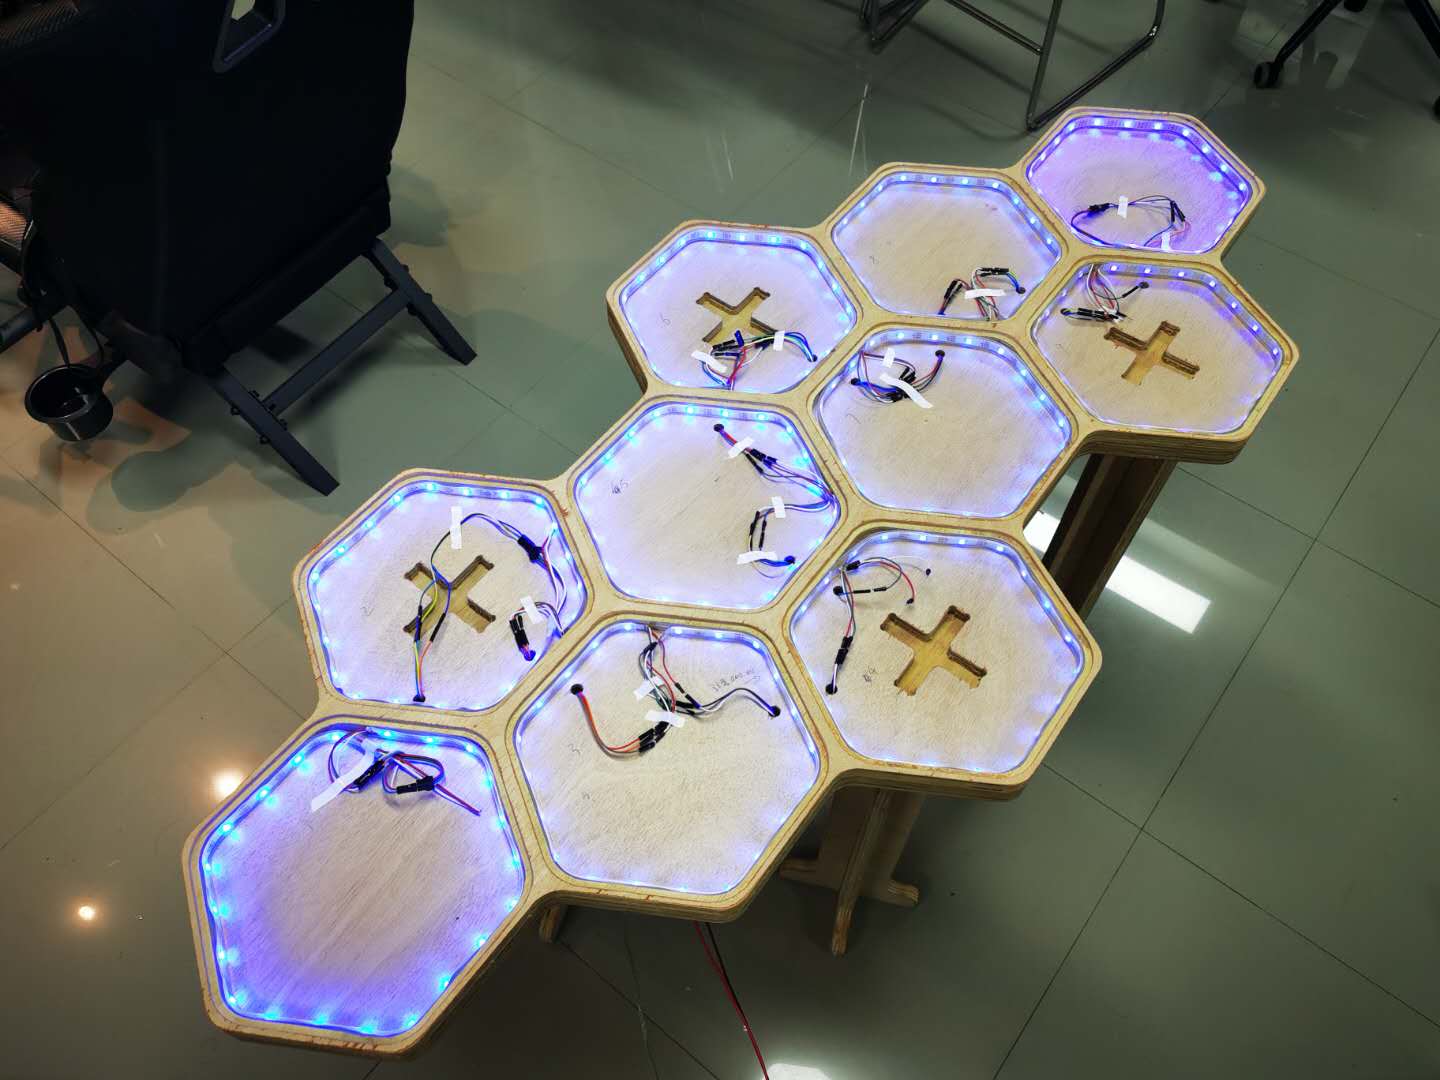
My design is to make a integrated hive table as one part of my final project. I make them into 3 parts:
1. the surface part
To put on arylic surfaces and where LED strips placed. Inside the hive holes.
2. the bottom part
To connect the surface part and legs.
3. the legs
To support the table body.
Creat toolpath
After the machine setting is done. It’s time to creat the toolpath for the machine to work on.
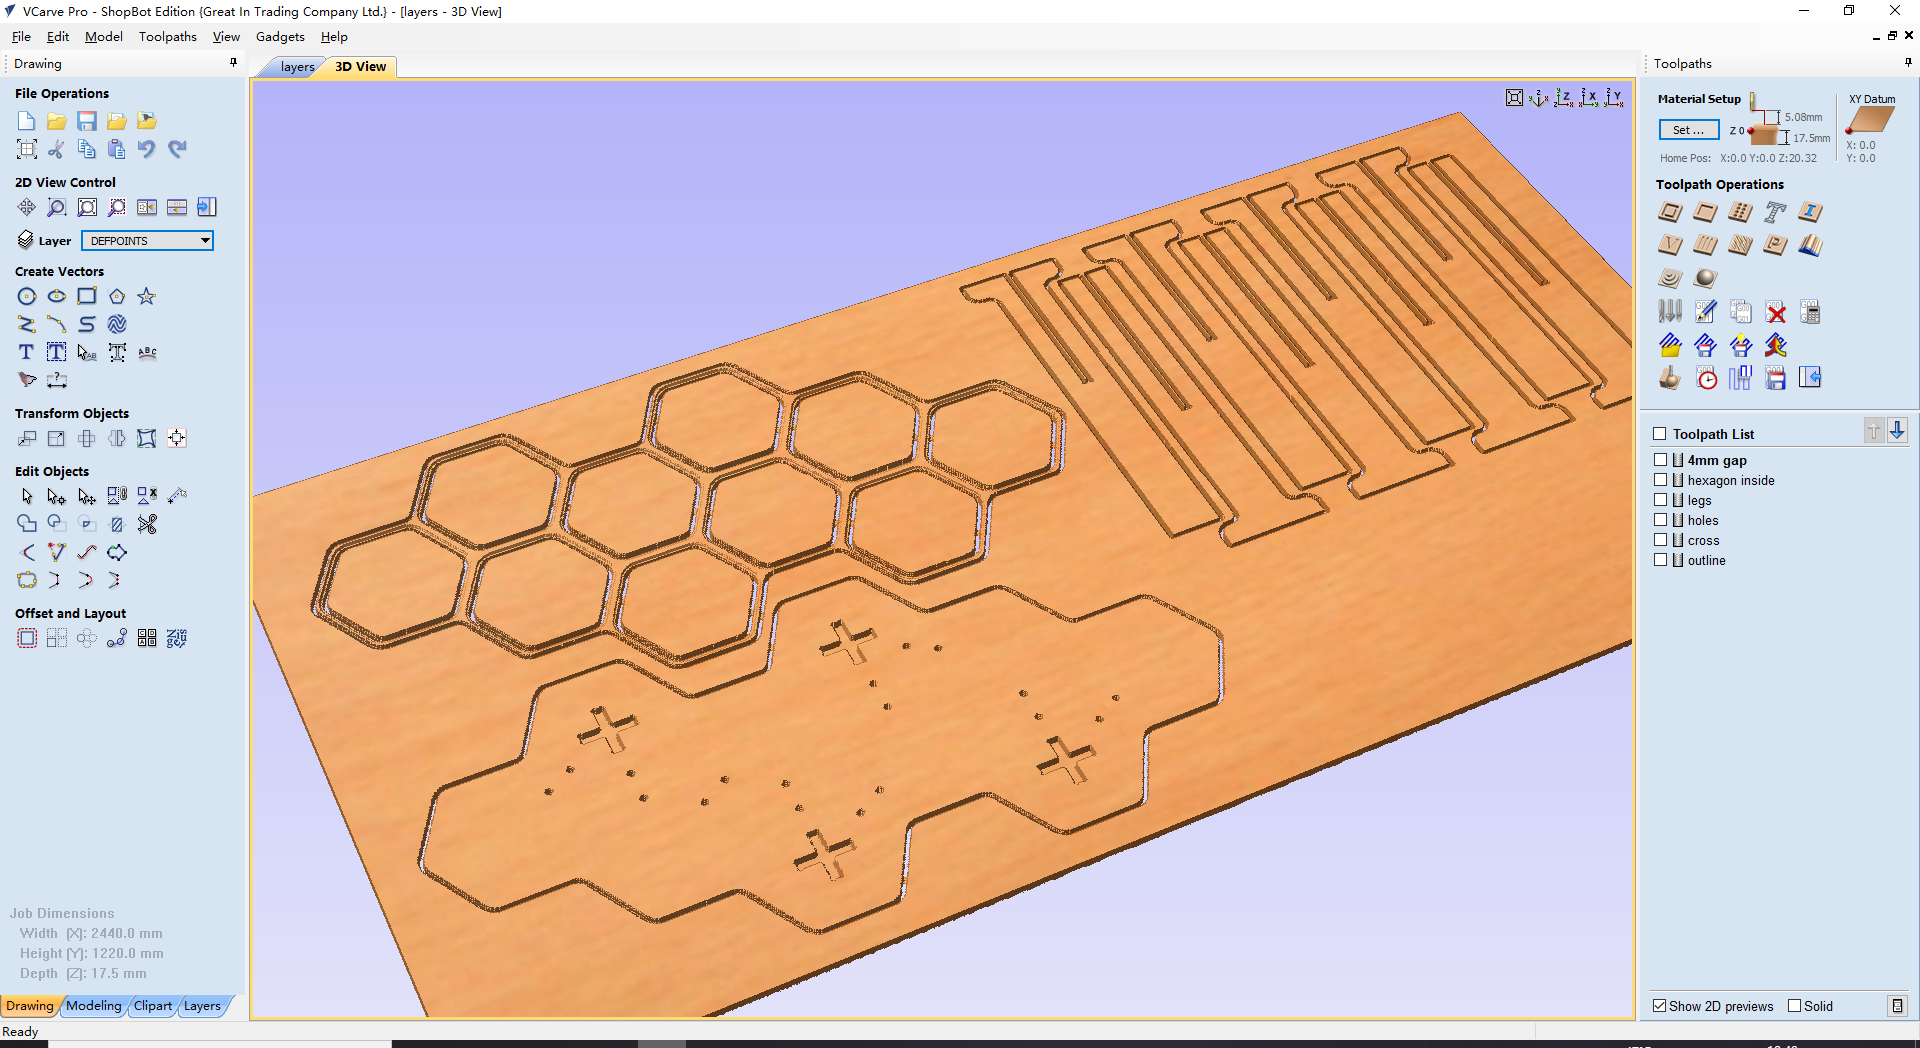
The software we use is VCarve. Open the software and imported the DXF file then the interface is just like this:
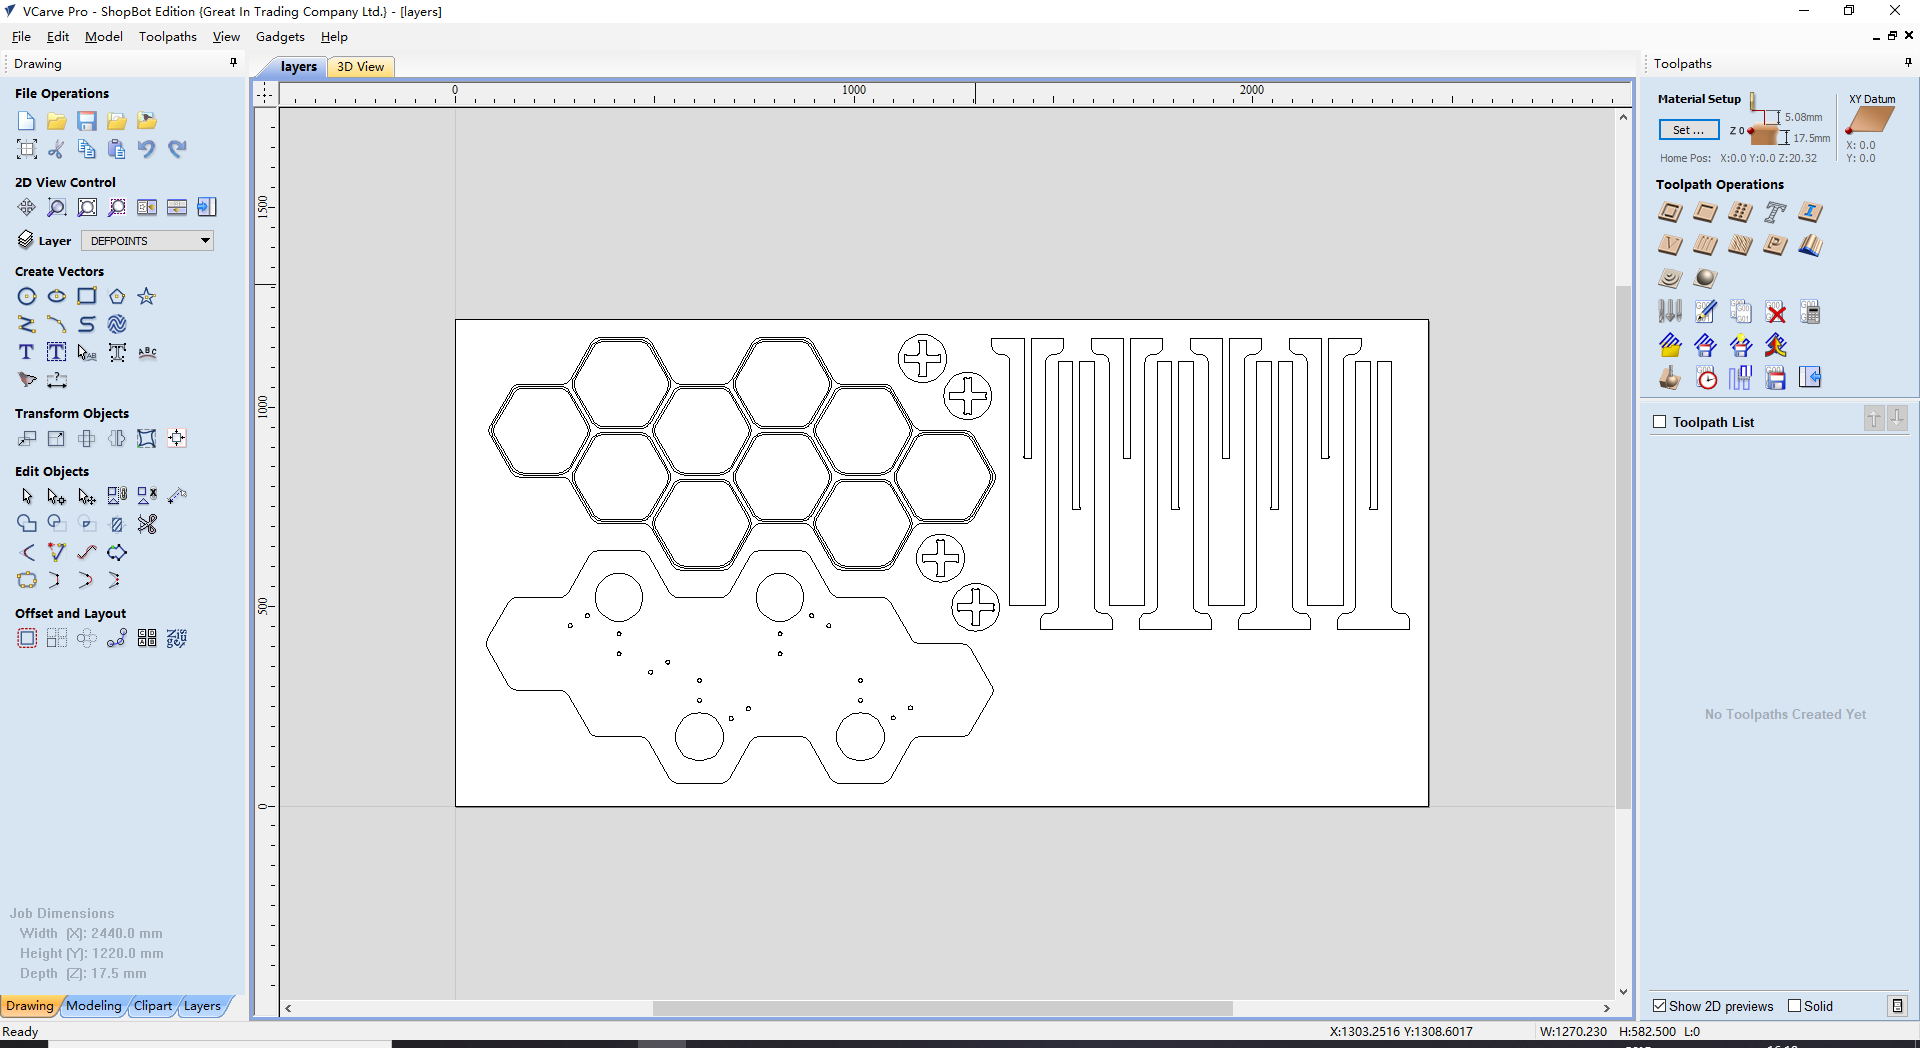
My design is to make a table with LED strips, and coverd with untransparent acrylic. I made it into two layer according to the material we used which is 17.7mm plywood.(one bottom layer, one top layer and serveral table legs)
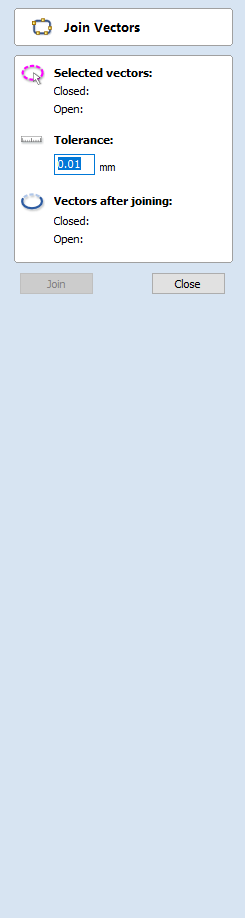
Sometimes some graph is not closed. So the first step is to close them. We use Join command to close them:

There are three function that I will use for my project:
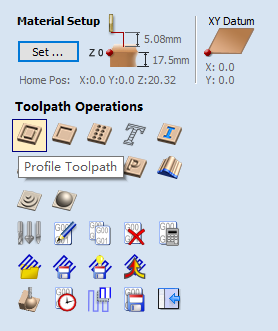
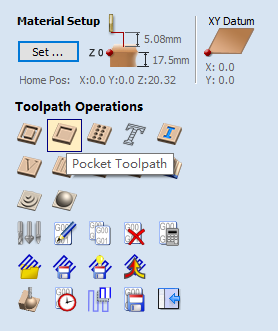
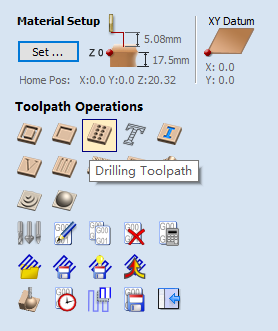
Profile is for cutting through the material whether it is outside or inside. Pocket is for cutting part of the material like lasercutting’s engraving. Drilling is for making holes whether cut through or not.
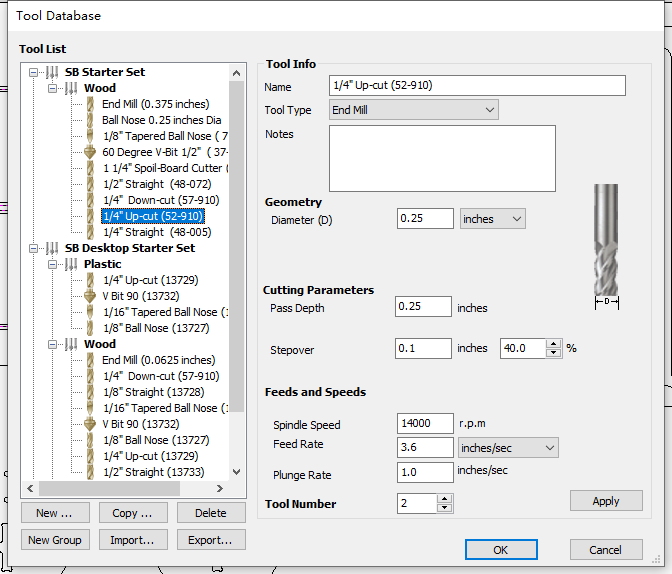
- choose the endmill that we will use and setting its parameter, Chaning the Spindle Speed/ Feed Rate/ Plunge Rate.
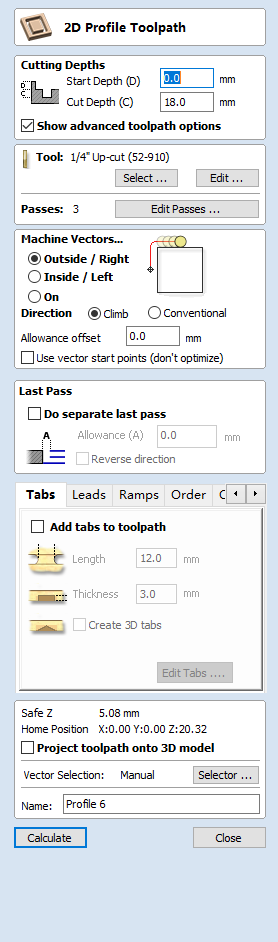
- Input the depth for endmill(sometime deeper than the material thickness to ensure cutting through).
-
Choosing Outside/Inside ,climb/conventional according to the graph.
-
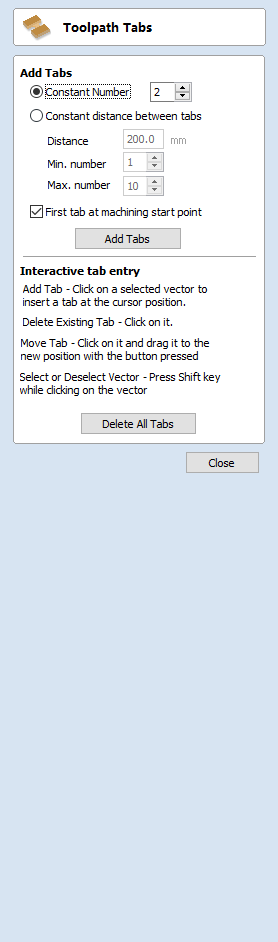
Add tabs.(To ensure the material will not be brought out by endmill when all the traces is cut off. It is very important! But not too many tabs, otherwise it will be very annoying to cut them when finish milling.)
- click “Calculate” everytime the setting is done.
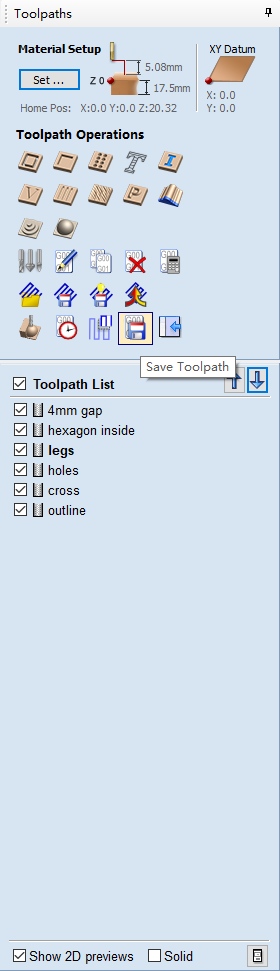
Then you will see the preview interface:
Adujst the order of the toolpath, and click “run” to preview the outcome. If the setting is corrected. Then save the toolpat. Then it is time for the ShopBot.
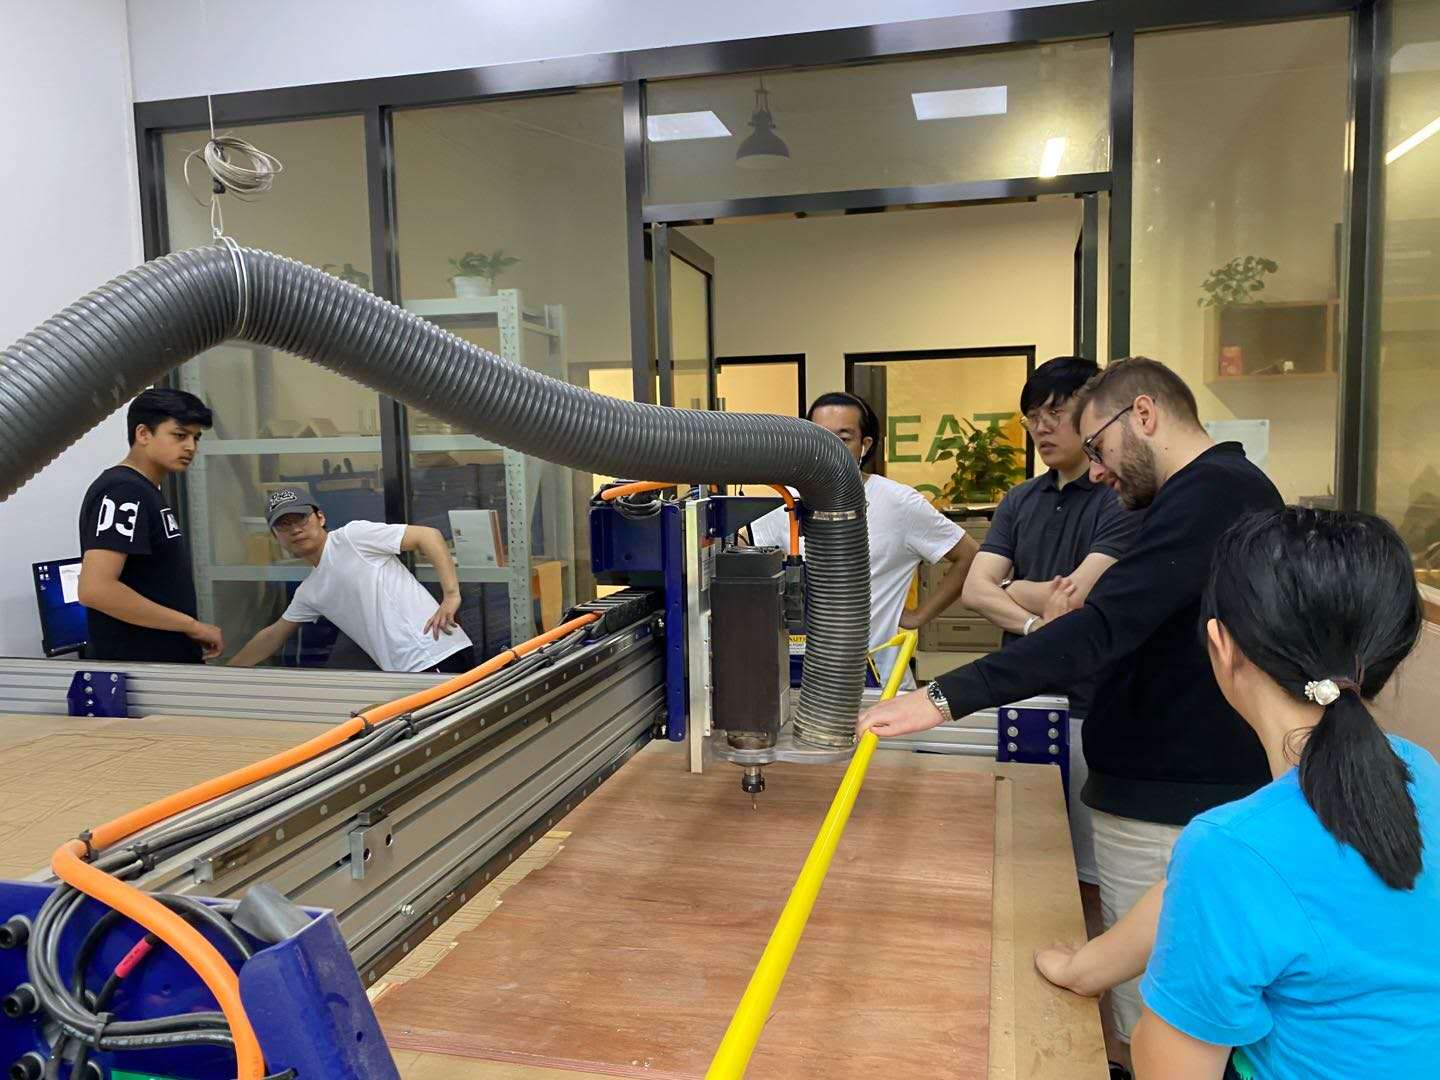
Upload and Milling
The machine started milling after I uploaded the G code.
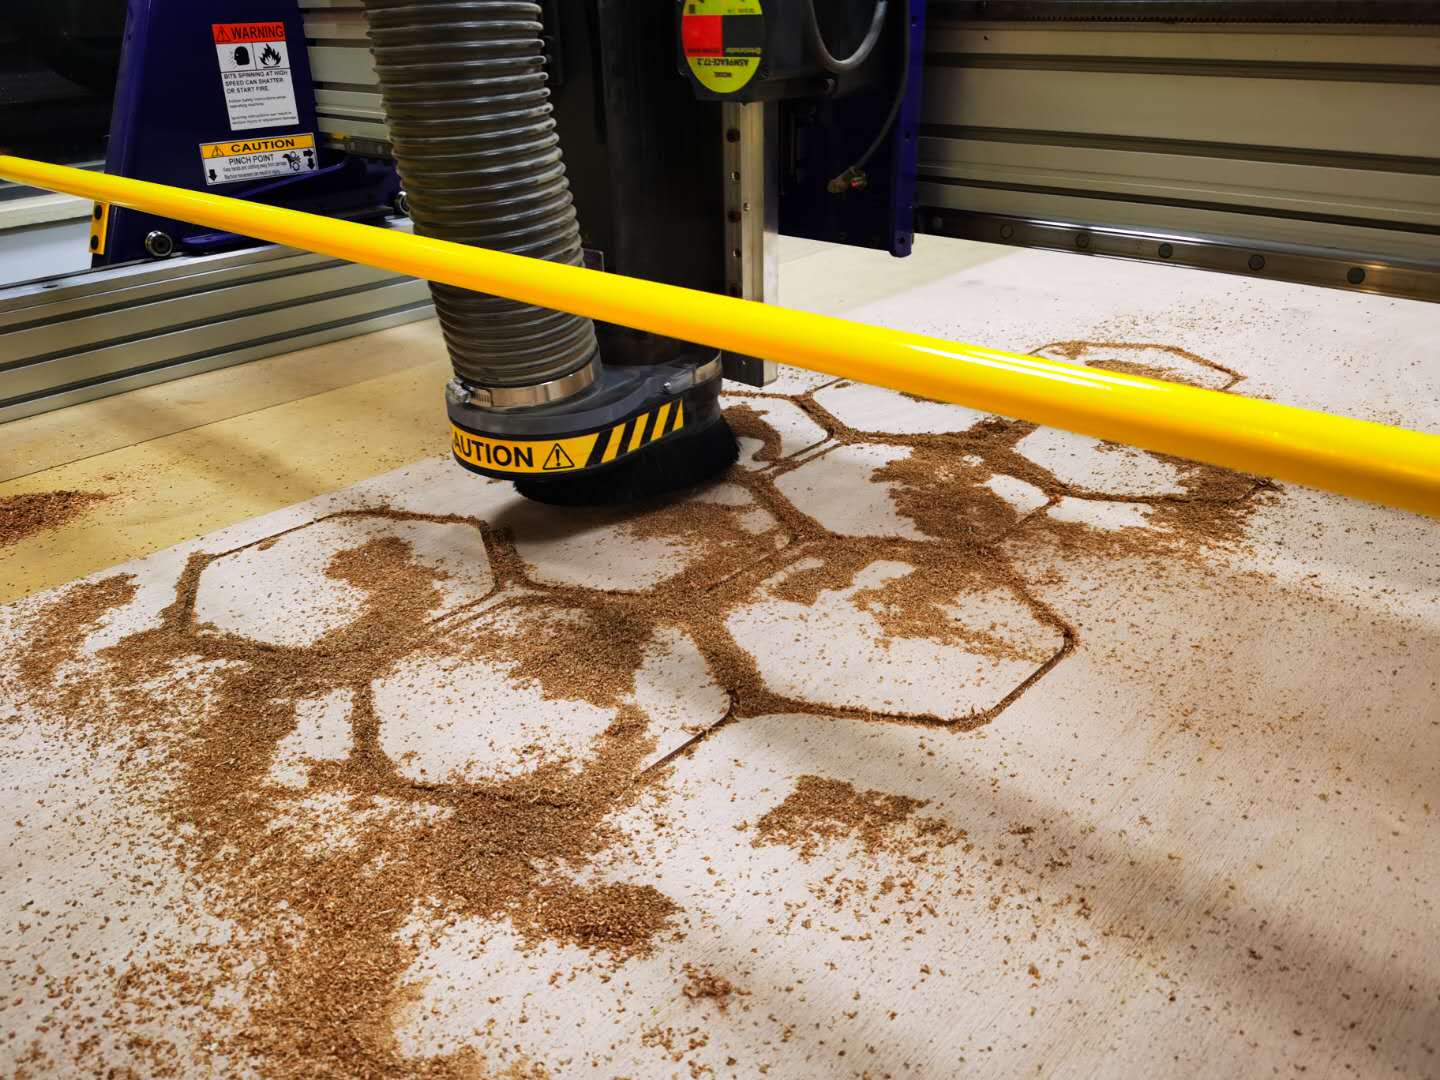
Everything looks good. After 50mins the work is done.
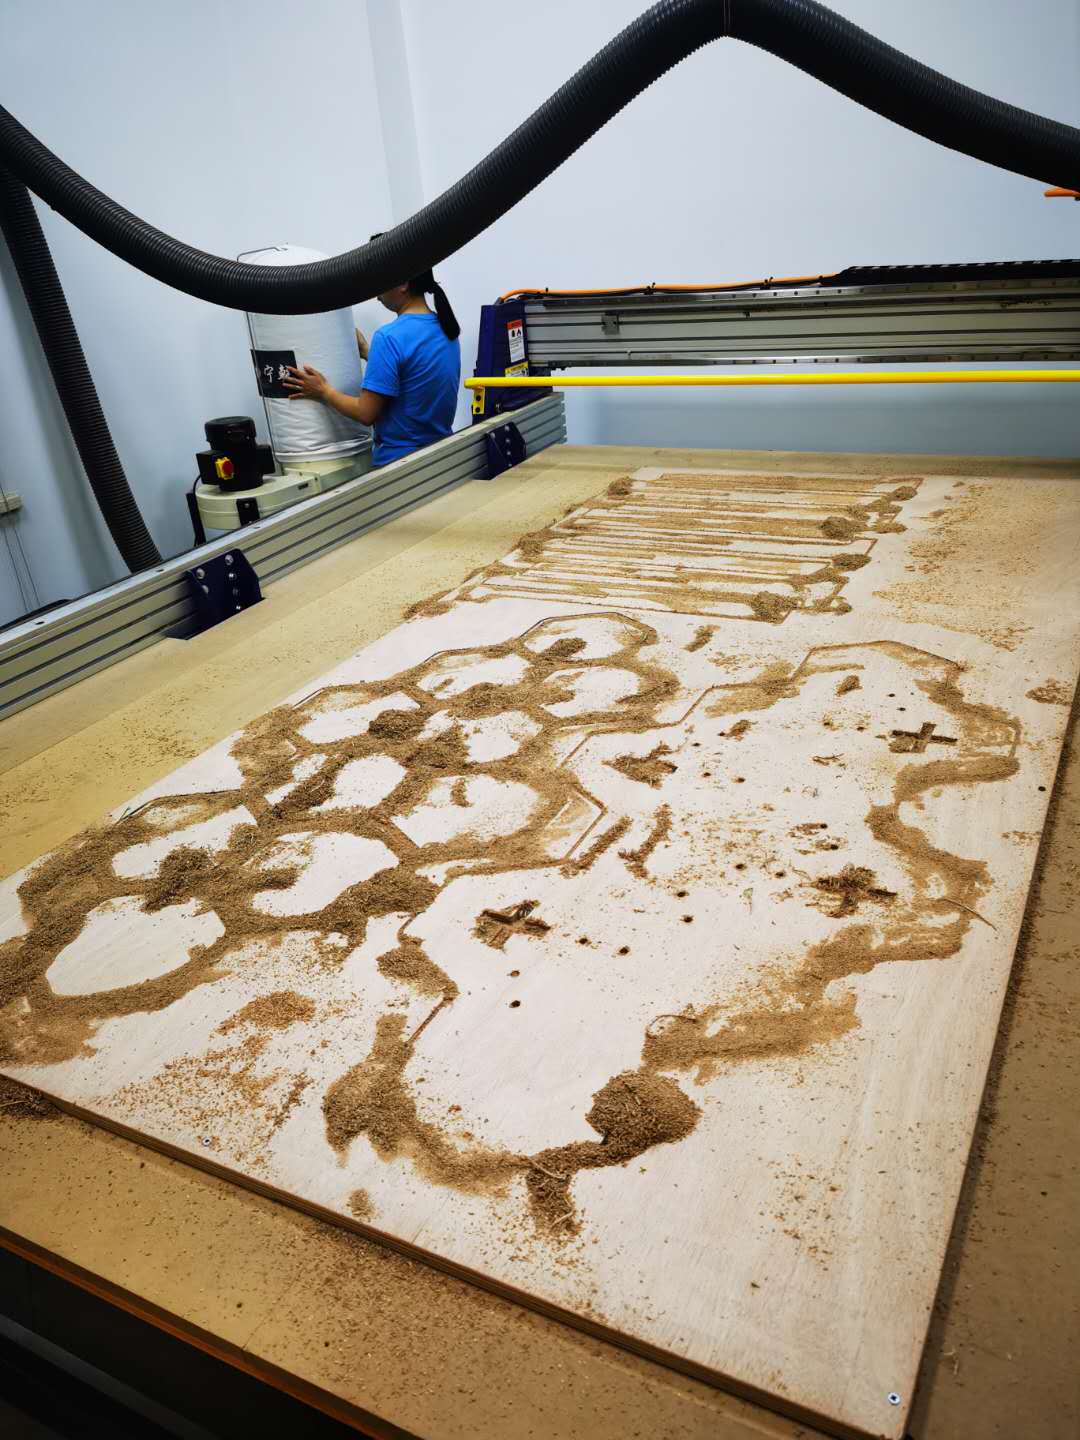
Then we started to clean the wood dregs and cut the tabs.


Sanding and assembling
The edge looks not very smoot after milling. So the next step is to smooth them use sanding machine:


After the dusting and pricking job is done. The table look prettier:


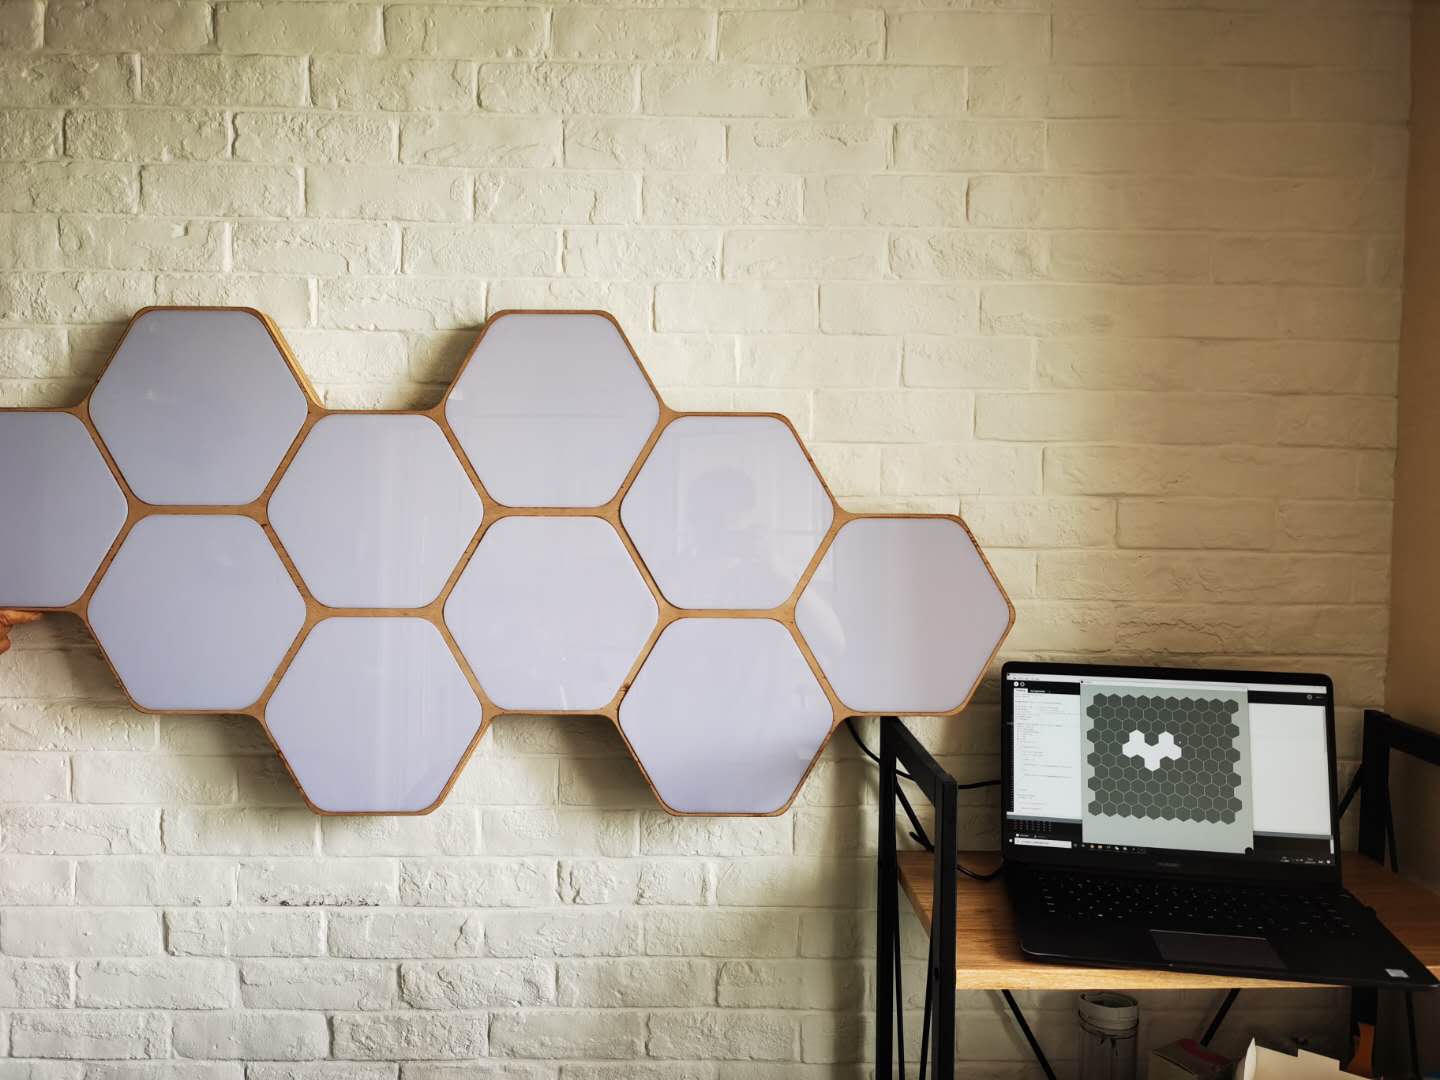
Finally outcome:
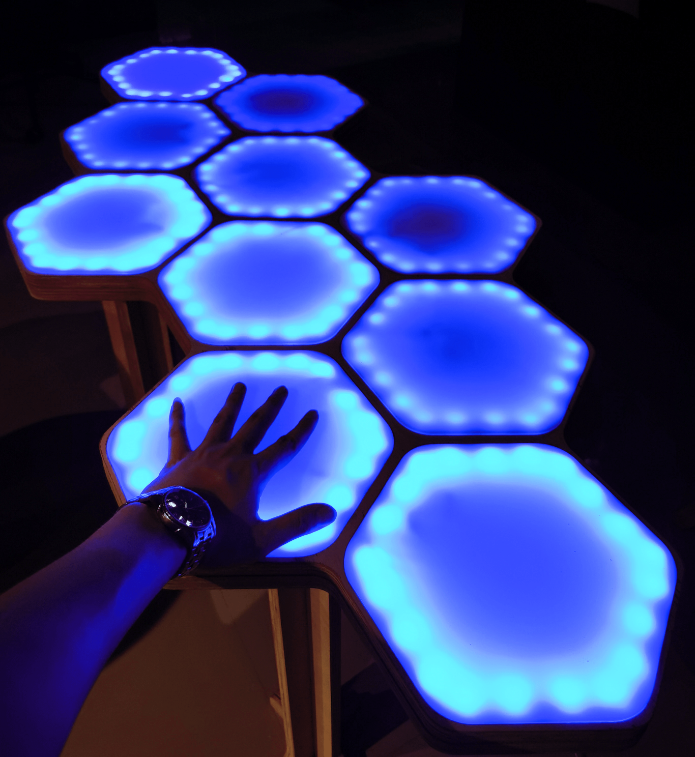
Extra work(the most exciting part)
I add the LED strips into each hexagon space. The depth of the sapce for NeoPixels is same as its width: 10mm. And I use lasercutter to cut 10 piece of acrylic whose thickness is 4mm, same as the depth I save for them. The effect is extremely good! I love it so much.