3. Computer Aided design
- Model (raster, vector, 2D, 3D, render, animate, simulate, …) a possible final project, compress your images and videos, and post it on your class page.
This week we have to shape the idea of our final project using computerized design tools. To do this, I have seen different tools.
For more information about my final project click here: (final project)
3.1. 2D design tools
3.1.1. Tools to generate raster images.
Raster images are, for example, photographs and bitmaps. If we zoom in on them, we can see the pixels that make it up.
Paint is the simplest, and everyone has ever used it.
Photoshop is the most famous professionally, but it’s not free. So I use GIMP , which is quite complete and free. Basically I use it to edit and adjust the size of the images that I am uploading to my website.
3.1.2. Tools to generate vectorized images.
A vector image is a digital image formed by dependent geometric objects, so that we can scale and stretch it without suffering loss of quality (pixelated).
Illustrator Adobe and CorelDRAW are the best known professionally, but they are not free.
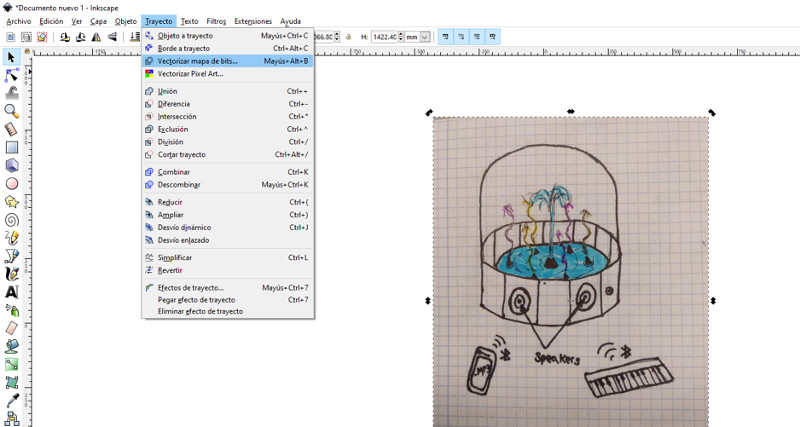
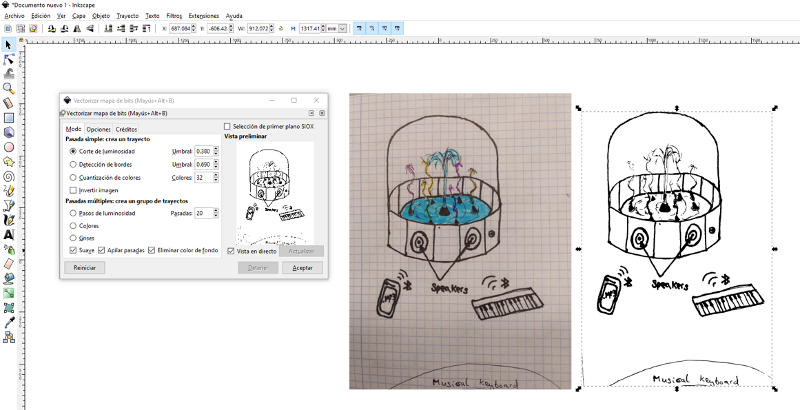
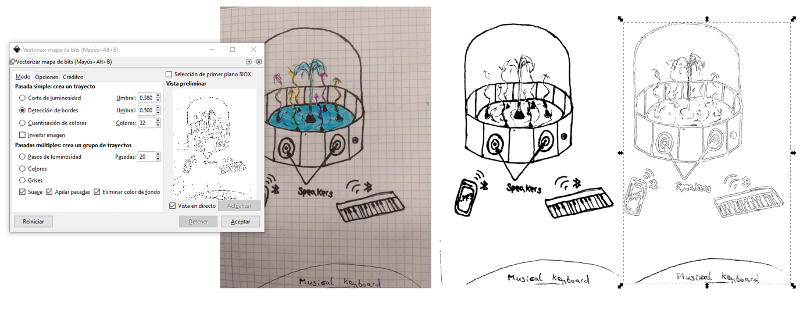
This week I learned to use the software called Inkscape . It’s free!!
First I tried the different options of vectorized on the photo of my handmade sketch
Then I searched for an image that represents a vine. I’ve thought about vectorizing it to decorate the walls of my fountain.
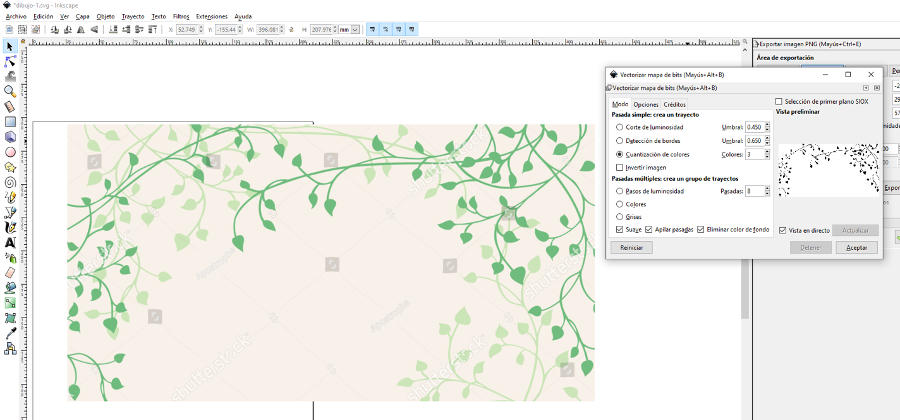
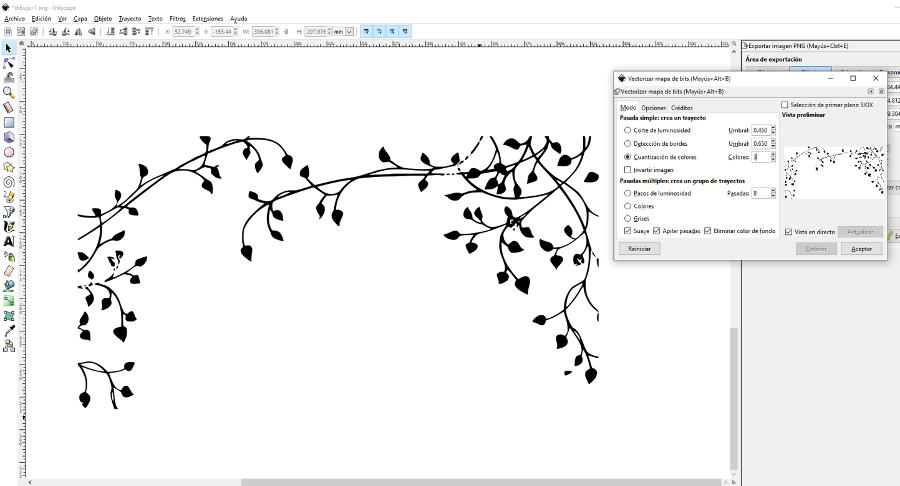
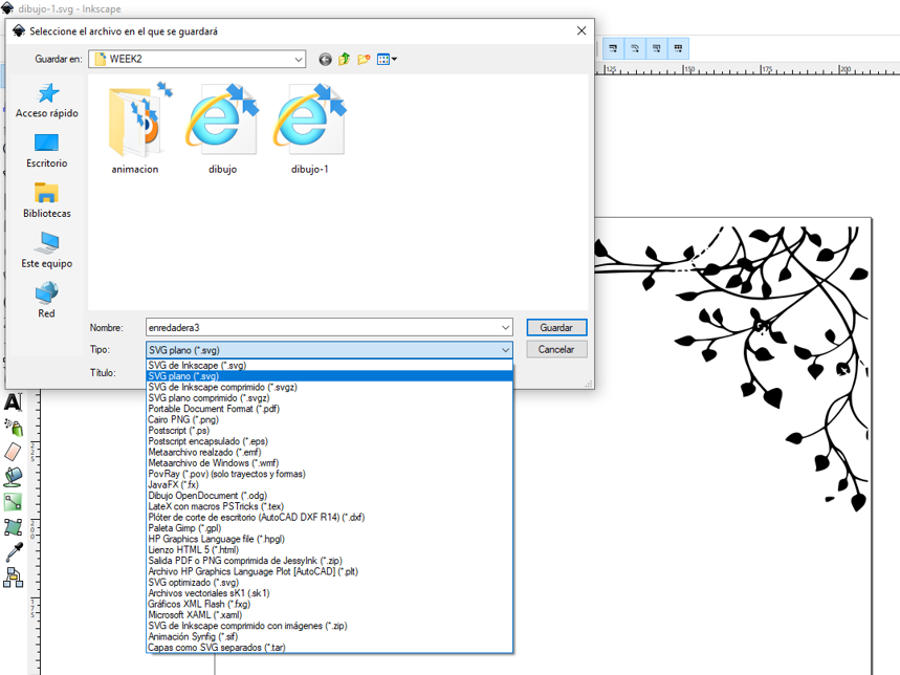
I will save it as a flat svg and then use it to laser engrave the exterior walls of my fountain with this ornament.
3.2. 3D design tools
3.2.1. Freecad
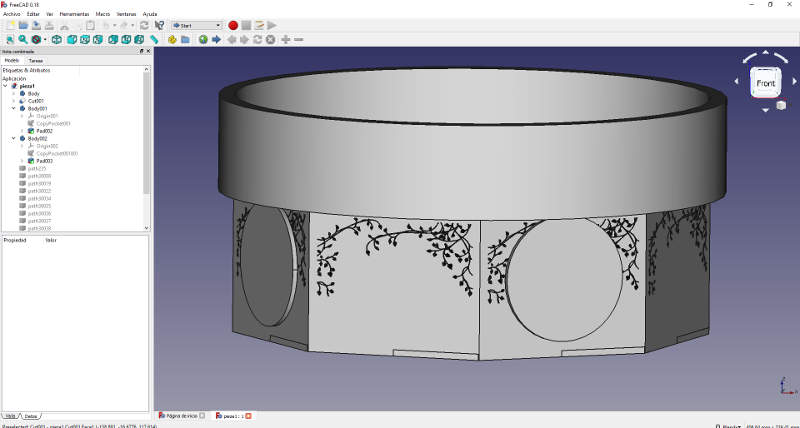
I have learned to use freecad to design 3d models. In my work I normally use Solidworks. But to learn something new, I used freecad to design my final project.
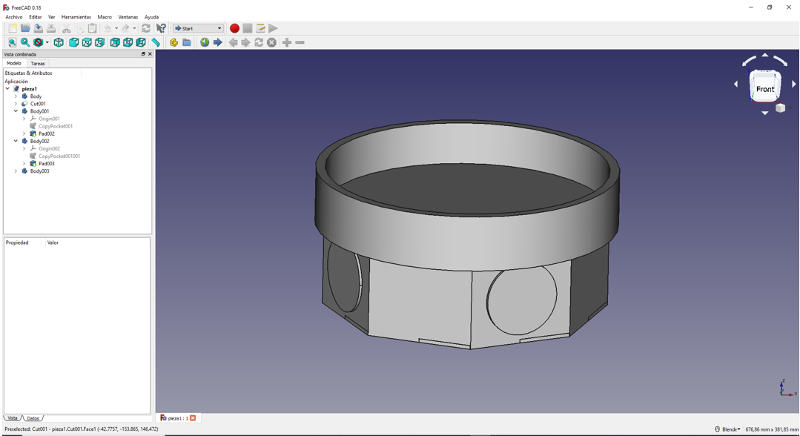
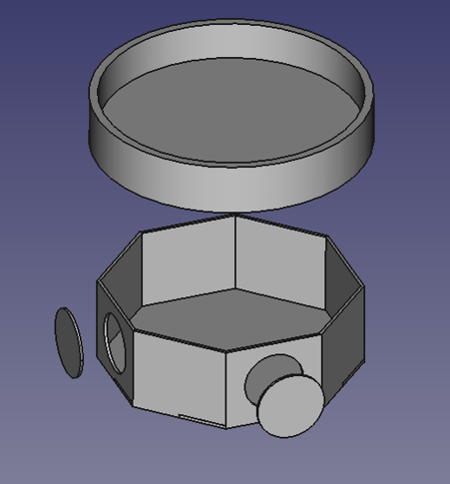
I have also tried using the vectorized image above to stamp an ornament on the walls of the fountain.
3.2.2. Blender
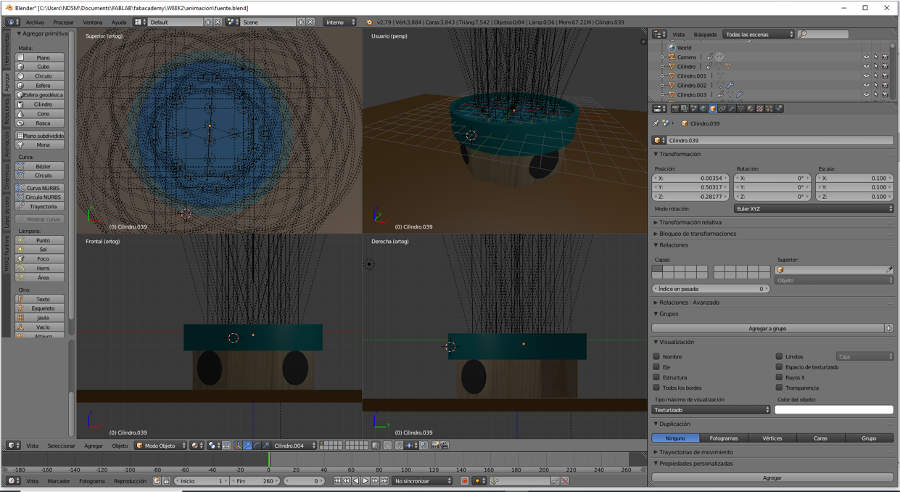
To make the animation, I used Blender . I already knew how to use it, but I learned how to simulate fluids. A very interesting tool from Blender.
First, I import the model created in freeCad and add textures
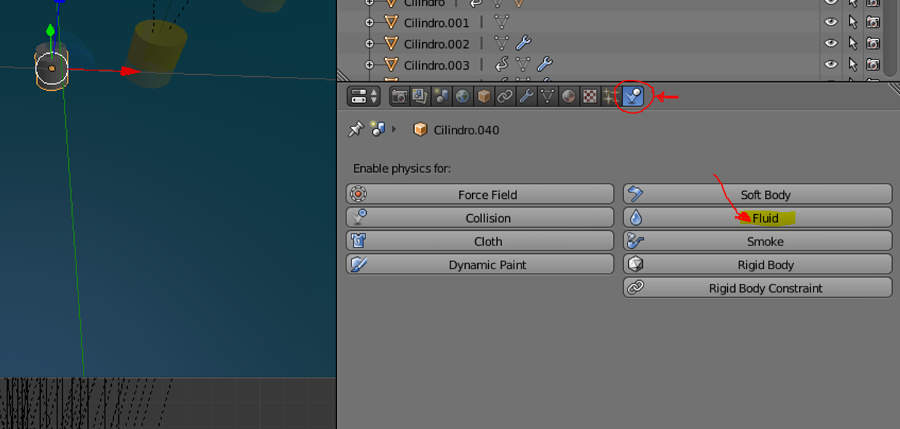
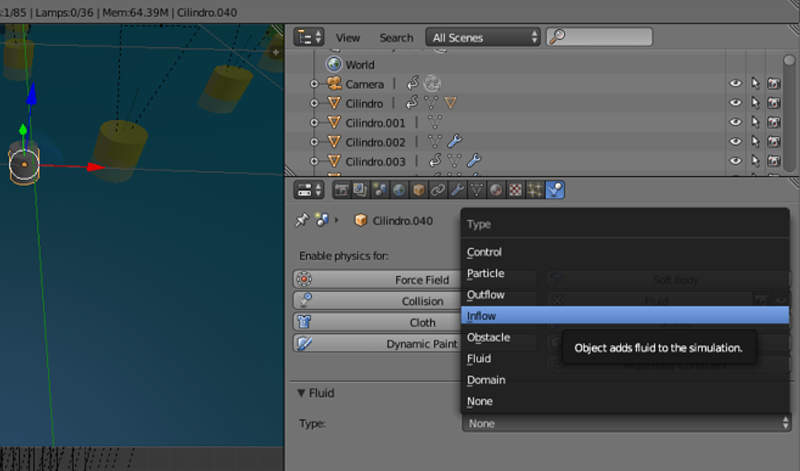
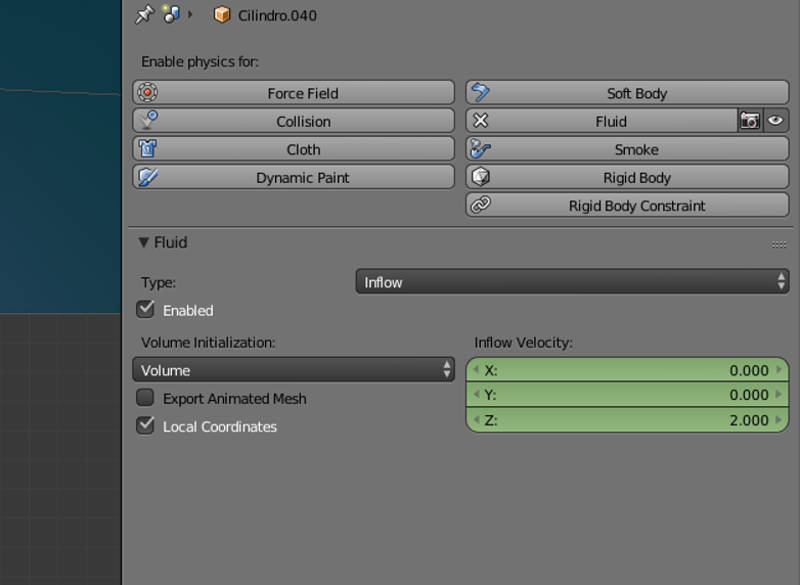
Now I add the simulation of the fluid. To do this, I create cylinders that represent the nozzles for water jets. In the physics tab I select ‘Fluid’ and then ‘Inflow’. And then I set the ‘Inflow Velocity’.
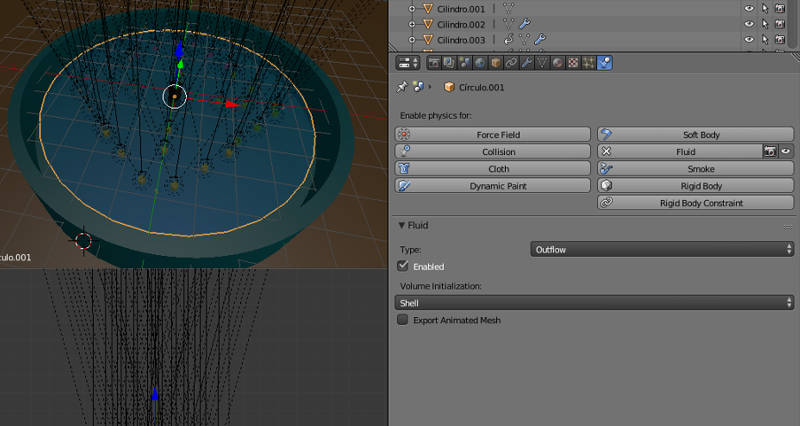
Similarly, I add a sump to extract the generated fluid. For it. I create a circle at the bottom of the fountain and add the property ‘Outflow’ instead of ‘Inflow’.
And finally I create a cylinder whose volume will be the space where Blender will calculate the simulation of the fluid. And I add the ‘Domain’ property. Within this property by clicking on ‘Bake’ the simulation is calculated.

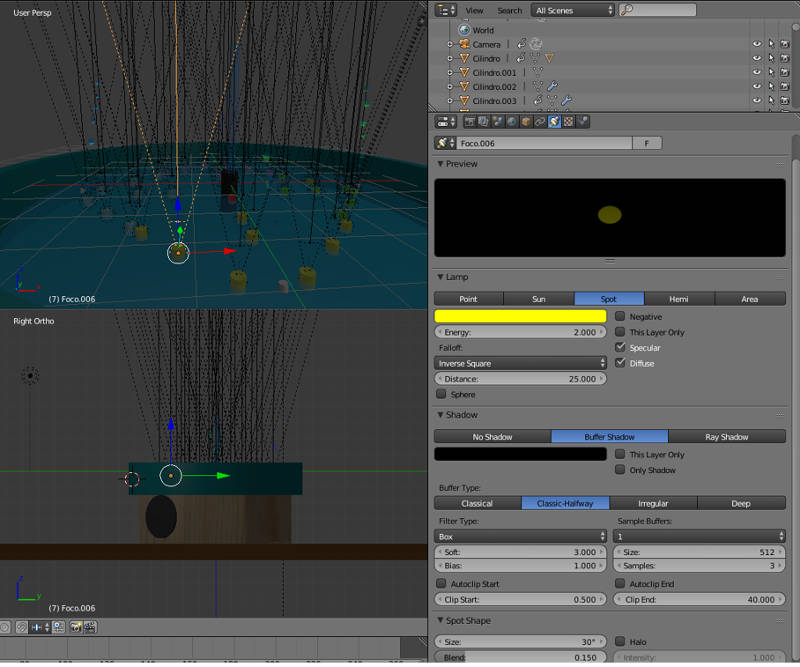
I have added lights to simulate the LEDs that will color the water
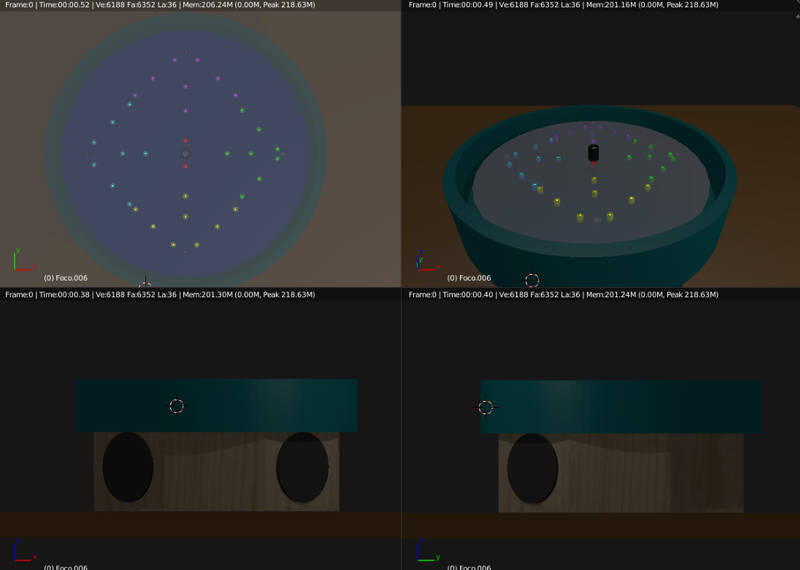
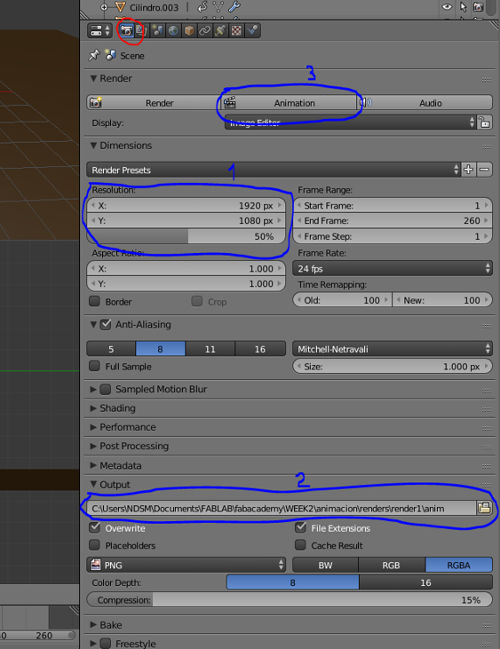
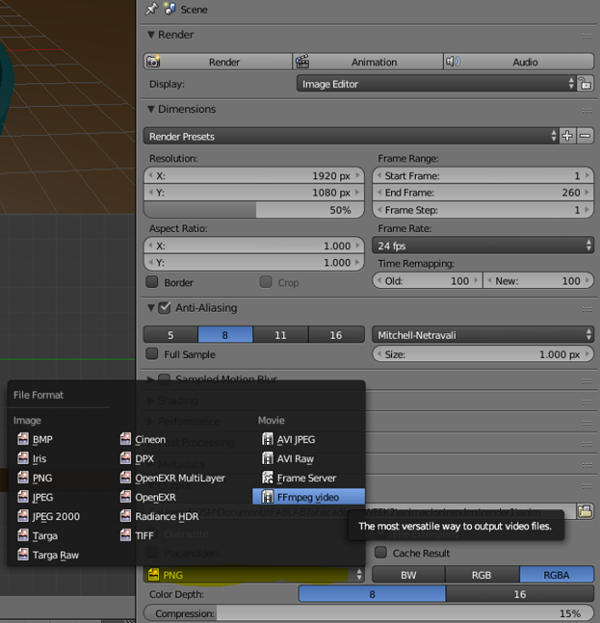
To generate the video of the animation, click on the ‘Render’ tab. Here first, we set the resolution of the video. Second, we indicate where to save the file. And we select the type of file. I have selected ‘FFmpeg video’. And finally, we click on ‘Render’.
3.2.3. Sketchfab
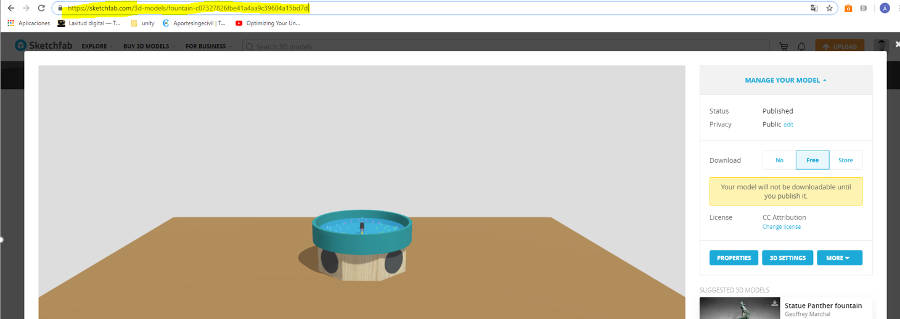
In order to visualize the 3d model on my website I used sketchfab. It is a website where you can upload the files of your models. It allows you to insert a 3d viewer into your website.
To insert the visualizer, I copy the url of my model in sketchfab and paste it in the code of my website as seen in the following images.

3.2.2. Vimeo
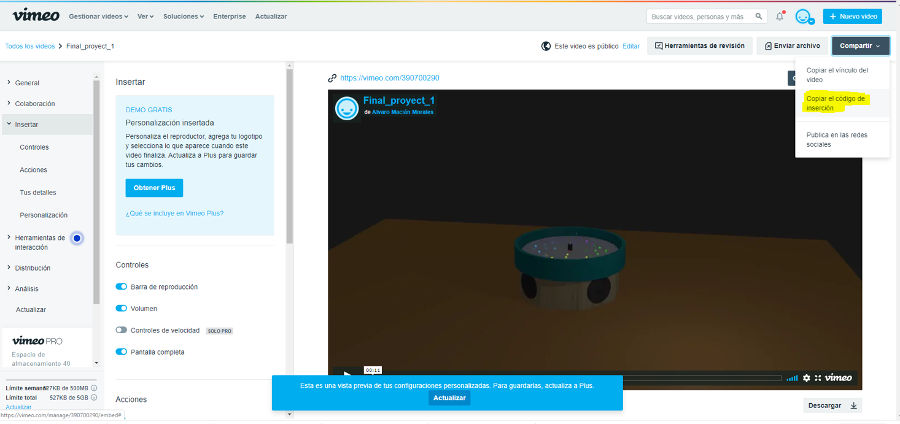
To view the video on my website, I used vimeo. It is a website where you can upload videos. It allows you to insert a player into your website.
3.3. 3D Models
3.4. Animation
Watch the video to check the result of the Blender fluid simulation tool !!!
3.5. My files
- Assembly of my fountain (obj):
- Components of my fountain (obj):
- Animation video: