17. Wildcard week
Individual Assignment
- Design and produce something with a digital fabrication process (incorporating computer-aided design and manufacturing) not covered in another assignment, documenting the requirements that your assignment meets, and including everything necessary to reproduce it.
17.1. Composite
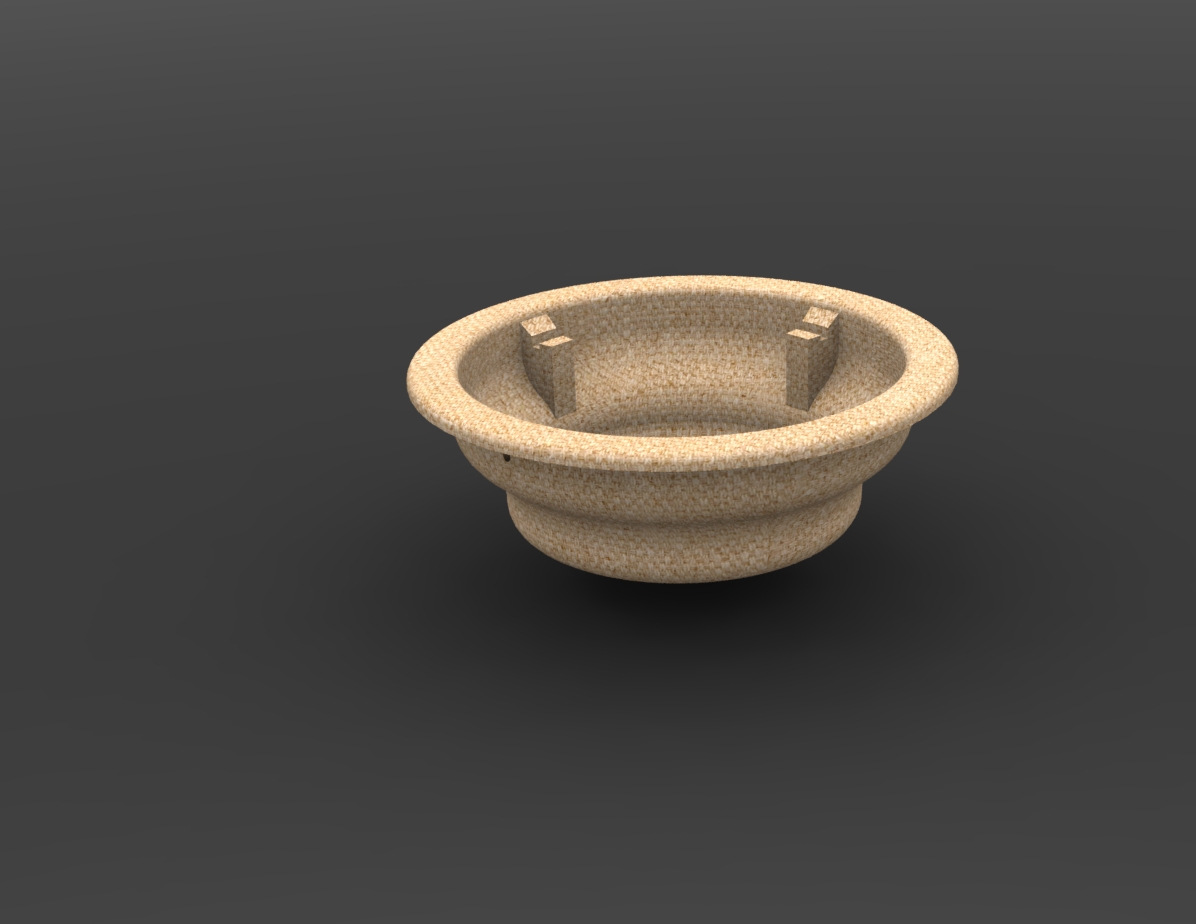
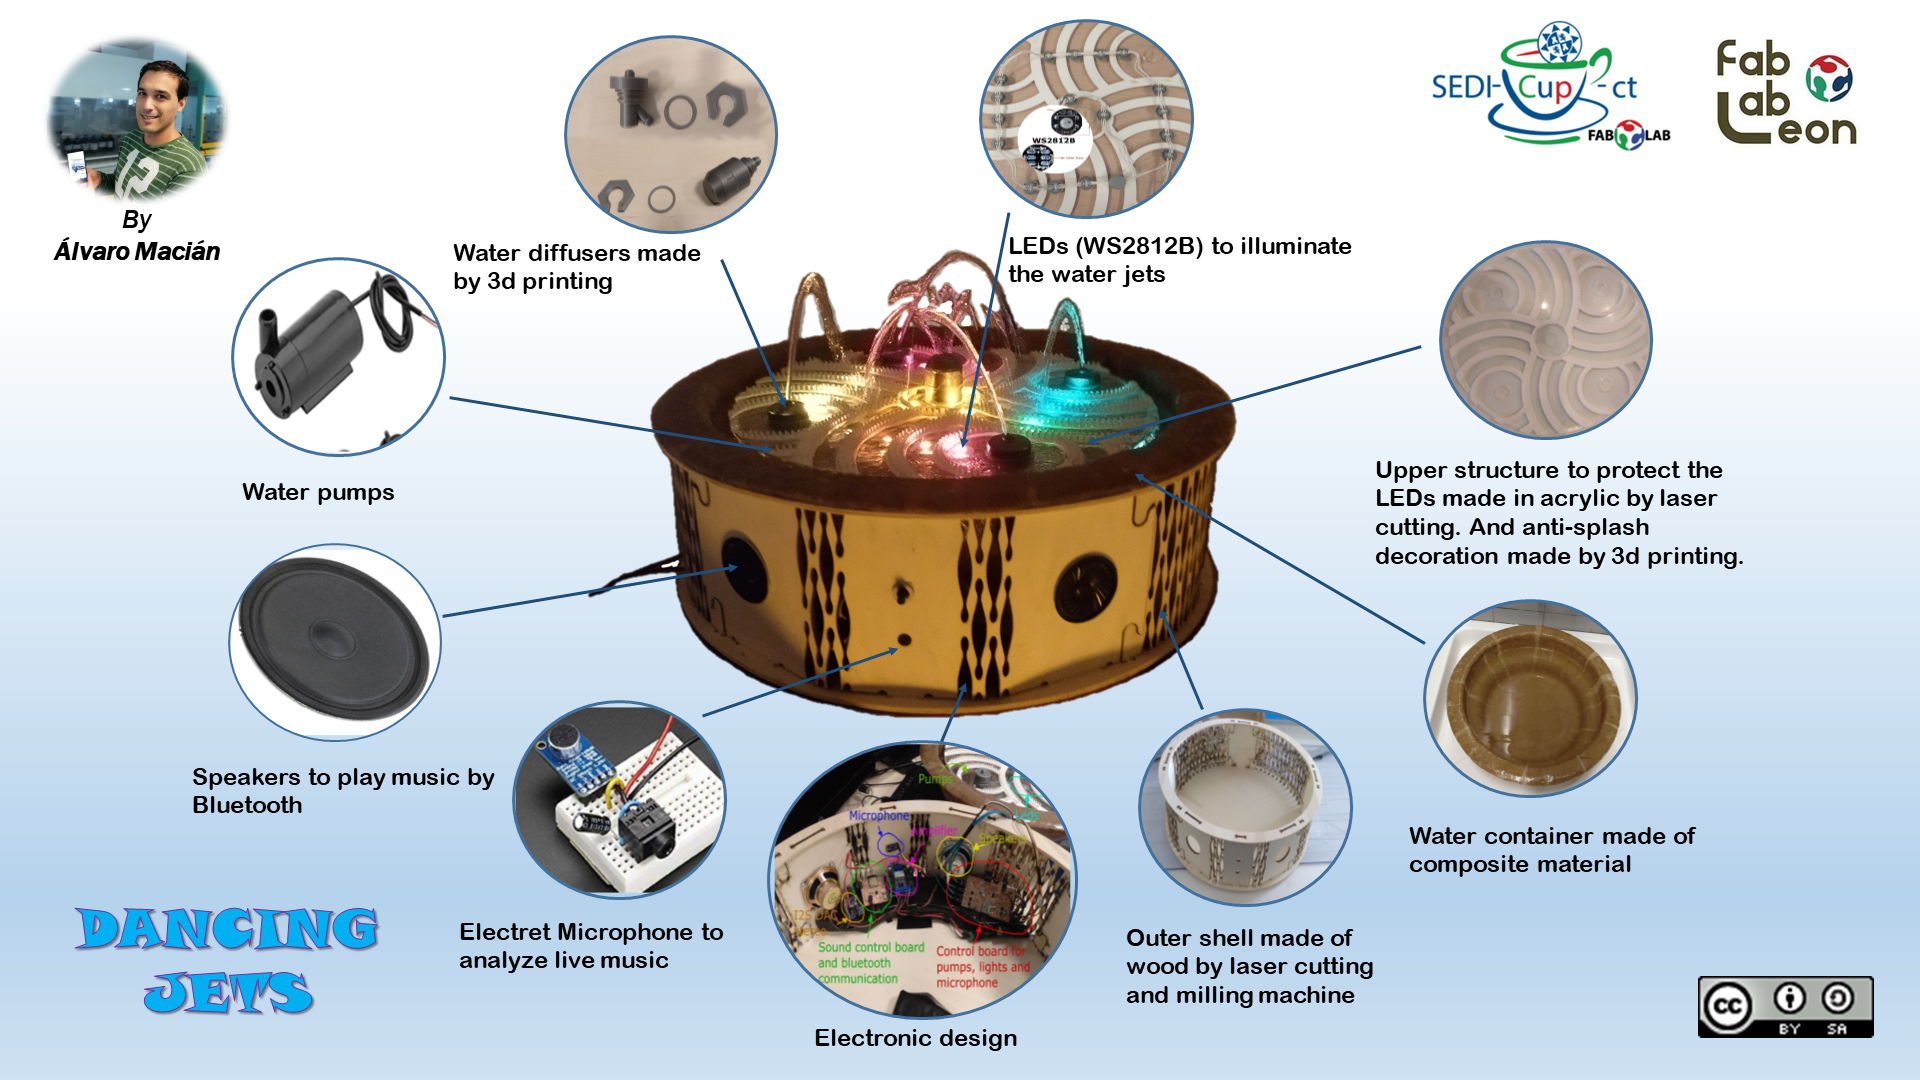
This week I am going to test the composite manufacturing technique. I’m going to make the water container for my fountain.
17.1.1 Generating Gcode
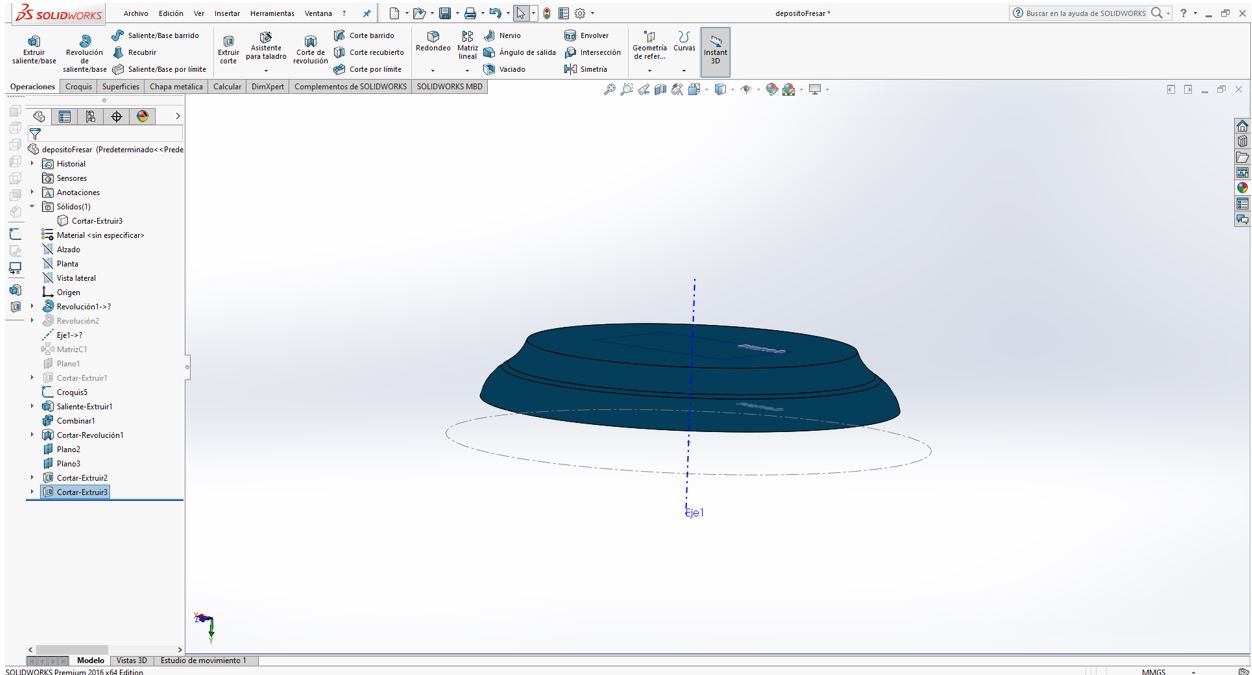
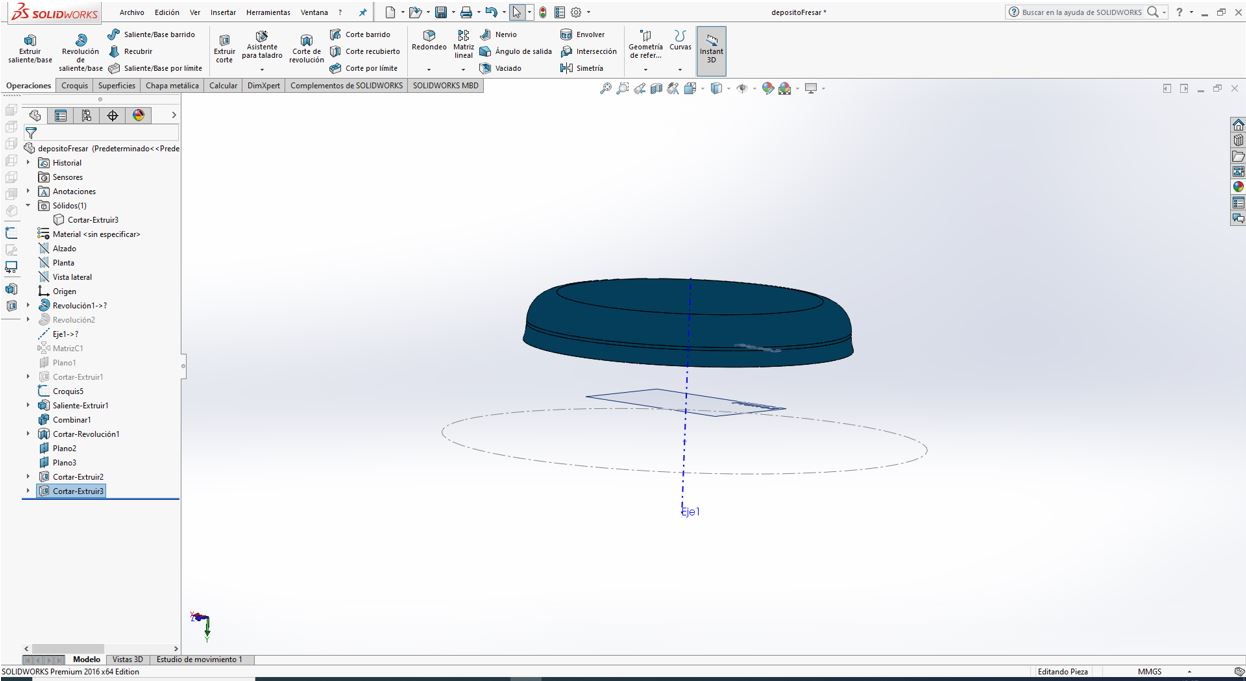
In Solidworks, I reverse the container to make milling and laminate easier.
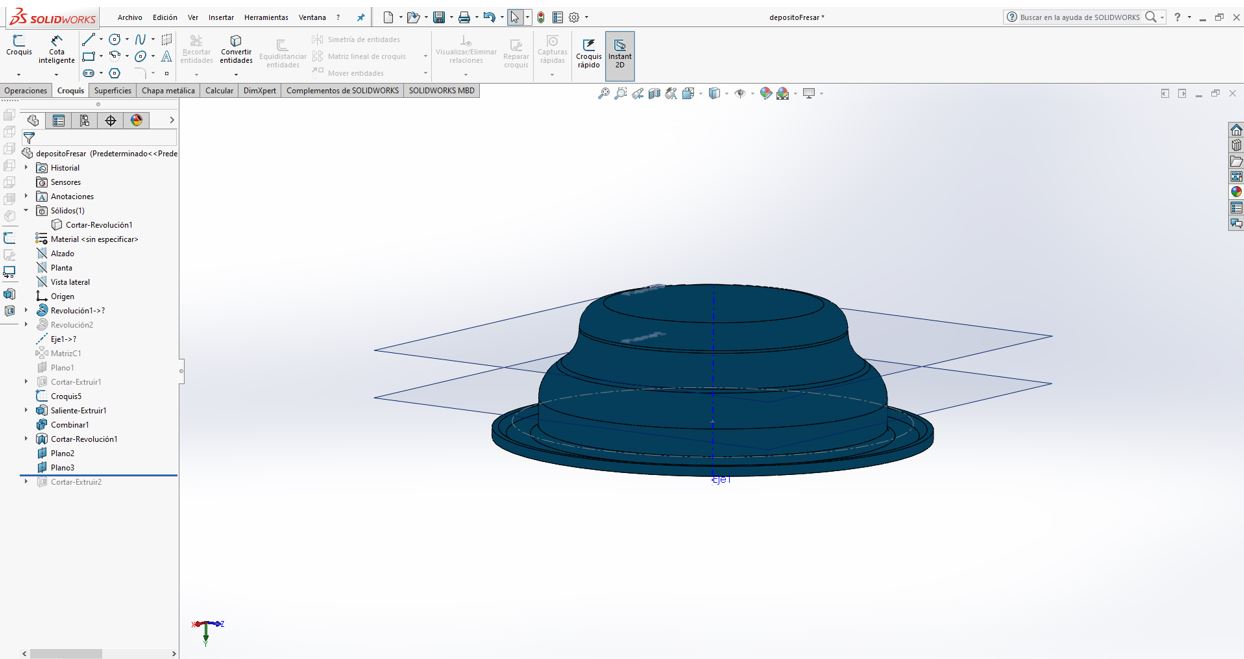
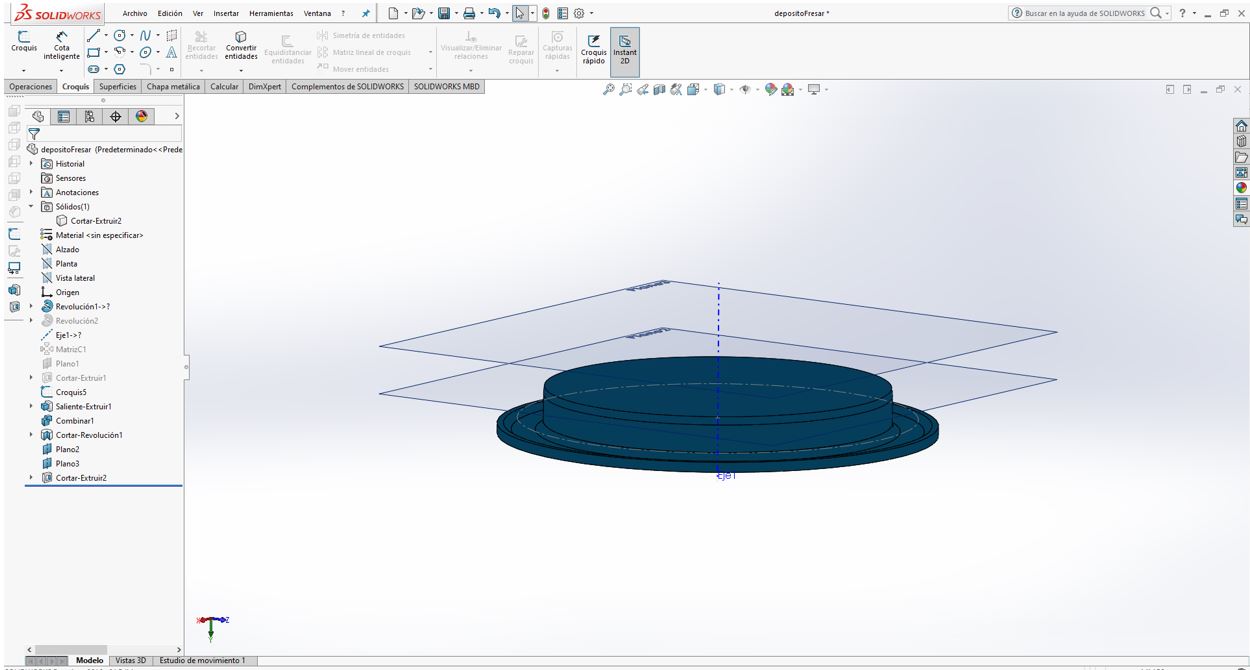
My mill tool has a maximum depth of 5cm, so I cut the model into 3 pieces of 5cm.
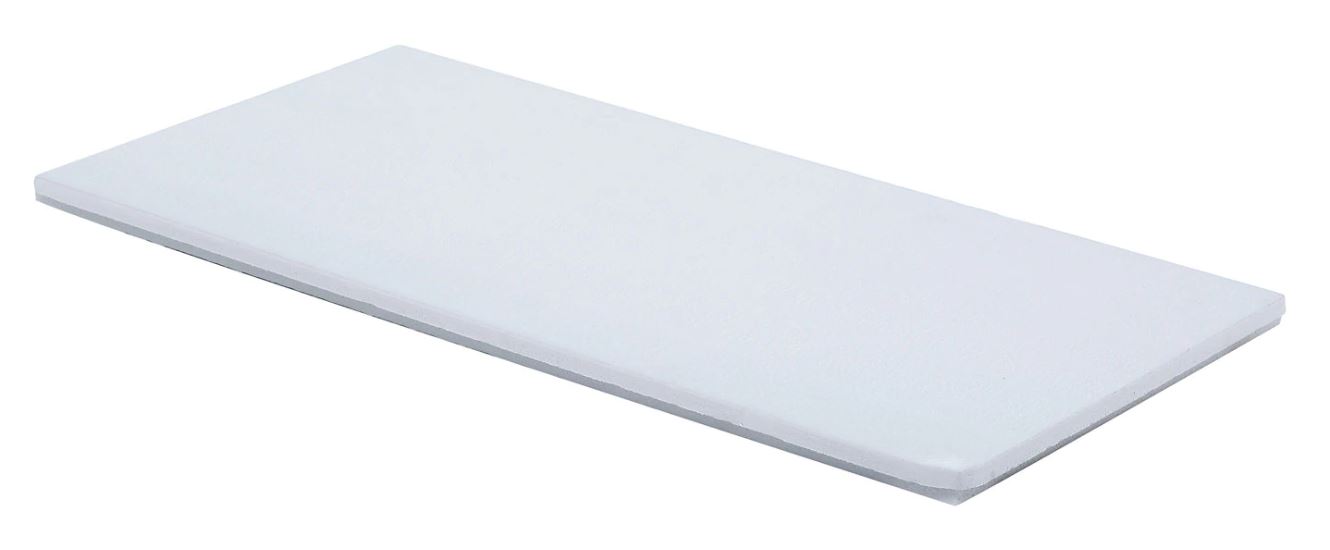
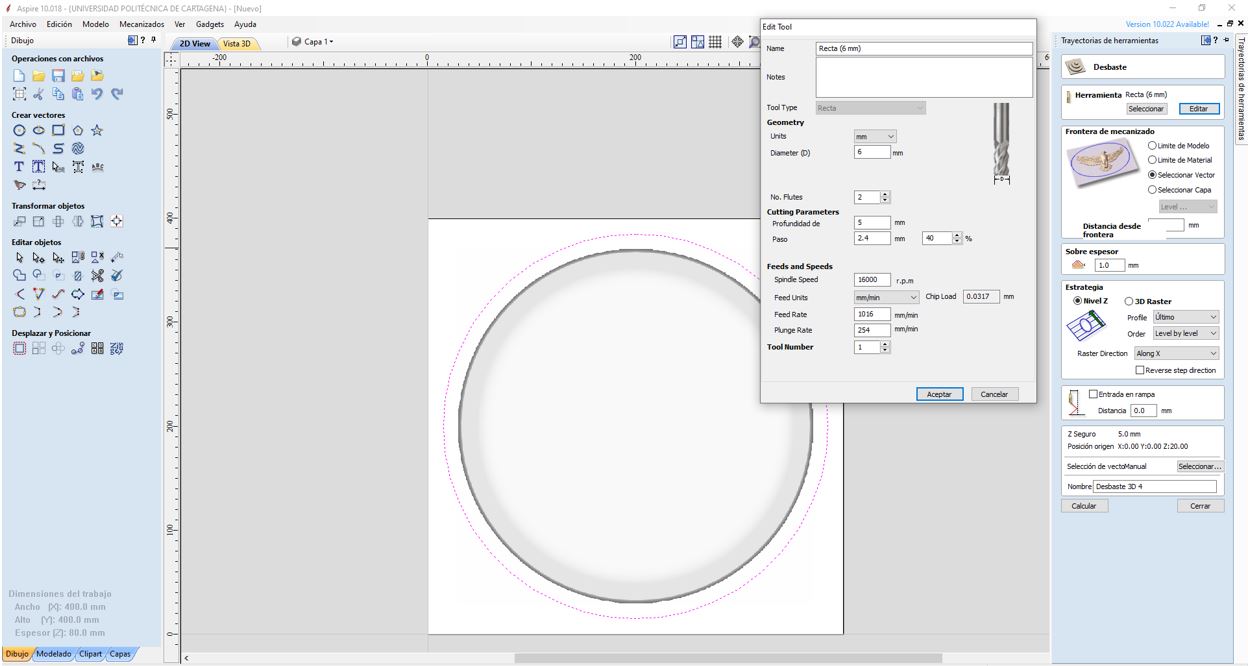
I use Aspire software to generate the gcode. I have extruded polystyrene plates of 4 cm thick, so I glue 2 plates with glue to exceed 5 cm of the model. I get an 8 cm block.

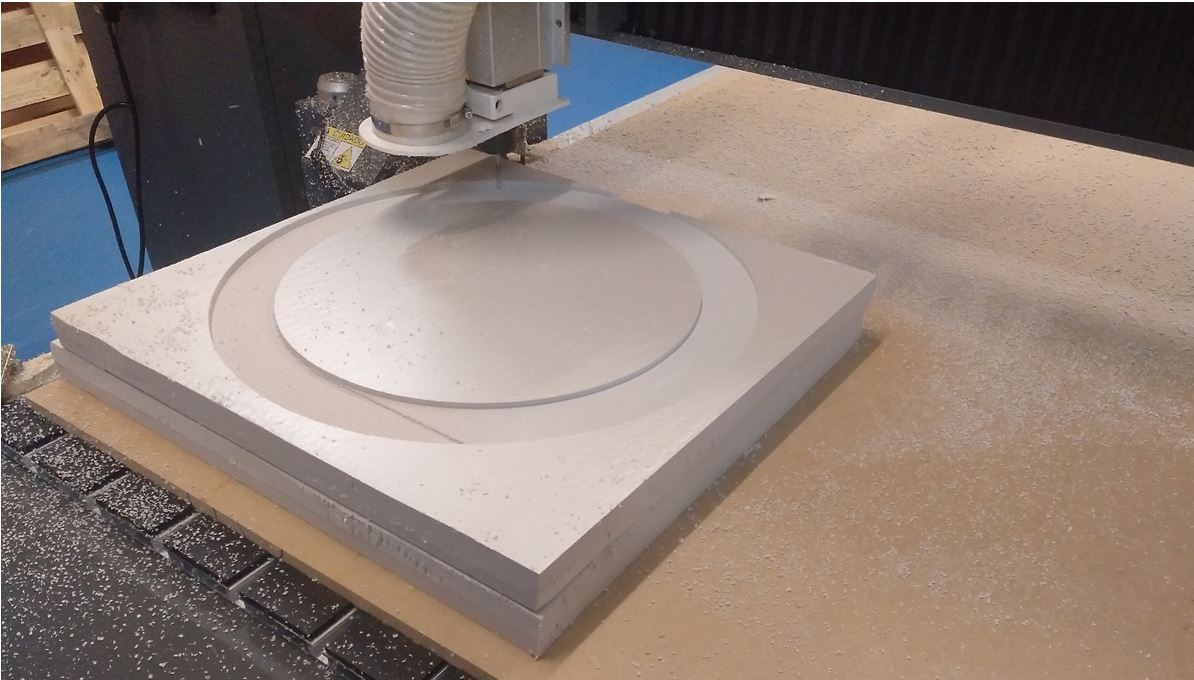
I draw a circle a little larger than the model. And I define the roughing operation by selecting that circle as the milling border to save time.
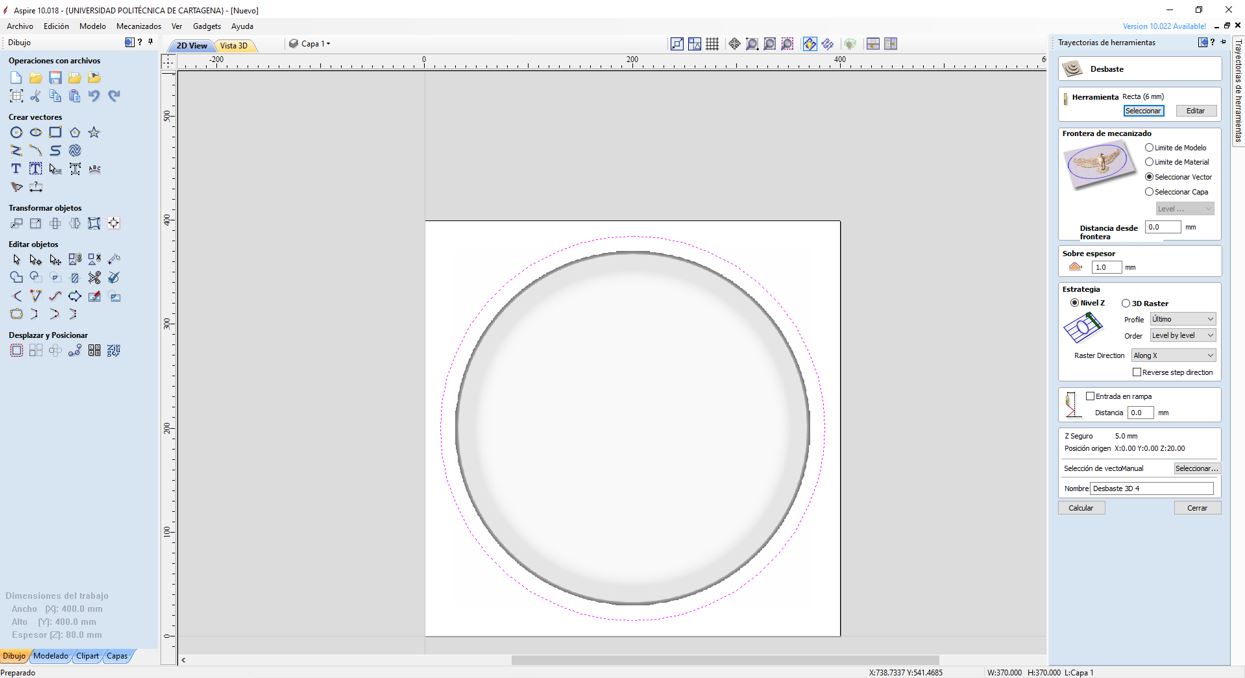
I select a milling tool 6mm in diameter, and choose 5mm depth of cut. I will select the feed rate later on the milling machine.
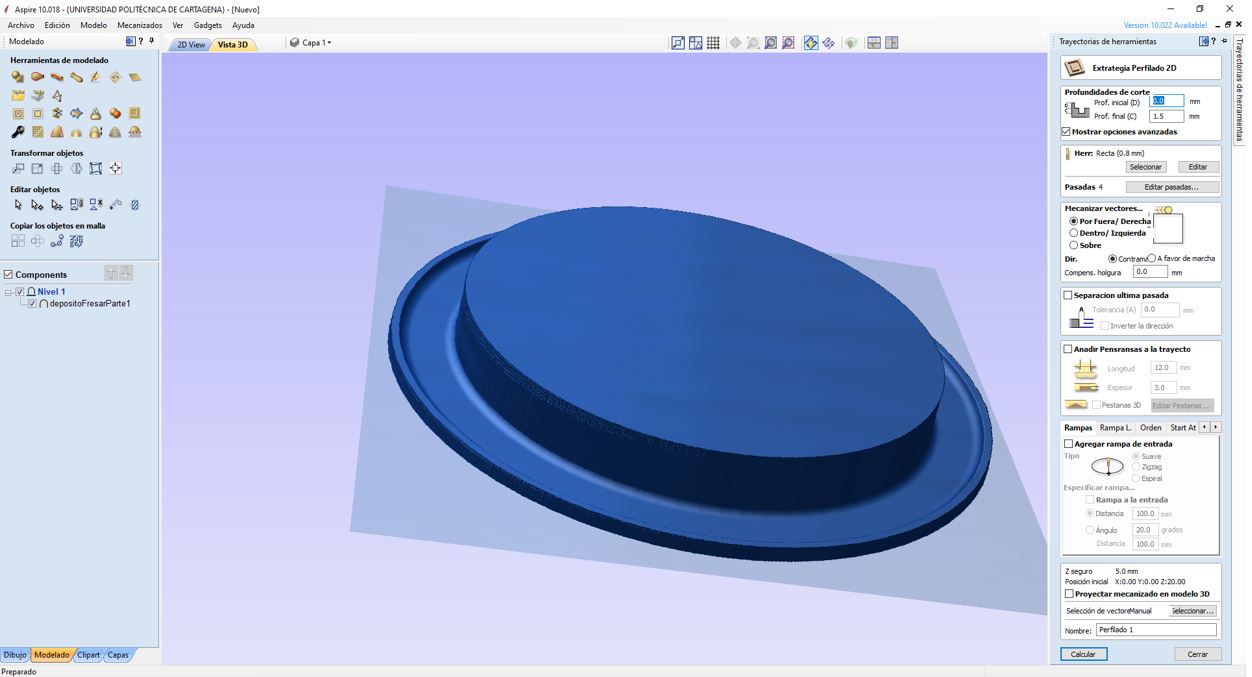
I also define the finishing operation. I select a 8mm diameter ball noise mill.
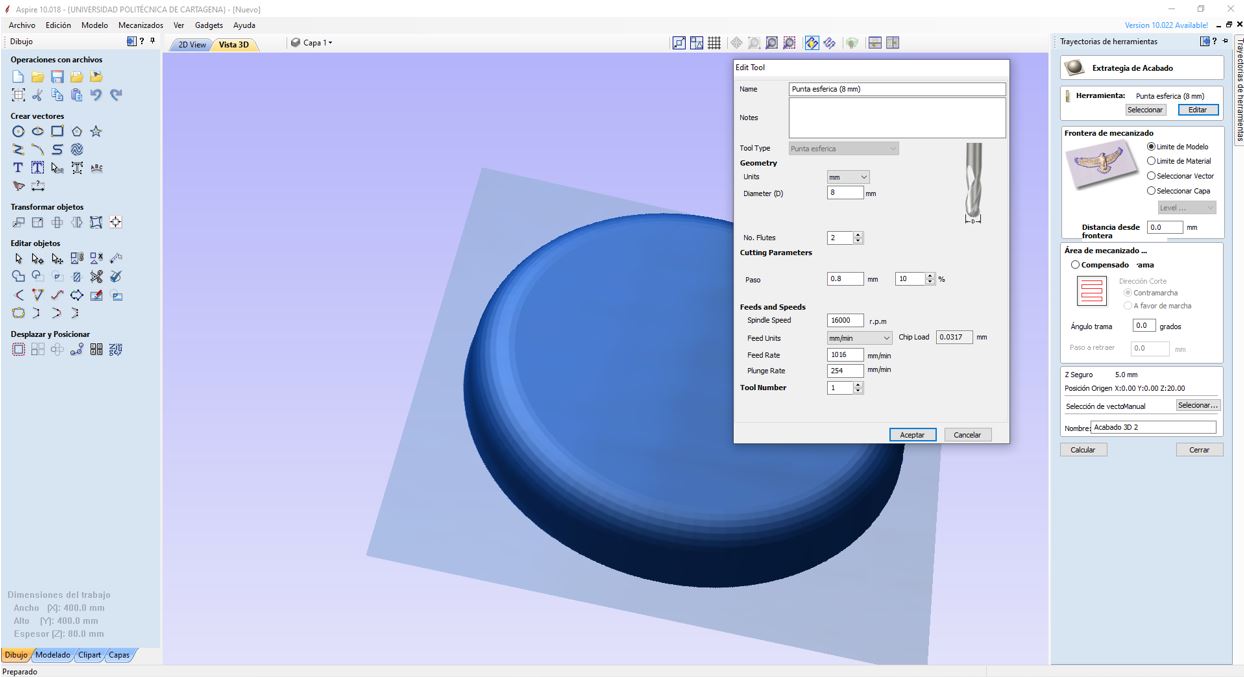
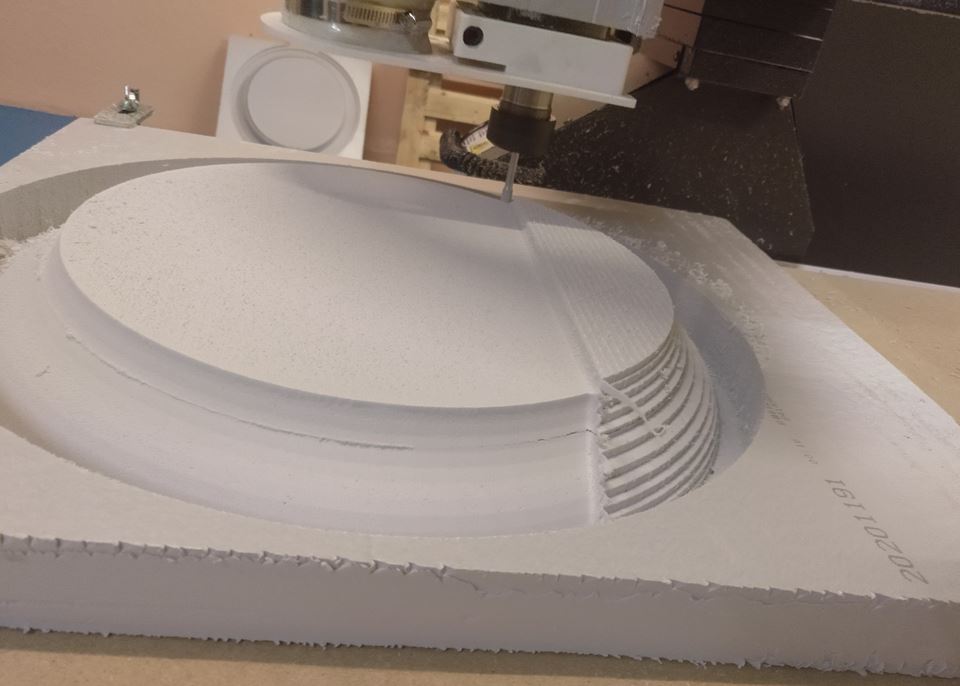
The simulation of both operations is shown below.
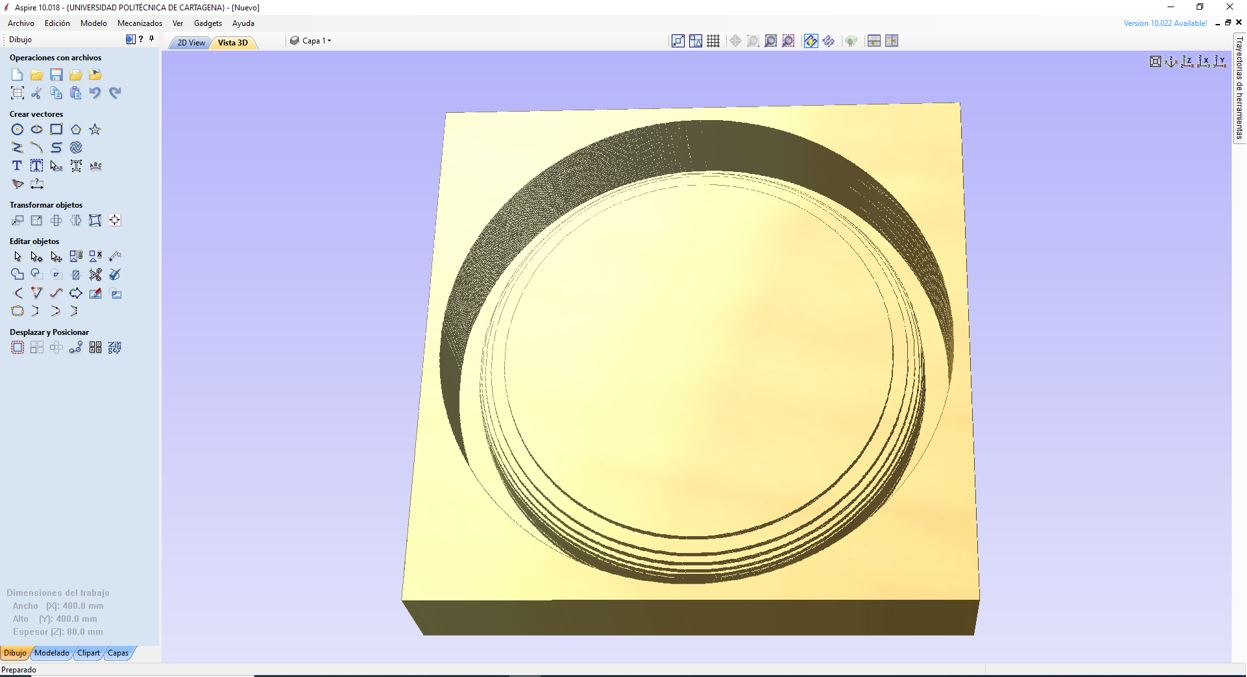

I do the same for the other sections of the model.
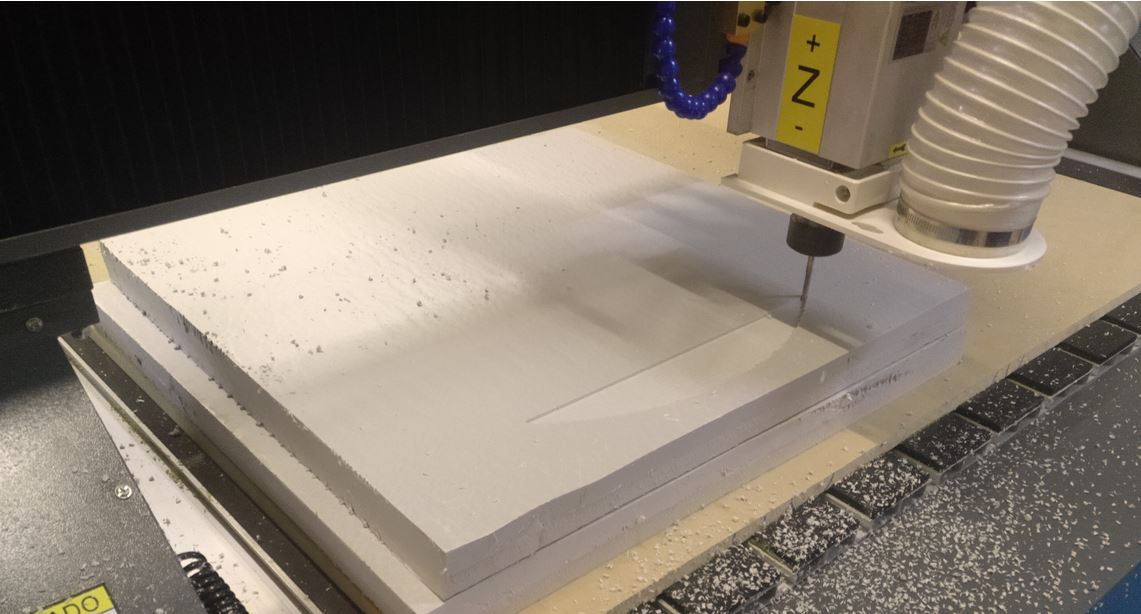
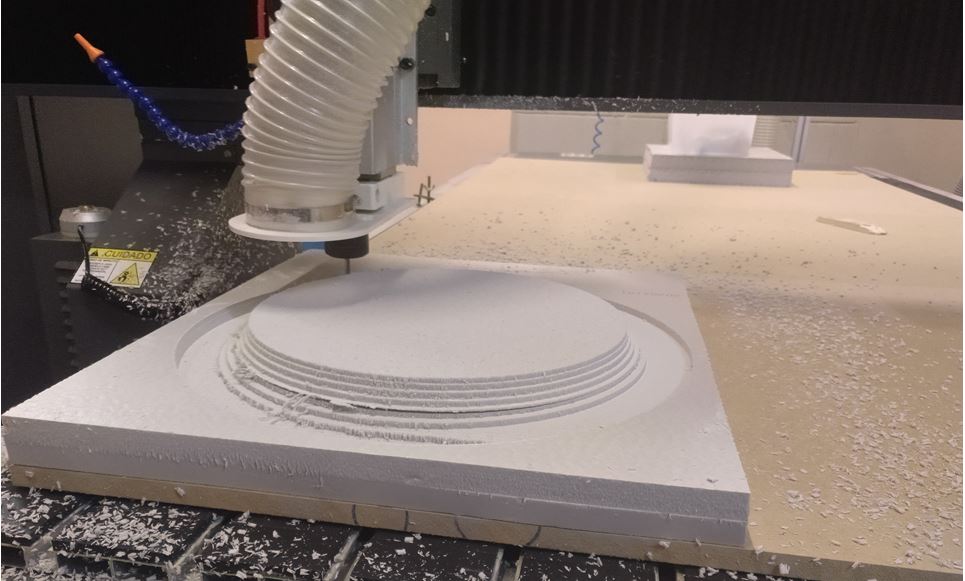
17.1.2 Milling
Our milling machine is the SW1325 by CNC Barcenas.
I select 12,000 rpm and Feed Rate 10,000 mm / min
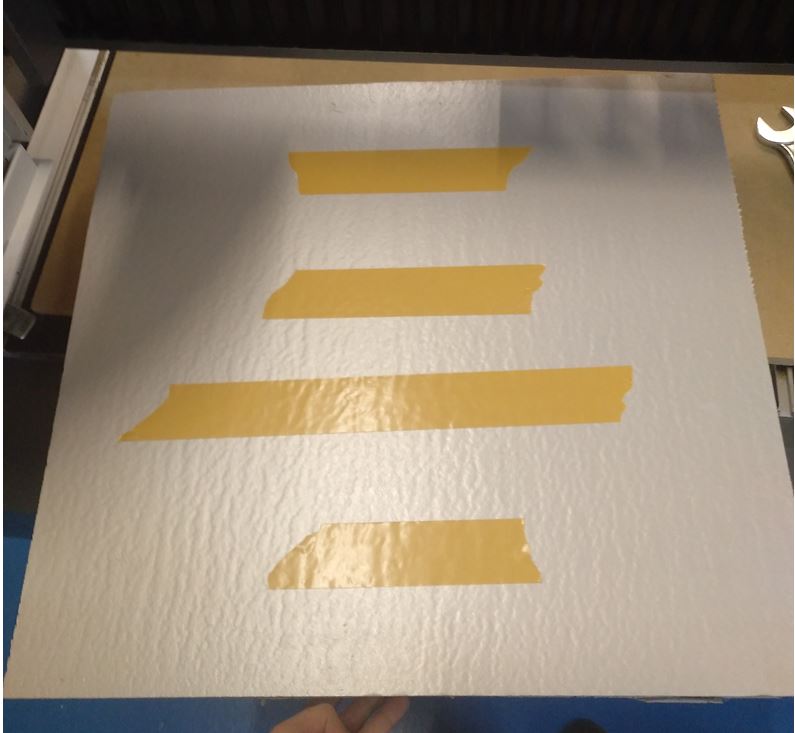
I use double-sided tape to hold the plate.
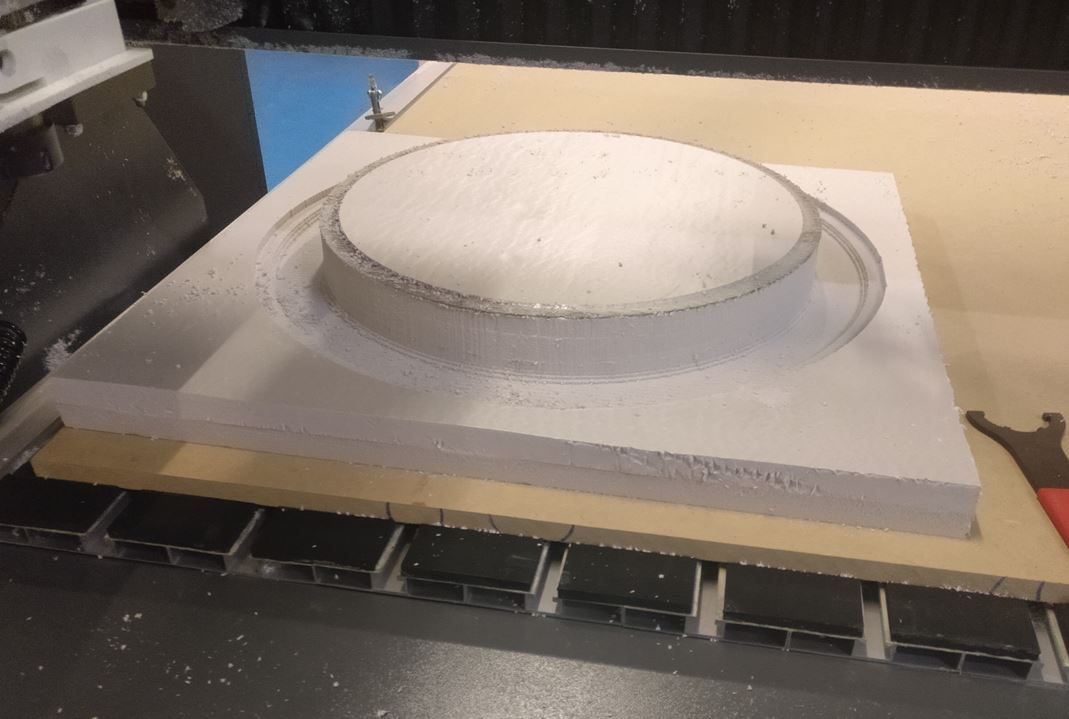
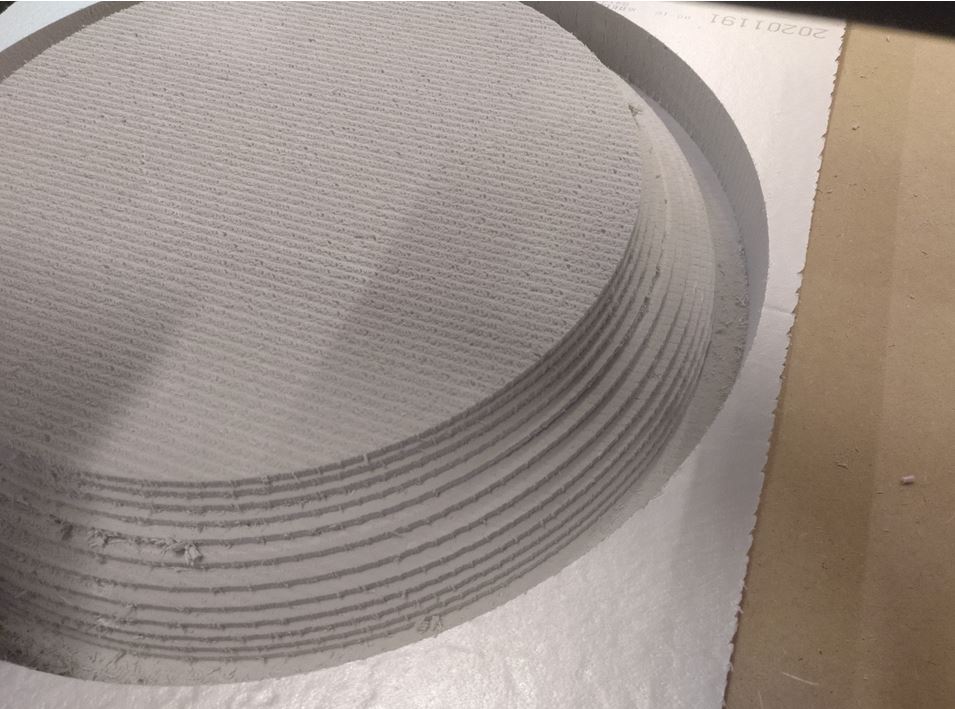
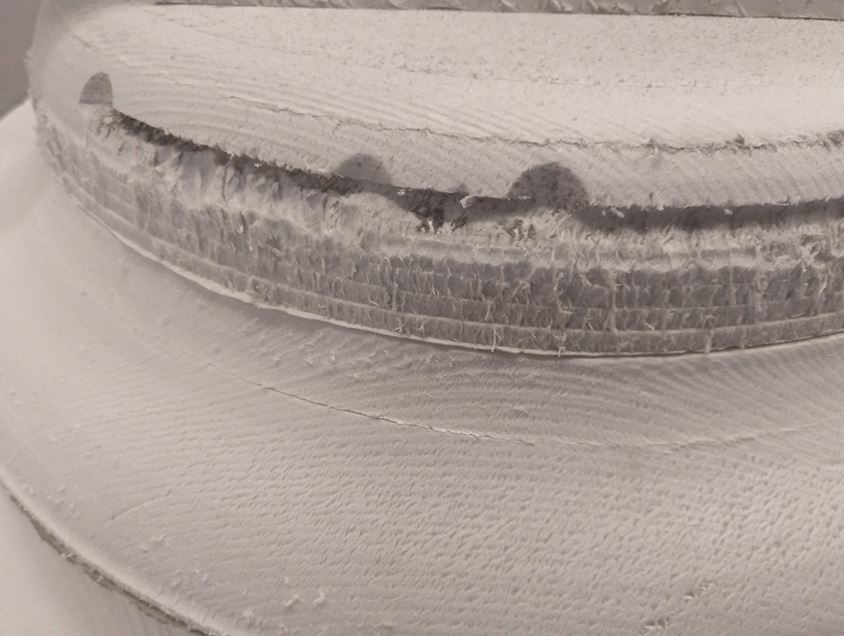
I have had a problem in one of the sections. My mill turned into a disk.

This extruded polystyrene plate had a different glue on the inside (The 4cm plates I have bought are 2 2cm plates stuck together). This glue has stuck to the tool and has formed a very hard disk.
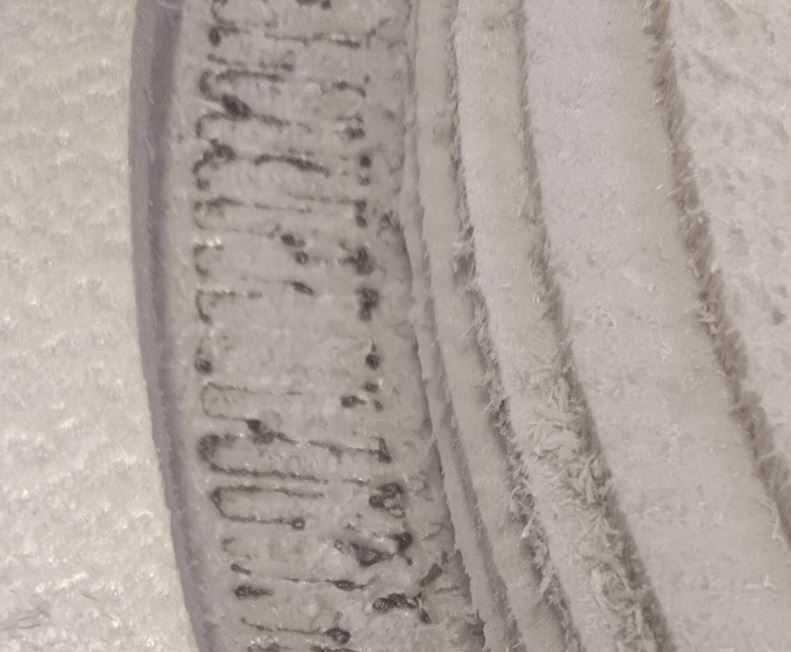
This glue disc has broken part of the mold.
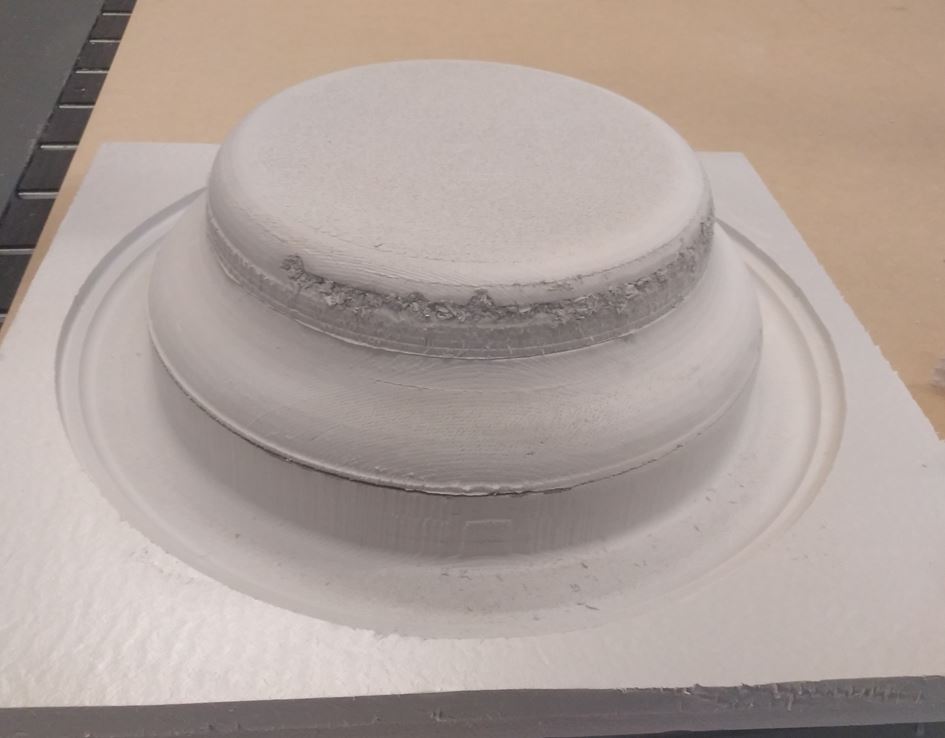
But I’m not going to start milling again. I can fix it by covering it with a mixture of glue and shavings from the mold.
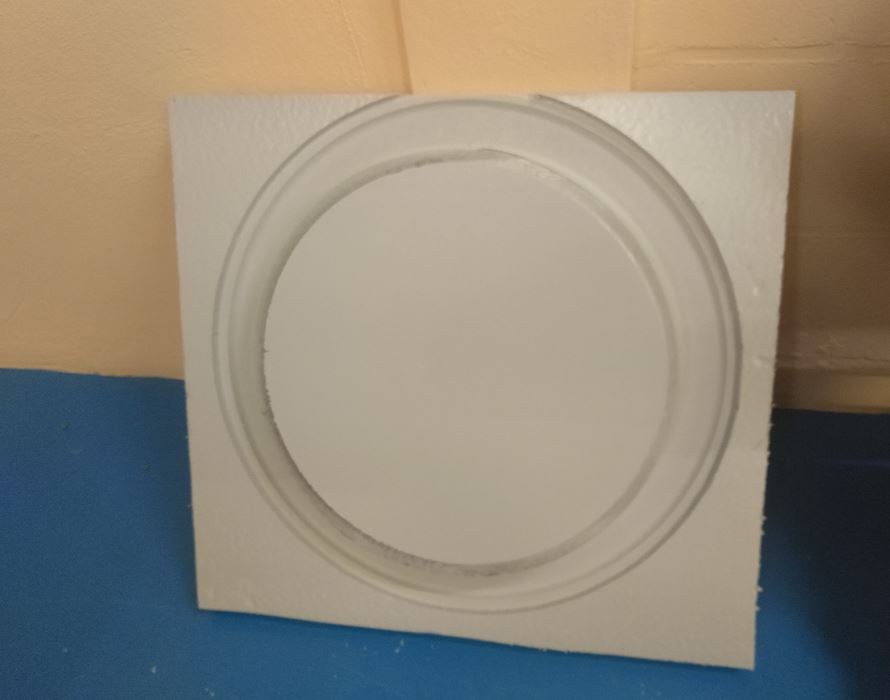
This is the complete mold.
17.1.3. Cutting cloth
To cut the sackcloth I design the cutting pattern in Solidworks.
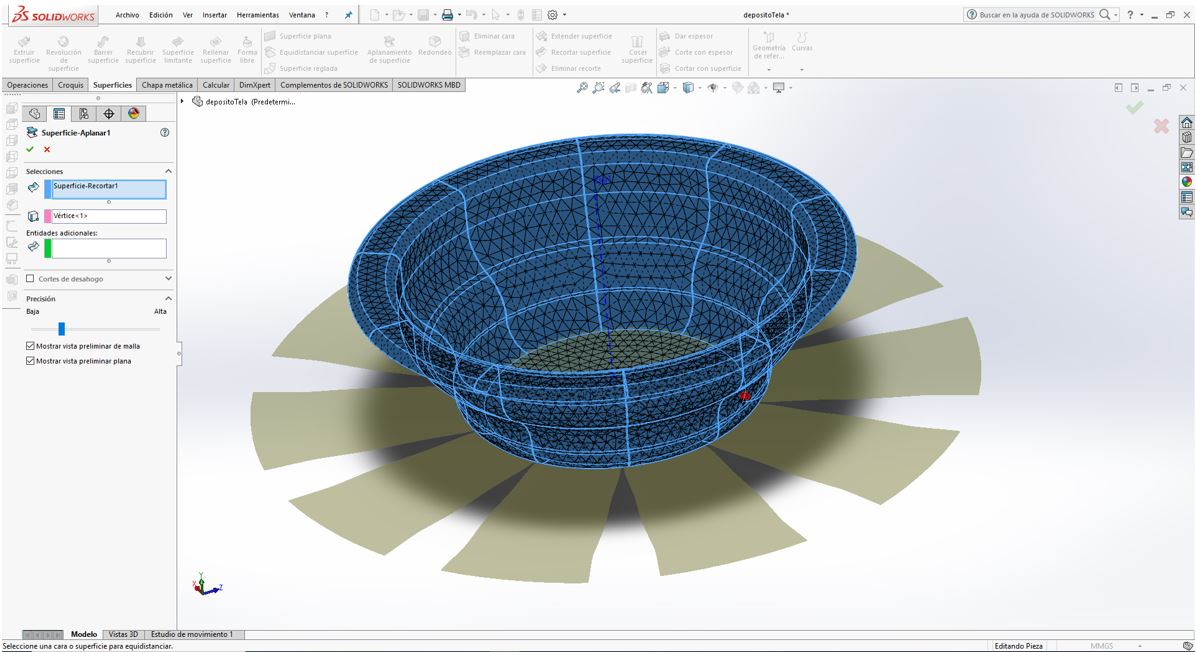
I build the model as a surface instead of a solid.
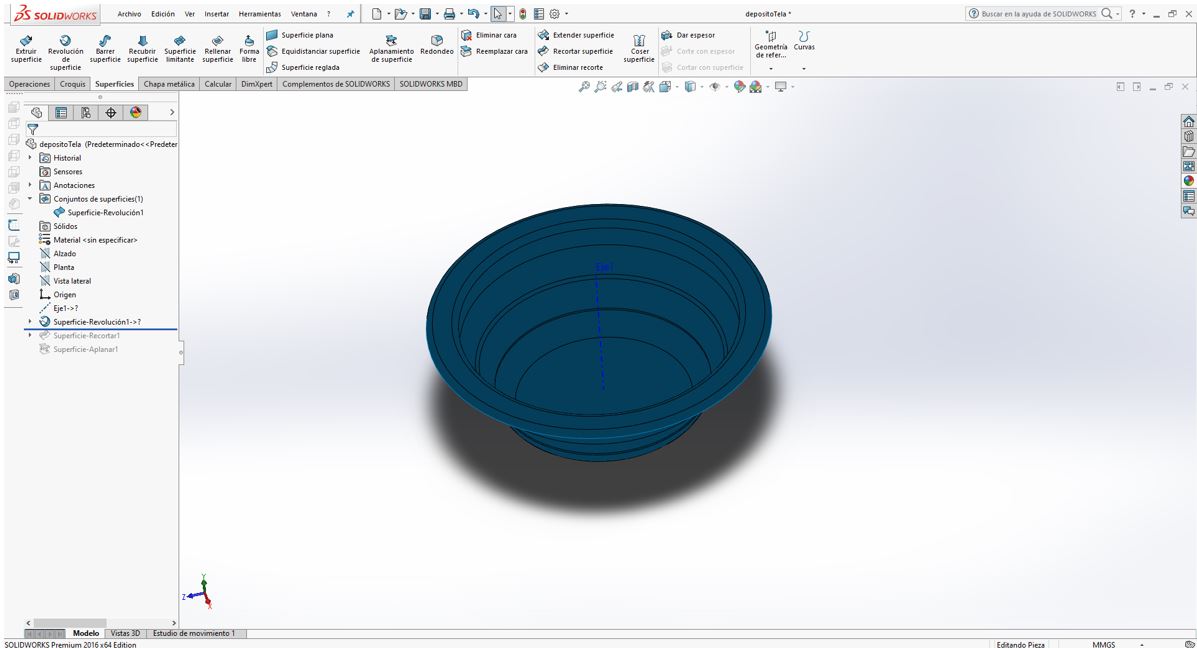
I create a sketch at the base of the model, with the cuts that I will project on the surface.
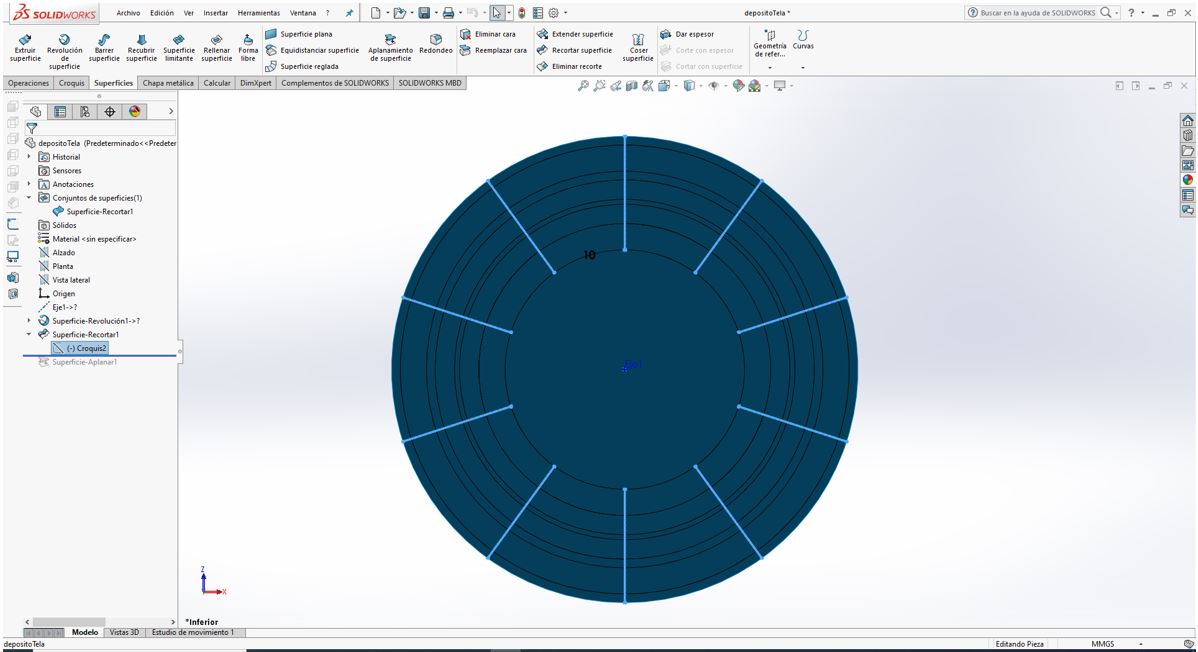
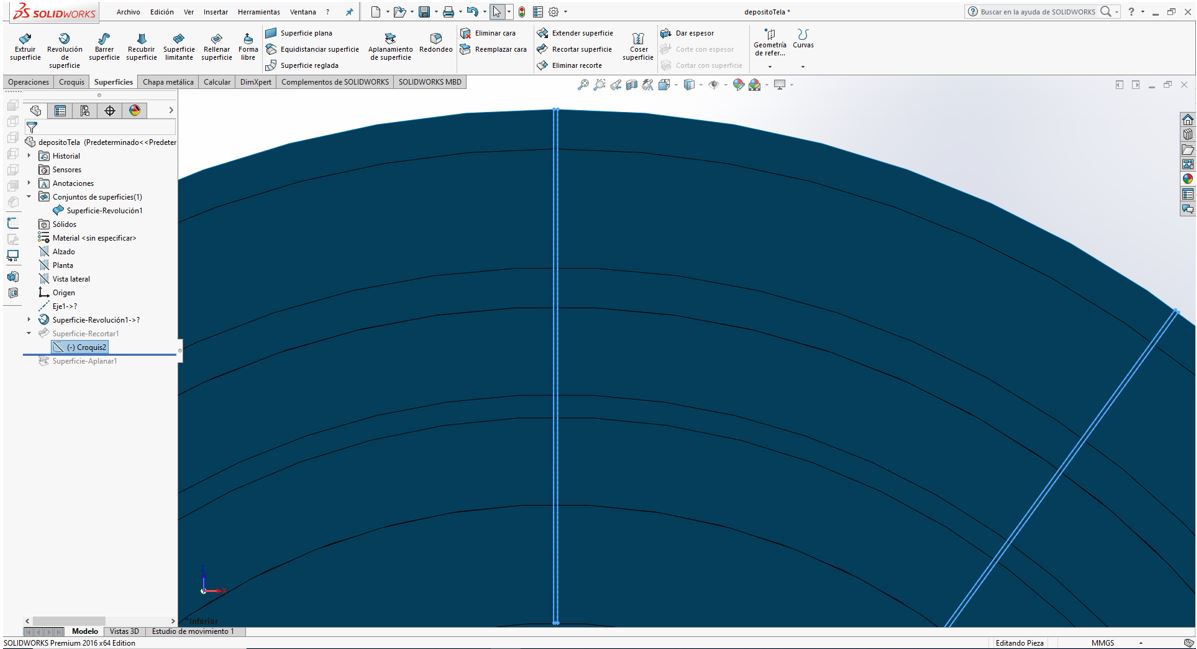
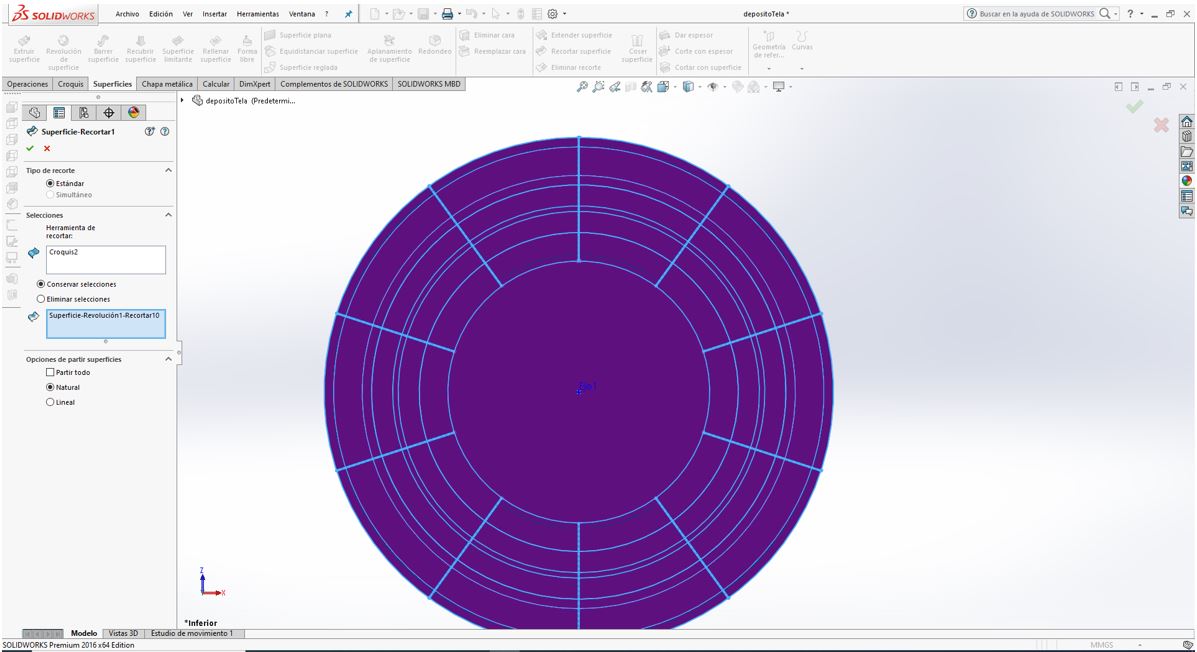
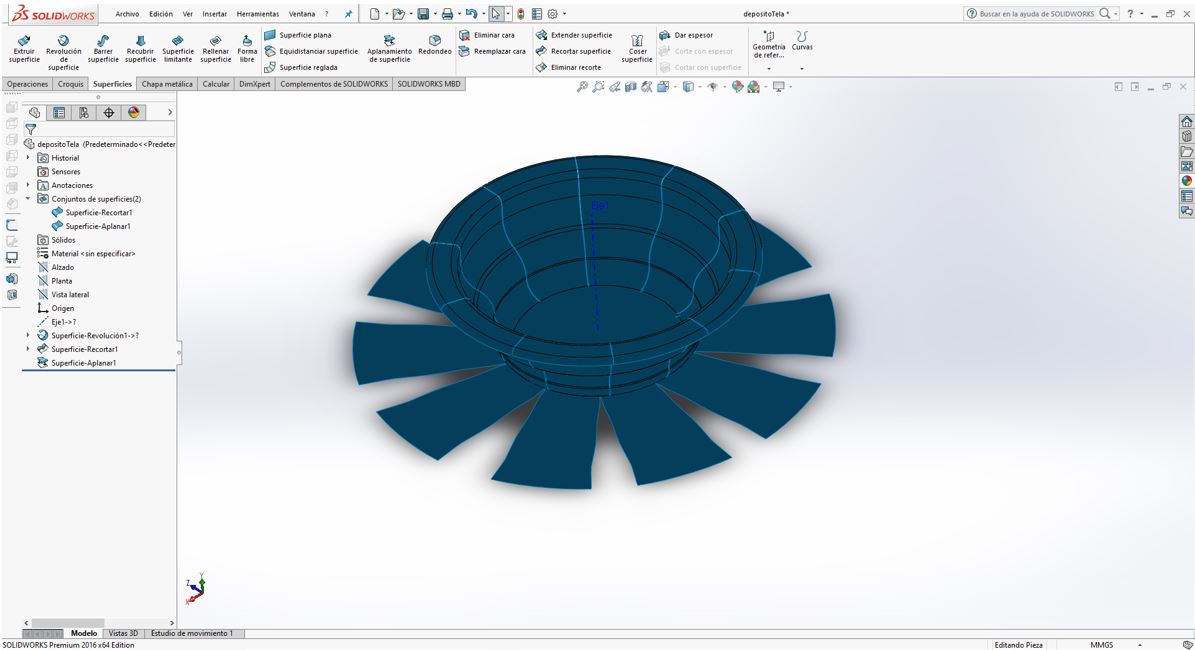
Within the “Surfaces” module, I select the “Trim surfaces” operation. And I select the sketch above and the entire surface.


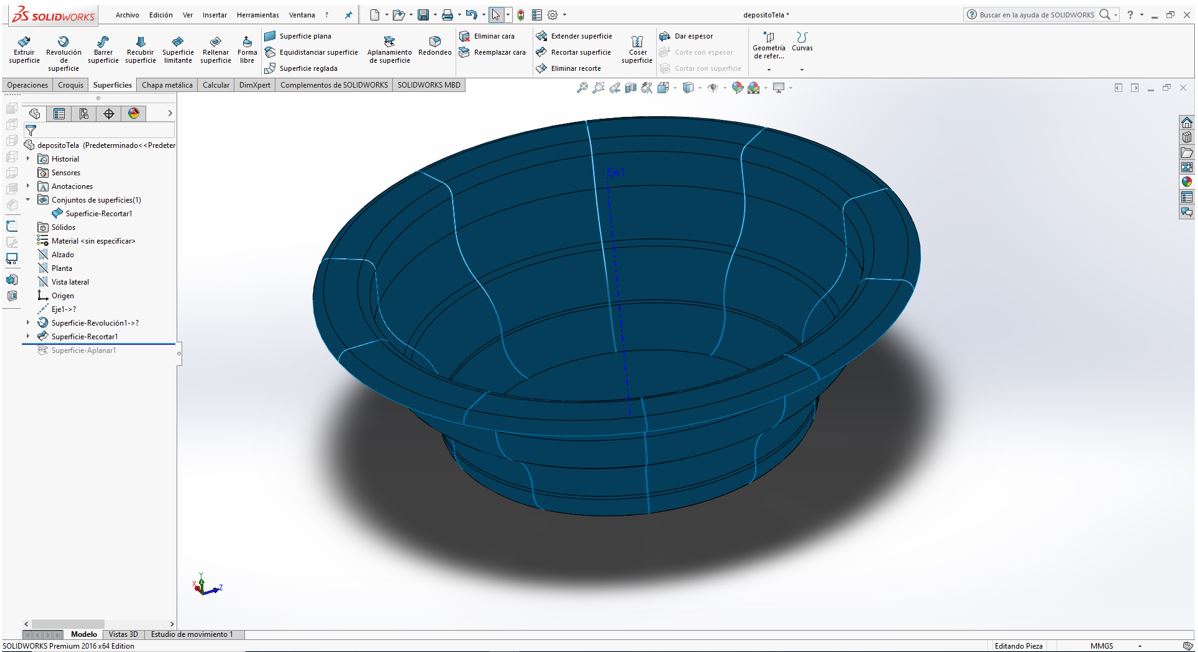
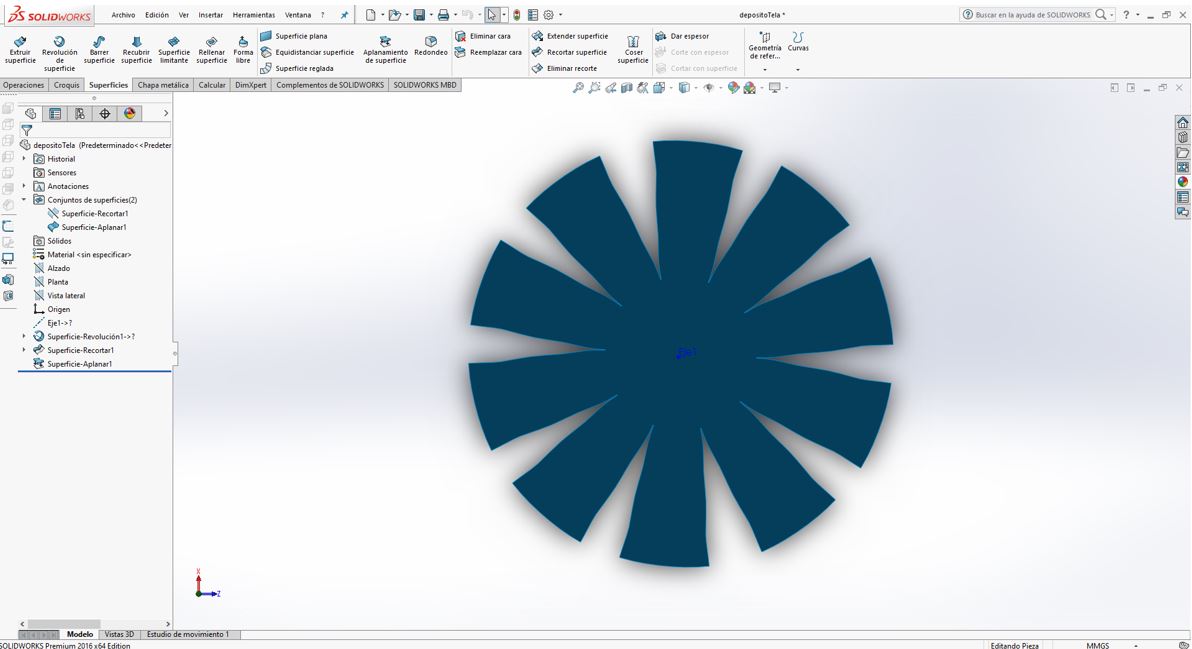
In “Surfaces” I select the operation “Flattening of surface”
This is the shape that I have to cut on the fabric.
I create the plane
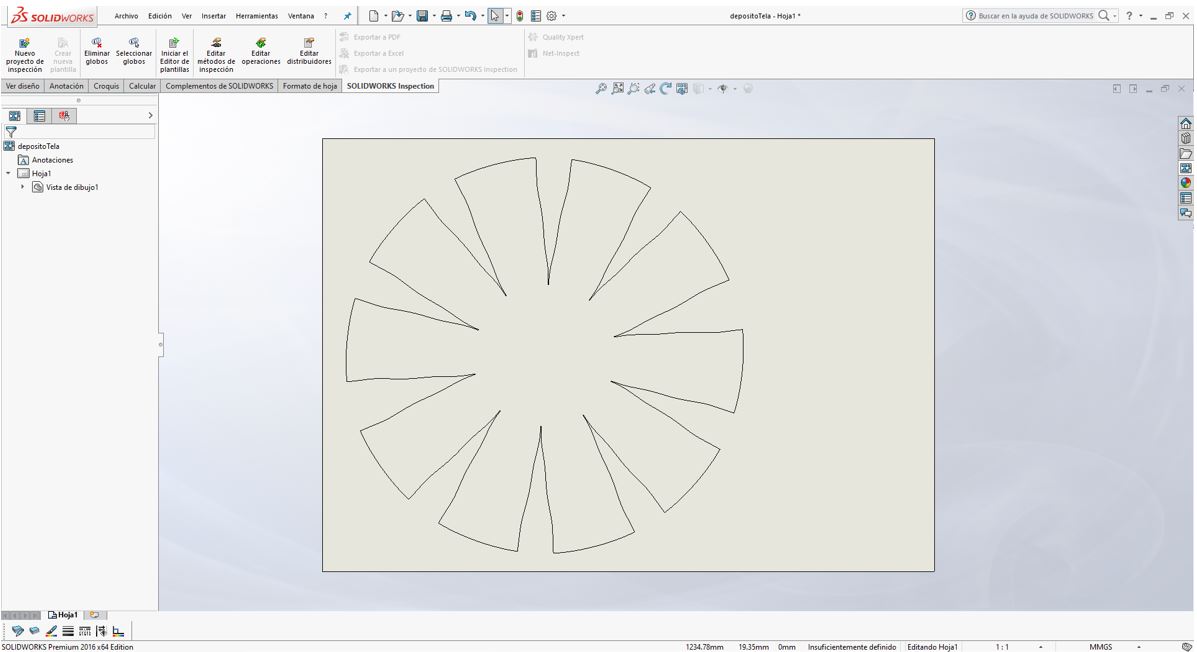
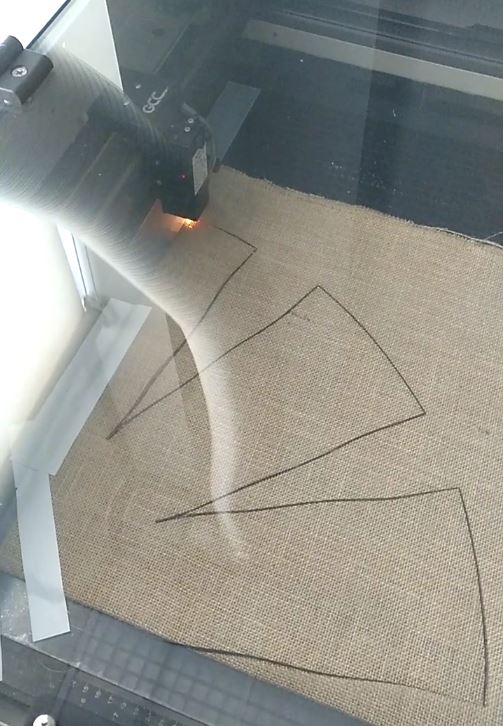
And I cut the sackcloth in the laser cutter, but since it does not fit completely, I fold the sackcloth twice and I order to cut ¼ of the drawing.
Unfolding the sackcloth shows the complete cut.
17.1.4. Laminating
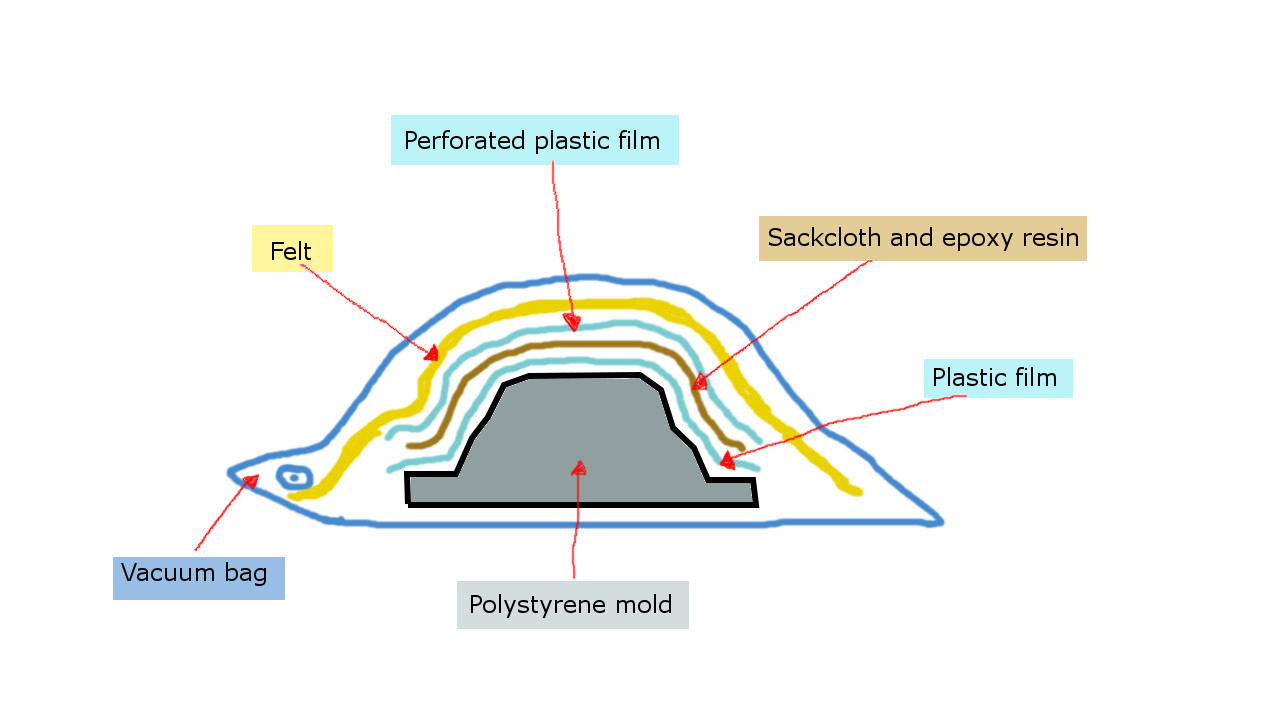
- I put a plastic film on the mold.
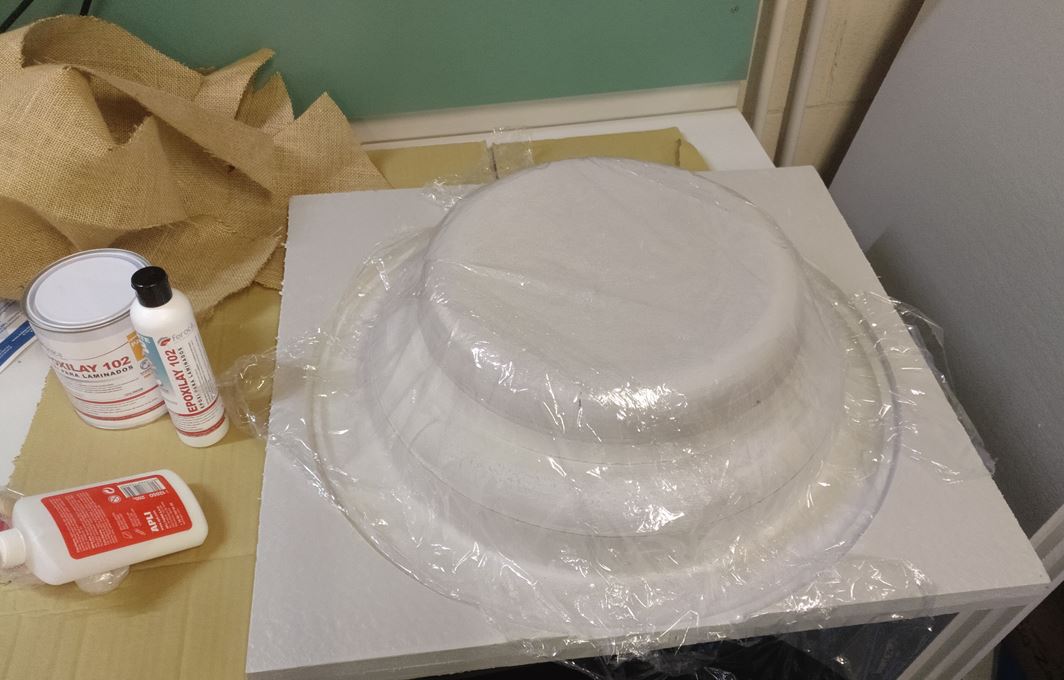
- Resin mix. I use Epoxylay 102 resin. It is made up of 2 parts.
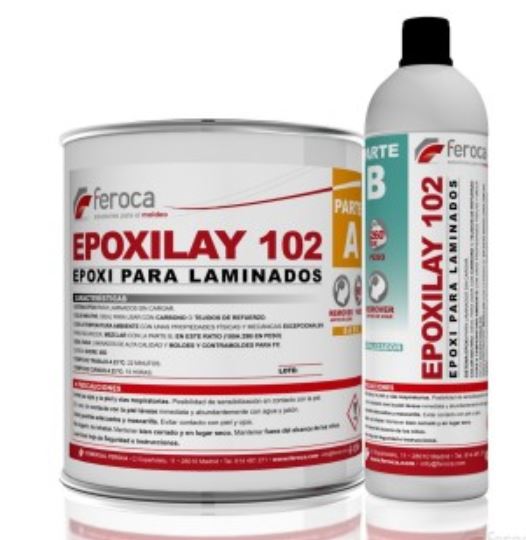
I mix the following ratio: 100 from Part A -> 29 from Part B
This is the manufacturer’s SAFETY INFORMATION:
Avoid breathing fumes - use in a well ventilated area at minimum. NIOSH approved respirator is recommended. Wear safety glasses, long sleeves and rubber gloves to minimize skin contact. This material has a high exotherm (generates heat). Do not mix components in glass or foam containers.
-
I smear the sackcloth with the resin and place it on the mold. I put a second cloth to cover the holes in the cut of the cloth. And I paint with more resin.
-
I put a layer of perforated film, and a felt so that it absorbs the excess resin.
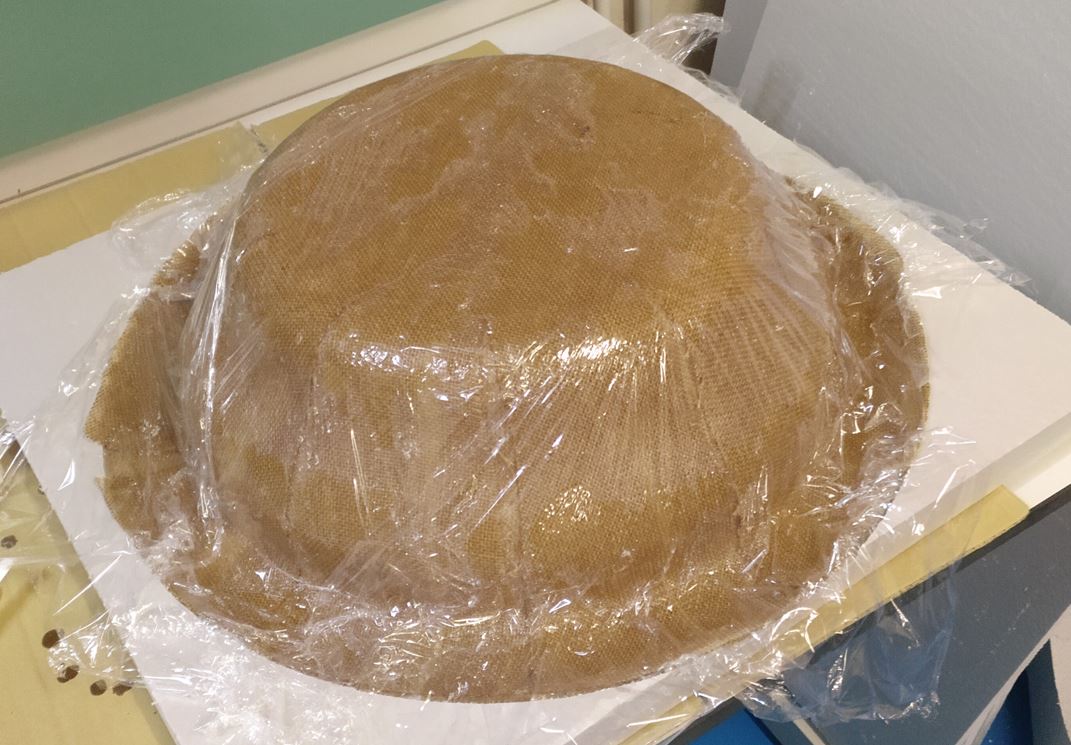
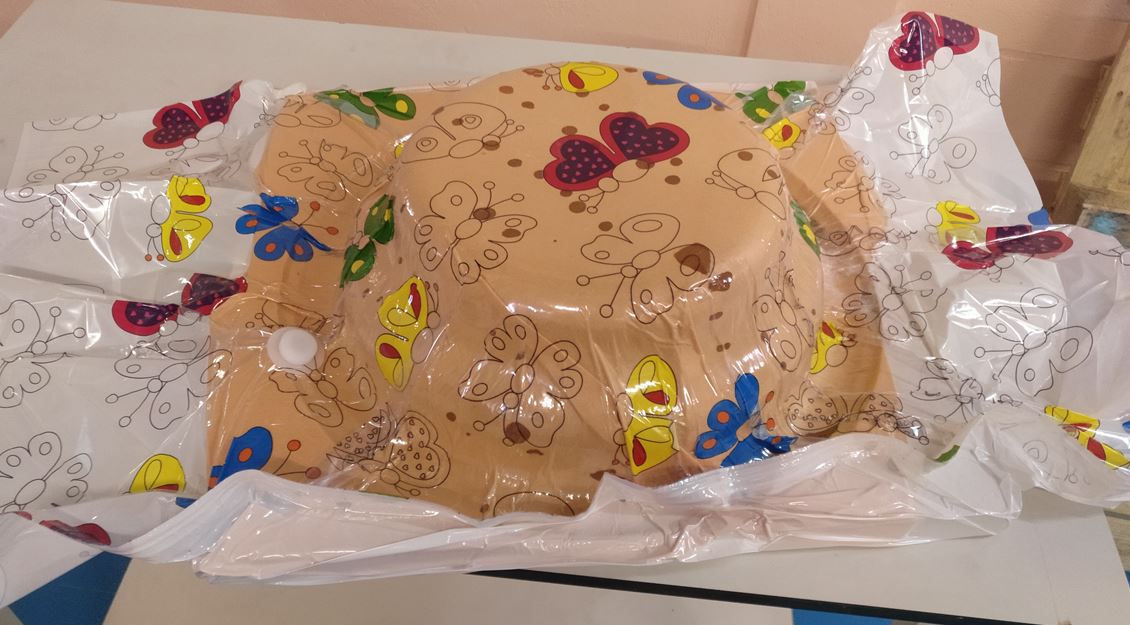
- I put it in a vacuum bag and suck the air inside. And I wait 15 hours.
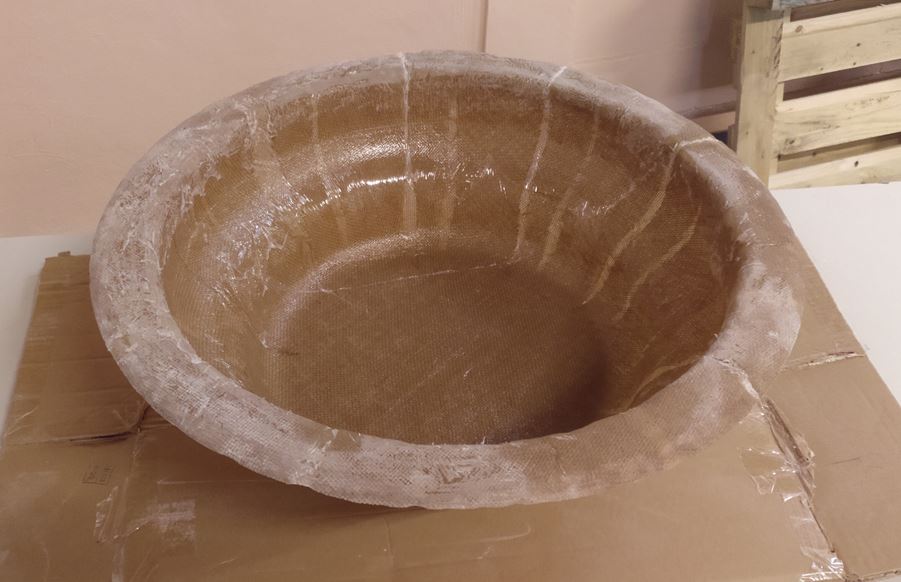
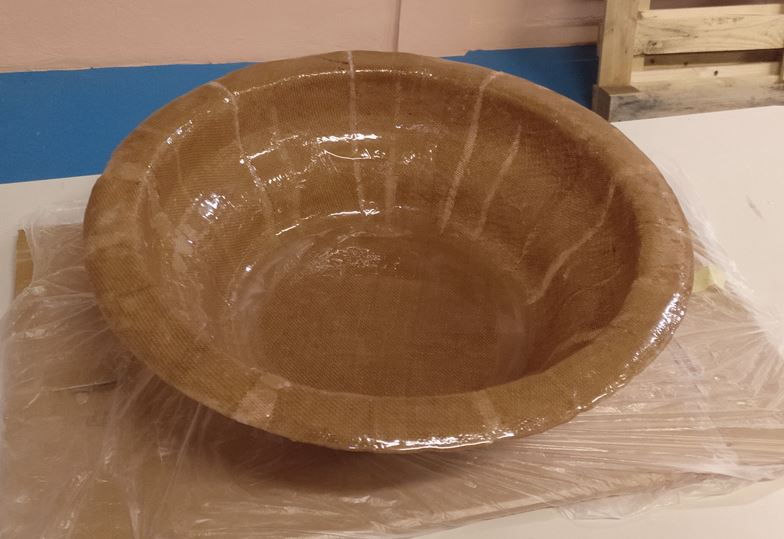
17.1.5. Result
- When I take it out of the vacuum bag I discover that the felt has stuck in some areas. Maybe I’ll leave some area uncovered with the film. I also cannot remove the plastic well. I have used kitchen film, very fine. I think if I had used a thicker film I might be able to remove it better.
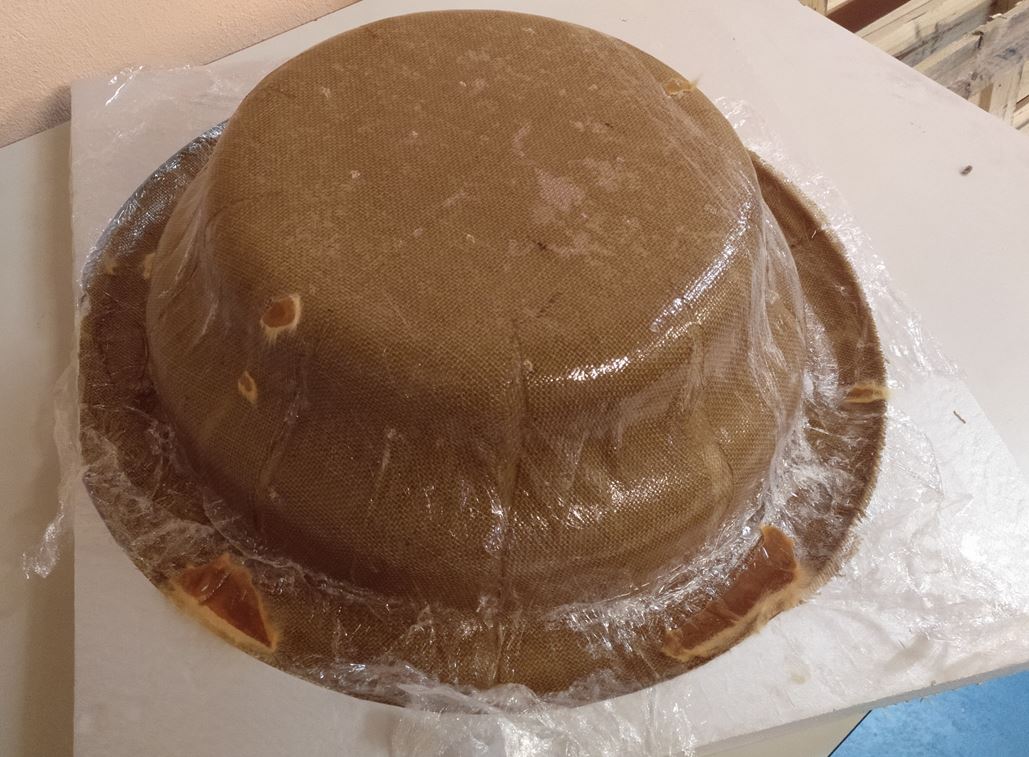
- I use the dremel to sand the upper edge. So I can remove the plastic and the glued polyurethane more or less.
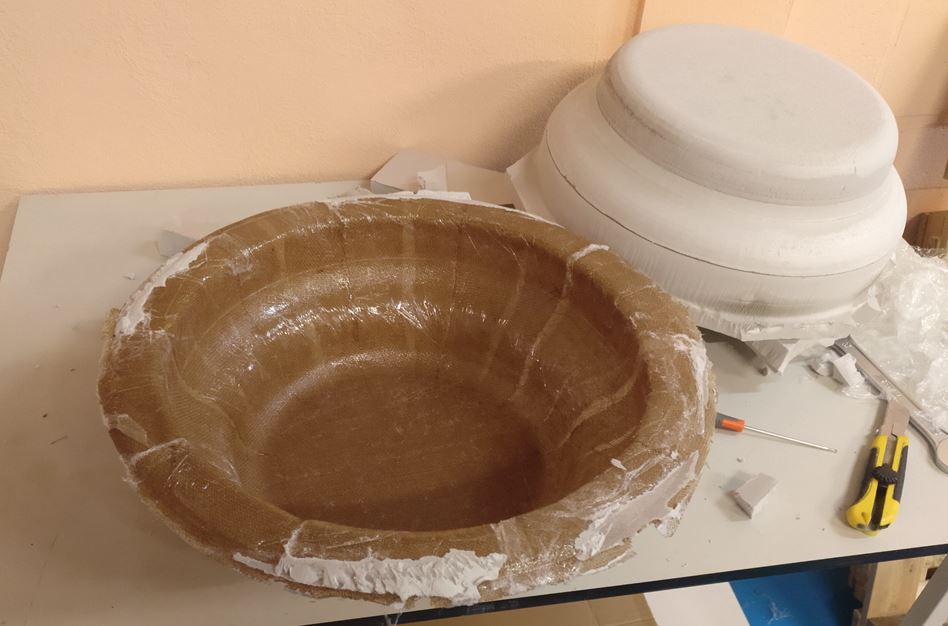
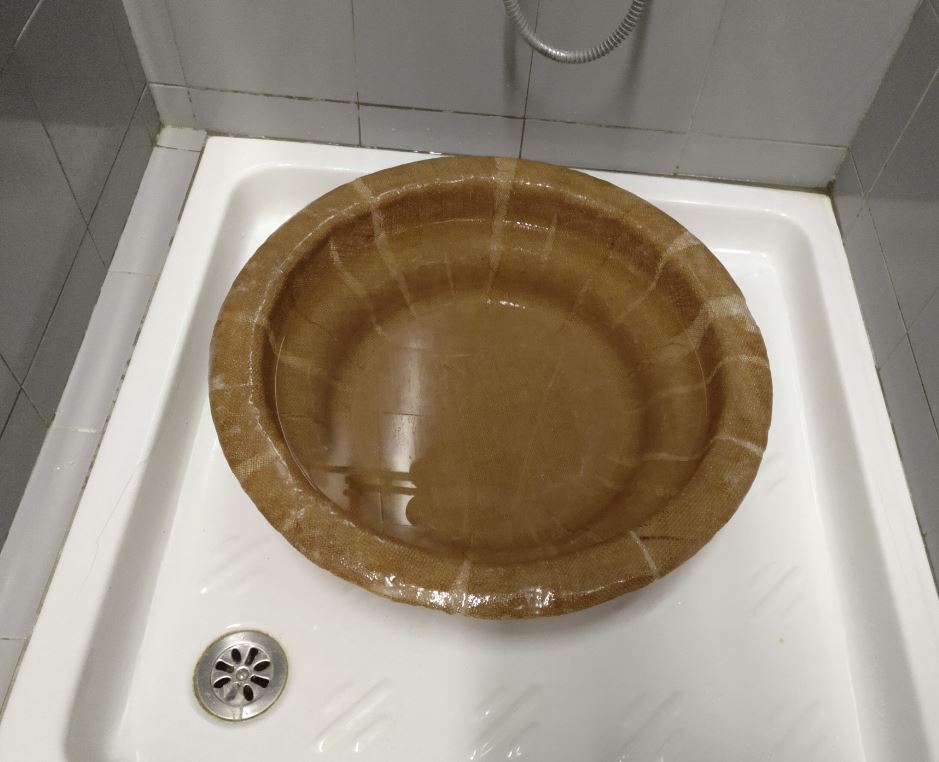
This container must contain the water from my final project fountain. I try to fill it with water and discover many leaks. So I decide to give him other layer of the same resin.
Now it works. Contains water without leaks.
17.2. My files
Mold files
Solidworks file of the mold to be milled.
Part 1 of the mold to be milled (stl).
Part 2 of the mold to be milled (stl).
Part 3 of the mold to be milled (stl).
Fabric files
Pdf file of the cutting pattern by folding the fabric 2 times.