Week 3 - Laser Cutting
This week’s assignment included the following tasks:
- characterize your laser cutter’s focus, power, speed, rate
- determine the kerf & joint clearance
Fablab Barcelona Prerequisites
Laser Cutters
In the Fablab Barcelona we can use two different laser cutters: * Trotec Speedy 400 * Rayjet R400
Materials
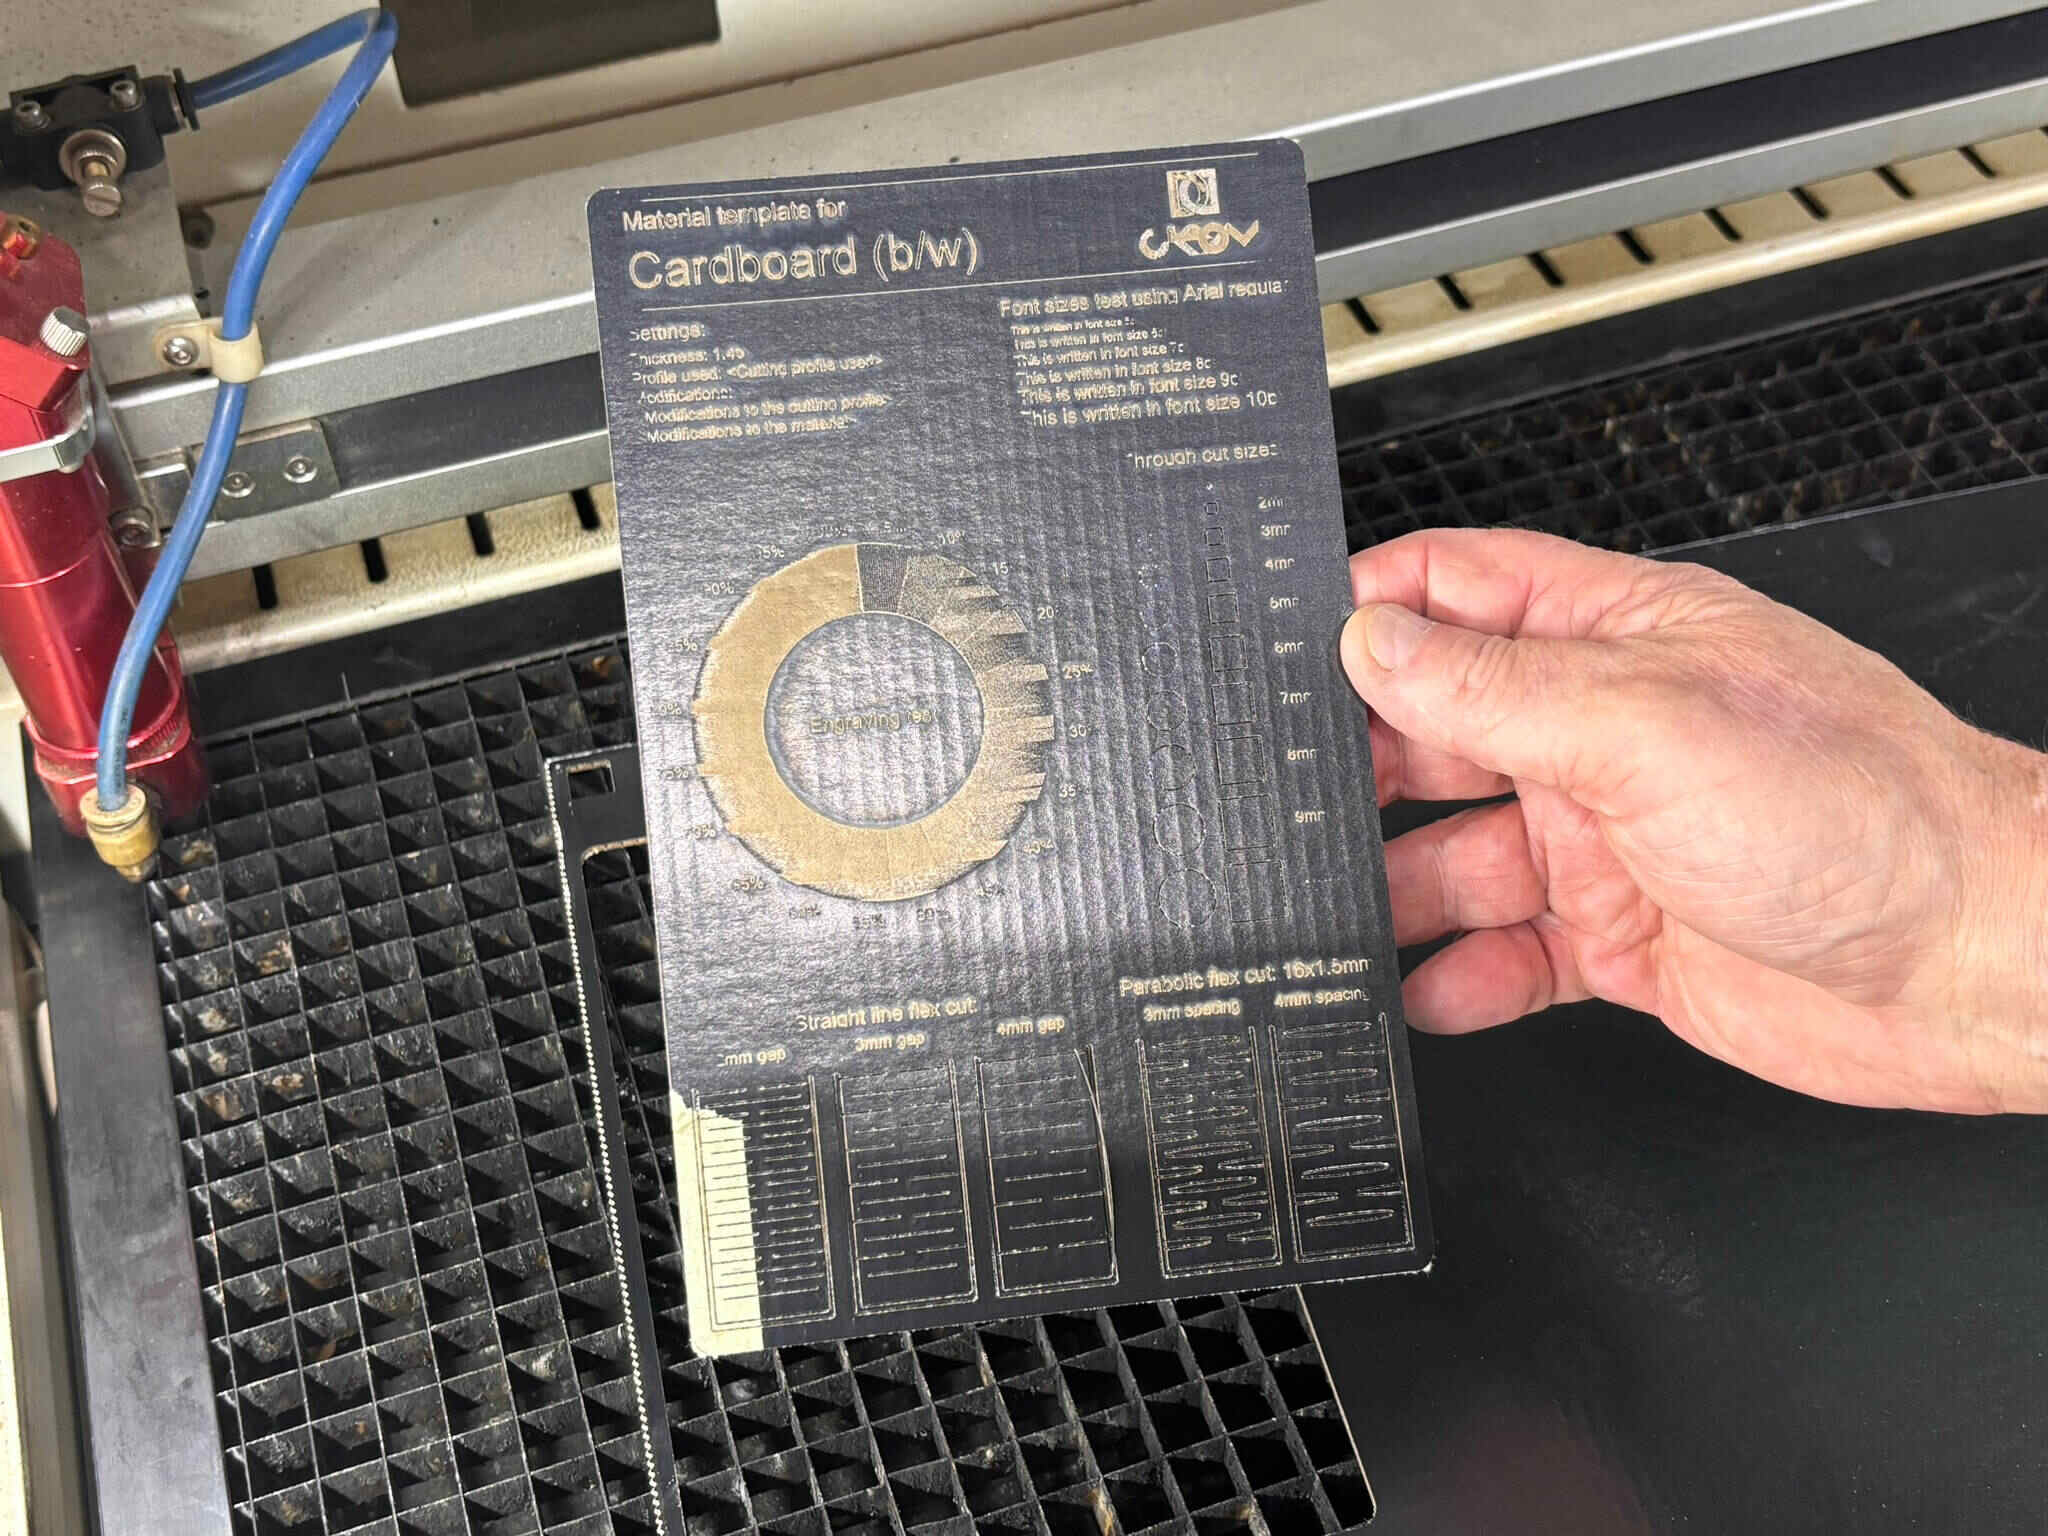
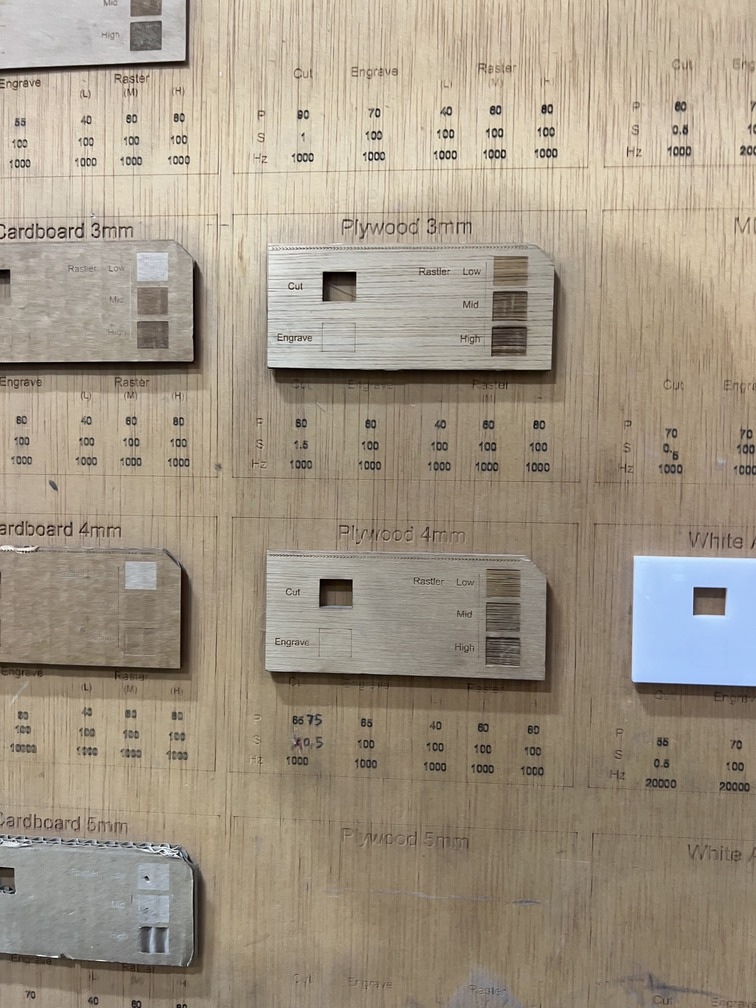
For this week’s assignement we want to test the following materials: * Cardboard brown (4mm) * Cardboard black/white (2mm) * Plywood (4mm)
Workflow:
1. Measure actual material thickness:
- Cardboard brown (3.7mm)
- Cardboard black/white (1.4mm)
- Plywood (1.4mm)
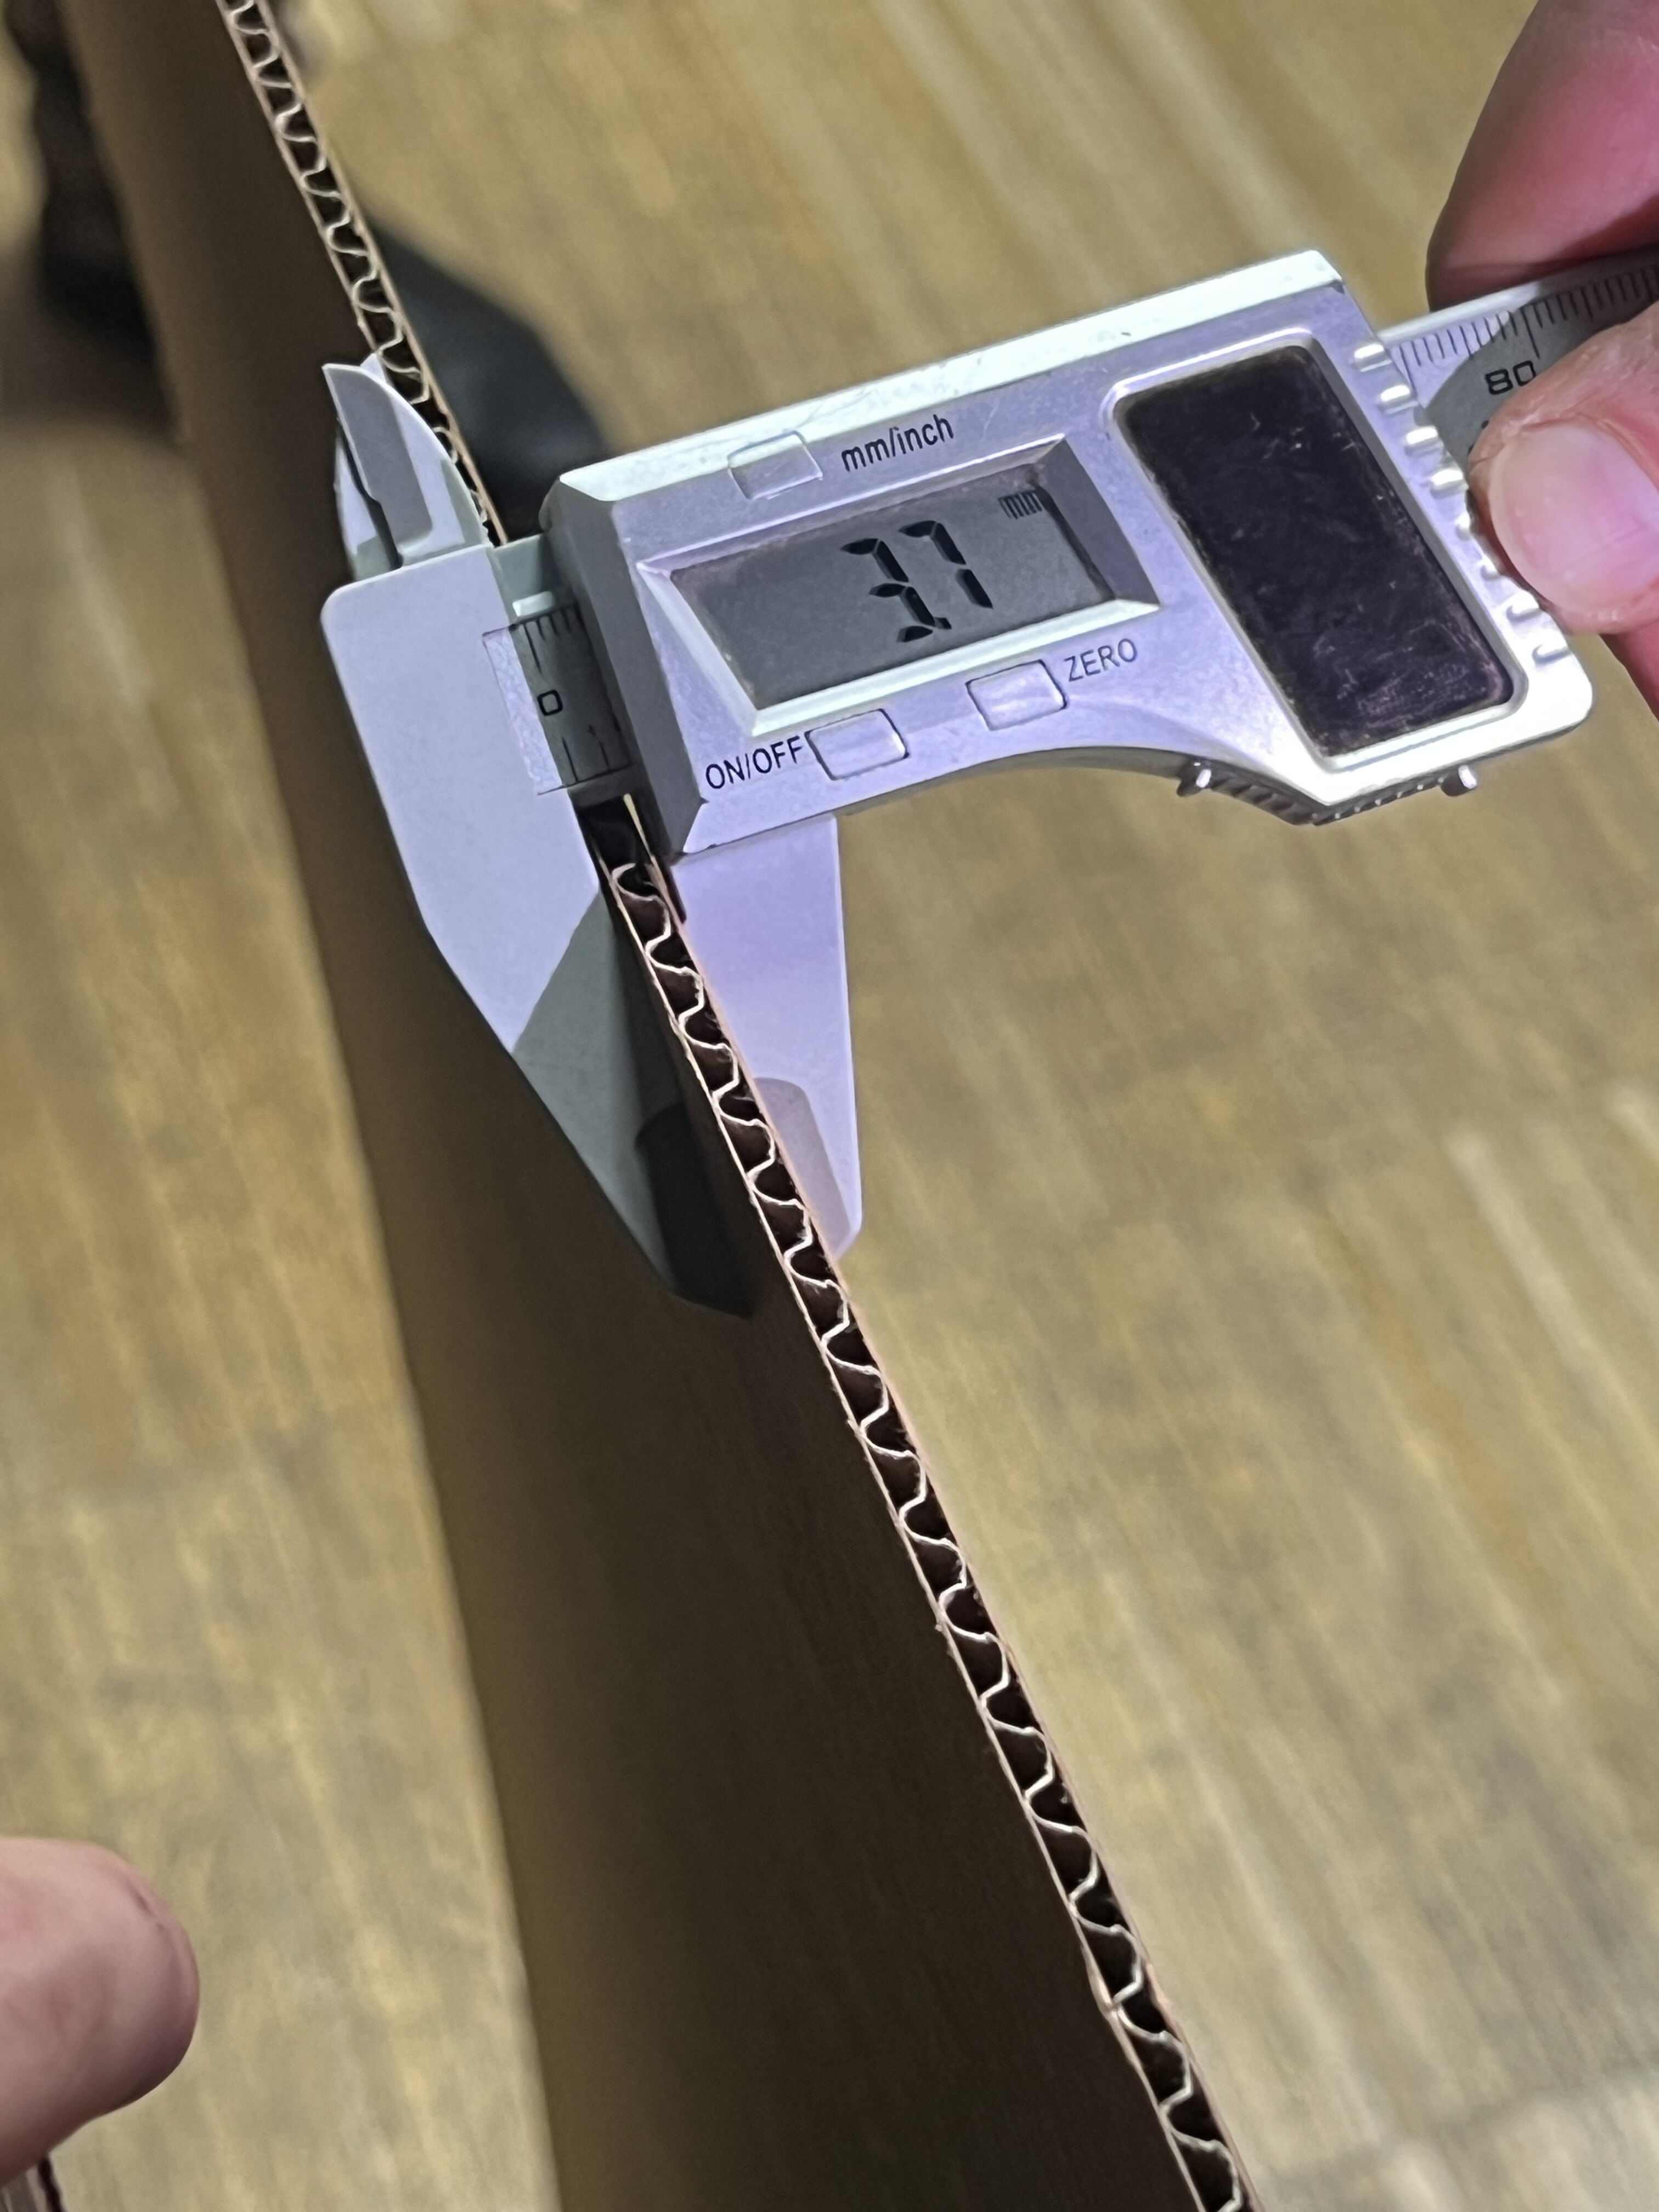
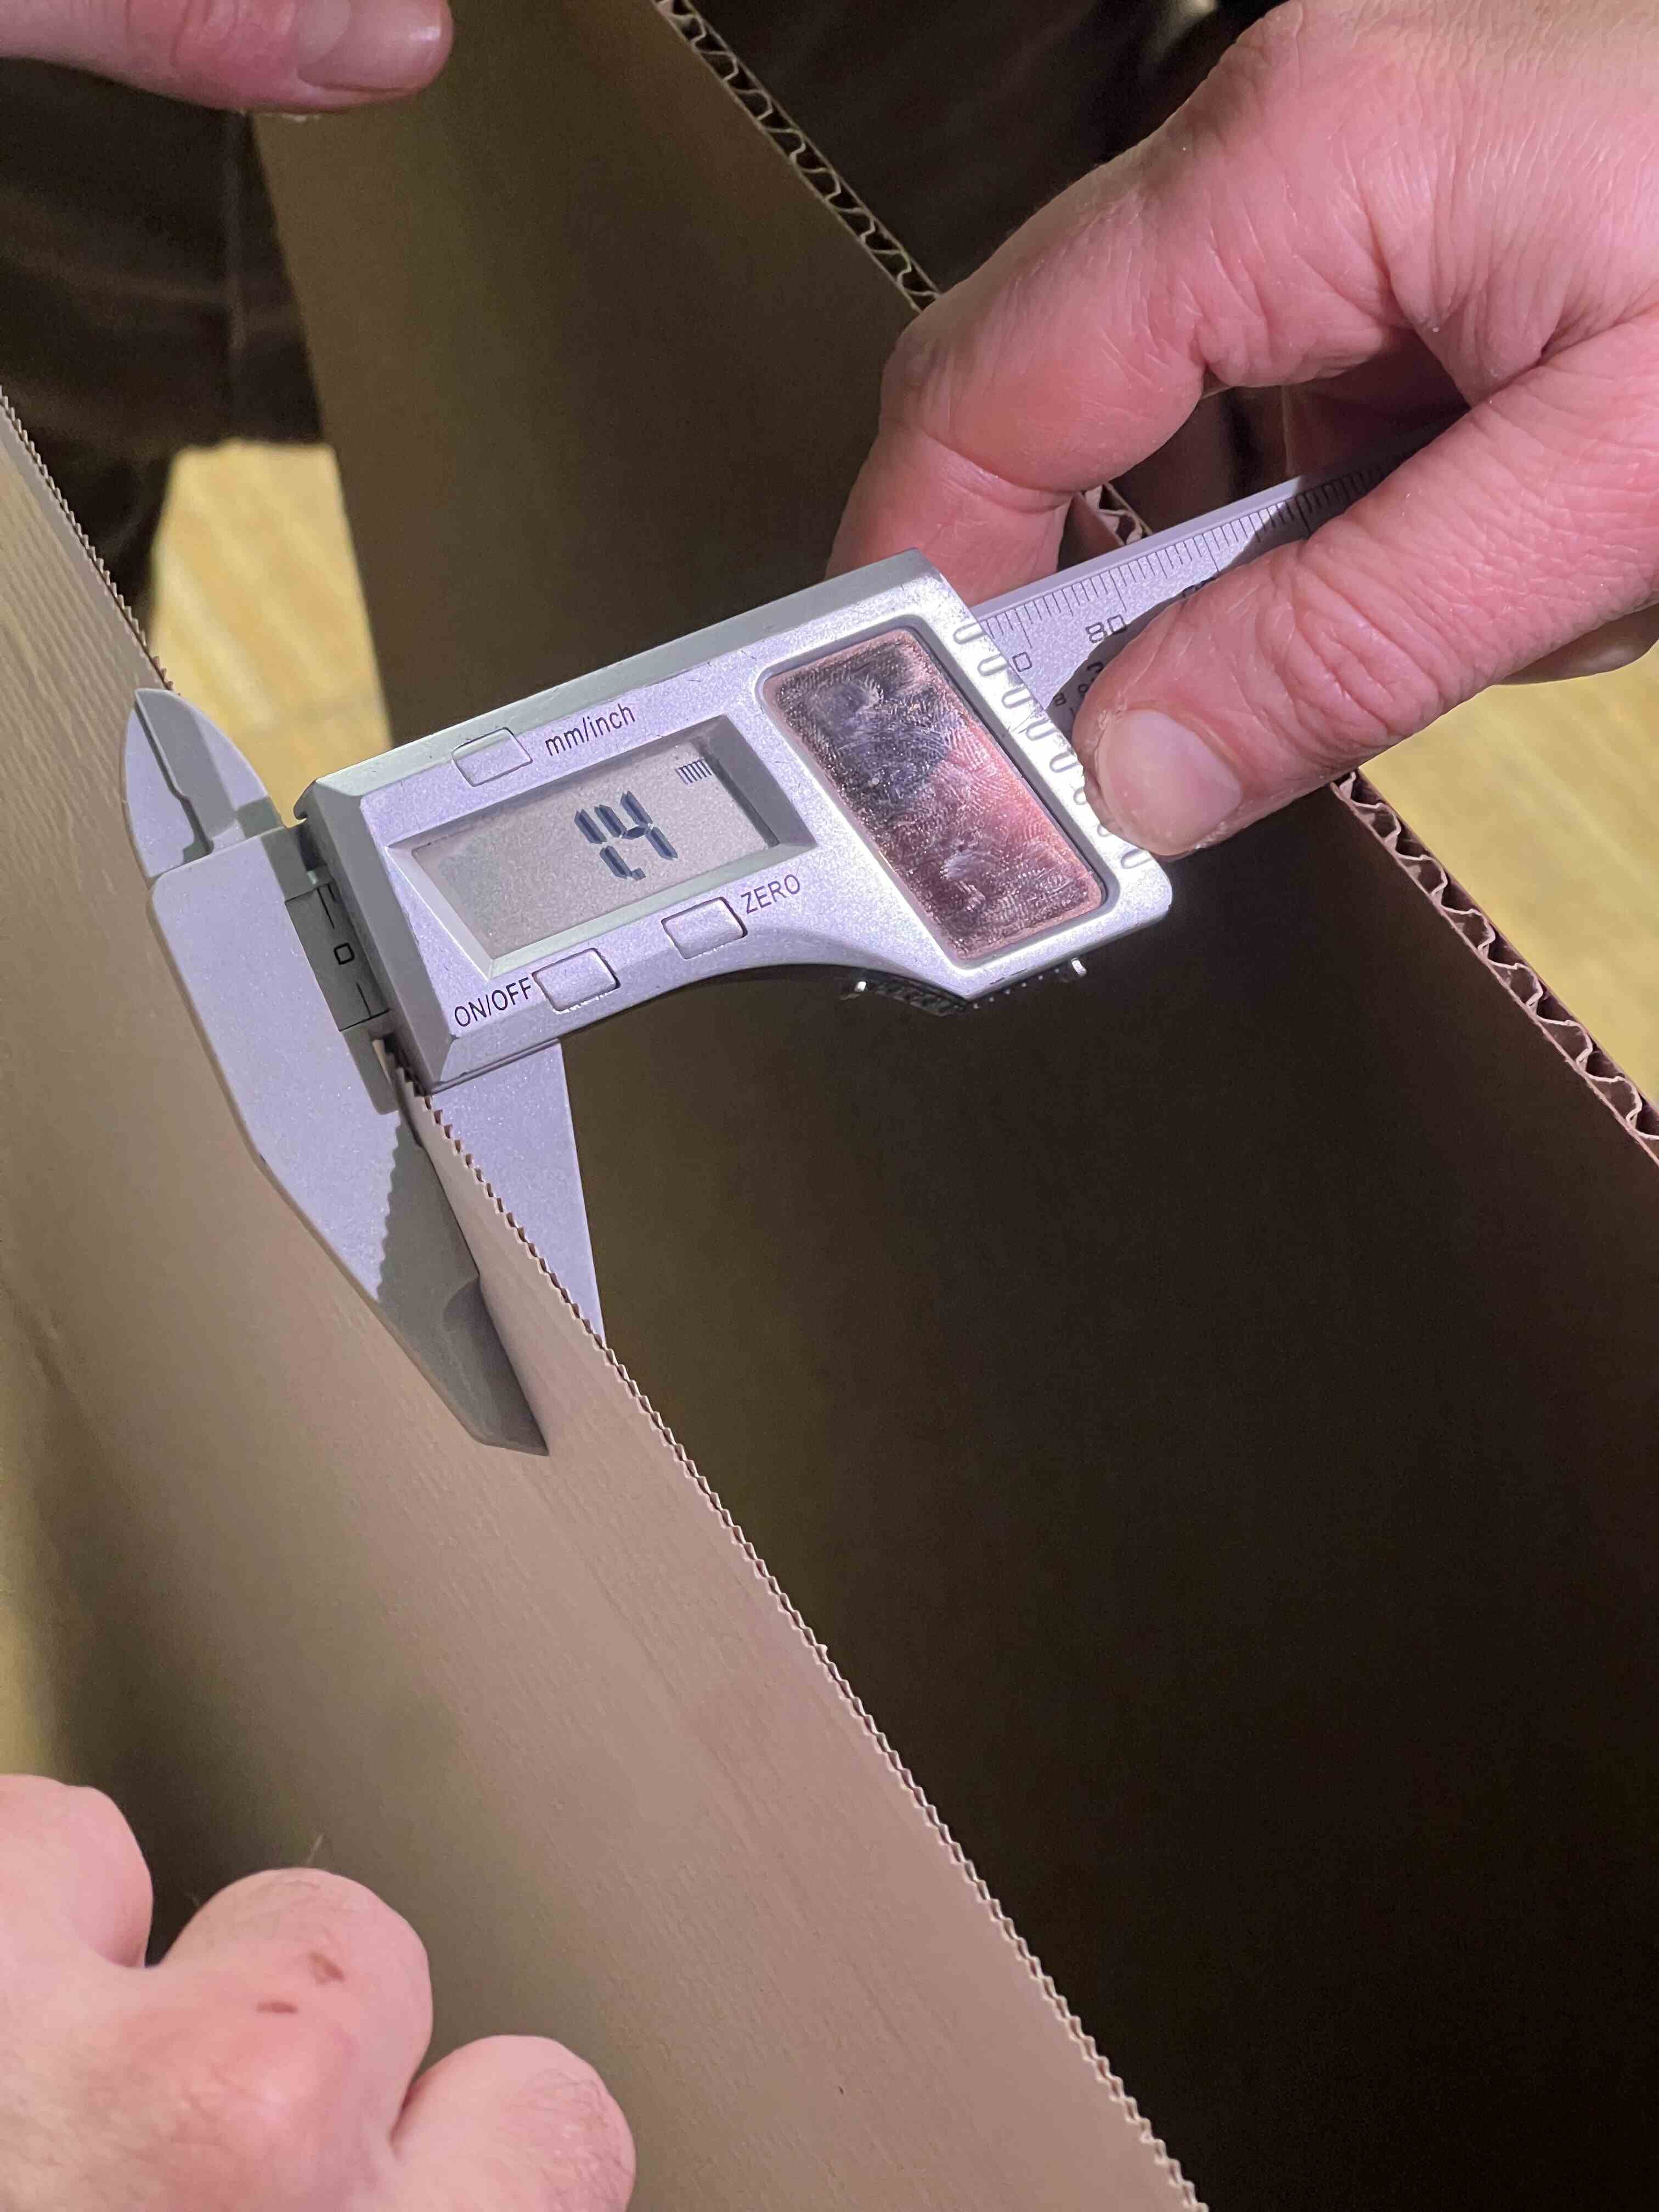
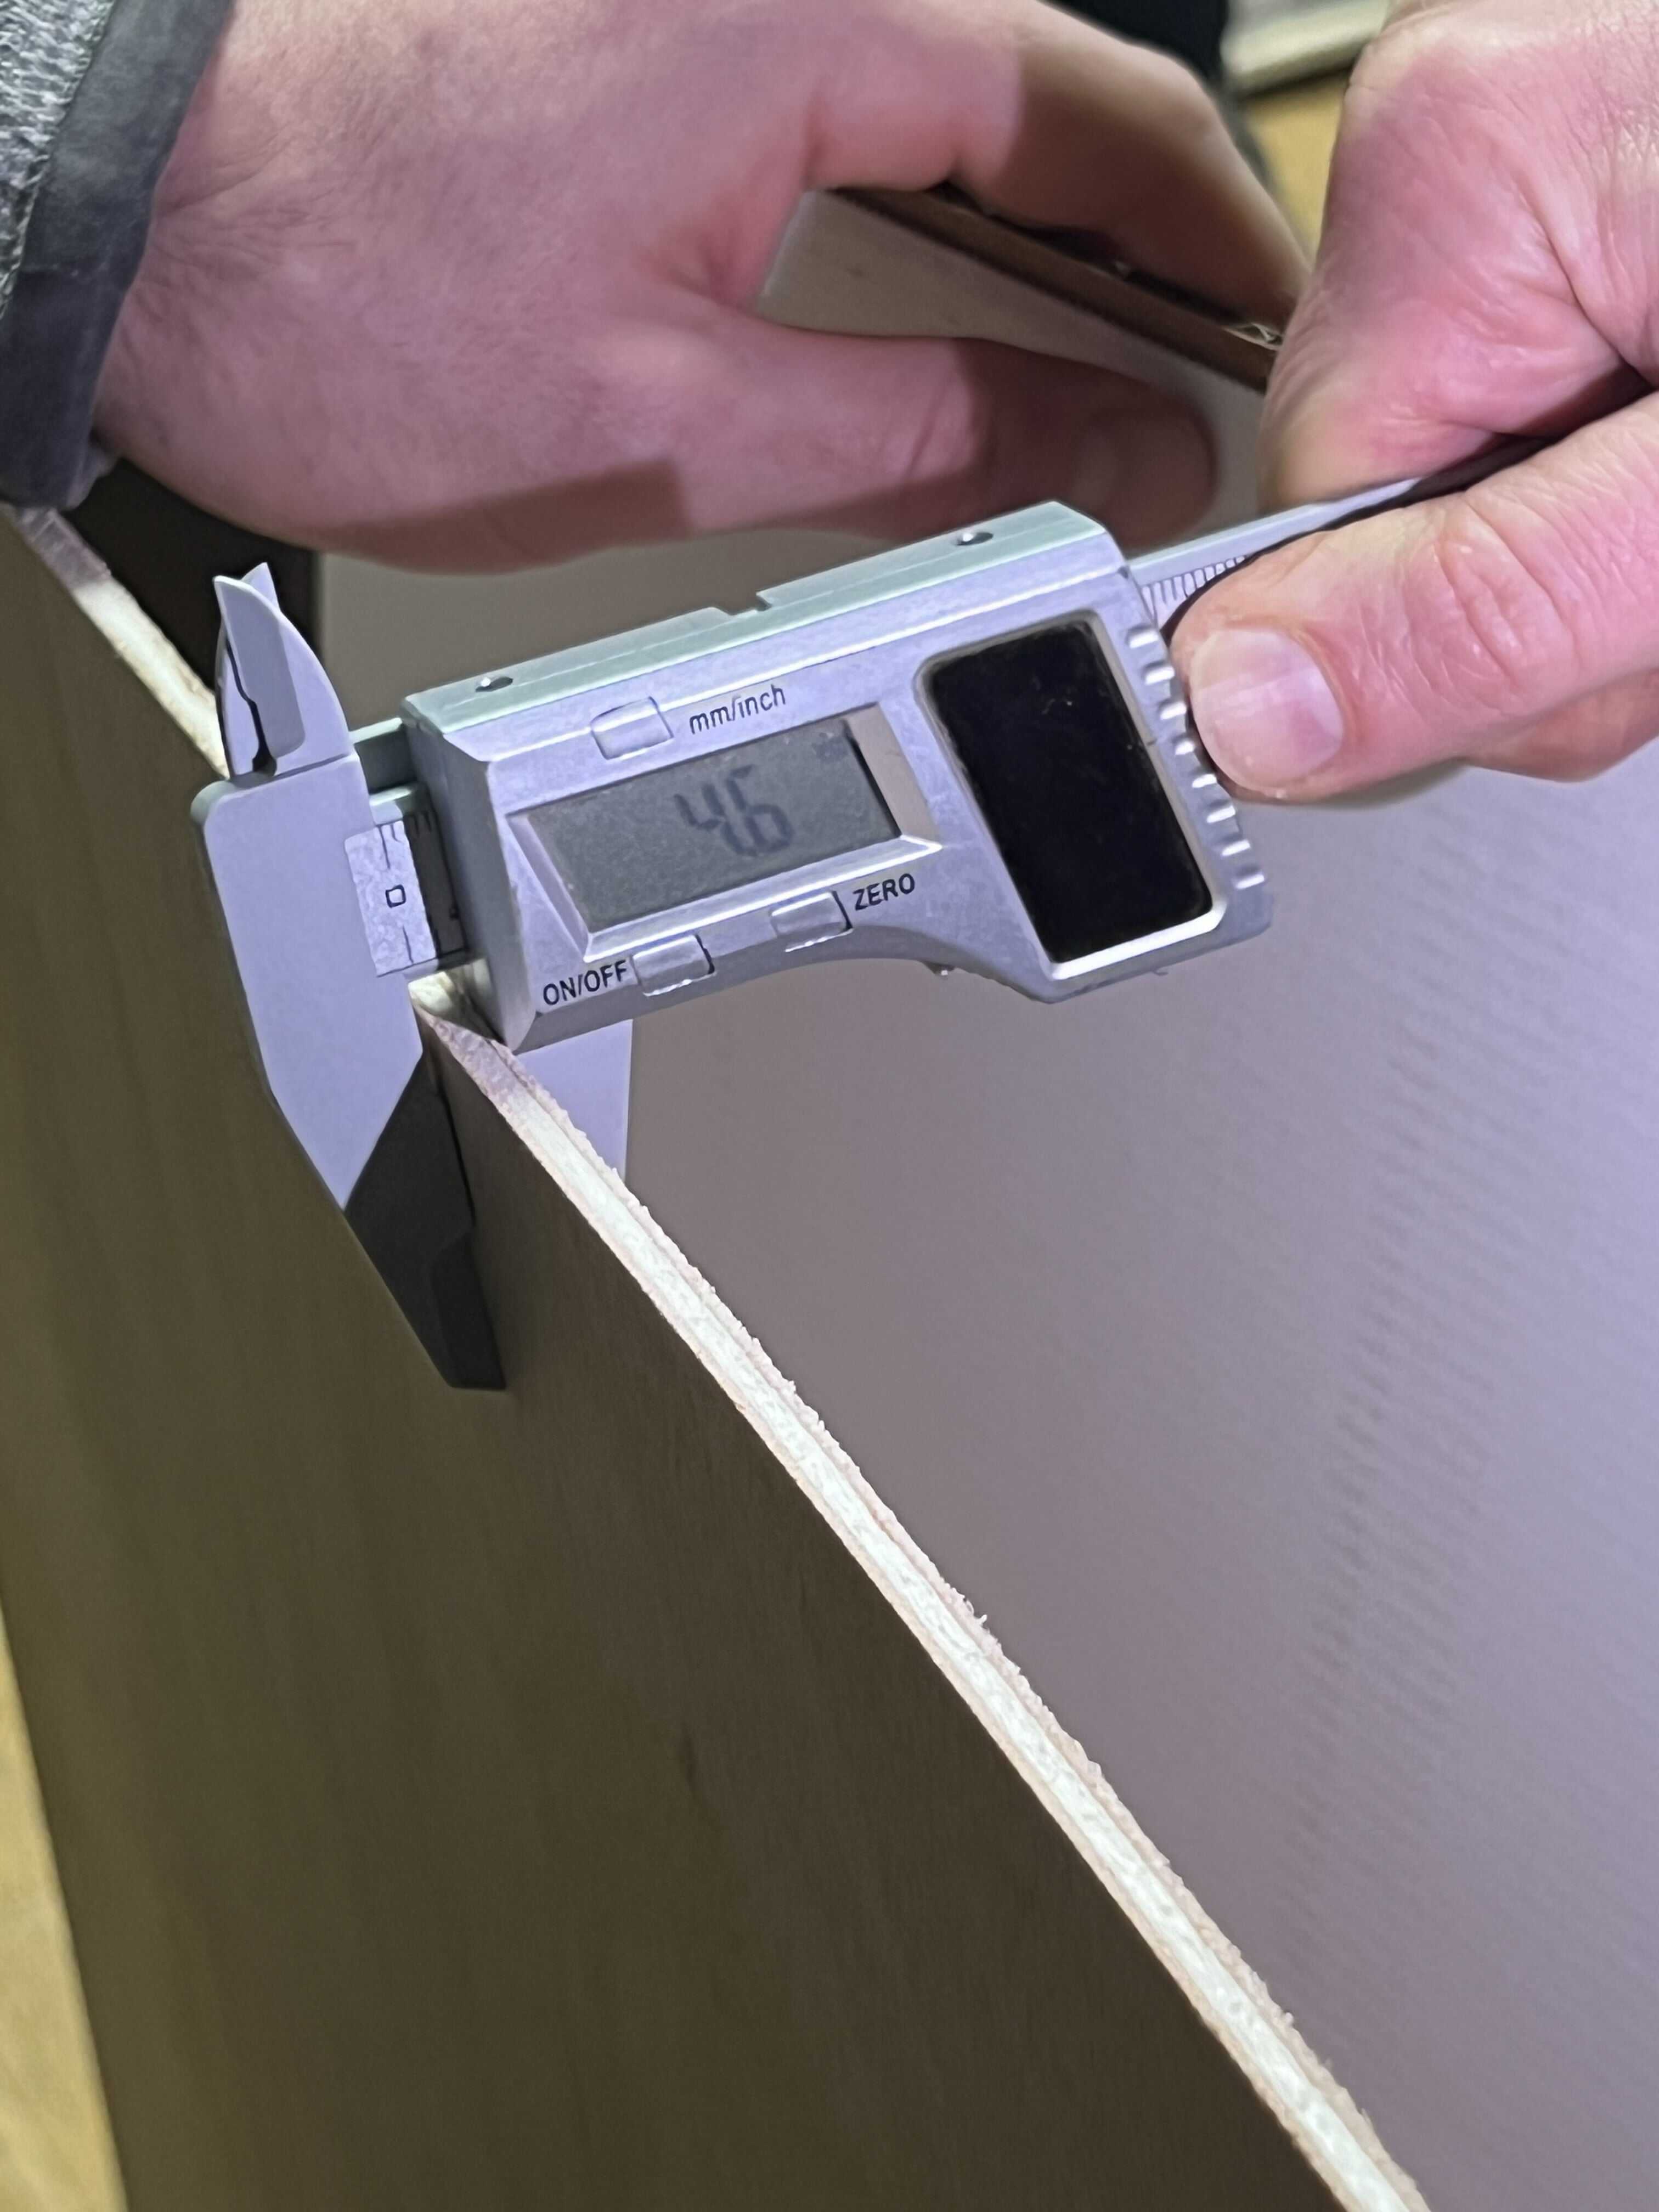
Keep in mind to always measure the thickness of the material along the edge of your material, charge the solar calipers and/or keep spare batteries in the lab.
2. Prepare the files to print
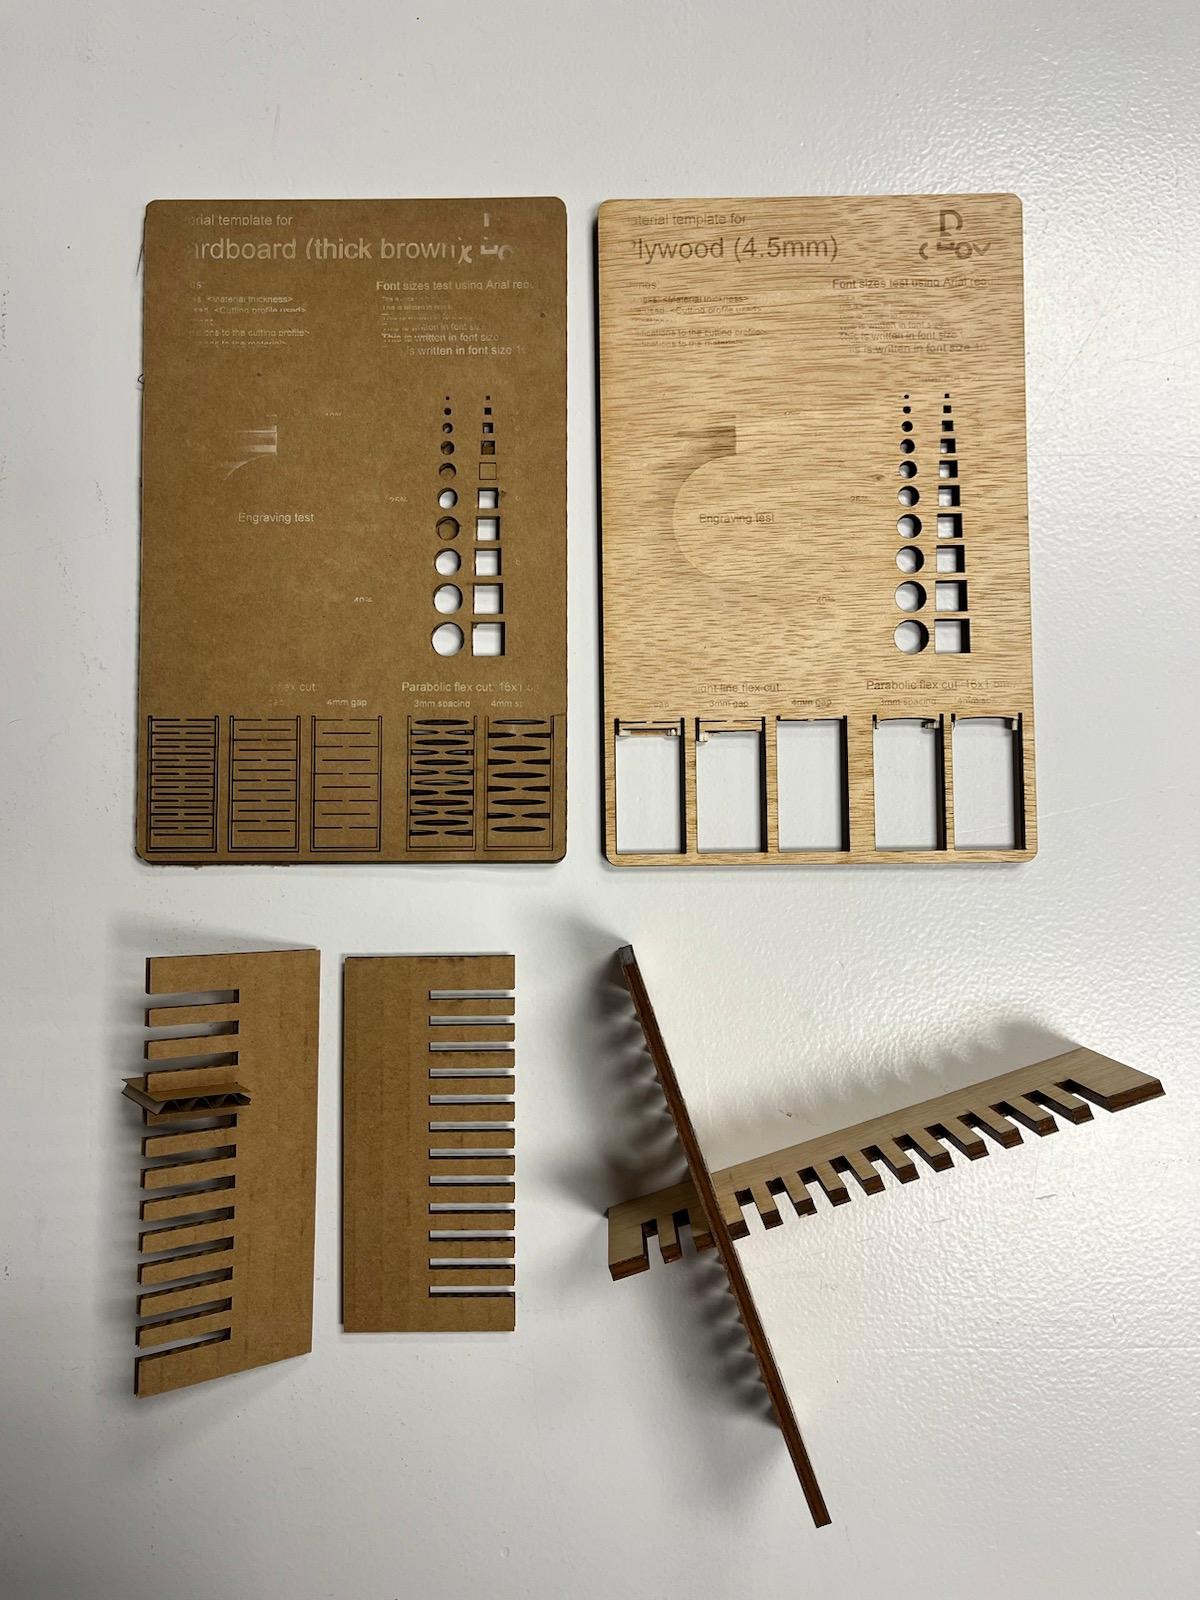
To characterise the power and speed, we used the following file available through Ultimaker Thingiverse.
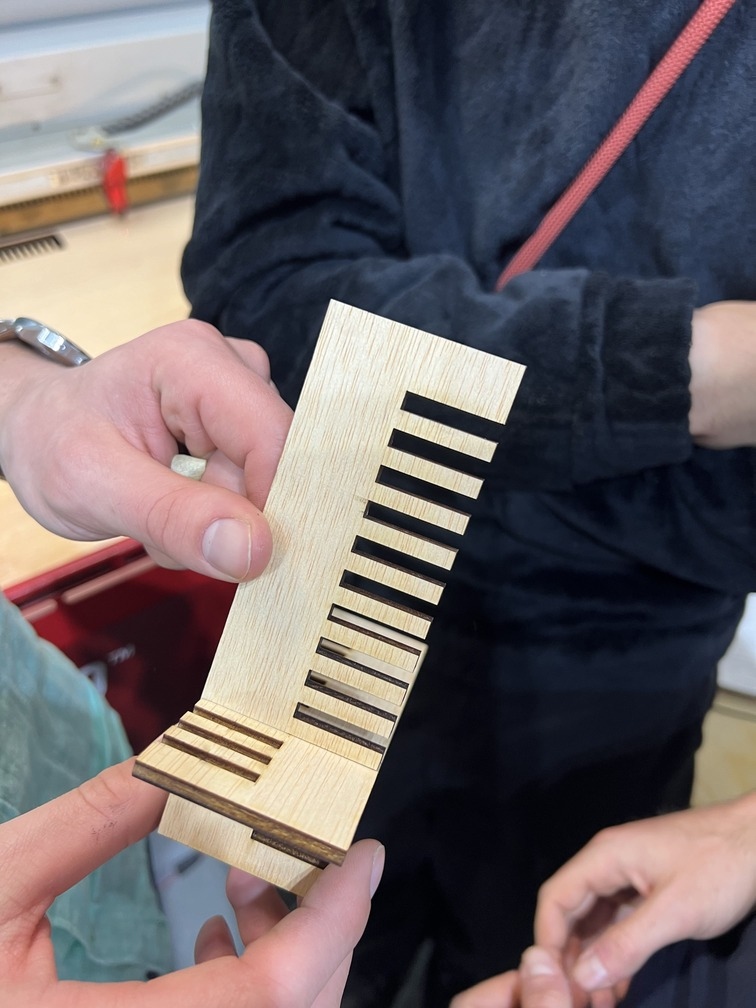
For the kerf test we needed to cut a comb design. The separation between teeth decreases in steps of 0.05mm from a maximum equal to the measured material thickness.
We prepared a parametric design in Fusion. One limitation is that Fusion doesn’t contemplate the possibility of parametric text, so we didn’t find a way to parametrically annotate the combs.
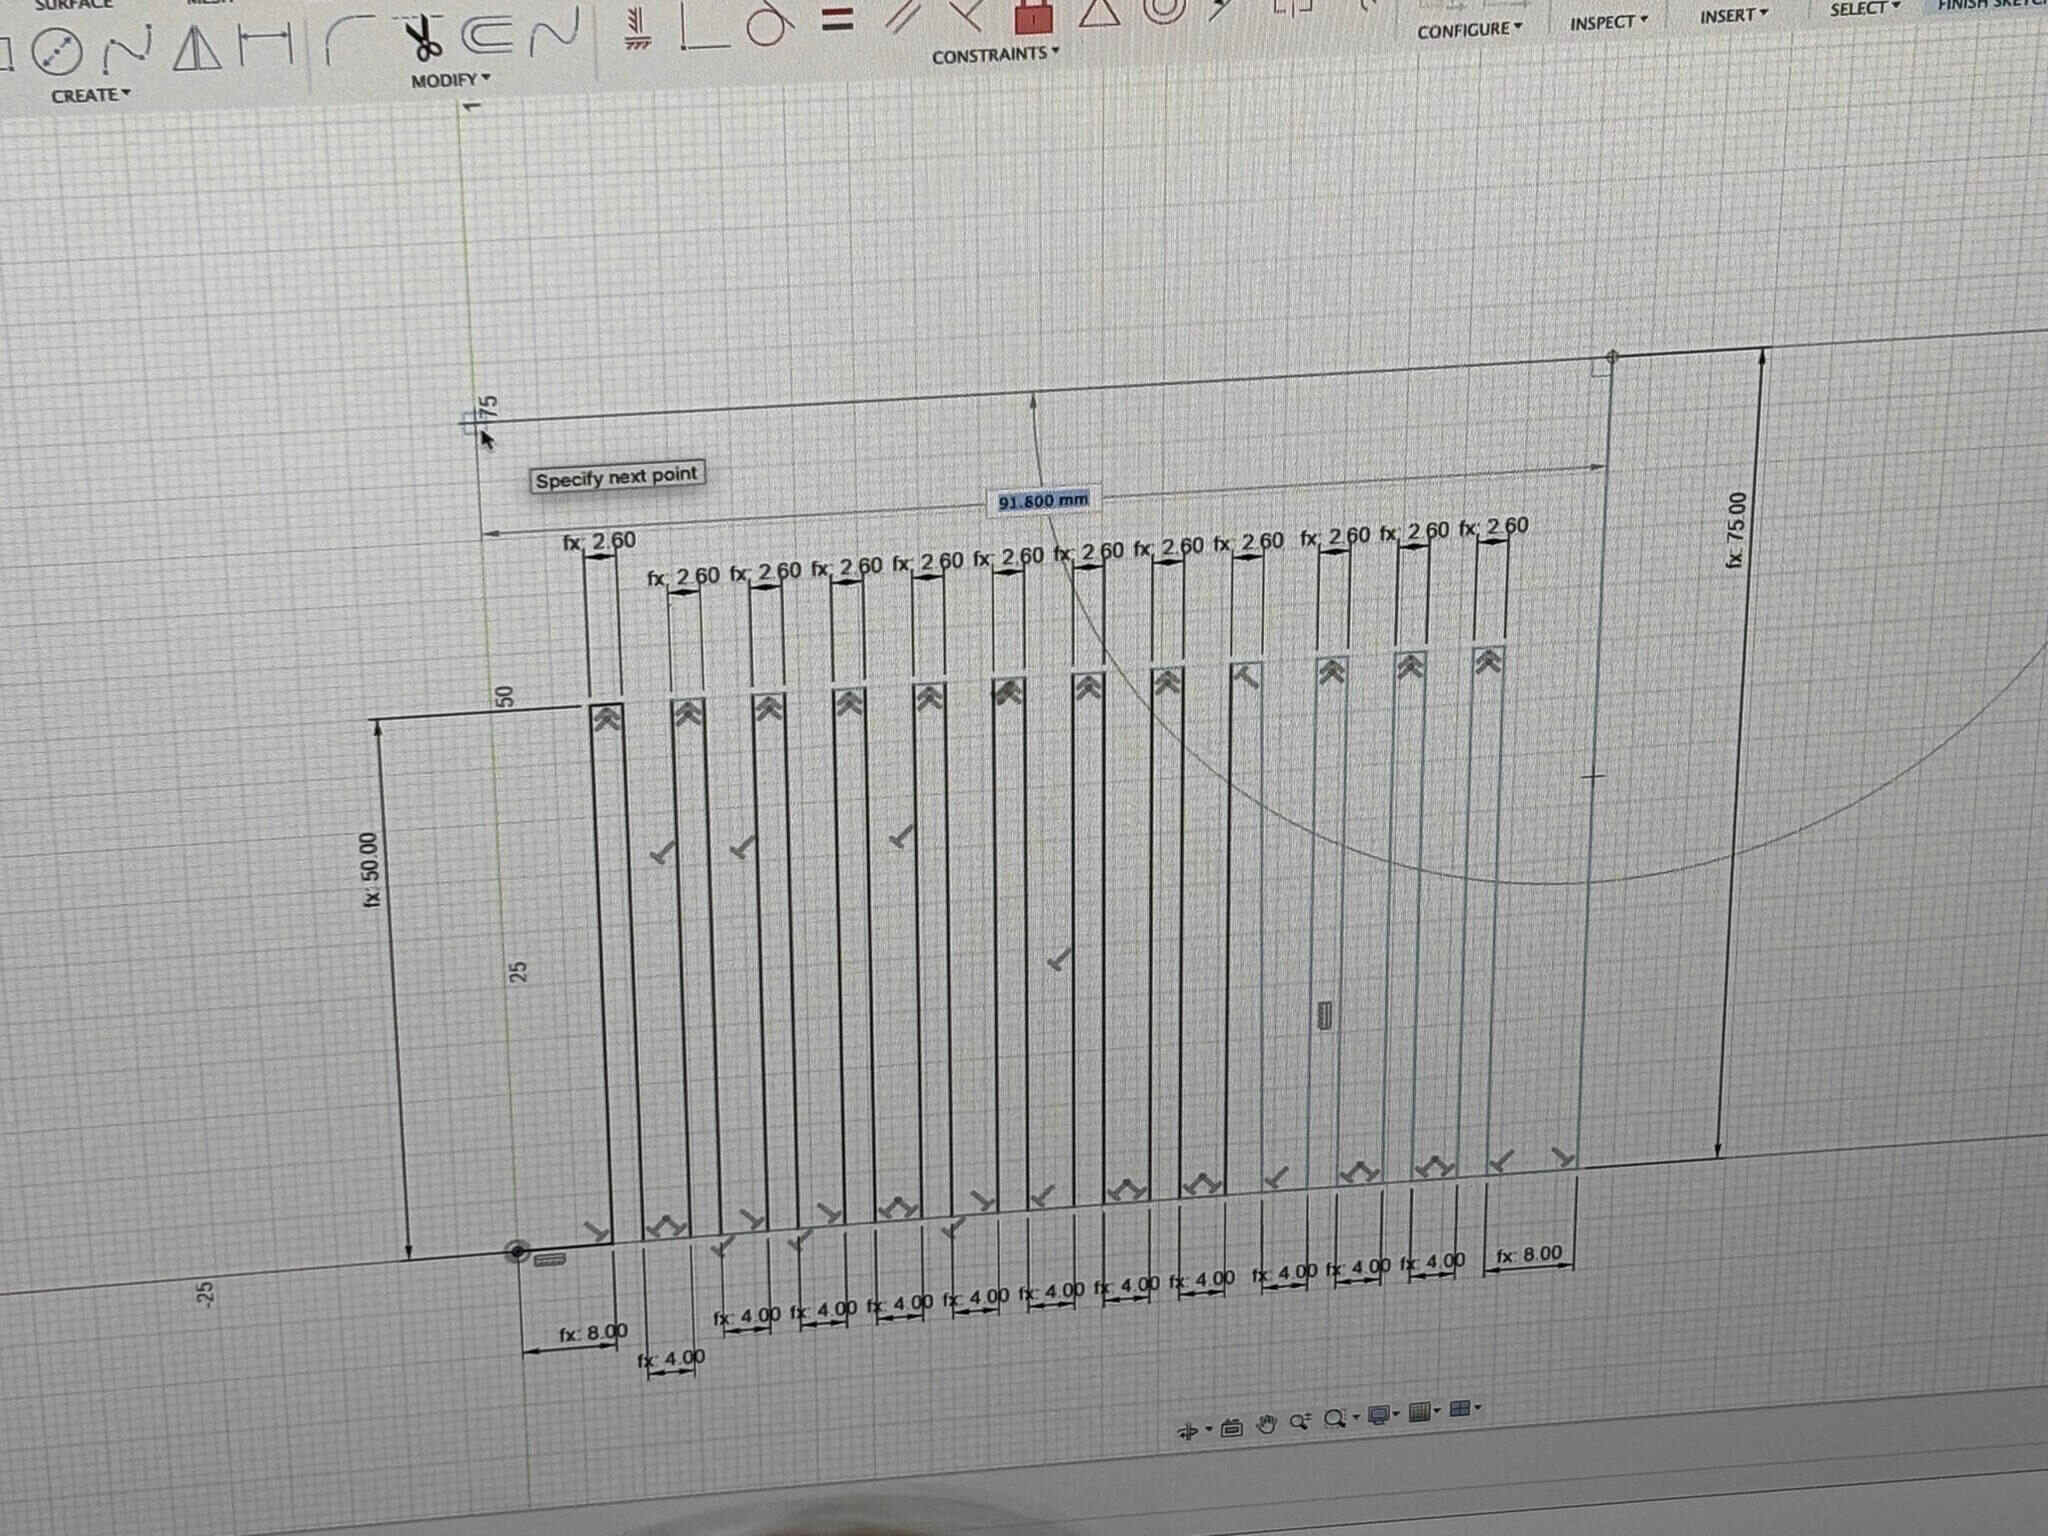
Then we exported one .dxf for each material thickness that we wanted to test.
We had to annotate the dimensions of the combs in Rhino, but saving as Rhino 5 (one of the computers in the laser room requires this) would screw up the formatting of the annotations.
TODO screenshot of the exploded dimension.
The workflow if you use Fusion is a bit involved:
- Design in Fusion
- Project sketch and export as dxf
- Open in Rhino, annotate.
- Export as Rhino 5
.3dm - Save to IAAC cloud for use in the laser room.
Lessons learned
- It’s probably worth it to do this in Rhino straight away next time. That way you can save several of the steps above.
- Since the Rhino 5 format doesn’t hold dimension formatting, it’s better to explode the annotations before sending to the laser.
3. Laser Cut
Rayjet R400
We tested the 2mm cardboard and 4,5mm Plywood on the Rayjet R400 following these steps:
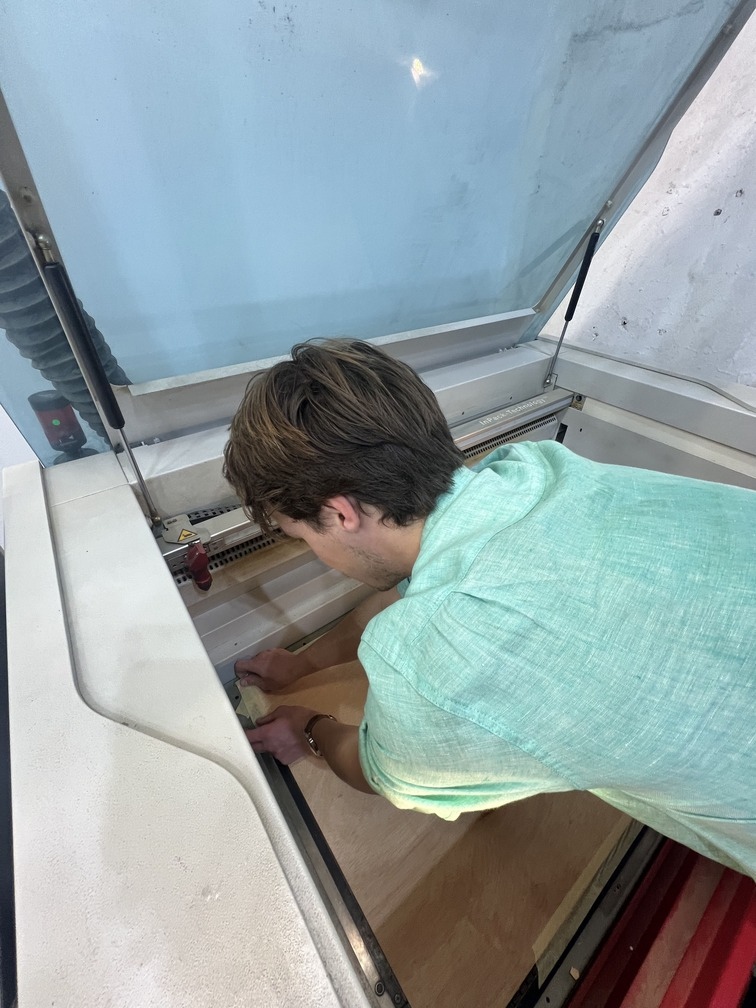
- Place and secure material - we used tape to flatten the cardboard and the clips for the plywood.
-
-
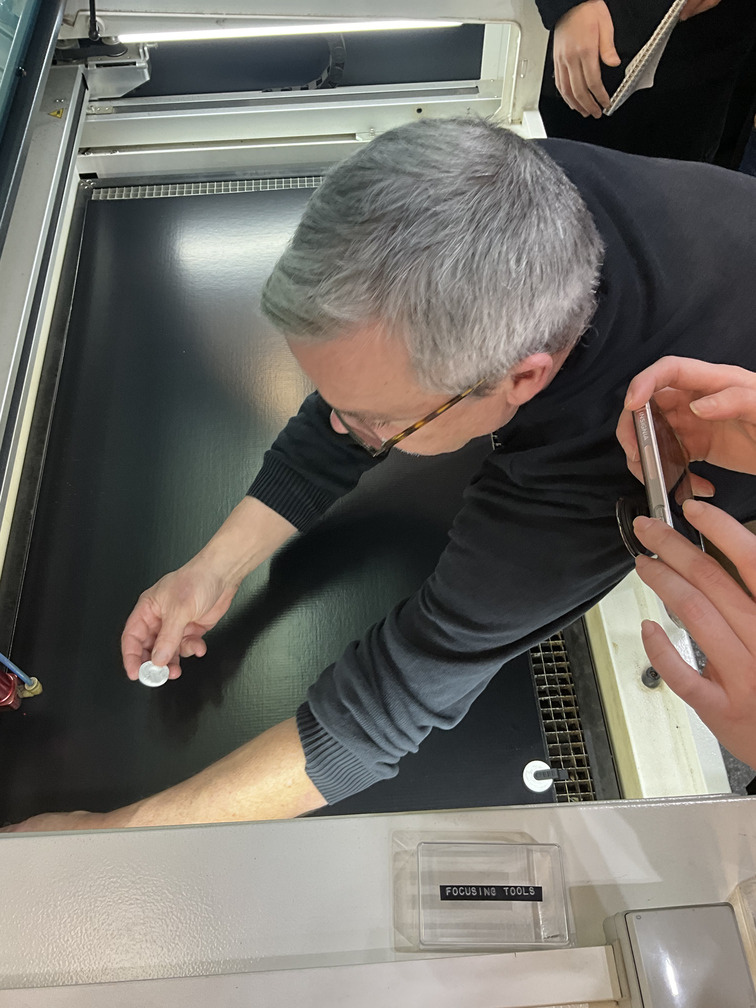
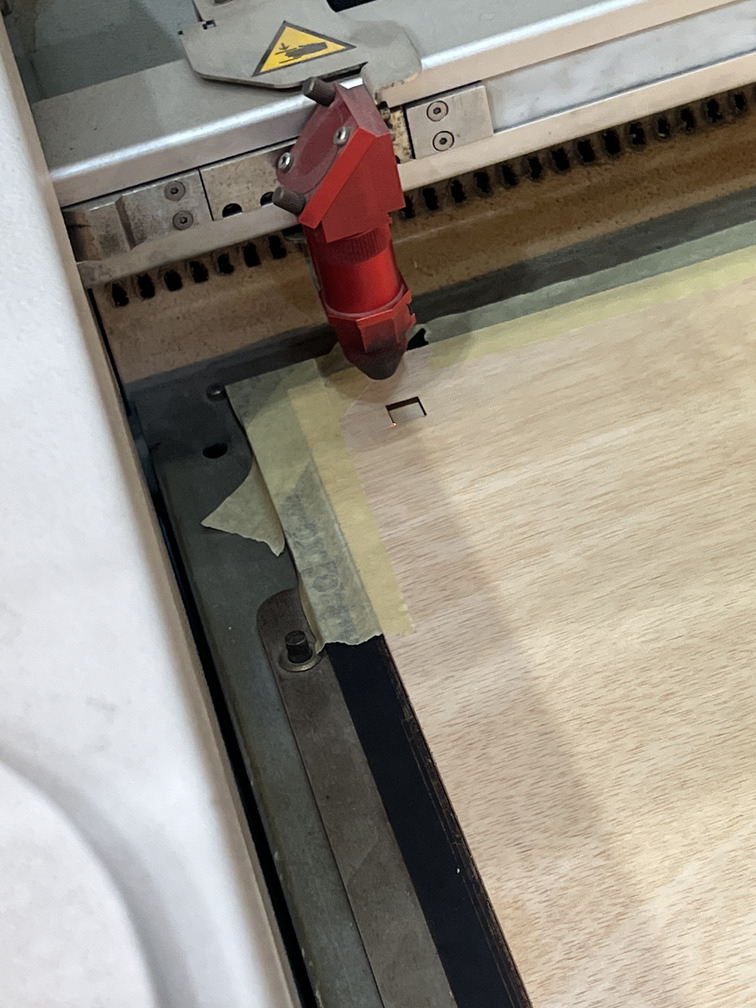
Focus the lens using the lab’s measurement pin.
- Place the laser to our starting point.
- Close lid and turn air compression on.
- Start air extraction.
- Open file on local computer: Download from Fabcloud and open in Rhino.
- Go to File/Print and “Rayjet Manager” opens.
- Import File to working area
- Set material thickness and settings.
- Double check for air extraction/compression and settings.
- Test a square for cutting and engraving.
- Start cutting your design.
Lessons learned Cardboard 1,45mm
Initially, the cut was not done very nicely in the material sheet so we changed the power from 20-25 for cutting, which gave a better result cutting the kerf test.
Slot Size: 1mm Kerf Result: 0,225mm
Lessons learned Plywood 4,5mm
The engraving was very burnt on the material sheet, so we adjusted the speed from 50-60 for engraving on the kerf test which was still a little bit too high.
Slot Size: 3,95mm Kerf Result: 0,275 mm
[https://youtu.be/BmCfS8bMtEw]
Trotec Speedy 400
We tested the 3.8mm cardboard and 4,5mm Plywood on the Trotec Speedy 400 following these steps:
-
Place and secure material - we used tape to flatten the cardboard and the plywood.
-
Focus the lens using the lab’s measurement pin.
- Place the laser to our starting point.
- Close lid and turn air compression on.
- Start air extraction.
- Open file on local computer: Download from Fabcloud and open in Rhino.
- Go to File/Print and “Rayjet Manager” opens.
- Import File to working area
-
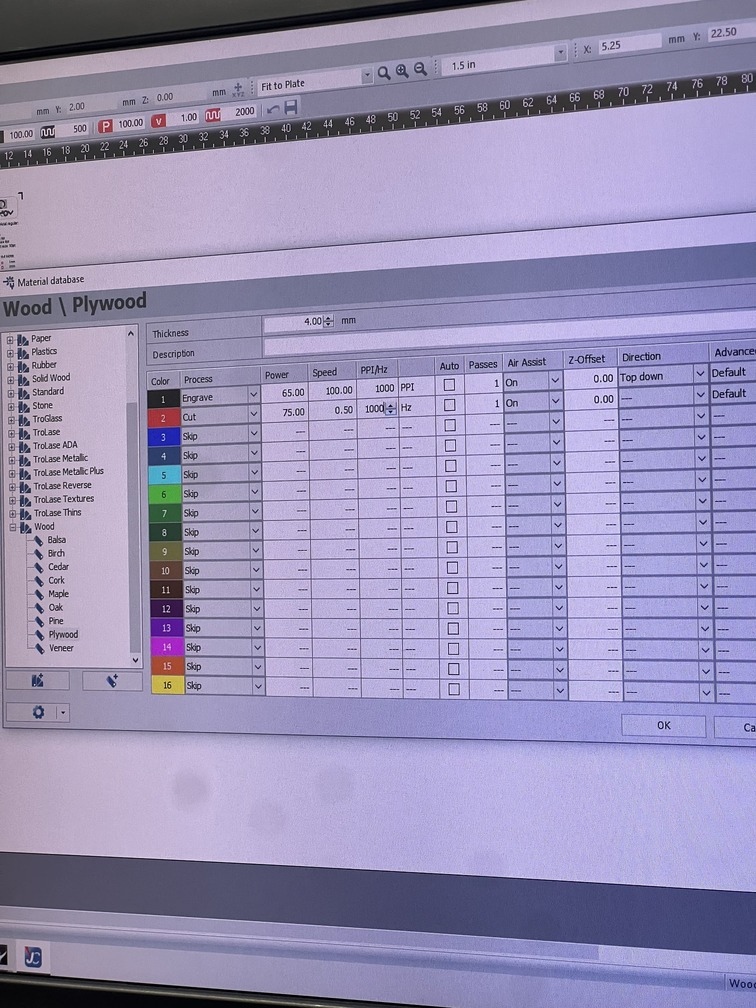
Find material settings and set power, speed and rate to printer.
-
Double check for air extraction/compression and settings.
- Test a square for cutting and engraving.
-
-
Start cutting your design.
Lessons learned Cardboard 3.8mm
For material sheet, cutting parts were mostly successful, however, it could be improved by raising the laser power value a little bit to cut out smaller parts. On the other hand, engraving parts were unsucsessful due to lack of power and a warped working surface due to inproper taping down of the material.
For the kerf test, we tested slot sizes from 3.2mm to 3.75mm with a 0.05 difference for each of the slots. As a result, 3.4 slot size worked best for this material. However, due to the flexibility of the material, anywhere between 3.25mm to 3.55 also works.
Slot Size: 3.4mm Kerf Result: 0,2mm
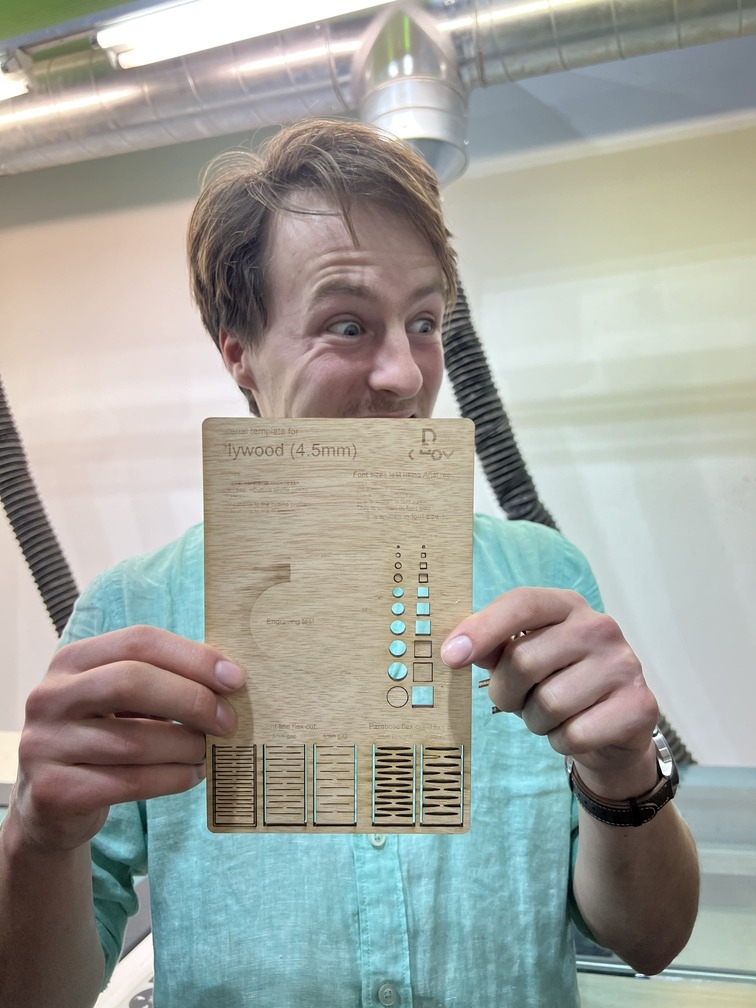
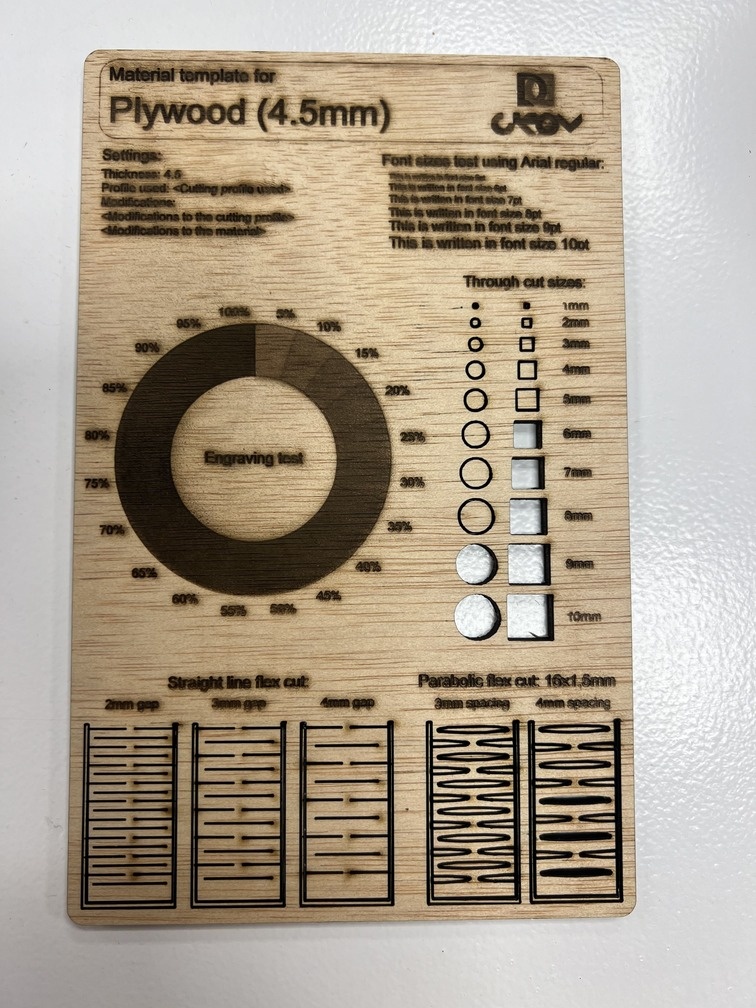
Lessons learned Plywood 4,5mm
For the material sheet, all of the cutting parts were properly cut, although the laser power was too low for successful engraving.
As for the kerf test, we tested slot sizes from 3.90mm to 4.45mm with a 0.05 difference for each of the slots. As a result, a 4.05 slot size worked best for this material. The 4.05 slot came out as 4.10, which means the kerf is 0.025mm
Slot Size: 4.05mm Kerf Result: 0.025mm