4. Electronics Production
This week’s assignment included the following tasks:
- characterize the design rules for your in-house PCB production process: document feeds, speeds, plunge rate, depth of cut (traces and outline) and tooling
- ~~Send a PCB out to a board house~~
Fablab Barcelona Prerequisites
PCB - Milling machine
In the Fablab Barcelona we can use two Roland SRM 20 milling machines.
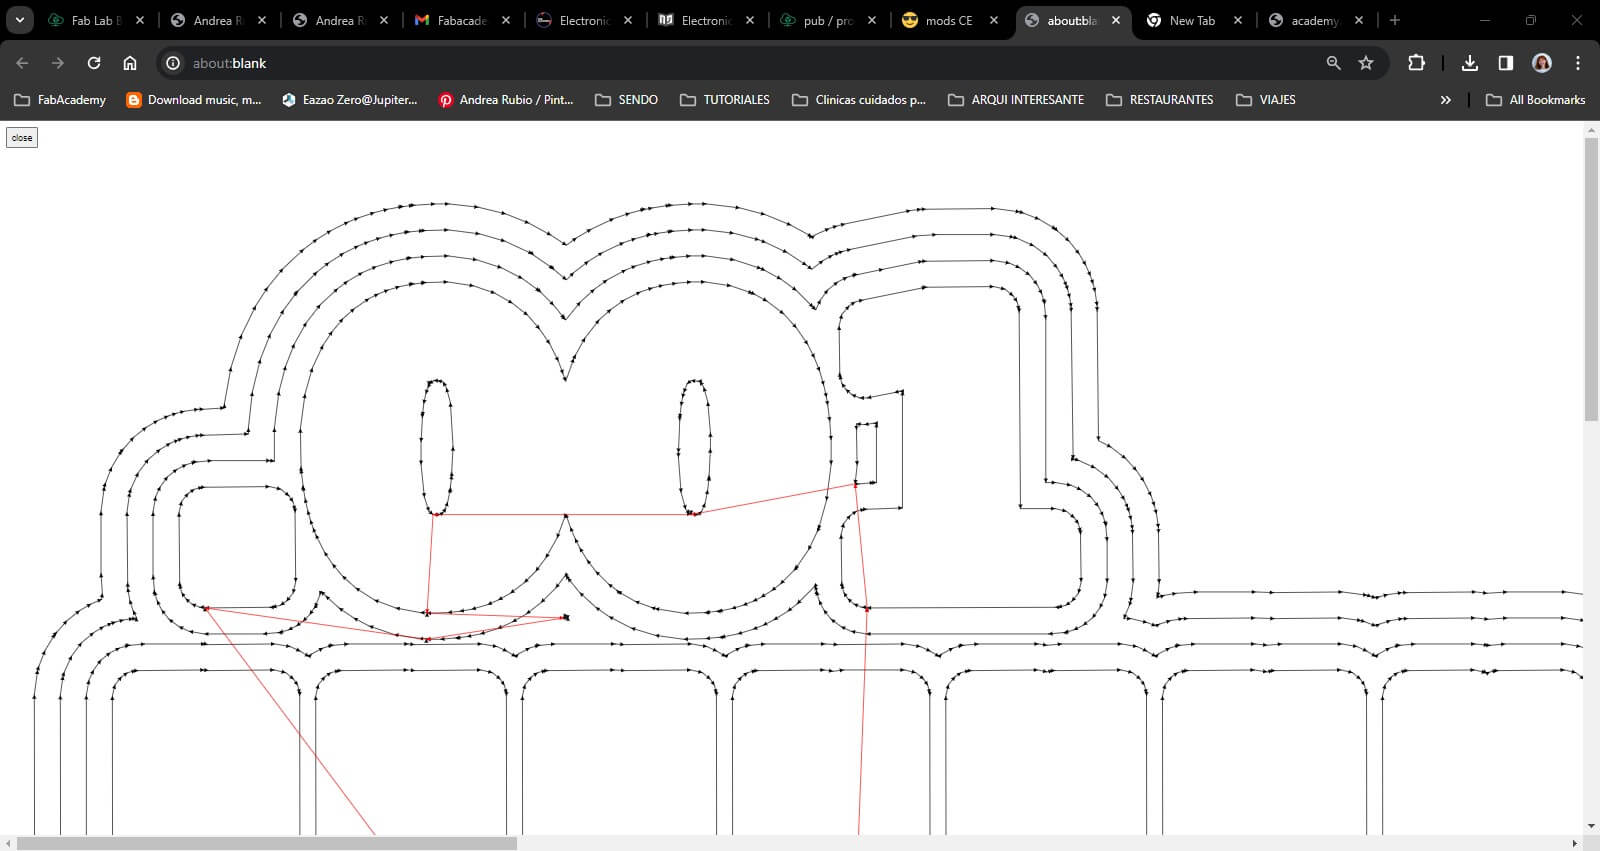
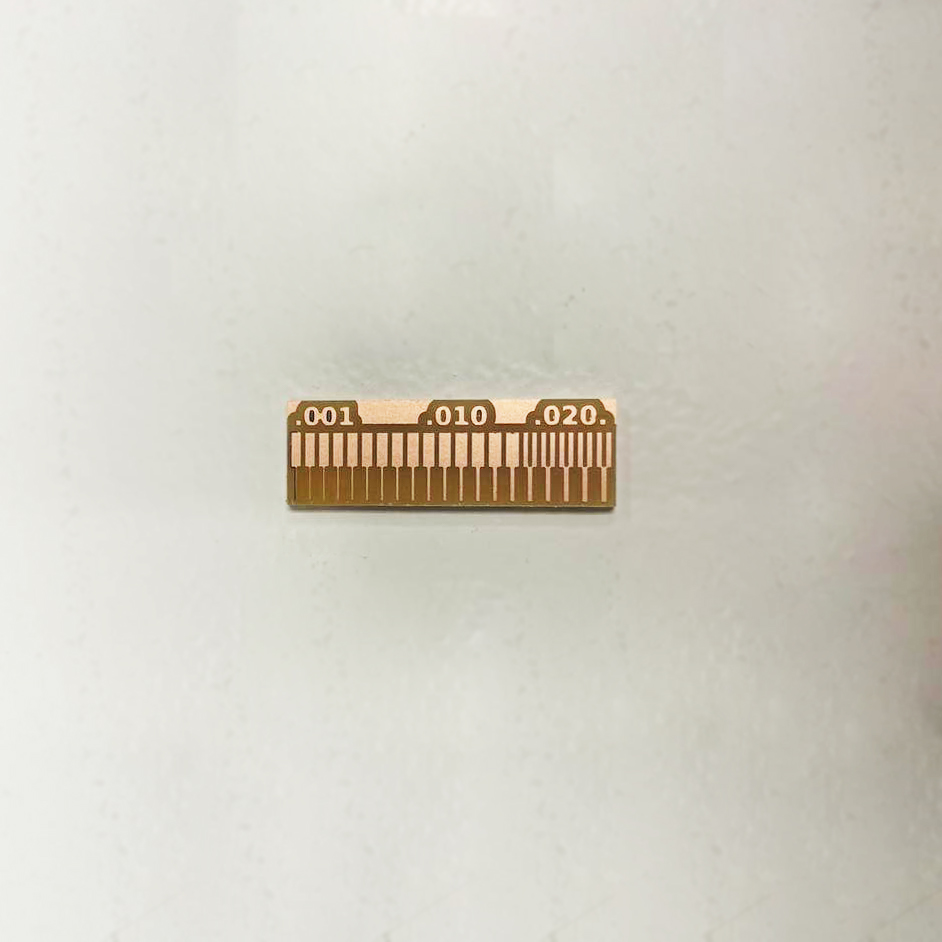
Test Files
Traces
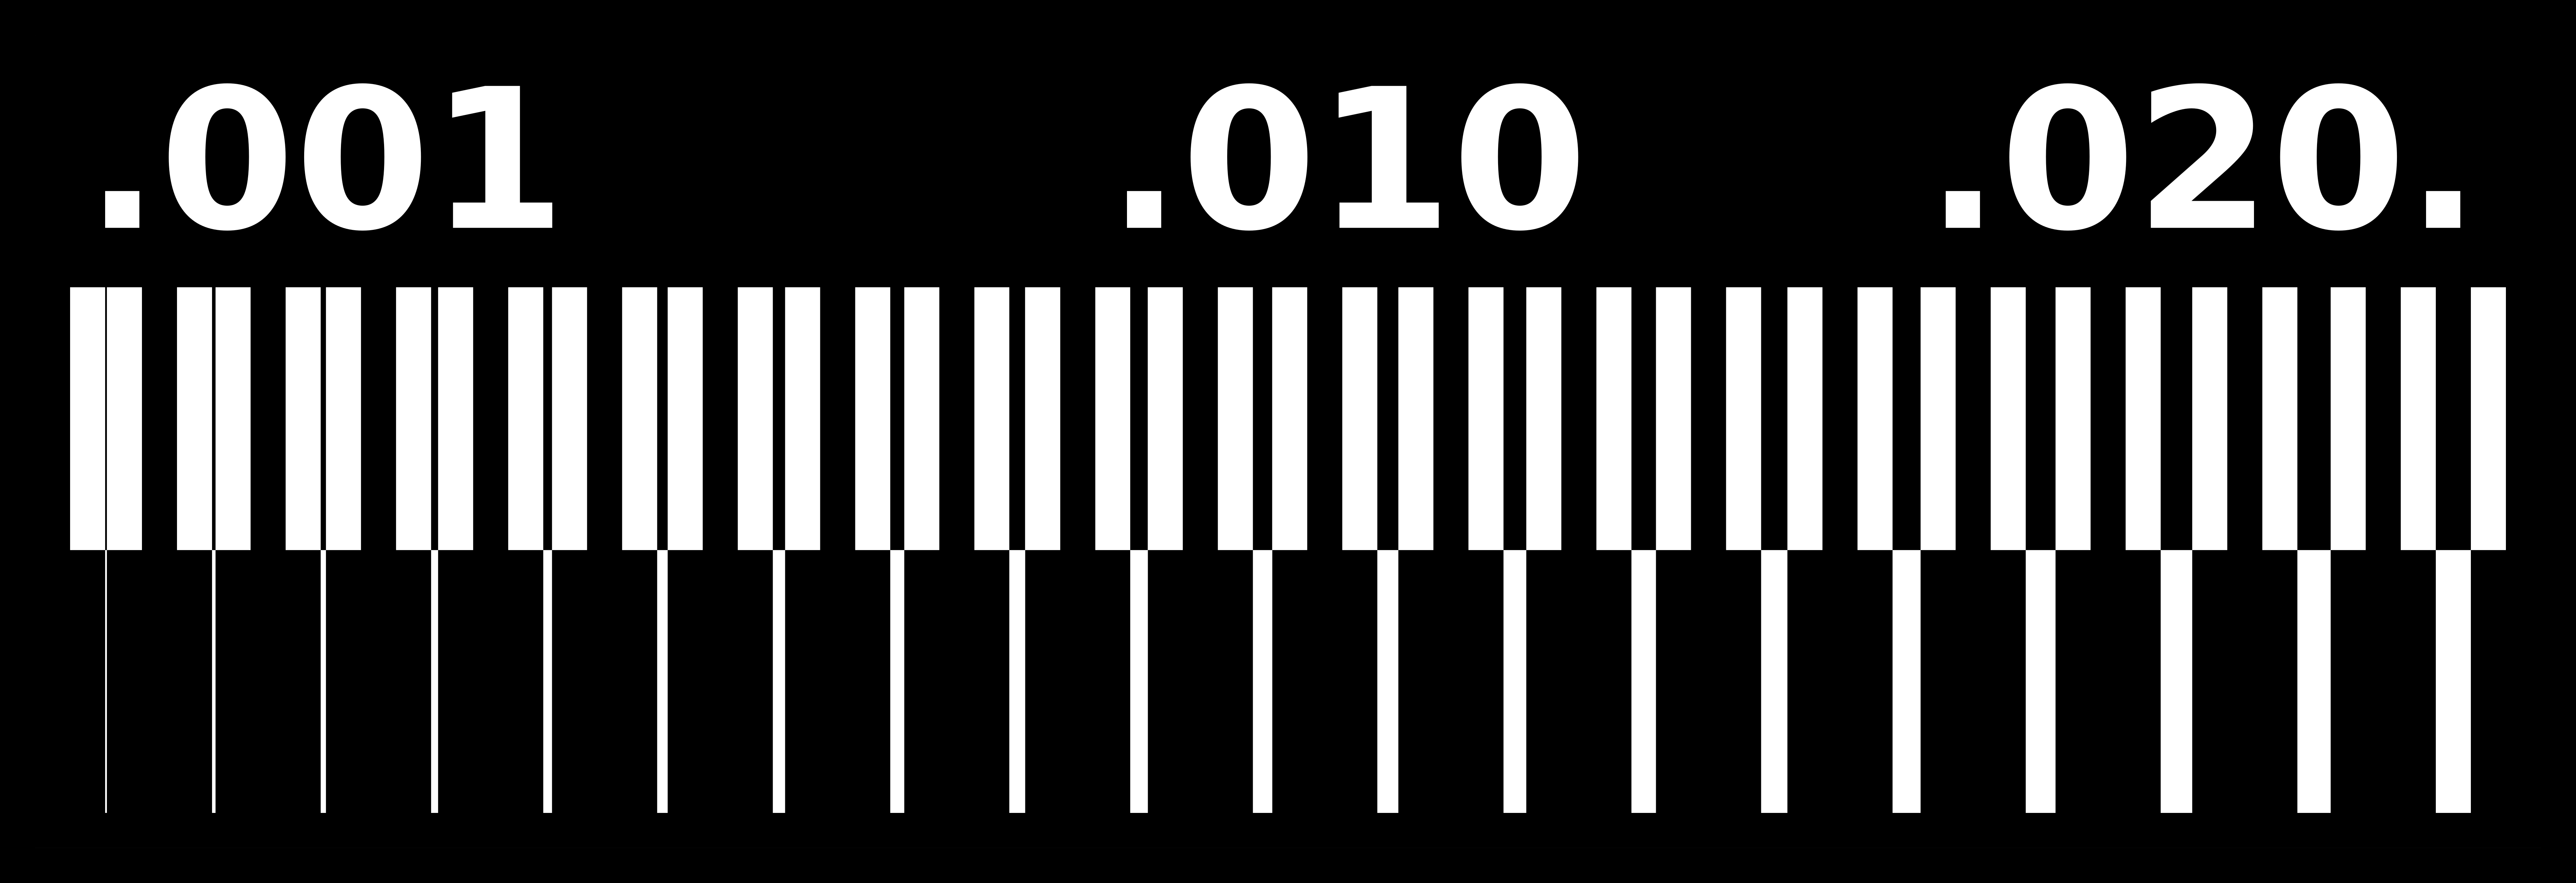
Outline

Workflow
0. Prepare files
- Open programs/open program/Roland/SRM 20 mill/mill 2D PCB on mods
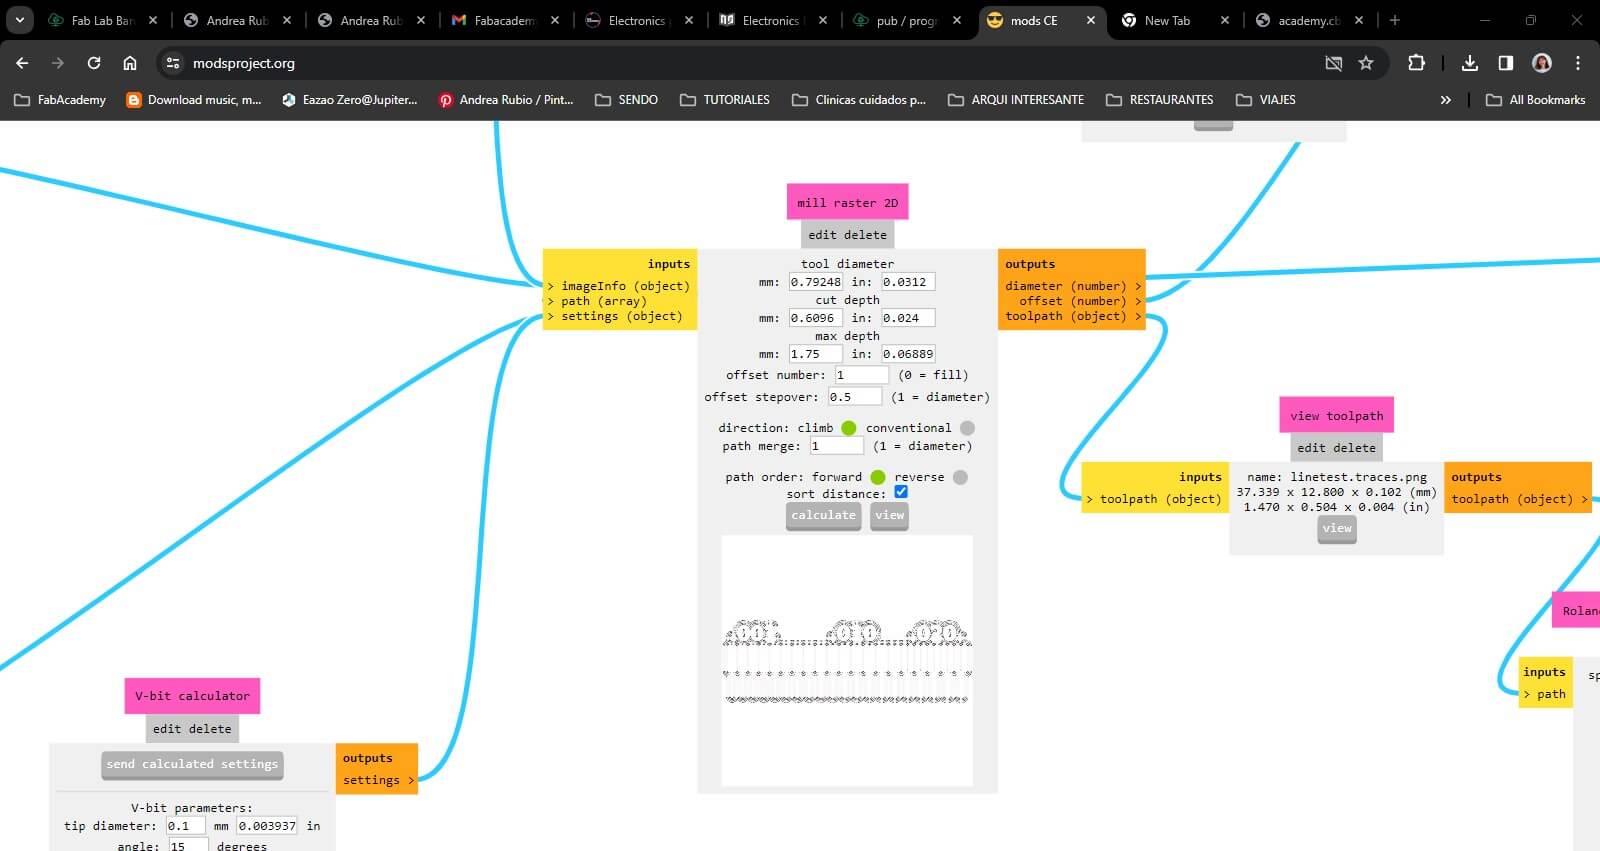
- Open the .png files and check DPI settings. (1000 DPI for the right calculation)
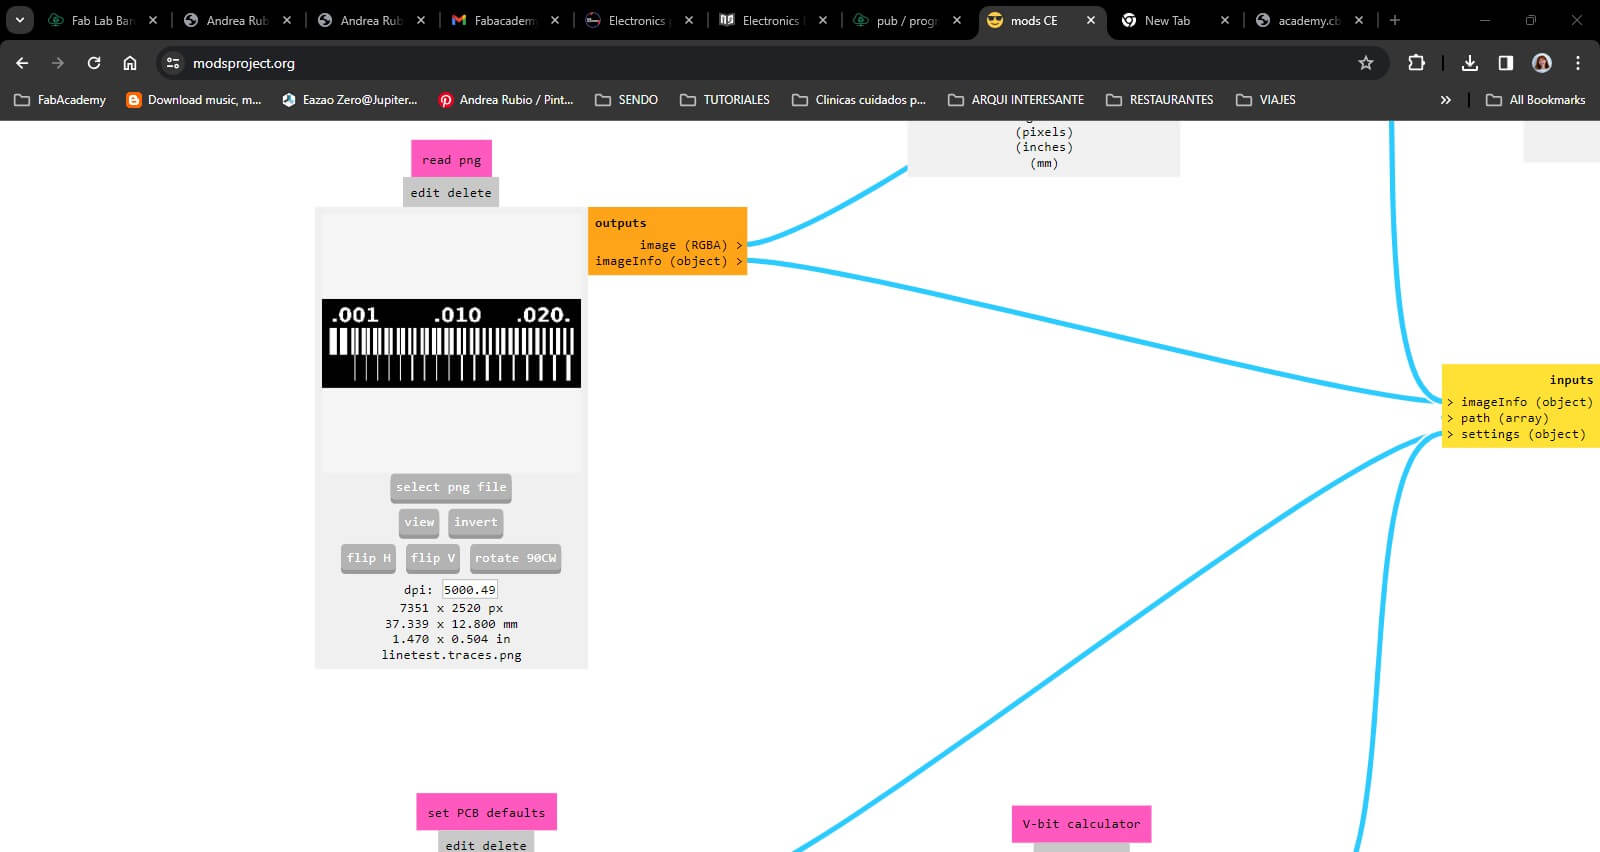
- Choose respective end mills for the file.
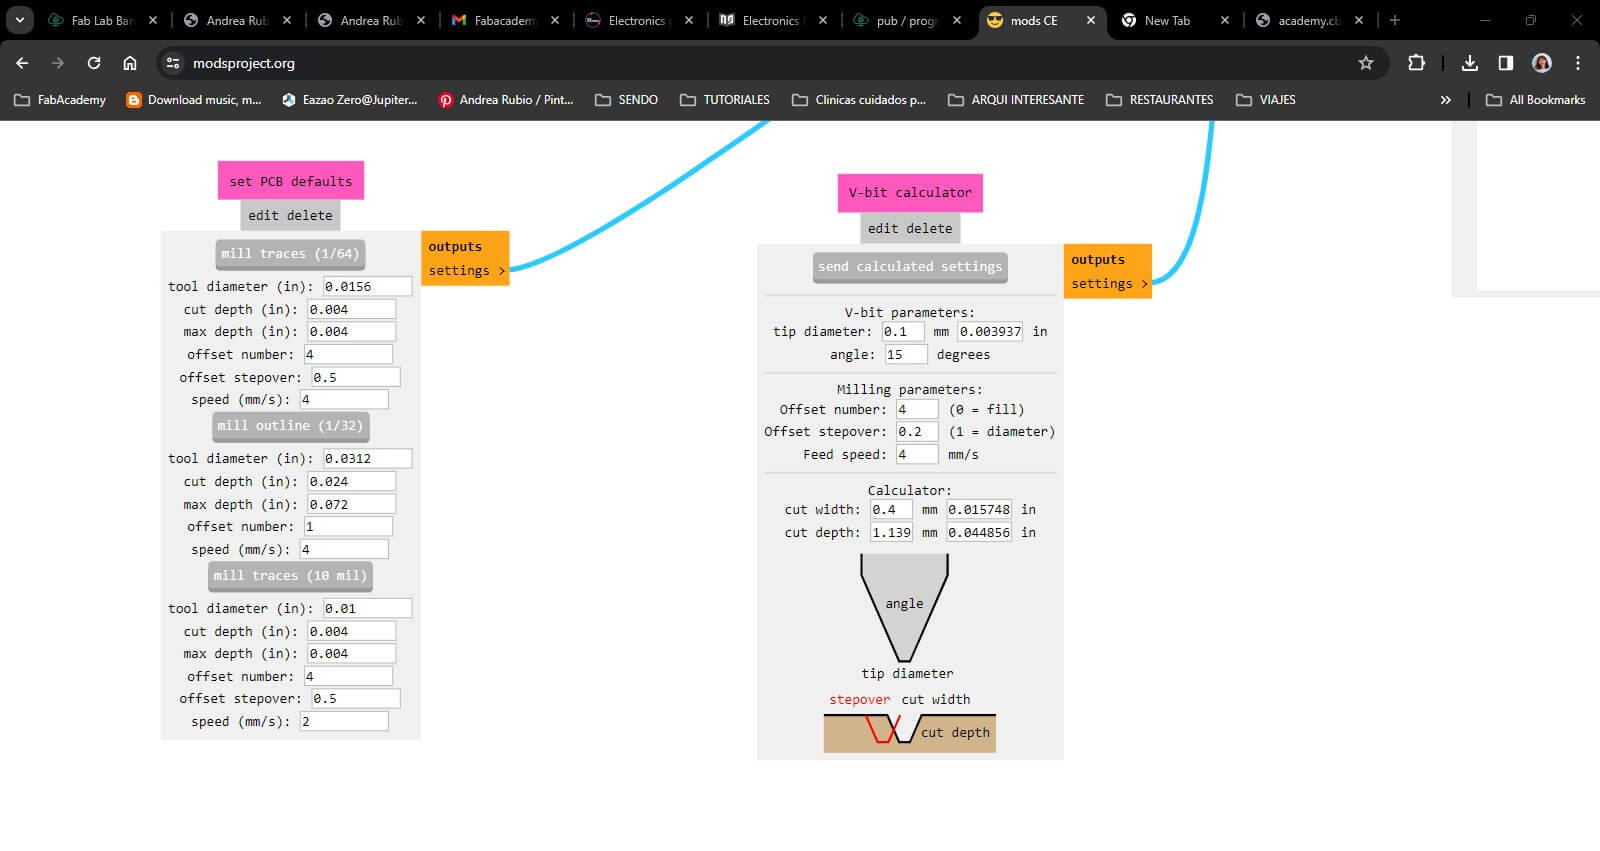
- mill raster 2D settings for traces: an offset of 4 is sufficient to differentiate the paths
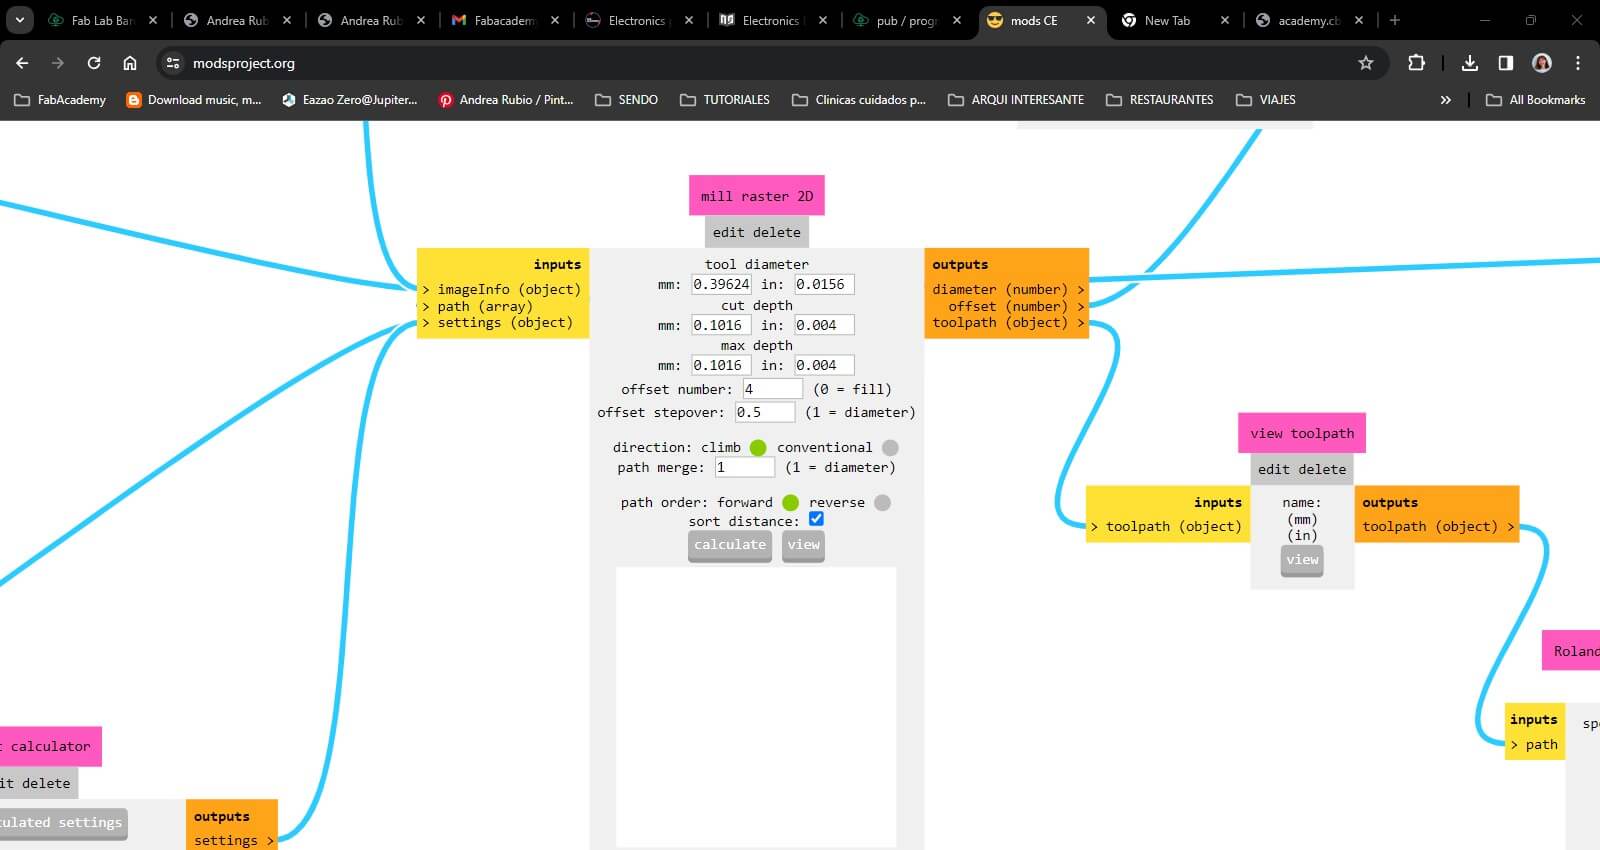
Check with the “View” option if it’s sufficient
- mill raster 2D settings for outline/holes: our lab’s recommendation is to change the max depth to 1.75 to preserve the base plate
- speed settings for the Roland SRM 20: traces 3 mm/s; holes 1.5 mm/s; cut 0.5 mm/s
- jog height: 5 to be cautious
- make sure the Z home is not 0
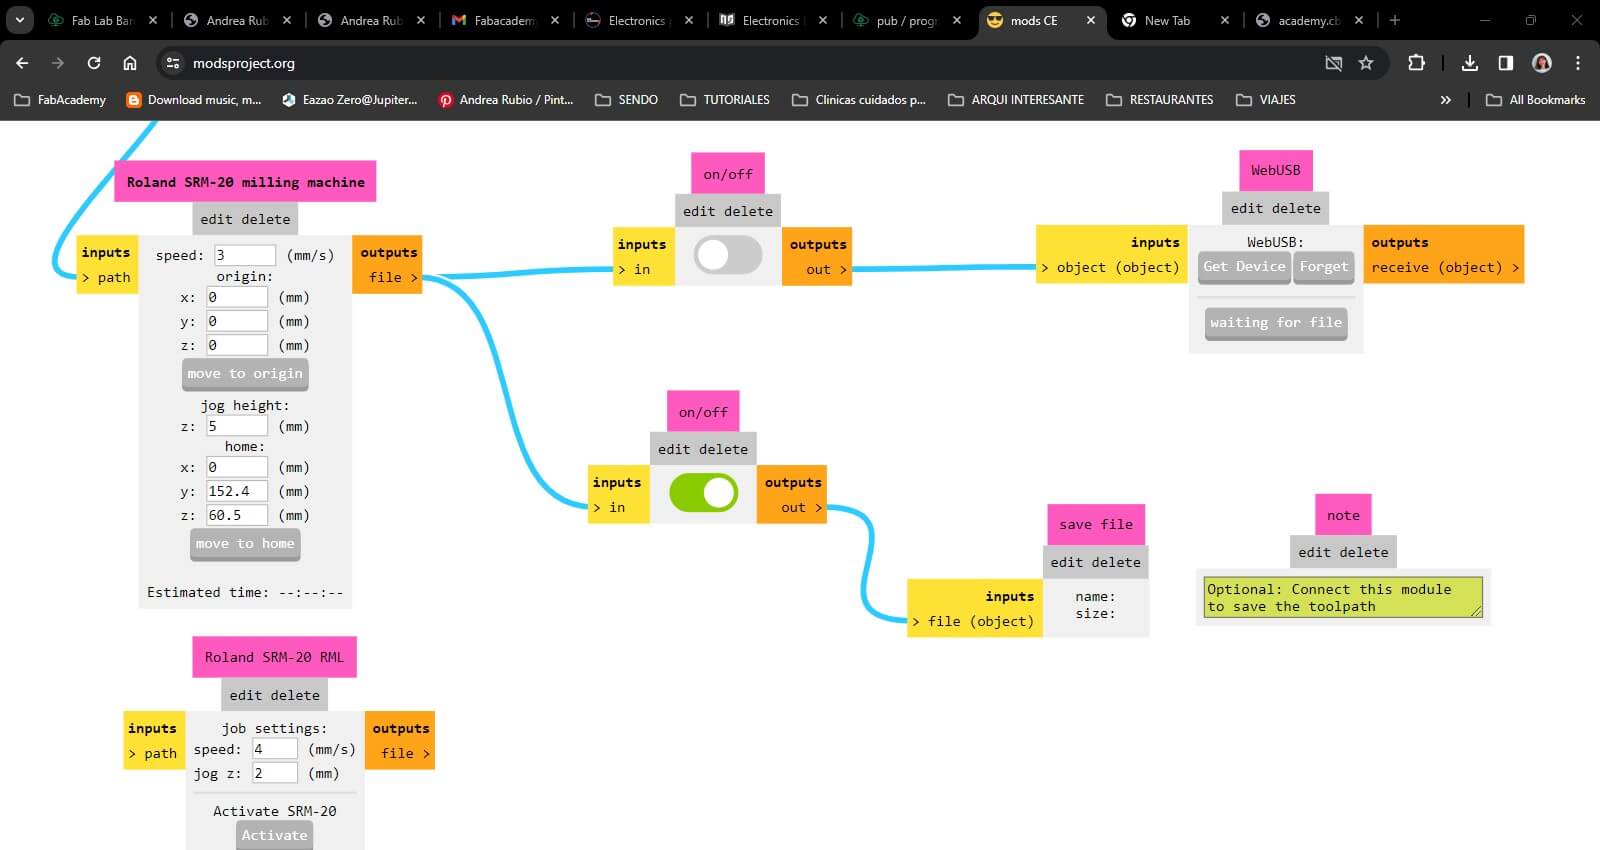
- hit calculate to download files
- put the files on the IAAC cloud to access them from the local computer
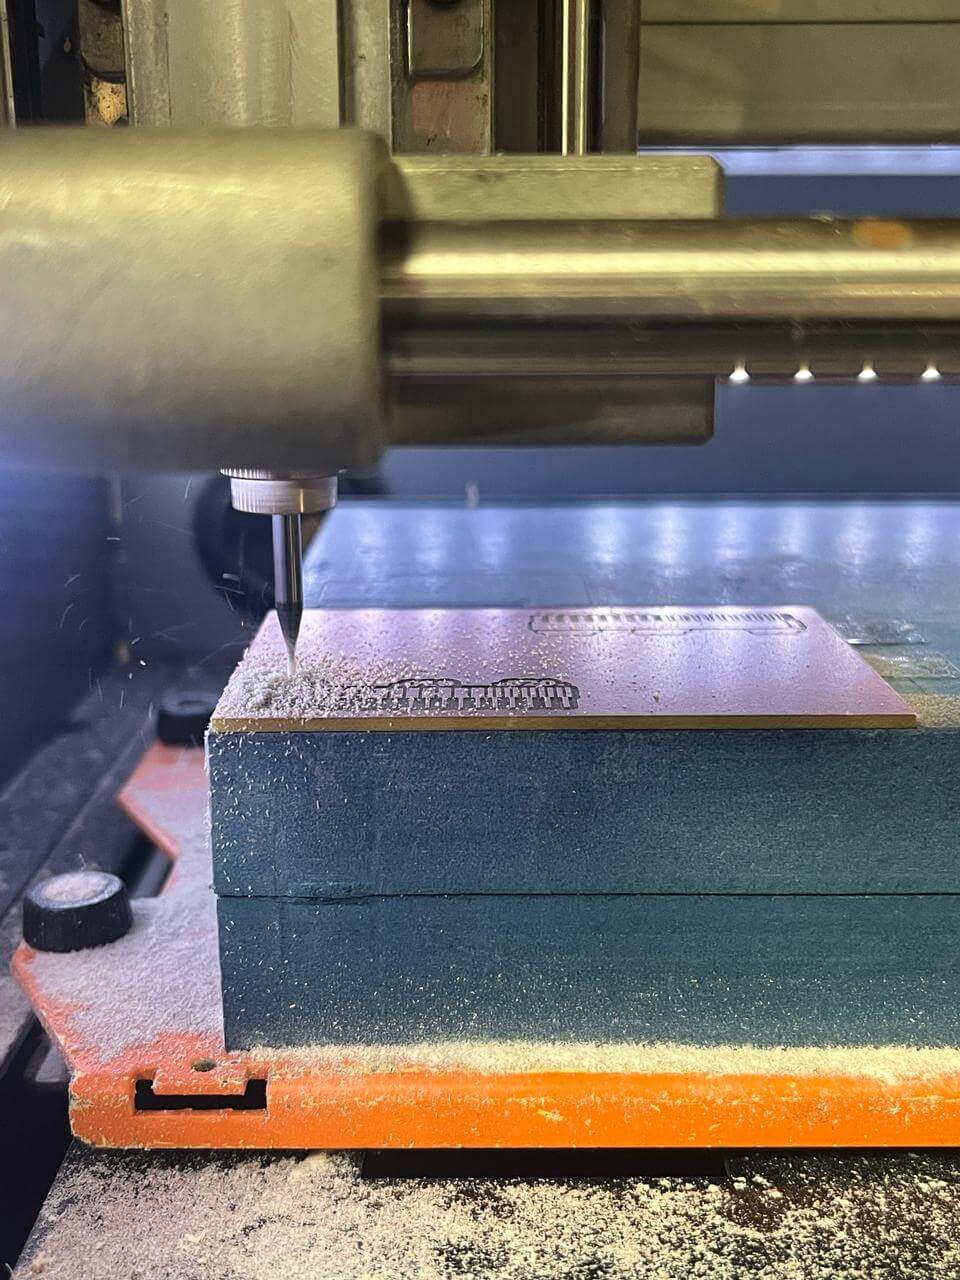
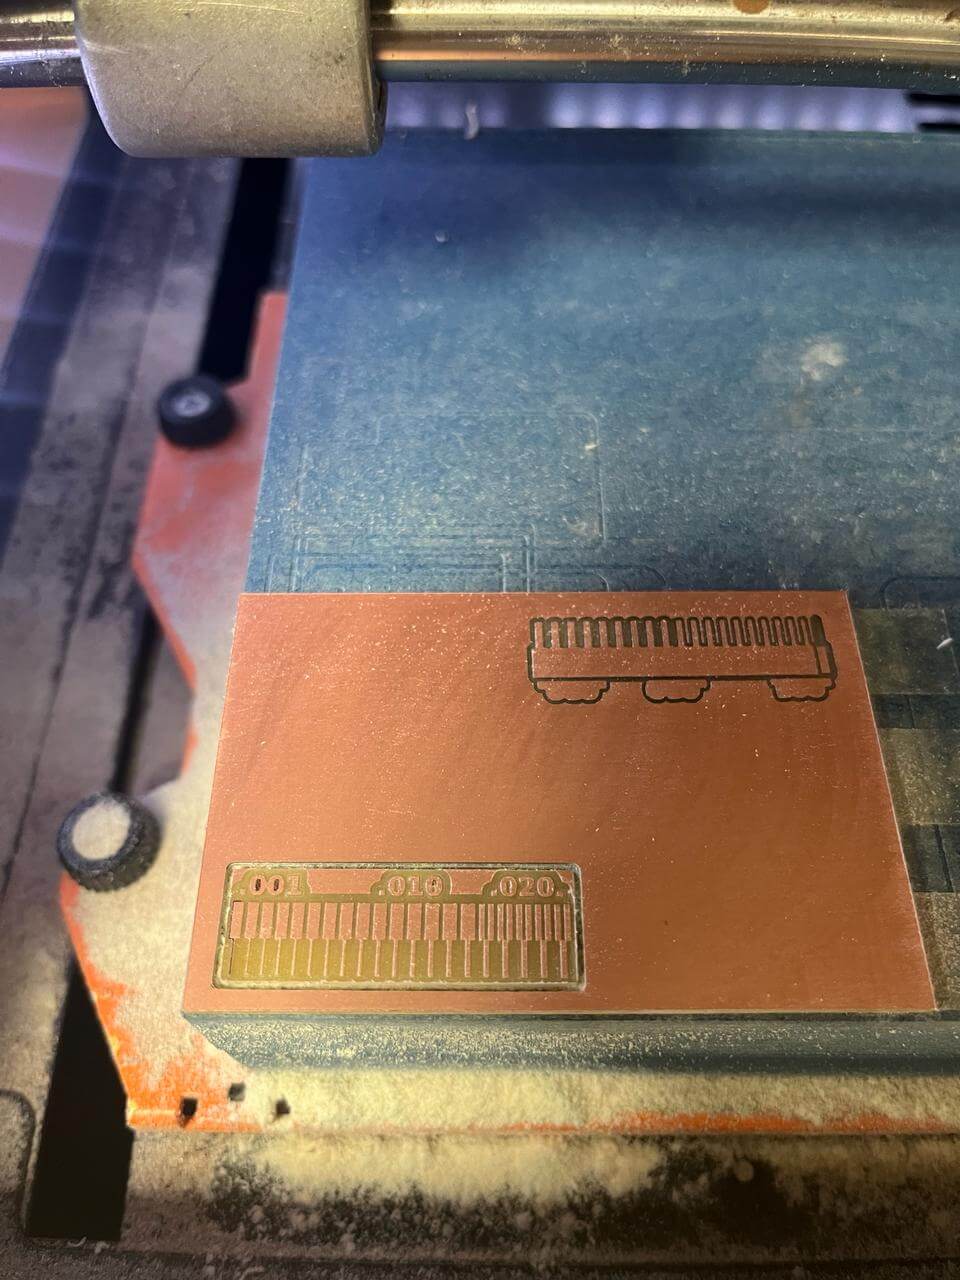
1. Milling the PCB
Traces:
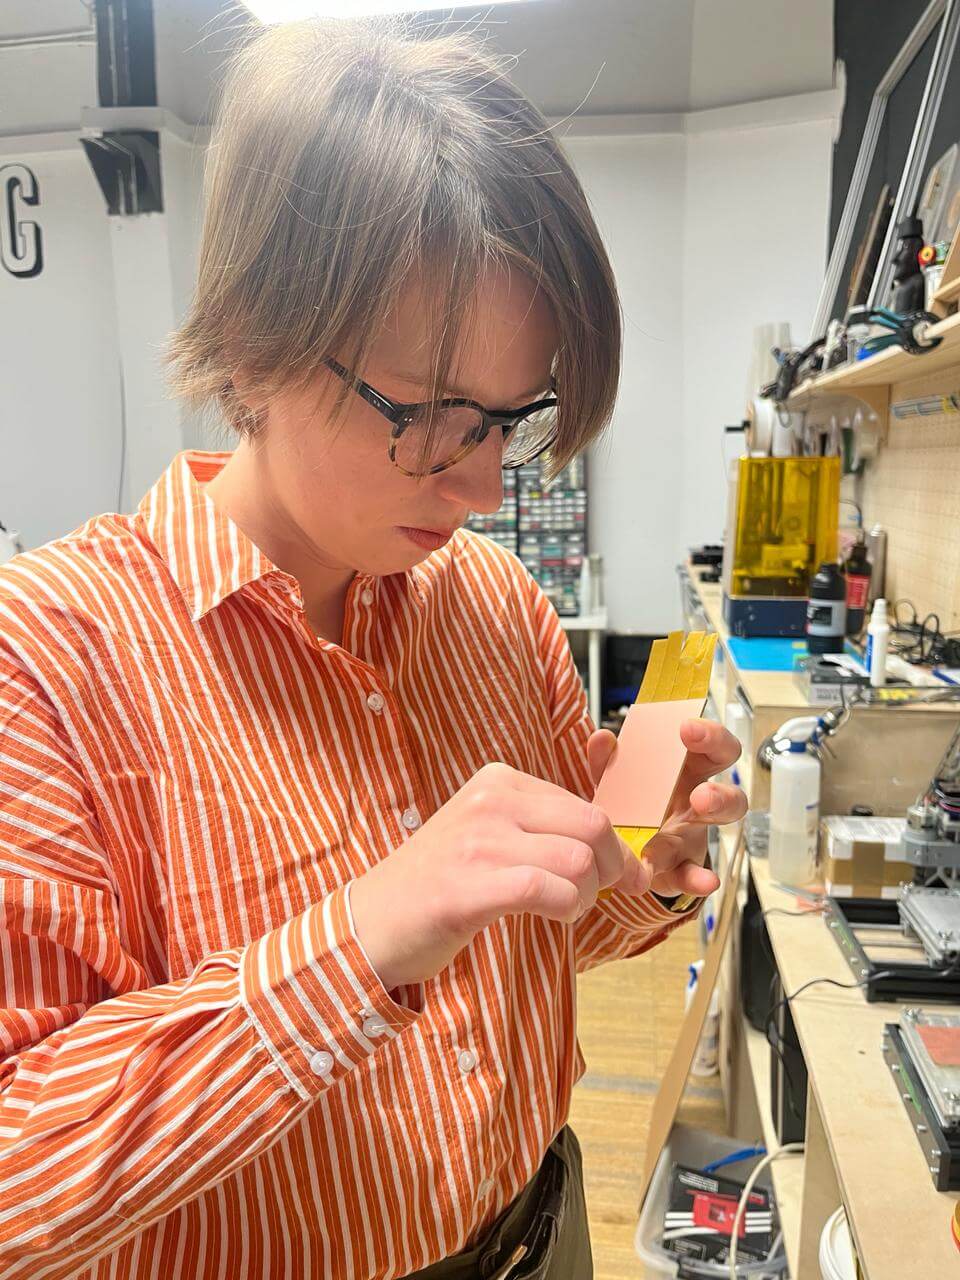
- Stick double sided tape on the back of your board. Let it overflow on the edges, so the board is flatter on the bed.
- Clean the base of the milling machine (remove remnants of tape/dust from previous milling) and stick the board onto the bed at a 90° angle
- Choose the 1/64” end mill for the traces and fix it on the spindle using the hex wrench. Be gentle!
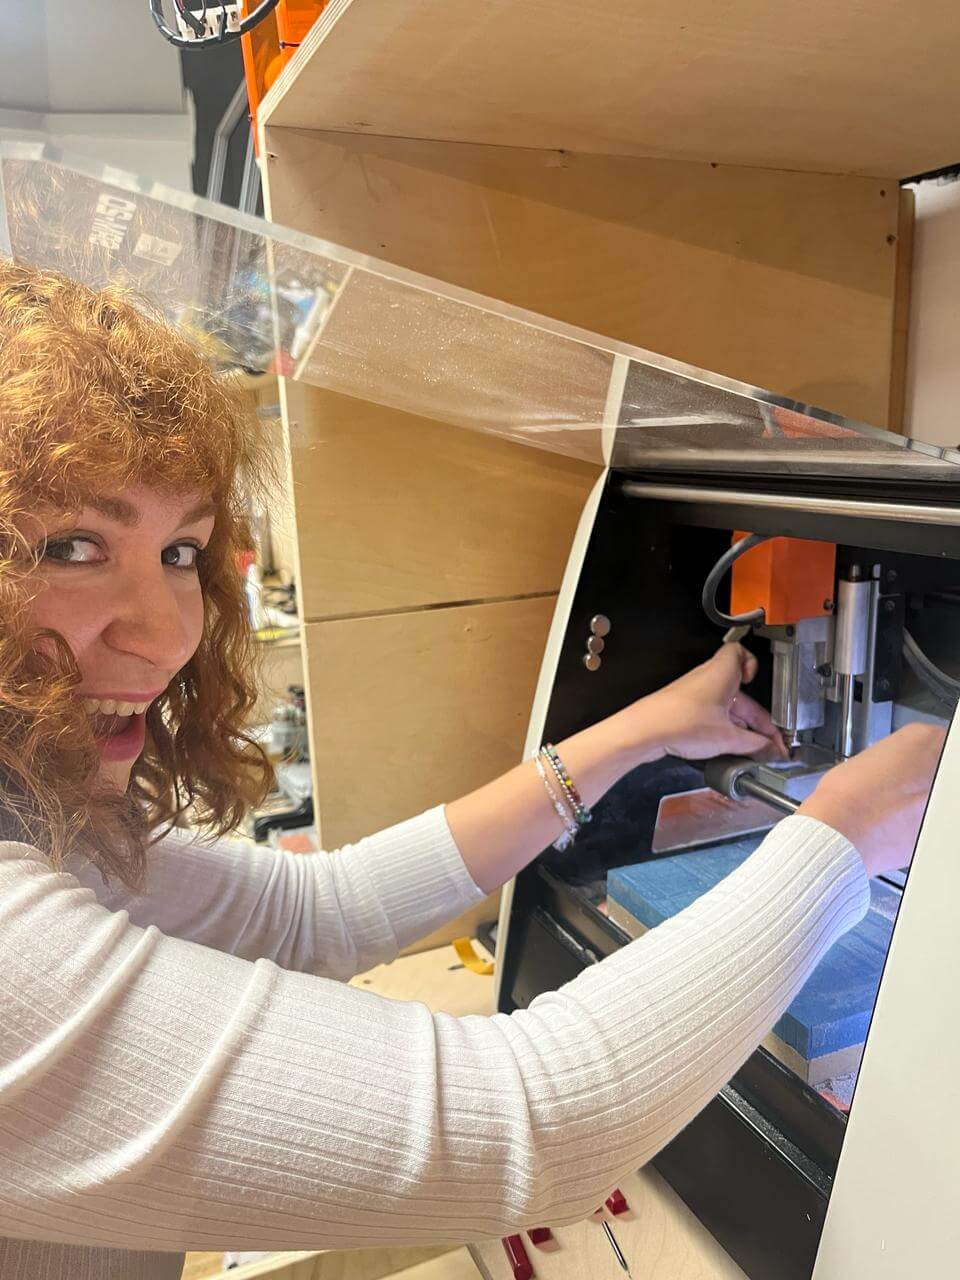
- Turn on the Roland SRM 20. The switch is on the top right corner.
- Open the machine’s software (V-panel) on the local computer and eyeball the X/Y origin to the lower left corner.
- To set the Z origin slowly move the spindle down to the board in 100 steps and 10 steps until it almost touches.
- Open the lid, hold the end mill with a fingertip, and gently lower the end mill to rest on the top of the board. Tighten again.
- Set the Z origin in V-panel. Raise the end mill!
- Try a spindle test and check if it cuts.
- Move the spindle up again to avoid scratches on the board.
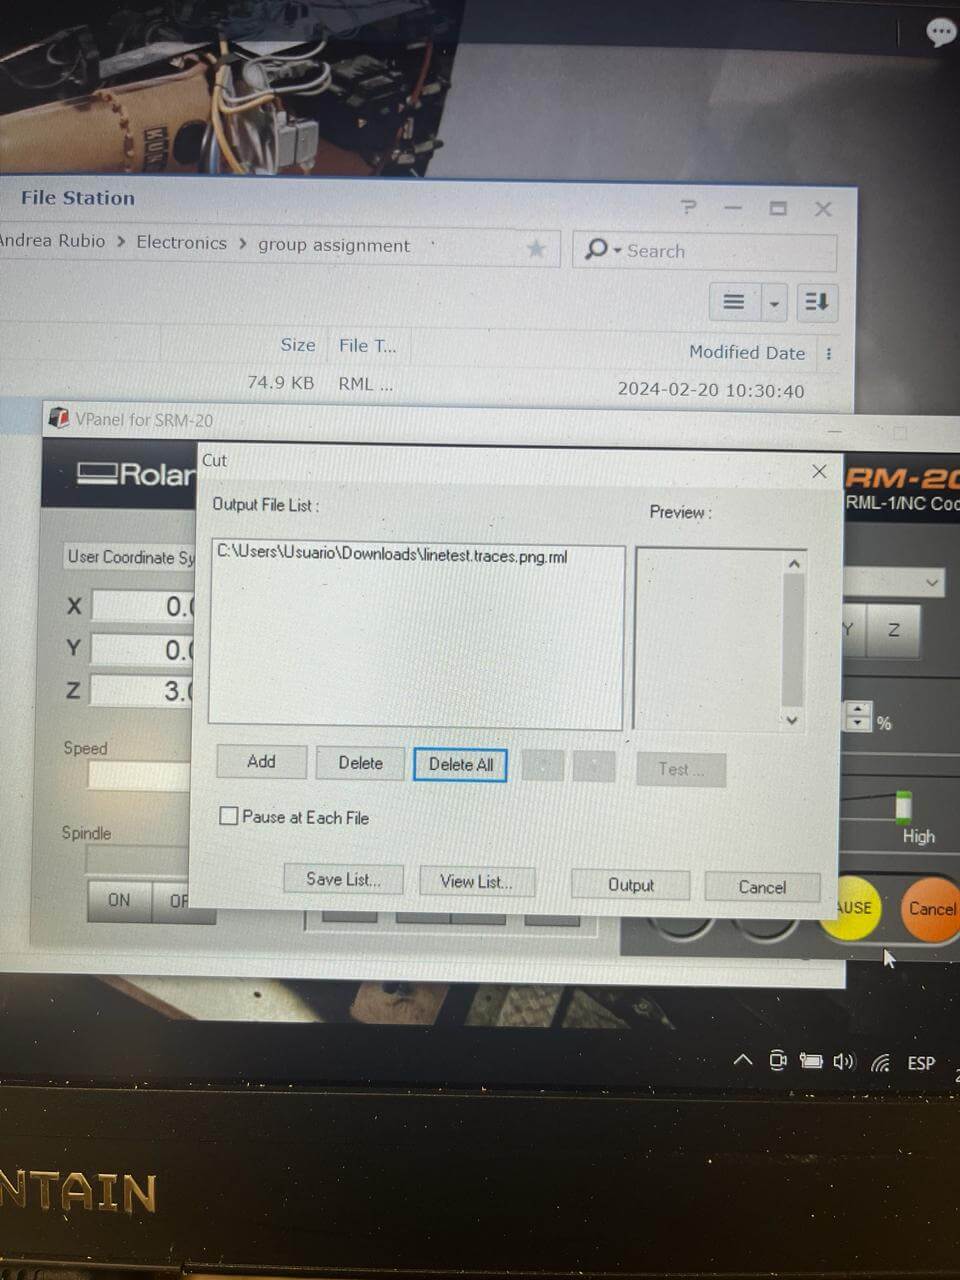
- Open the “Cut” menu on V-panel and delete all jobs.
- Make sure you downloaded the files to the local computer and select the traces file.
- Hit output and the milling starts.
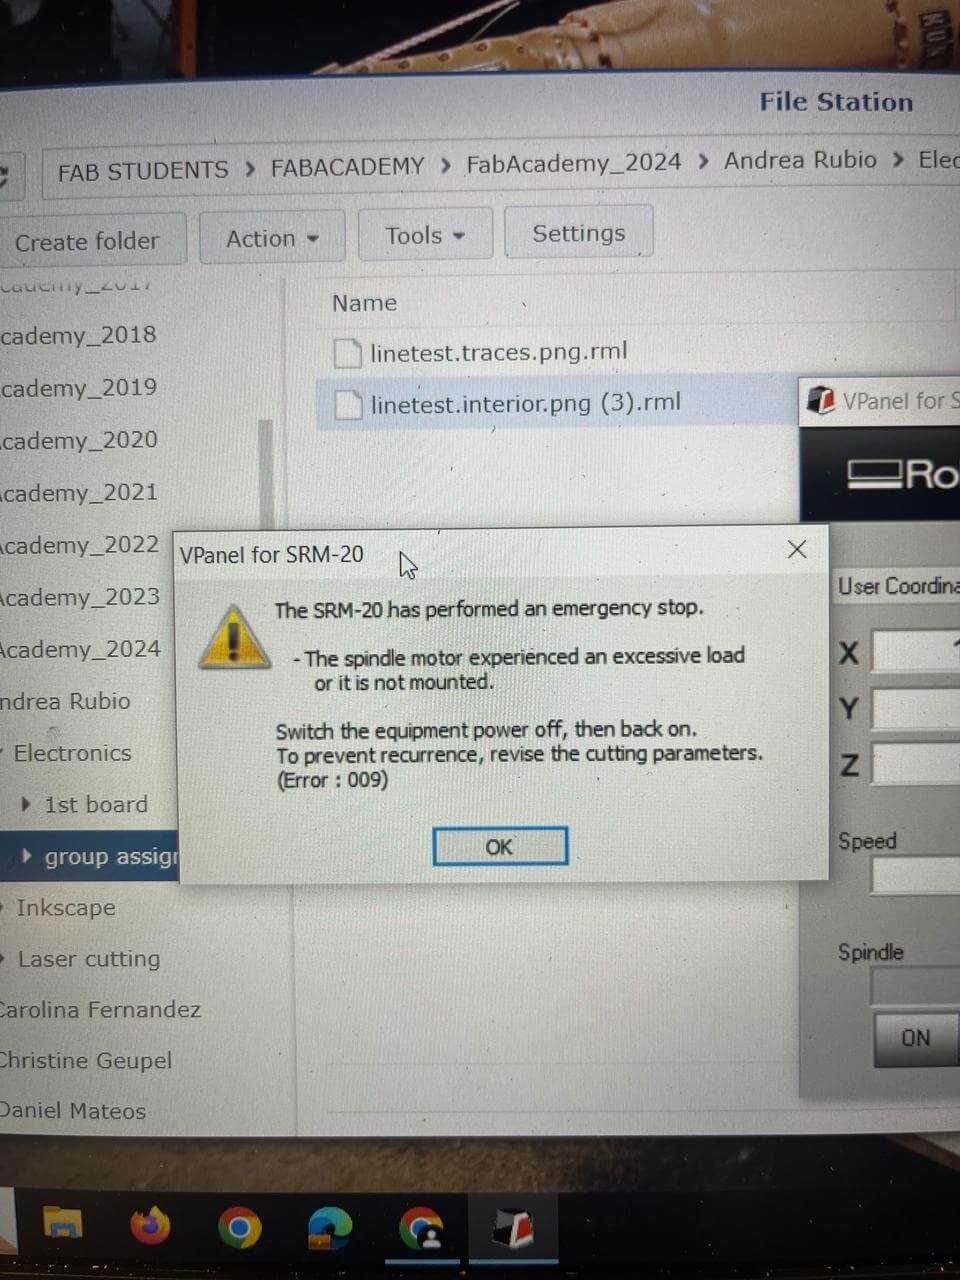
On the first attempt milling the traces we received an error that the motor of the machine had an issue. Thus we switched to the other machine and repeated step 1-13.
Outline:
- Open the machine and change the end mill to 1/32”.
- Reset the Z origin by following steps 6-8. Don’t reset X/Y origin or the files won’t match anymore.
- Open the “Cut” menu and choose the outline file.
- Once the Cut is done open the lid and pry the board off the bed.
- It’s done!
Final Outcome
Lessons Learned
- If you are not sure whether the mill cuts, do a spindle test to see if dust is being generated. If not, lower the Z one step (the smallest step possible) and reset the origin.
- When changeing the end mill tool, remember you need to reset the Z origin (but NOT the X/Y origin).
- Recheck your file settings, especially the DPI settings initially.
- Keep the hex wrench to change tools in the machine, please!