Week 7 - Computer Controlled Machining
This week’s assignment included the following tasks:
- Complete your lab’s safety training
- Test runout, alignment, fixturing, speeds, feeds, materials and toolpaths for your machine
- Document your work to the group work page and reflect on your individual page what you learned
Safety Training
Fab Lab Barcelona students completed the general lab safety training in Week 3 but reviewed CNC-specific safety this week:
Personal Protective Equipment (PPE)
- closed toed shoes
- long hair up/tied back
- eye protection
- hearing protection
- clear mental state
Policies
- Only one person controls/works the bed & computer at a time (so no issues with one person manipulating the machine via the computer while another person is still setting up the bed)
- Know where the 3 emergency stop buttons are
- avoid touching the flutes of the end mill (both because they’re sharp and present a cut risk, but also because hand oils will dull them)
- While the machine is in use, stand to the sides.
In the software
- When setting step down distance, never go down all the way in one pass (rule of thumb: don’t go down more than 1/2 the tool diameter in one pass). Doing otherwise can damage the work piece, tool, or person nearby
- Incorporate tabs: leave bridges of material along the bottom so that parts aren’t completely cut out (and won’t fly out and potentially cause harm)
Machine Testing
The Barcelona Fab Lab has X CNC machines:
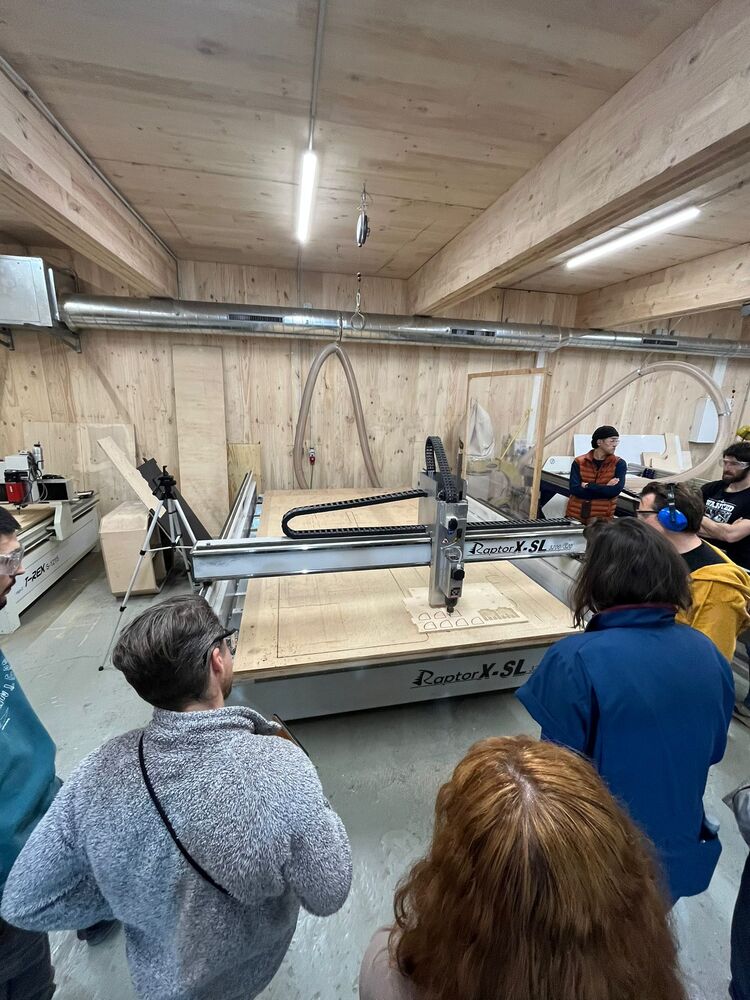
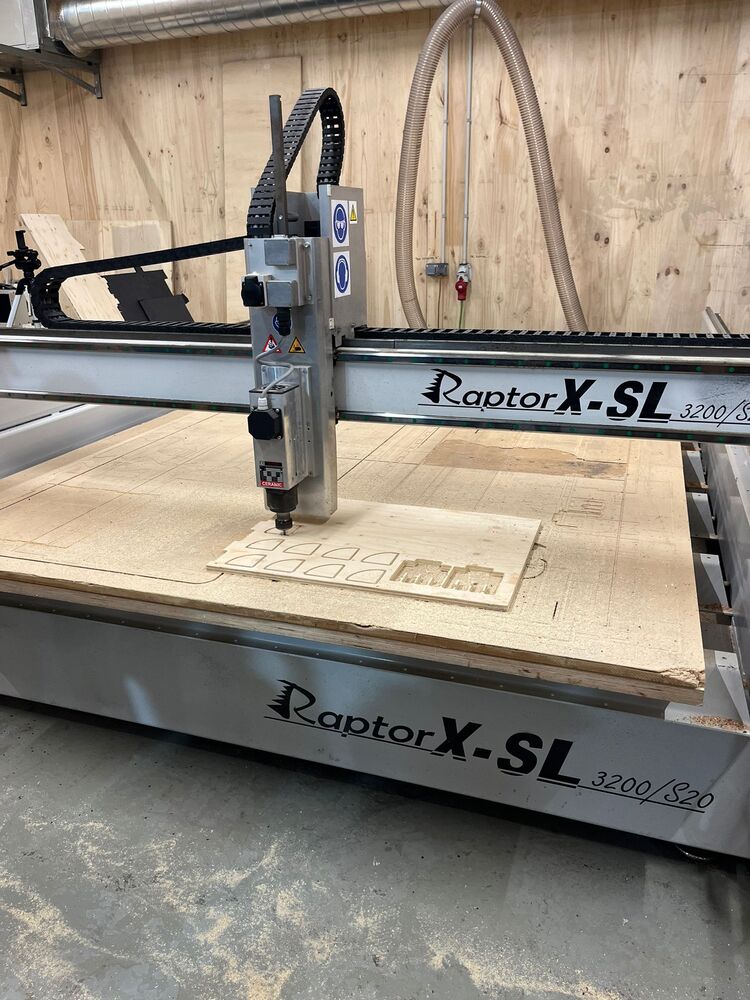
- Raptor X-SL
- High-Z T-Rex S-1215
- ShopBot
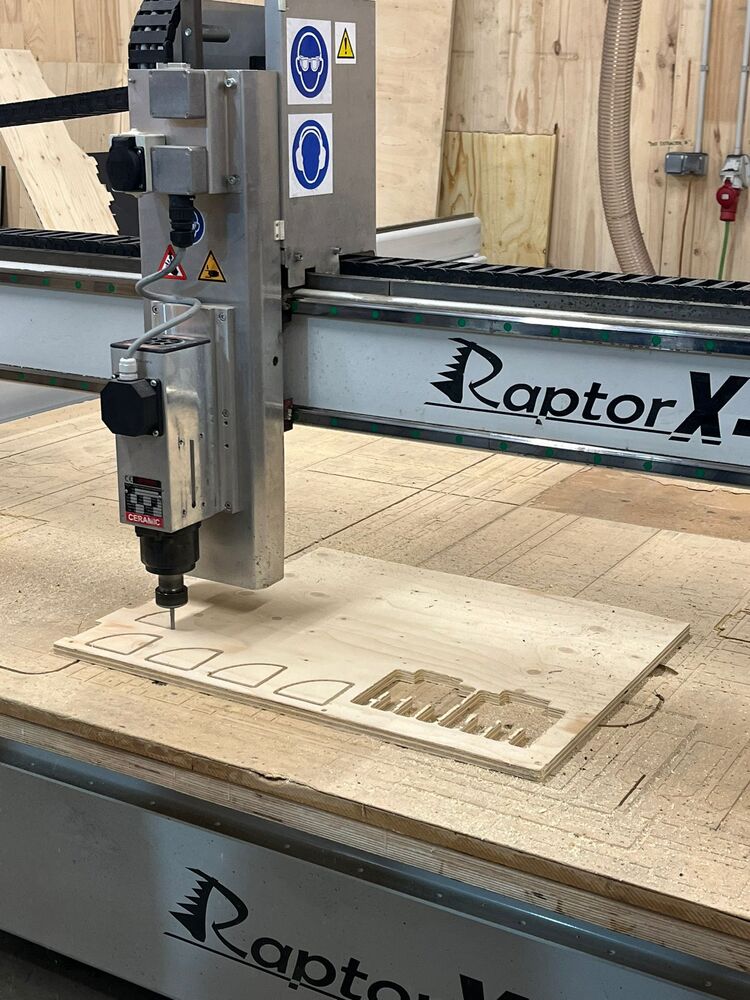
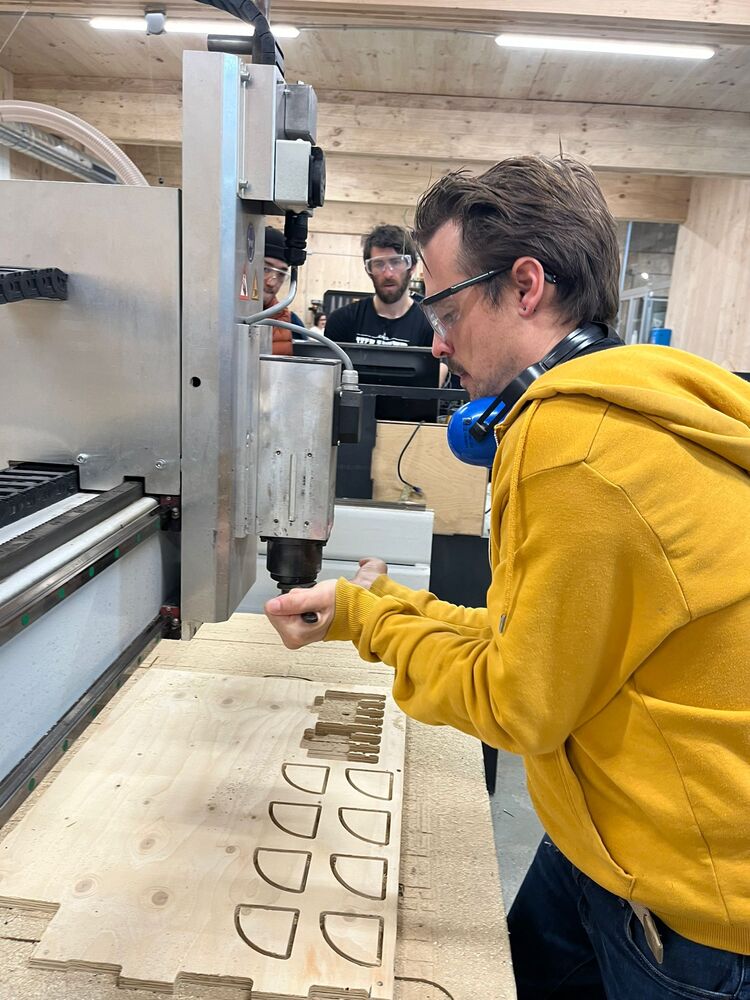
The Fab Academy Students used the Raptor X-SL.
CNC Milling Machine Workflow
Setup
- Choose your endmill (upcut, downcut, size, # flutes, etc. based on your part design and the stock material)
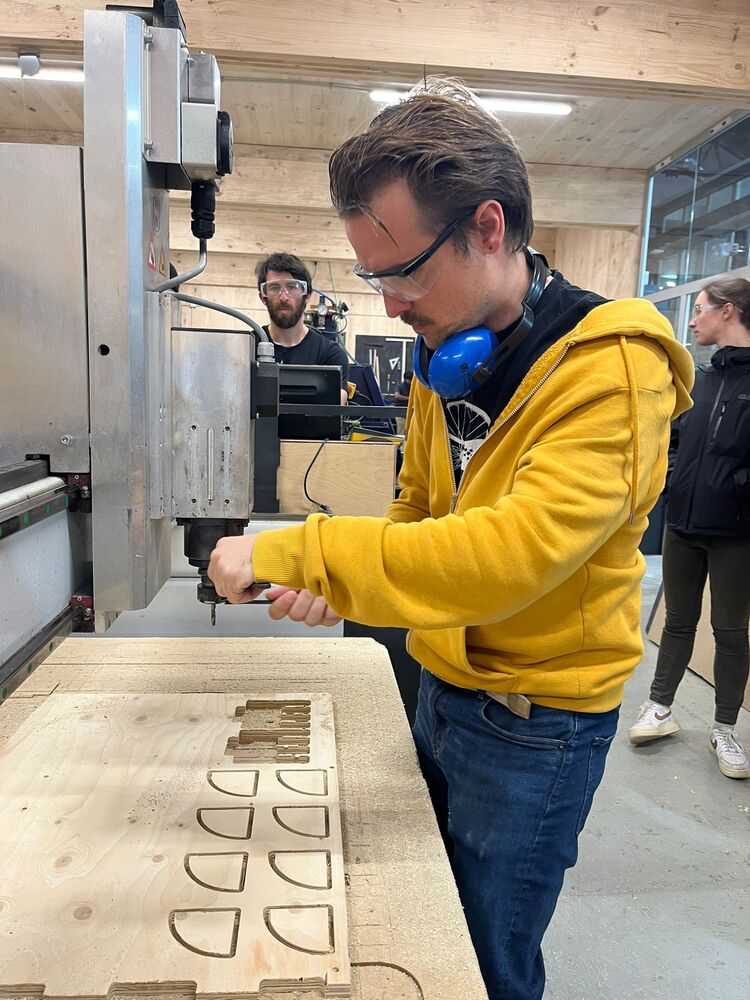
- Select the appropriate collet for the endmill
- Tighten the collet down hard (put your weight into it)
- Align your stock to the bed
- Zero X & Y to the corner closest to the computer, with the X axis oriented in the longer dimension of the bed and the Y axis parallel to the bridge (shorter dimension of the bed)
- Then zero the Z axis by slowly lowering the endmill while spinning the collet manually until you encounter resistence from the endmill coming into contact with the surface of the stock
- Fixture stock to the bed using screws (location of the holes is set with the software during file preparation)
- drive screw in partway, then reverse out a bit, then drive the screw in fully
- After fixture the stock with screws, rezero Z axis but not X & Y
Files
- Drilling: file you’ll use to mark the placement of screw holes
- Pockets: remove all material from inside a curve. Can either go all the way through the stock or a defined depth.
- In cuts (cut inside part)
- Out cuts (need to leave tabs/bridges)
Characterizing Feeds & Speeds, Toolpaths
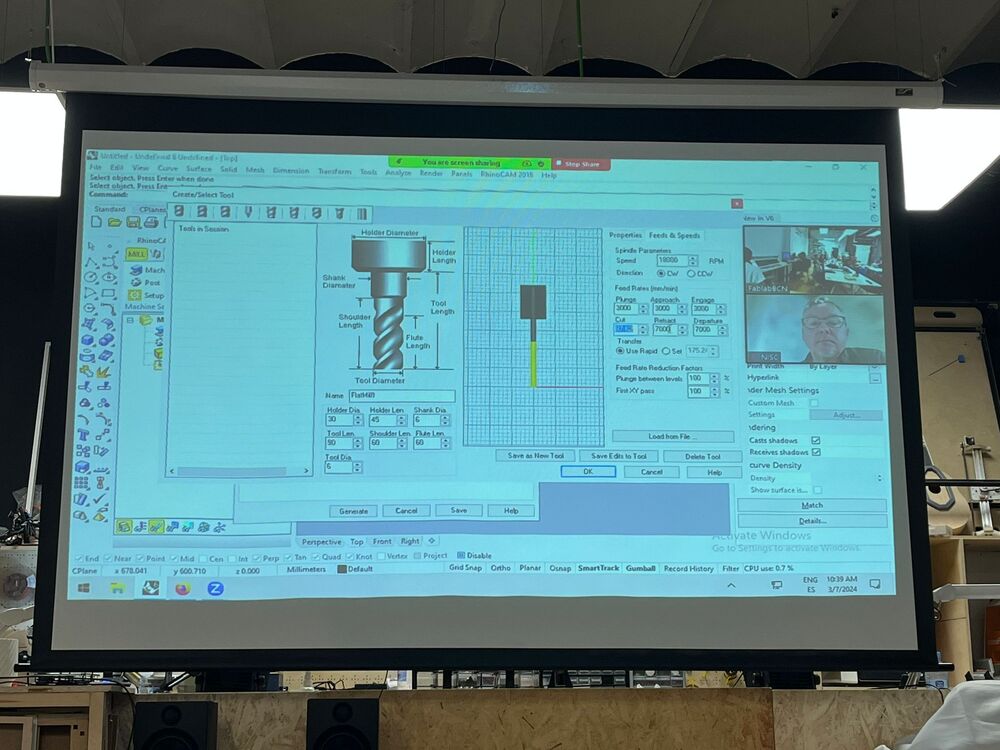
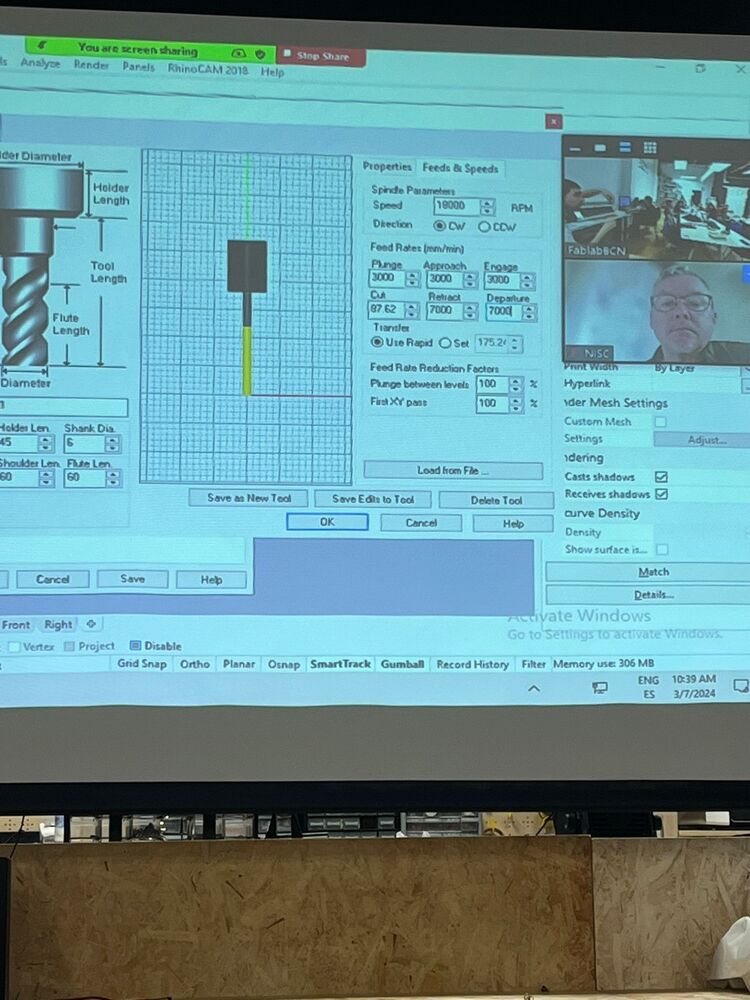
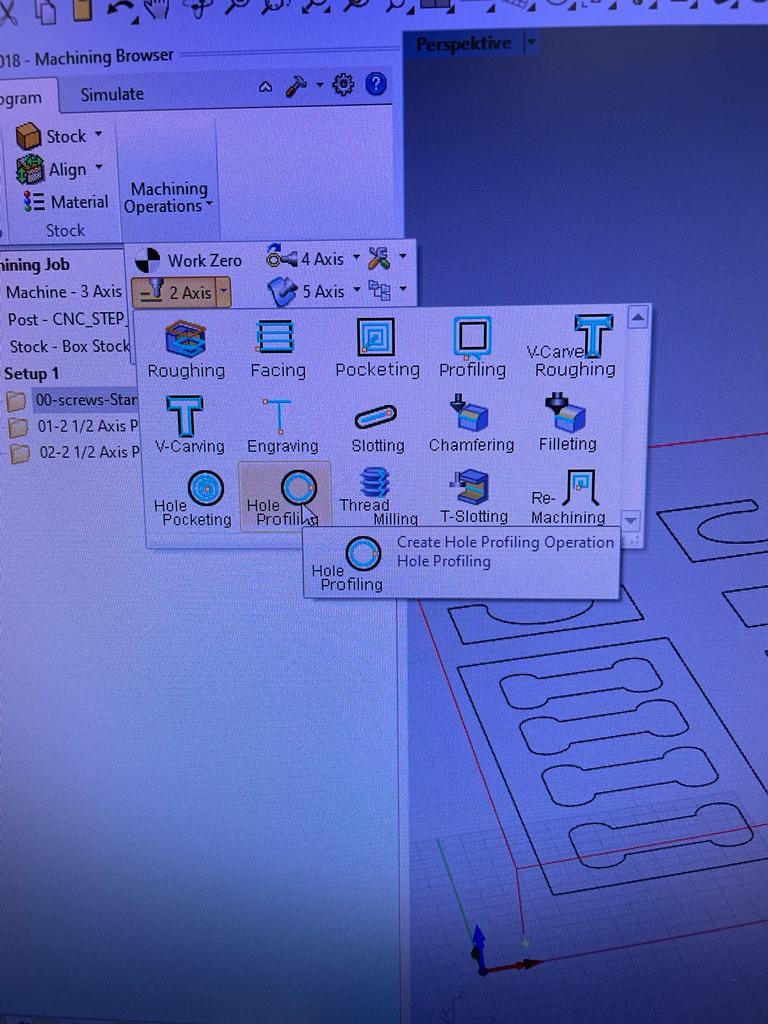
Setting up the tool & files in RhinoCAM
Hole Profiling
- Before performing the hole profiling, points need to be drawn on the cutting plan. For a large wooden board, it is advisable to use at least 9 screws, but depending on the type of cut, more or fewer may be necessary.
- With select curve/edge regions all points have to be selected
- Tool: Select Tool (which I prepared before)
- Sorting: No sort
- Feeds & Speeds: Speed: 20.000; Plunge/Approach/Engage all 2.500; Cut/Retract/Departure all 4.000; Select use rapid
- Cut parameters: Tolarance: 0.03; Select at top
- Enty/Exit: Lines and Arcs; Tangent; Radial Radius 6.35; Lines Arcs Radial Radius 6.35; Departure Motion Tangent
- Clearance plane: Part Max Z:6 - Stock Max Z: 25 - Absolute Z Value: 6
Since we didn’t perform any pocketing in our test, we were able to proceed with the axis profiling afterwards.
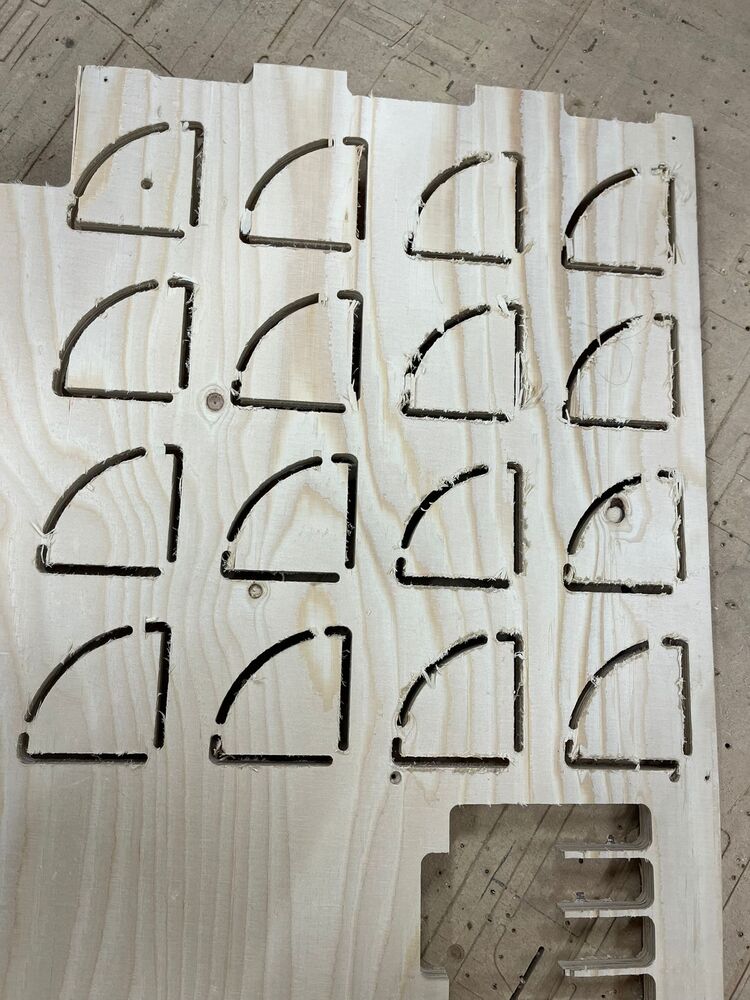
Preparing an array of test cuts to compare CAM settings


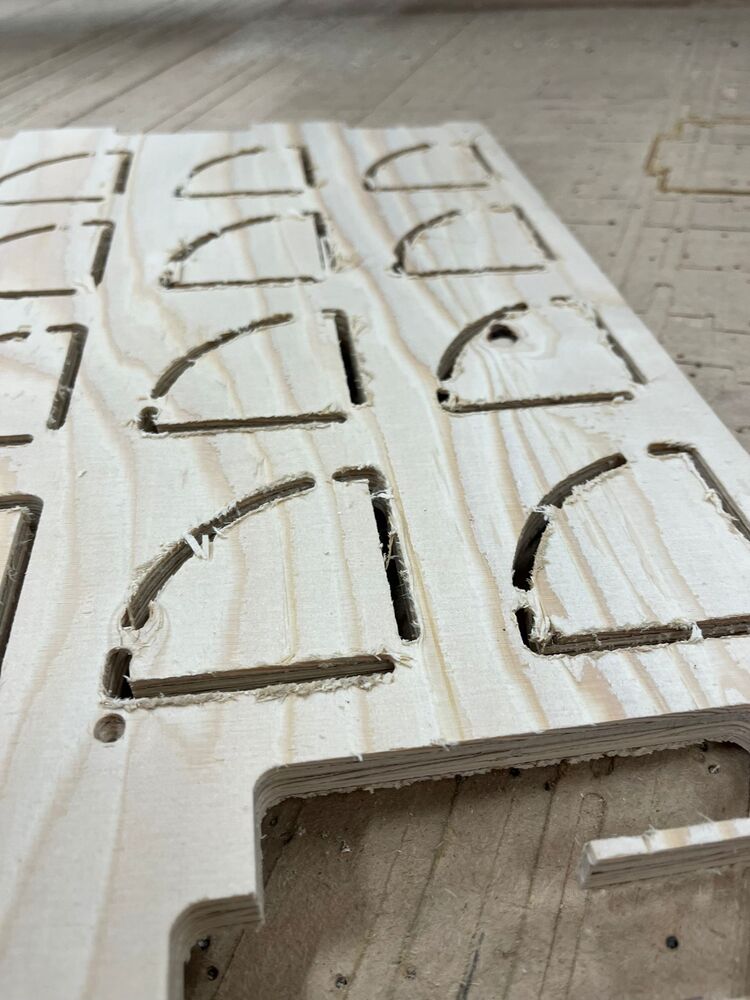
Changing out the 6mm Down Cut endmill for a 6mm Up Cut endmill
Continuing the array with Up Cuts
Completed array
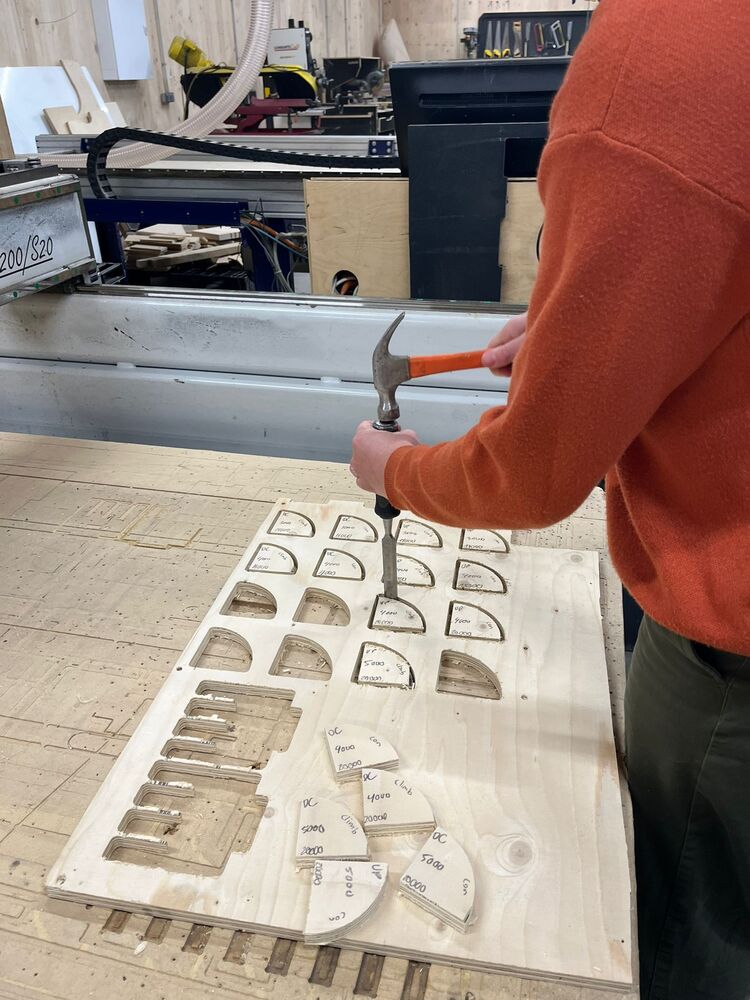
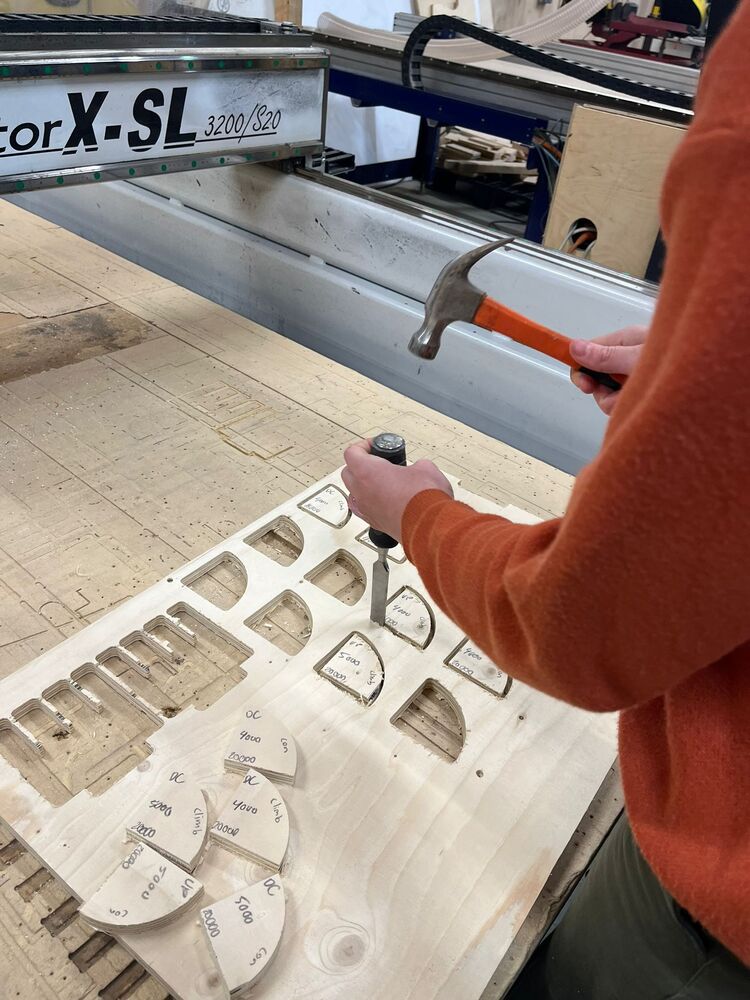
Breaking the tabs/bridges with a chisel & hammer