Week 5 - 3D Scanning and Printing
This week’s assignment included the following tasks:
- Test the design rules for your 3D printer(s)
- Document your work on the group work page and reflect on your individual page what you learned about characteristics of your printer(s)
Fablab Barcelona Prerequisites
3D Printers
The Fab Academy is using the following 3D printers in the FabLab in Barcelona:
- Prusa i3 MK2
- Creality Ender-3PRO
- Zortrax M200
- Anycubic Photon M3+ (SLA)
Materials
These print with:
- PLA (Prusa, Creality)
- Ultrat (Zortrax)
- Resin (Anycubic SLA)
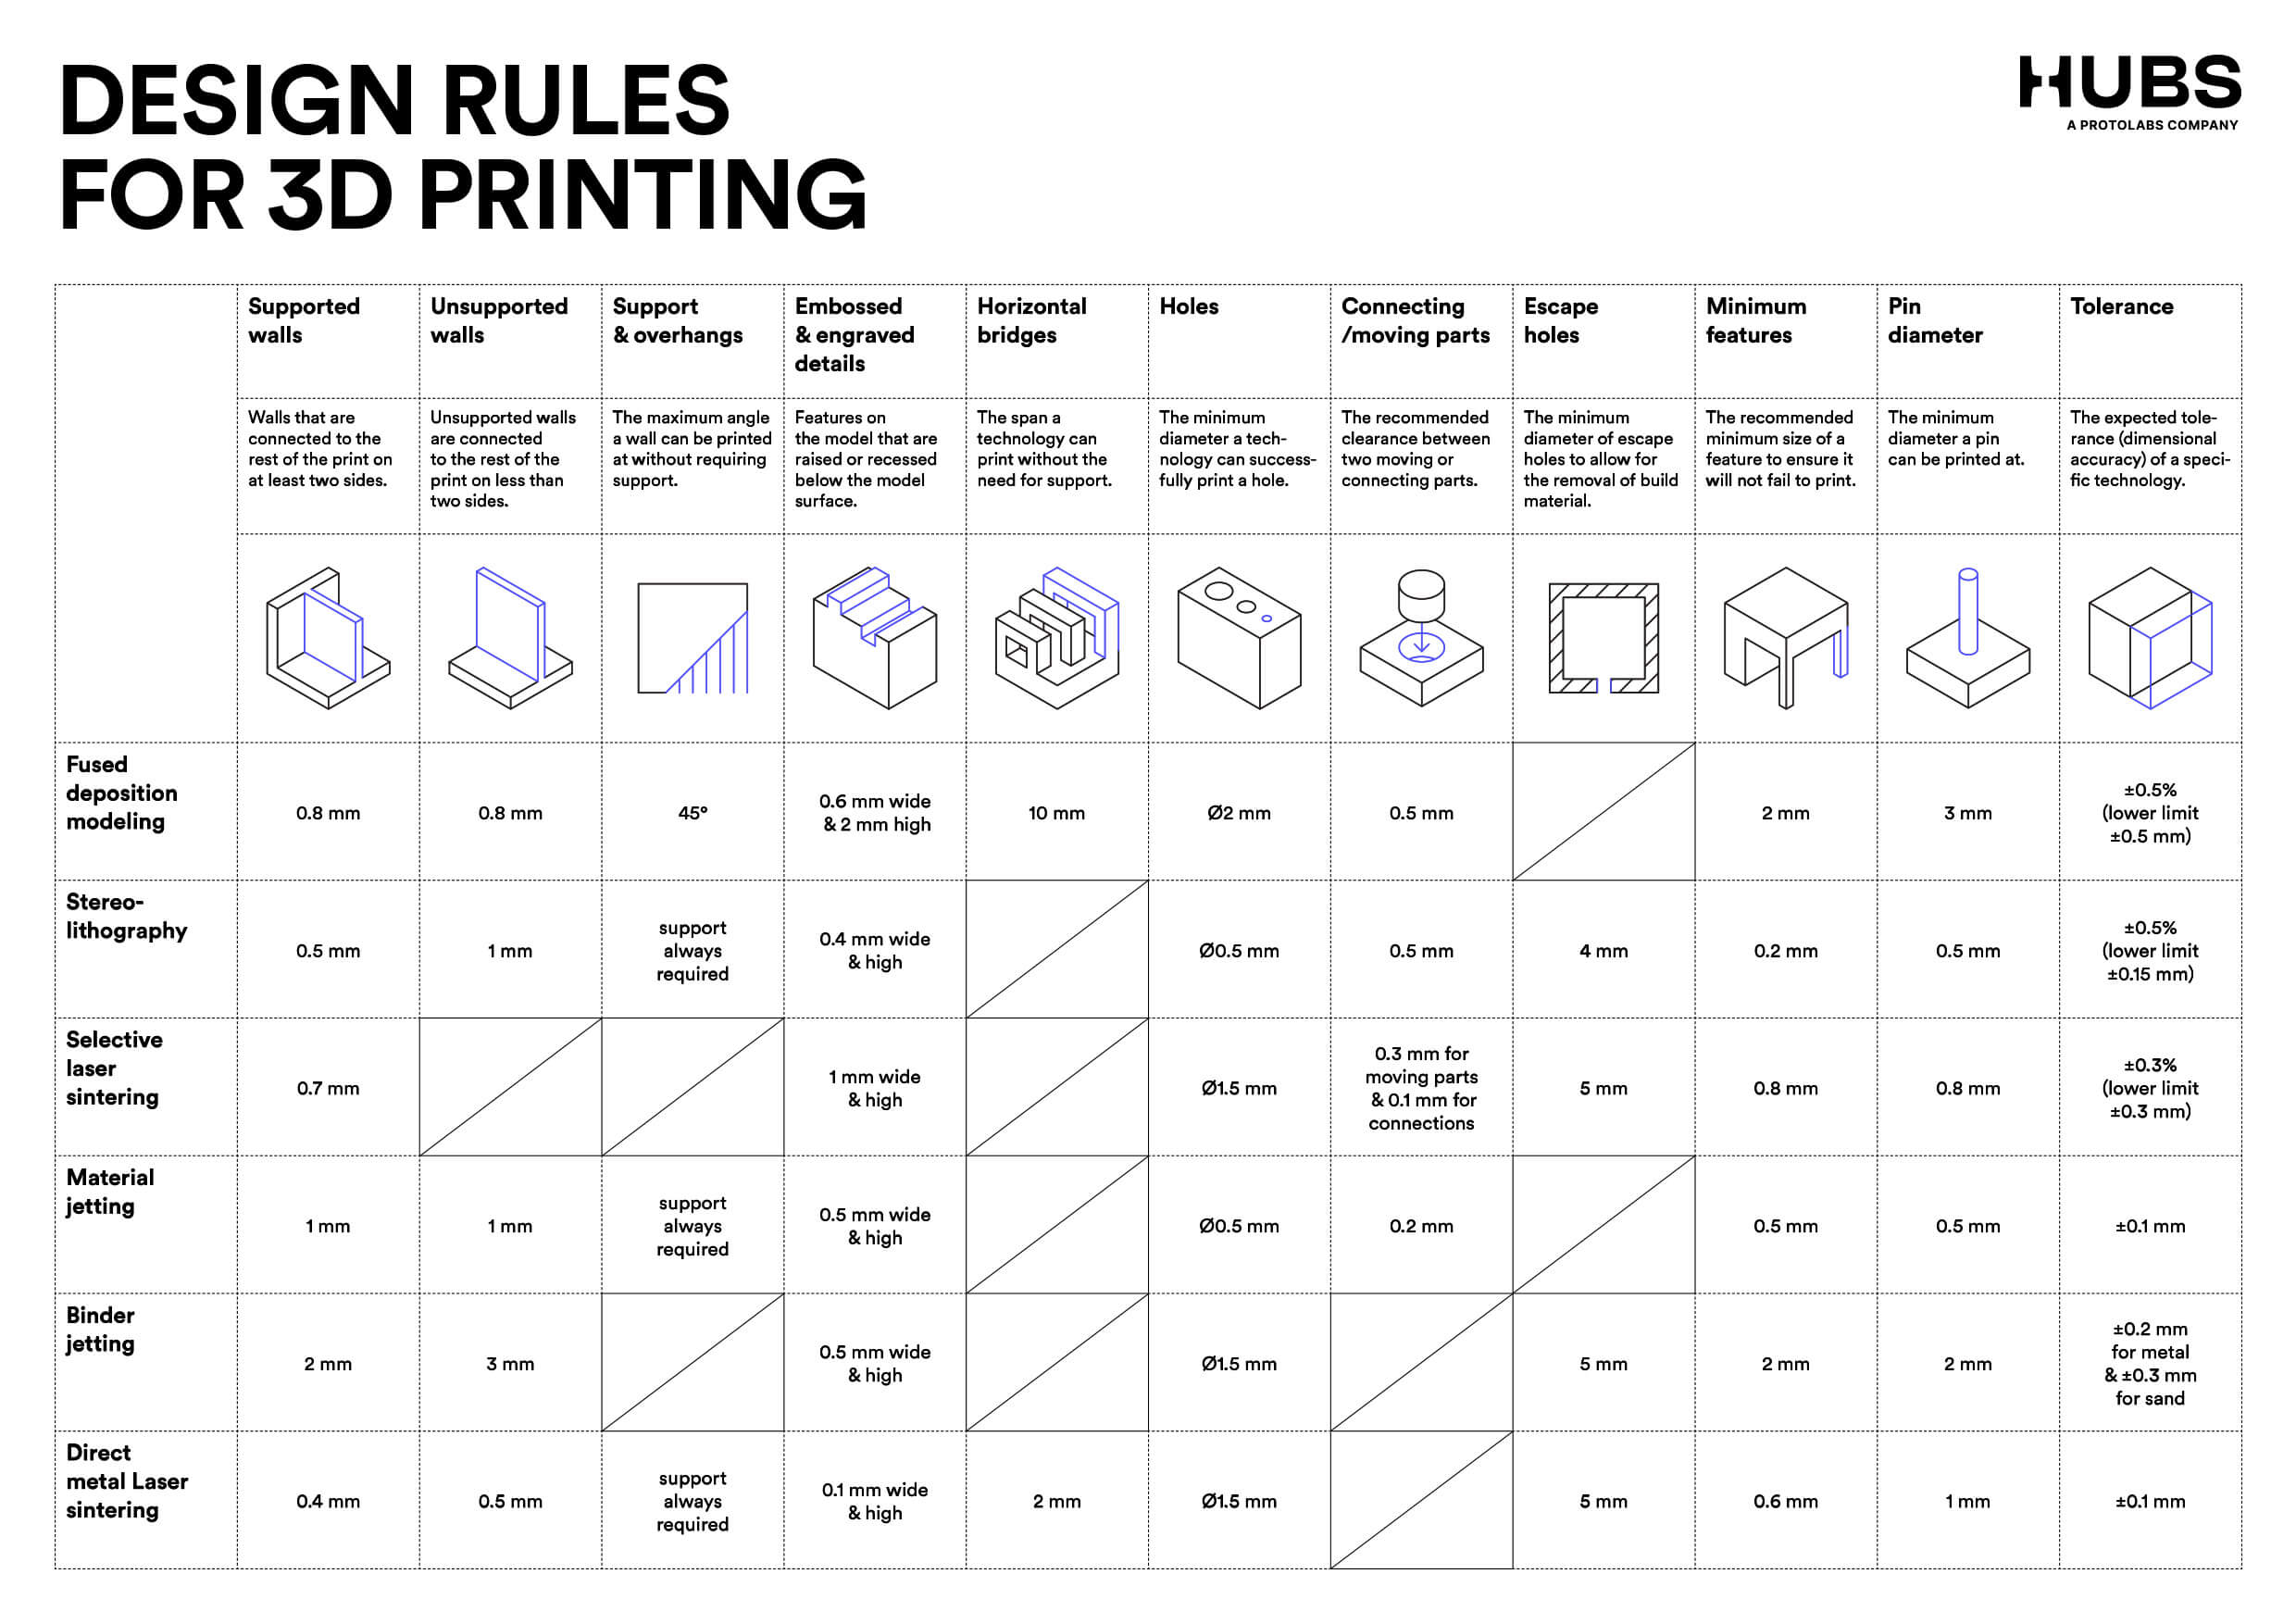
Design Rules
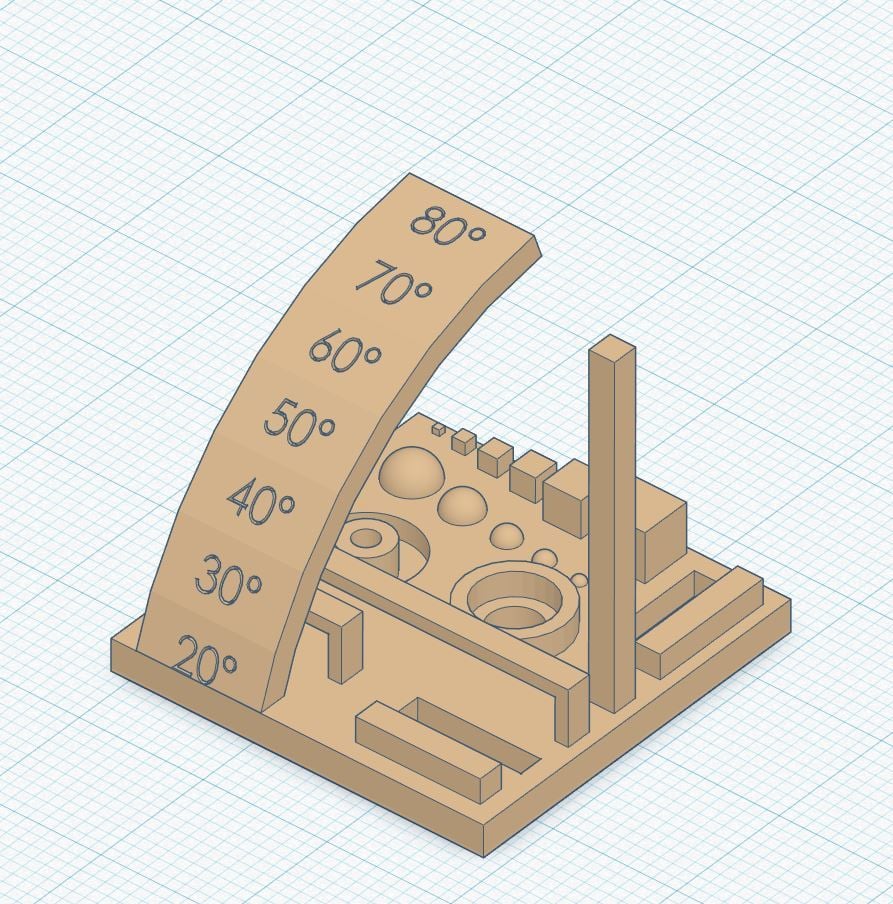
(IMAGE BELOW FOR REFERENCE)
All-in one test:
We used the following 3D model for our printers test: https://www.thingiverse.com/thing:4214436
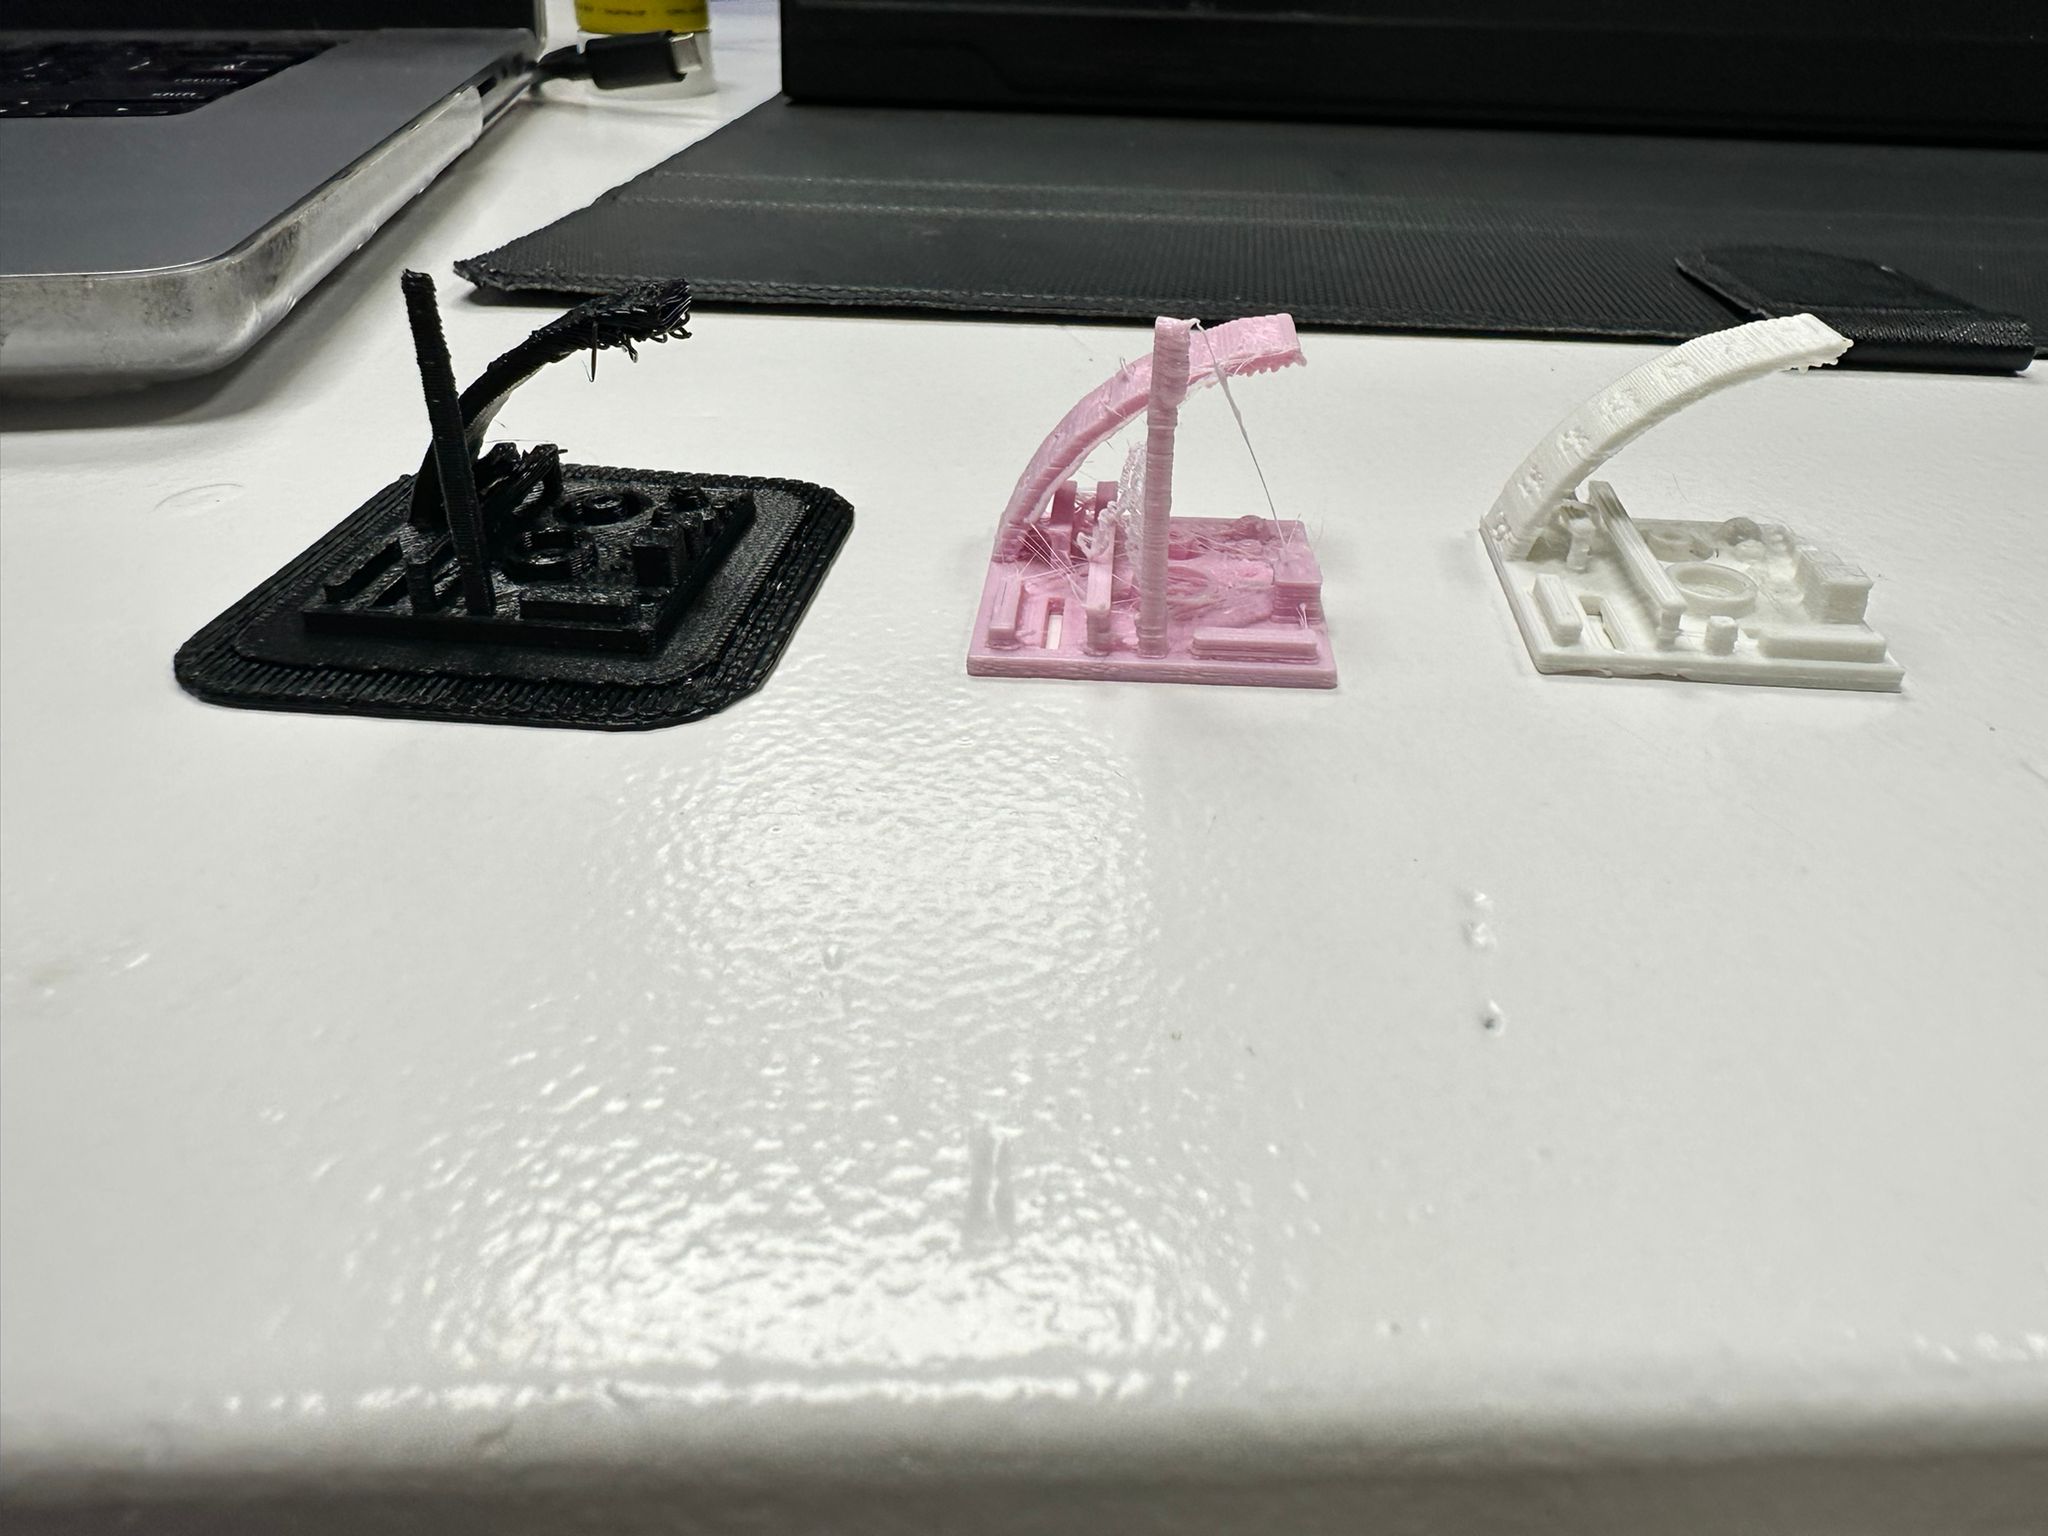
Output Comparison
Key
Black model = Zortrax
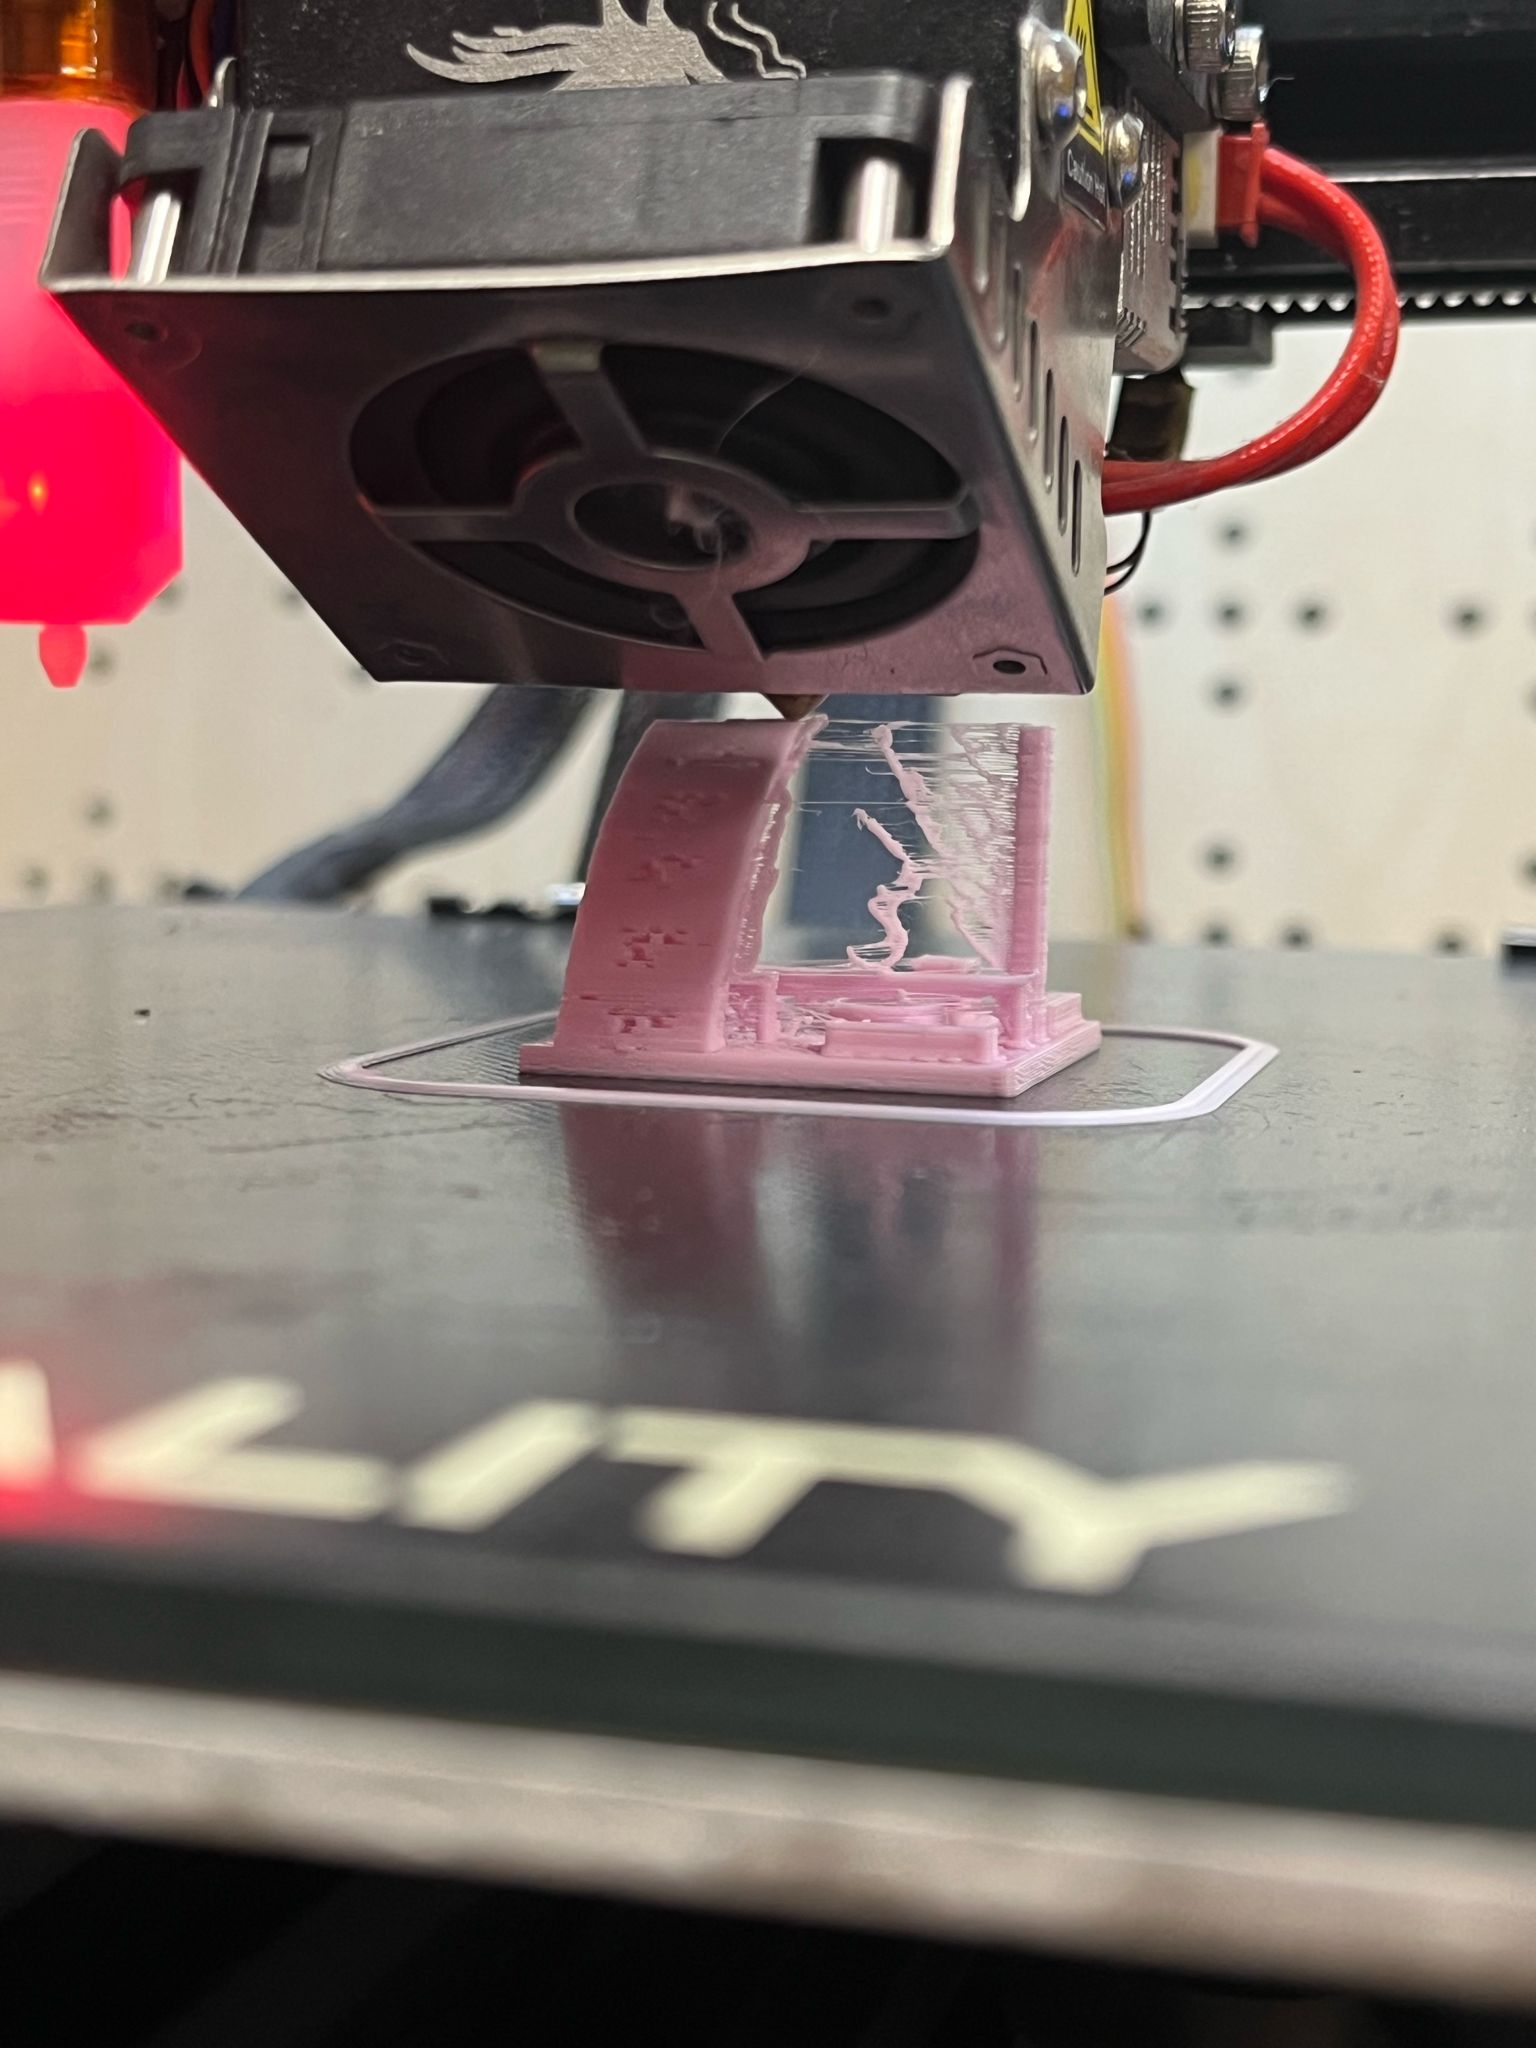
Pink model = Creality
White model = Prusa
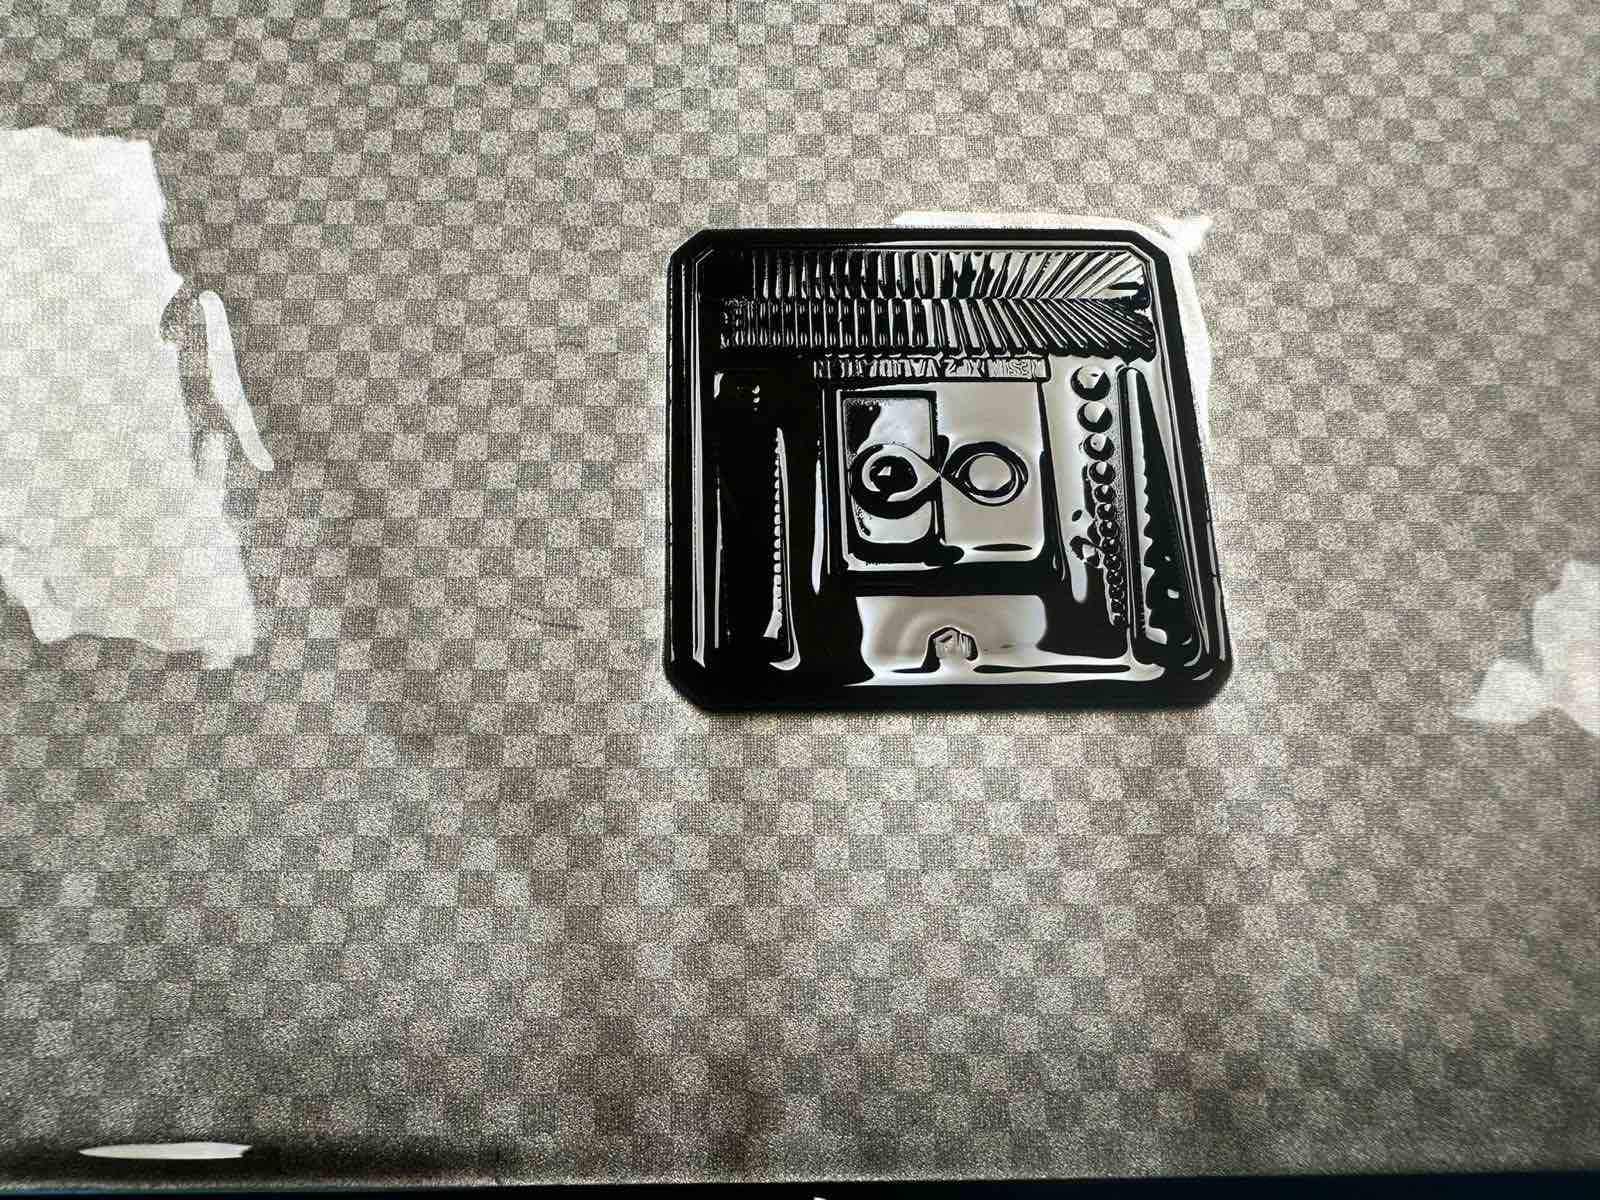
Flat black model = Anycubic

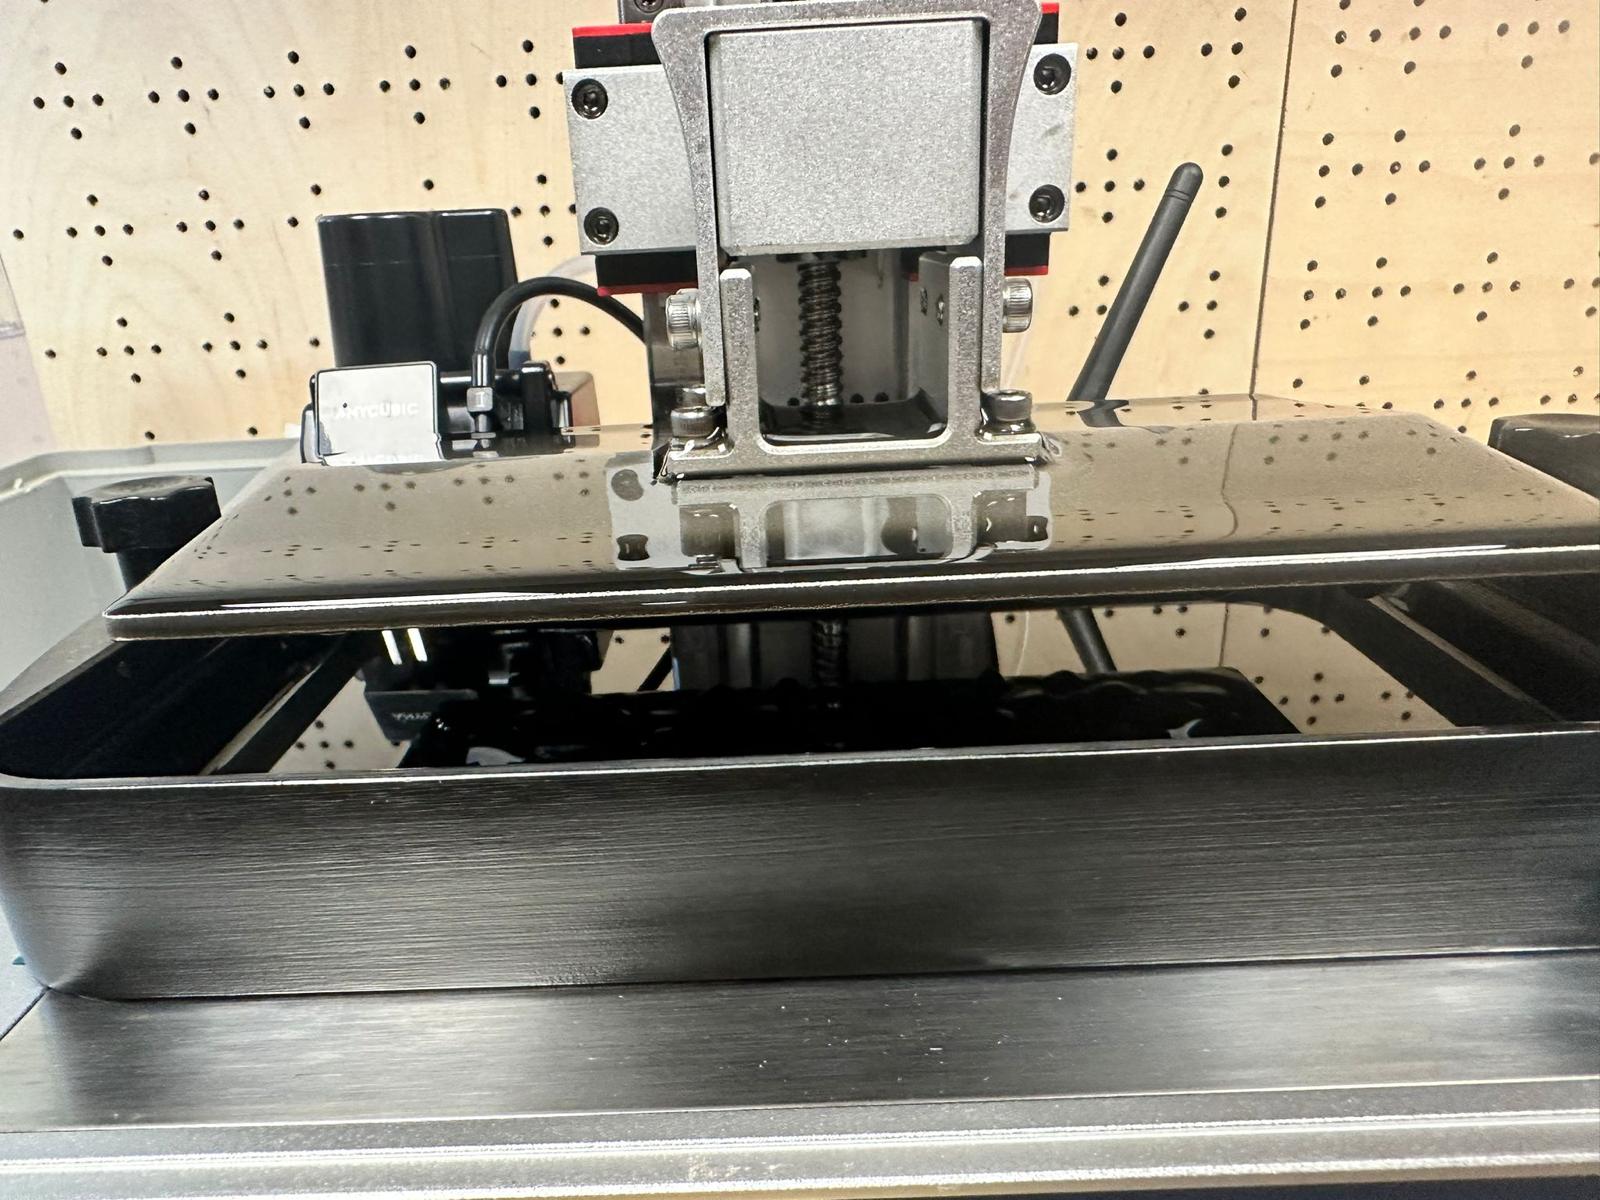
SLA with Anycubic
We used a different reference model for the SLA resin printer.
Instructions on how to interpret can be found here: https://www.youtube.com/watch?v=m-hCtVmUnRc
The file in Thingiverse is here: https://www.thingiverse.com/thing:4910573
Analysis
Note that traffic lights below are meant as relative comparison between the four machines in our lab. They do not reference a scientific or absolute scale.
1. Supported walls:
Results: Untested. Our model did not have any supported walls.
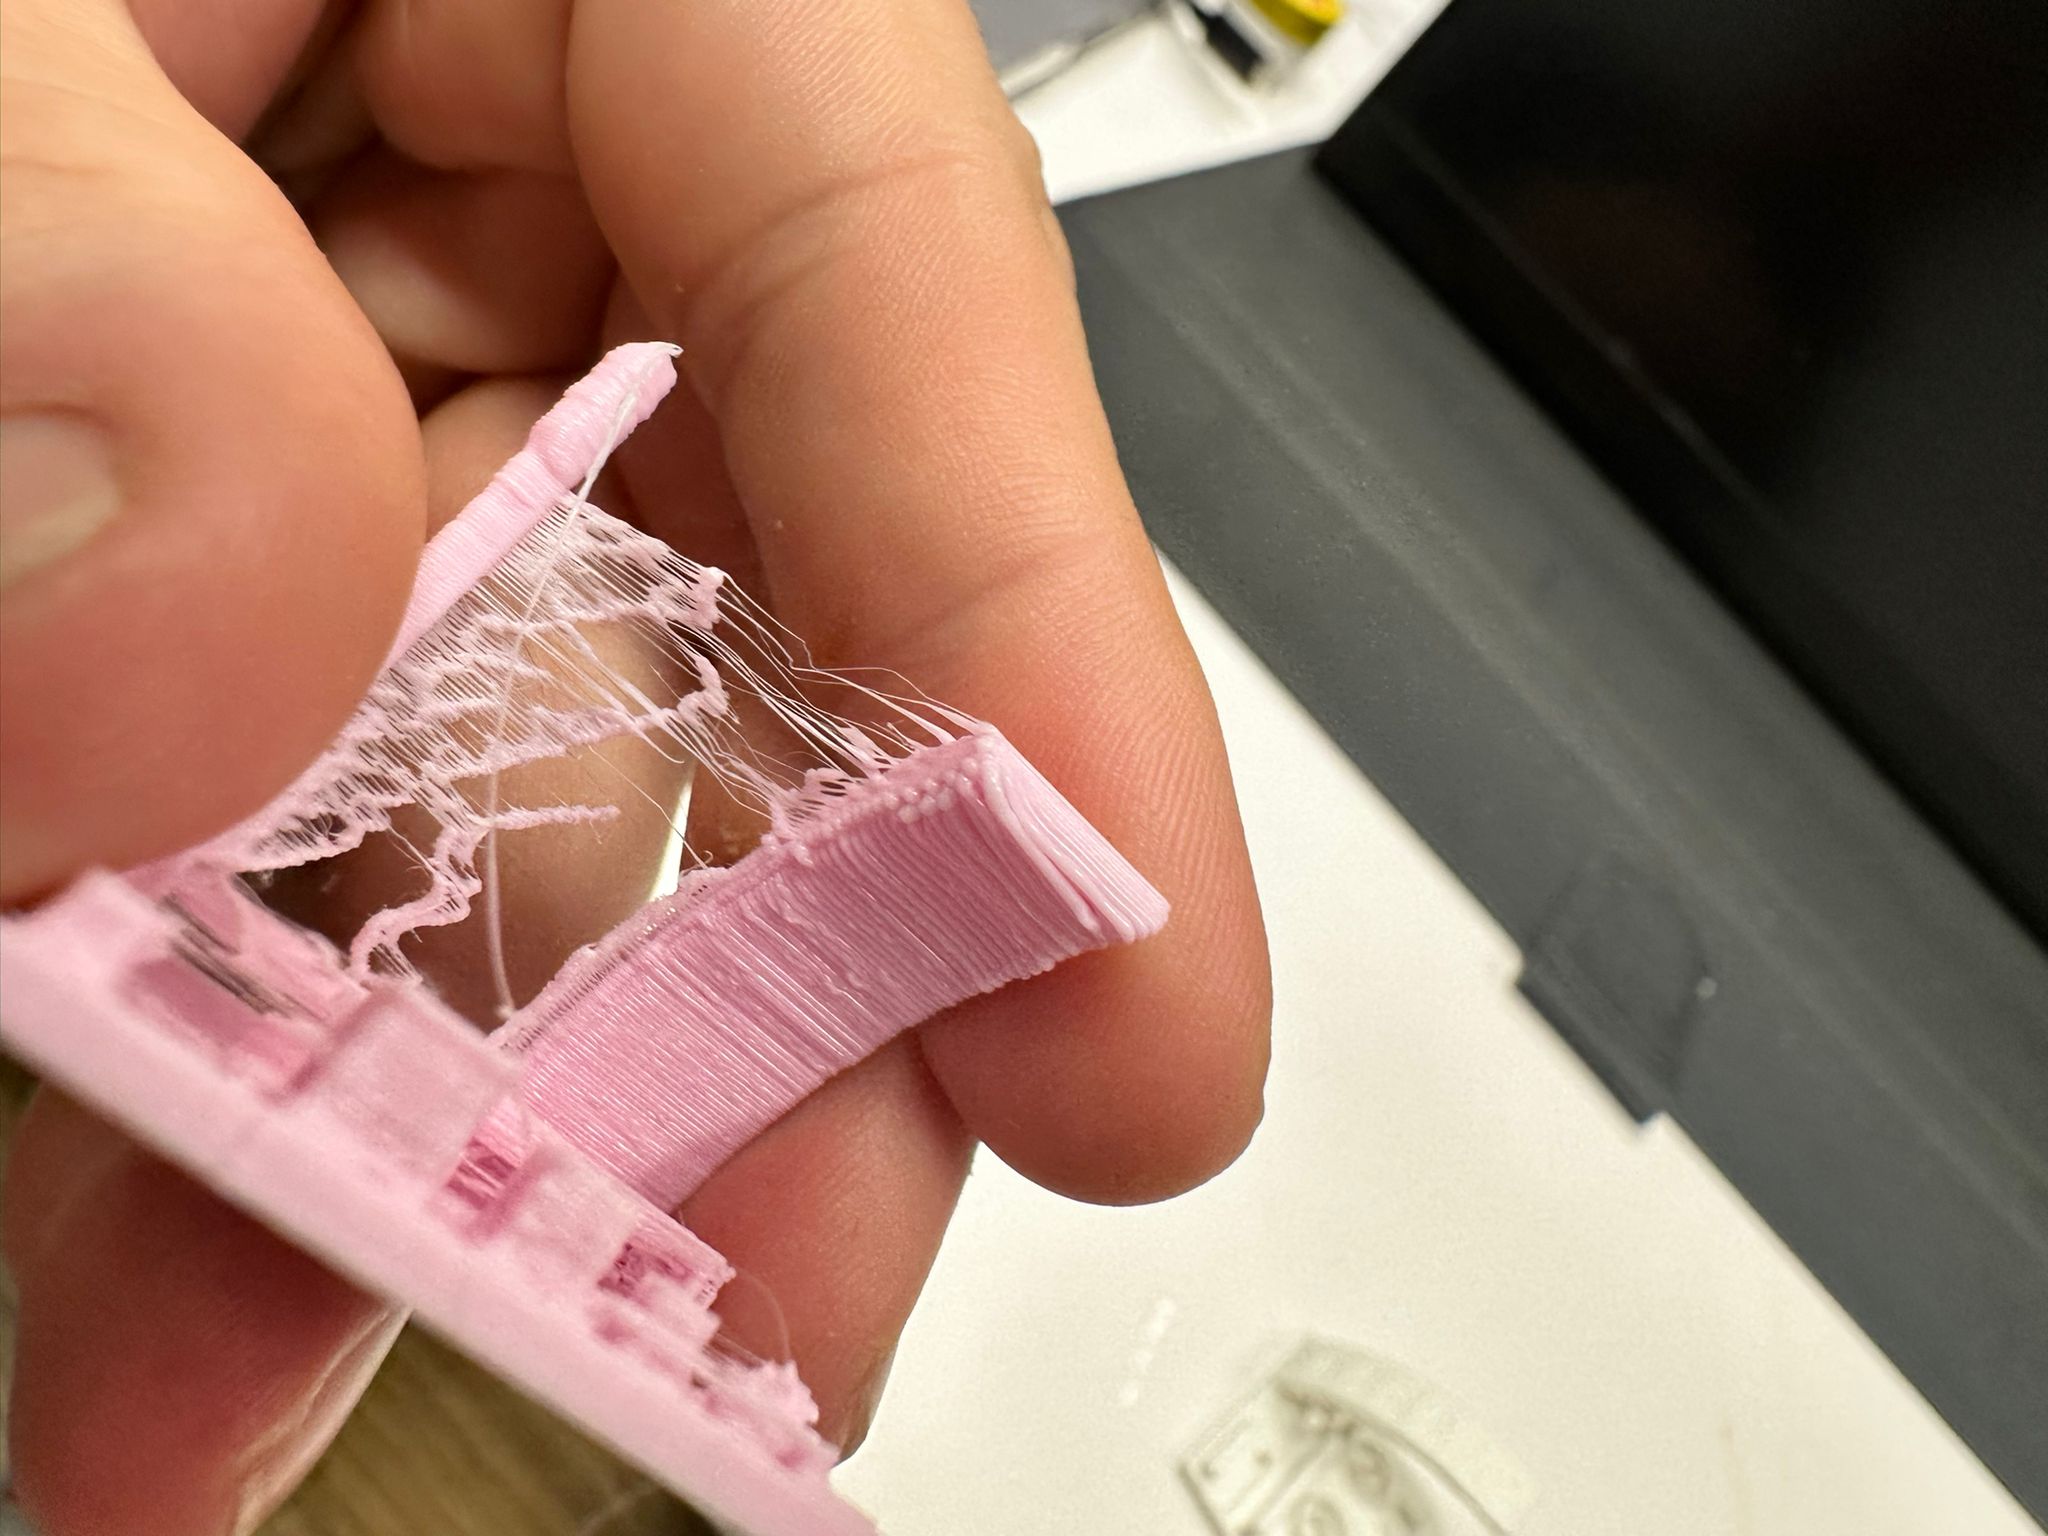
2. Unsupported walls:
Results: Our model had two small unsupported wall. All extrusion printers created walls that were sturdy.
- Zortrax 🟢 sturdy, with exact (rectangular) structure
- Prusa 🟡 sturdy, but with corners rounded and deformed
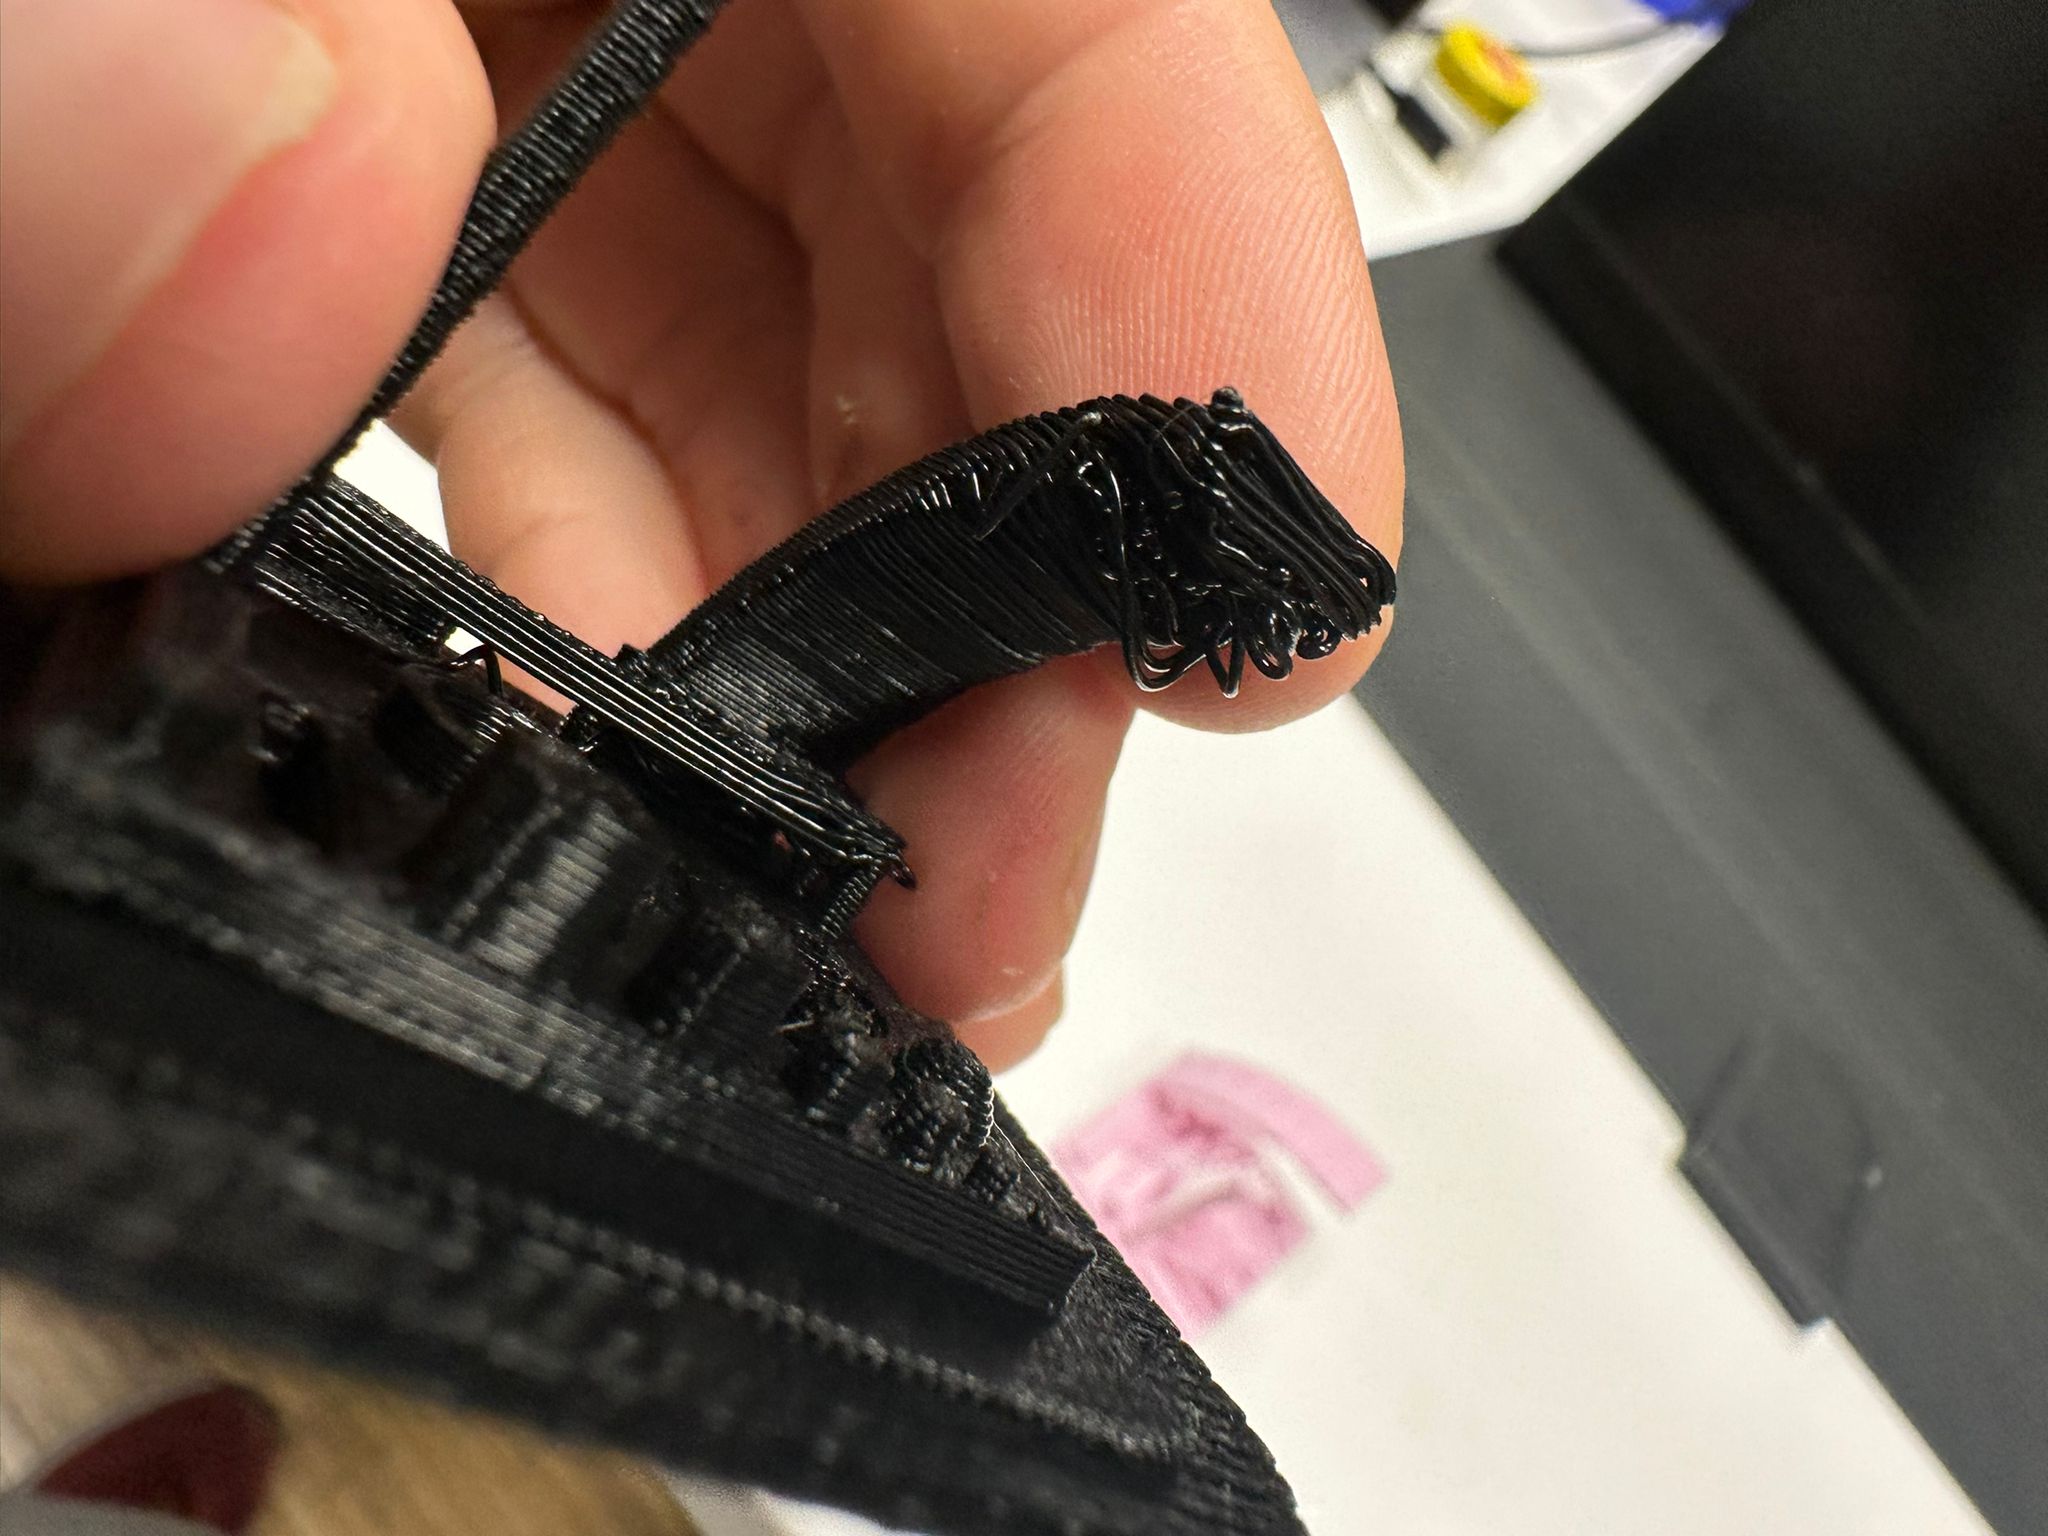
- Creality 🟡 sturdy but with poor retraction - this printer therefore showed stringiness across features.
- Anycubic 🟢 we did not print the same model on the SLA printer tho individual assignments suggest this printer is the most exact and robust across features (clear angles, clean lines, sliced layers nearly invisible to naked eye).
3. Support and overhangs:
Results:
- Zortrax 🟡 Successful overhang up to 80 degrees, but with sagging of bottom overhang layers starting at 60 degrees and complete detachment of bottom layers at 70 and 80 degrees
- Prusa 🟢 successful overhangs up to 80 degrees, slight sagging / deformation of bottome layers of 70 & 80 degree overhang
- Creality 🟢 Successful overhang up to 80 degrees, with slight deformation of bottom layers at 70 and 80 degree overhang
- Anycubic 🟢 no overhang printed tho individual project-work suggests this printer preforms well with overhangs.
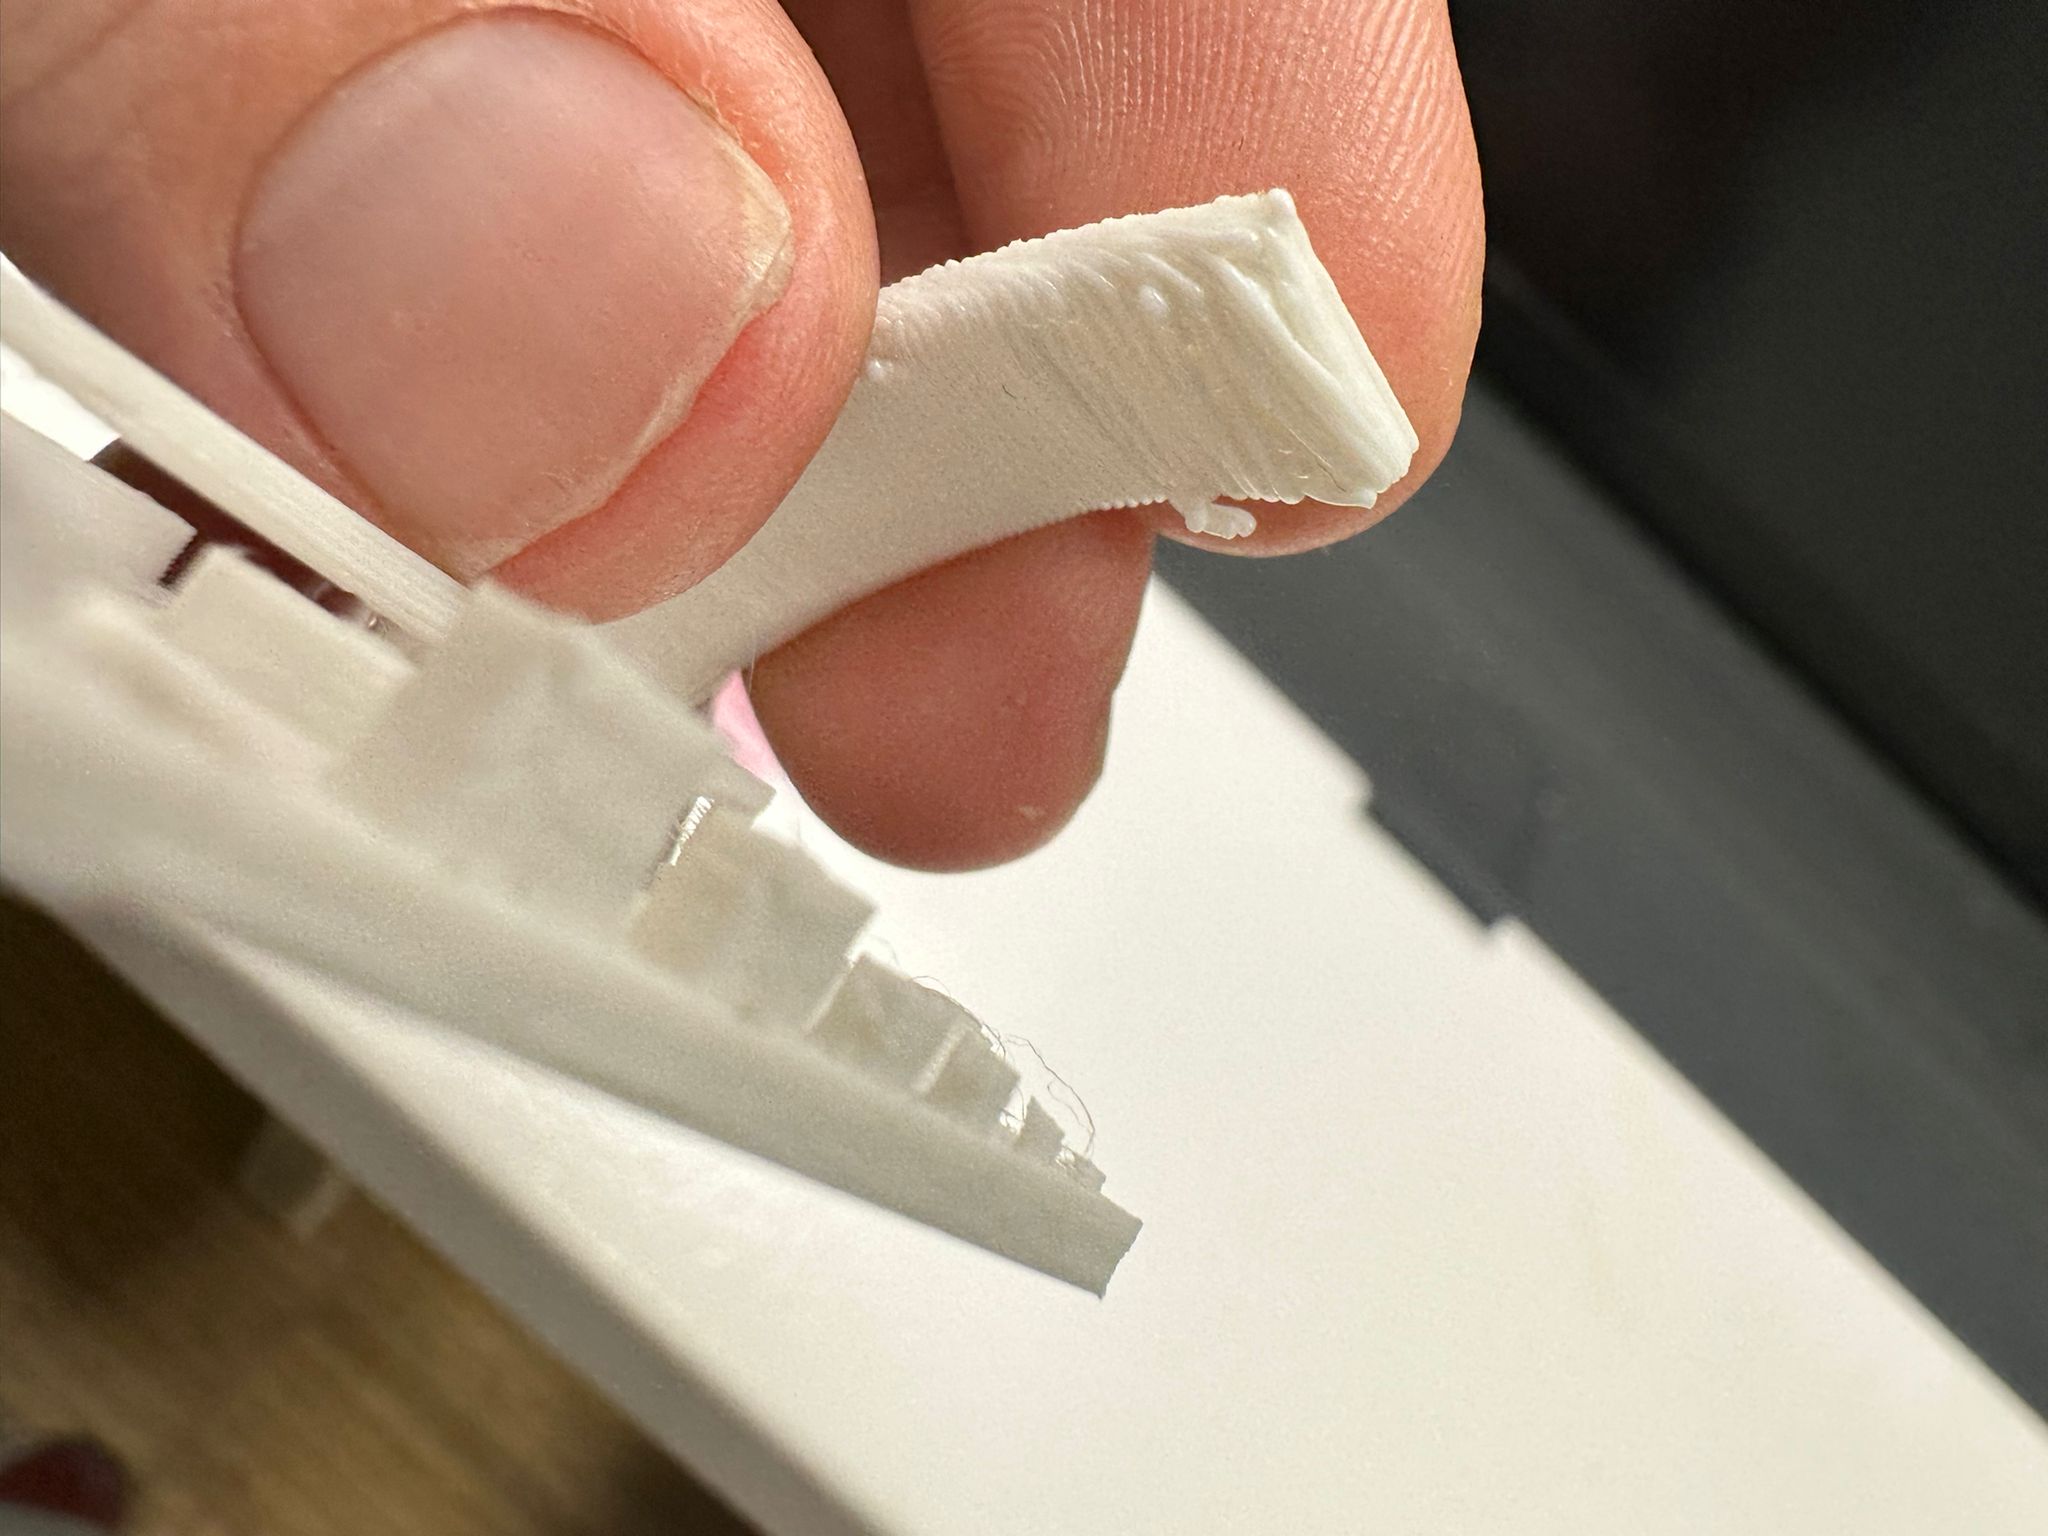
4. Embossed and engraved details:
Results: For extrusion printers we used engraved degree markers on overhang in model as reference.
- Zortrax 🔴 Engraving unclear, cannot make out any numbers.
- Prusa 🟡 Can read 20 and 30 degree markings, but with distortion.
- Creality 🔴 Cannot read any degree markings.
- Anycubic 🟢 We used a different model, but even small markings / lines were clearly visible.
5. Horizontal bridges:
Results: The model includes a small and large span bridge.
- Zortrax 🟡 Both bridges were in tact, but long bridge showed significant sagging and detachment of bottom layers
- Prusa 🟡 Both bridges in tact but sagging of bottom layers evident on both bridges
- Creality 🟡 Both bridges in tact, but with slight sagging - poor retraction distorts all elements
- Anycubic ⚪ not included in the test.
6. Holes:
Results:
- Zortrax 🔴 distorted shape (holes not round), hole did not extend thru base
- Prusa 🟢 least distorted, hole printed thru base
- Creality 🟡 shape distorted, hole printed thru base
- Anycubic 🟢 It seems more exact than any of the fdm printers.
7. Connecting/moving parts:
Results:
- Zortrax 🟢 The parts look very detailed and good quality. They should fit.
- Prusa 🟢The parts look detailed and should fit.
- Creality 🟡 There are some very small pieces of pla that should not be there. If these pieces are removed, the parts should fit.
- Anycubic ⚪ not included in the test.
8. Escape holes:
Results:
- Zortrax ⚪ Not possible in fdm
- Prusa ⚪ Not possible in fdm
- Creality ⚪ Not possible in fdm
- Anycubic ⚪ not included in the test.
9. Minimum features:
Results:
- Zortrax 🔴There is one pin that has not been printed and that’s the smallest pin.
- Prusa 🟢All pins have been printed
- Creality 🟡There is one pin that has not been printed and that’s the smallest pin.
- Anycubic 🟢The smallest pin is less than 1mm thick and barely visible with the eye but it is there.
10. Pin diameter:
Results:
- Zortrax 🟢 strong and fine pin.
- Prusa 🟢 Pin broke off but it was a nice straight pin like the zortax.
- Creality 🟡 The pin is good until the last 5mm. There, the pin starts to thicken and is not that detailled anymore. The pin is not very “clear”, meaning that there is a lot of filament around the pin except for the last 5mm.
- Anycubic ⚪ not included in the test.
11. Tolerance:
Results:
- Zortrax ⚪ not included in the test.
- Prusa ⚪ not included in the test.
- Creality ⚪ not included in the test.
- Anycubic ⚪ not included in the test.
Further Notes on Resin Results
Based on the video here our SLA printer does not seem clearly under or overexposed - it is well calibrated.
Steps to 3D print:
- Open the Z-suite program.
- Import the .stl file.
- Choose the right settings: check the material, machine, support, etc.
- Slice the model, a Z-code file gets created.
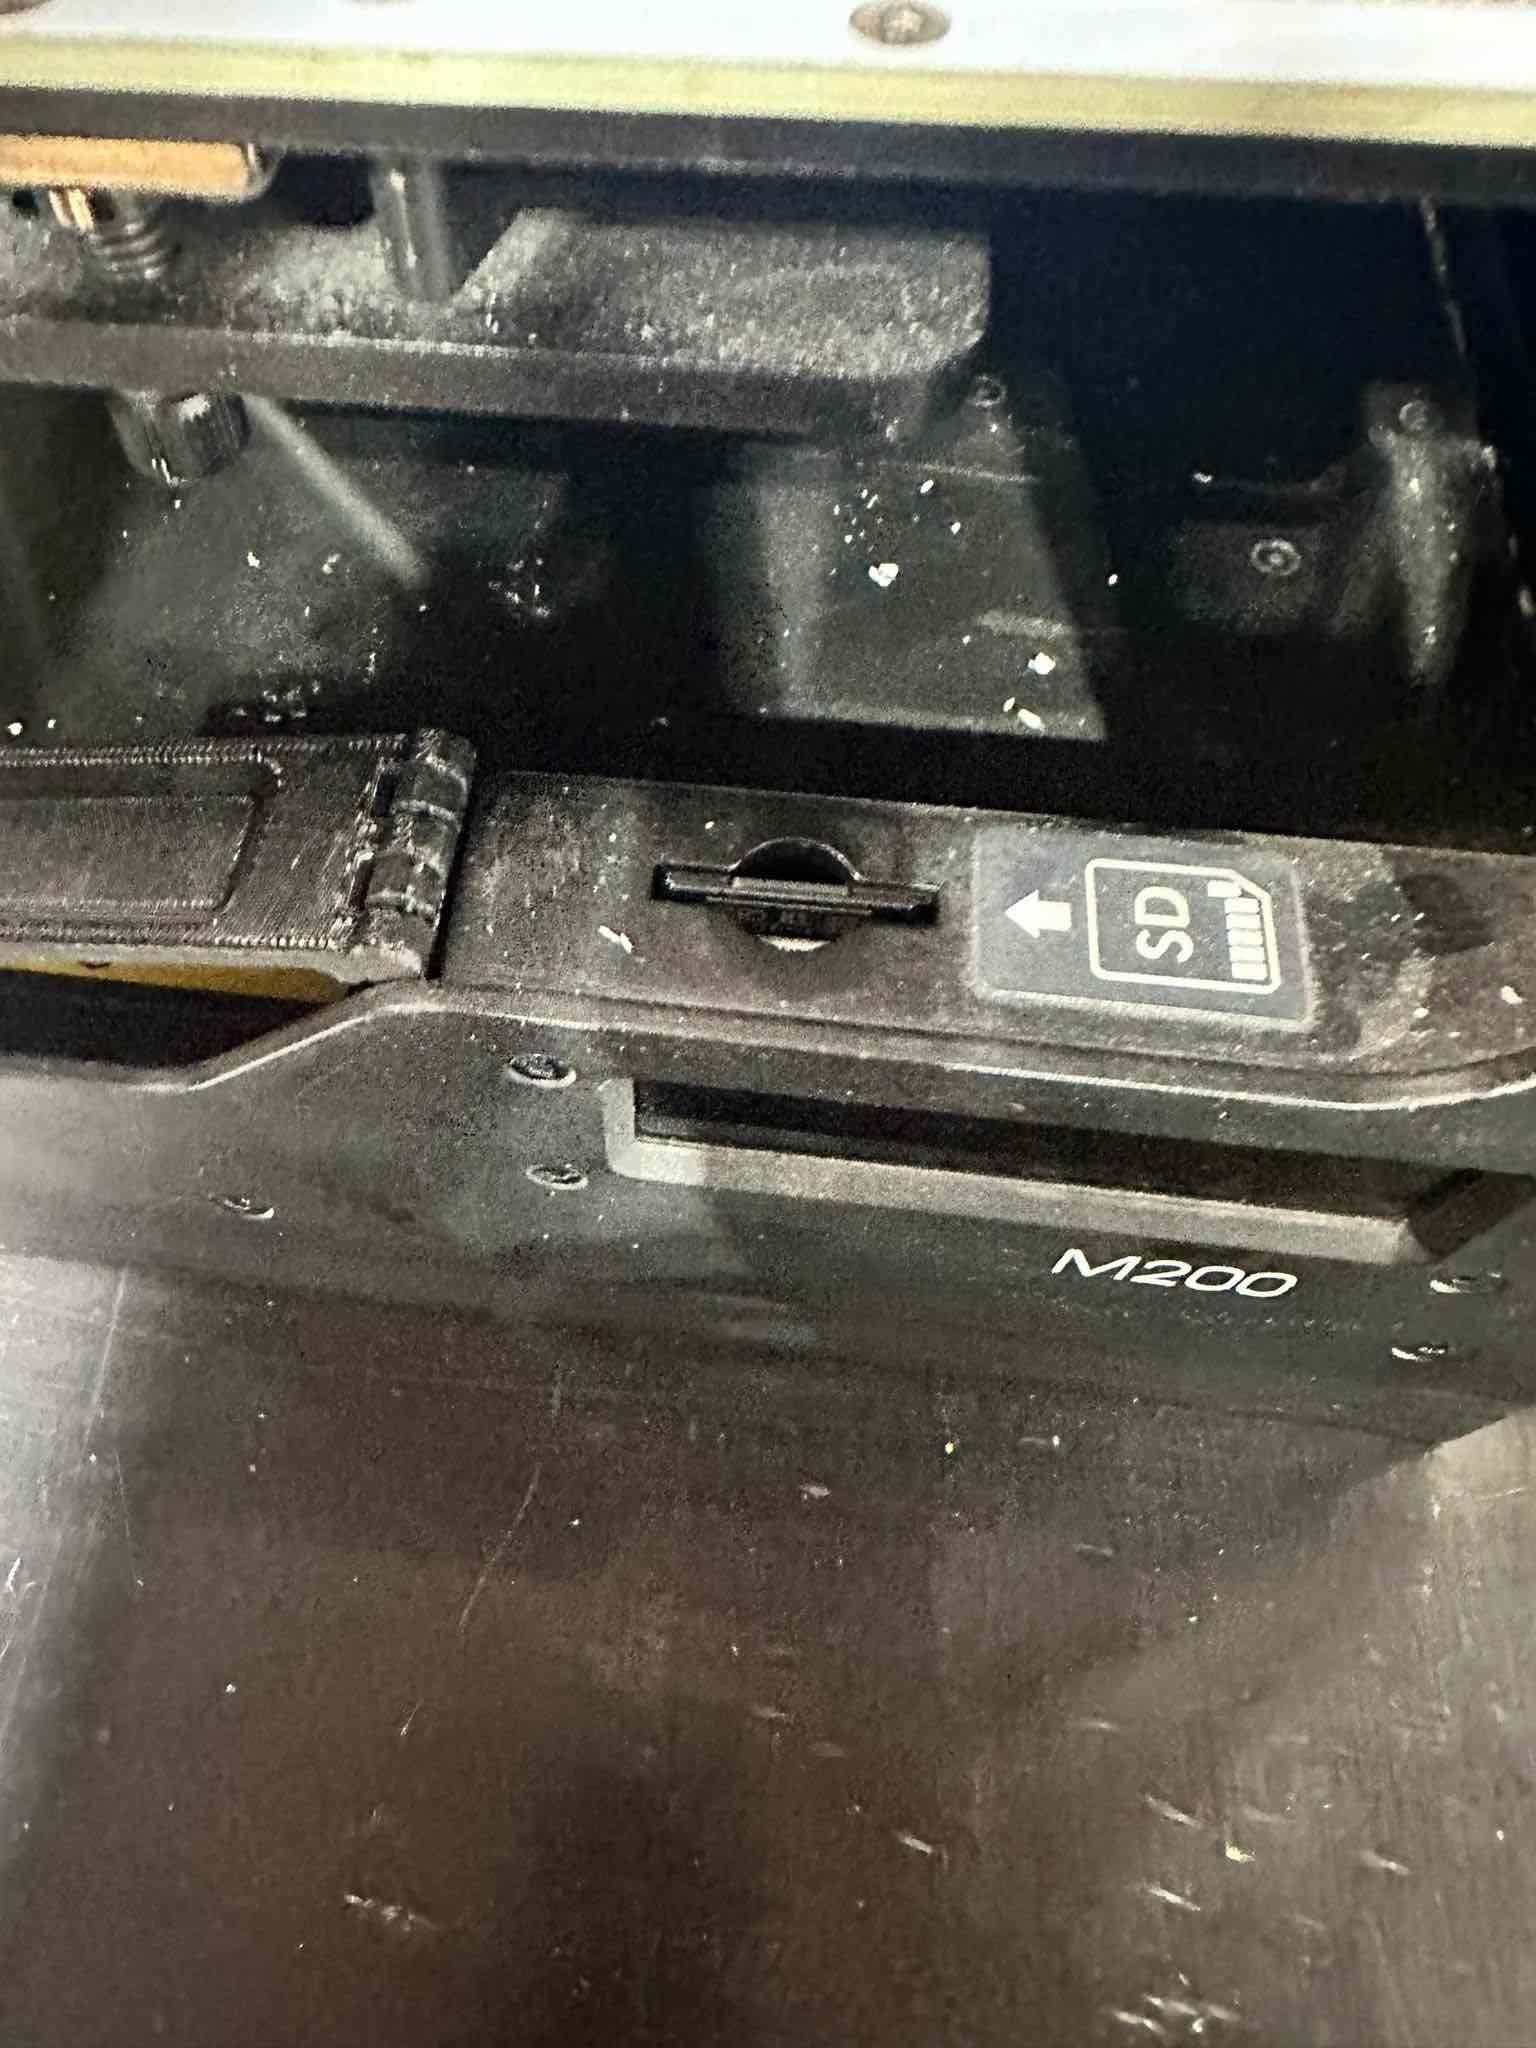
- This file needs to be uploaded onto an SD-card.
- The SD-card needs to be inserted in the 3D printer.
- Select Model.
- Select the file.
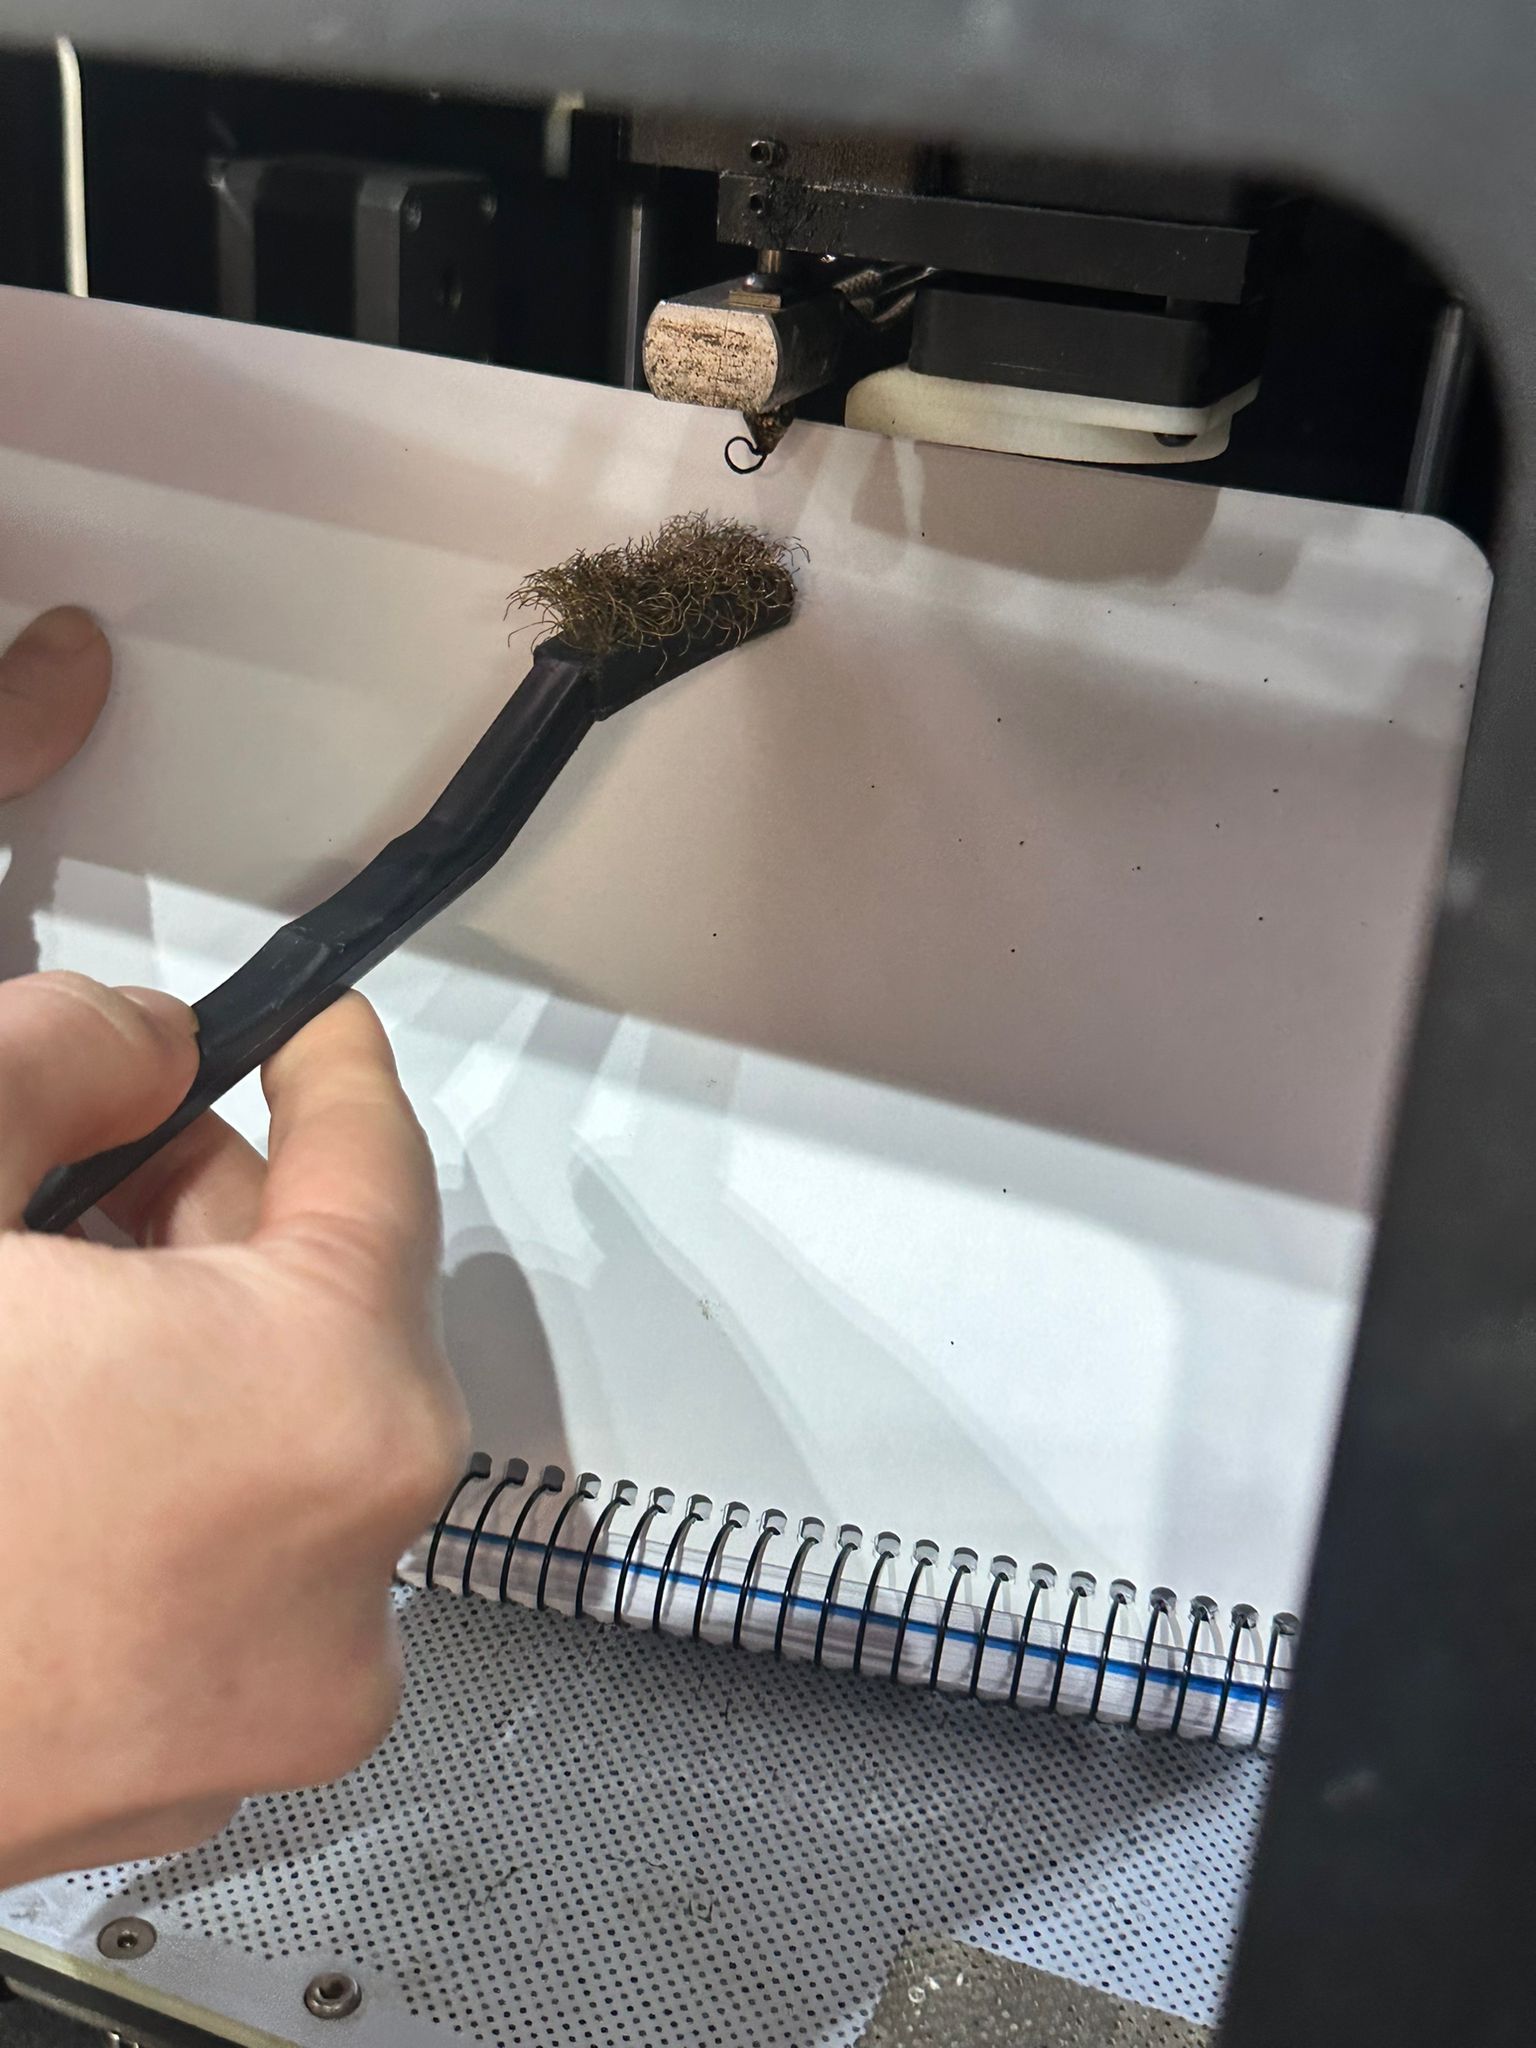
- Before we start the print, it is important to make sure that the nozzle is clean. To clean the nozzle, you can use a metal brush.
- Press print.
- Check if the print is going well.
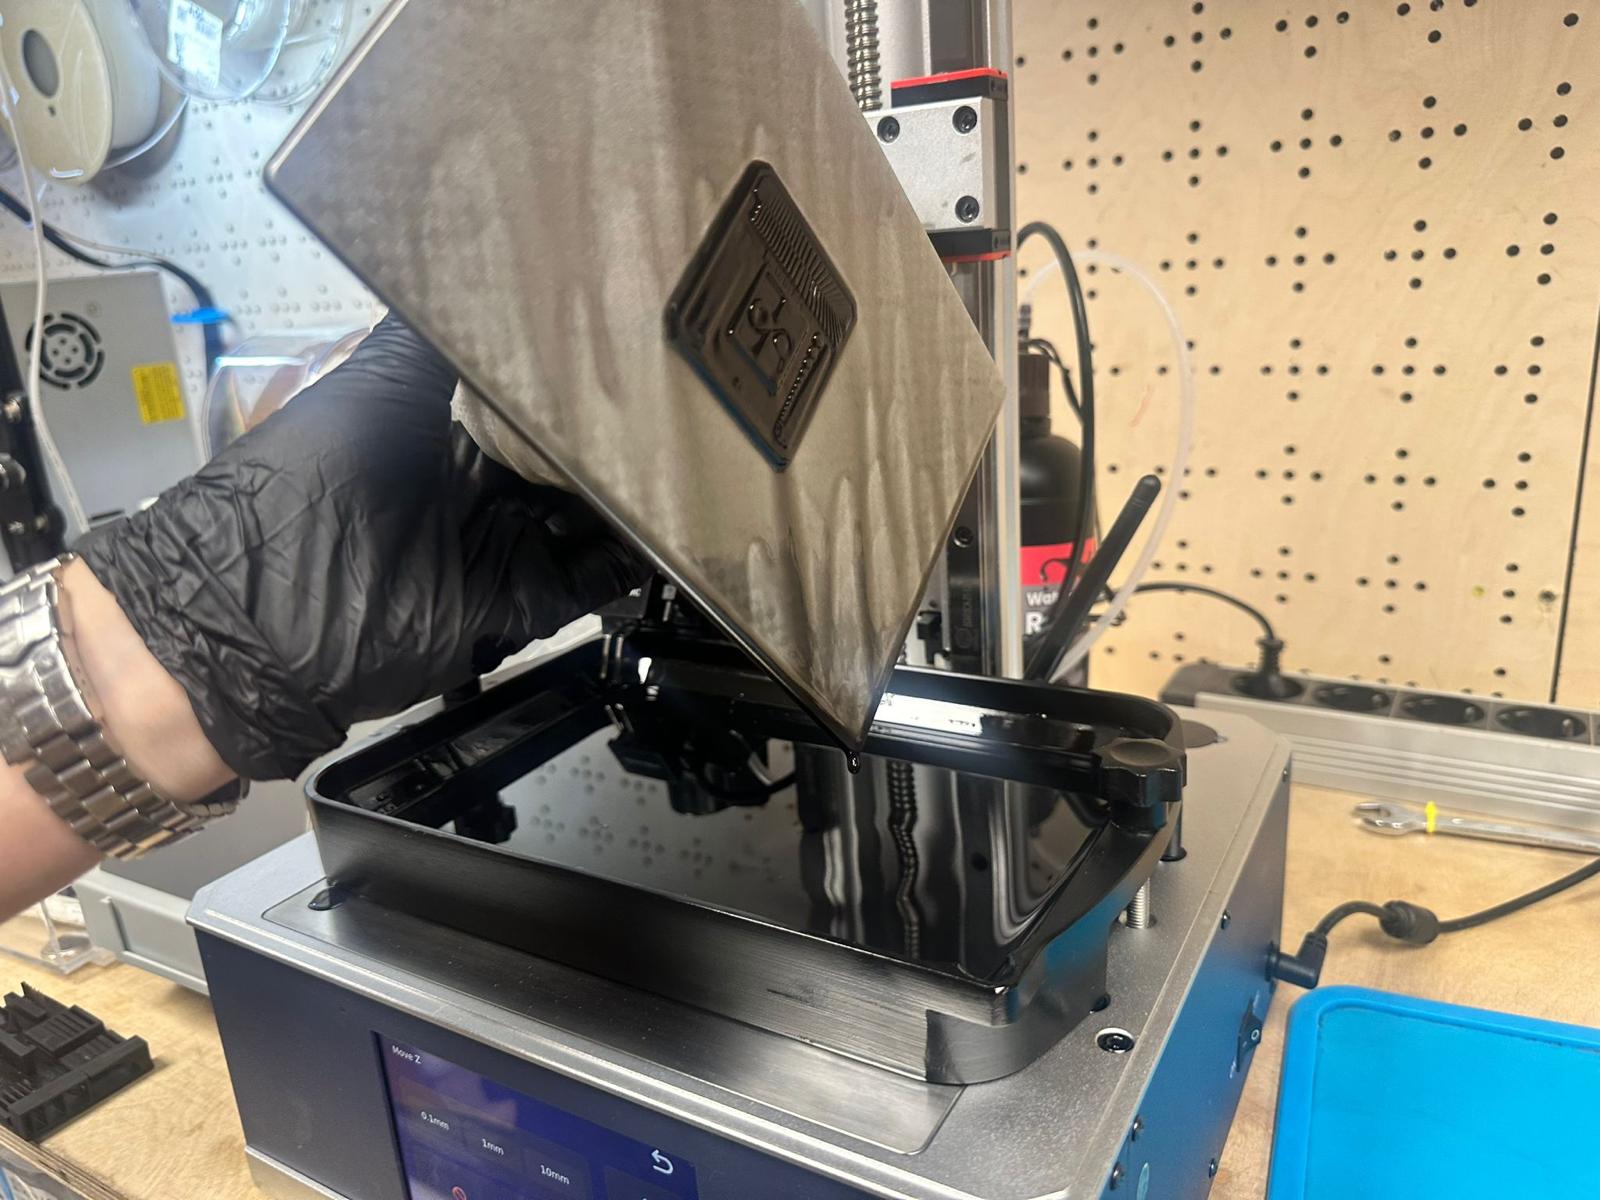
- When the print is ready, you can separate the print from the bed with a spatula.
- Remove the drift from the 3D model.
- 3D model is ready!
Pictures and additional machine notes:
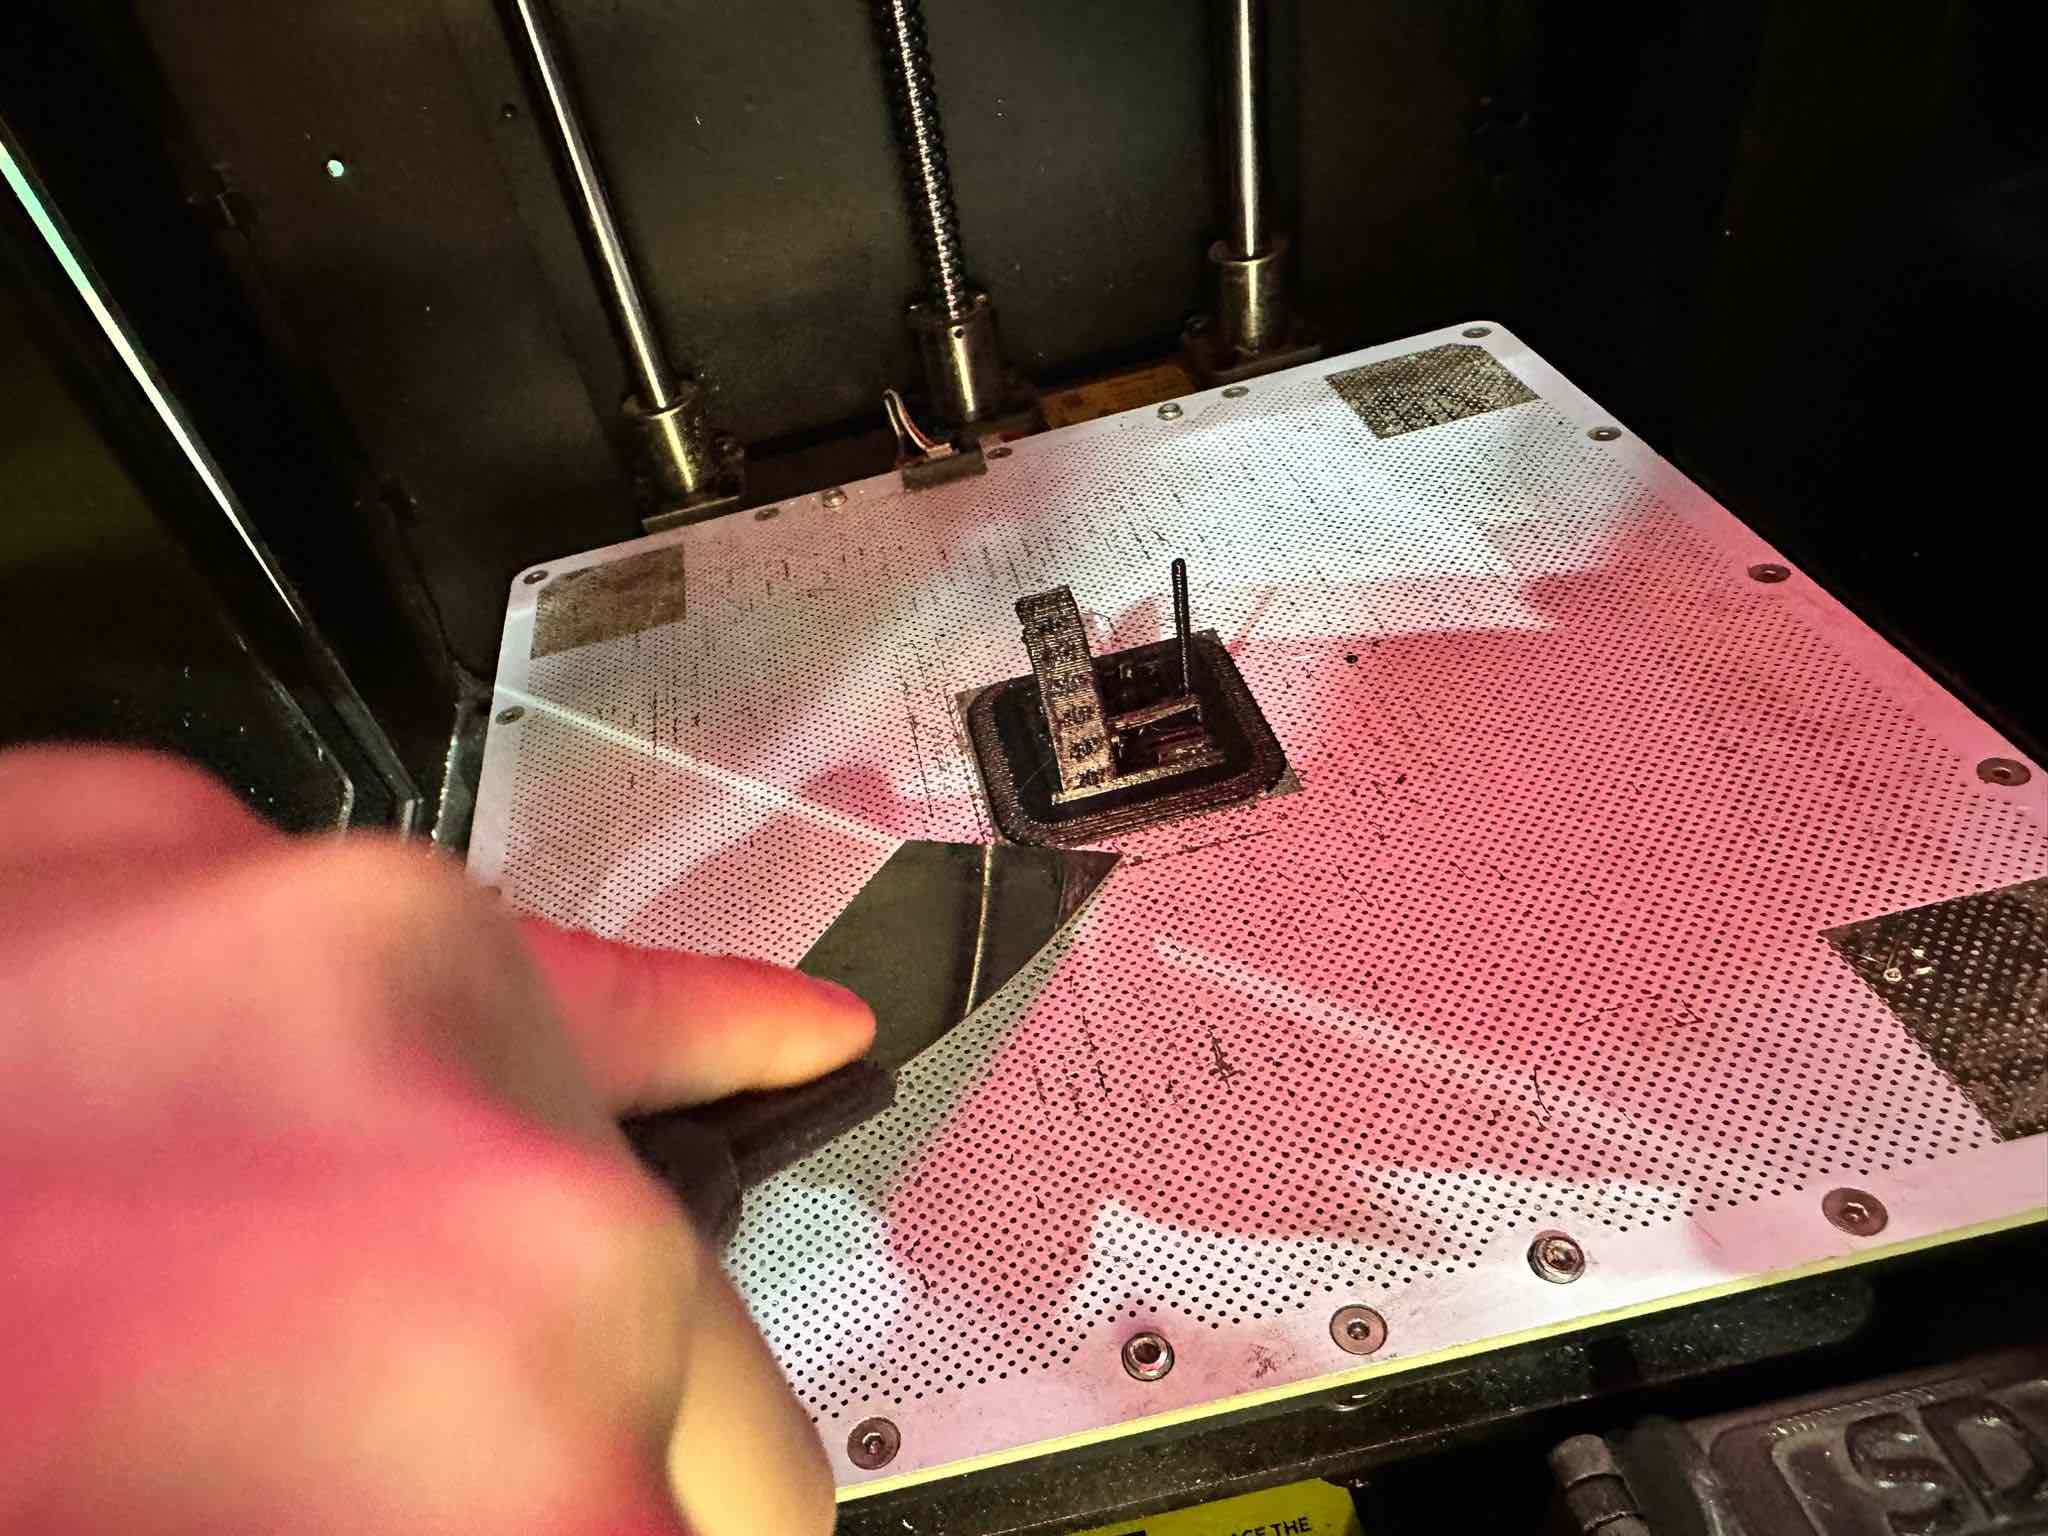
Zortrax
To print on the Zortrax M200 we imported our file in the program Z-Suite.
We turned off the support, selected the material (in this case Z-Ultrat=some type of ABS) and sliced the model.
The total print time was 0h 35m.


Prusa
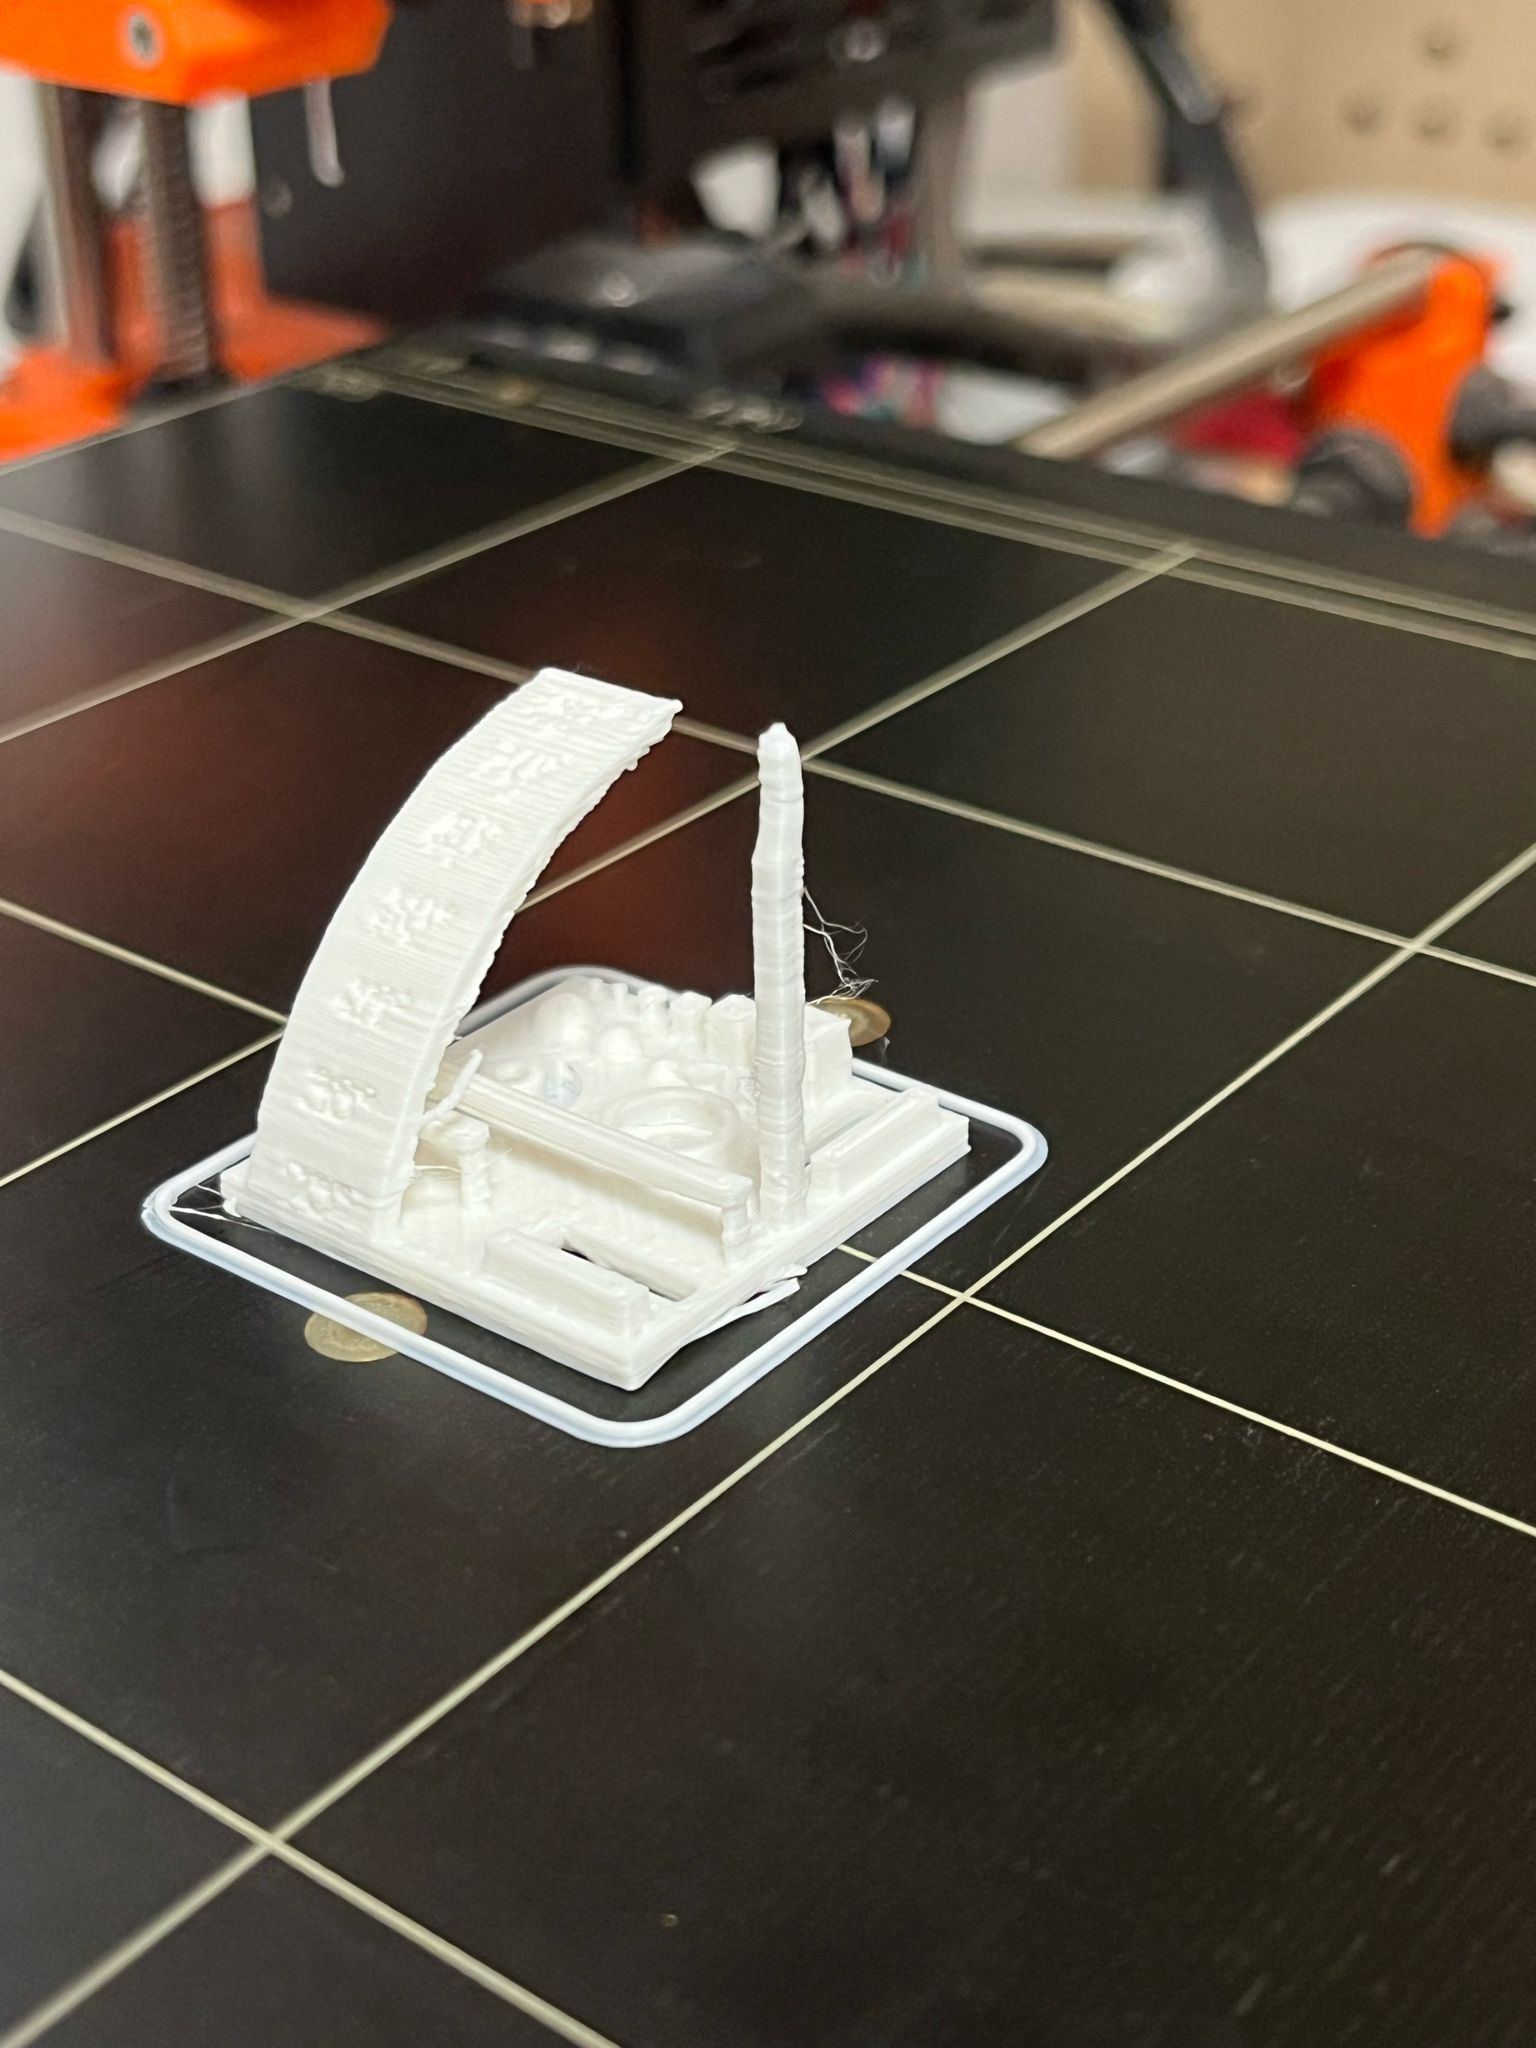
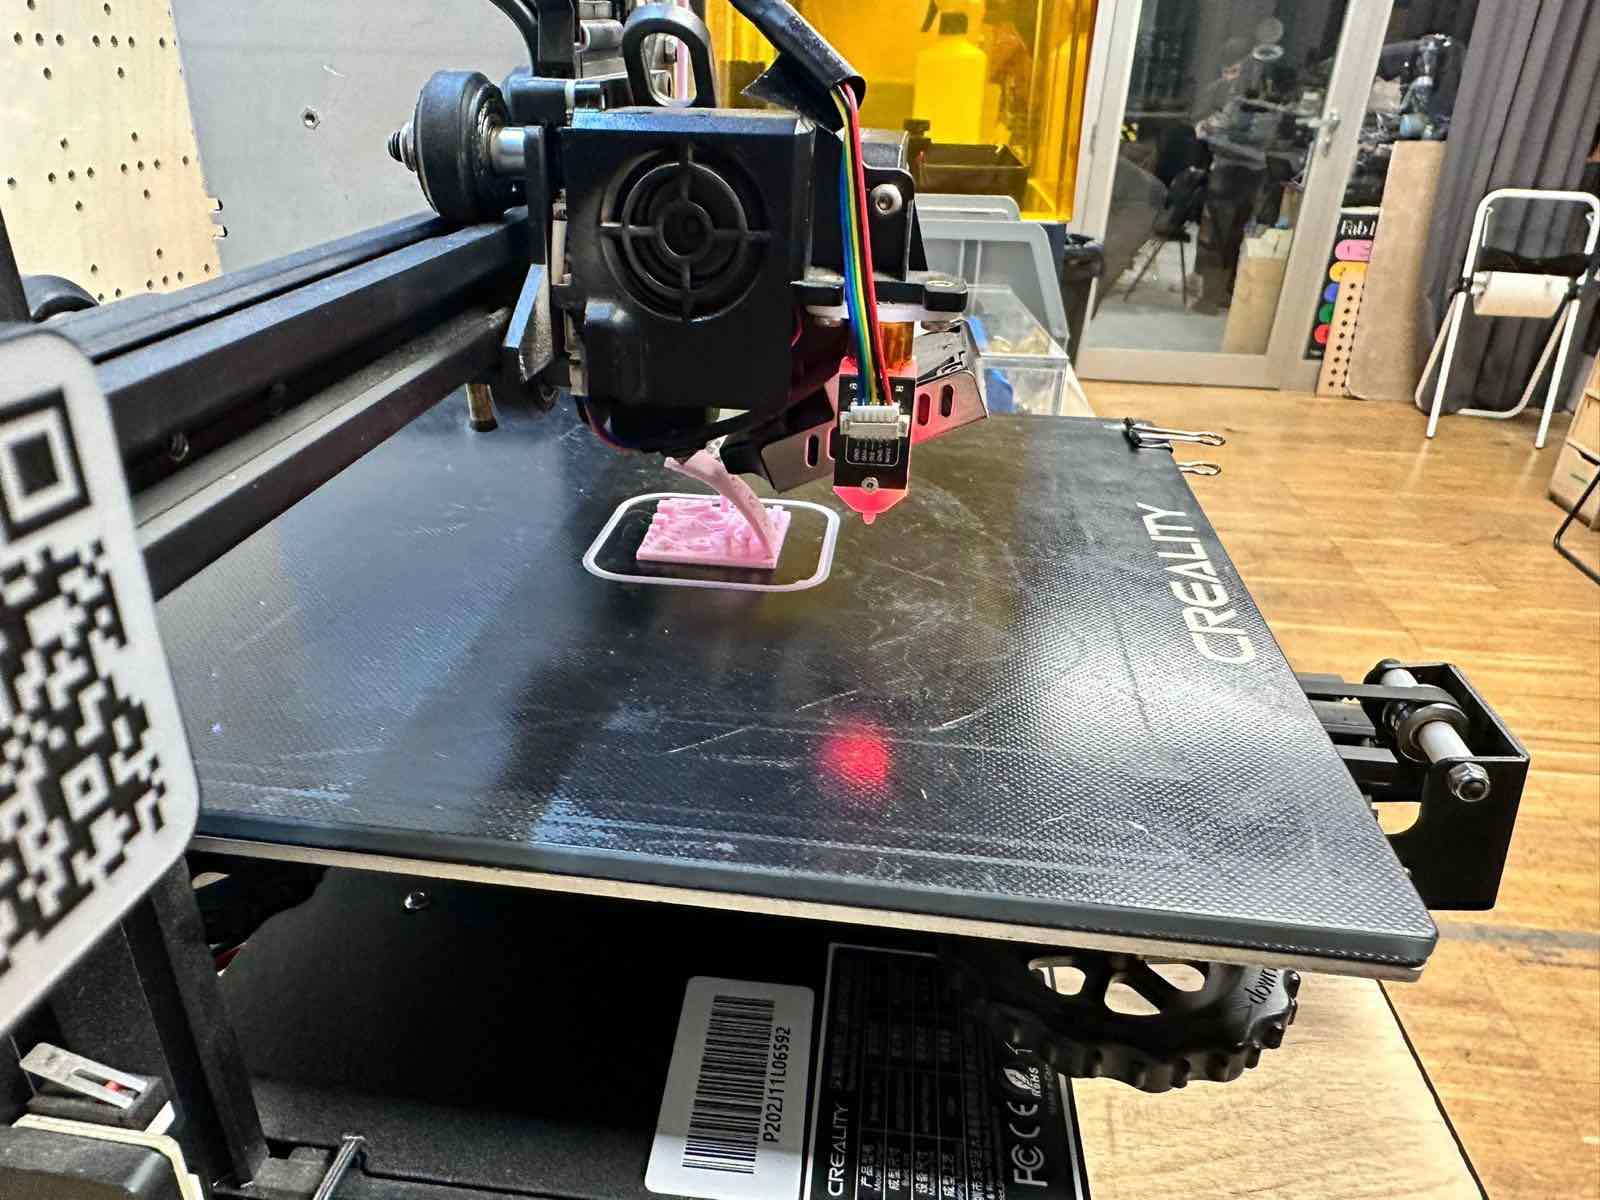
Creality

Anycubic
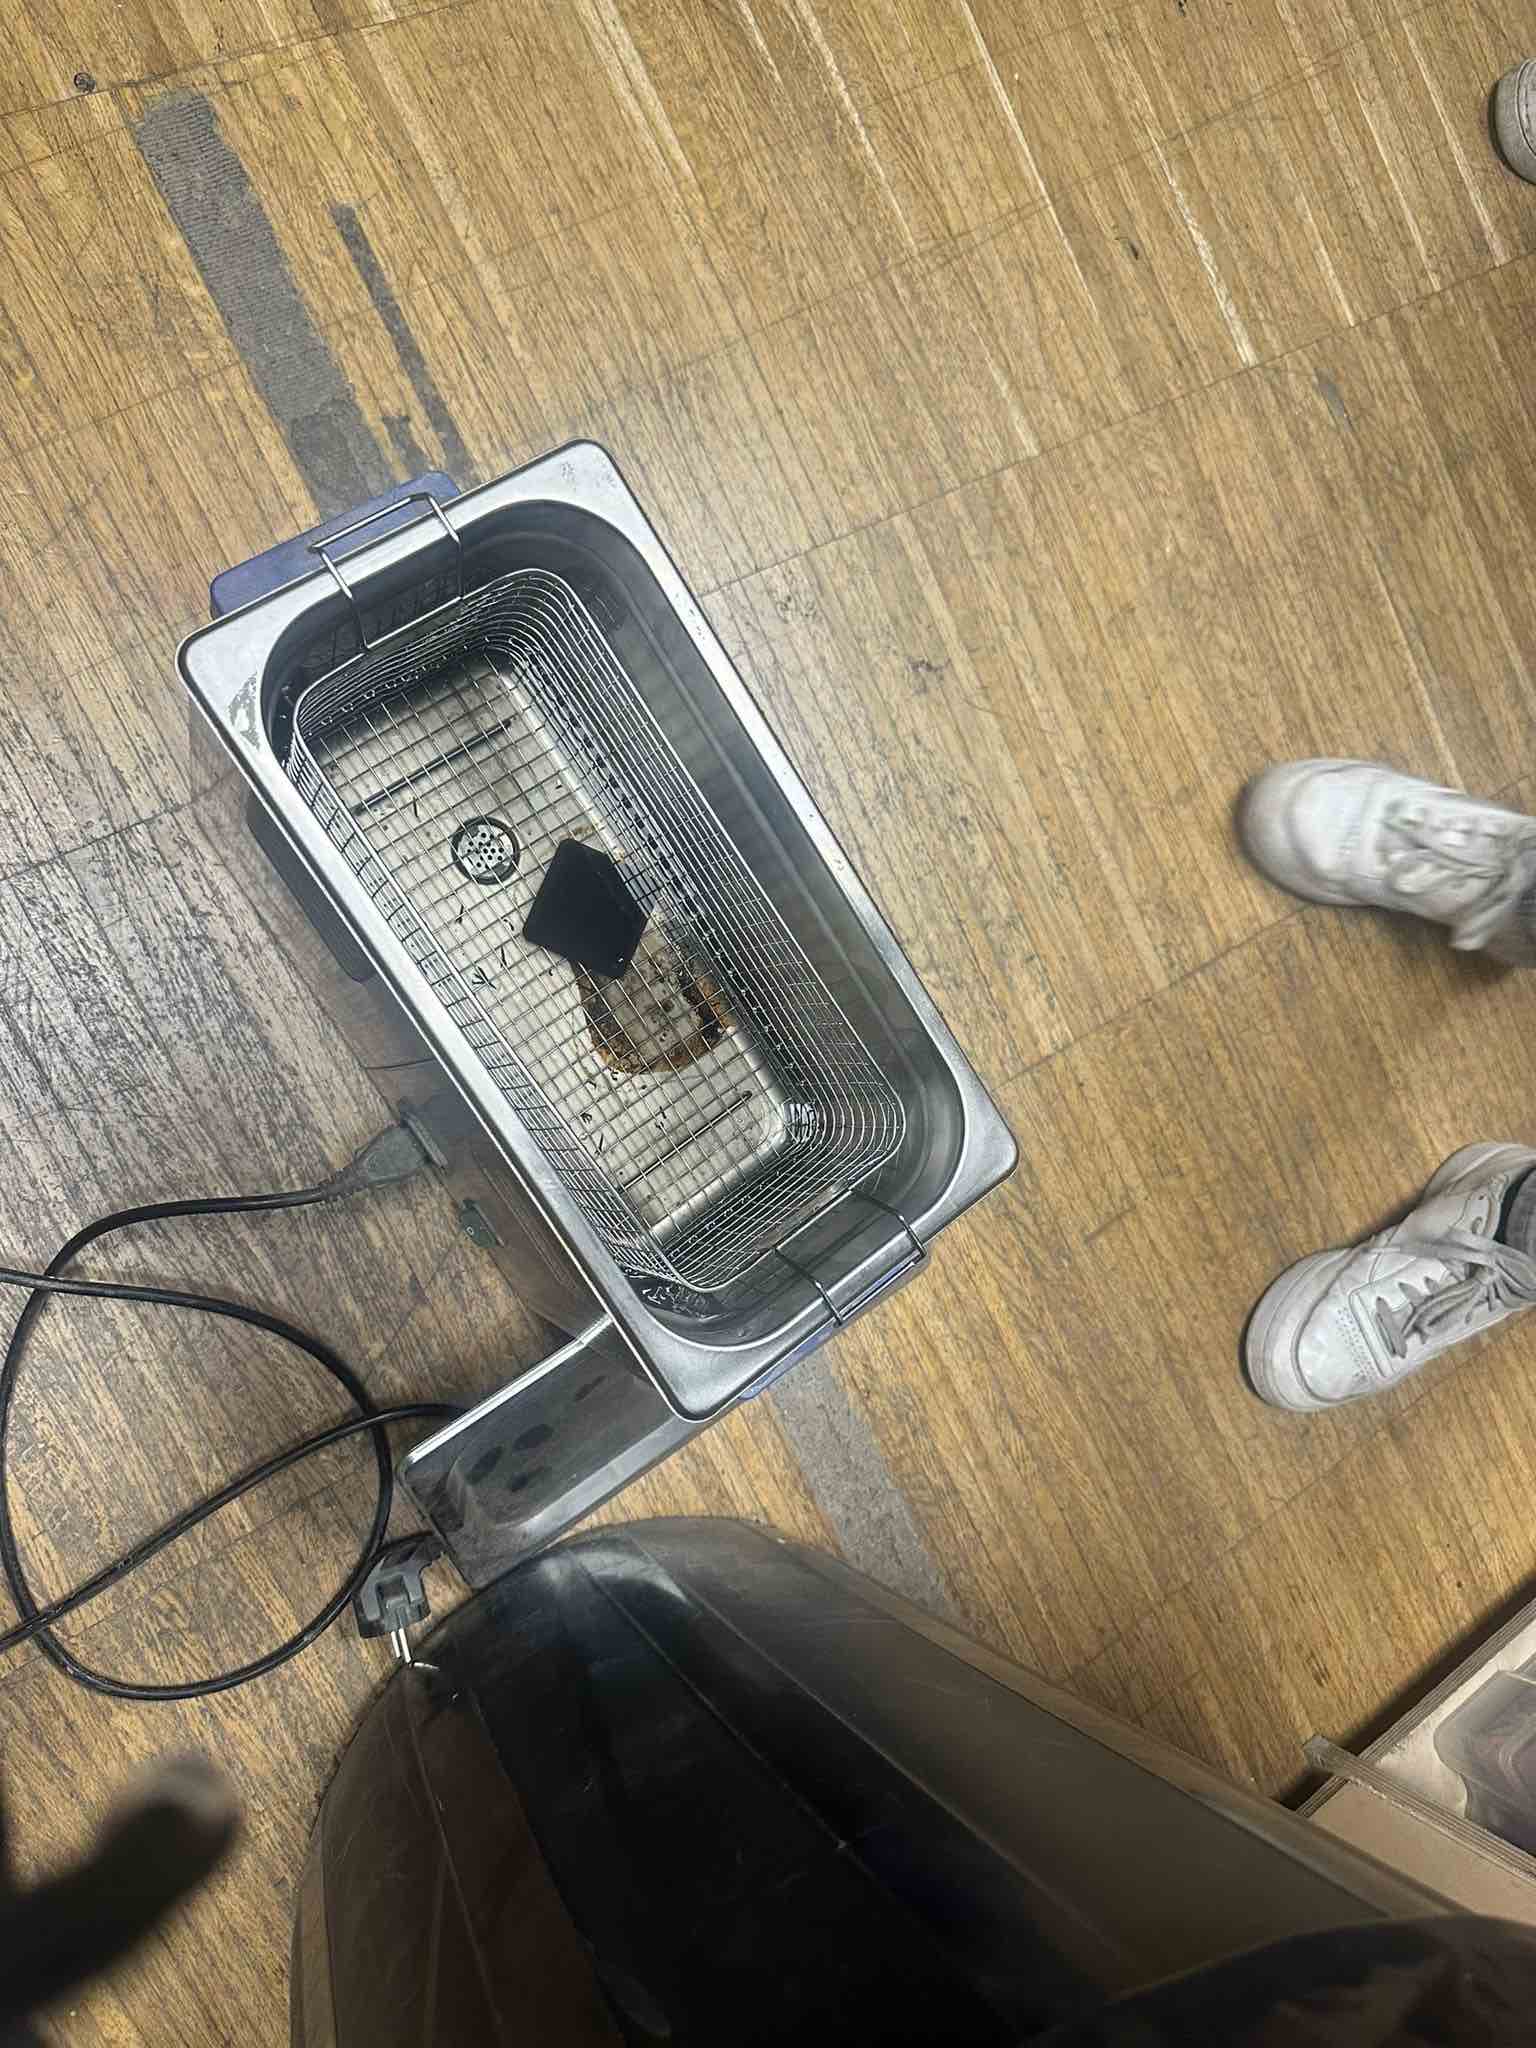
Note that the Resin, as a liquid, can be messy and requires more cleanup. The printed product needs to be washed in alcohol and then water, and finally cured in UV light. It’s important to remove any excess resin and supports BEFORE curing.