The first week in Fab Academy has been a delightful introduction to Github and Gitlab platforms.
I have heard about the two platforms and used them as references for open source code examples while executing my final year project. The goals for the first week were delivered simply and clearly by our instructor Hashim as stated below:
Gitlab is an opensource web-based development operations tool that provides project management services allowing teams to collaborate and duplicate codes to safely work on projects while being able to retrieve past versions of the code.
This following part of documentation is related to the work done in pre-fab academy to familiarize ourselves with GitLab and website making.
The first step to approach this task would be in downloading Gitbash which is an application for Microsoft Windows environments that provides an emulation layer for a Git command line experience that is usually executed on the Unix style command-line environment.
![]()
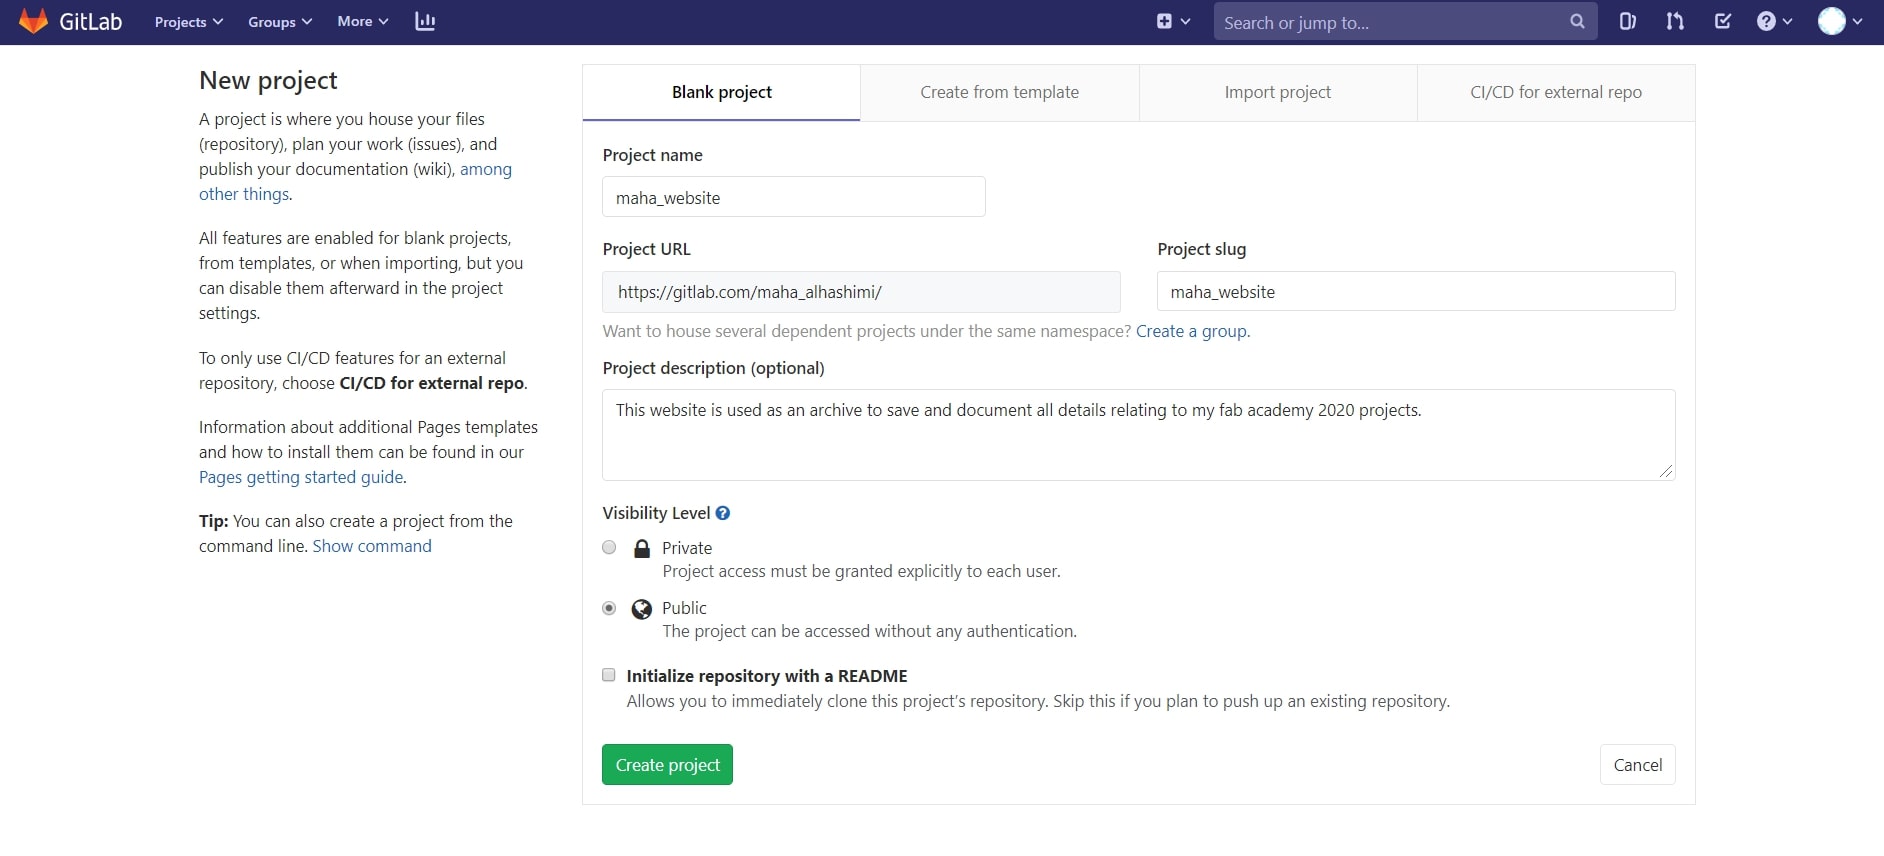
Next would be creating an account on Gitlab and creating a new project.
Now the account can be linked to the computer using Gitbash command prompt and entering the following commands:
git config --global user.name "Maha Mohim Al hashimi"
and
git config --global user.email "maha.m.alhashimi@gmail.com"

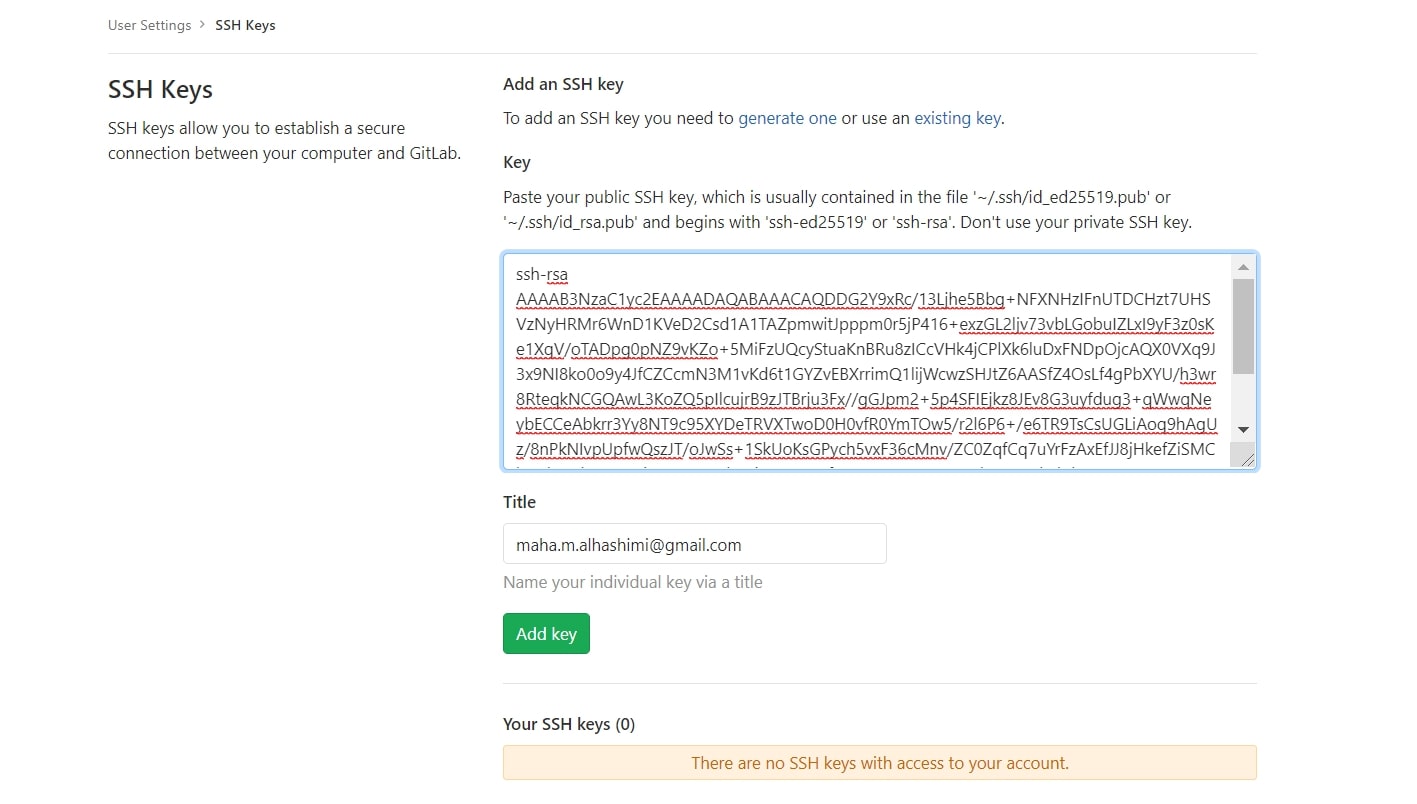
The next step would be to generate an SHH key which is an authentication credential that establishes sessions with a single sign-on.
ssh-keygen -t rsa -b 4096 -C "maha.m.alhashimi@gmail.com" in the Gitbash command prompt and follow thoroughly to save it on the selected folder.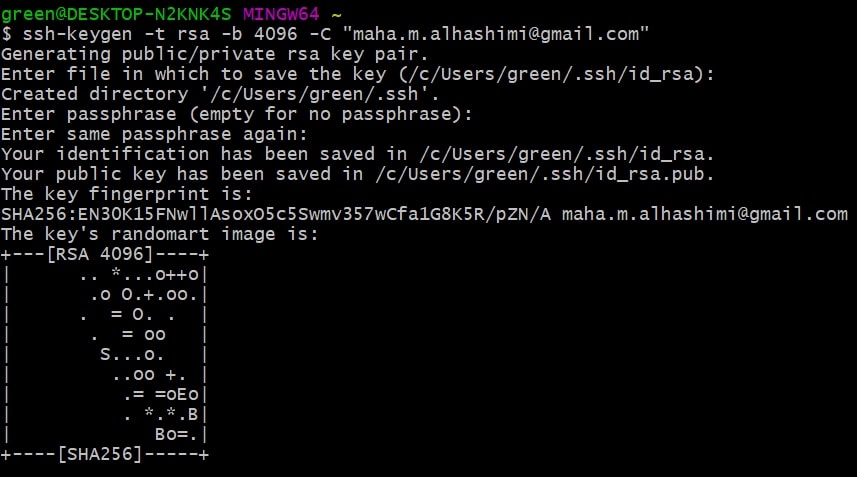

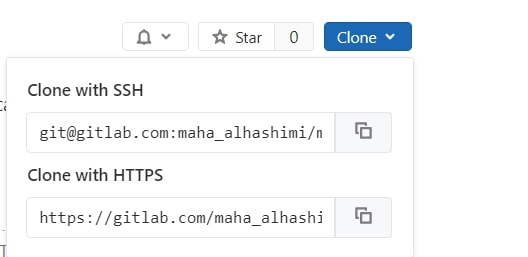
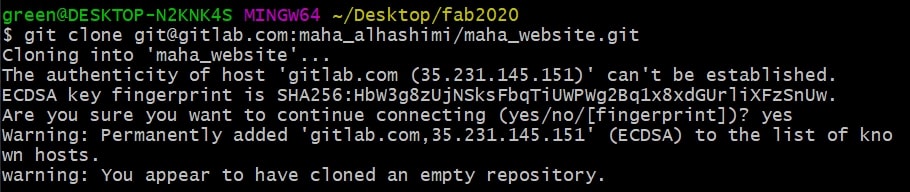
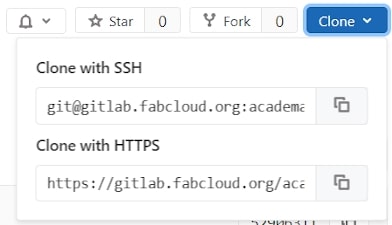
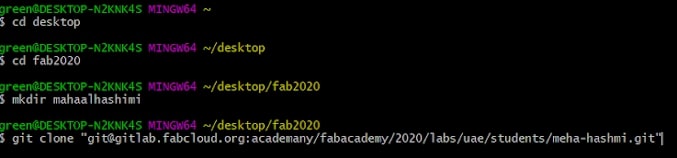
Now any project or file on Gitlab can be “cloned” to the PC using the following steps: 1. Access the folder where the cloned file would be saved.
git clone and paste the text.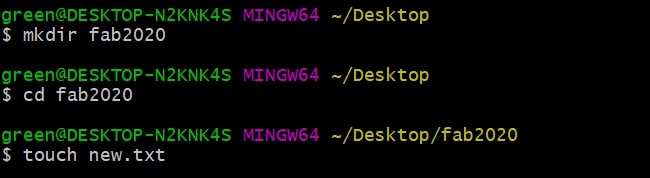
The command mkdir is used to create directories or folders, while the command touch creates empty files.
Pushing the project back to Gitlab can be done quite easily as well.
First the command cd change directory is used to access the folder containing the file needed.
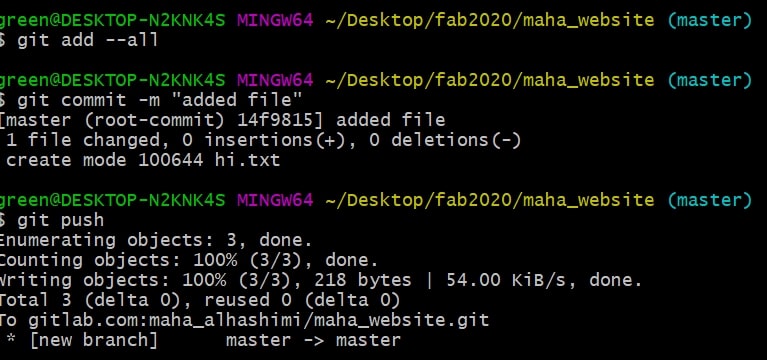
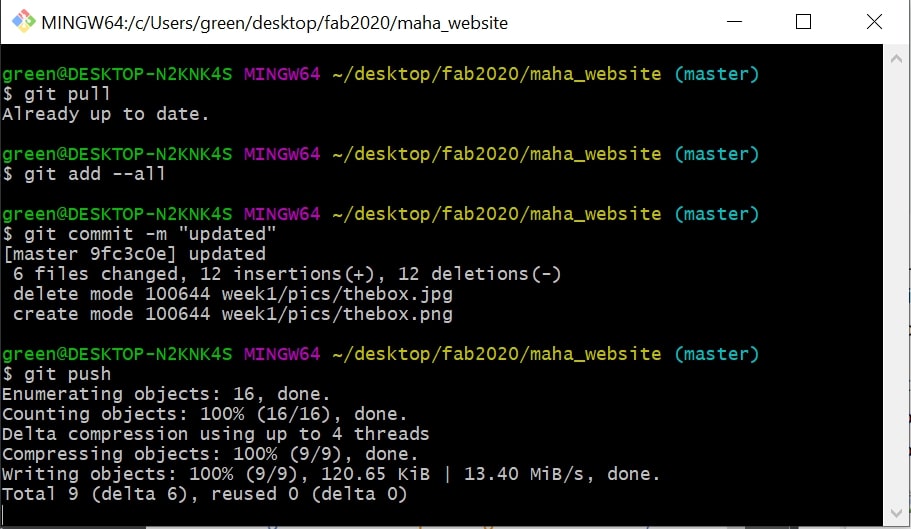
Next is the command git add –all which adds all the changes made to the folder.
The commandgit commit -m “message” is then used to add a signature message to each push made to Gitlab, the command can be quite helpful in identifying and labeling changes made in each push.
Finally, git push is used to push the files into the selected repository.
Creating my website was probably the hardest part of this week’s assignment due to my lack of knowledge in the area in general.
Hypertext markup language or HTML was a bit hard to understand at first; however, the provided explanation and the extra tutorials from w3schools proved to be excellent guidelines to start creating my website.
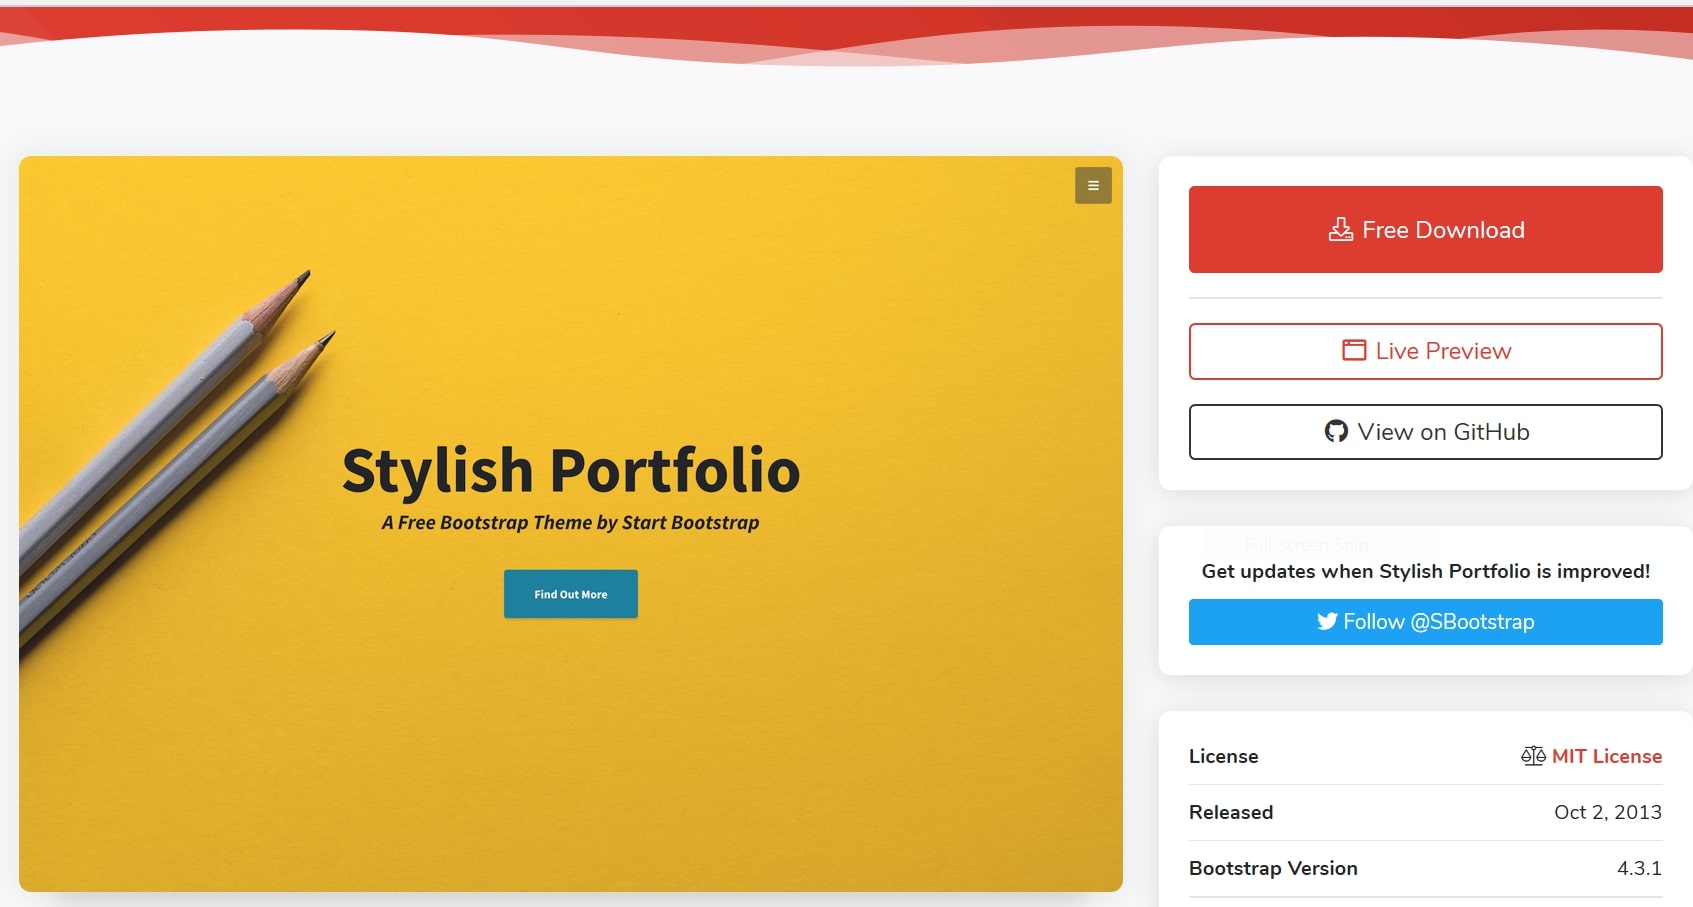
The first step for me was to browse bootstrap templates for the perfect template, which honestly took a long time, given my indecisive personality. I have tried alternative approaches to the dilemma. WiX provided great templates to work with; however, soon enough, I discovered that WiX was not an option as git lab doesn’t support WiX toolset. According to the Wix help center:
The Editor needs to be in constant connection with Wix’s servers. Therefore it is not possible to: * Edit your site while you are offline. * Save pages from your site to your Computer
It is not possible to download a Wix site or any of its pages as the Editor needs to be in constant connection with our servers. As such, it is not possible to work offline or save site pages to your computer.
Hence, going back to bootstrap. I have chosen the template Stylish Portfolio from the themes provided by bootstrap. I have also downloaded Brackets, a software that allows me to edit the website in HTML language and see the changes made directly using the live preview option.
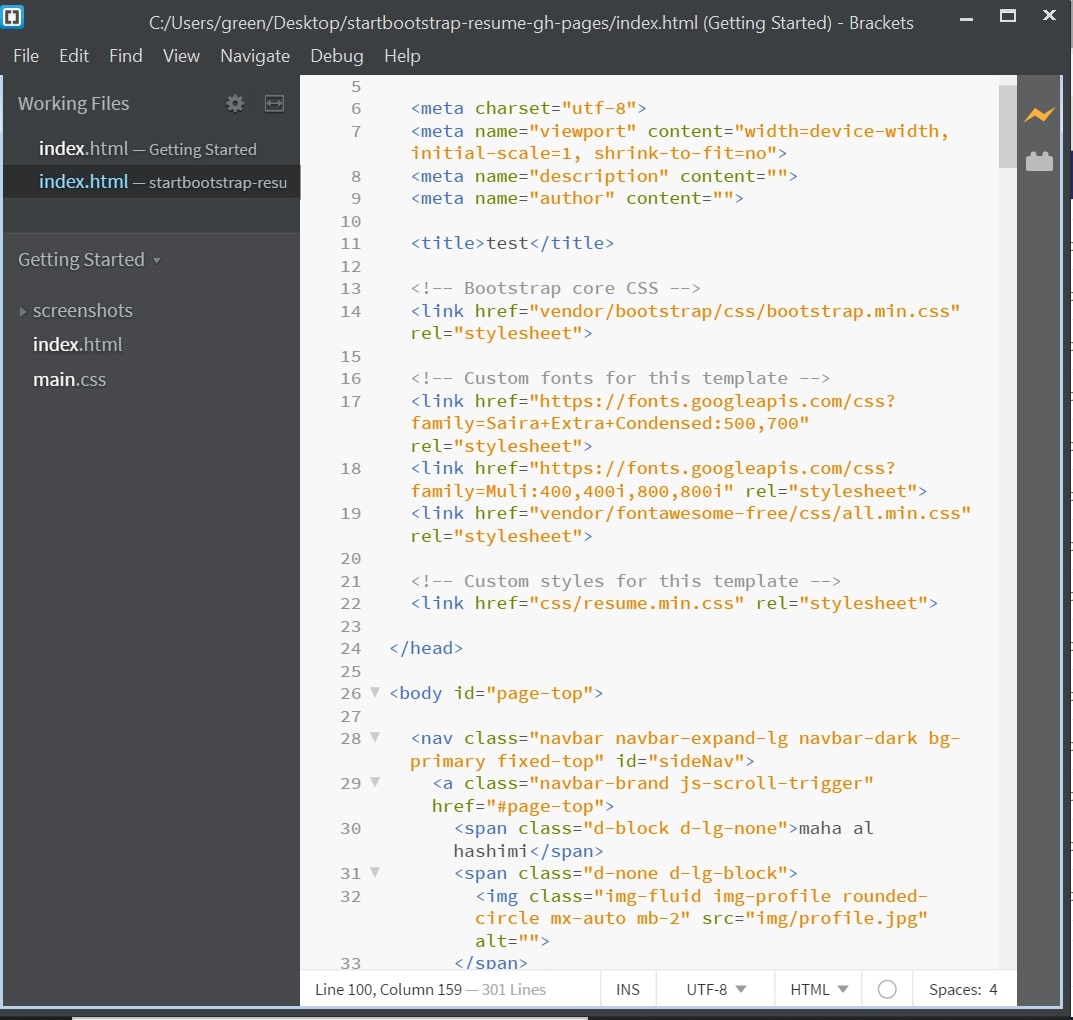
Not having sufficient background about HTML made the task of editing the script a bit hard as I had to go back and forth from editing in brackets to the HTML tutorials to identify some commands and figure out how to implement others. Still, nonetheless, the task was manageable.
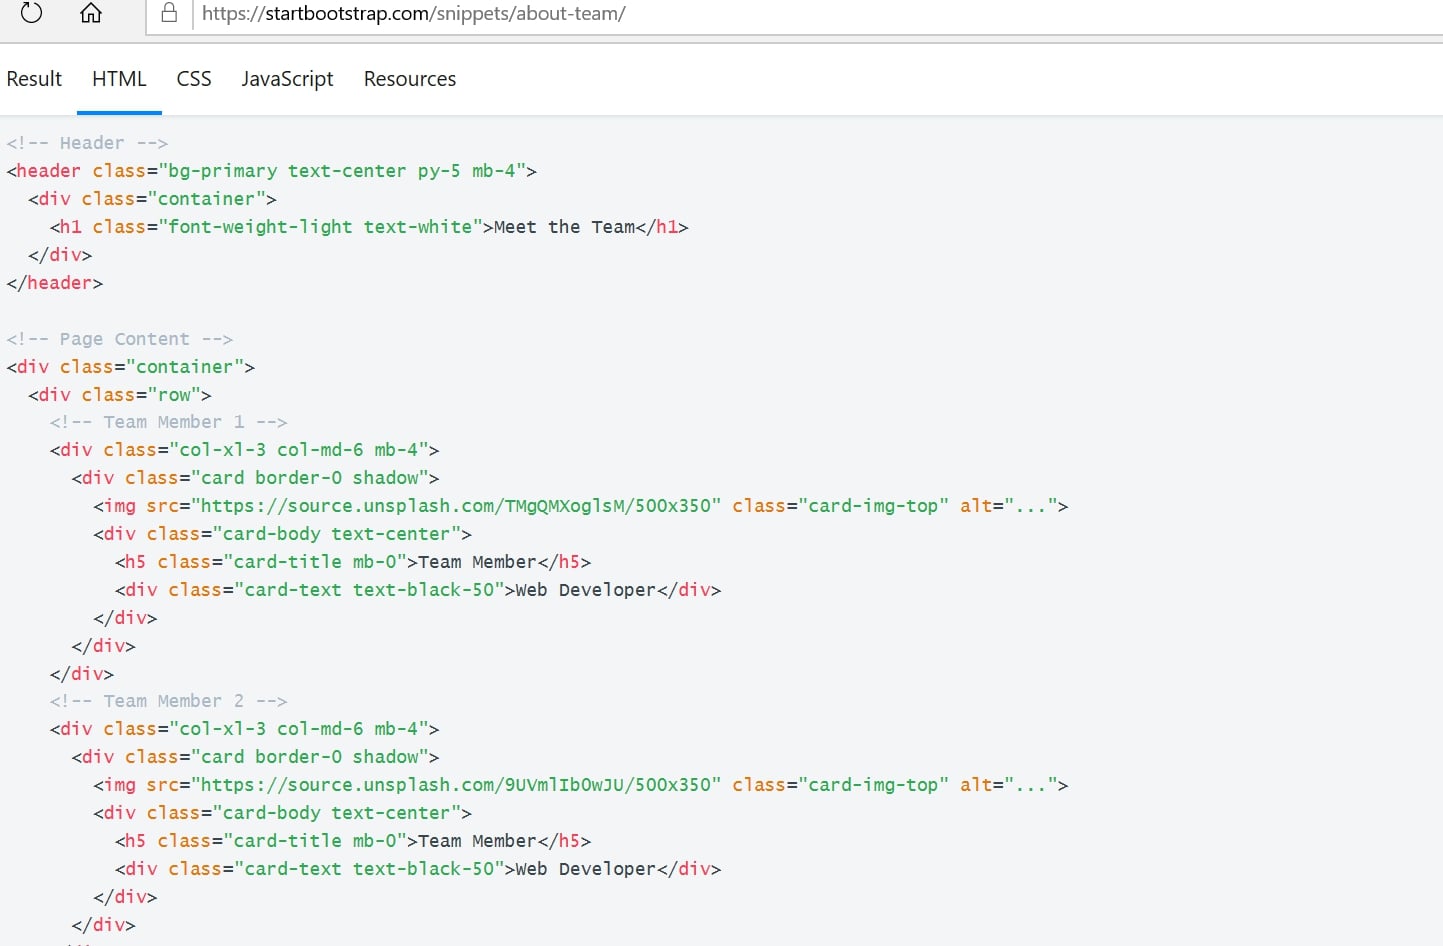
I have also used other bootstrap snippets to add adjustments to my website.
Subsequently to creating the website is uploading the HTML files and configuring Gitlab to host the website so it can be accessible to everyone through a specific domain.
Start by uploading all the files of the webpage to Gitlab using the git push command, as explained earlier.
Next is the CI/CD configuration, which allows continuous deployment of the HTML file selected. The CI/CD configuration panel can be accessed through the dashboard in the project page.

Here I referred back to the tutorial to select the Gitlab CI configuration suited best for my website which was OPTION A: GitLab CI for plain HTML websites. I copied and pasted the commands to the CI/CD panel in my Gitlab page and checked that the configuration was validated.

The way this code works is by creating a job called
pageswhich is a command that uploads the result of a job to use with GitLab Pages. Pages then tells the Gitlab runner to deploy the website artifacts to a public domain whenever acommitcommand is pushed only to the master branch.
All pages are created after the build completes successfully and the artifacts for the pages job are uploaded to GitLab.
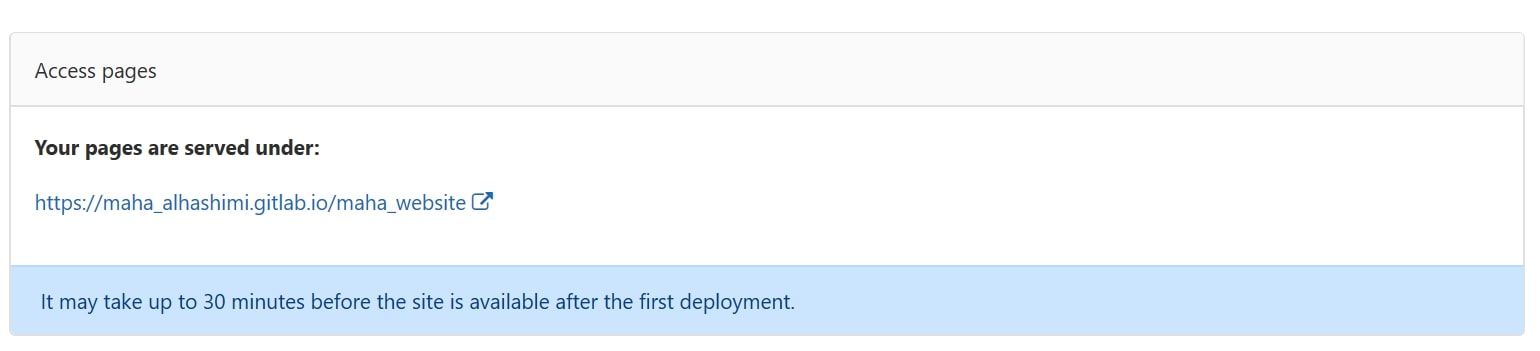
Next is checking for the website link under access pages in settings >> pages>
The launch of the webpage itself took some time for me, as the first time I tried deploying the website, it showed me an error message, however, after 10 minutes I was able to access the site and browse it easily.
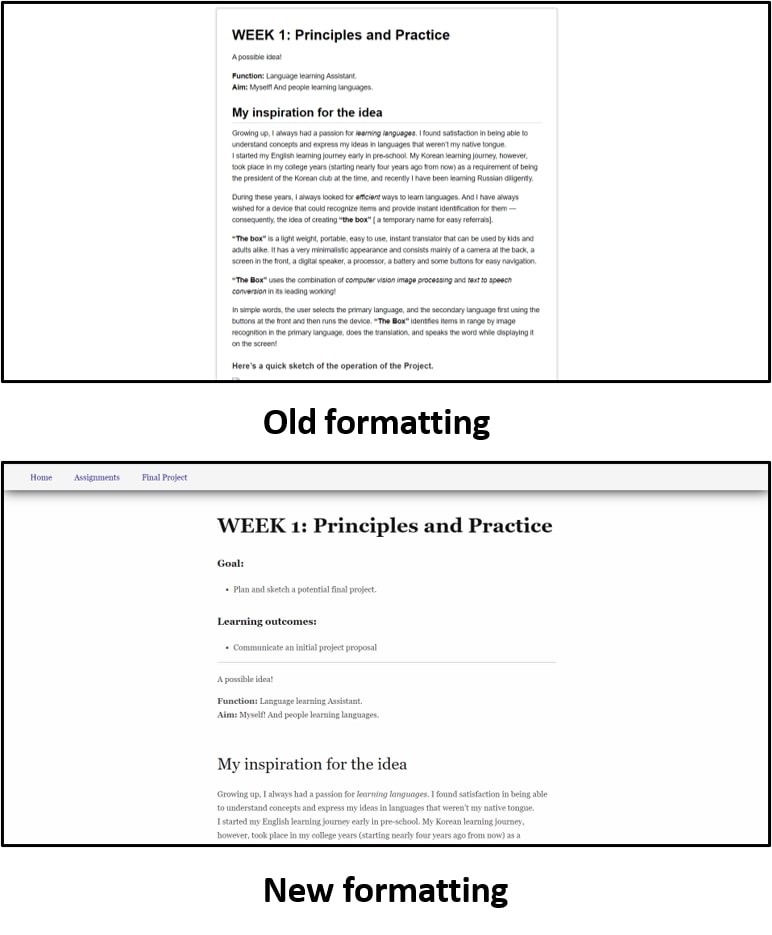
Having tried to create the website, I have learned well enough about HTML, however, I also figured that it wasn’t the language that I wanted to write my documentation in, as it was packed with commands and made me very prone to mistakes.
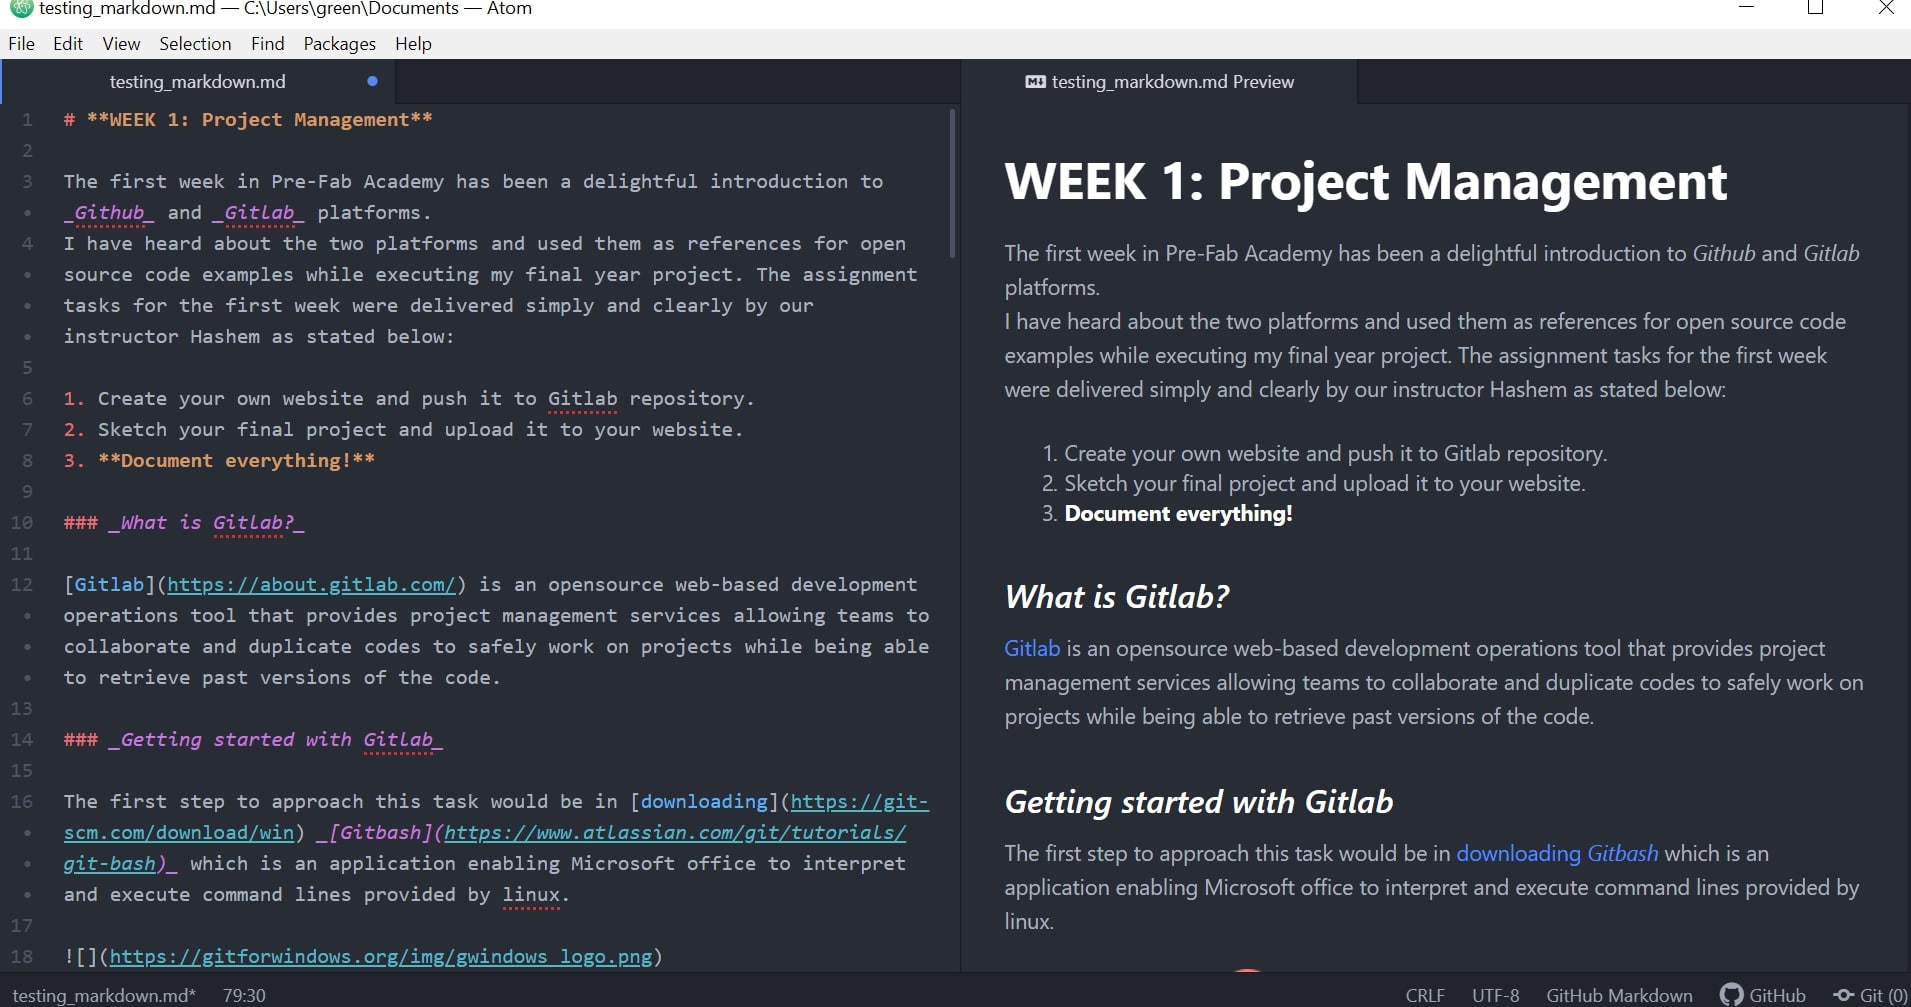
Thus, I have explored the world of Markdown through the provided tutorial, and I found out that It was much easier to use markdown in such cases.
To write directly in markdown, I have decided to use Atoms, a text editor software that edits markdown easier and more efficiently by having the embedded instant preview option.
Hence webpages are structured and written in HTML, plain markdown formatting requires converting back to HTML to embed it on the website.
This step was established with the help of a tool called Pandoc, which is a universal document converter that converts files from one markup format to another.
The tool converts files from .md formats into raw .html format using the command pandoc filename.md -f markdown -t html -s -o filename.html typed into Git bash.
The new file is now in raw HTML, which has plain CSS styling; thus it is required to merge the file with a css layout file to make the webpage look more presentable and comfortable to the eye , hence the updated command pandoc filename.md -f markdown -t html -c filename.css -s -o filename.html

Later, the HTML files can be referenced as links leading to other pages from the main page.

Getting the access email is the very first step to connect the fab cloud, I followed the instructions in the email to get connected!
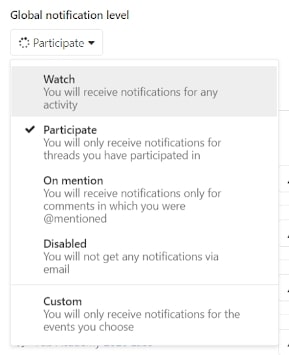
First, I visited the git lab fab cloud page, and followed the instructors to try and sign in and create a new password using the forget password option. Once I was logged in, I changed the notifications to watch to get notified for any activity.
In my page, I found the default files uploaded by fab academy. The files contained the website that we can use for our documentation. So we decided to give it a go!
Since I already generated an SSH key while trying to build a website earlier, I only needed to follow the same steps of creating a folder directory and cloning the files into my repository.
Now, I had to test this website, to see if it’ll work for me! I followed the installation tutorial of MKdocs since it is the tool used to create this website.
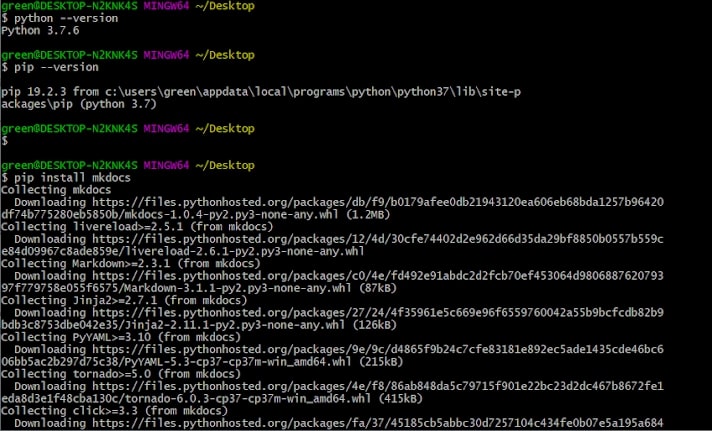
First, I installed the required Python package to run Mkdocs on my laptop. Then, to ensure a successful installation, I ran the command python --version, then pip --version to check the version of python pip and upgrade it if necessary. Next, I installed the Mkdocs package using the following command pip install mkdocs.
To start using the package and preview my website, I navigated to where my index.md file is located and run the command mkdocs serve. The command builds the markdown files into html and starts a development server to enable browsing the documentation.
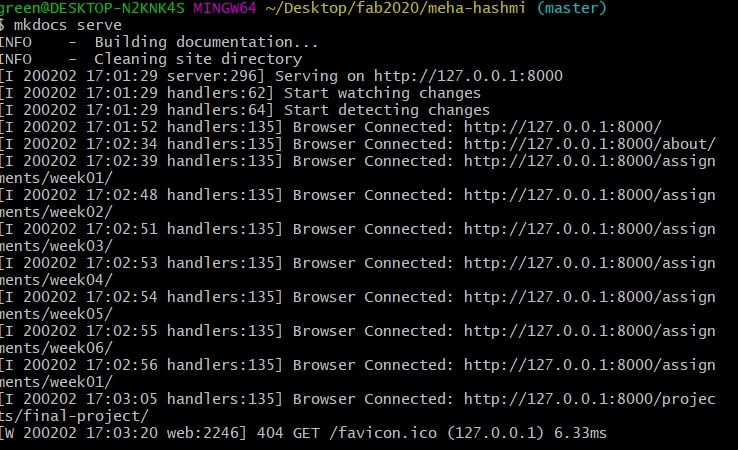
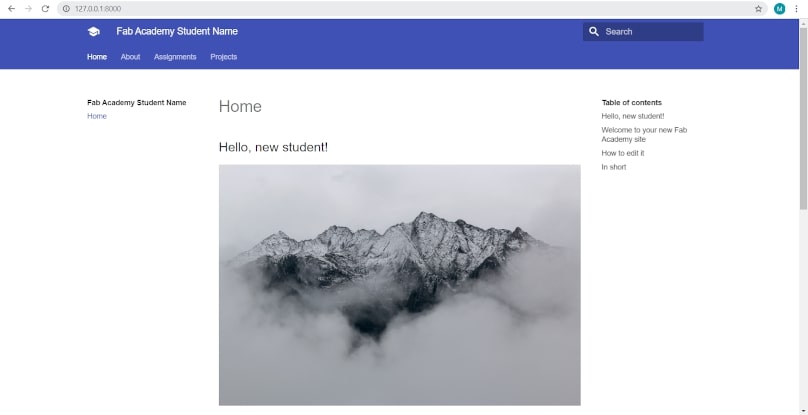
To view the website, I opened up the server address in my web browser, and tried changing some of my markdown files as I observed my docs automatically rebuilding. For my first impression, the web page looked incredibly neat, and extremely easy to navigate. And later as I discovered that the documentation can be mostly written in markdown, I was beginning to feel quite pleased, as Mkdocs pages are authored in markdown, and the tool uses a python-markdown library to render the markdown documents to HTML, thus eliminating the need to manually convert the files using Pandoc.
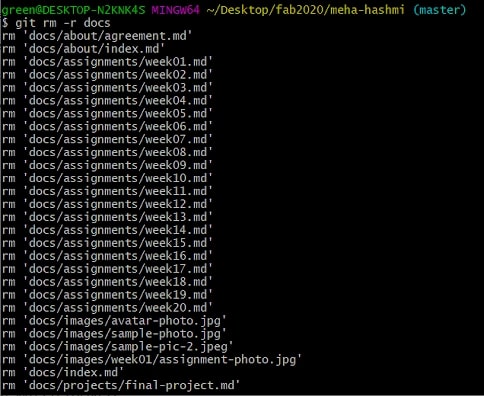
Honestly, I really liked the website, it was ready to be used and filled with all the features that I needed to make my documentation process easier. However I still preferred the website I created, as it represented me and my preferences and hard work! So I ended up deleting the files using git rm -r file name .file extension, and replacing them with my website files.
Then I went ahead and commit-ed and pushed my files to my online repository, and configured my CI/CD using the steps prior mentioned.
As mentioned before, designing and building webpages was a new area for me. It took a good chunk of time to explore the commands and understand the working of it. Howbeit, I am planning to expand my knowledge on the concept for future projects.
Sometimes, trying to merge HTML styling commands on existing webpage templates with different imbedded styles and classes rendered useless; as it would change the style of the whole template and not achieve the required results. The way I handled this was to keep trying different style commands and try to change the parameters of objects instead of editing the class or commands of the template i.e. changing image sizes manually instead of changing the IN-boxing class of the template.
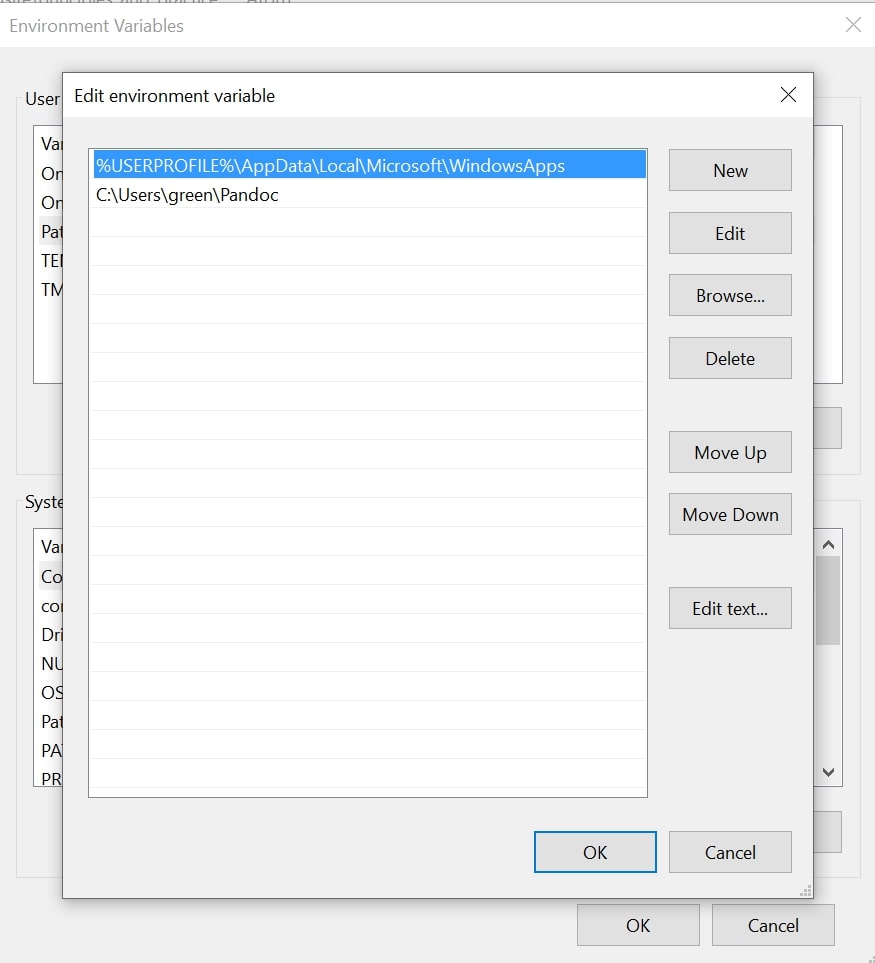
I had a problem with installing and launching Pandoc version 2.9.1 on my windows 10 laptop. The software would refuse to launch after the installation process. I tried installing a different version of the software (pandoc 2.2) provided by Hashem, and with his help we worked out that the problem laid in my laptop as it was not saving Pandoc files in its proper path. Hence, comes the solution of correcting the path and adding it manually to environment variables.
On January 5th 2020, at approximately 1:50 PM, google chrome has failed me and crashed. The crash had been sudden and unexpected. Of course having many other alternatives to the web browser is quite helpful as I continued my work on Microsoft Edge web browser, however, an aspect of my work has been affected which was the editing of my webpage in Brackets, as the live preview which only launched in chrome stopped working.
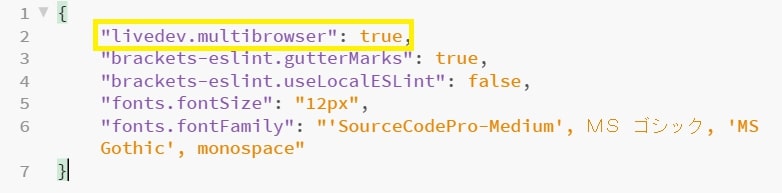
A partial solution to the problem was found in the form of changing the browser preferences in bracket so the live preview can launch in browsers other than google chrome [mainly FireFox].
That is done by choosing open preference file in the debug tab and adding the following commands.
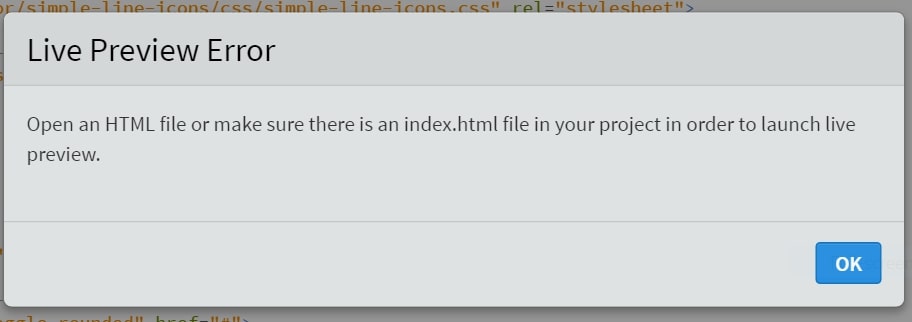
Later, another problem has surfaced. Brackets software refused to acknowledge existing files as HTML files thus refusing the live preview launch again. This problem however, had a quite simple solution, which was removing all the files from the “working files” section in brackets.
Finally, despite all the changes made in brackets and settings on my laptop the live preview refused to load in Firefox. Just as whatever is affecting my google chrome launching and crashing had an effect on other web browser’s performance on my laptop leaving me with only Microsoft Edge to work with.
The problem is yet to be resolved as for now (Now: Jan 6th 2020 4:11 PM).
The problem with Google chrome and the other web browsers failing have been resolved by forcing a reset on the laptop.
This is done by accessing settings >> Update and security >> recovery >> reset this PC. This option allows the PC to reset to its original settings removing any software that aren’t original to the laptop without removing any of the user files.
Hence we were not in the lab this week (due to corona virus), I had the time to look back at my documentation and fix some items in my webpage. I decided to change the external css file format I was using and add a navigation bar for easy access. I used the pandoc css, and followed a tutorial to style a navigation bar.