Making molds with resin 3D printer
This is a non exhaust process of making fine surface mold with a 3D resin printer.
The main problem
The main problem making molds with resin 3D printer is about curing the mold after printed. Usually we cure in curing stations many vendors have. But this curing stations just cure the outside of the 3d printed piece, but inside the piece the resin keep on curing about 1 month after being printed.
This curing process interfieres with the curing of the silicone that are put insde the resin mold, and inhibit the curing of the silicone (platinum silicone most of) so finally we can not have a valid silicone mold.
There is one comercial product available in the market: Inhibit X from Smooth-On
But we wanted to have a process that can be replicable to avoid the curing inhibition, using process without special products. Here is where the journey begins :)
Links to read:
Preventing Platinum-cure Silicone Cure Inhibition in Resin-printed Molds
3D print molds inhibitin silicone solutions
"Why do 3d printed masters have issues with platinum cure silicone?
Resin 3d printers use UV curing resin (e.i. it turns solid when exposed to UV light). The compound in the resin that causes the UV curing is a sulfur compound. Sulfur compounds prevent platinum cure silicone from curing correctly. After 3d printing and normal post processing, there is still a lot of that UV curing agent left in the resin that will naturally continue to off gas for weeks to months after printing depending on the particular resin used. "
Students approach
Here you can find links to students documentation in sucessful molds in resing and casting:
Garrett Nelson: LINK Release used: Ease release 200 Silicone: Smooth on Mold Star 16 Fast
The 3D printer
The choosen one machine is the Elegoo Saturn 3 Ultra 12k.
Check the official website here
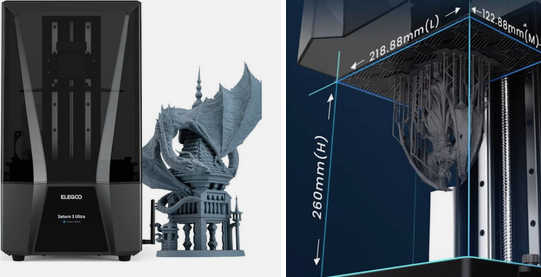
Some specs of this printer are: * 10-inch 12K mono LCD * XY resolution of 19×24μm (the most important paramter) * Build volume of 218.88×122.88×260 mm³ * Up to 150mm/h printing speed + ACF release liner film
The material
There are many types of resin to 3d print. For the key to the success is the curing process. Dont matter if its water or alcohol washable.
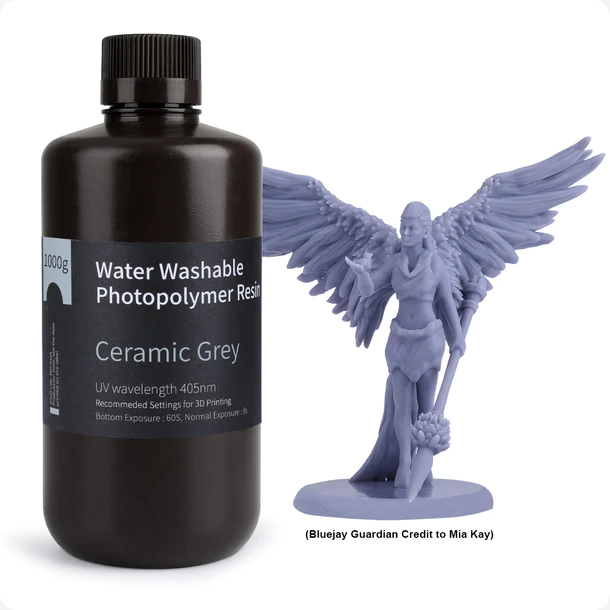
As some people point on internet, the clearer the resin, the better to cure it completely.
The resin we are going to use is the Water Washable Photopolymer resin from Elegoo (Ceramic grey color). Here is the link to the resin water washable resin
The software
The software we have been using to prepare and make the gcode for the 3D printer is Chitubox. Its a software that can be used with any resin machine. You can download here: Download Chitubox
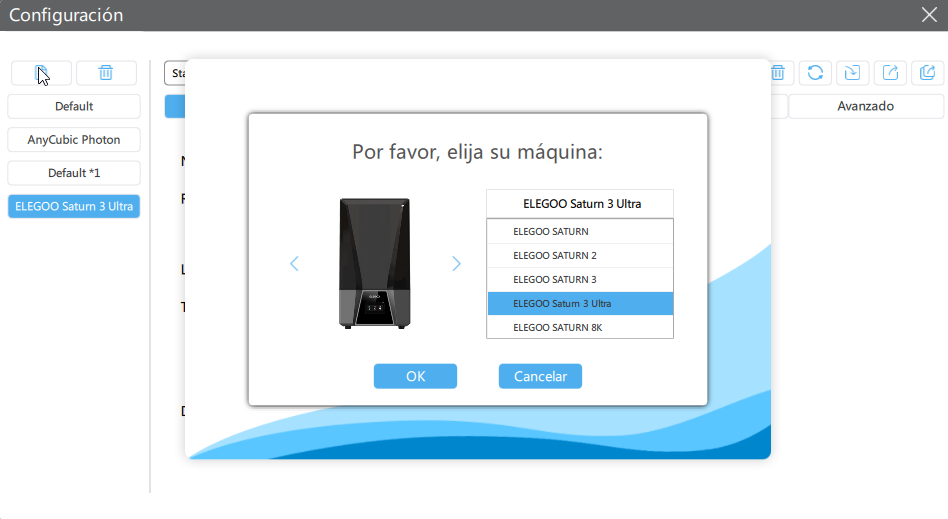
After downloading and installing the software, you have to configure to be able to use it with your machine and your type of resin.
First add the machine to the software:
Then configure the parameters of the resin to print. I have been tuning the water washable parameter with this machine. Here you can find the official parameters for any machine and any resin, in the website of Elegoo.

Download printer configuration file
After that you can configure the supports to have realible supports for the pieces you add to be sliced. Also you can download my configuration file from this link:
Download supports configuration file

The design
For this try i will pick Adrián's mold from molding and casting week. Here is the link to his documentation
The printing
I made differents try with the piece that comes with the resin printer. A piece of chess. I print it with different resolutions to see the differences in time:
imagen torres
0,05 mm Layer height: 5h printing time
0,01 mm Layer height: 15h printing time.
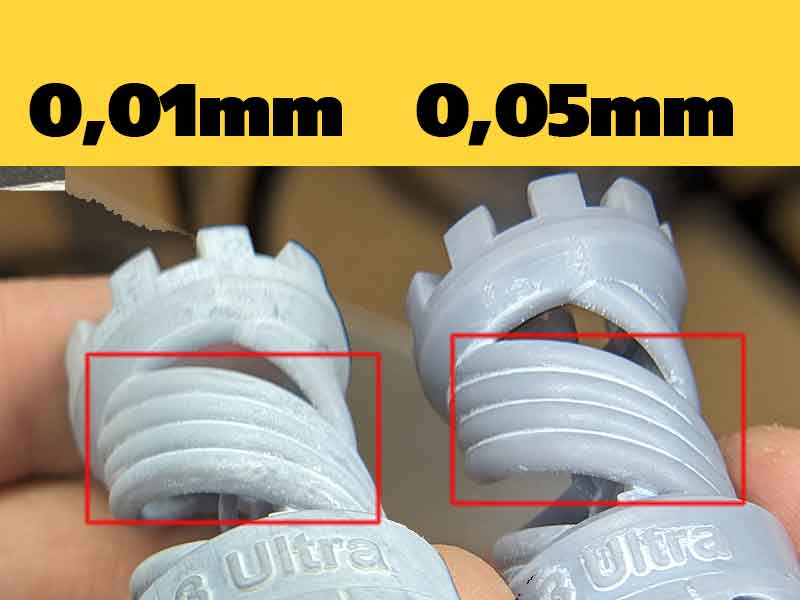
So seems important to balance the layer height and the time to print it. If you have a very big piece, maybe the time to print it is higher than the time to mill it.
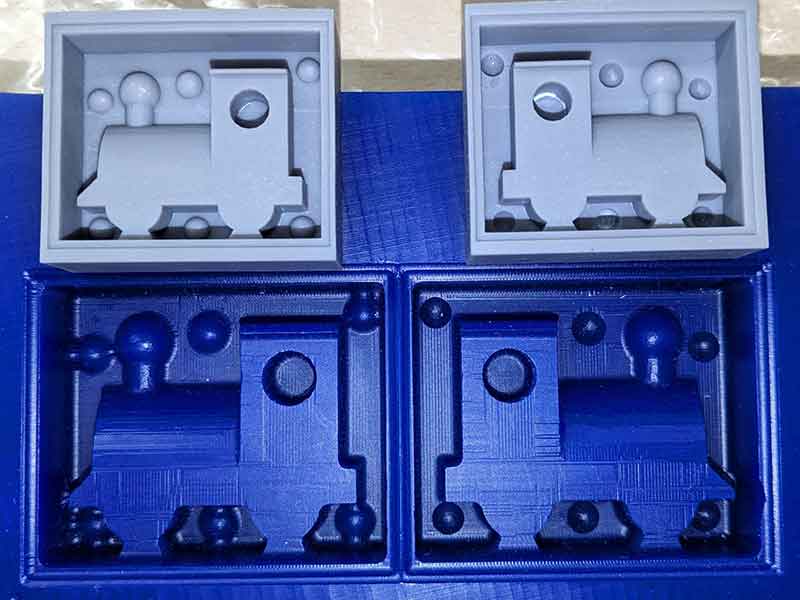
Then i print the mold, separated in two parts, to manage well the weight of the prints. The bigger the print, it could weight so much and can be difficult to print it.
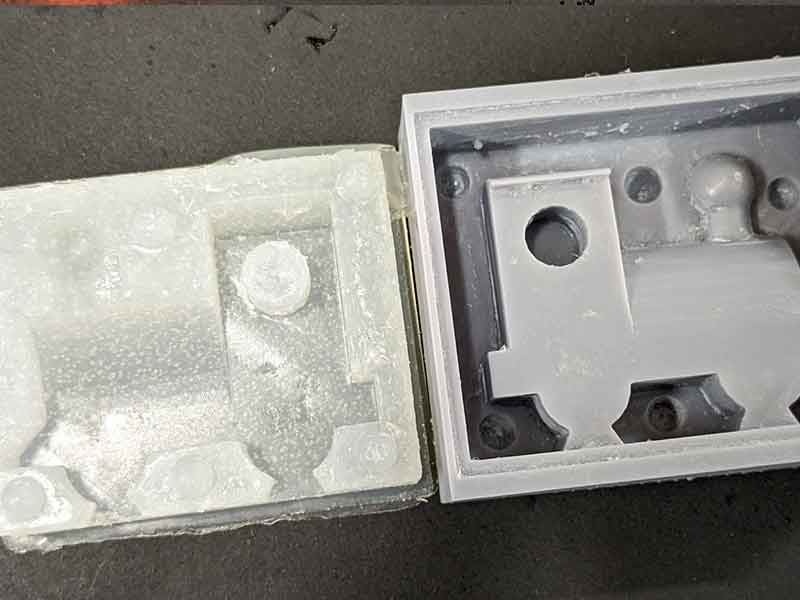
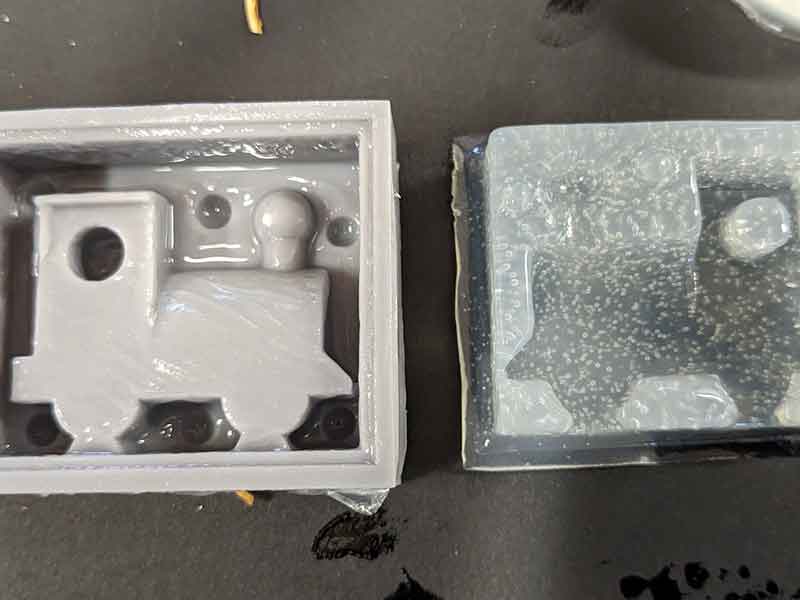
Here is the result of the resin mold (the grey one) versus the milling mold made by Adrián Torres in his Fab Academy. The surface seems smoother, event printed at 0,03mm layer resolution.
curing the mold
After printing you need to clean very well the piece, in this case with water. If you dont clean well the piece, when you cure it it could have white areas with resin. So repeat the cleaninig part as much as you can.
In this case cleaning with the cleaning machine and just water (its a water washable resin) for maybe 15 min, and then leaving it under running water for 1 min.
After cleaning with water i left it dry naturally, so about 30 min in a clear area.
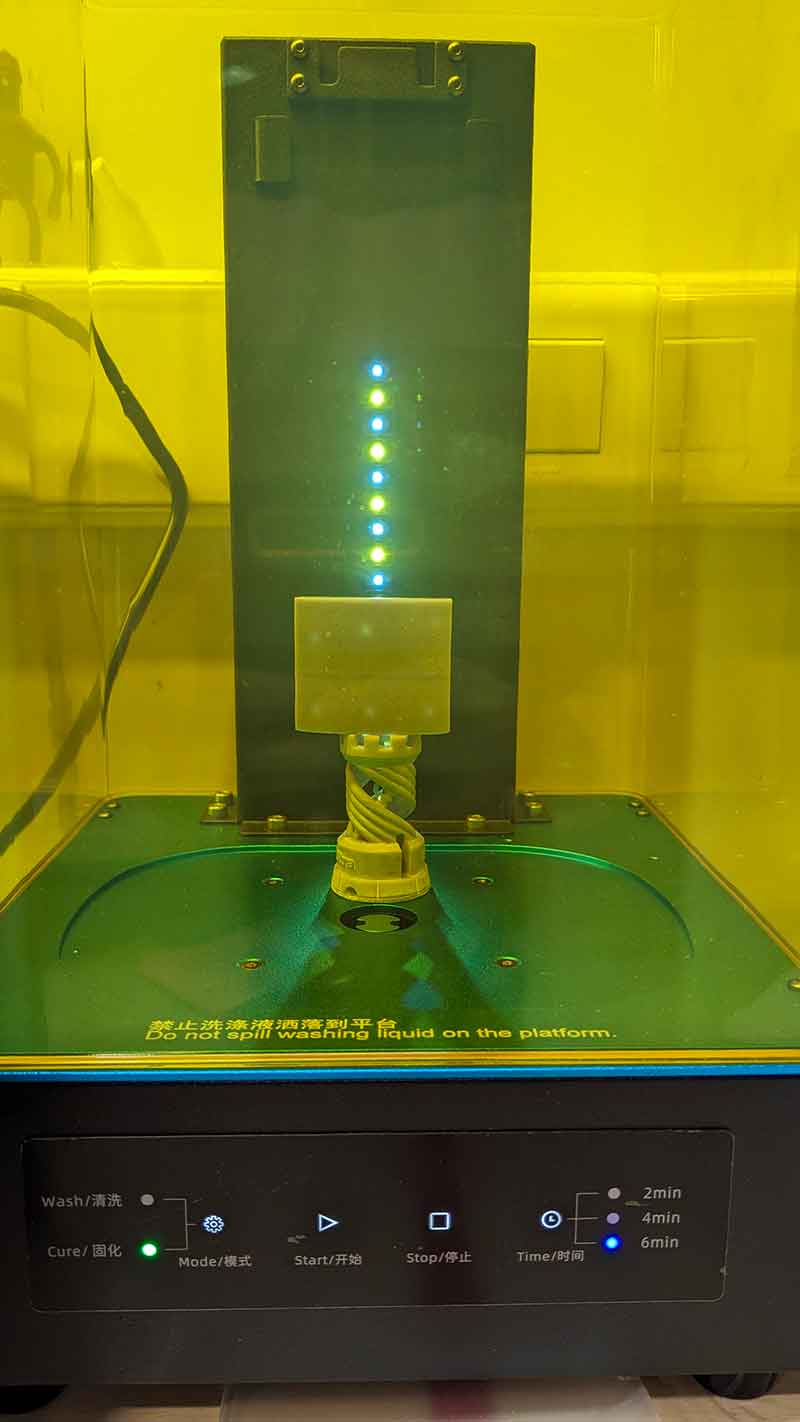
After that i cure the resin in the curing machine (Anycubic Wash and cure) for as much time as possible. It depend in the thickness of the piece, usually 30 min could be a good time. Also you can leave at the light of the sun (not direct light, if its warm it can start exhude).
Be sure that your mold is clean, cured and dry to start the next step.
Applying the release to the mold
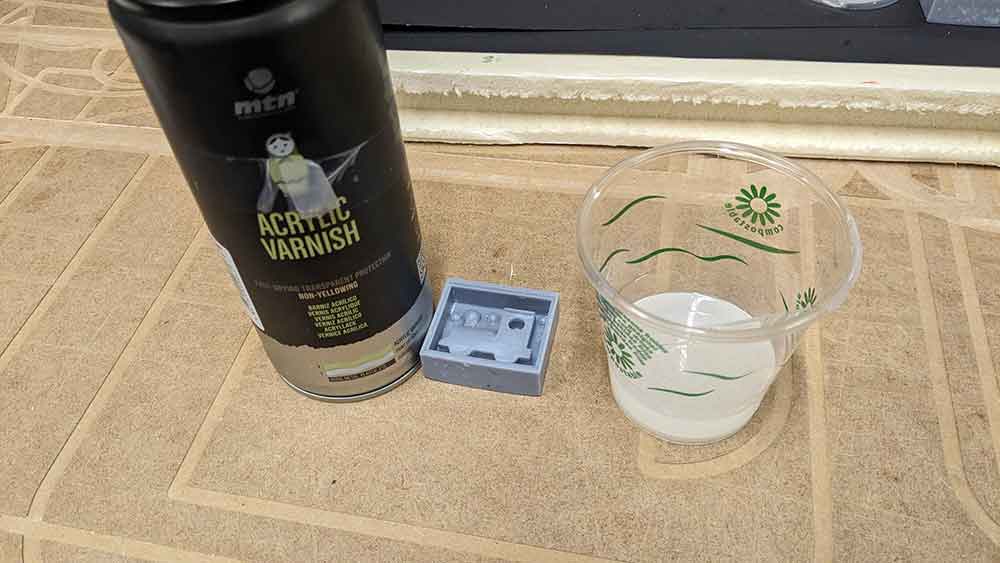
I have try different realease agent over the molds. The best of the ways to do it seems to be: - Use a very light layer of acrylic varnish and let dry. This will prevent the resin to be in touch with the silicone, and prevent the silicone cure inhibition. - Then you can use a release agent. But in my try, only with acrylic varnish release well the silicone mold.
But i will let you here all my try with different materials.
Pol-Ease® 2500
(Dont do this method) This was the first try. When its applied to the resin mold, it starts to make bubbles and react with the resin, so its not a good product to use over the 3d print resin.

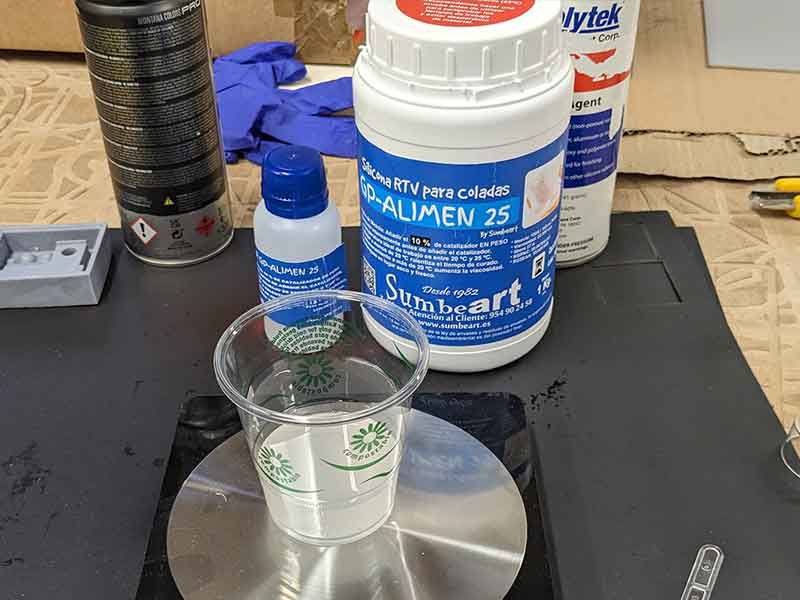
After using this release i made a silicon mix with food grade silicone. Its name is GP-Alimen 25, and has a shore 25 hardness scale. Link to the silicone
I made the mixing and pouring to the mold
The result with this combination of silicon and release agent was very sticky. The release agent dont let the silicone cure in a proper way, and after more than 24 hours the silicone is still sticking to the walls of the mold.
Here are the photos:
Acrylic Varnish
(not so good)
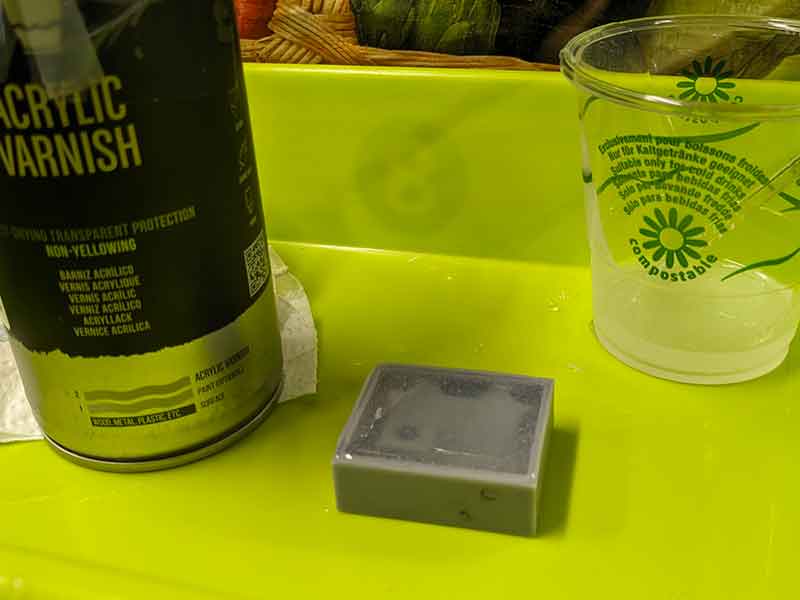
On the second try i read that the acrylic varnish can be a good release agent, and also can stop the resin react with the silicone.
So i made a second try with the same silicone (GP-Alimen25) and putting acrylic varnish as a release agent:
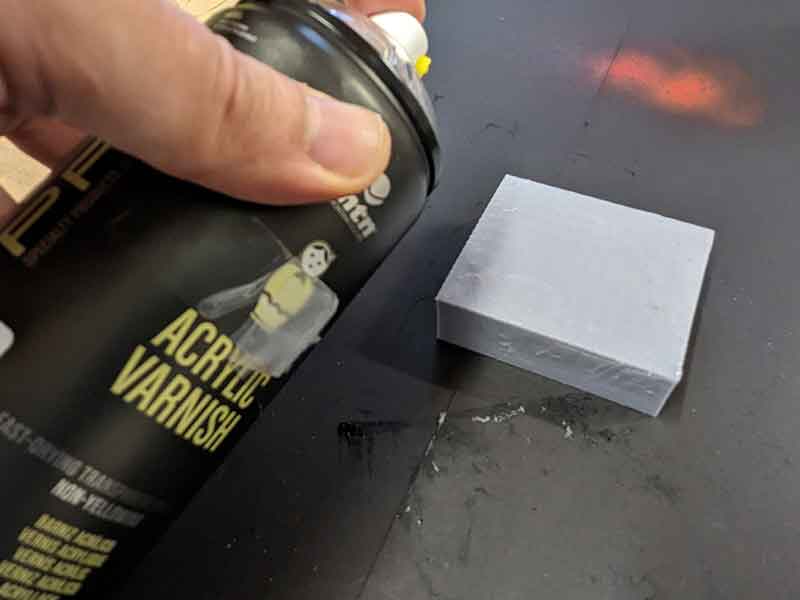
At this time the acrylic varnish dont react with the silicone. Also dont put a lot of, just need a little spray to cover all the mold.
After that i just poured a second try:

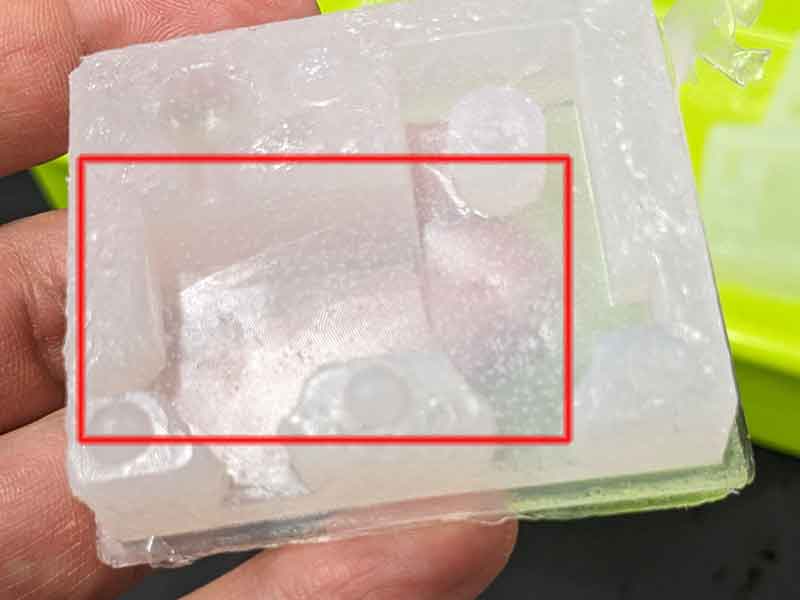
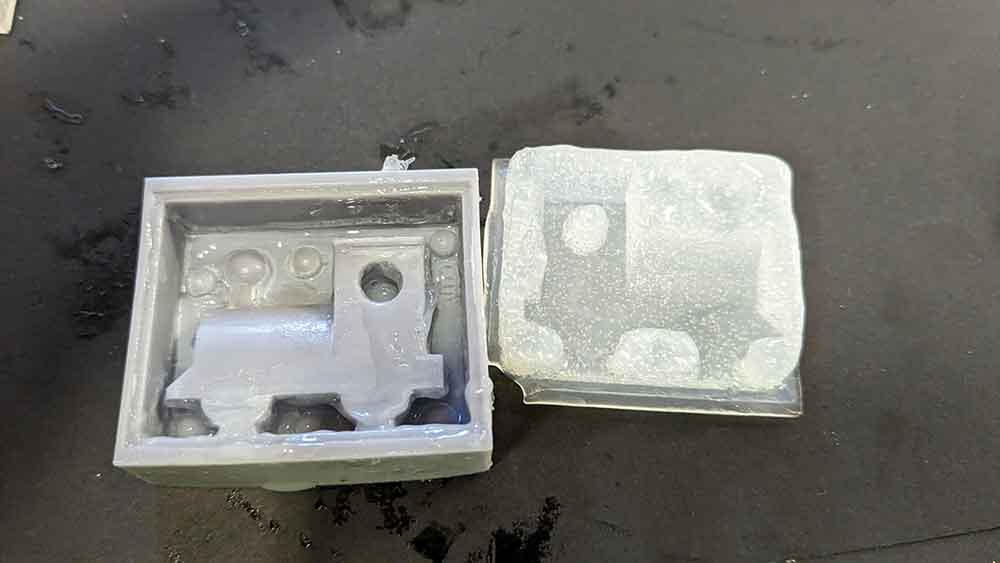
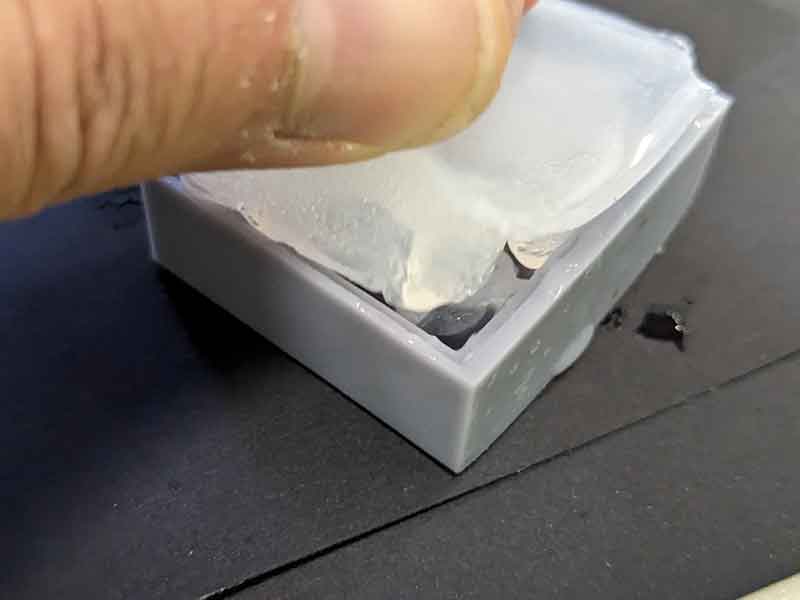
After curing the mold seems more nice finish. There is no inhibition in the curing process of the silicone, so its seems to be a good way to avoiding the inhibition curing of the resin.
At this part of the mold it release really well, and the surface is smooth and accurate.
New try from varnish, not good
I start the process again from the begining, printing a new mold, then curing, then adding varnish and then put the silicone again...and it went wrong.
Acylic varnish dont seems to avoid the inhibition from curing of the silicone.
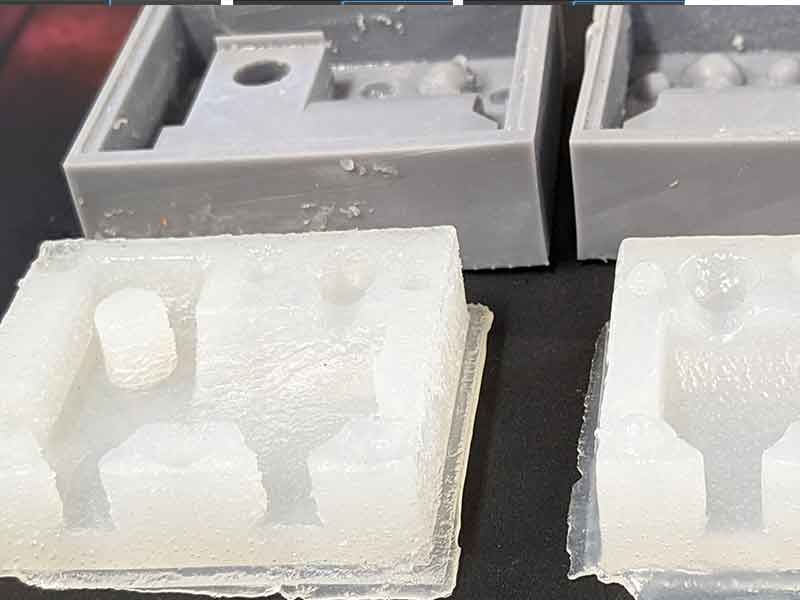
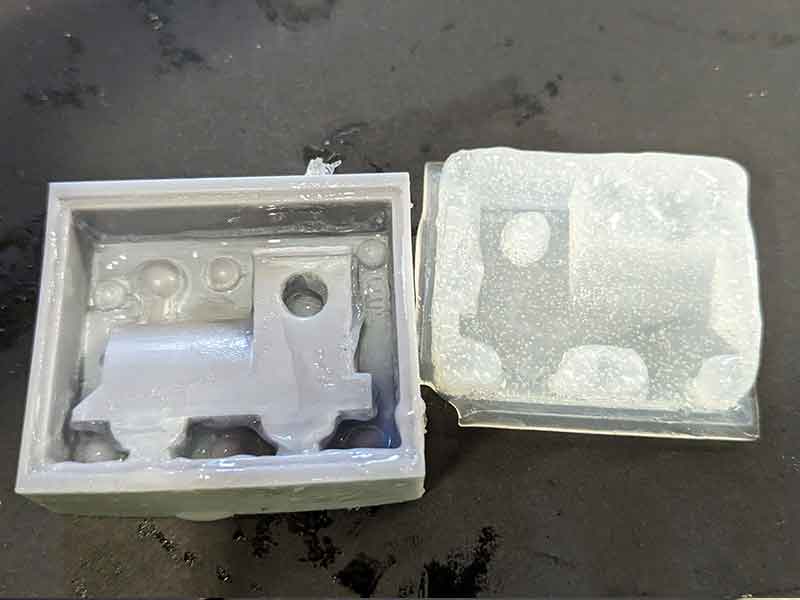
Here are the results from a new batch:
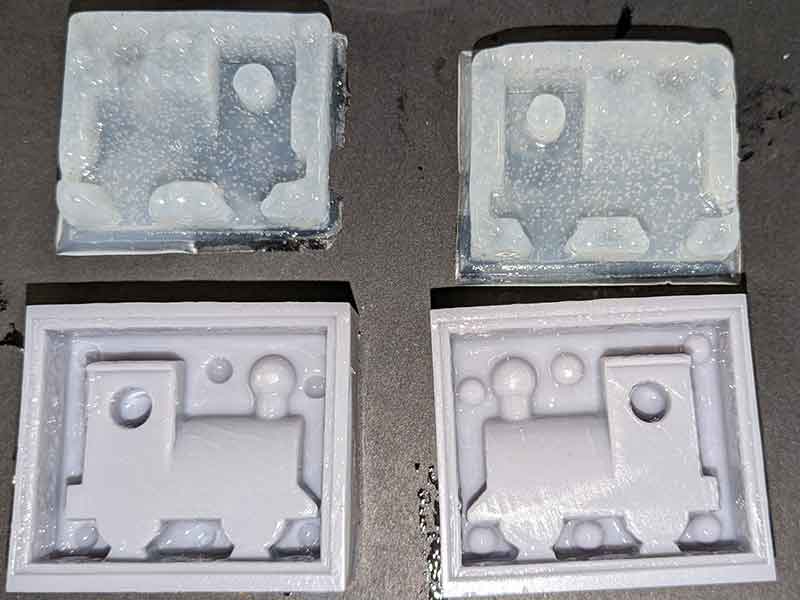
The silicond didnt cure properly, and some of them stay in the mold without curing. (forguet the bubbles).
So its time for another solution.
3rd iteration: more curing and alcohol clean
The next iteration i try is do much more UV curing to the piece, and clean the mold with alcohol before apply varnish. This are the steps i made:
- cured the mold in the UV curing station for at least 60 min.
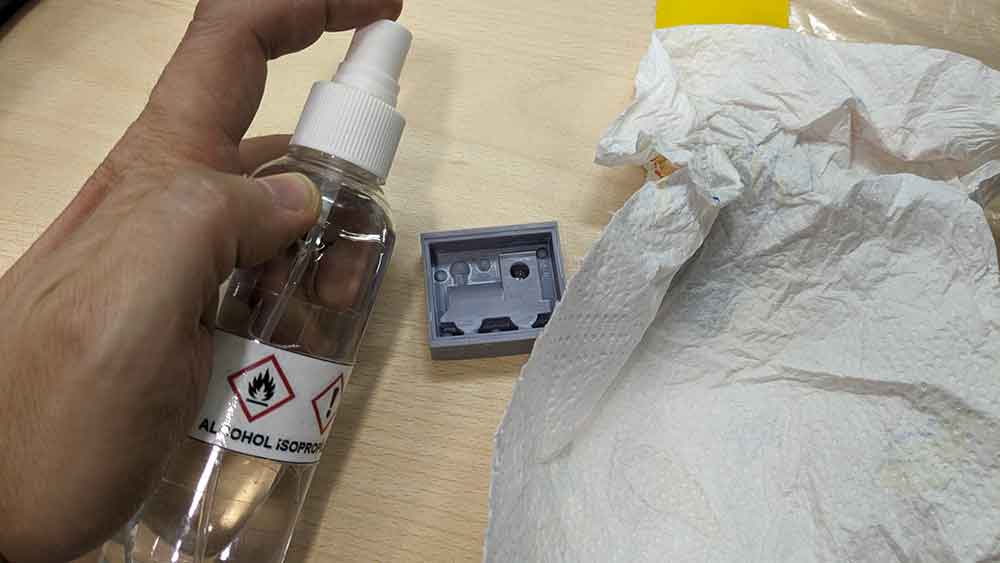
- Clean the mold with isopropilic alcohol. let dry.
 - Use acrylic varnish as release.
 - pour the silicone and let cure.
After cure time, the silicon didn cure properly, sticky and bad looking silicone. Seems that the mold stil inhibite the silicon cure process:

4rd iteration: more curing
For the next try i cure the piece in the UV curing machine, but without using the rotational platform, so all the time that the UV curing is on, always incide in the mold:
Then i use acrylic varnish on the mold, and then poure the silicone. (i always left a bit in the vase to as a tester)
As a surprise, it didnt cure. So the silicone cant finish curing because the mold is not completely cured.
Very sticky result...
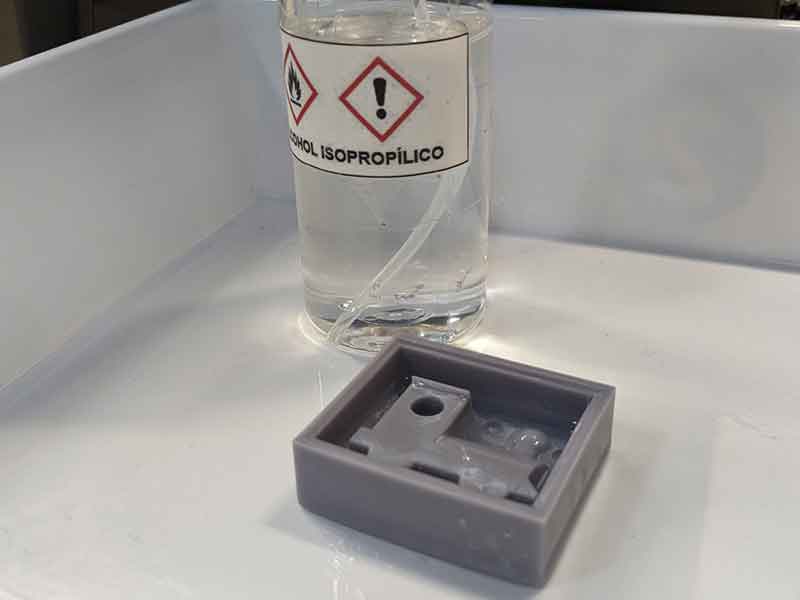
5rd iteration: curing + alcohol + soap washable
On the nex iteration i will try to wash the mold with different usual things, to see if some washing action over the mold make a clear difference.
So here we go: After printing and curing fo rat least 60 min, i cover the mold with isopropylic alcohol, and clean after 15 min.
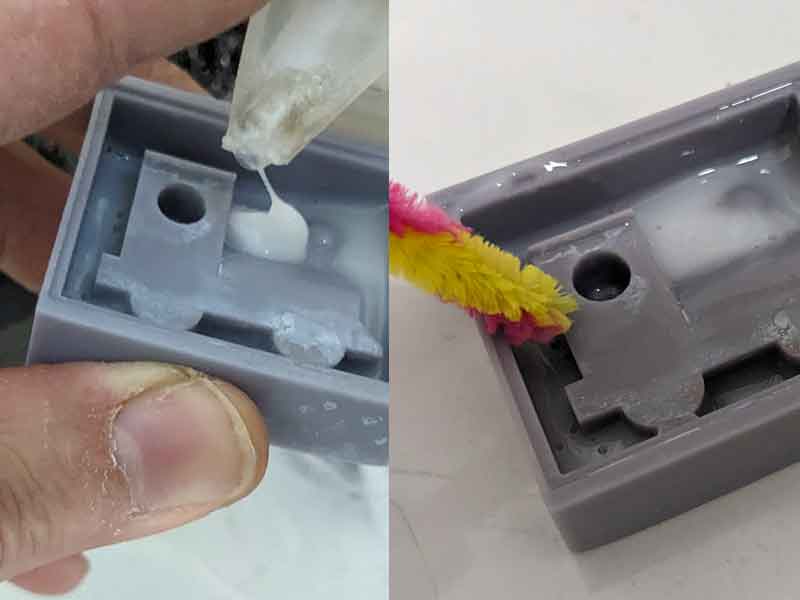
Then i clean it with soap, and a scrub to get to the difficult places of the mold.
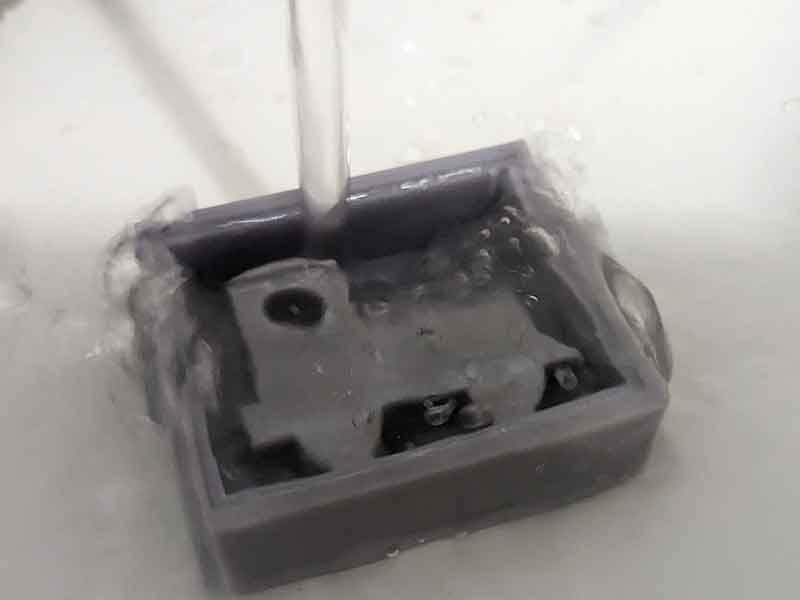
Then i rinse it under the water for a couple of minutes, to remove all the soap.
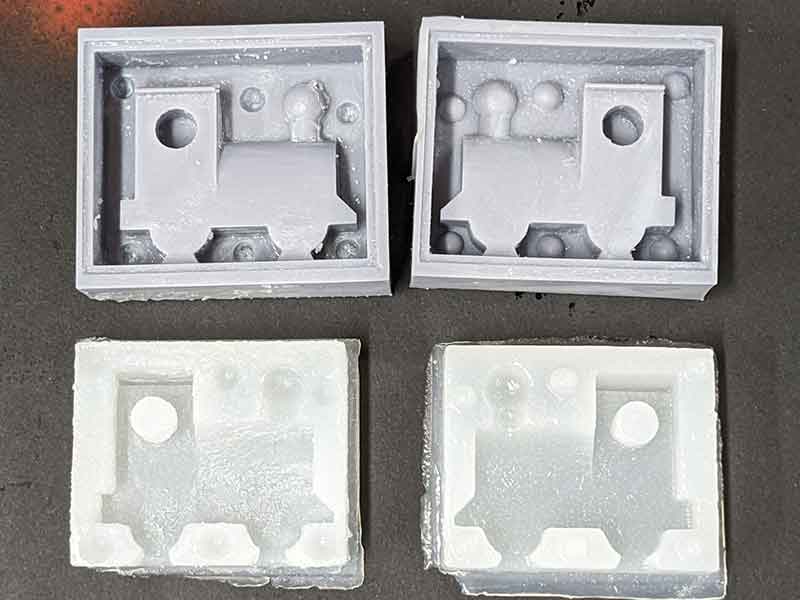
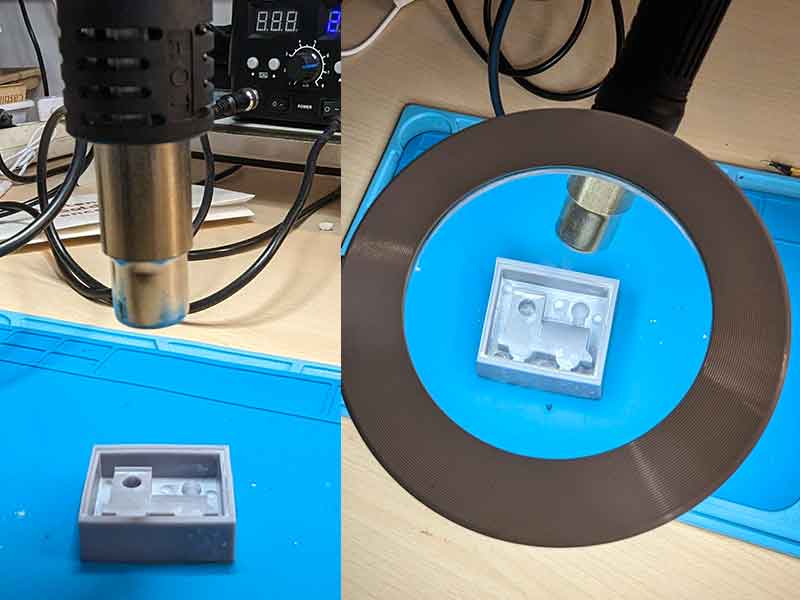
Then i use a heat gun for 3 or 4 min (not so close, because you can meld the mold) to see if there are some more parts that can be left uncured. As you can see, many white parts came out, meaning that are still resin uncured inside the mold.
After all this process, i pour the silicone in the mold without release agent, to see if something changes. Aaaaaaanddd not, not in any possible way. Silicone avoiding curing and sticky as usual (a bit less, but not the part in contact with resin)

Keep in touch next week for more news :(